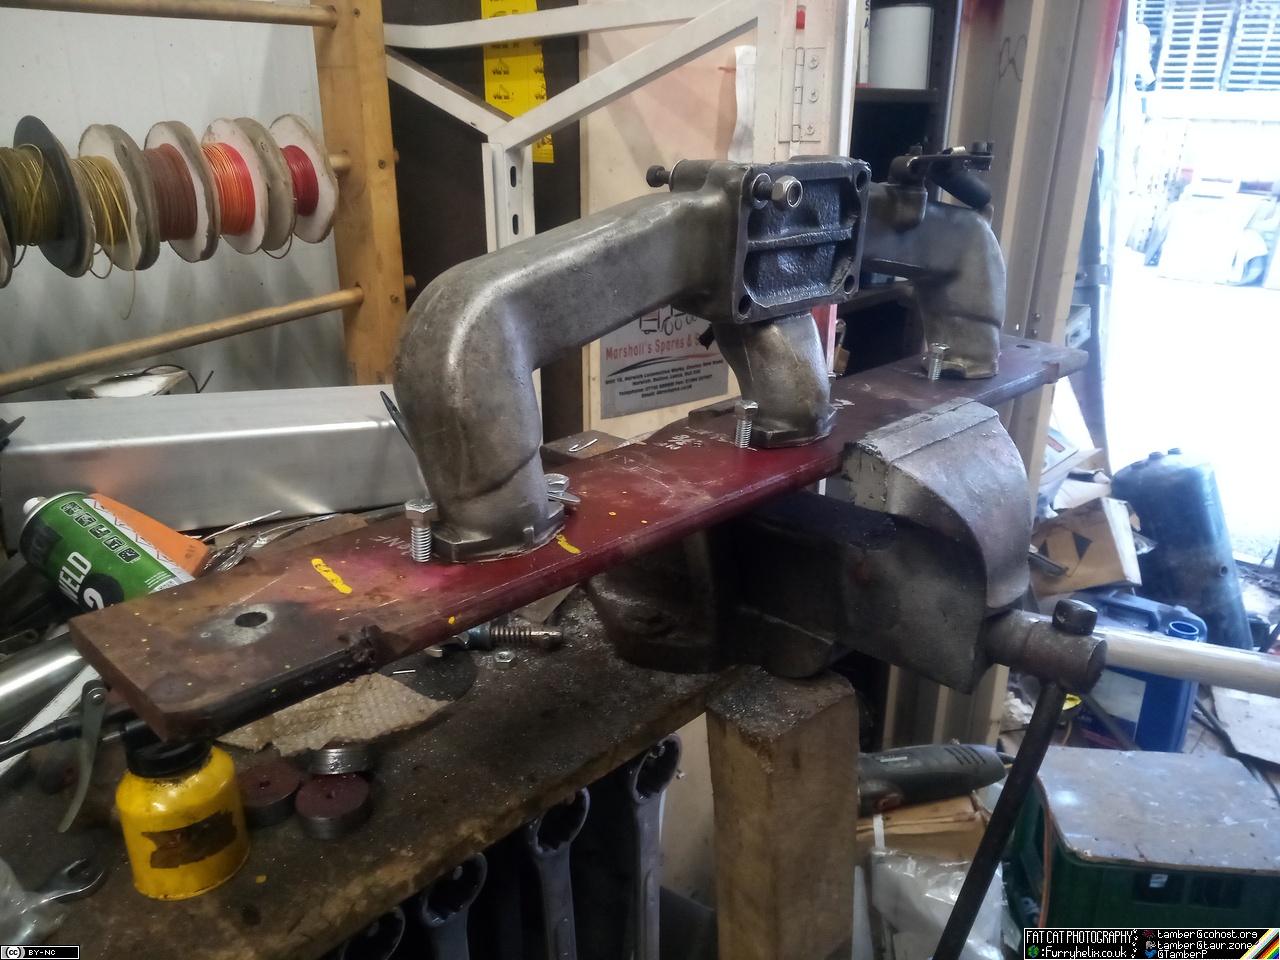
 Lovely. (Pay no mind to the slightly wonky bolt.)
Then, follow this up with some additional fettling (carefully applied weld, then dress back with a file) to ensure as snug a fit as possible.
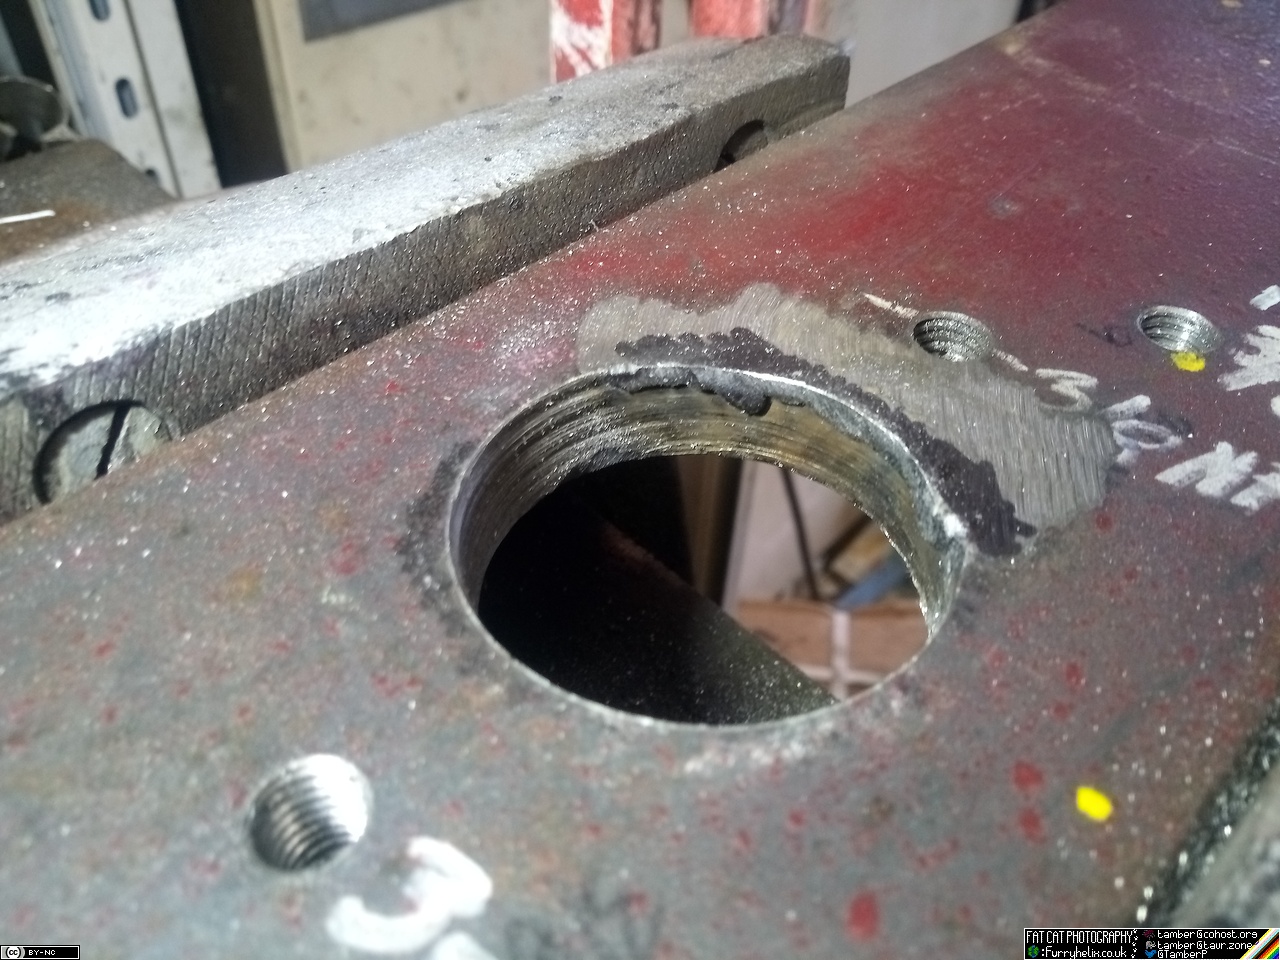
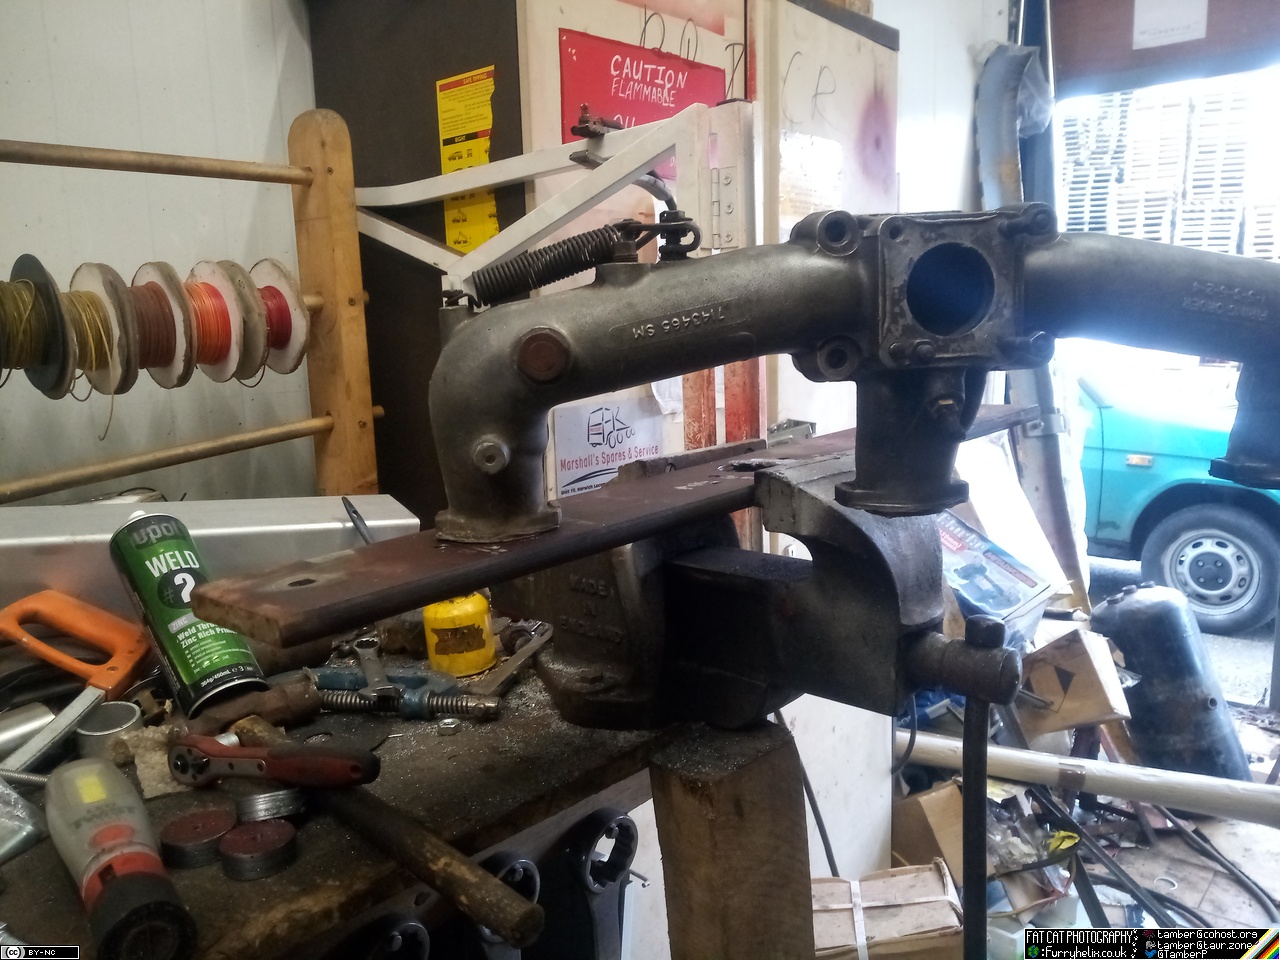 That'll do nicely.
Next step, pull all the new inlet runners back off the engine and try them in the fixture.
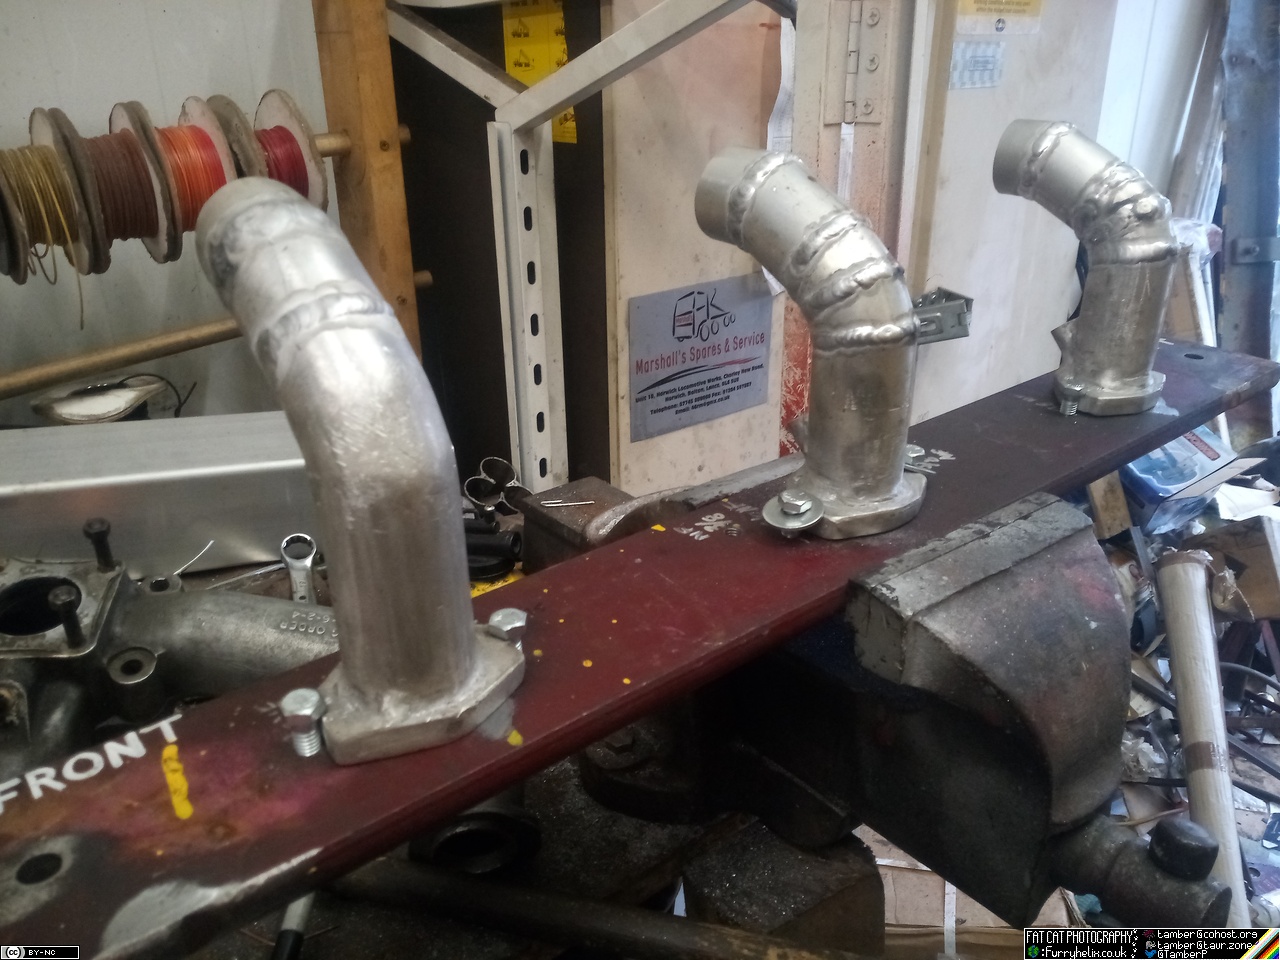
Then remember that it'll be easier to weld in the injector hold-downs
now, rather than before it's all boxed in with plenum.
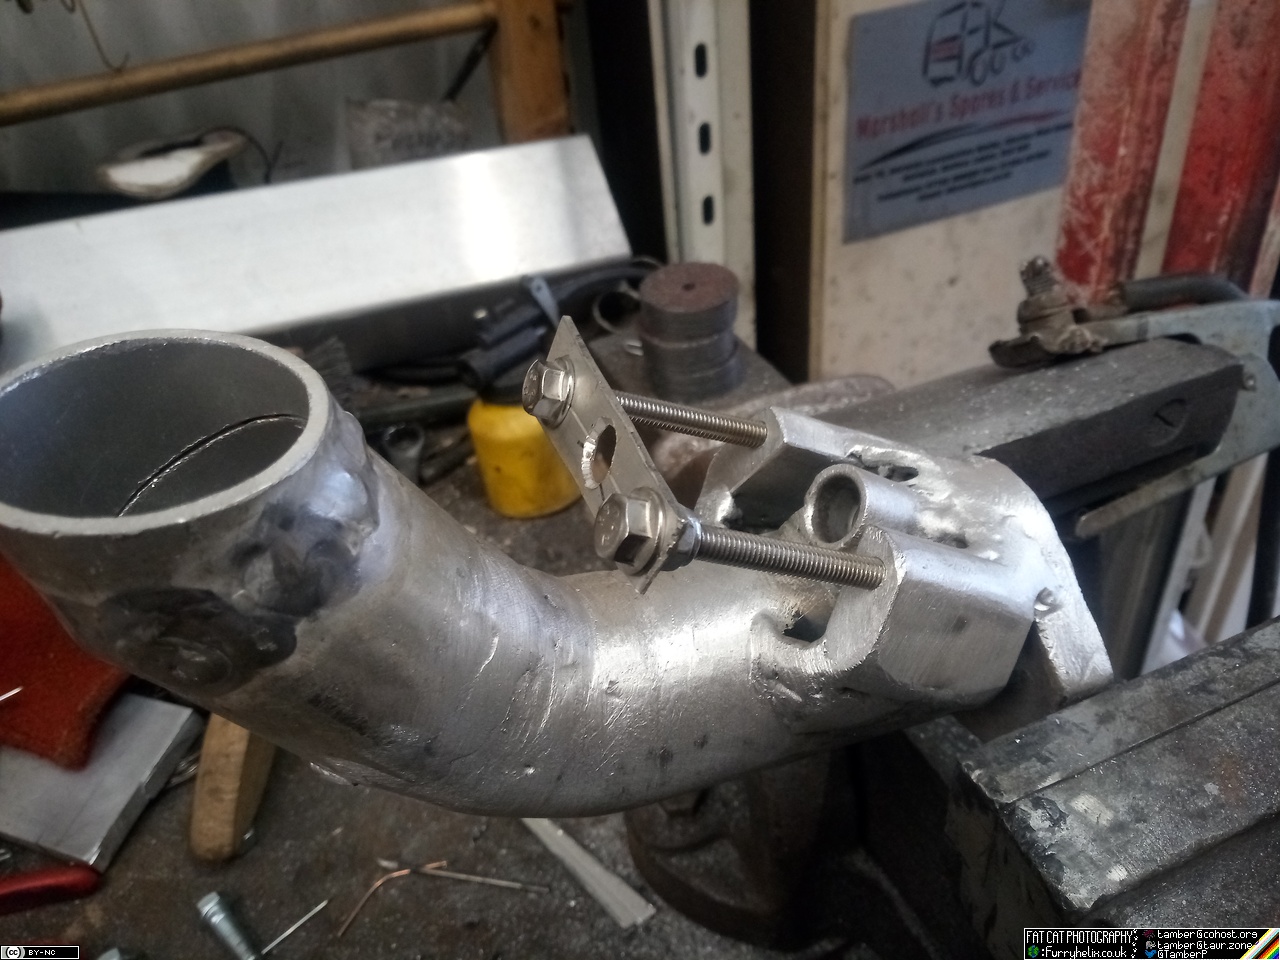
This isn't quite as aesthetically pleasing as I'd like, but I feel like I can clean it up to be something I can tolerate. A more ideal way to do it would be to have the injector boss and the hold-down bolt bosses all machined as one piece, but I'm working with what I have.
The thin strip between the two bolts is the stand-in for the injector hold-down; just to hold the bolts in the correct alignment for me to be able to weld the blocks on. The finished version will be much thicker, of course; and the central hole will be tapped to take the fittings that the injector will seat in. Also, in the completed version, I'll fit studs into the manifold so I'm not having to screw bolts in and out of those aluminium threads very often.
That will all sit something like this:
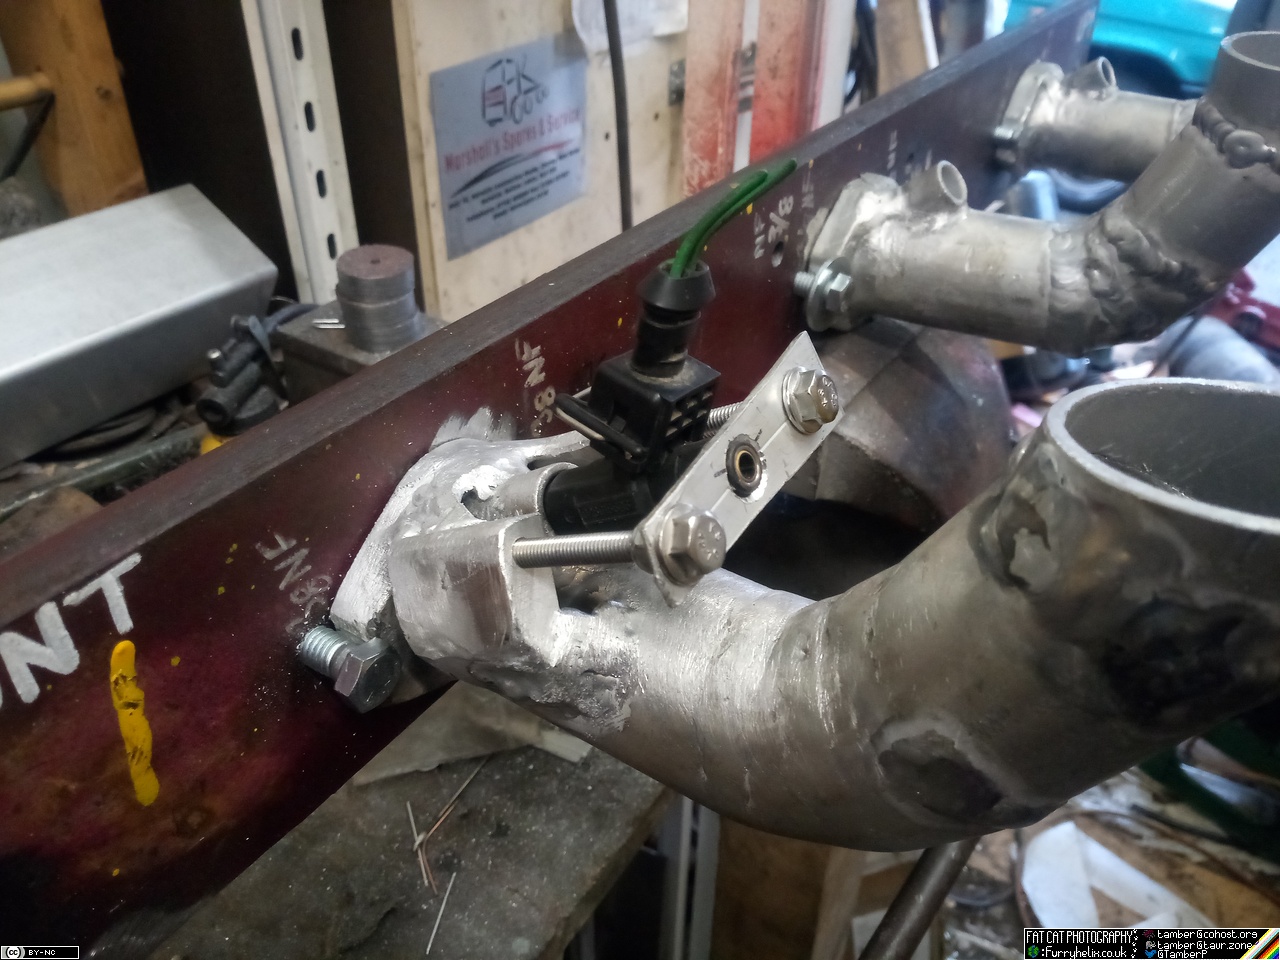
And with the base-plate for the plenum tapped into place, that comes out much like so:
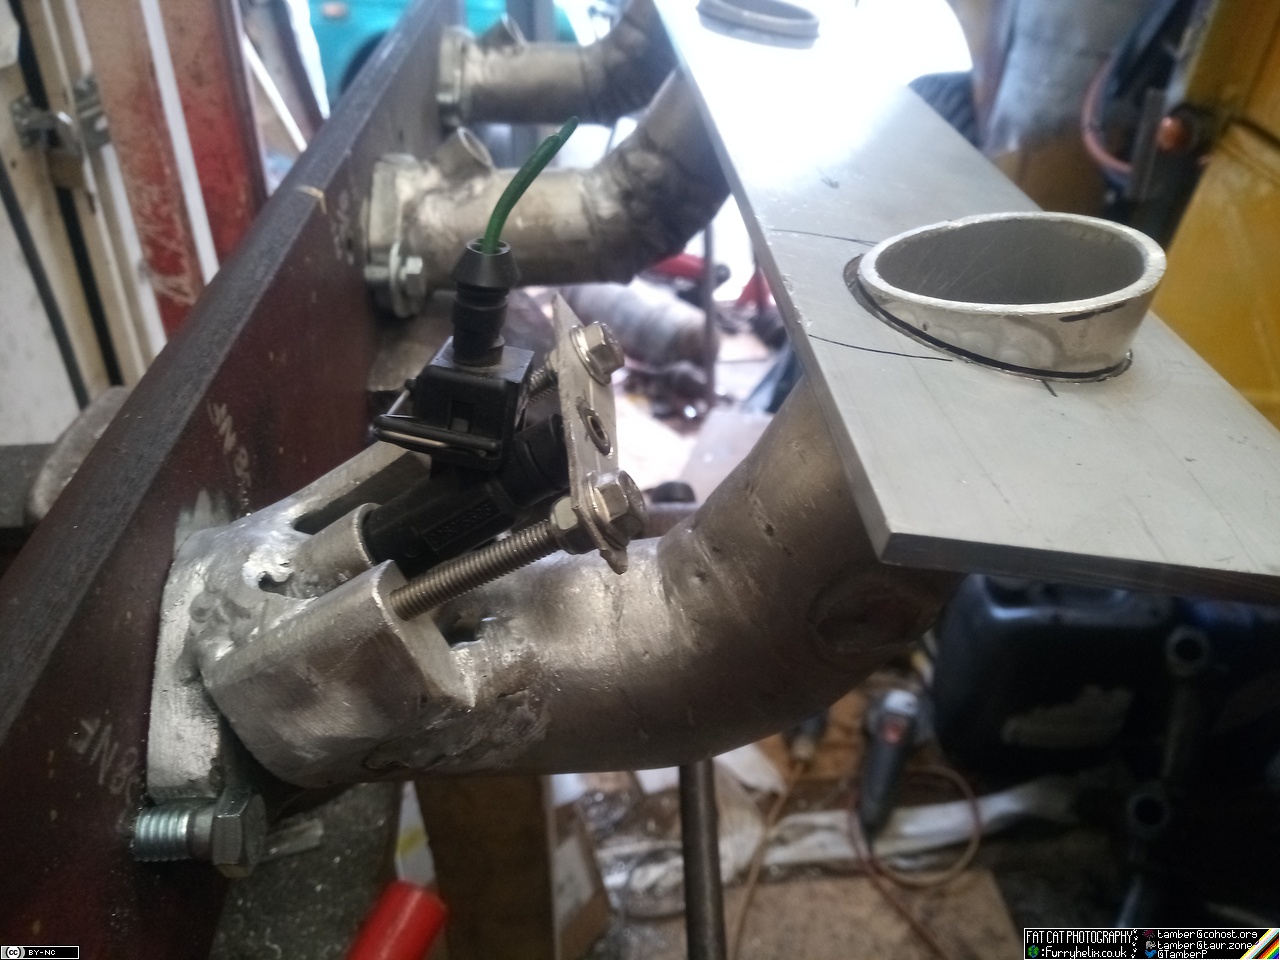
I have a vision in my head for how I'm doing the injectors' connection
to the fuel-rail, but we'll have to see how the exact details play
out. I can't go the classic route of standard extruded fuel rail
clamped directly down onto the injectors, because none of this is
quite consistent or square enough for that to fit, unless I want to
drill precisely-wonky holes in a piece of fuel-rail. 
If I had to do this again, I'd build more jigs, to give myself half a chance of things turning out with some consistency. Even building all the runners to the same measurements, I managed to get that centre one so far off that I just broke out the grinder to slice & adjust it to fit!
Still don't think I'm doing too bad for a part-time cripple with a
hacksaw, grinder, and a welder! Imagine the damage I could do if I had
machine-tools, and more space to work! (And enough money to get stuff
as I need it! Injectors are going to be a good chunk of change; I've
got my eye on a reconditioned set, for the time bean.) 
Tinwork
On a different note, I finally got around to tackling another patch I've been putting off for too long. (I know, I know, that's not like me...  )
)
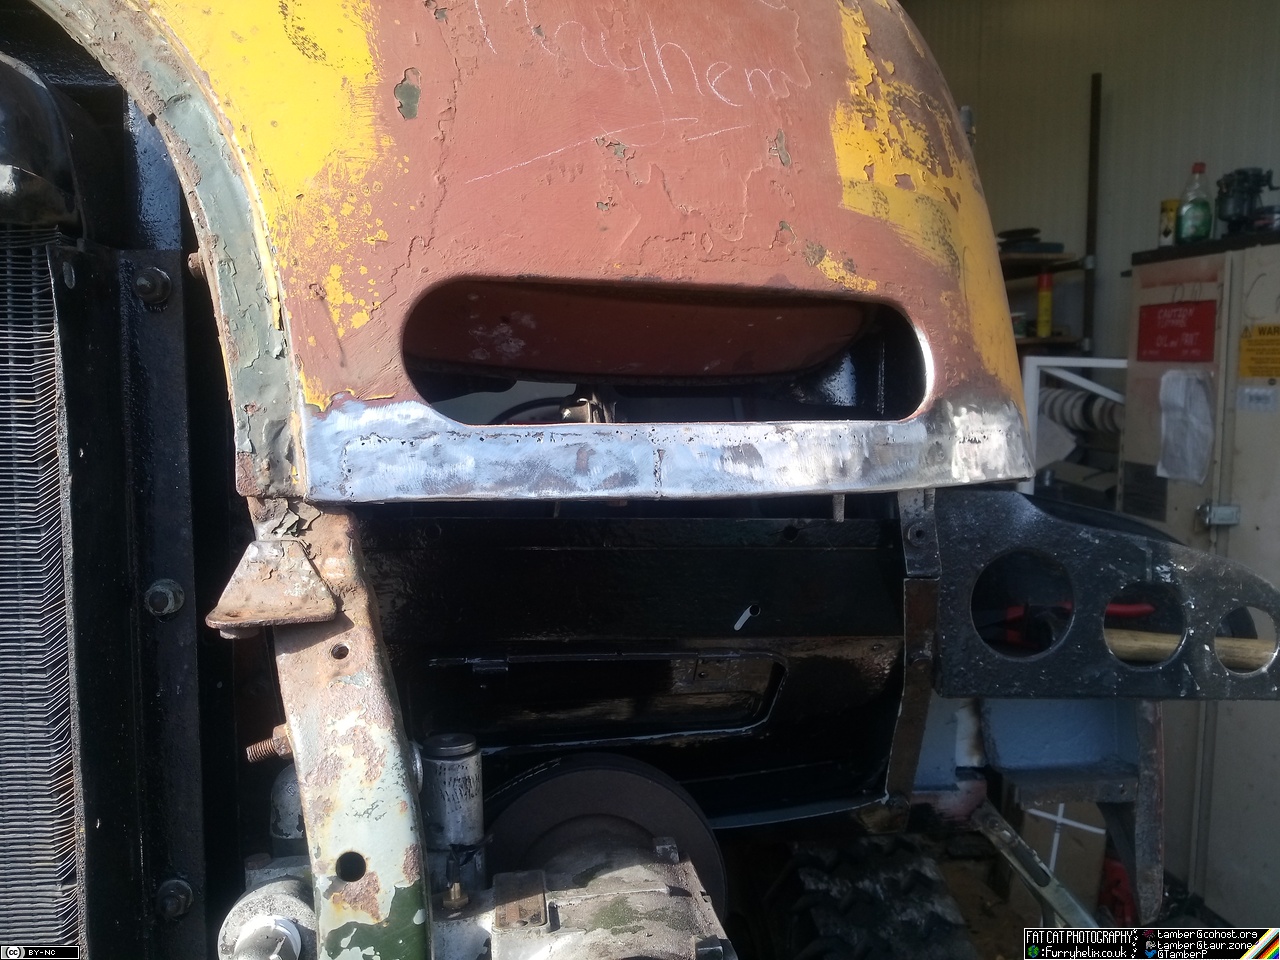
Following that up with a round of paint-stripping. Everything
highlighted in magenta here, was one giant patch of filler!
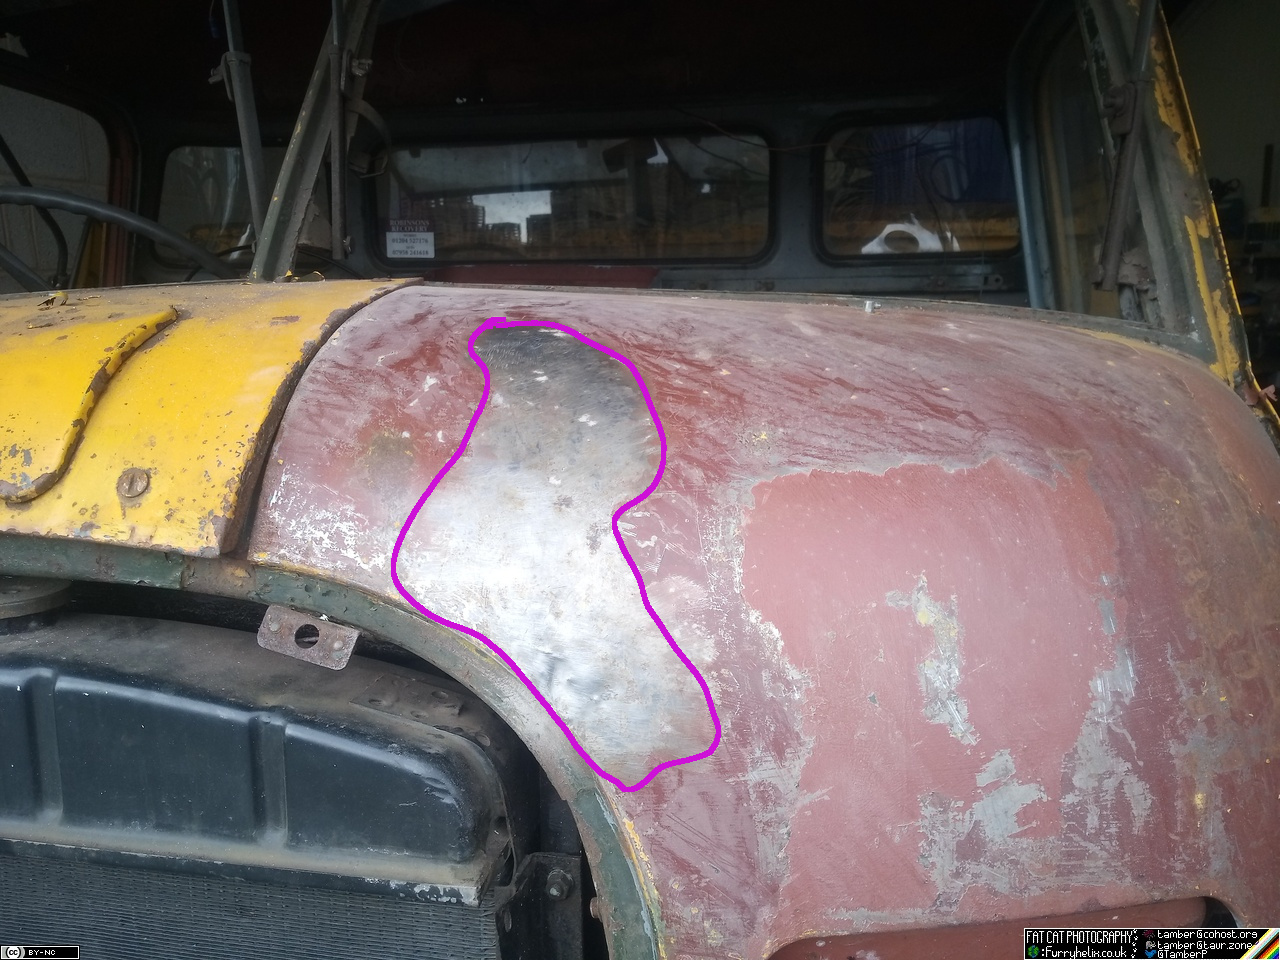
...which was incredibly funny, because the only part I could find
anything wrong was right at the bottom of it, right in front of the
radiator mount. Shame I didn't find this dent before I went and
refitted everything, because I reckon I could've taken it out with a
hammer and dolly while I had the rad brackets out of the way.
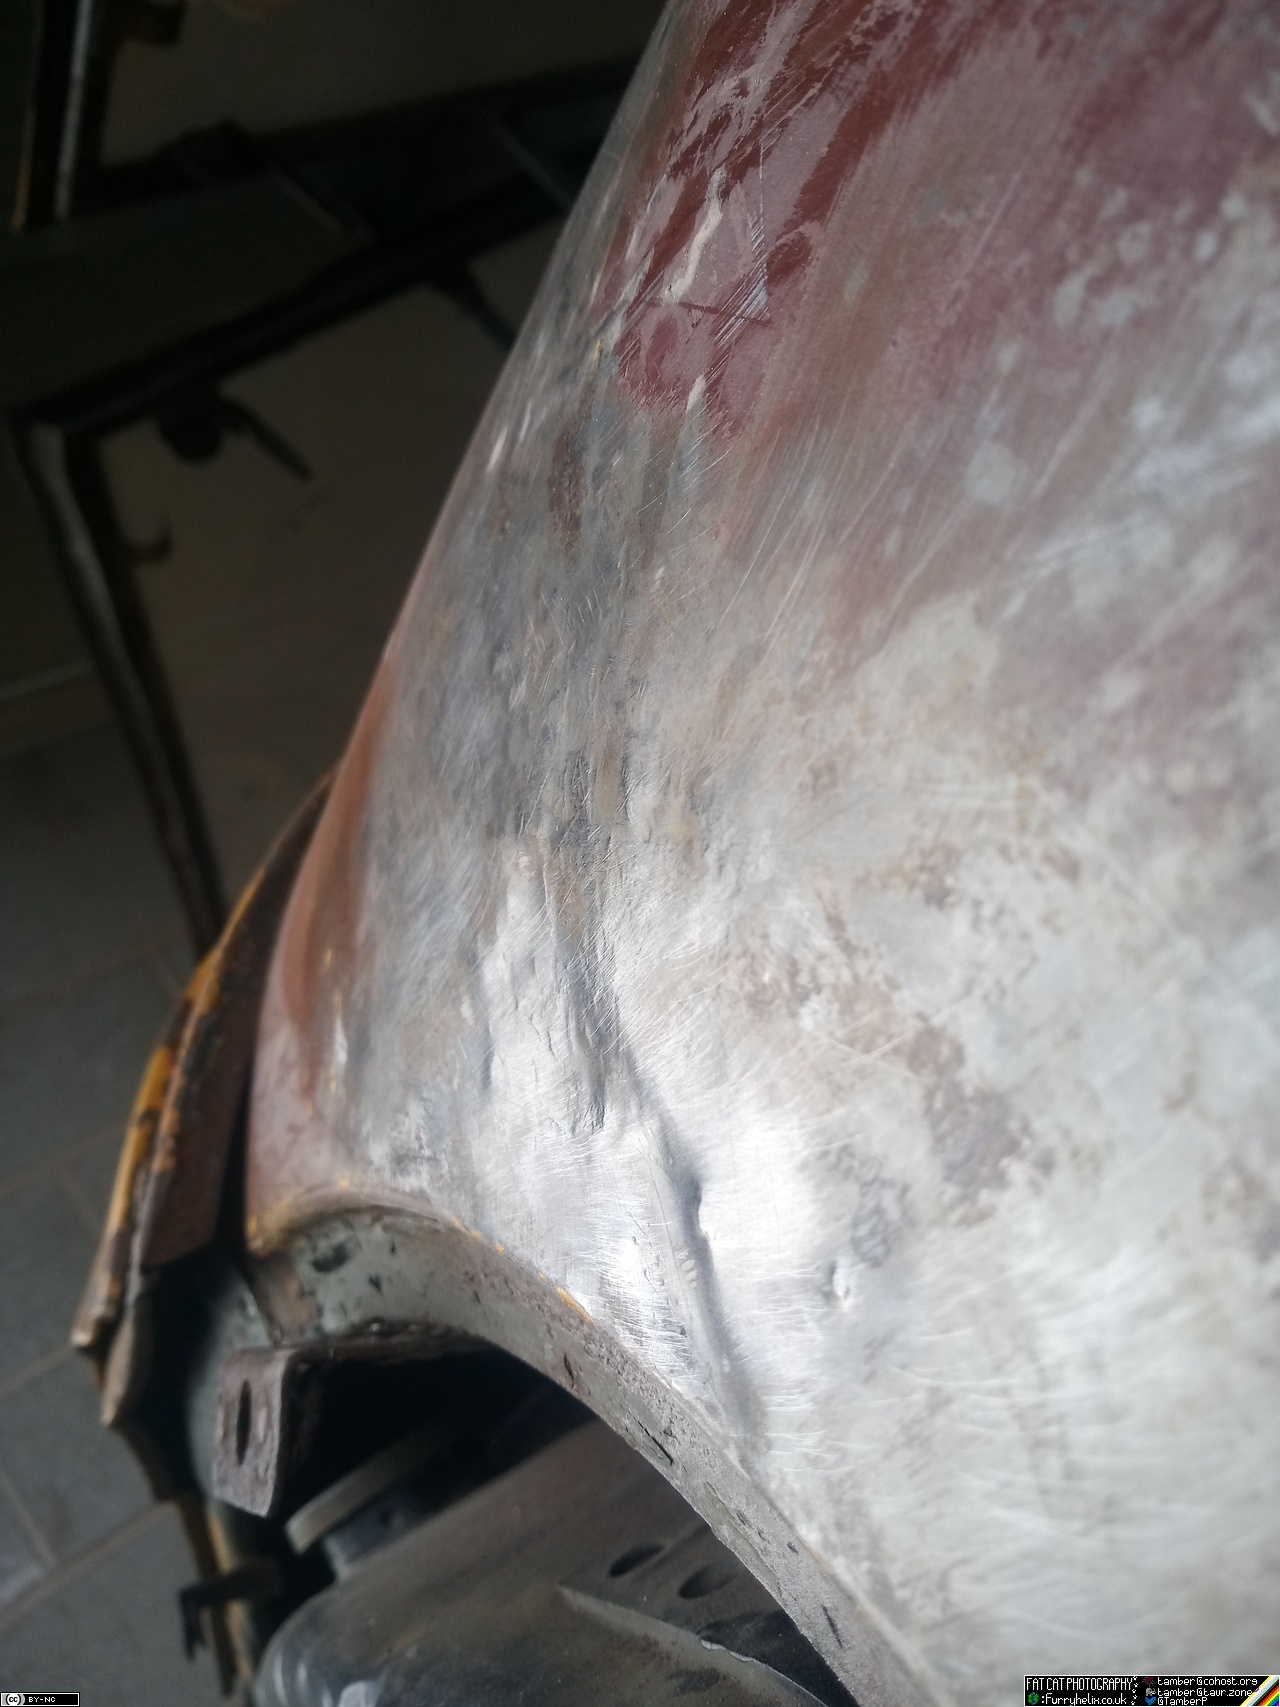
Too late now, though!  I gave it a tiny skim of filler, hardly any in
comparison to what was there before, and went in with the zinc
primer. I'll probably give it another coat of primer, then start with
the yellow.
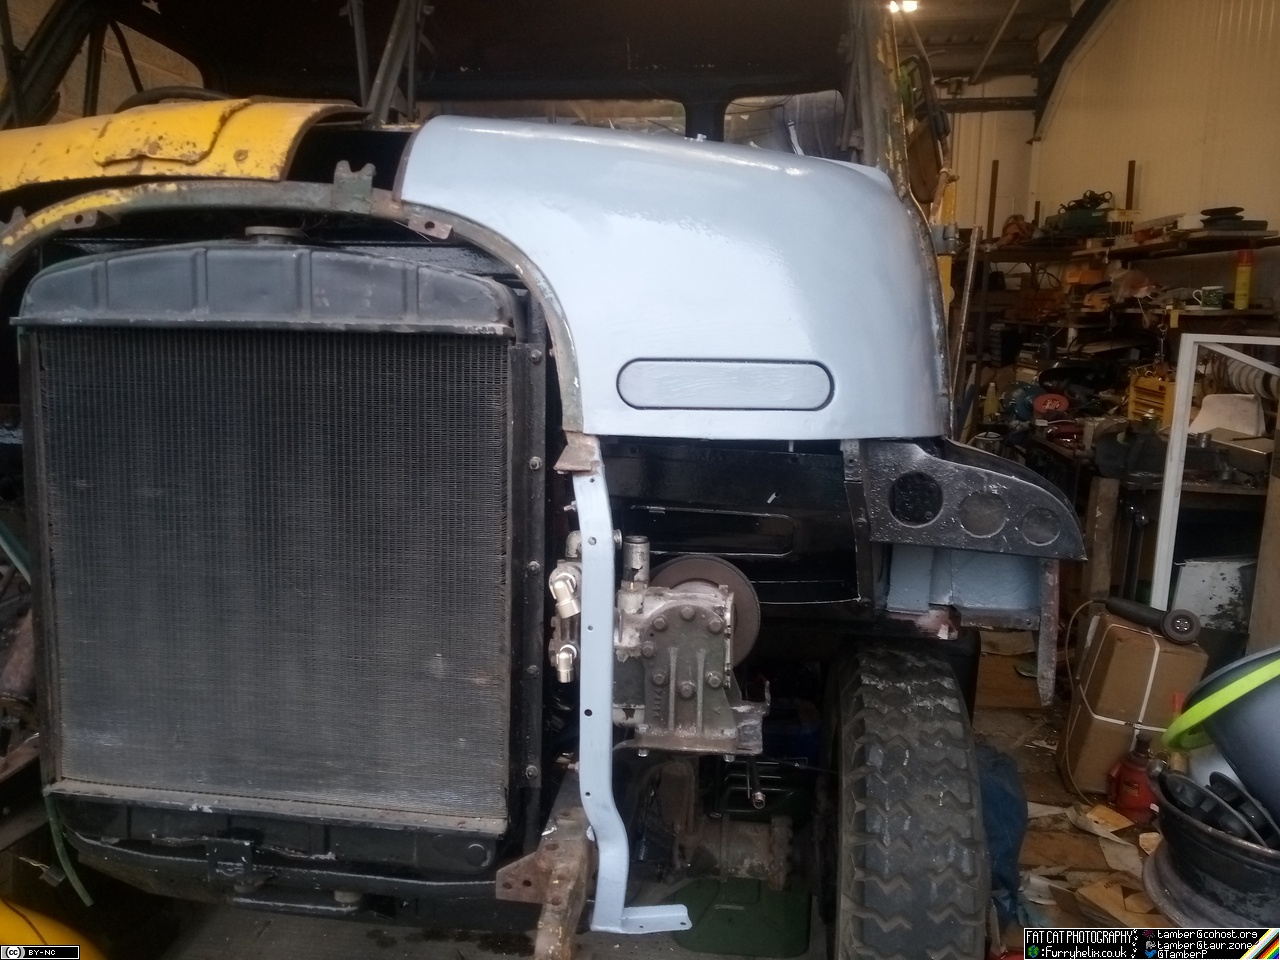
That's the biggest blocker to putting the front wing back on, other than a few other little bits n pieces. (I still have to salvage a brace rod from the old section of passenger footwell that I cut out, and there's a little closing in I need to do for the underside of the step. And probably give the wing another coat of paint before the lights go in for good.)
I've probably got a solid month's worth of work to do in cab repairs, all told; I just have to herd enough braincells together to knuckle down on that and get things put together, without getting too distracted. My trusty, crusty org chart claims the cab is about 35% done, including glass, wipers, all the welding, and additional items such as demister vents in the dashboard. Hmm...