Well, so much for the long weekend, and getting stuff done.
Friday: Came down with the sickness. Saturday: I was dead. Sunday: [ugh] Monday: I rose again, cursing profusely.
Still feeling pretty rough, but managed to get the intake a few steps closer. There's also time-lapse video, but I've not even looked at it never-mind pulled it off the camera and edited it down/discarded it all for being useless, yet.
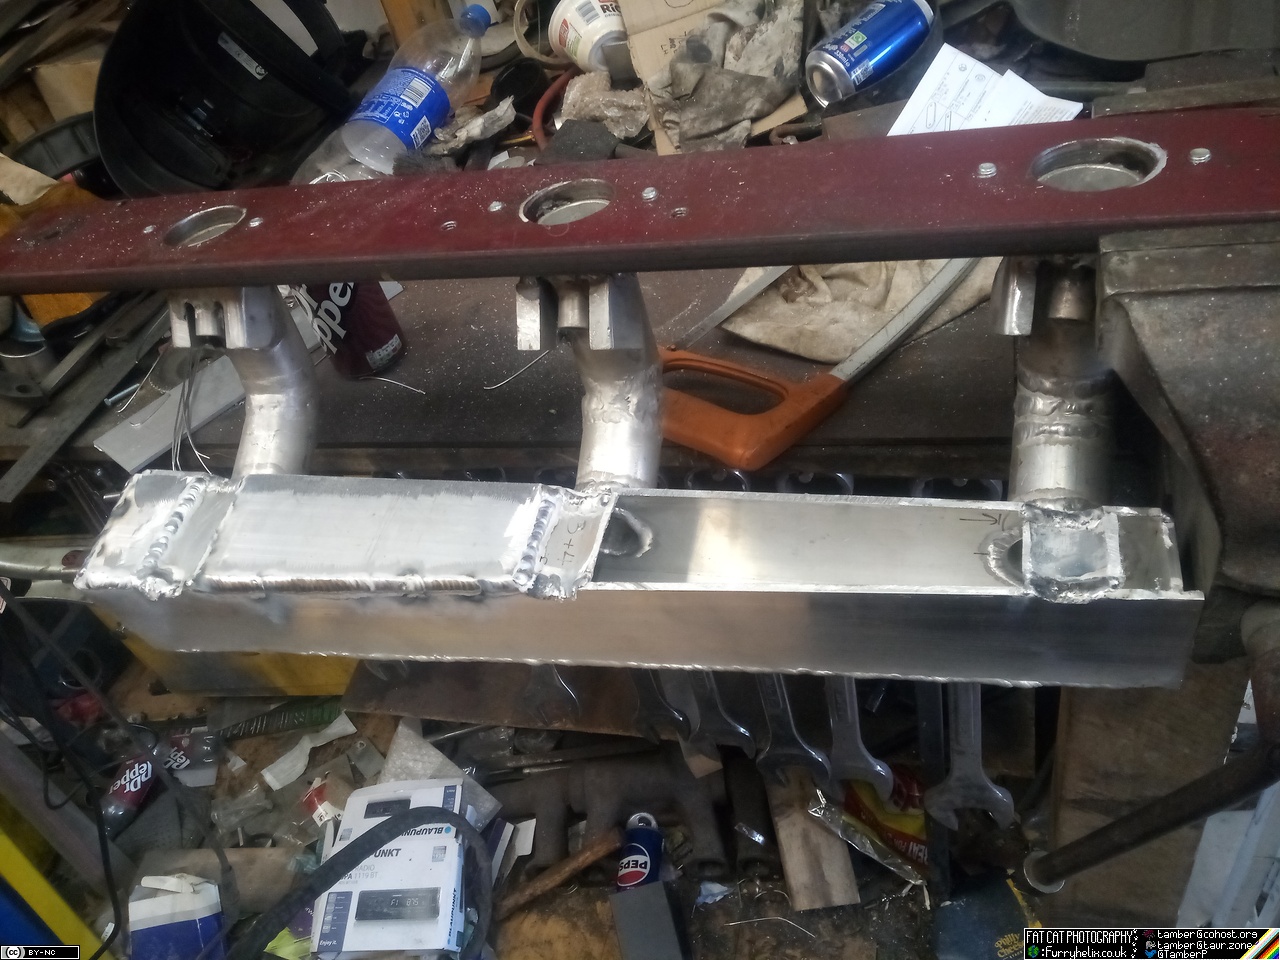
3 or so hours in:
4 hours later:
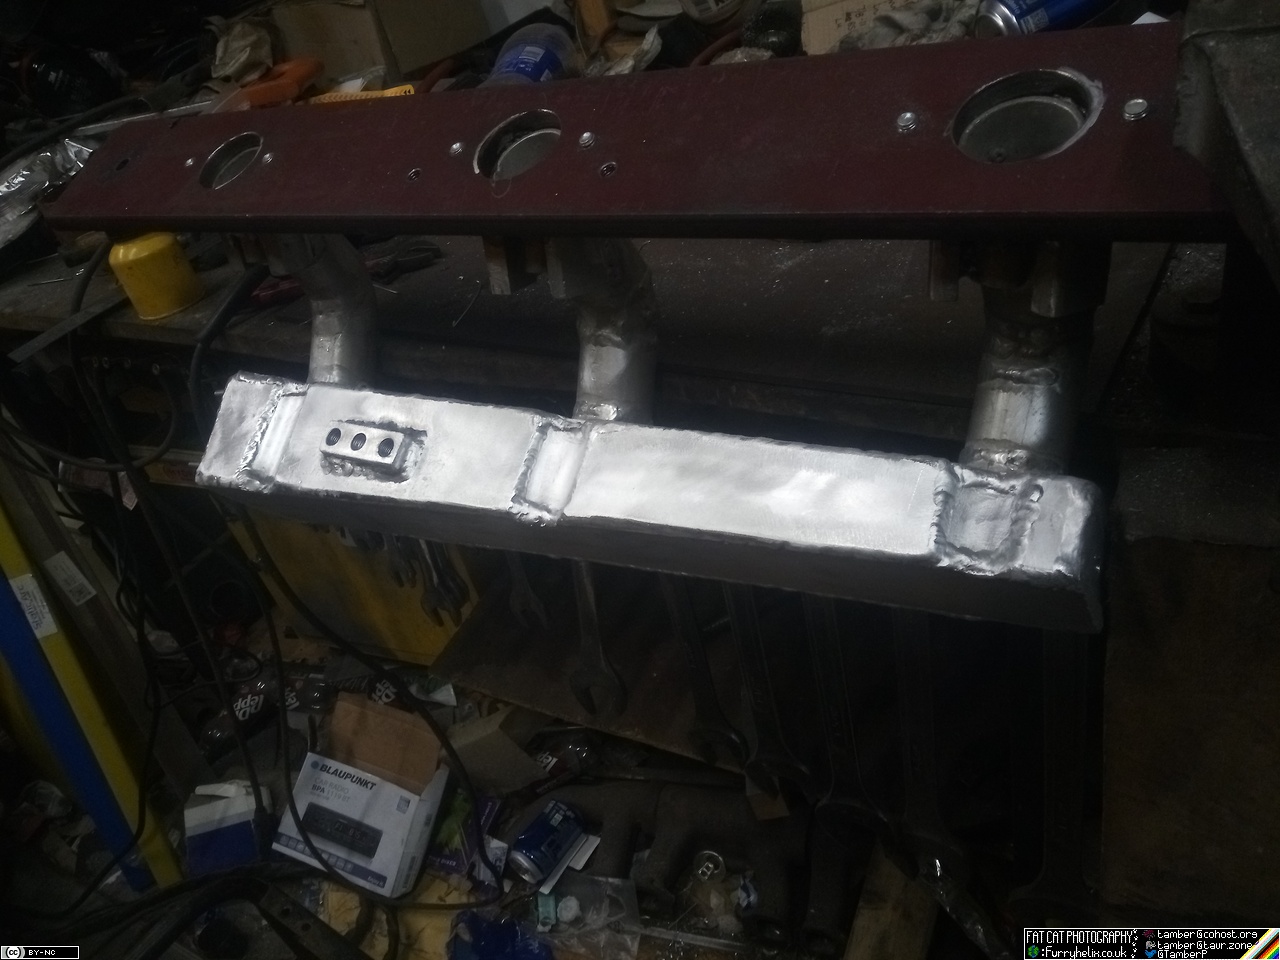
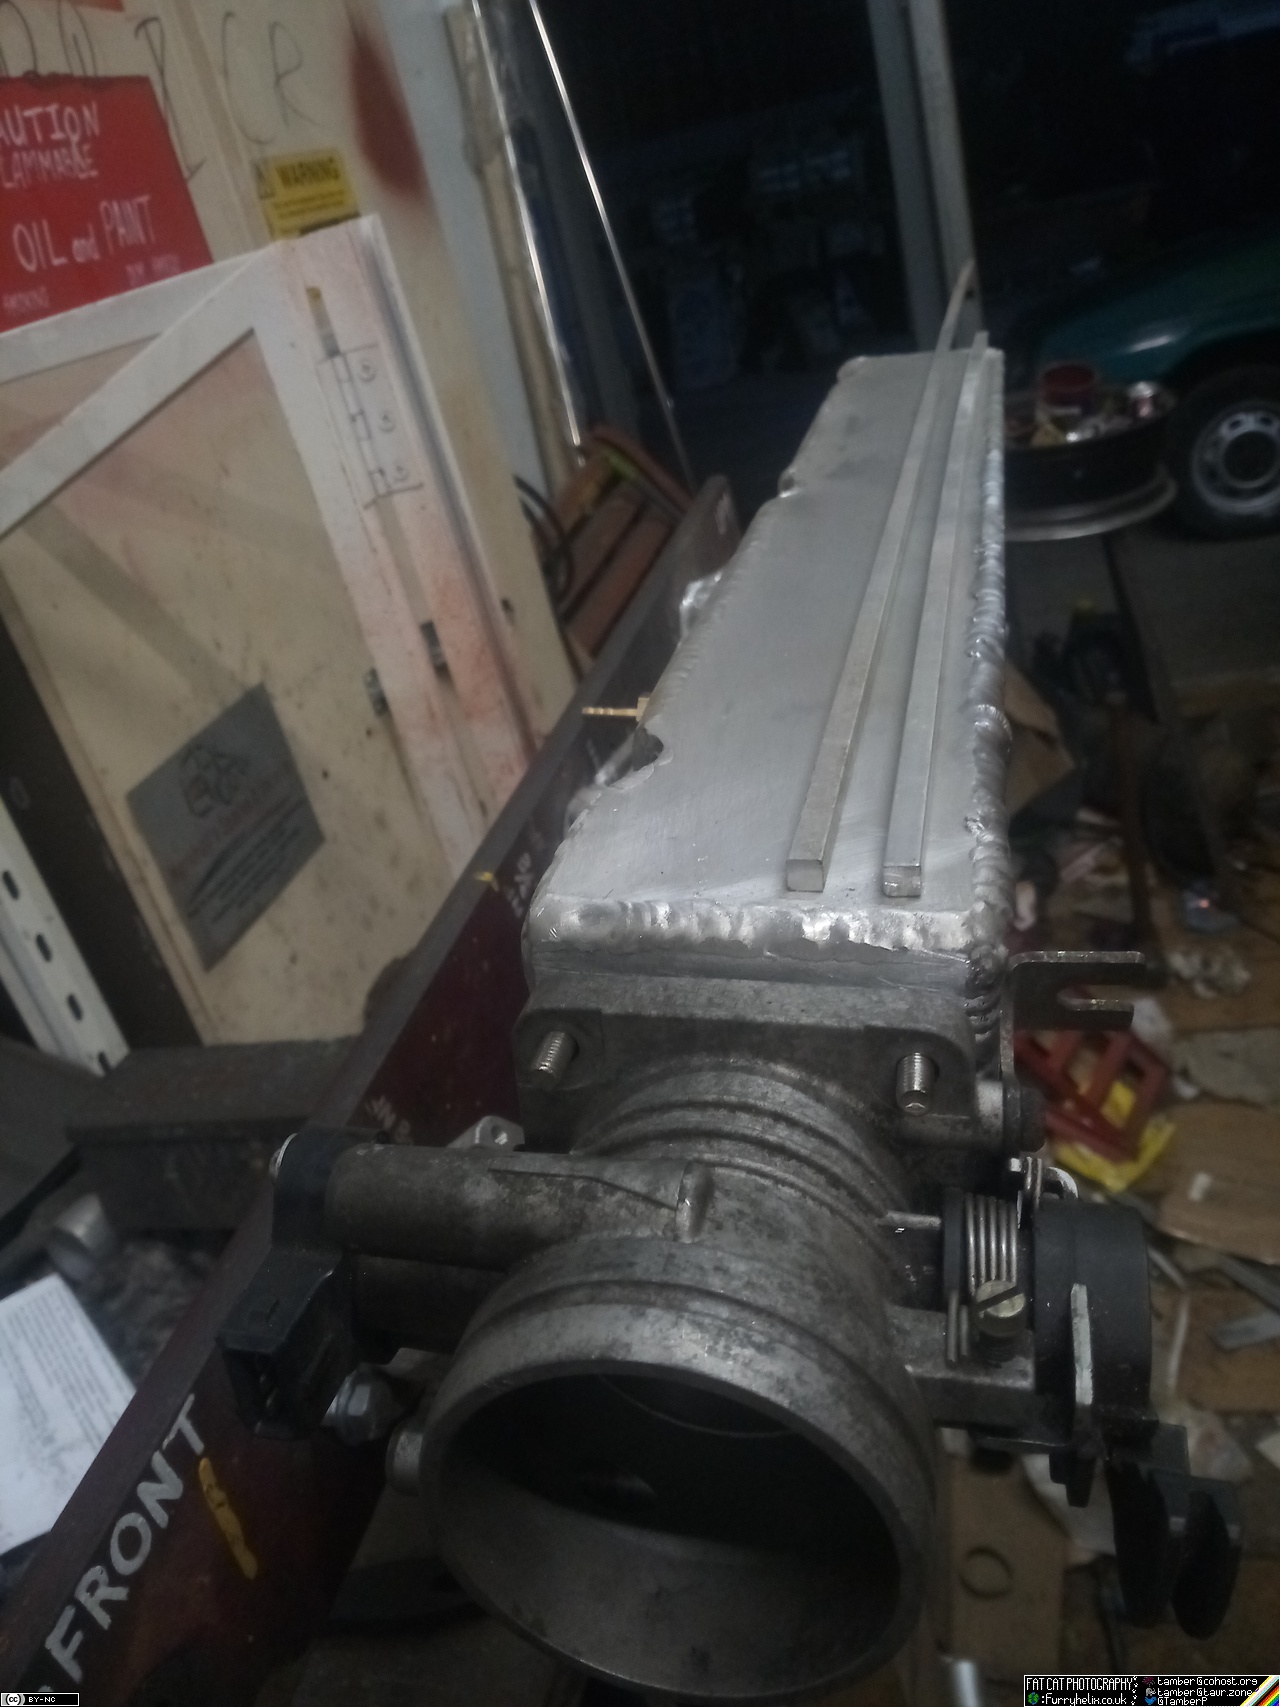
The three knock-ins are to provide clearance for fitting and piping the fuel injectors. The additional block is drilled for 3 1/4BSP vacuum ports. Should be enough! (The material I've made the manifold out of is 4 or 5 mm thick, but I wanted a little bit more for threaded bosses and the like, just to prevent me damaging things if I do something horrible to a fitting.)
I do still need to debur them on the inside, though, which should only
be a little bit fiddly.
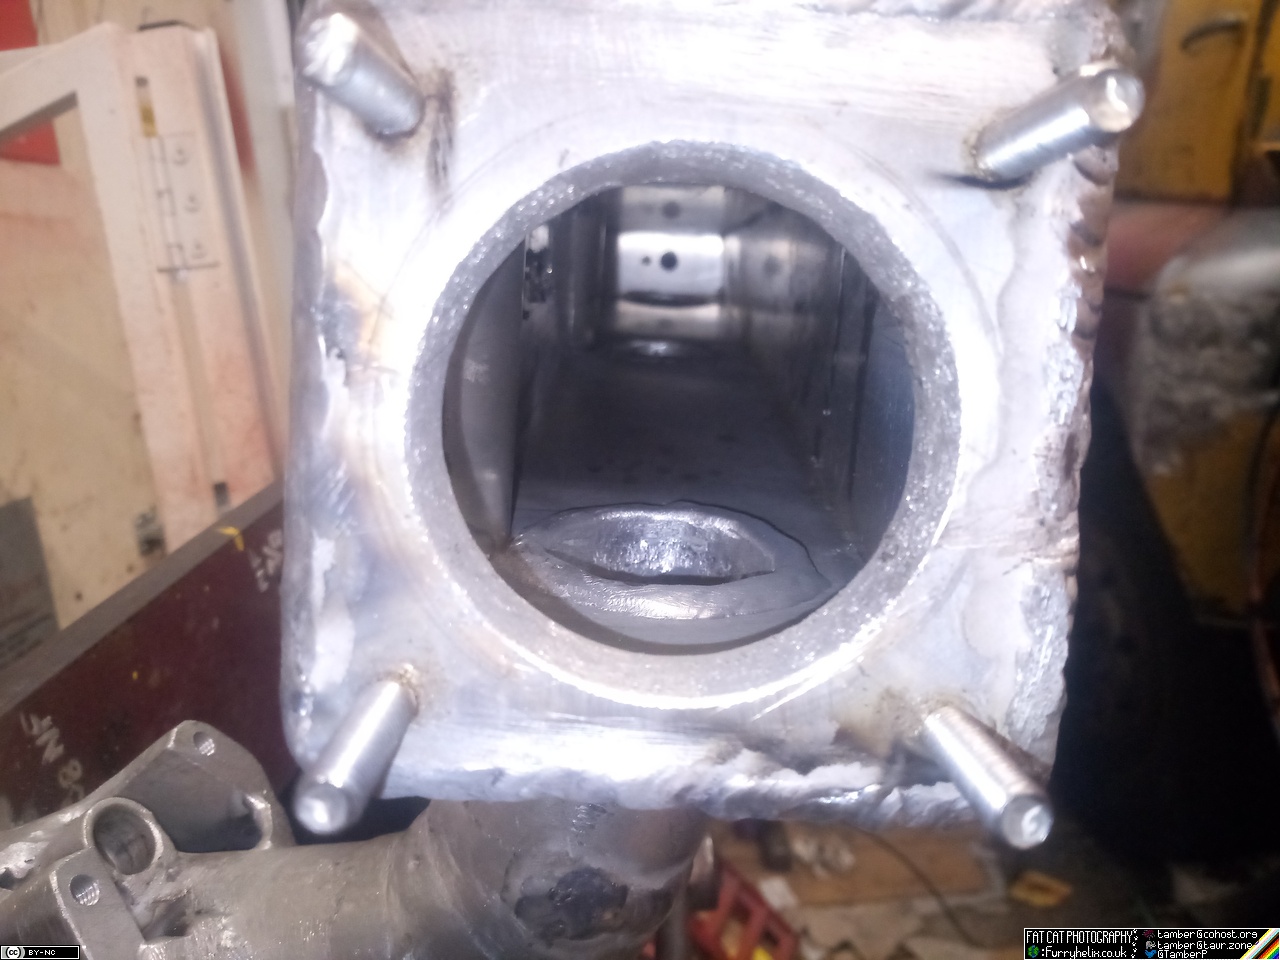
But that brings us to this point, with a little fettling and clean-up
to make the throttle body sit on there all nice and flush-like
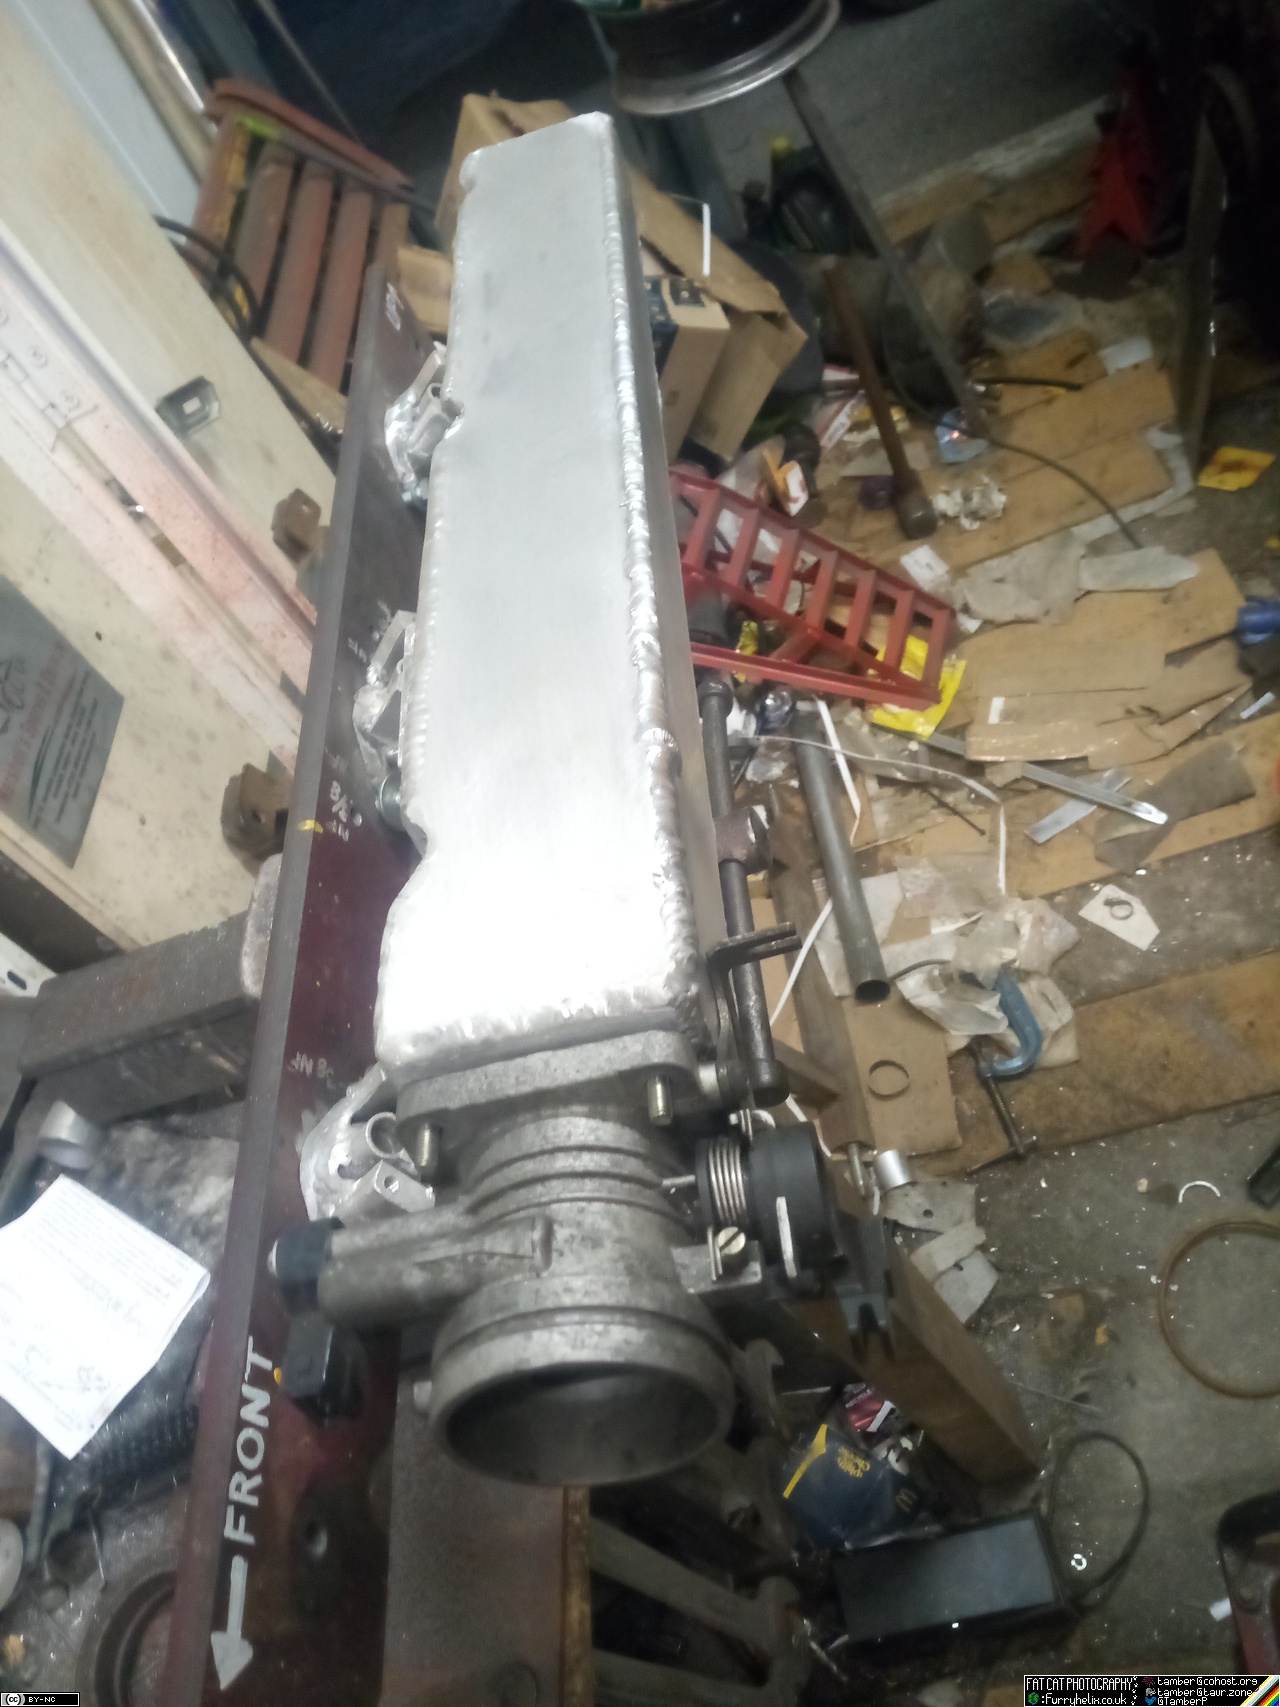
Doesn't it look like such an itty-bitty little throttle body? It's still 10mm larger throat dia. than the carb that came on this engine from factory!
Some embellishment and additional fettling is in the works, along with ordering more material for things like injector hold-downs and the like. I've also got to grab a fitting to add in the port for the idle air control valve, but that shouldn't be too outrageous.
Also, during this I discovered that my tig pedal appears to have a dead spot that's right about the power level I need for this thickness of alu. Worked around it by setting up on a pulsed mode and going pedal to the metal, with the pulse duty cycle helping keep the tungsten alive (just barely) and the manifold from totally melting to slag.
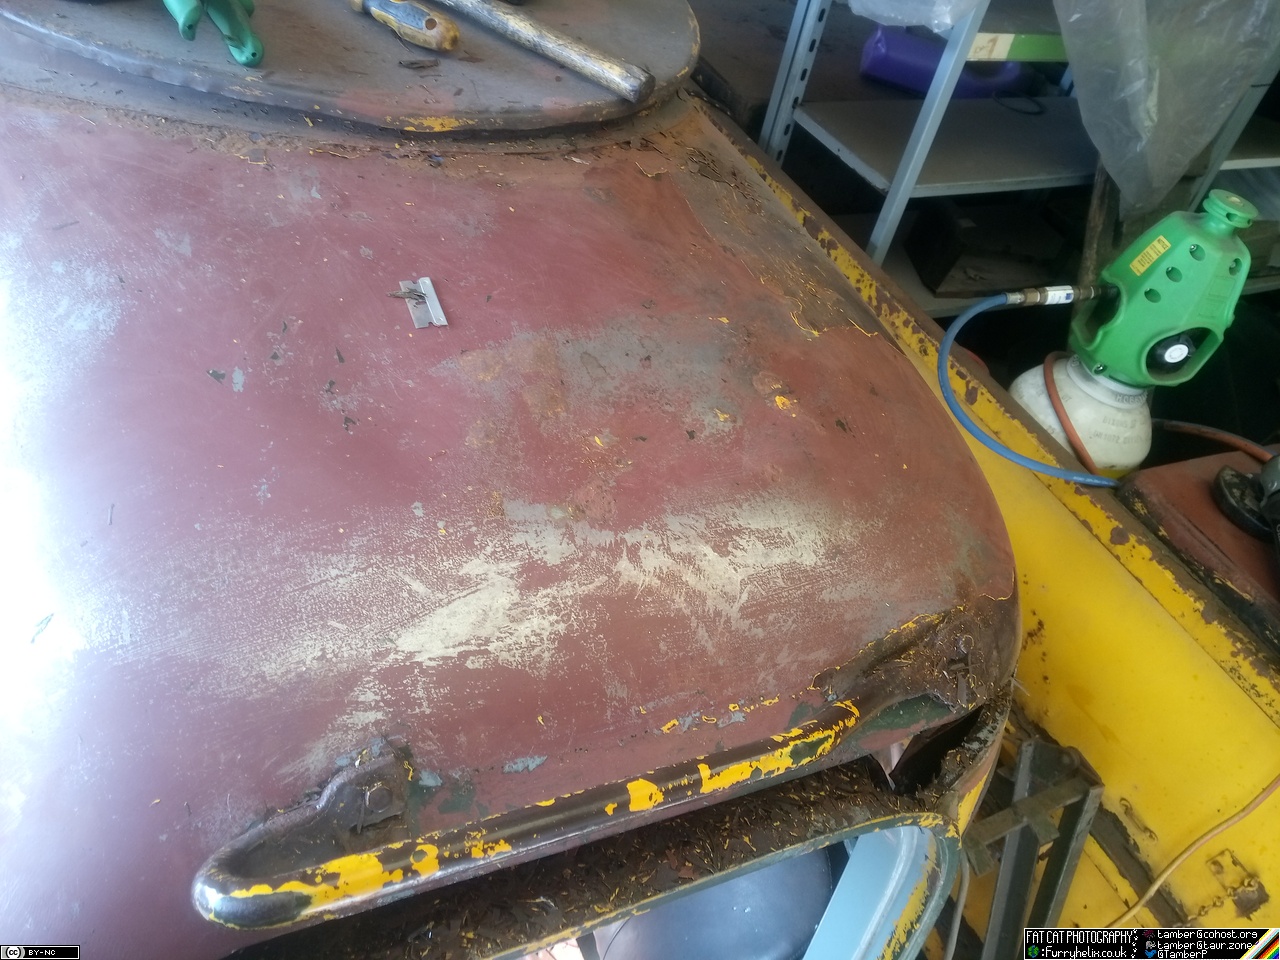
More paint-peeling
Starting with the gutter over the passenger door.
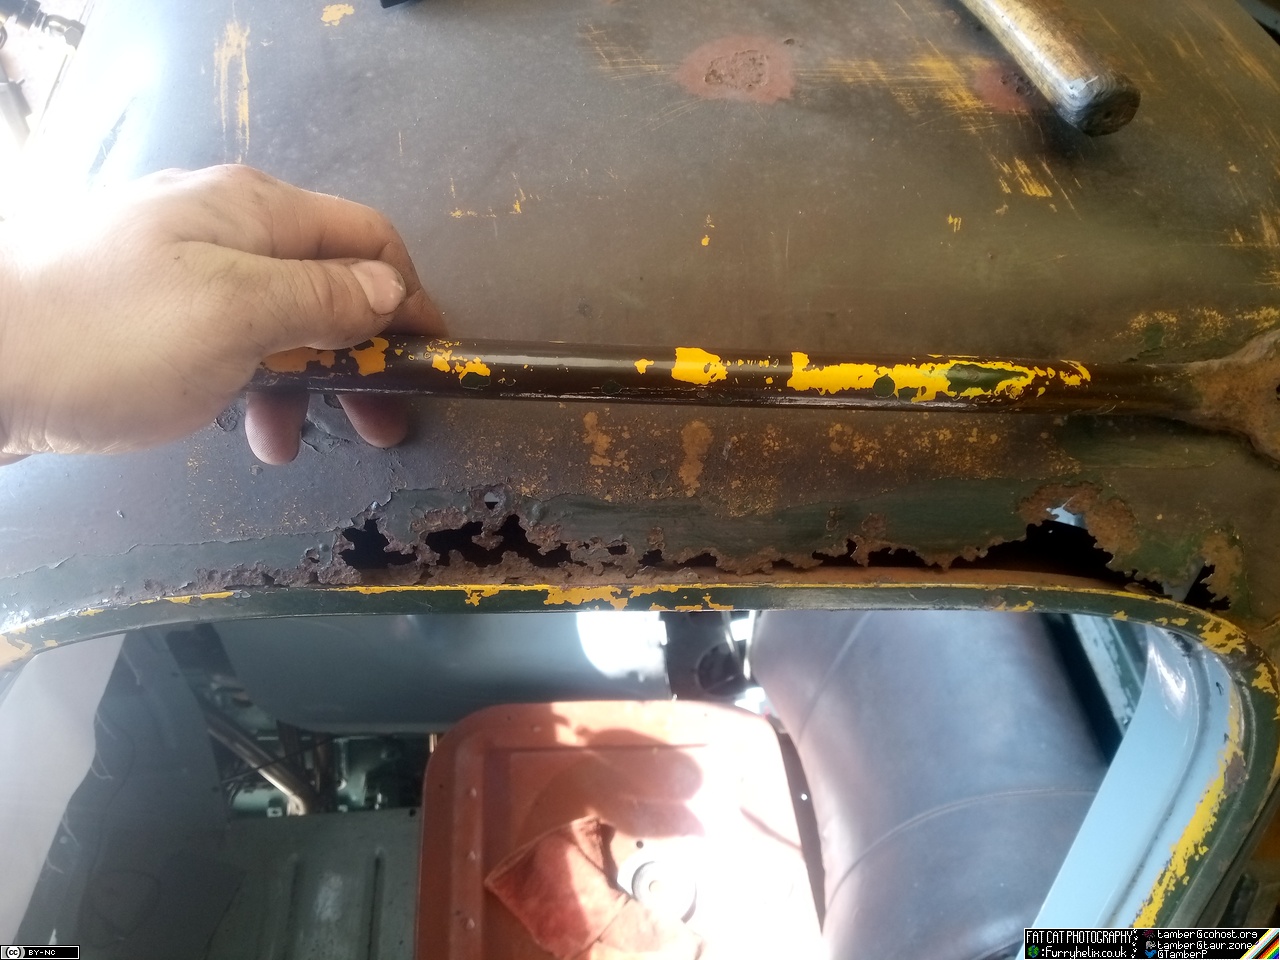
Chip and peel away some (remnants) of the spot-welded seam formed
where the roof panel overlapped the door frame.
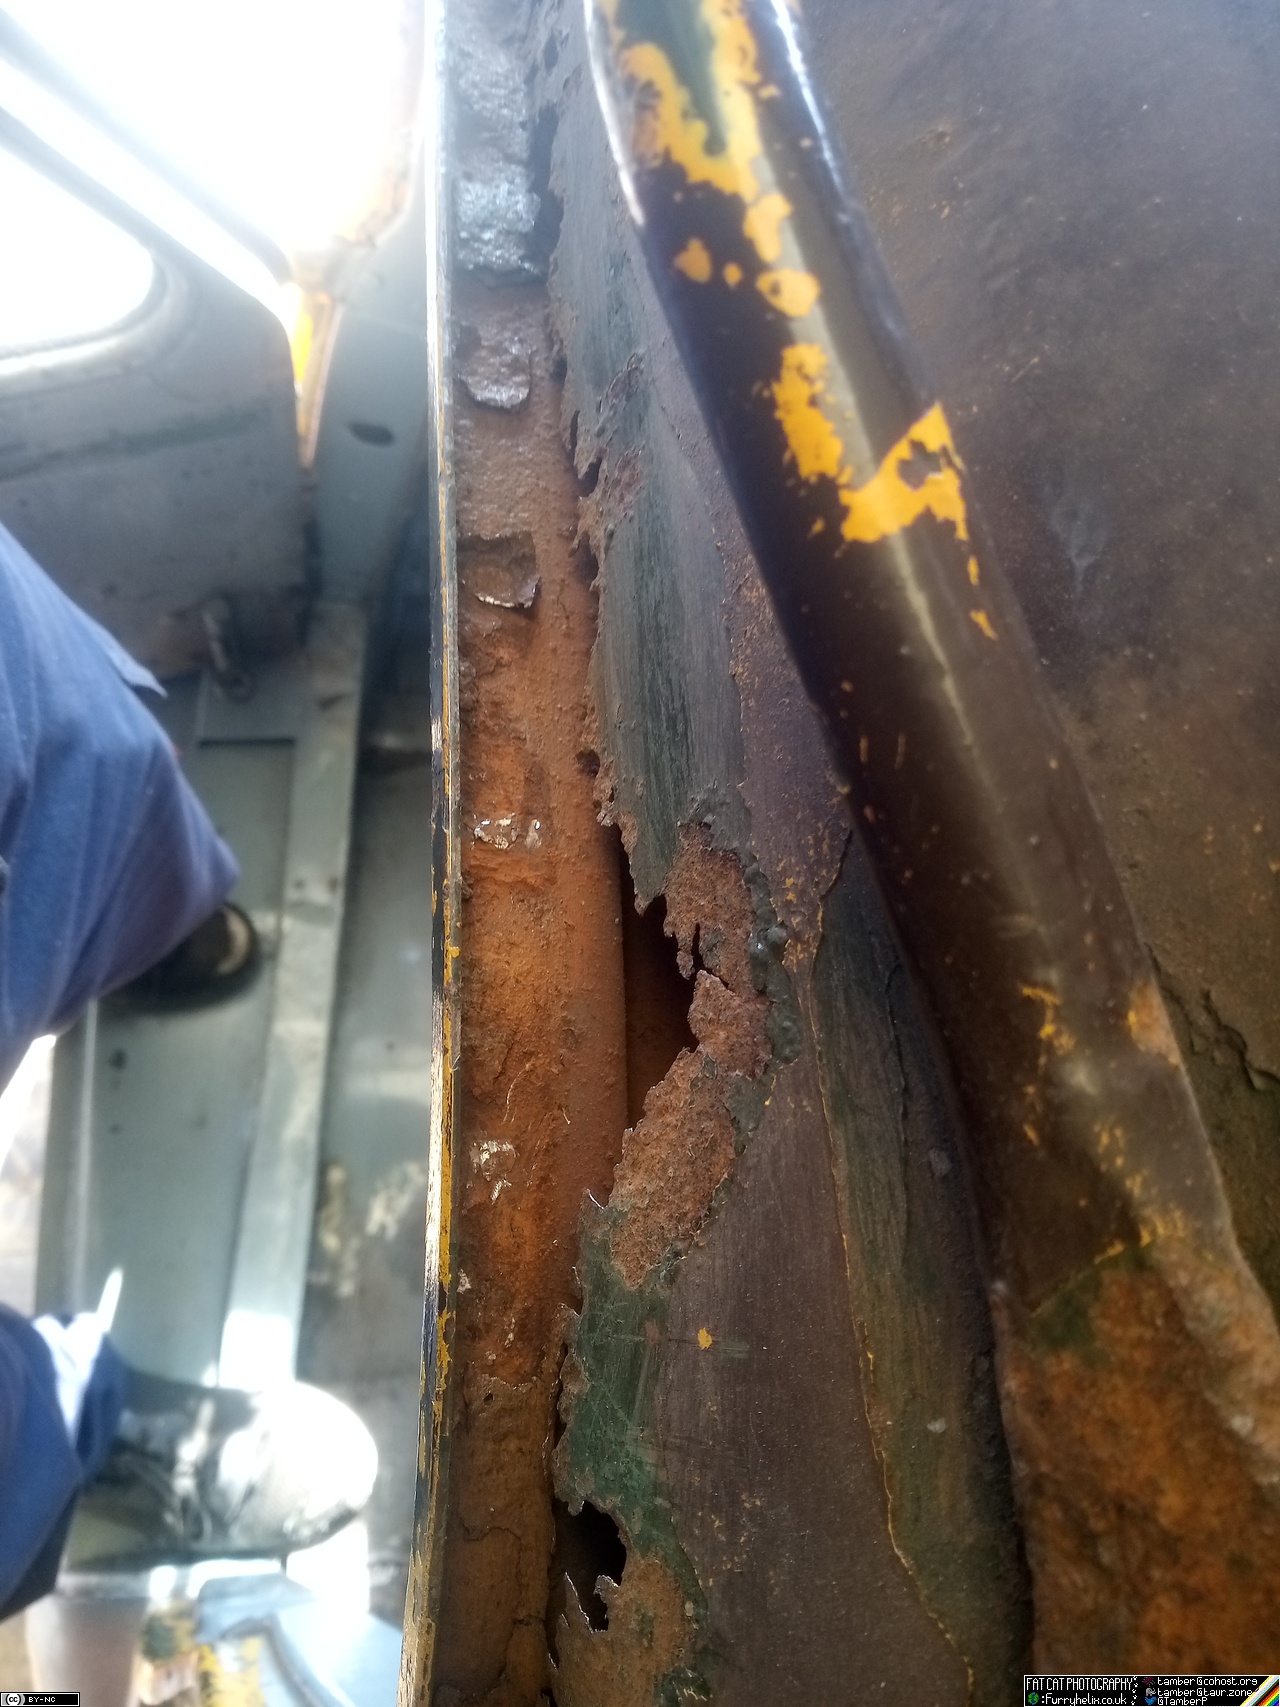
And cut away the teabag-like portion of the roof edge. Making sure to
nick the wires running up into the roof for the beacon & interior
light, of course.  (That'll be easy enough to sort out, but it sure is
annoying.)
(That'll be easy enough to sort out, but it sure is
annoying.)
Then, break out the razor-blade and get to scraping...
 (1 hr in)
...then scrape a bit more, and a bit more, and a bit more...
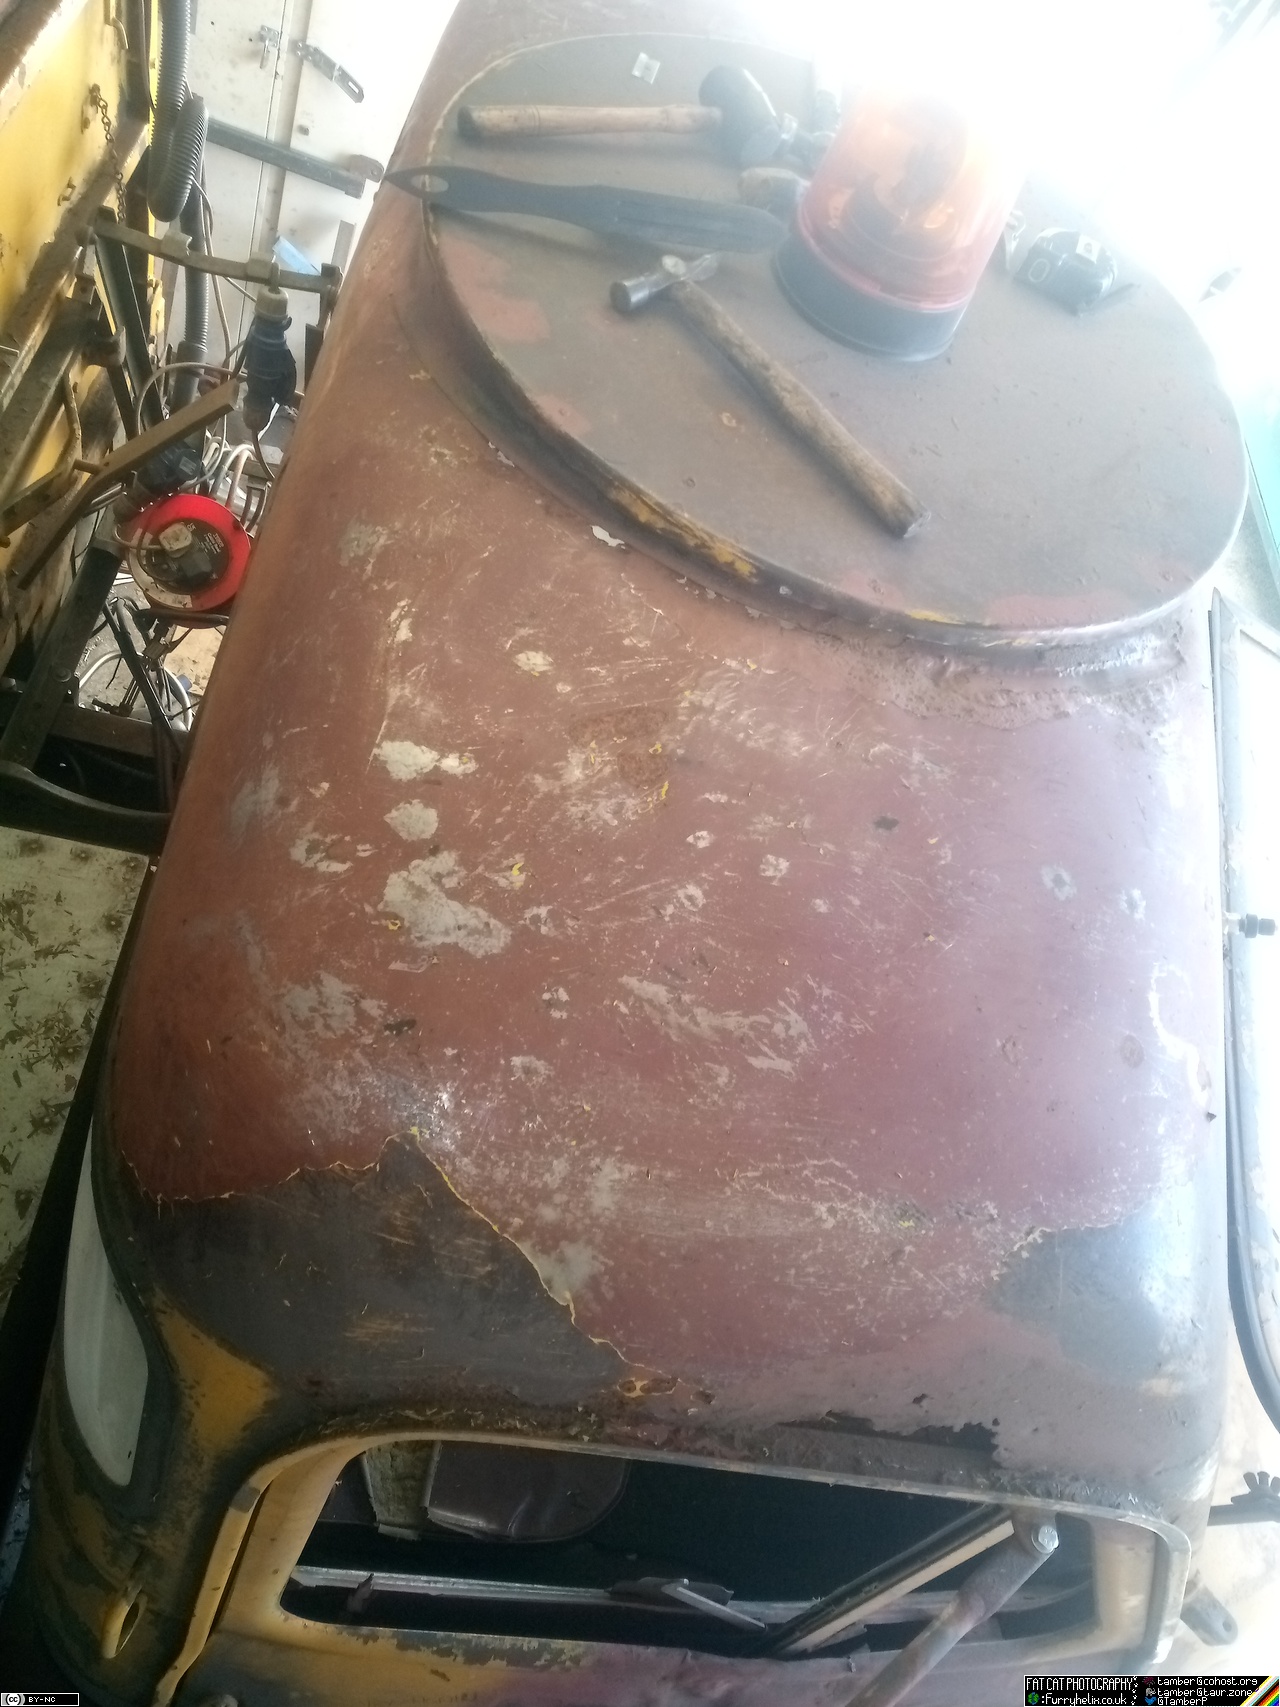 (3 hrs in)
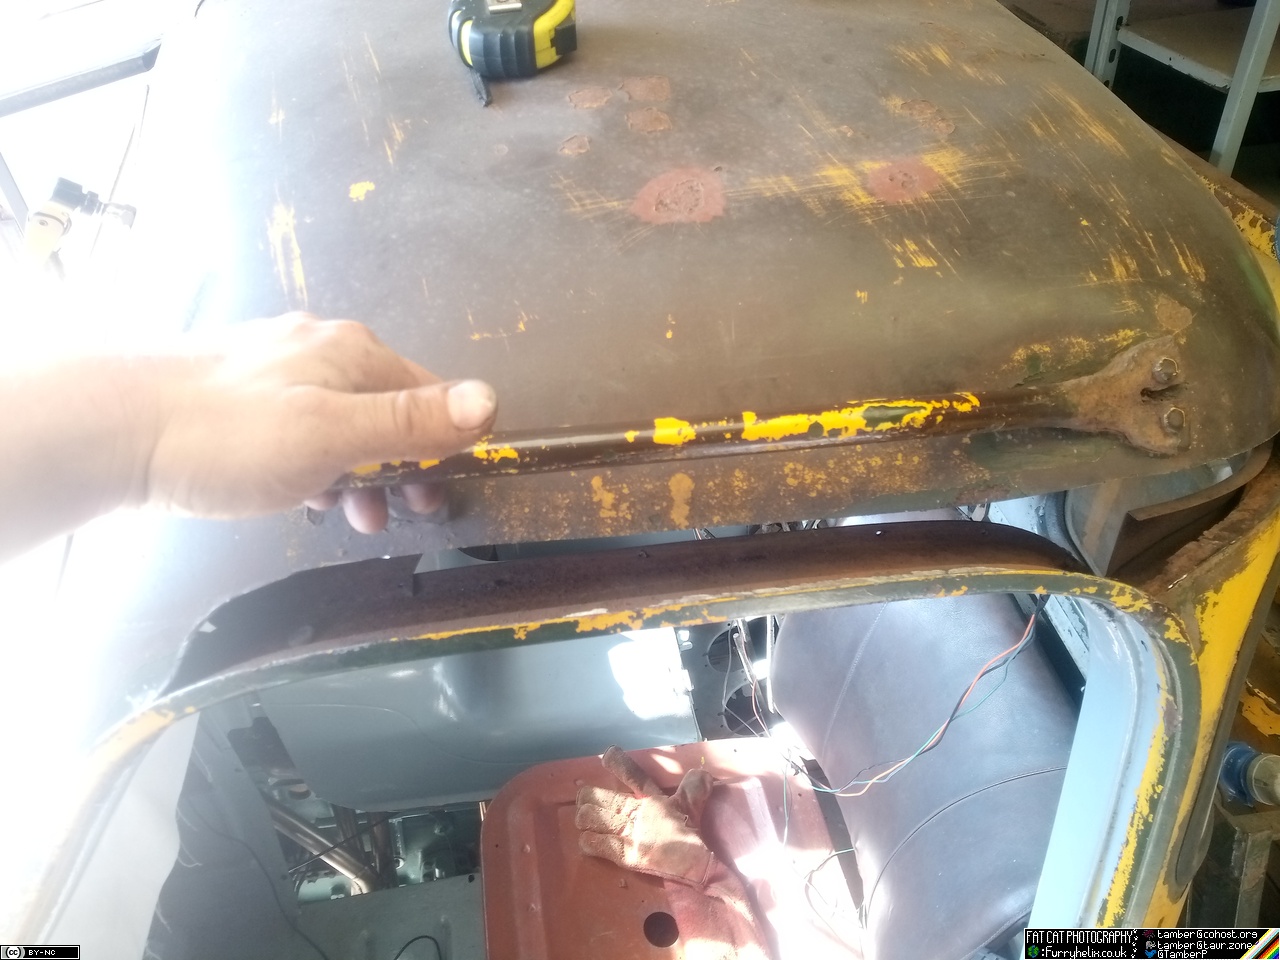
Peeling the paint with a razor-blade highlights that the roof skin is
about as level and flat as something that's not very level or flat.
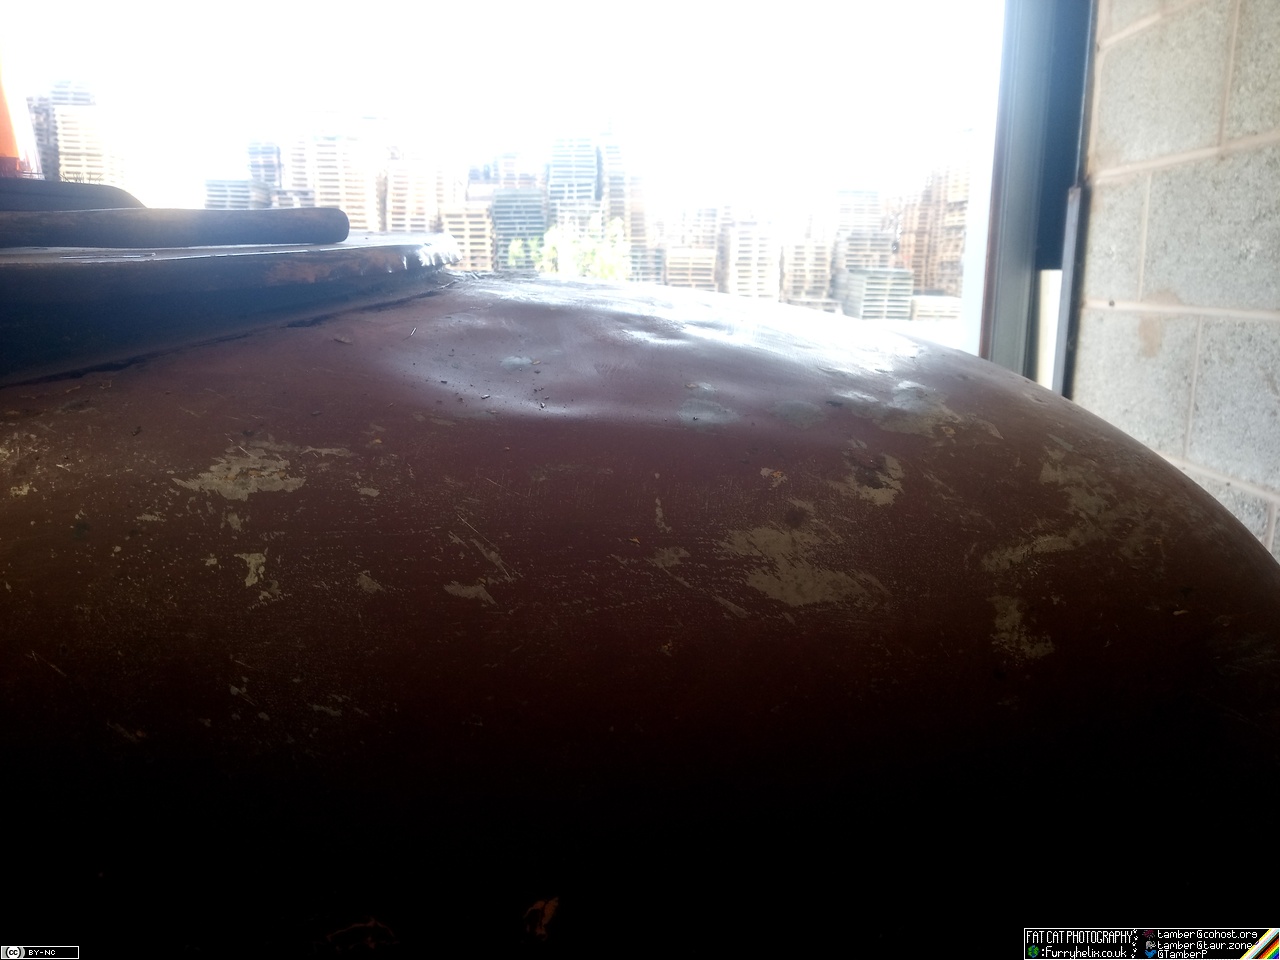
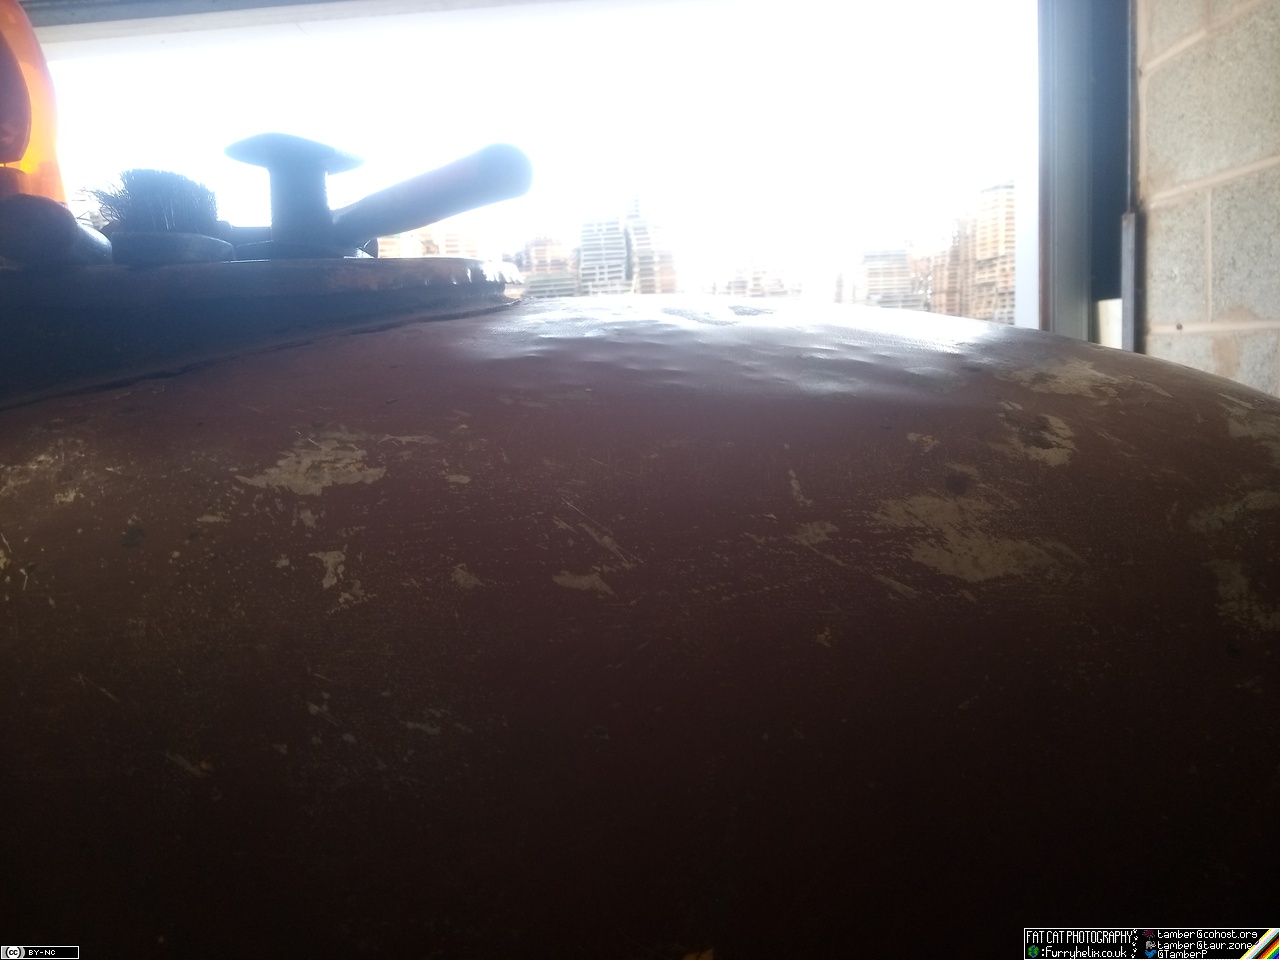
A quick first pass over with hammer and dolly vastly improves things,
leaving only some fine-tuning to go. Thankfully, I'm not aiming for
perfect, but that's a bowling green compared to what it was.
Thankfully, the bulk of the roof skin is in great condition, with only a few relatively small patches needed at the edge, and some minor pitted spots that need dealing with before they turn into holes. (Plus cleaning all the peeling paint from the inside, too. Which reminds me, I'd best get some drop-cloths before I get to that point...)
In addition, I've thrown more money at more material! Stuff to make injector hold-downs, an air-filter housing, and intake piping, mostly.