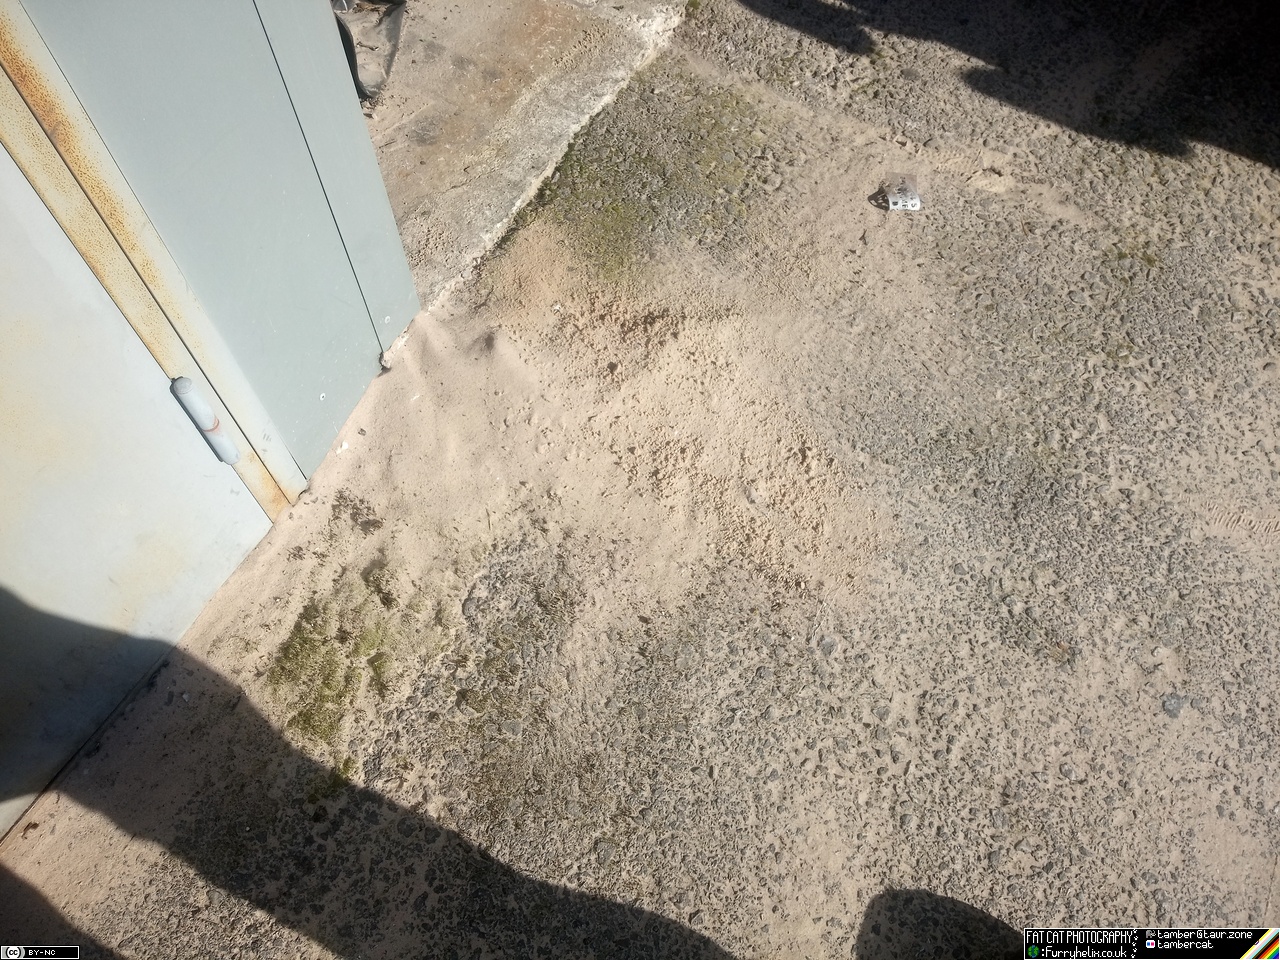

That's ... certainly something to discover when I get there. Looks to have been wind-blown, because -- as I discovered the hard way -- there was a mini sand-dune on every ridge of the roller shutter, which then poured into the unit as each slat rolled over the top.
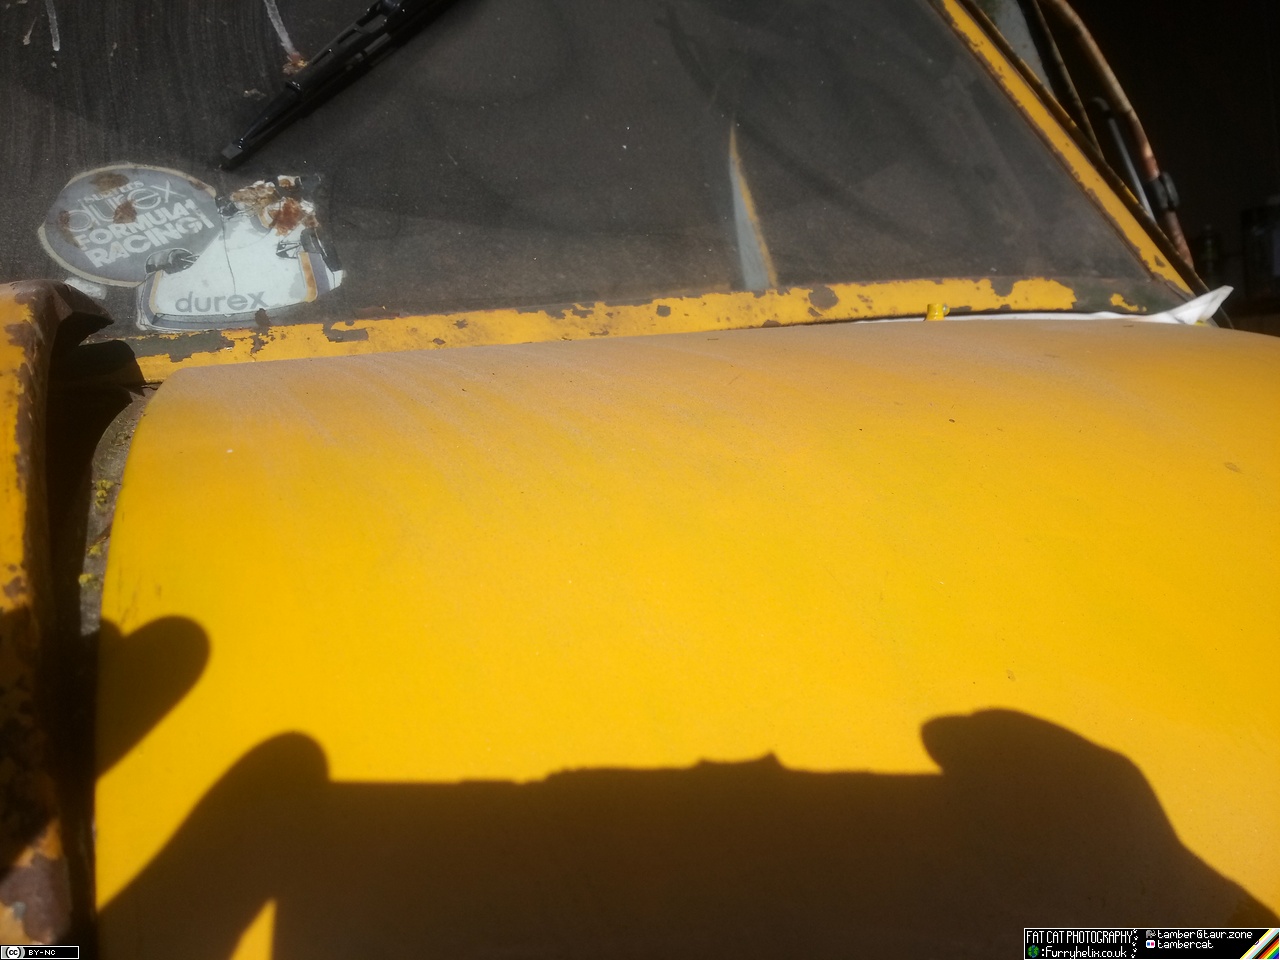

I still haven't any idea where it all came from, but I've been gently dusting it off the paintwork with a clean brush.
Anywho! Picked up the pieces for the tank-straps again. Y'know, the ones I broke the taps off in? Carefully drilled them out a little bit and gave it another go with another M8 tap, but it wasn't having it. Thankfully, I didn't break this tap off in it, before I decided to drill it all the way through and sink a bolt into it.
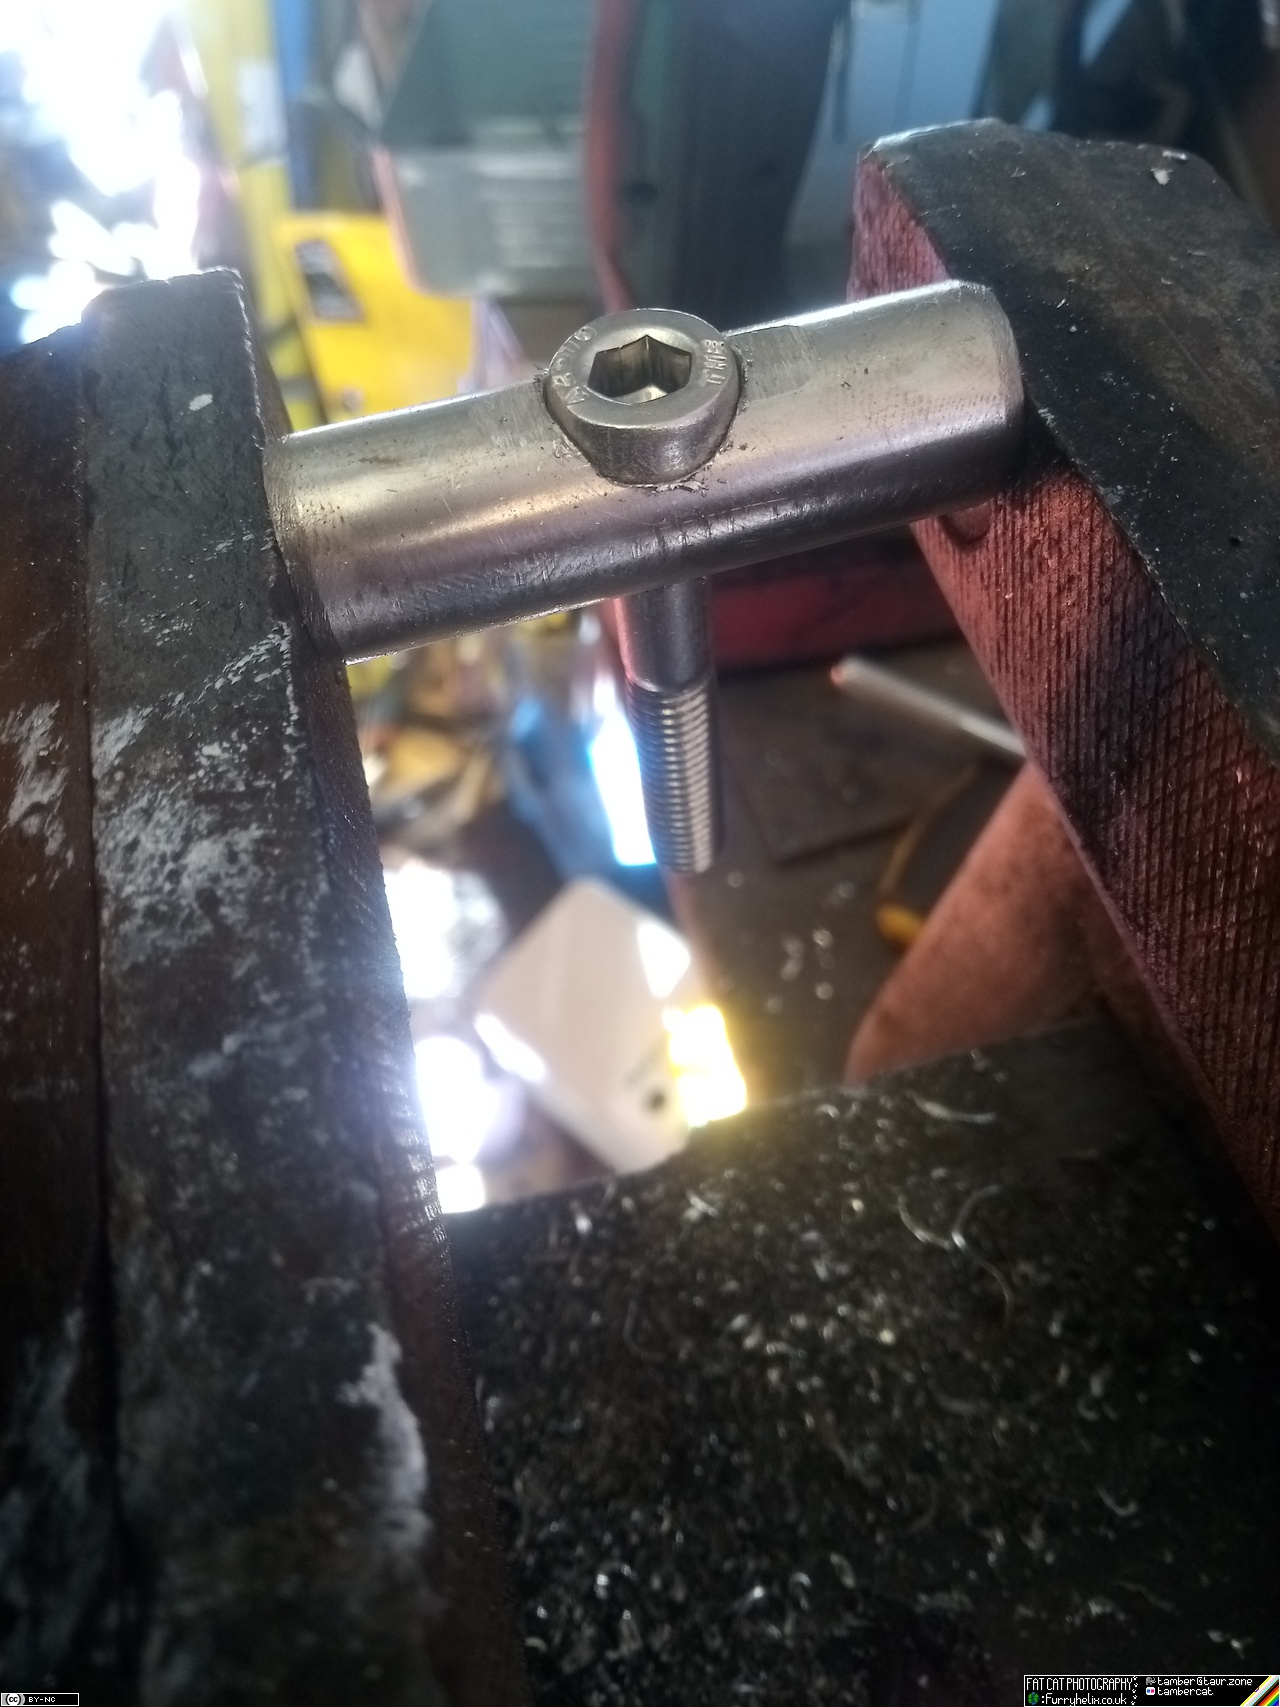
That's one of those things that's harder than it first looks, because the drill-bit catches on the 2 high spots and wants to kick over to one side or the other. Probably worlds easier with a drill-press. Or, y'know, a mill. Anyway, hand-held cordless drill is what I have, so that's what I made it work with.
Once I'd completed those, and then modified the ends of the tank-straps to be able to allow the head of the bolt to sweep through, I scooted myself under the truck and focussed on the tank brackets. There's no photos of this because my phone was on music duties, and not that it'd be a thrilling update photo anyway, but I sat there and carefully filed the central rivet-hole on each tank bracket to a square that would accept a coach-bolt. Slightly theraputic.
Then, with an 8mm clearance hole drilled in the end of the
tank-straps, I shuffled the tank under the truck (cursing the whole
way), wiggled some rubber strip around it, and held the tank in place
with my head while I juggled a tank-strap around it. Only to find out
the strap was far too long. 
So I left the tank balanced there on one strap, shuffled my way back out from under the truck, and decided I wasn't going to keep doing laps of drilling a hole a bit further, trying it, repeat. Oh, no, I was going to give myself options! And drilled a further 4 holes, spaced an inch apart!
Then I wiggled myself back under, hooked the tank-strap back up in the next hole along from the first, and ...
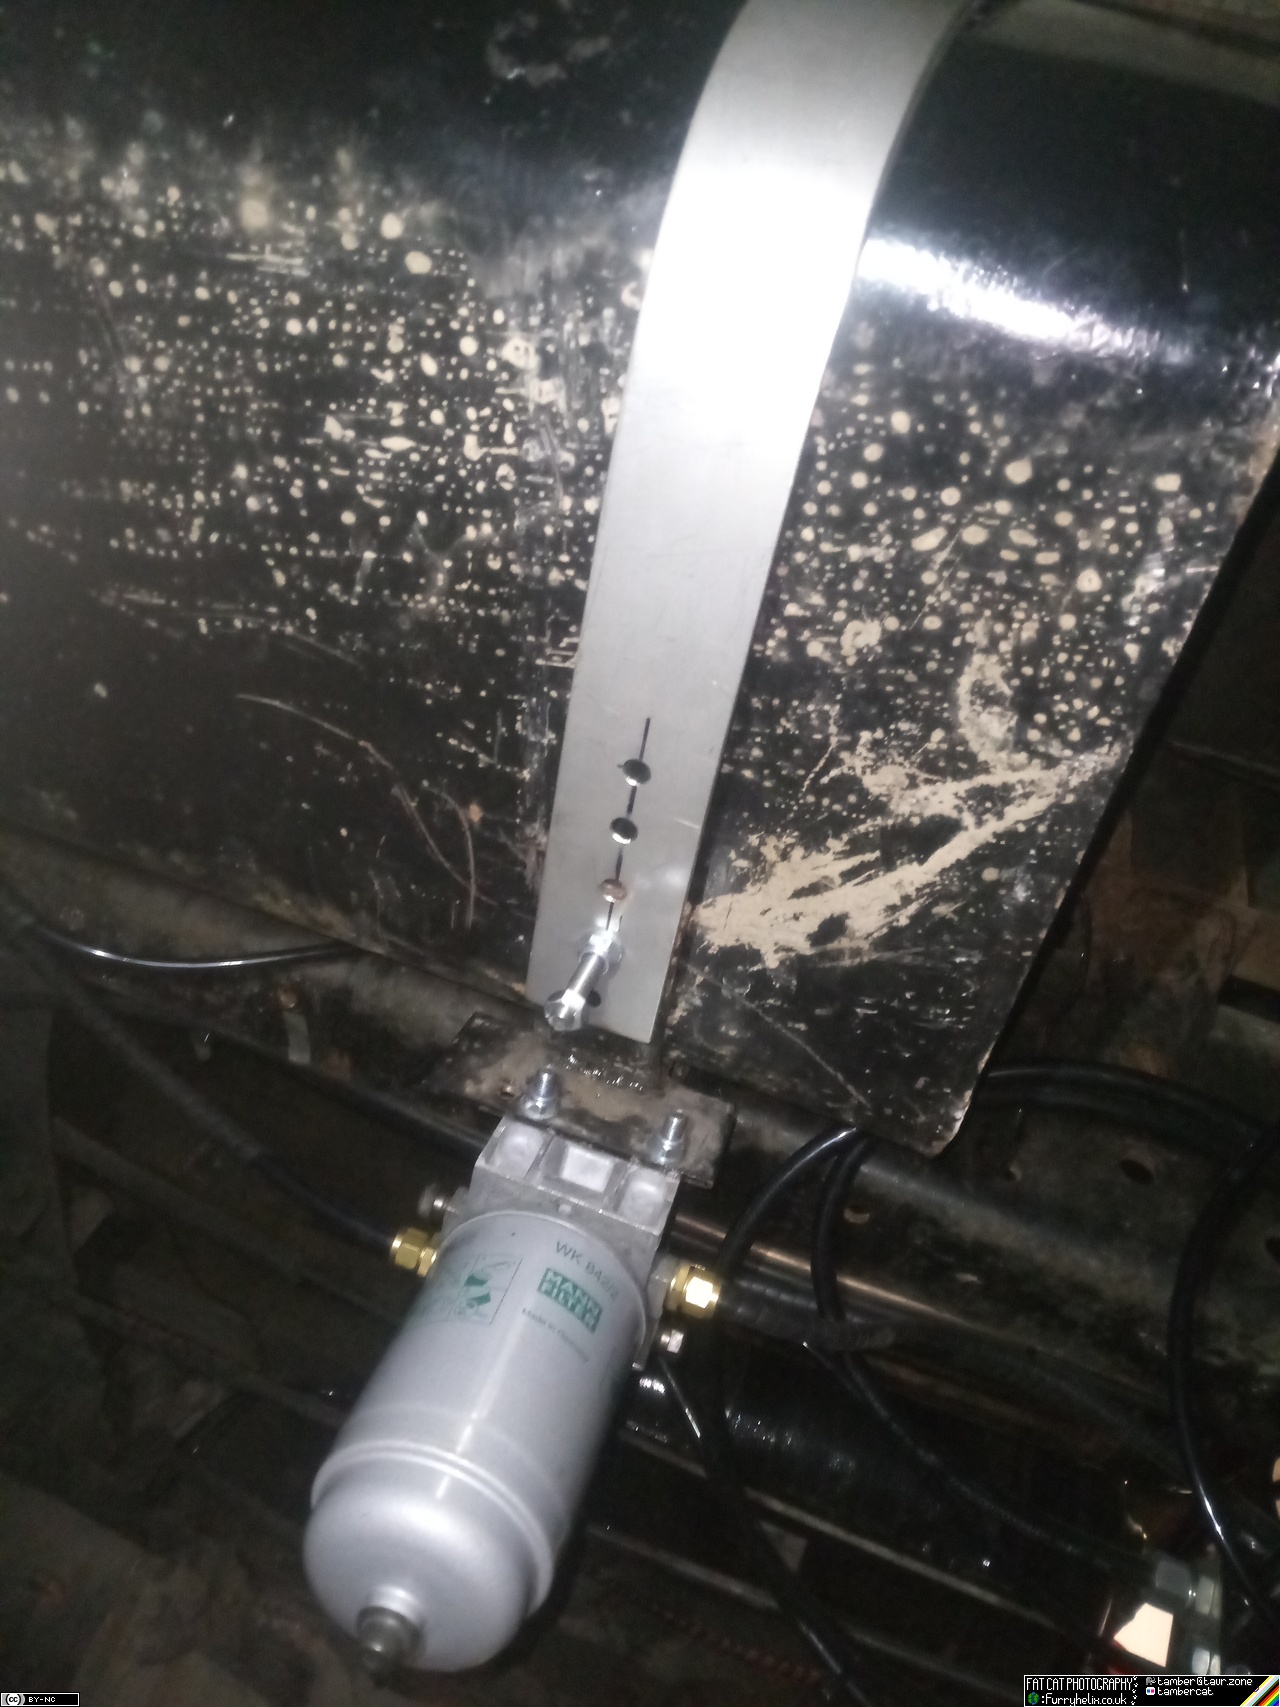
... it's just about perfect. So I didn't need to drill the other 3 holes.  The only saving grace is that the rear strap on the tank needed to be in the third hole, for some reason.
(Don't mind the extra nut on the bolt. It was just a convenient place
to put it for storage.  )
)
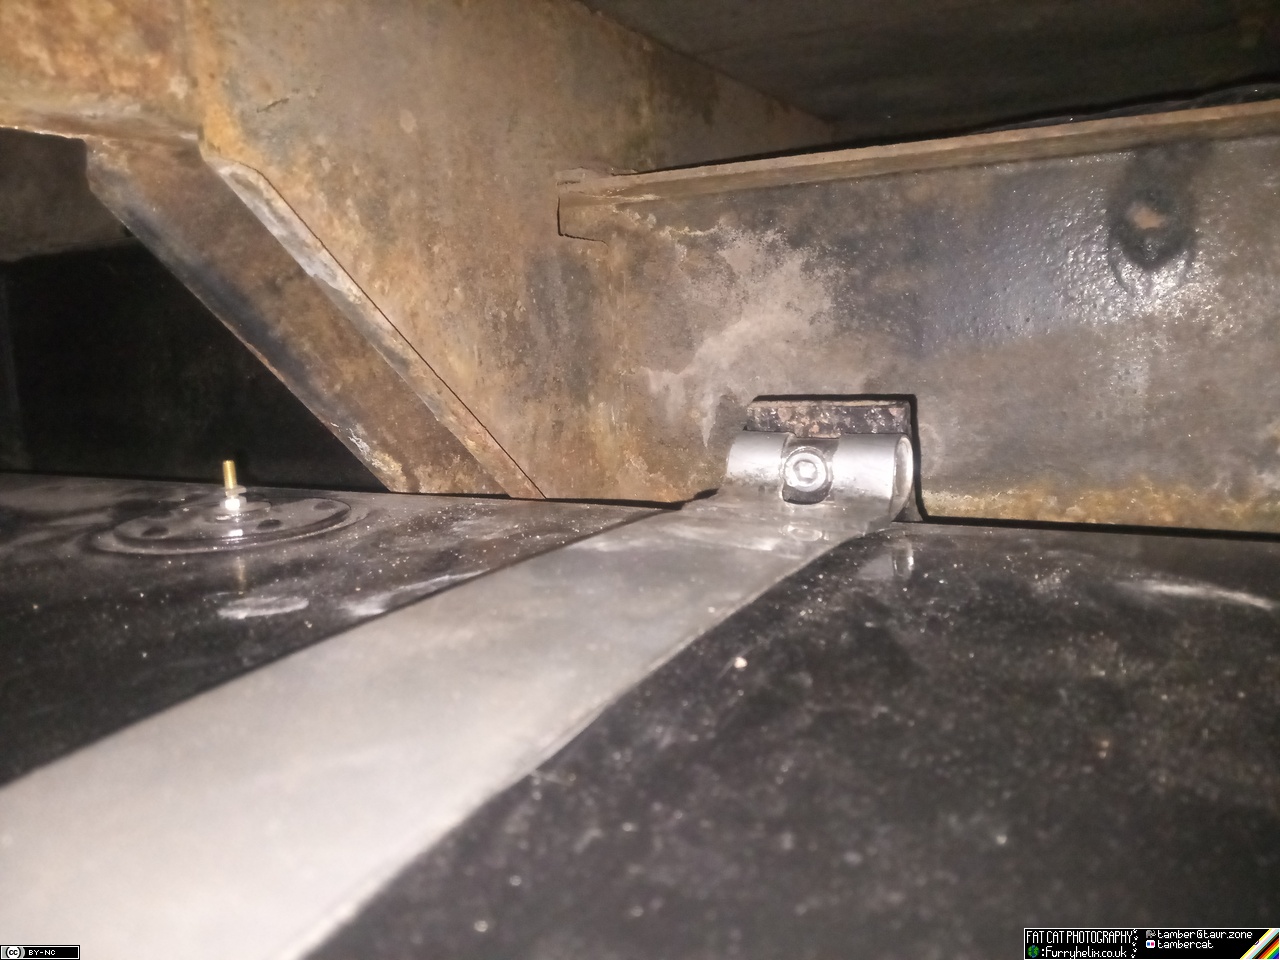
Ee, lookit that, all professional-like!
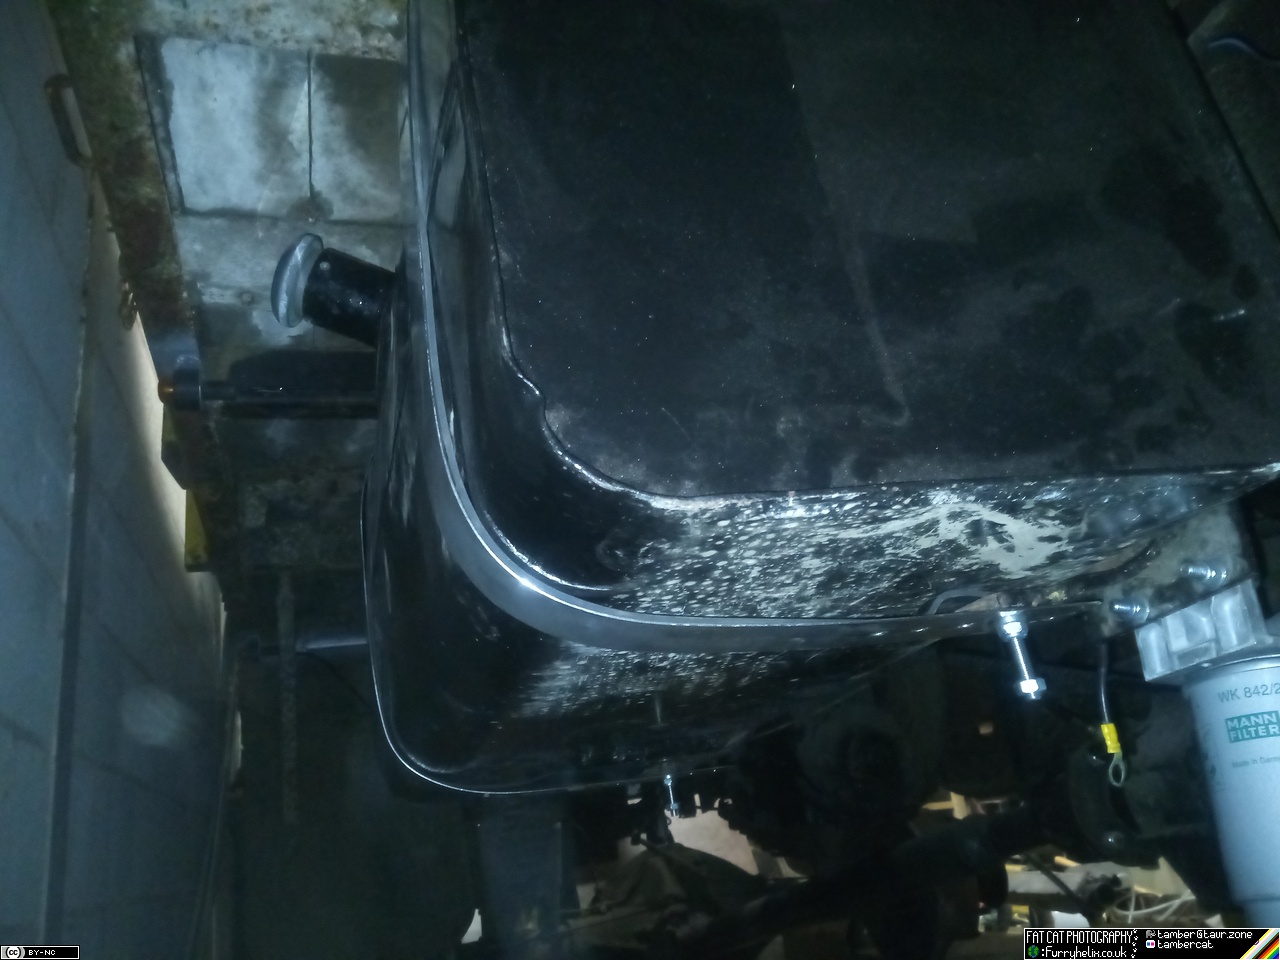
Need to buy the right width of rubber to fit that fully, but the thin strip will do for now.
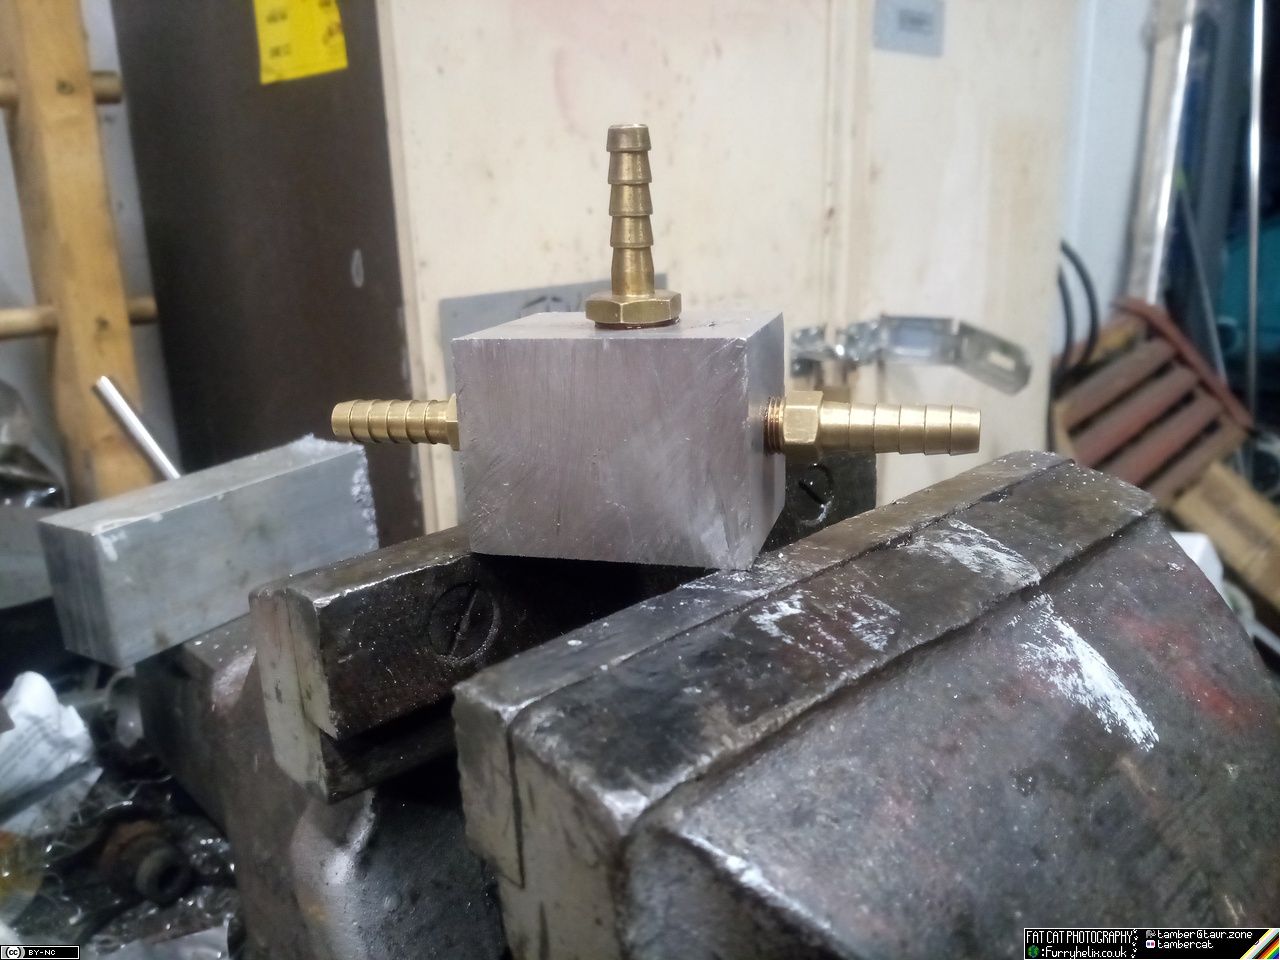
For the tail end of the day, I put this delightful piece together:
Managed to drag myself down today, too, eventually.
First order of business was a new gas regumalator for the welding set; gone for one of the upright tube style of flow meter, rather than the diaphragm type, because every time I look back at the gauge on the previous reg, the needle has pinged up to ridiculous flow-rates... and I'm not sure if it's actually wildly increasing flow-rate because of some internal fault, or it's an artifact of the flow being suddenly stopped when the solenoid closes.
(Of course, the upright tube runs straight into the protective guard on the cylinder, because the stem that goes into the bottle isn't quite long enough. I've managed to swap the slightly longer stem from the previous reg, and between that and very slightly angling the reg, it'll do 'til I can grab myself an extension.)
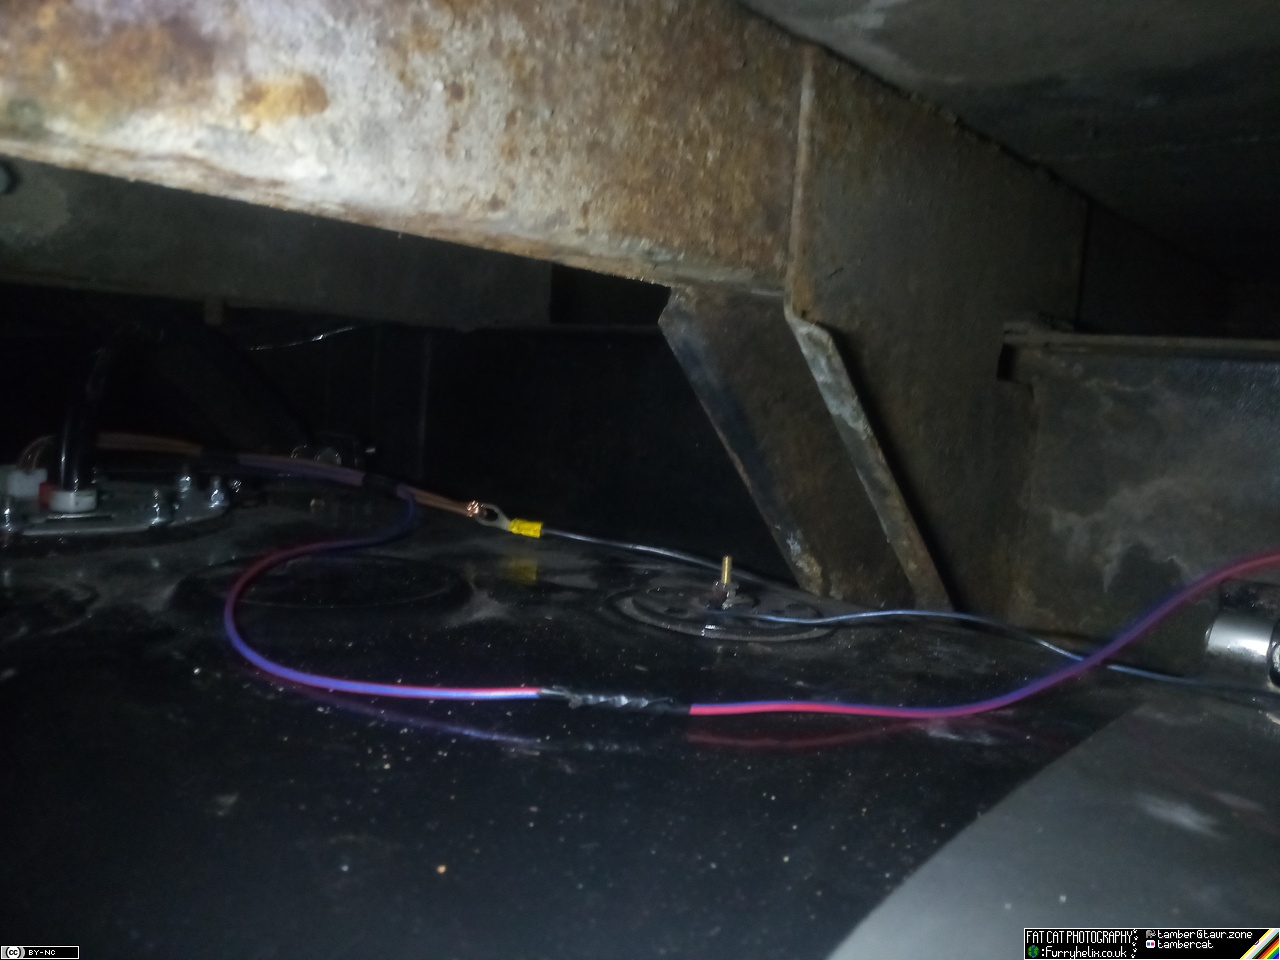
Next on the agenda: Now that the fuel tank is fitted to the truck, the fuel lines are nice and easy to connect as they just push-fit into the appropriate ports on the top of the pump sender. The wiring is a touch more annoying, as I've yet to get a connector for them (and it turns out the ground wire I'd put in for the previous pump setup is slightly too short to comfortably reach the new pump. Not the end of the world, though, I can swap that out next time.), but through the magic of electrical tape we have them joined temporarily. (The level sender connects nicely, because it's just a post that takes a ring terminal.)
And, well, with the pump wired and plumbed in, now would be the perfect time to try it, right? So, by using the Magic Cubic T-Piece of Justice made yesterday, I looped the supply and return lines, and fed the other outlet to the carb. It's a little bit janky, with rubber hose just pushed over -- and clamped onto -- the plastic line, but since any real pressure would just overwhelm the carb anyway it'll do fine for now. I've backed the fuel-pressure regulator right the way off so it's barely restricting the return.
Of course, I had to put some fuel in to try it, which was an exercise in frustration all on its own. I only had a 5 litre can with petrol in, and between the wall and the bed of the truck, I had to do some convoluted maneuvering to get fuel out of it and into the tank. I got about a gallon in, the shape of the can not really conducive to getting the rest transferred across in the room I had.
I still need to add a switch to the side of the fusebox to allow me to manually trigger the fuel-pump, so I had to cycle the key a few times, but: - The fuel pump kicks on with a pleasingly quiet whirr - A second or so later, the carb gurgled softly as it filled - The carb [i]did not[/i] overflow - A second or two after that, I heard fuel squirting back through the return into the tank. - I had one fuel leak, which turned out to be a hose-clamp that wasn't fully tight. Will definitely have to keep an eye out when it comes time to run at fuel-injection pressure ranges.
I did briefly fire the truck up just to check I actually had filled the carb, but only for a few seconds, considering the sheer bloody amount of fine sand everywhere and not yet having an air filter fitted. (Still need to finish the housing.  )
)
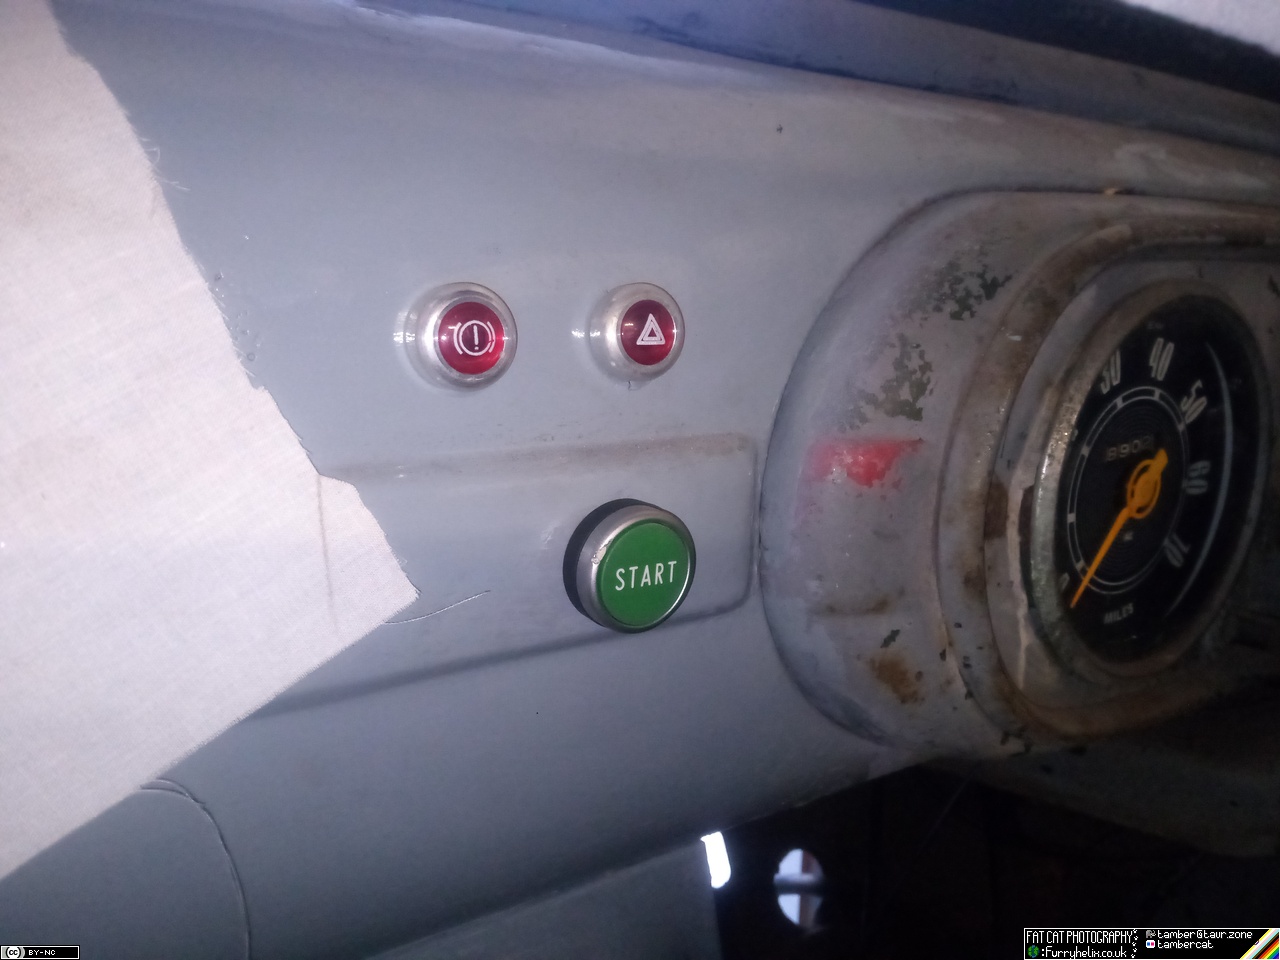
Also, the other day I noticed an electrical enclosure thrown into a skip just across the unit, and couldn't help myself; yoinked it mostly to see if there was anything I could salvage from it. (Turns out to be a 400v 3-phase motor starter in a metal enclosure, that's got a damaged rotary isolator, and missing the stop push-button.)
Not sure if any of the rest of it is useful to me, but one part in particular caught my eye...
