My last post left off with me dumping a broken garbage-truck at the workshop. Unfortunately, it was still there when I got back in the morning, so I supposed I'd best fix it.
The day was to bring plenty of fault diagnosis and headscratching, but
the first order of business was to take it out back and shoot
it jet-wash out the slime that inevitably builds up in and on
refuse collection vehicles.
Slime Factory
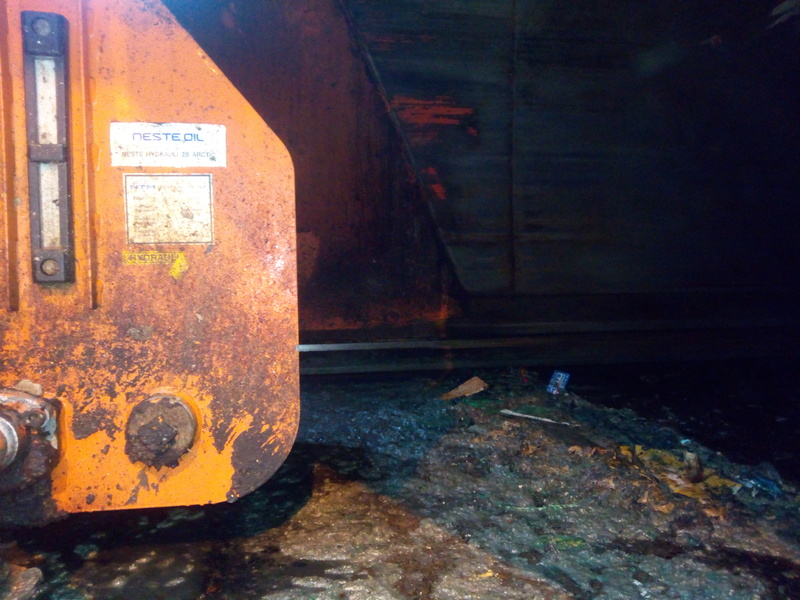
Be very, very glad that we don't have eSmell. The worst part is, you get used to the smell, so stop smelling it after a while. And, of course the slime sticks to your boots, so you transfer it to everything you step on, such as -- say -- the side-rails you're using as a ladder because you're not smart enough to have noticed that there's a bloody fold-away ladder installed on the side of the truck to access this hatch.
Weapon of choice for dealing with this: Immense amounts of fire. Unfortunately, I was not permitted to burn the vehicle to the ground; so I had to settle for using the jet-wash.
Some important points when jet-washing the inside of a trash-truck:
The high pressure water causes splash-back of filth from everywhere. You can pick up some really horrible diseases from this slime, so PPE is highly recommended. Face-shield is a must.
When using the hot water/steam function of the jet-wash, this will turn the inside of the refuse body into a bin-juice sauna. Leave it be for a while to let everything settle, and for the steam to disperse.
With that prep over with, and the worst of the pooled filth inside allowed to drain out of the body, the next task on the list was to reconnect the fittings I disconnected in order to bring the door down, the previous day.
A bit of wiggling, jiggling, and slight cussing, were required to get the fitting to line back up; it was wound on by hand to prevent it being cross-threaded (and thus stripping out or leaking) before tightening it the rest of the way.
Having made it oil-tight, attention switched to the controls. Cue a highly technical investigative method to determine what functioned and what didn't...

It's quicker to list what did work, than what didn't:
- The yellow "Oh, shit; let go, you bastard" button, that makes the packer plate open and retract away (Used to provide a way to, say, get someone out if they've fallen in.), partially overriding the emergency-stop temporarily for the purpose.
...and that was it.
Out of Control
Well, it's a start. It at least means the hydraulics function and the electrics have power. Let's go have a look at the control box and see if there's something obvious, like a loose wire...
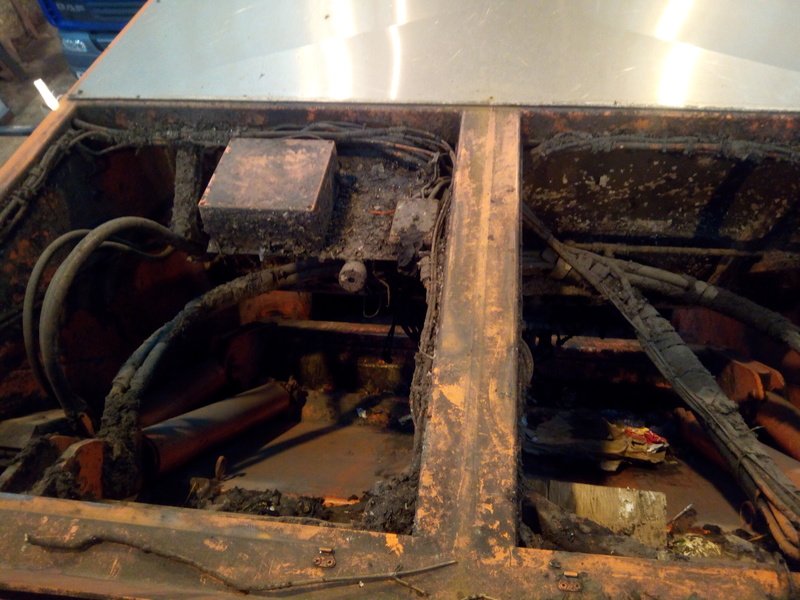
That's a horrible place to put the control box; it's not even close to the side, so you can't just work from stood on a ladder at the side of the truck, you have to climb up onto the roof and fashion some sort of seat from a plank of wood to work on it!
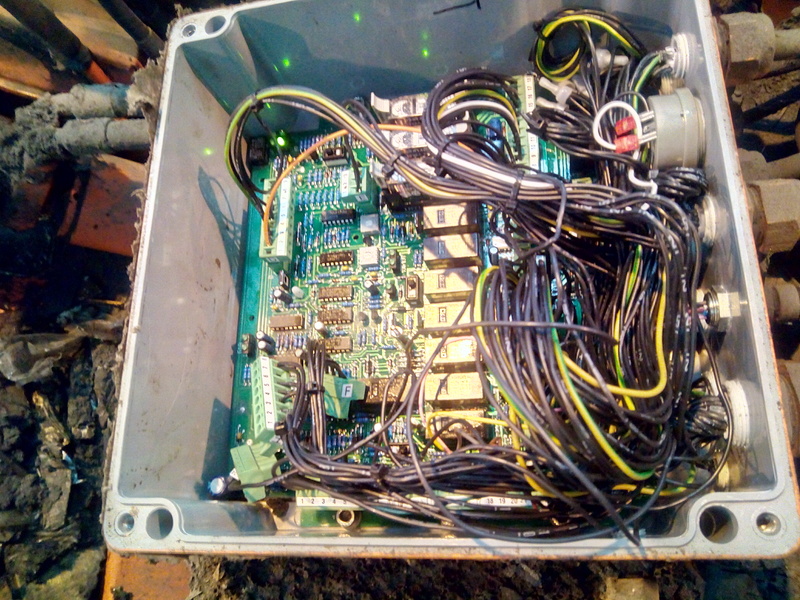
...Well. It's something. No packet of schematics taped to the inside of the lid, though, which is a shame. It's also not immediately obvious what's going on, so I closed that back up for now.
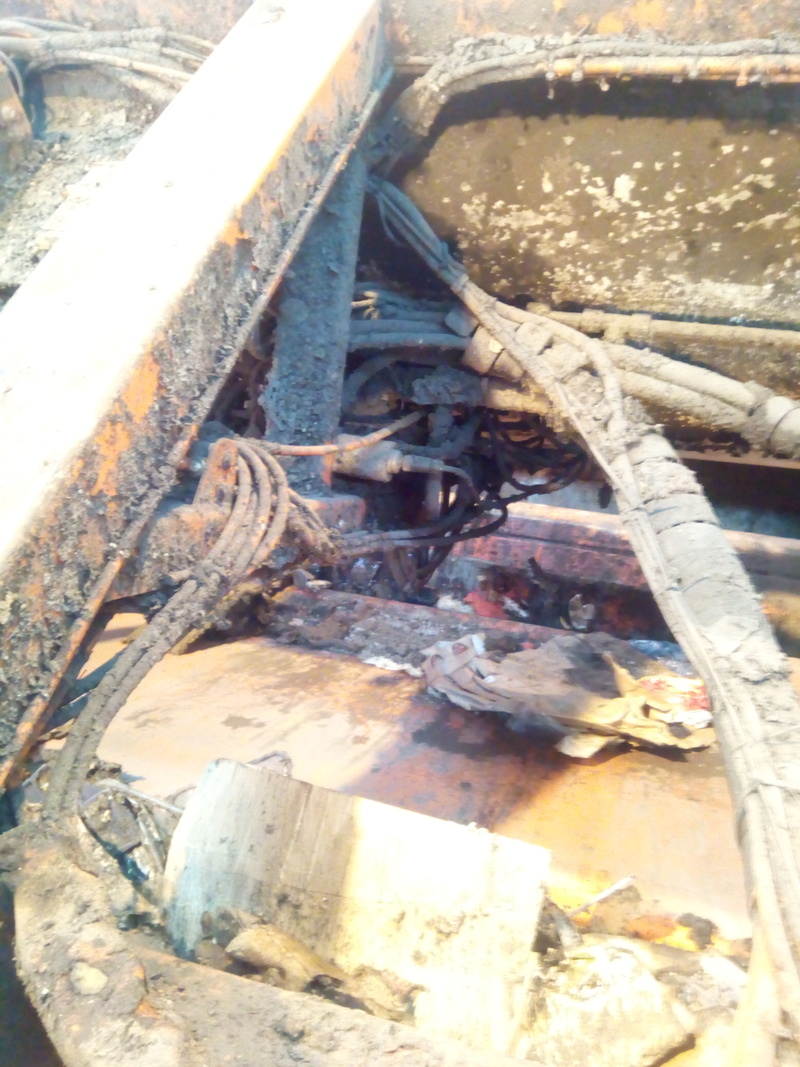
Also, while we're up here, let's take a look at the valve block for the whole orange body of the truck. Isn't it in a great, accessible location that's easy and safe to work on?
...No. No it is not.
The recommended way, according to the technical support guy from NTM, to lower the door when it sticks open is to climb on in there and manually operate the valve block to lower the door... that you are sat in, perched on top of the packer plate operated from the same valve block. That's crazy talk.
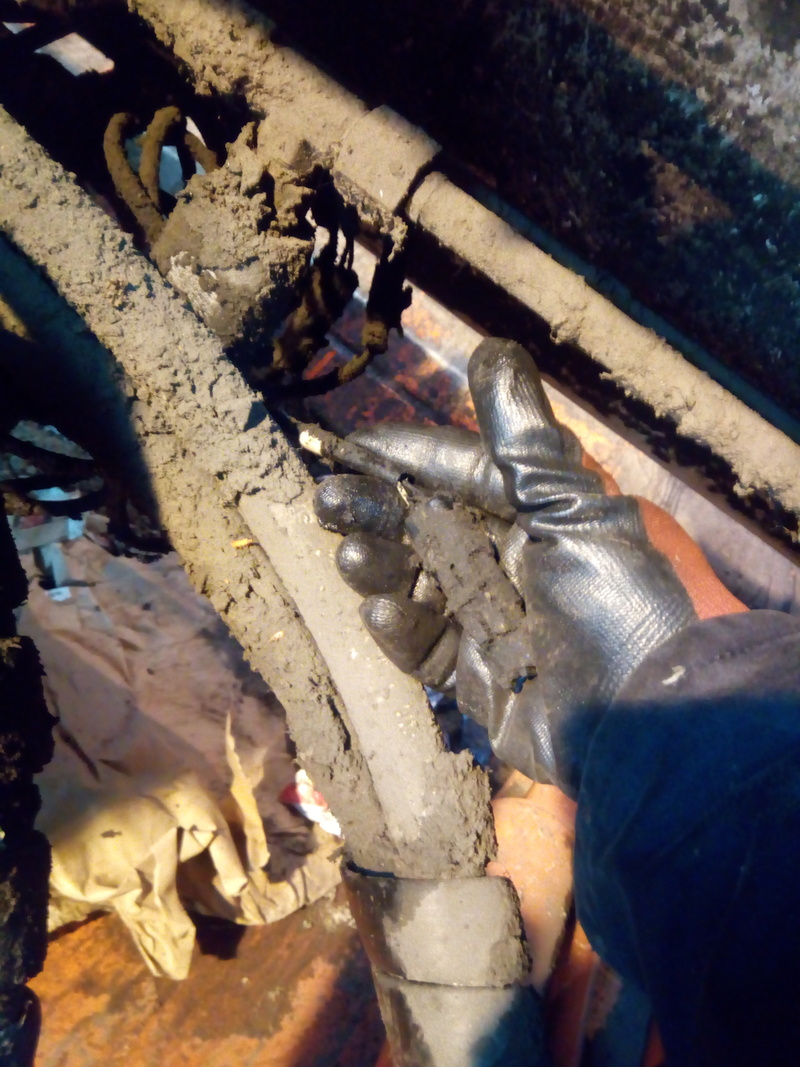
Bonus shot of a blanked cable, showing just how clean and pleasant everything up here is to work on. Ugh. Ugh.
Why ain't this shit working?
After closing up the roof panels and pretending I'd never seen that control box, the valve block, or any of that bullshit up there; the only logical step was to work around from control panel to control panel, checking if power was present at the switches.
All but one of the emergency stop buttons had power; and the rest of the switches were un-powered, probably because of the unpowered emergency switch looks -- to the system -- exactly the same as a pressed e-stop: Shit isn't going to be allowed to run.
With a bit of wire, I jumpered power from a working e-stop to the control switches next to it, and that made the controls work; which is a relief.
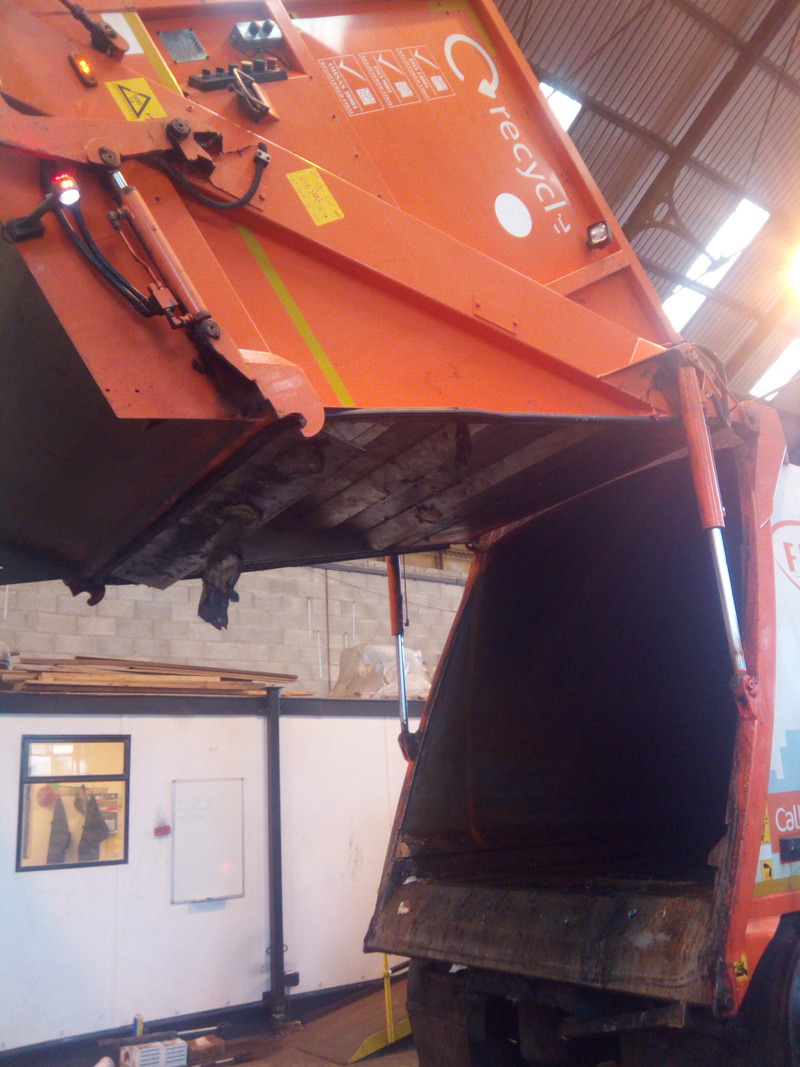
That was a sign that the hydraulics were all good, the switches were fine, and the wiring from the switches to the solenoids they controlled was likely to be all decent enough; and the problem was going to be either a broken wire or an unhappy interlock that was preventing all the emergency stop buttons from signalling OK to the rest of the system.
Time to trace back from that unpowered button, through its big chunky multi-core cable from the control panel, across the body to a junction b... Seriously?
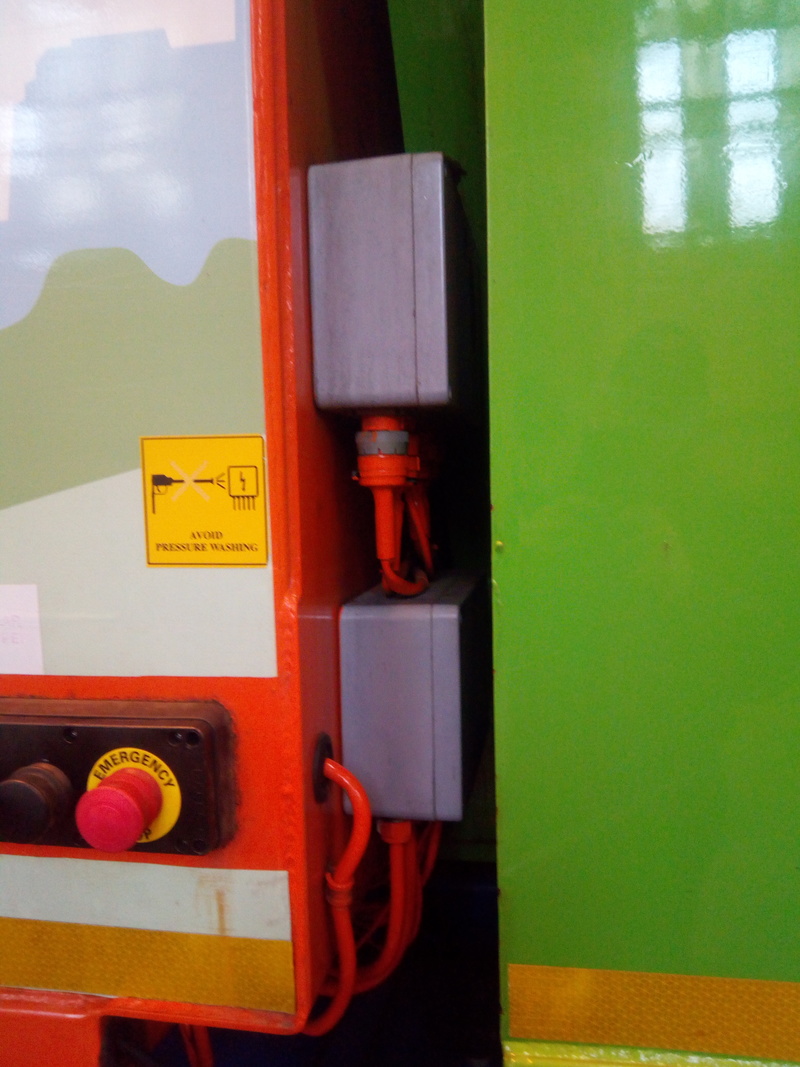
Is that seriously the best place that could be found to install that junction box? Completely blocked by a recycling pod that can't be tipped because of the broken shit either inside or wired via that box.
What do I know about industrial design and layout, though? I'm just a jumped-up welder.
All aboard the pod!
Okay, new mission: Move the recycling pod. I can climb inside and manually operate the levers; but there's something that's not all that appealing to me. Why can't we force the controls into operating?
I had a yellow button that makes the dump-valve operate, a length of wire, and a switch in a cab full of easy sources of power. Time to combine some junk, press the yellow button, and see what blows up...
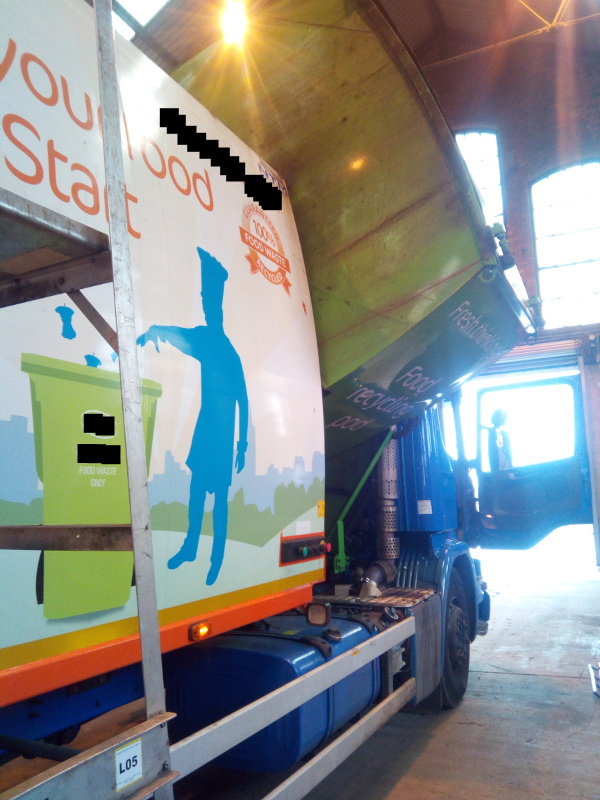
This is promising...
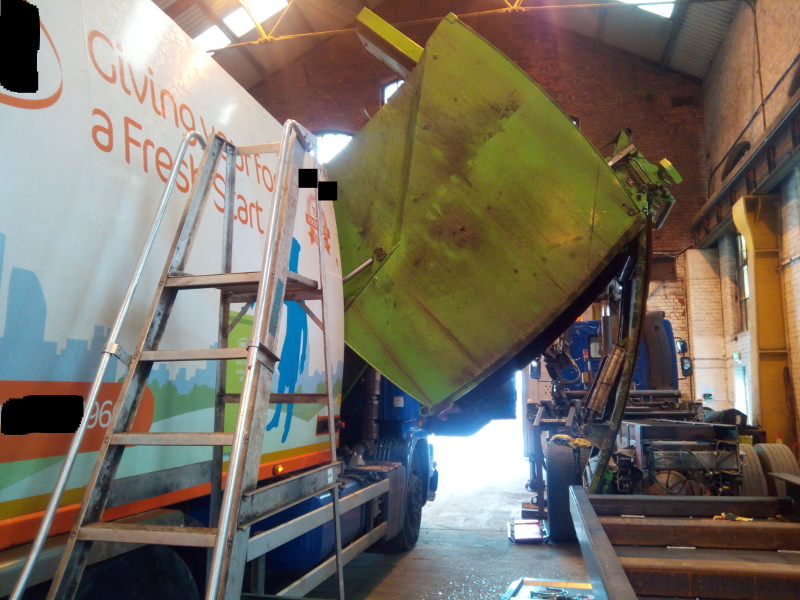
There was a sudden rumbling noise and an almighty bang when I did this. I'd like to note that, if you're going to tip one of these recycling pods over, there's a locking bar to hold the bin-lift in its lowered position, and you should use it.
It probably won't let you tip it over without locking it, when it's all running through the switches proper; but it turns out, when you bypass the safeties, stuff like that doesn't work somehow!
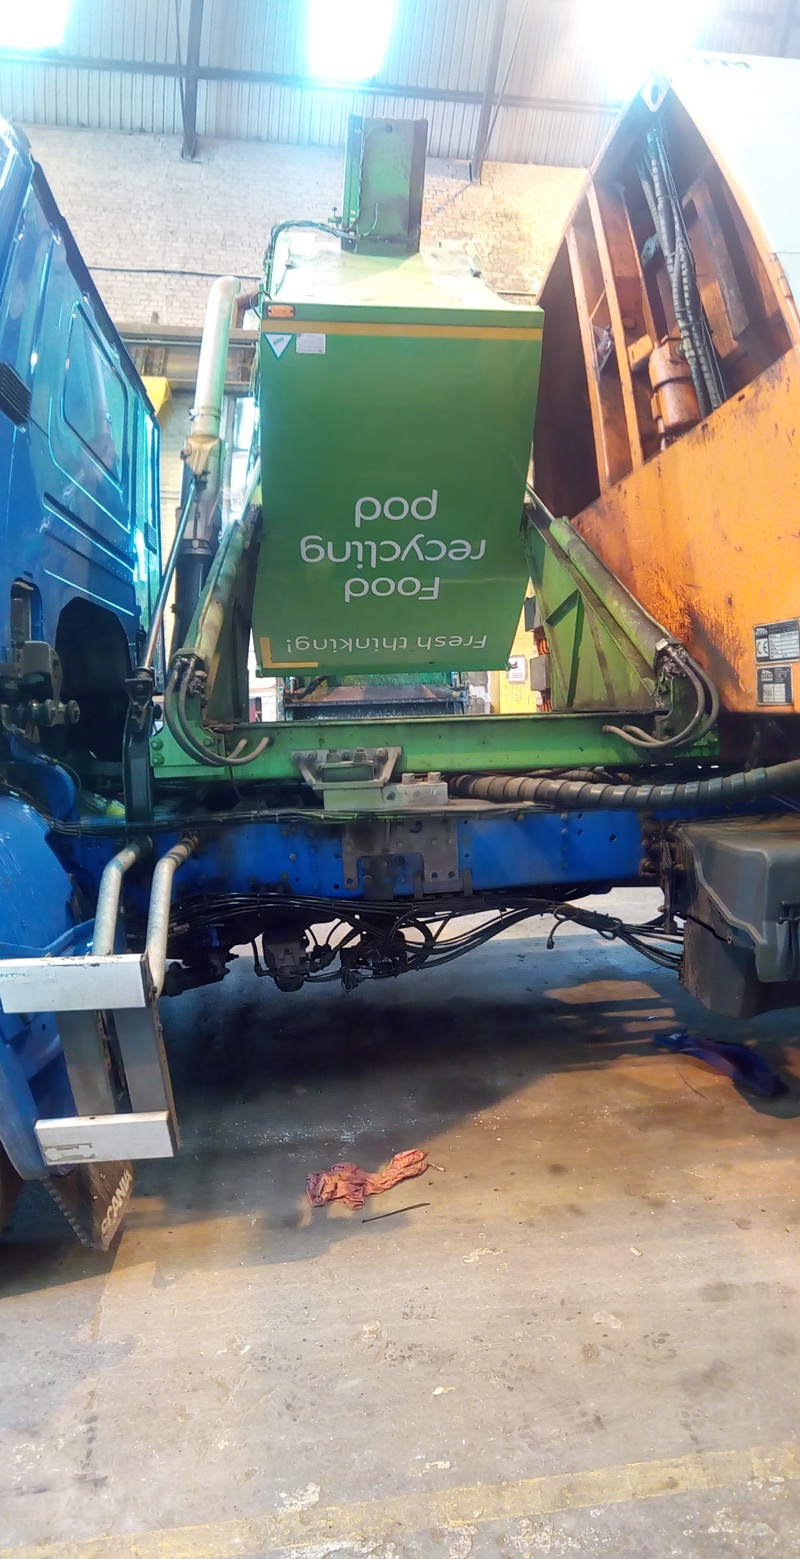
It does look a bit bizarre like this. However, it gives me access to the bits I need to work on, so let's see...
Spaghetti Junction
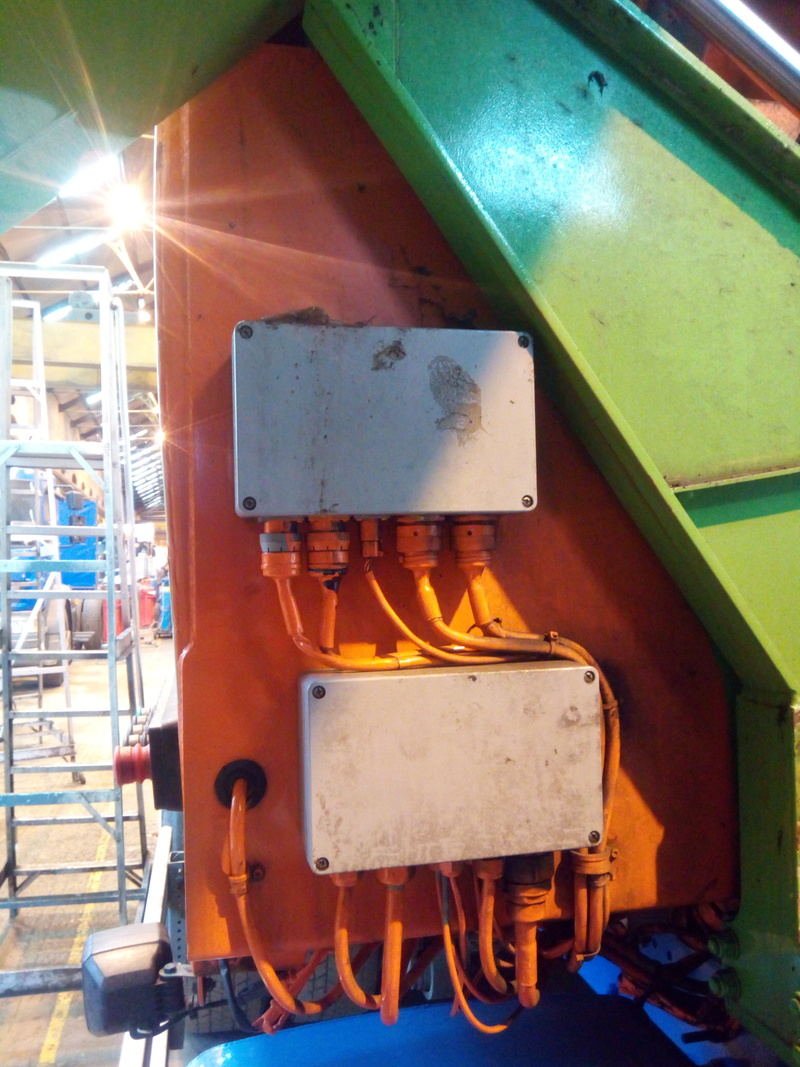
Much better. Now that I can get to them, let's crack the damn things open and see what awaits us!
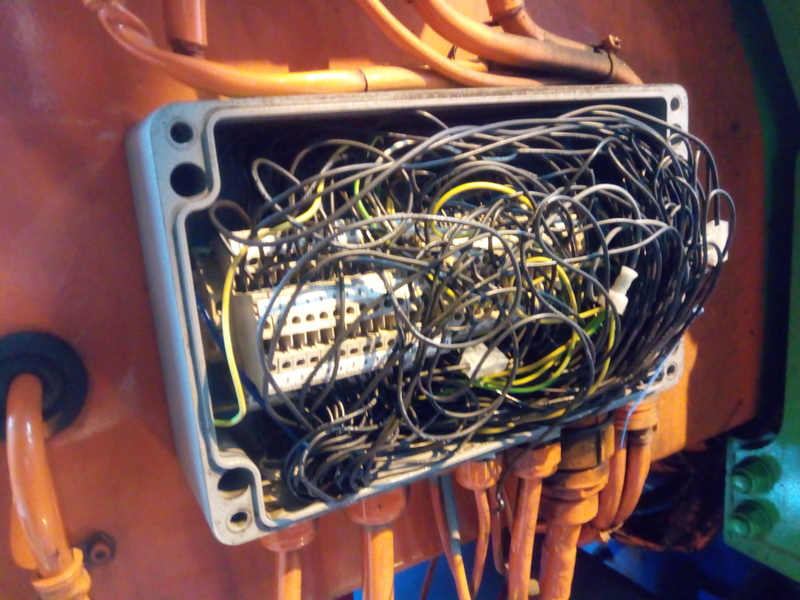
...aaaaaaaAAAAAAAA AAAAAAAAAAAAAAAAA ...AAAAAAAAAARGH
This is going to take some time, I think. This sort of thing is why, I think, so many people in this field of work have problems with substance abuse...
Good news on that front, some nice blue crystalline stuff was easy to find!
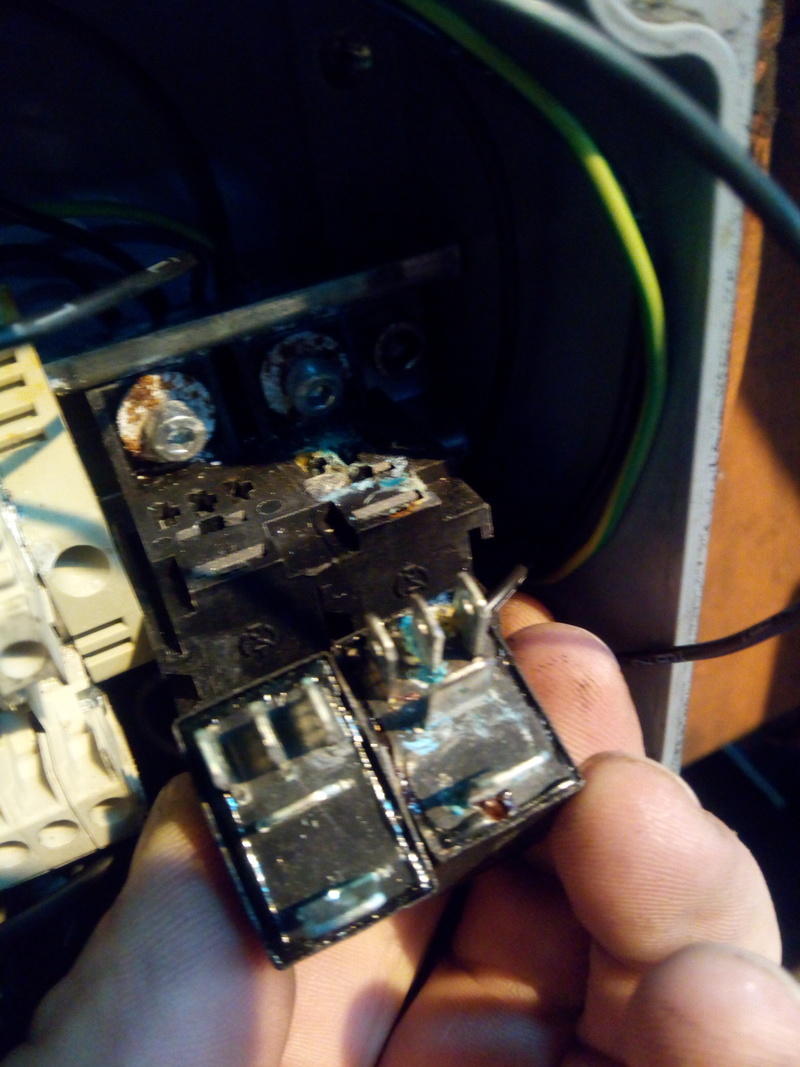
Whether or not they're part of the problem, they definitely need replacing. Out the relay holders came, to be replaced with new ones (and anti-corrosion paste packed liberally into both top and bottom of the new relay holders to prevent them turning into that crusty mess!)
Continued probing, wire-tracing, and sketchy note-taking slowly built up a picture of what did what. It's the sort of reverse-engineering that doesn't lend itself to pictures, unfortunately:
Walk around peering into things, trying to see if there's a sensor you'd missed that might be causing the control box to refuse (ha!) to function.
Write down what wires go to what buttons and switches
Follow the cable back to where it ends, using a wire-toner/tracer to chase the cable through and around its run; crawling around on hands and knees, using the "pull it and see" method of tracing it when you can't get the toner to sit still long enough to inject a good signal...
Write down the terminal-block numbers the wires terminate in. Follow on out the other side of the terminal block, writing down that wire-number and chasing that cable on further and further...
When you've traced out the wire you need, probe and prod at it with an LED test-lamp to see whether or not the signal you need is there. If not, keep chasing it on and on, and on, and on until you
run out of patience and burn the truck downhave your vital runs all worked out.Alternatively, keep injecting power to see if you can make things move; which is a good check that everything downstream works.
Reconnect and repair damaged wires that are discovered along the way; they can't be helping, even if they're not immediately part of the problem. Plus, you'll get blamed for them if you don't fix 'em, anyway...
Eventually, I tracked out enough wires to narrow the problem down to whatever was meant to be supplying power down a 4-core cable that fed the emergency stop that didn't have power. Power was going out from the junction box, down the cable, and not coming back.
Time to reassemble the junction box, shove its innards back in place, and seal it up; before chasing the mystery 4-core cable across the chassis to the other side of the body, where it turned and went out forwards... then almost immediately did a U-turn and dove back into a grommet.
The other end of it turned out to connect to the mag-switch for the access door in the side of the body. Mother fucker, it's been staring me in the face the whole time.
Refuse collection vehicles... garbage trucks, whatever you want to call them, are generally loaded with sensors. If you leave an access panel open, it will refuse (ha!) to work, in case someone's inside it who would get hurt if the equipment was operated.
In this case, on the door that I'd used to climb into the truck body (multiple times, by this point) there is a red magnetic switch that had gone bad. It had probably started to fail intermittently, causing the odd hard to reproduce failure, but then finally given up the ghost.
Time for another high-tech test method: Stuffing wire into the plug that connected the magnetic switch, simulating a functioning switch in the correct mode. Suddenly, all the warning beeping stopped, and the truck started to function as it should.
Stripped the switch out, got the part number, and ordered a replacement. Replaced in 15 minutes, when we had the (£200!) replacement magnetic safety switch in hand.
20 hours to diagnose the fault, 15 minutes to fix it. It's madness, sometimes.