After the disaster that was starting the truck to get it out of the workshop, using a bit of steel bar to bridge the contacts on the starter switch, I decided that maybe it was time to start doing some of the re-wiring. This is part of why there are some real janky bits -- or, at least, parts that I would do very differently now -- in the new(er) wiring; it wasn't done properly start to finish, it just sorta grew in place, most important stuff first. But, that's why I got this truck; it's a bit of a playground and learning experience. :D
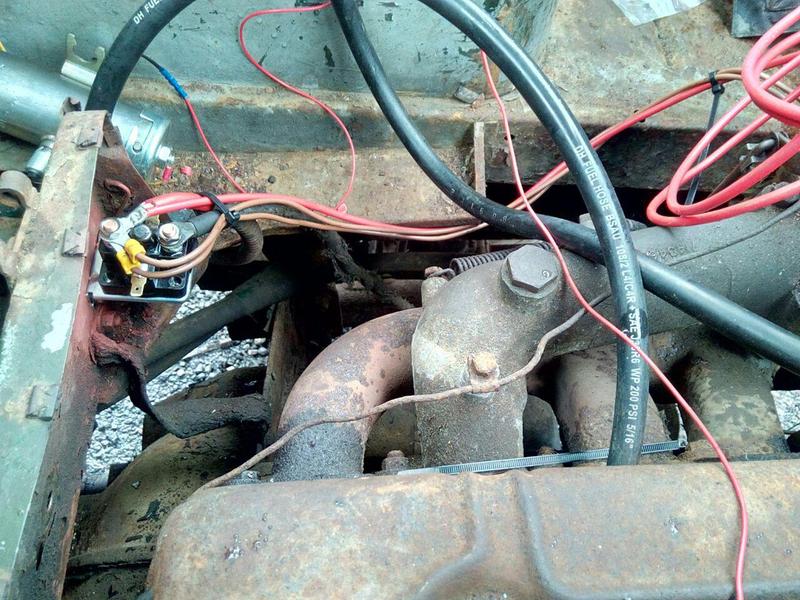
Starting with, appropriately enough, the starter wiring (Some of which now has to change again, because of later additions; namely the brown wires that are the B+ from the alternator, which now need to be extended to be on the other side of the isolator switch that I now have. :) ):
Noice!
At this point, it's early May 2016, and I was deciding to get stuck back into the brakes. This time, wheel cylinders. The fronts in particular, because the backs are a little scary. That meant taking the wheels off, and oh boy...
I've managed to have all of the front offside nuts off one by one, and went to start on the other side. (Plan being to clean the threads off with a wire wheel, and make sure I could actually remove them easily when it came to jacking that corner up and removing the wheel & brakes.)
I've twisted the old wheel-nut bar thing a good 1/8 of a turn as well as bending it. (And yes, I was aware they're left-hand thread... :D) Got two of them broken loose; but the rest are incredibly tight. I resorted to desperate measures after reminding myself that my 3/4" drive impact isn't really strong enough, and managed to warp my 3/4"F-1"M adapter into another dimension by trying to use the truck's weight to loosen them off.
(Breaker bar, adapter, socket; brace the breaker bar against the floor, and drive the truck forward... there was a lurch, followed by a clang. The breaker bar is undamaged, the socket was still on the wheel-nut, and the adapter has gone. sigh)
Never did find that socket adapter. >:(
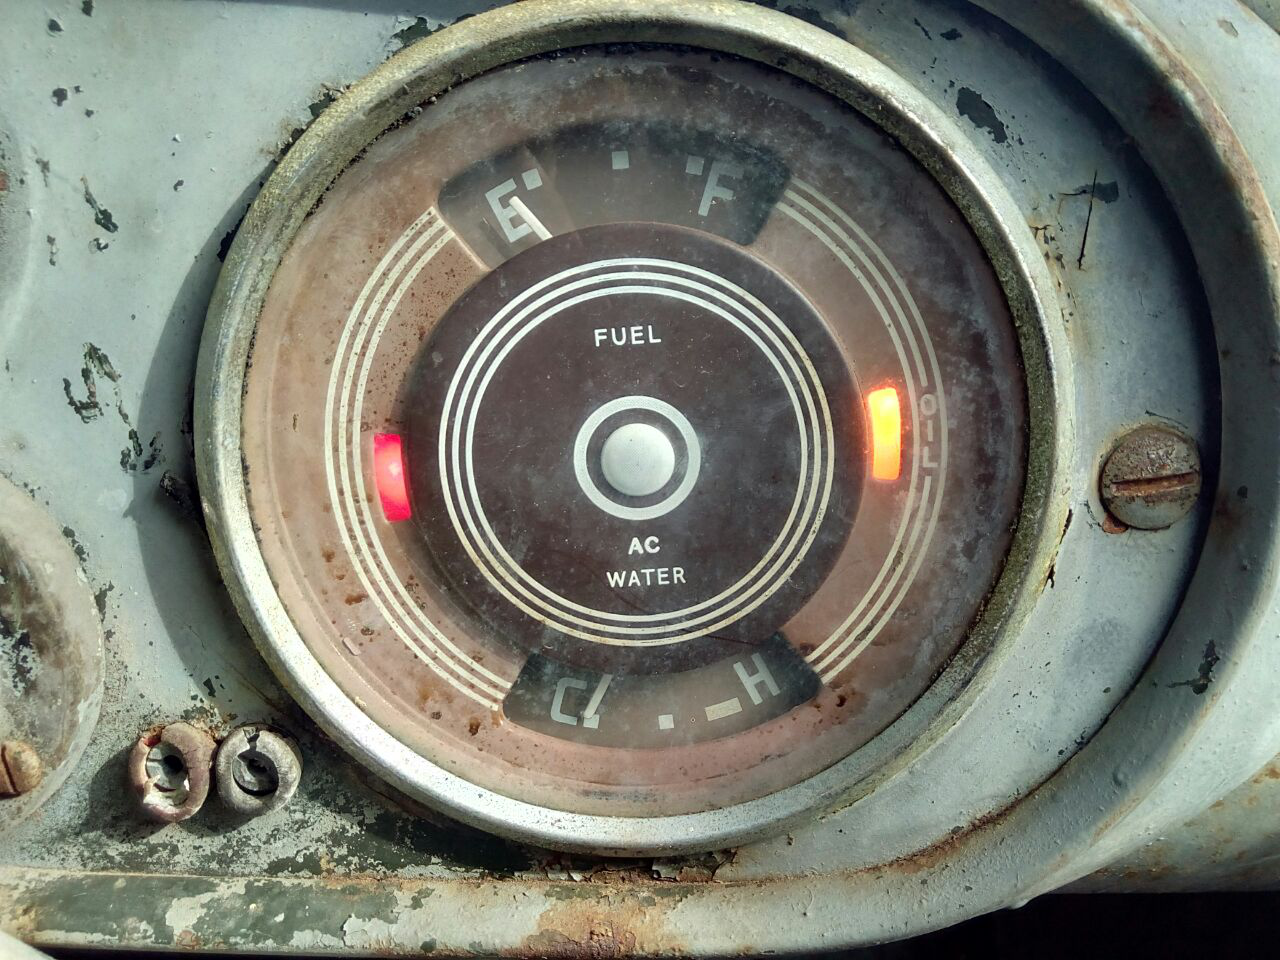
I did, however, find out that my truck is a little bit special!
![Screenshot from the Army manual for the truck, reading: 1. A
quantity of Cargo vehicles have been converted to the Field Arty. role
(Fig 1, 2 and 3); the conversion was effected by REME. The chassis
detail remains unchanged. 2. A locking device is fitted to the cab
left hand door, to lock the door in the open position. A handle grip
is provided above the [left hand] door. The towing attachment bracket
has been strengthened and, additionally, the height of the towing hook
has been reduced to give a much lower towing height.](https://furryhelix.co.uk/~tamber/pics/tmp/bedford/snap-1462442836.png)
That's right, it's a REME conversion to a Field Artillery Tractor; which would've then spent its life towing something like a 25pdr field gun, probably for an artillery training school. Who knows! I certainly don't, yet. :D
About a month later, I finally got help getting the wheel-nuts loose, by way of a tame tyre man who had come in to change some wheels over for a customer's truck; he cracked 'em loose with the 1" gun (Which struggled ??? ), for the princely sum of... getting to sit in the truck while it burbled away, and getting some photos.
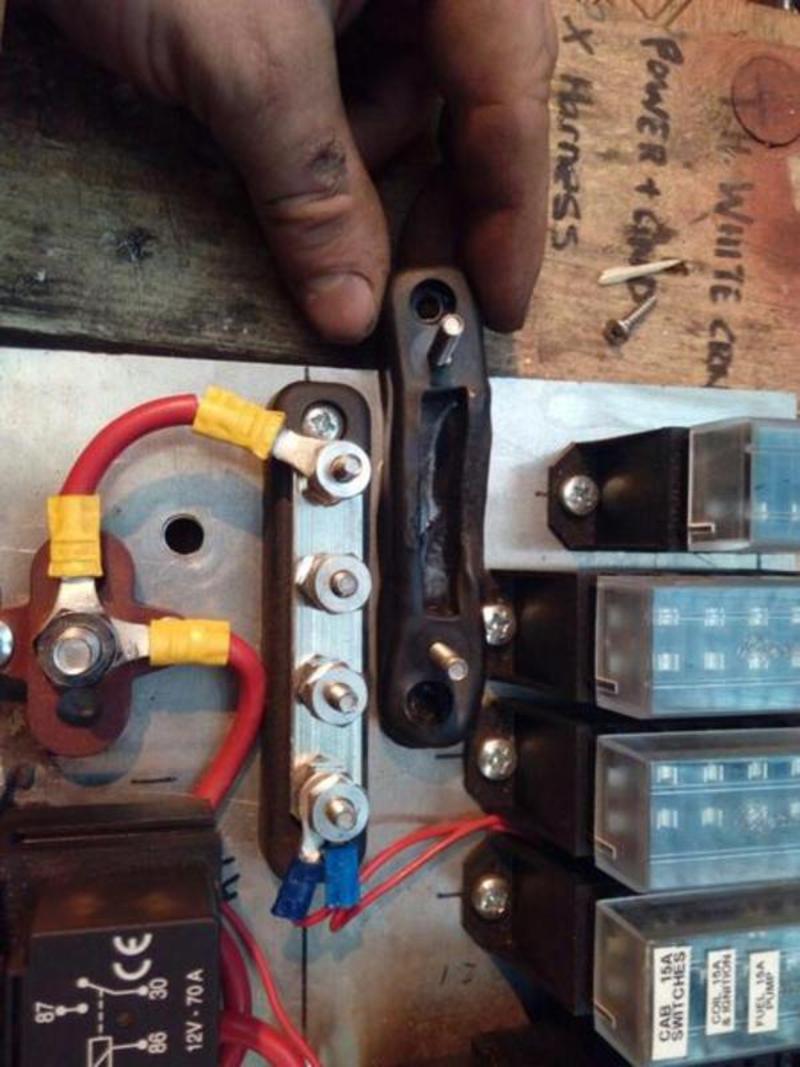
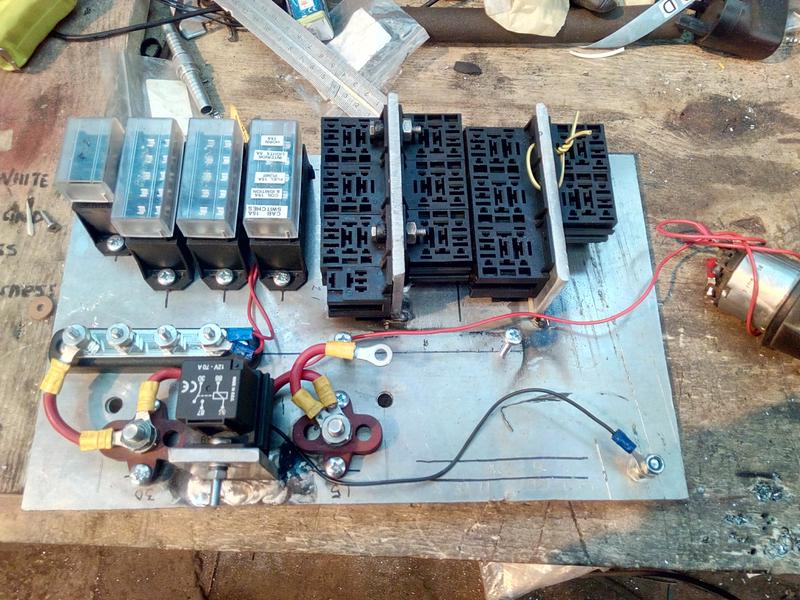
Work also continued on the new fuse & relay panel -- which is, really, more my field of work (Though, again, there's stuff I'd like to do differently now.) -- which unfortunately included melting one of the little plastic-mounted bus-bars because I was overenthusiastic with the TIG welder. :D
June 2016
After some flapping about bearings, and hubs, and brakes, and assorted stupidity... I took on the leaking water-pump. How badly was it leaking, you ask?
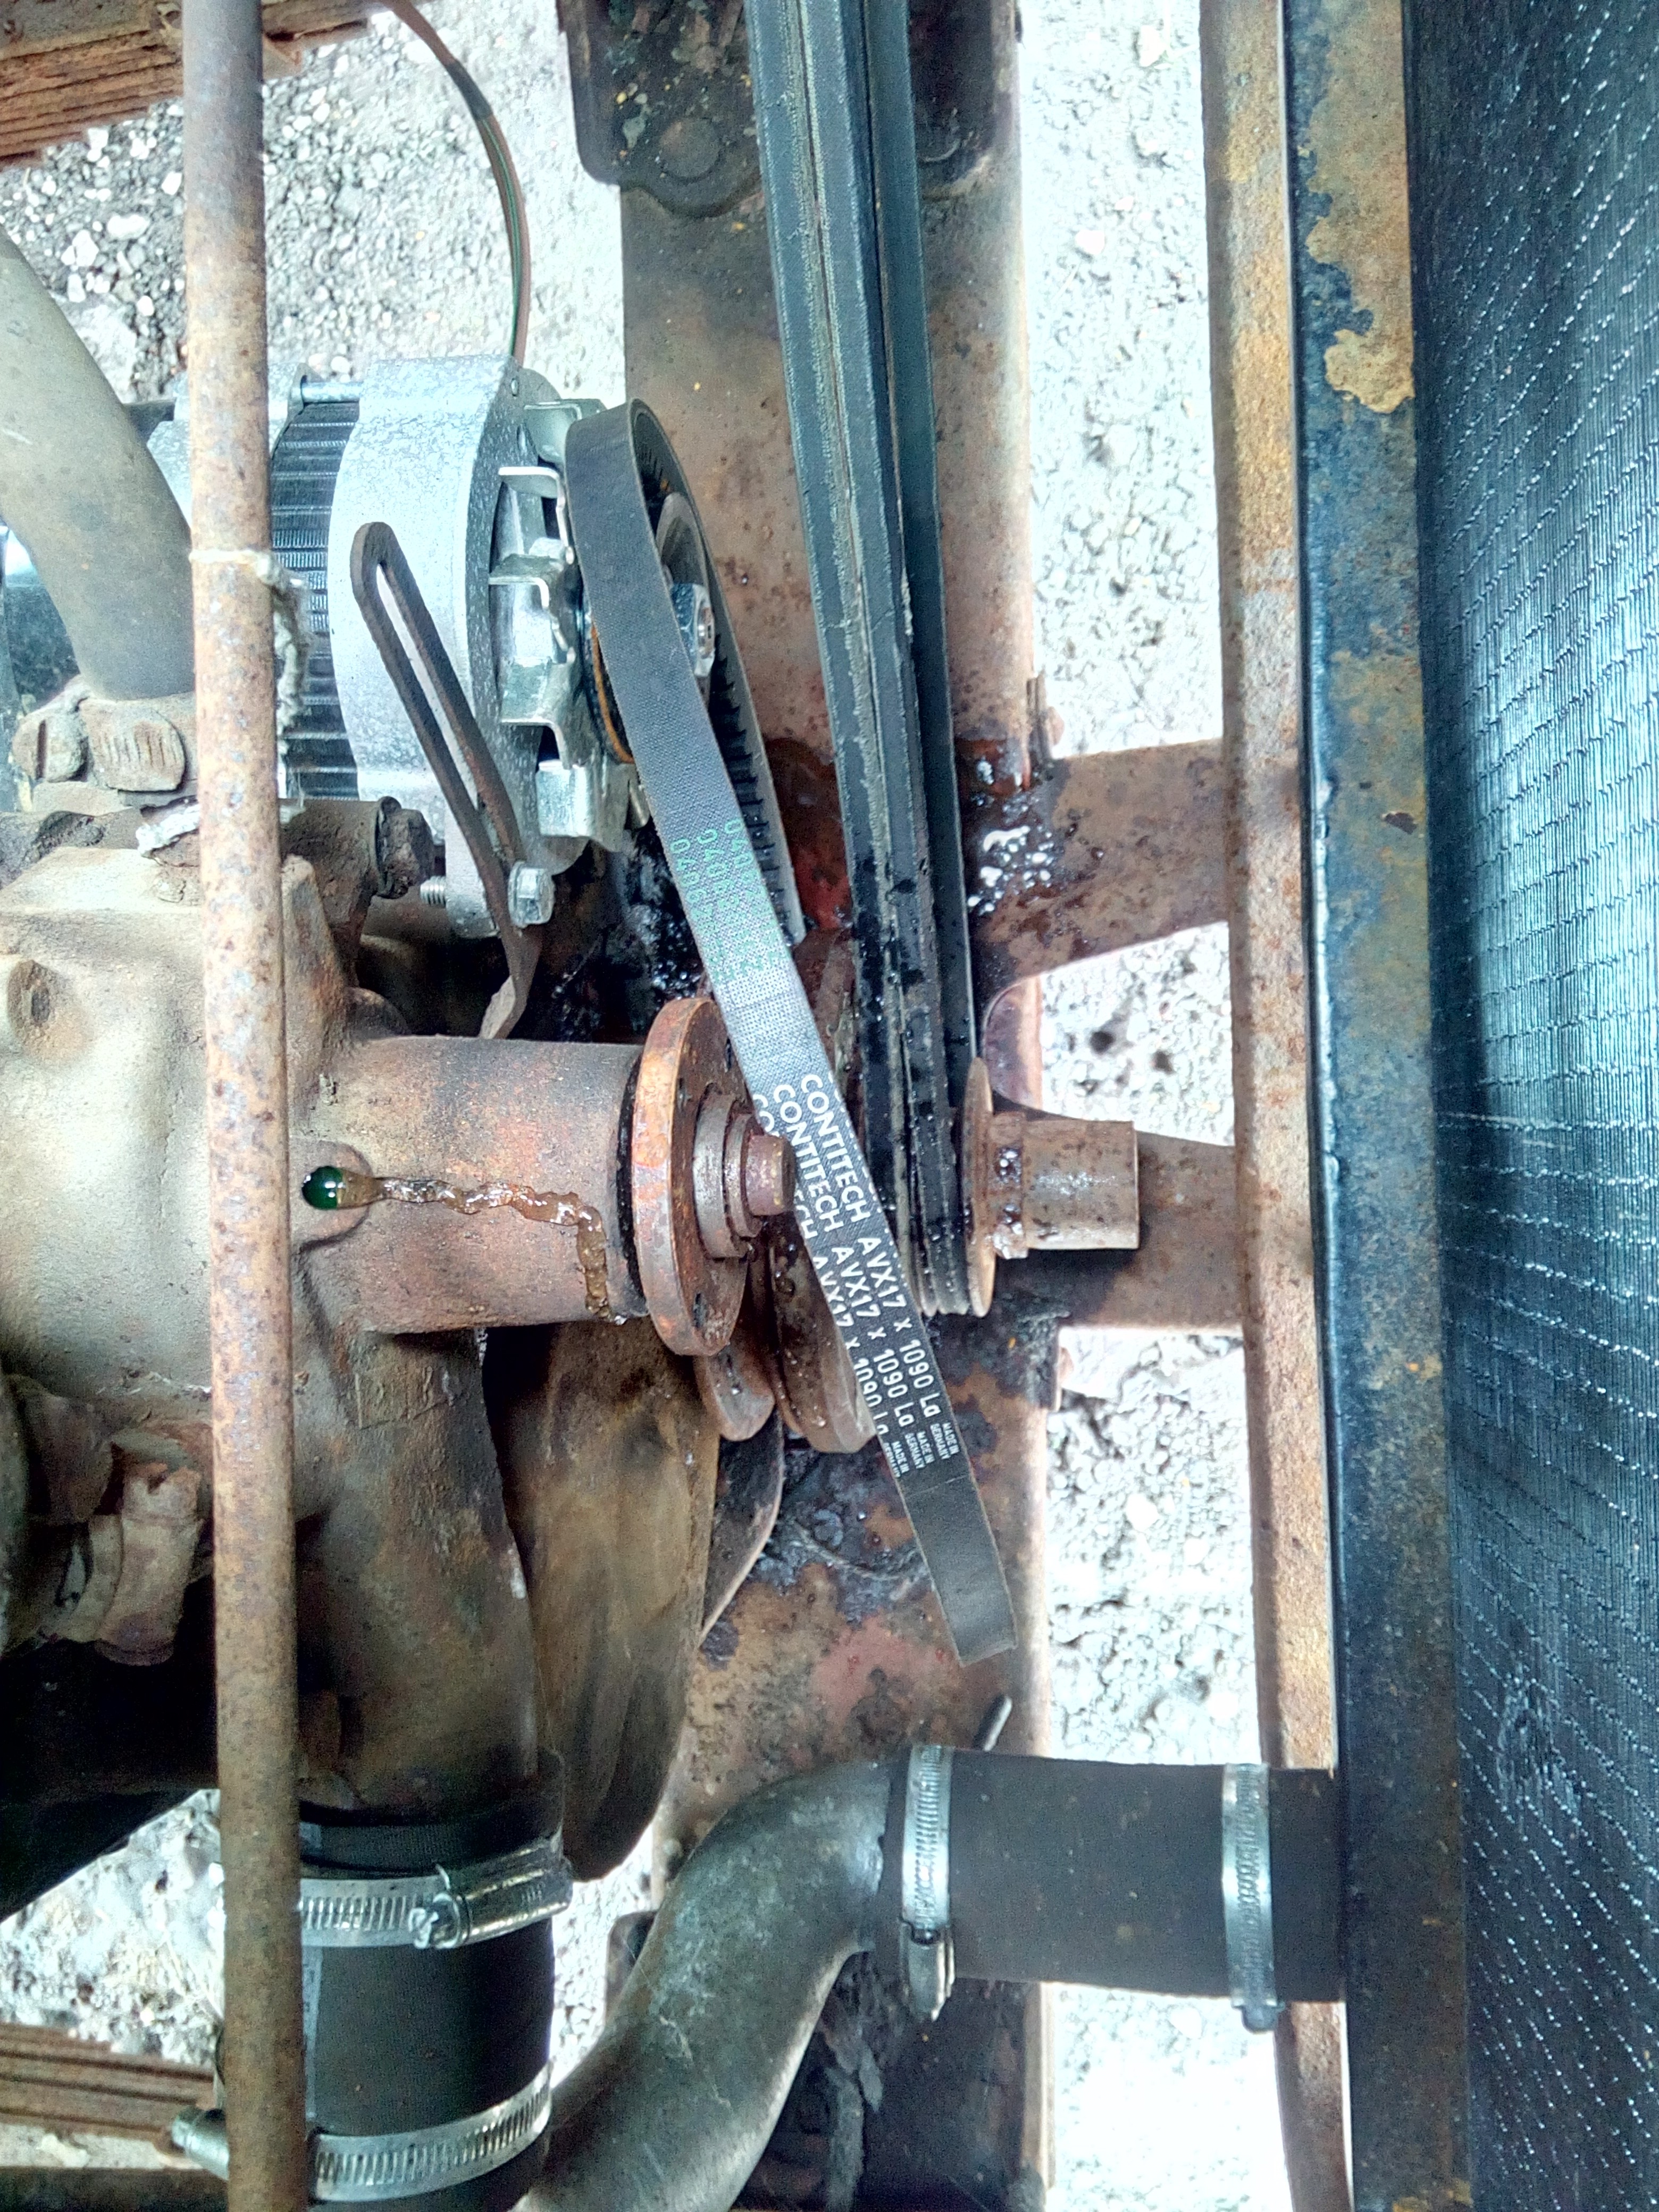
Just a bit.
Unfortunately, someone else had been in here before me, and royally munched on the screws. Two of them came out with an impact, but the others had to have nuts welded onto them. That meant more delay, ordering new screws to go in there! And also a gear puller needed to be procured...
So, what do you do when you can't proceed? Get the paint out. :D
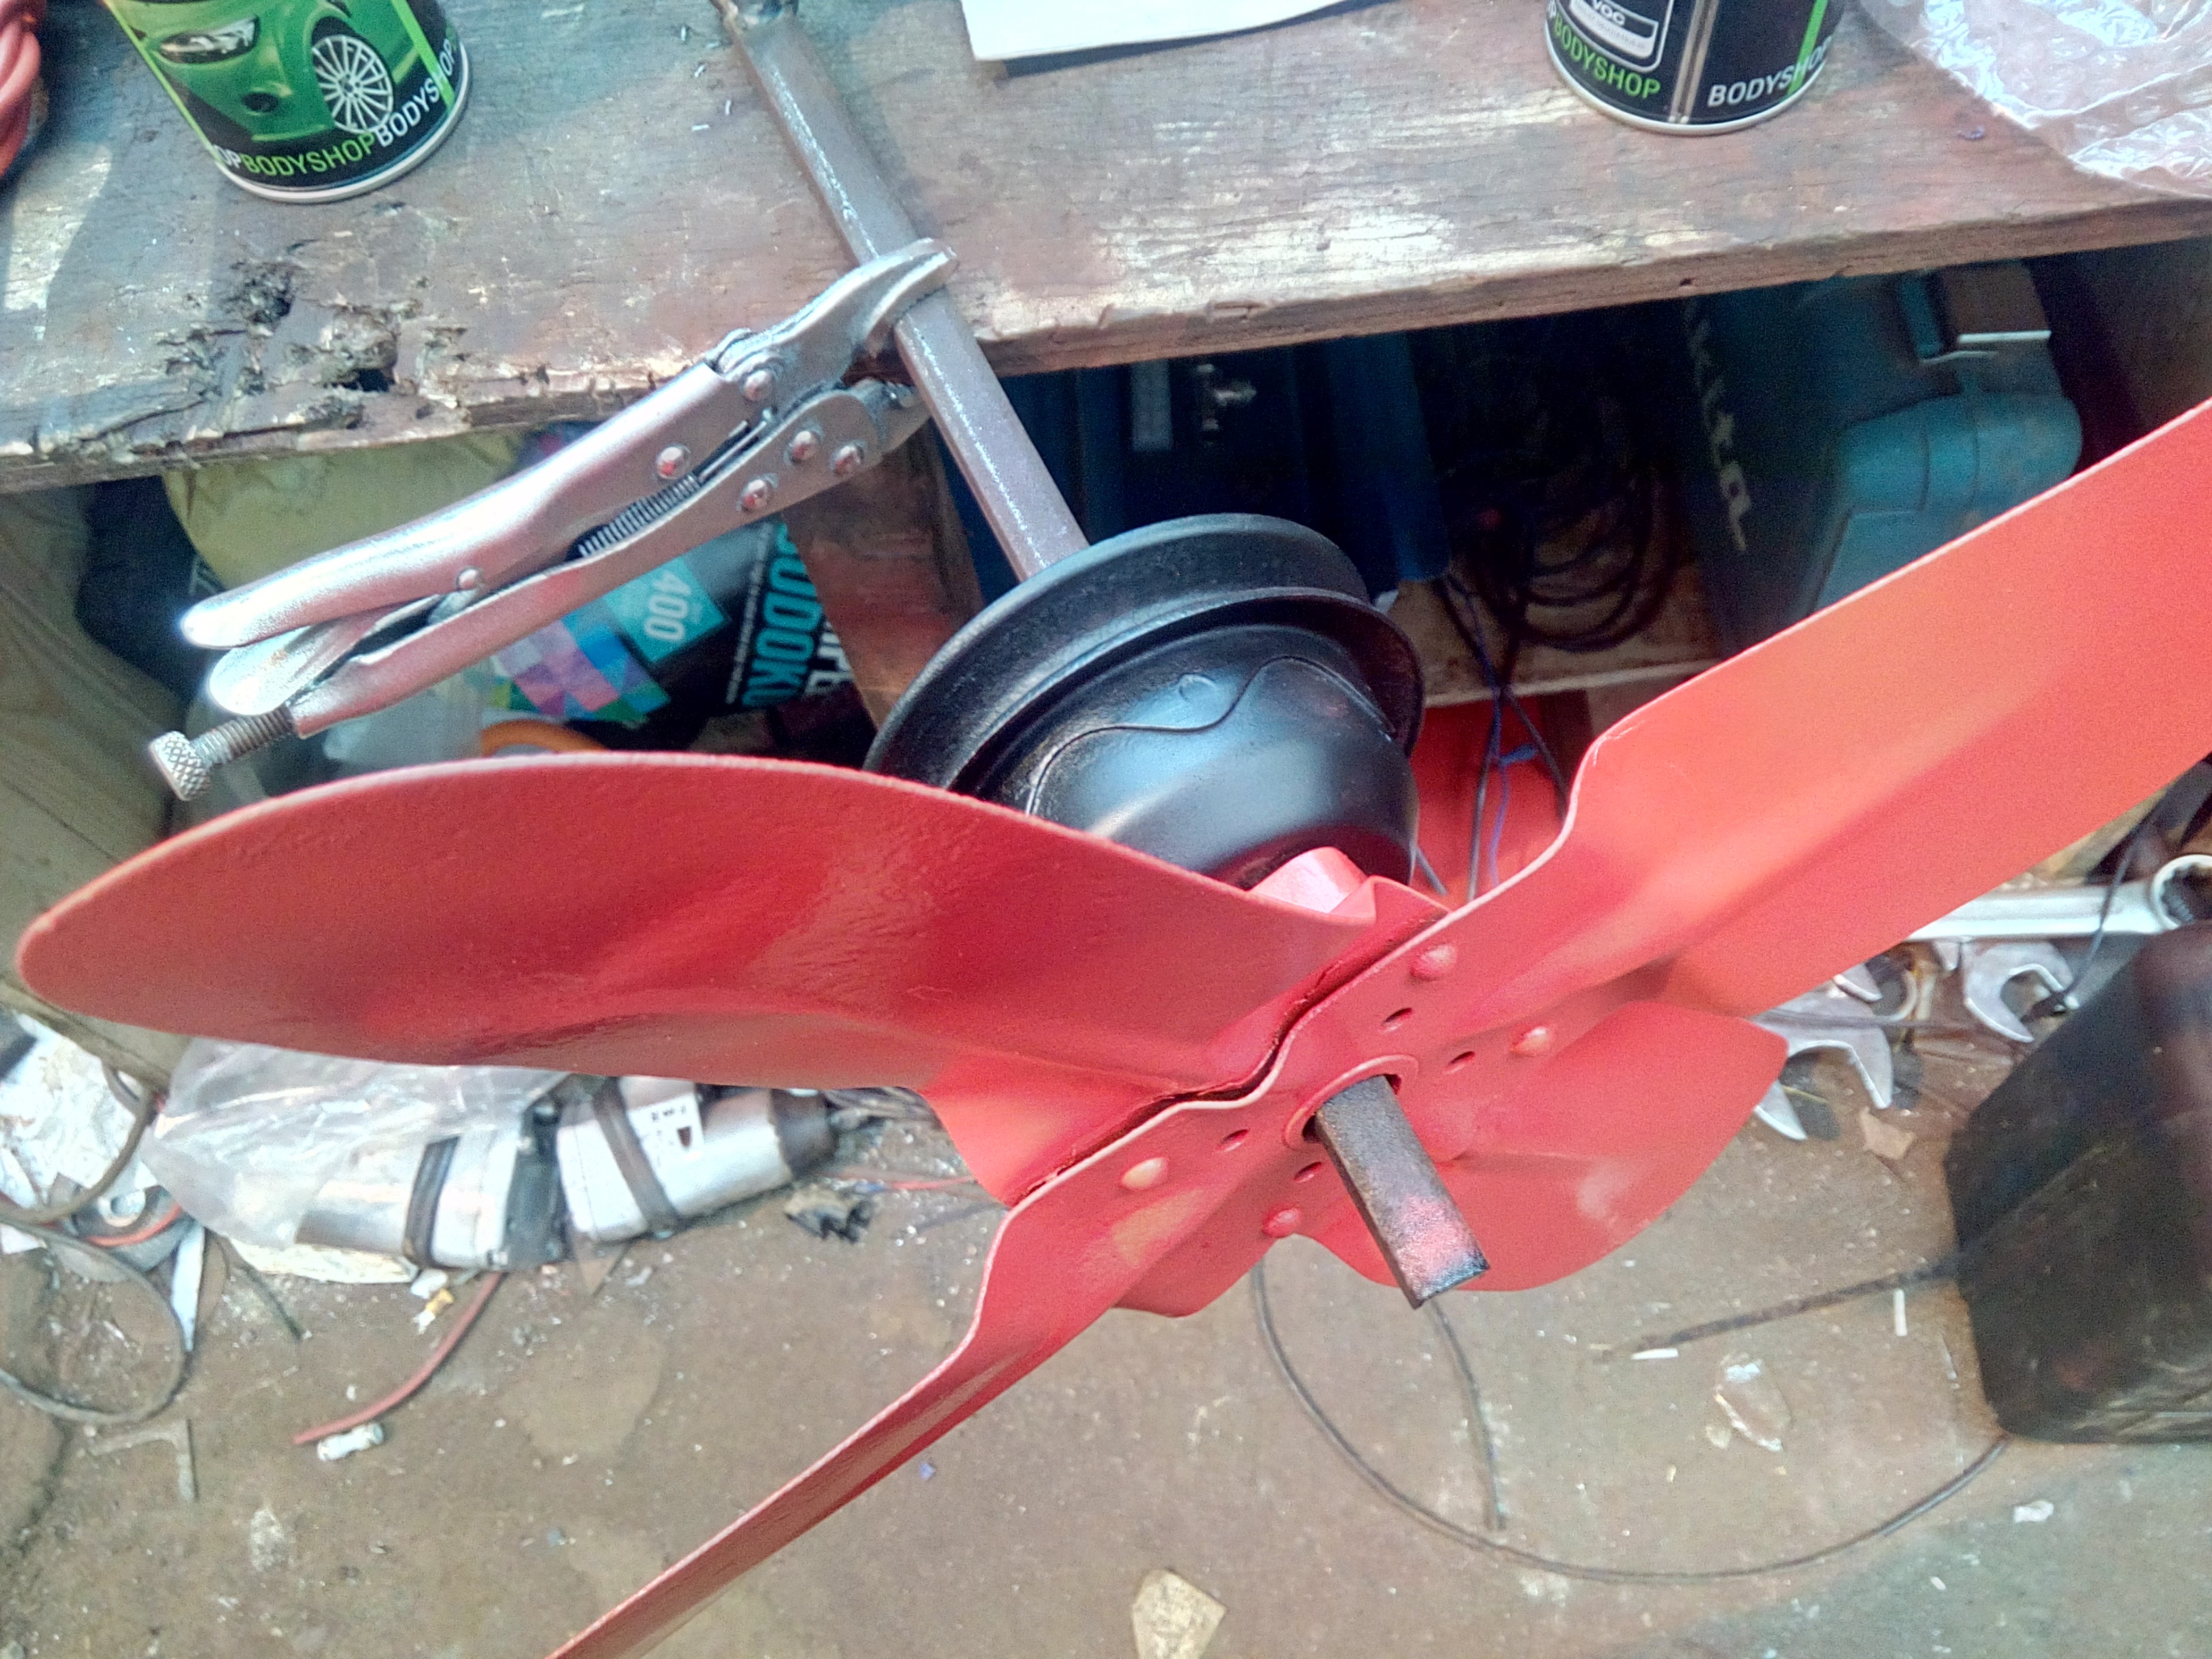
Snazzy!
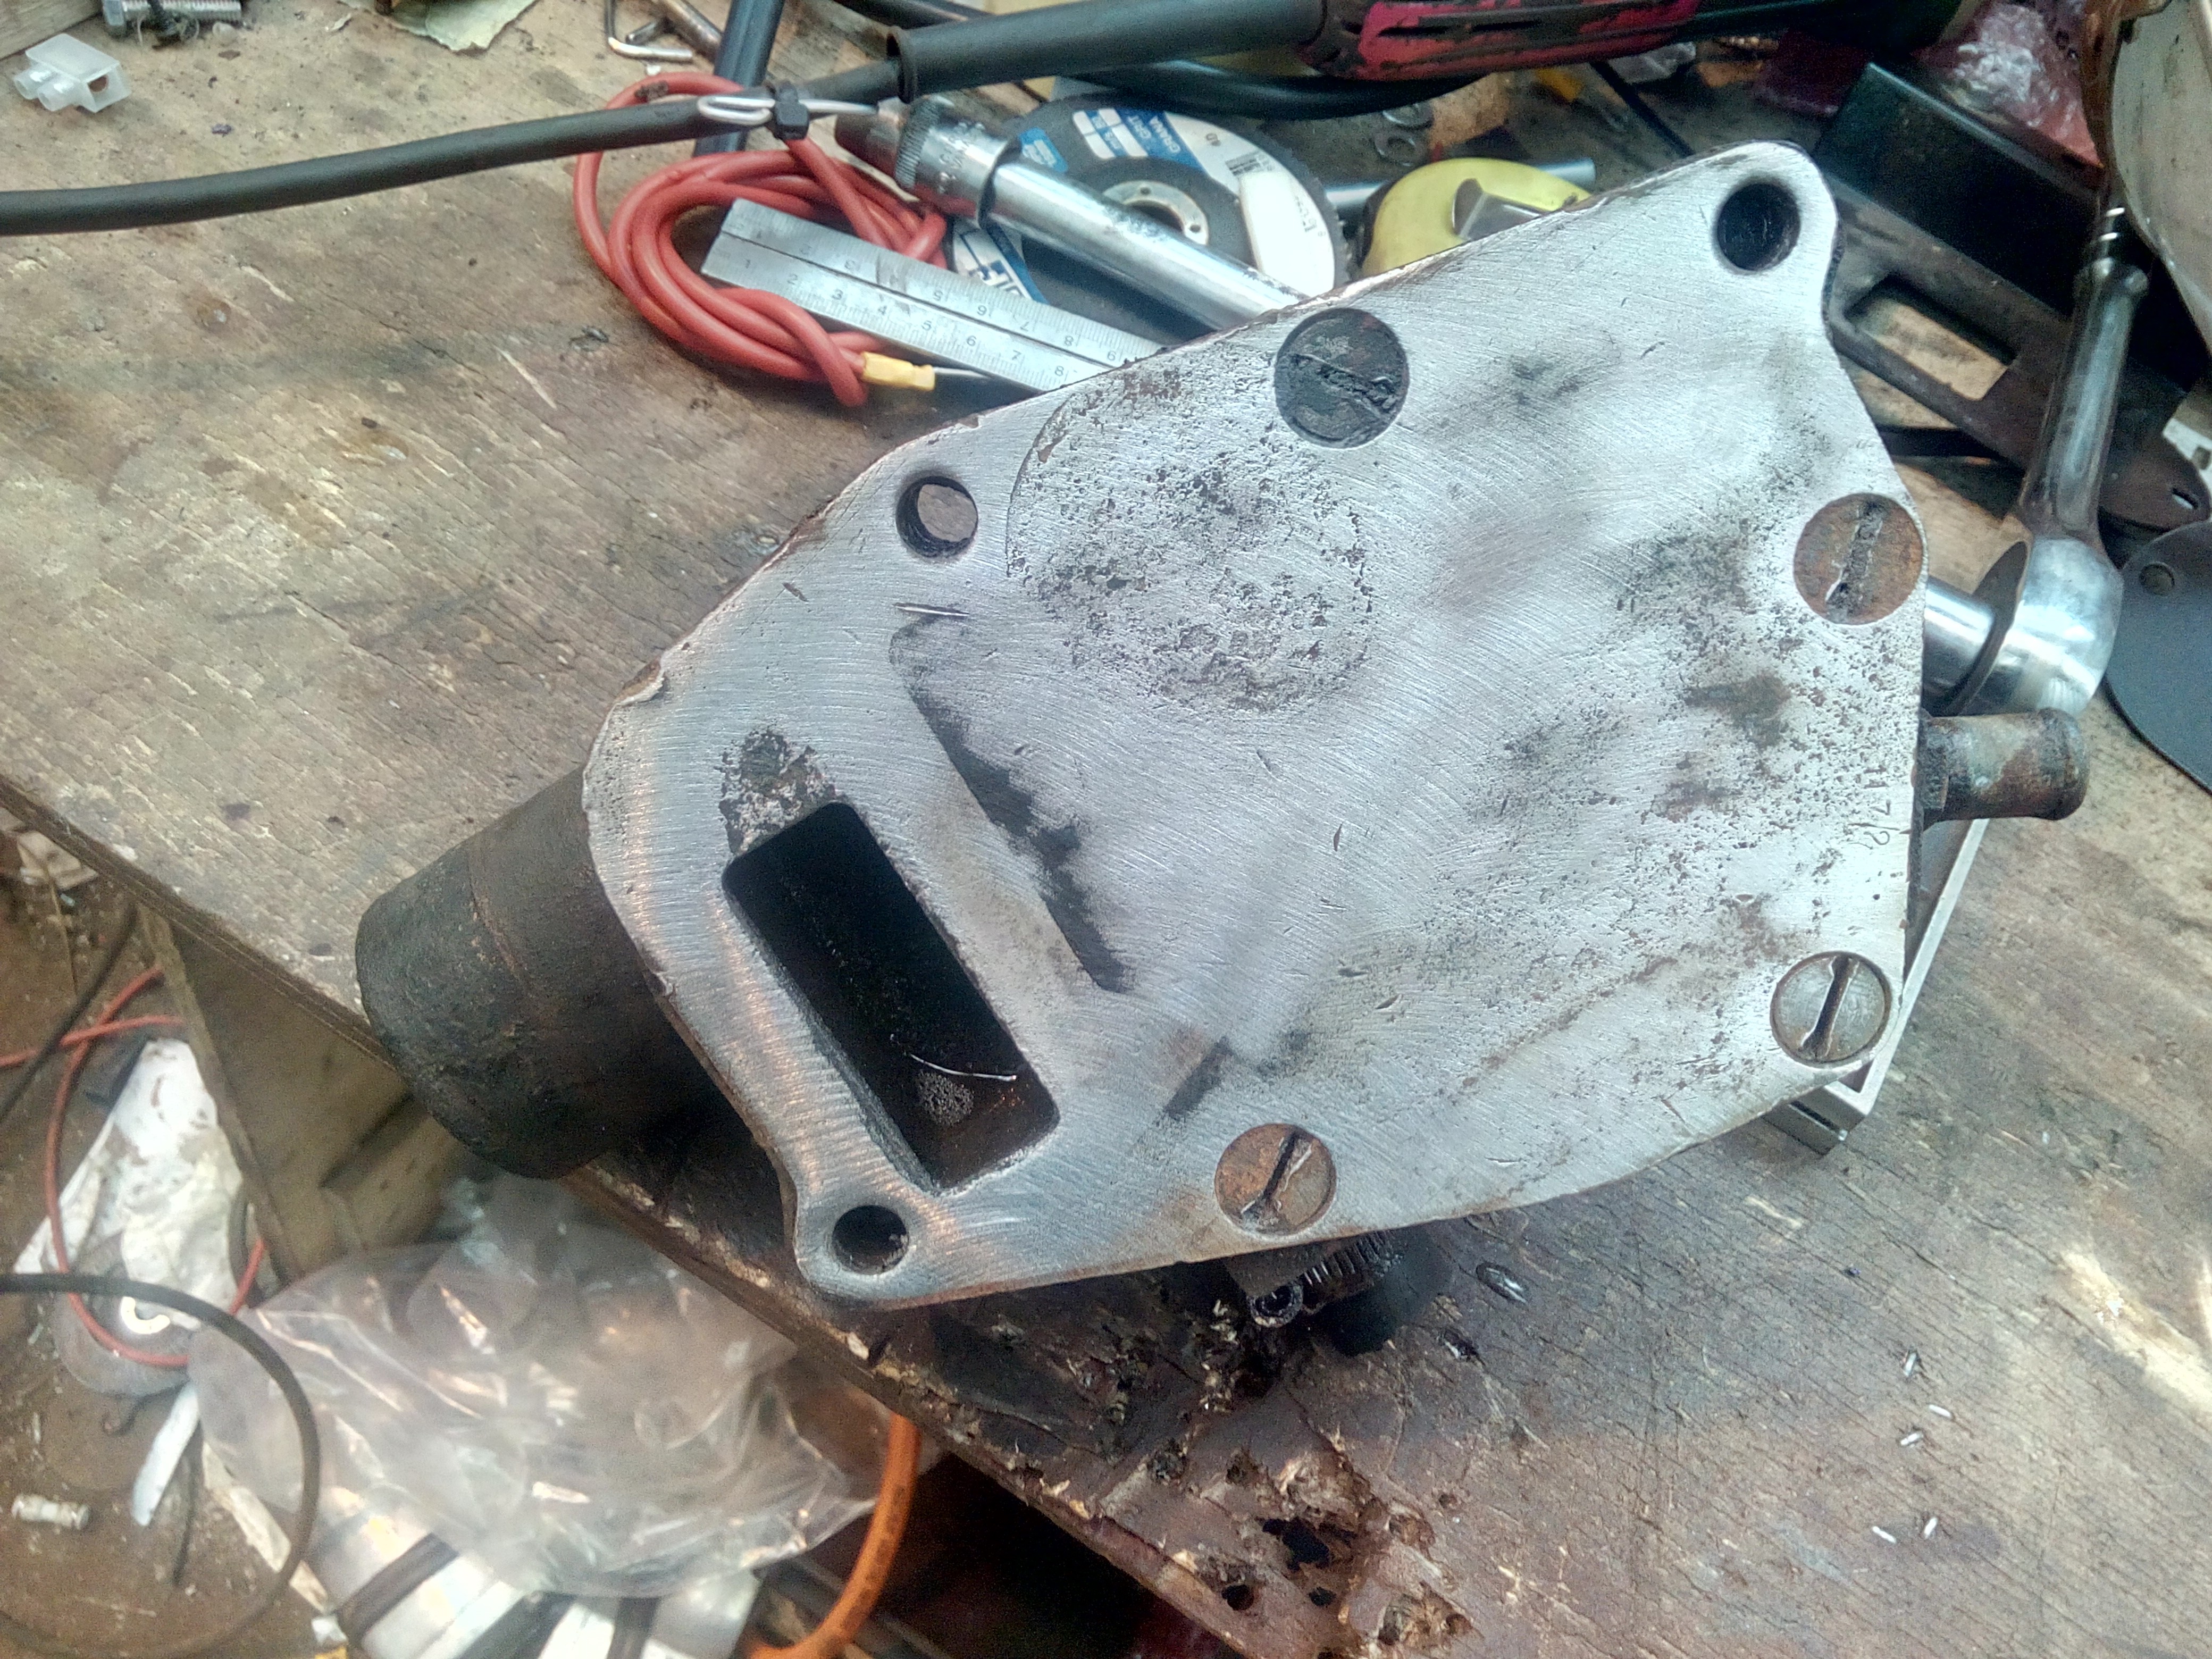
A few days later, I picked up the water pump, armed with my new gear puller. Promptly split the cast-iron pulley-flange into pieces with the puller. Off to the machine-shop with the pieces, superglued together, to see if he could make a new one. And with that, disassembly resumed.
It exposed ugly

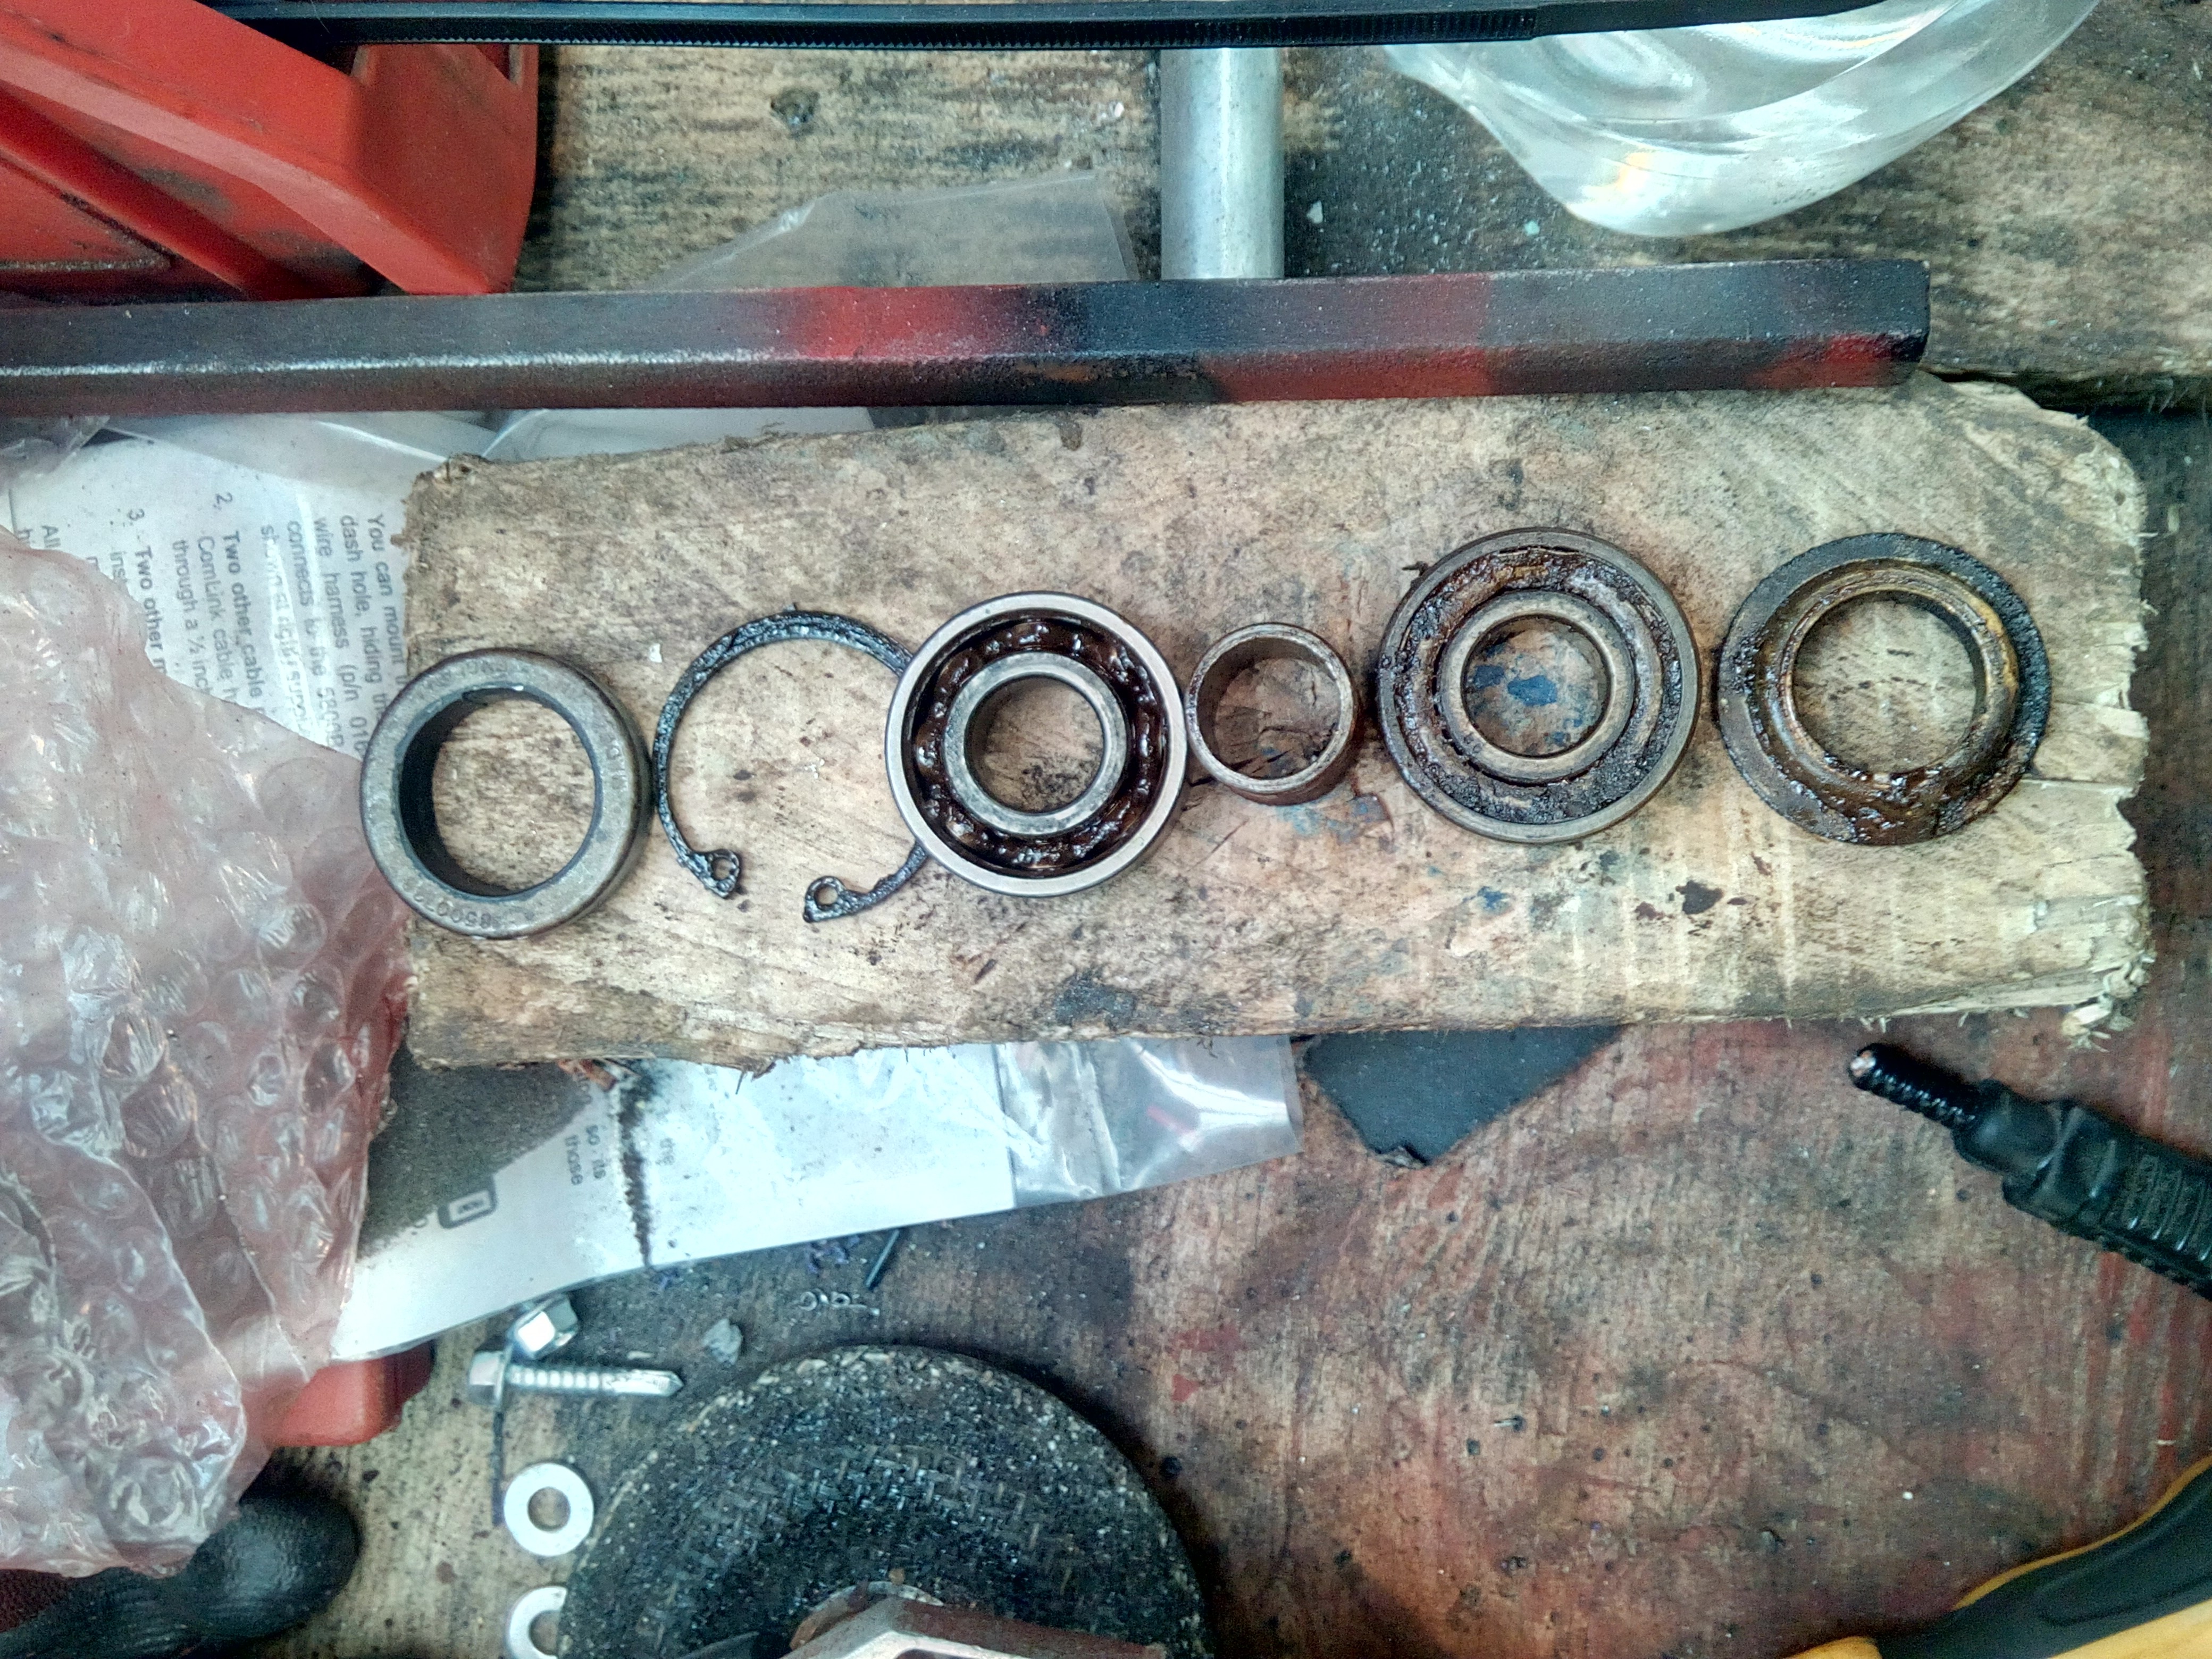
Apply one (1) water-pump rebuild kit.
Aaaaanyway, speaking of solid-looking, um...
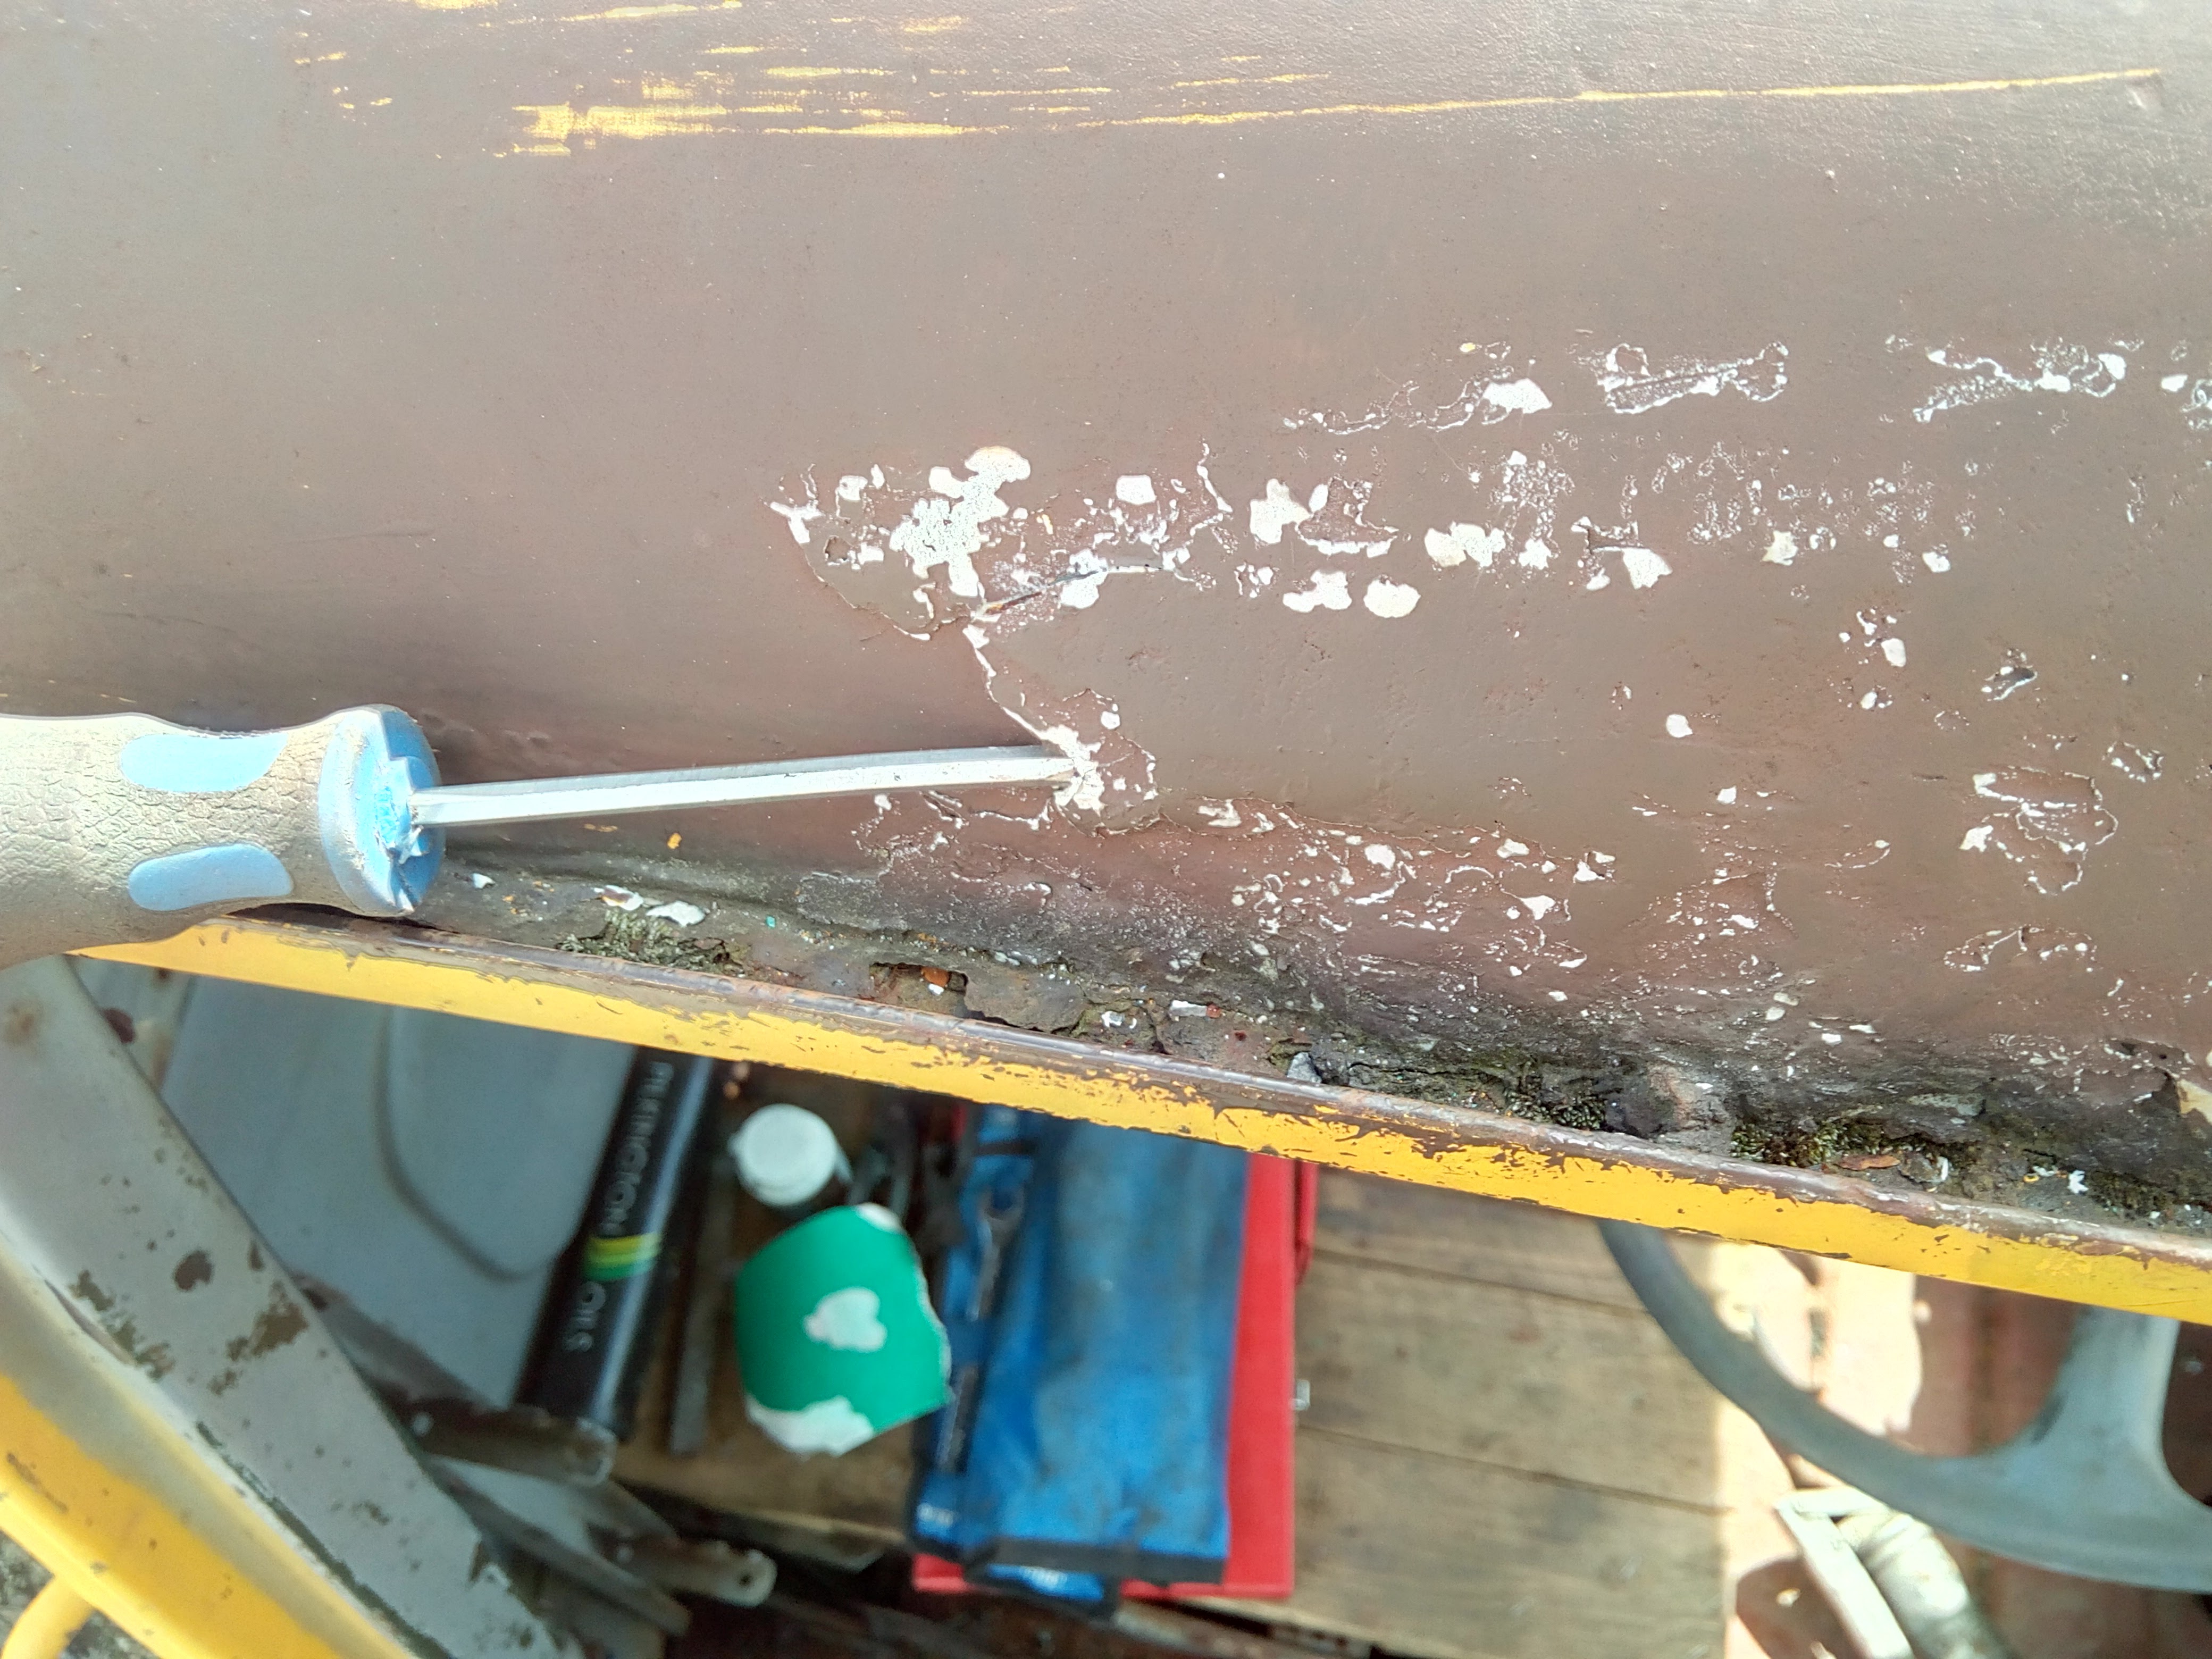
And then I leant on the roof while inspecting the (known) rust spots, and there was a crunch.
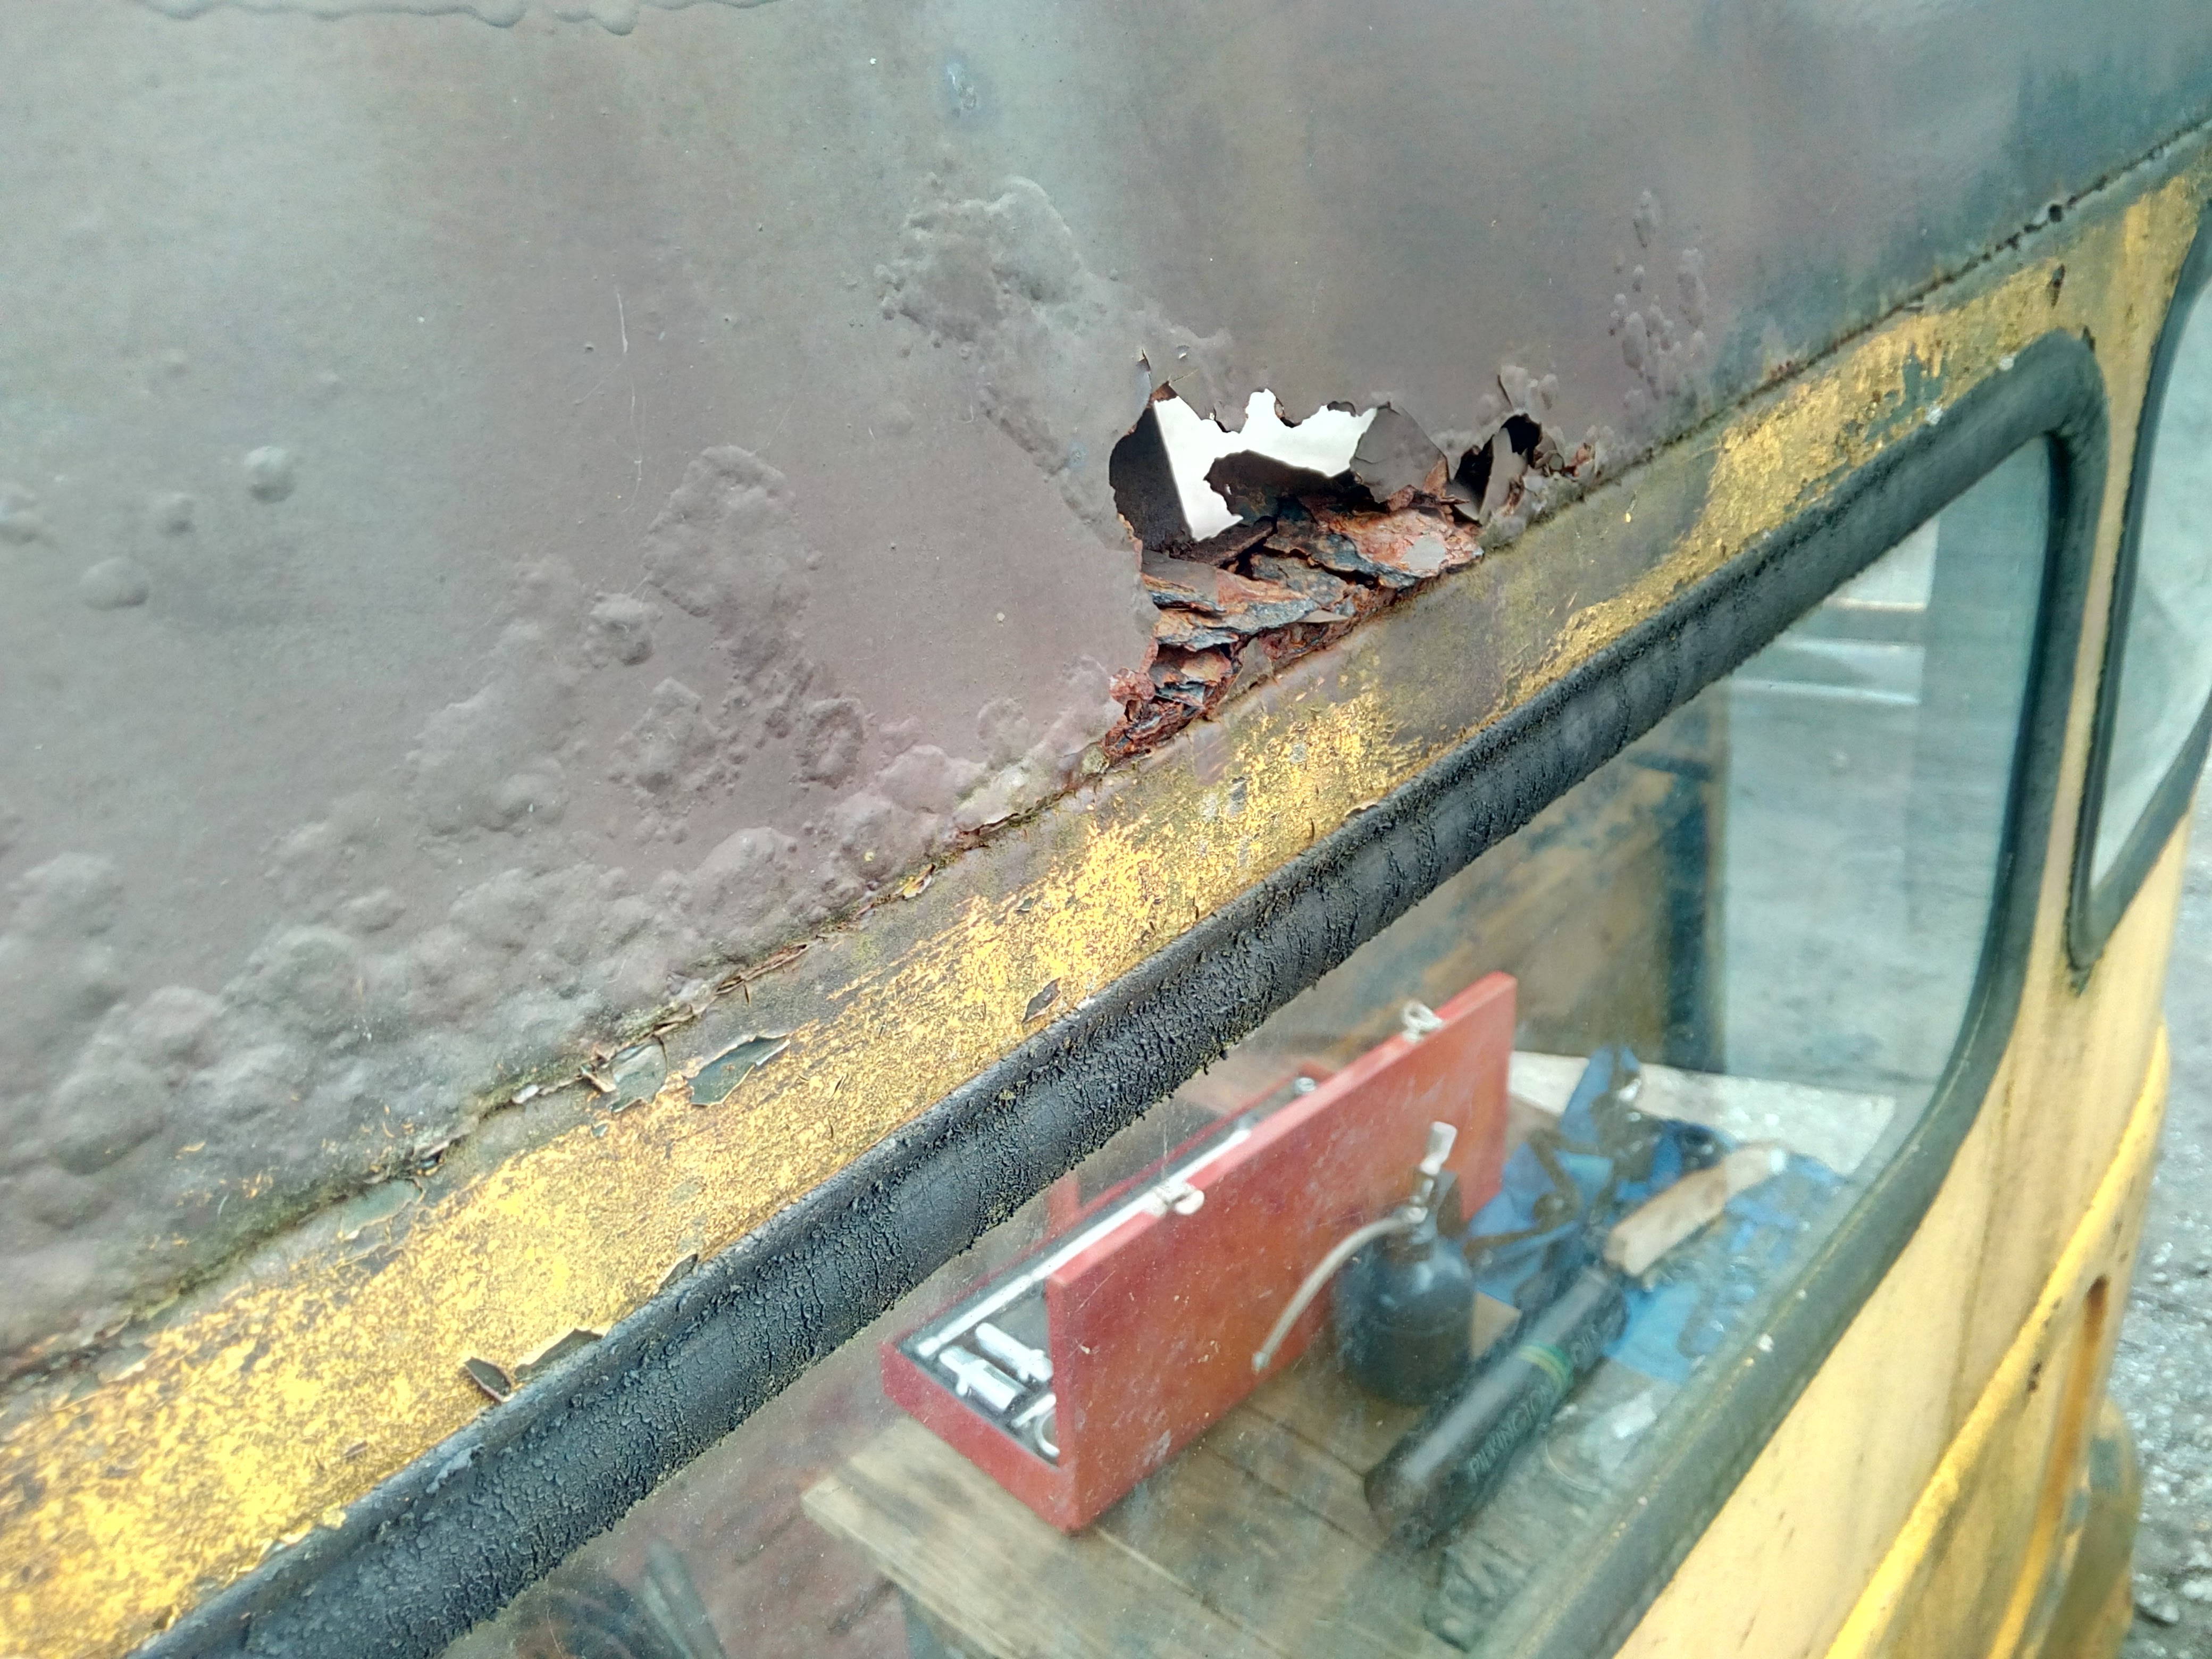
Oh buggeration.
Then, on to the ominous sections of the roof. Now, there was a Large tub of P38 in one of the storage lockers when I first investigated the truck; and I think I've discovered where most of it has been used.
Some hammering and prying la... is that bloody newspaper?! Why, yes, it is!
Let's see what's behind door number 38
(You can tell what's coming, can't you?)
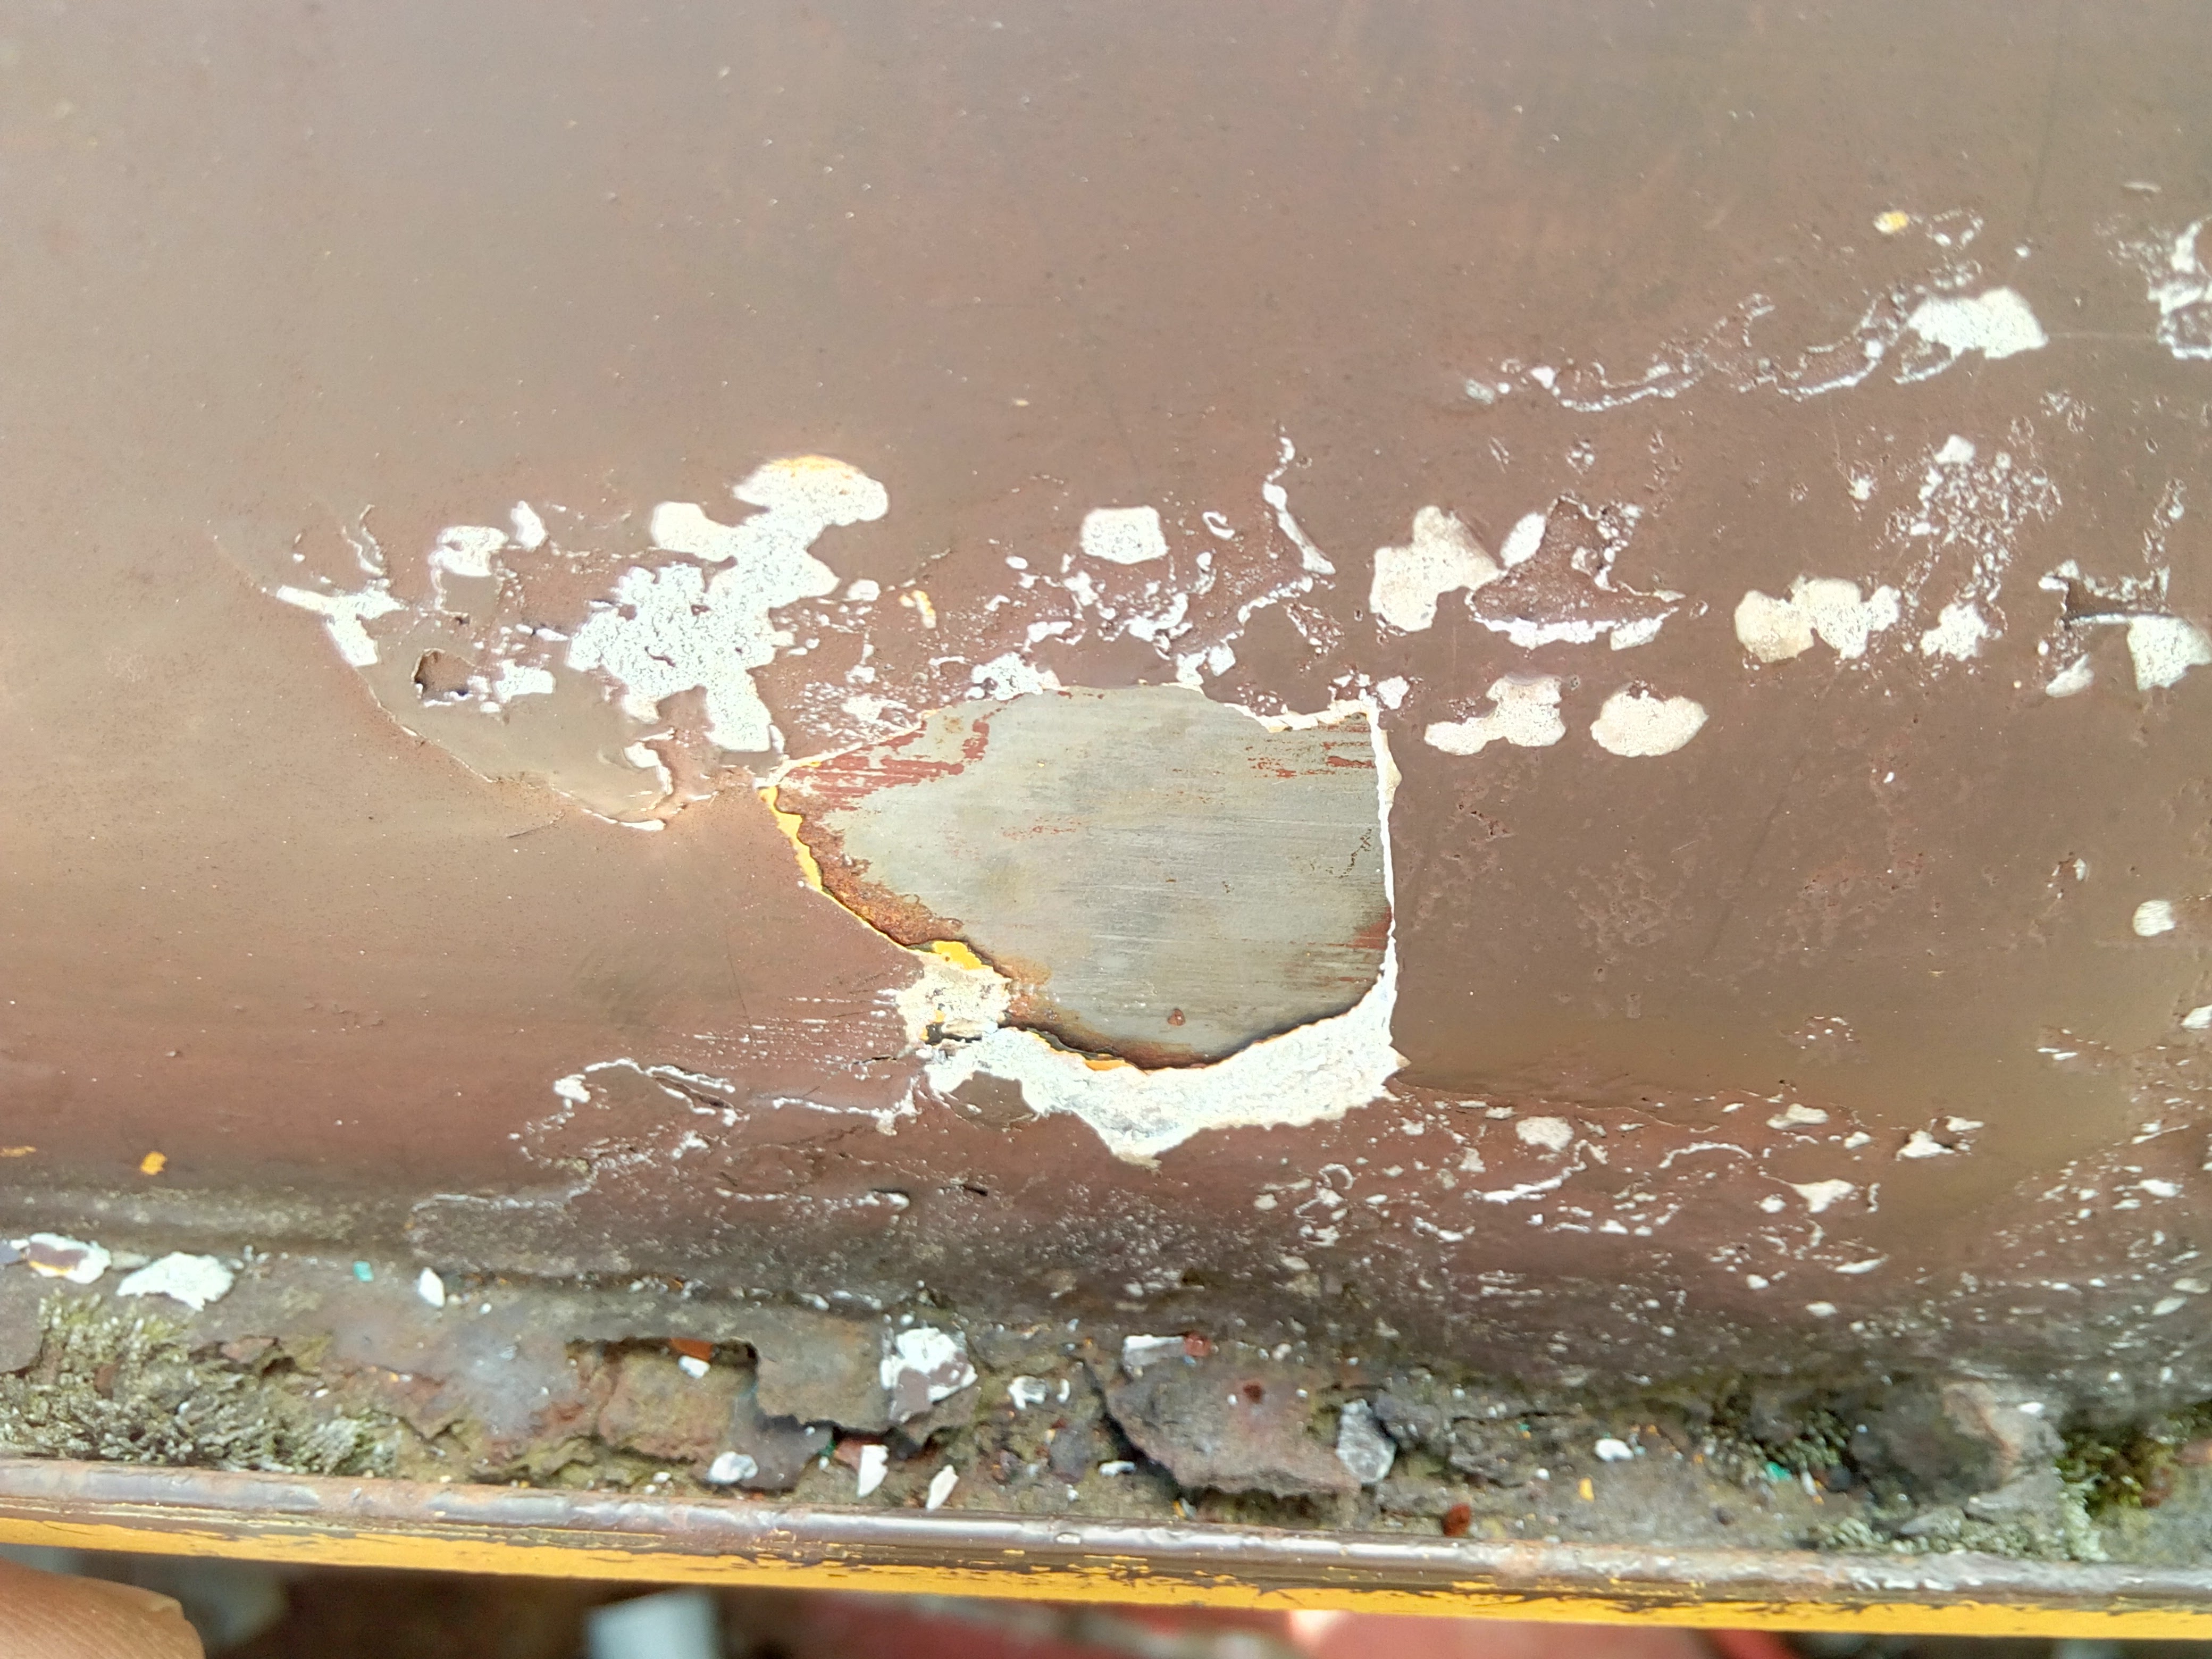
Ha!
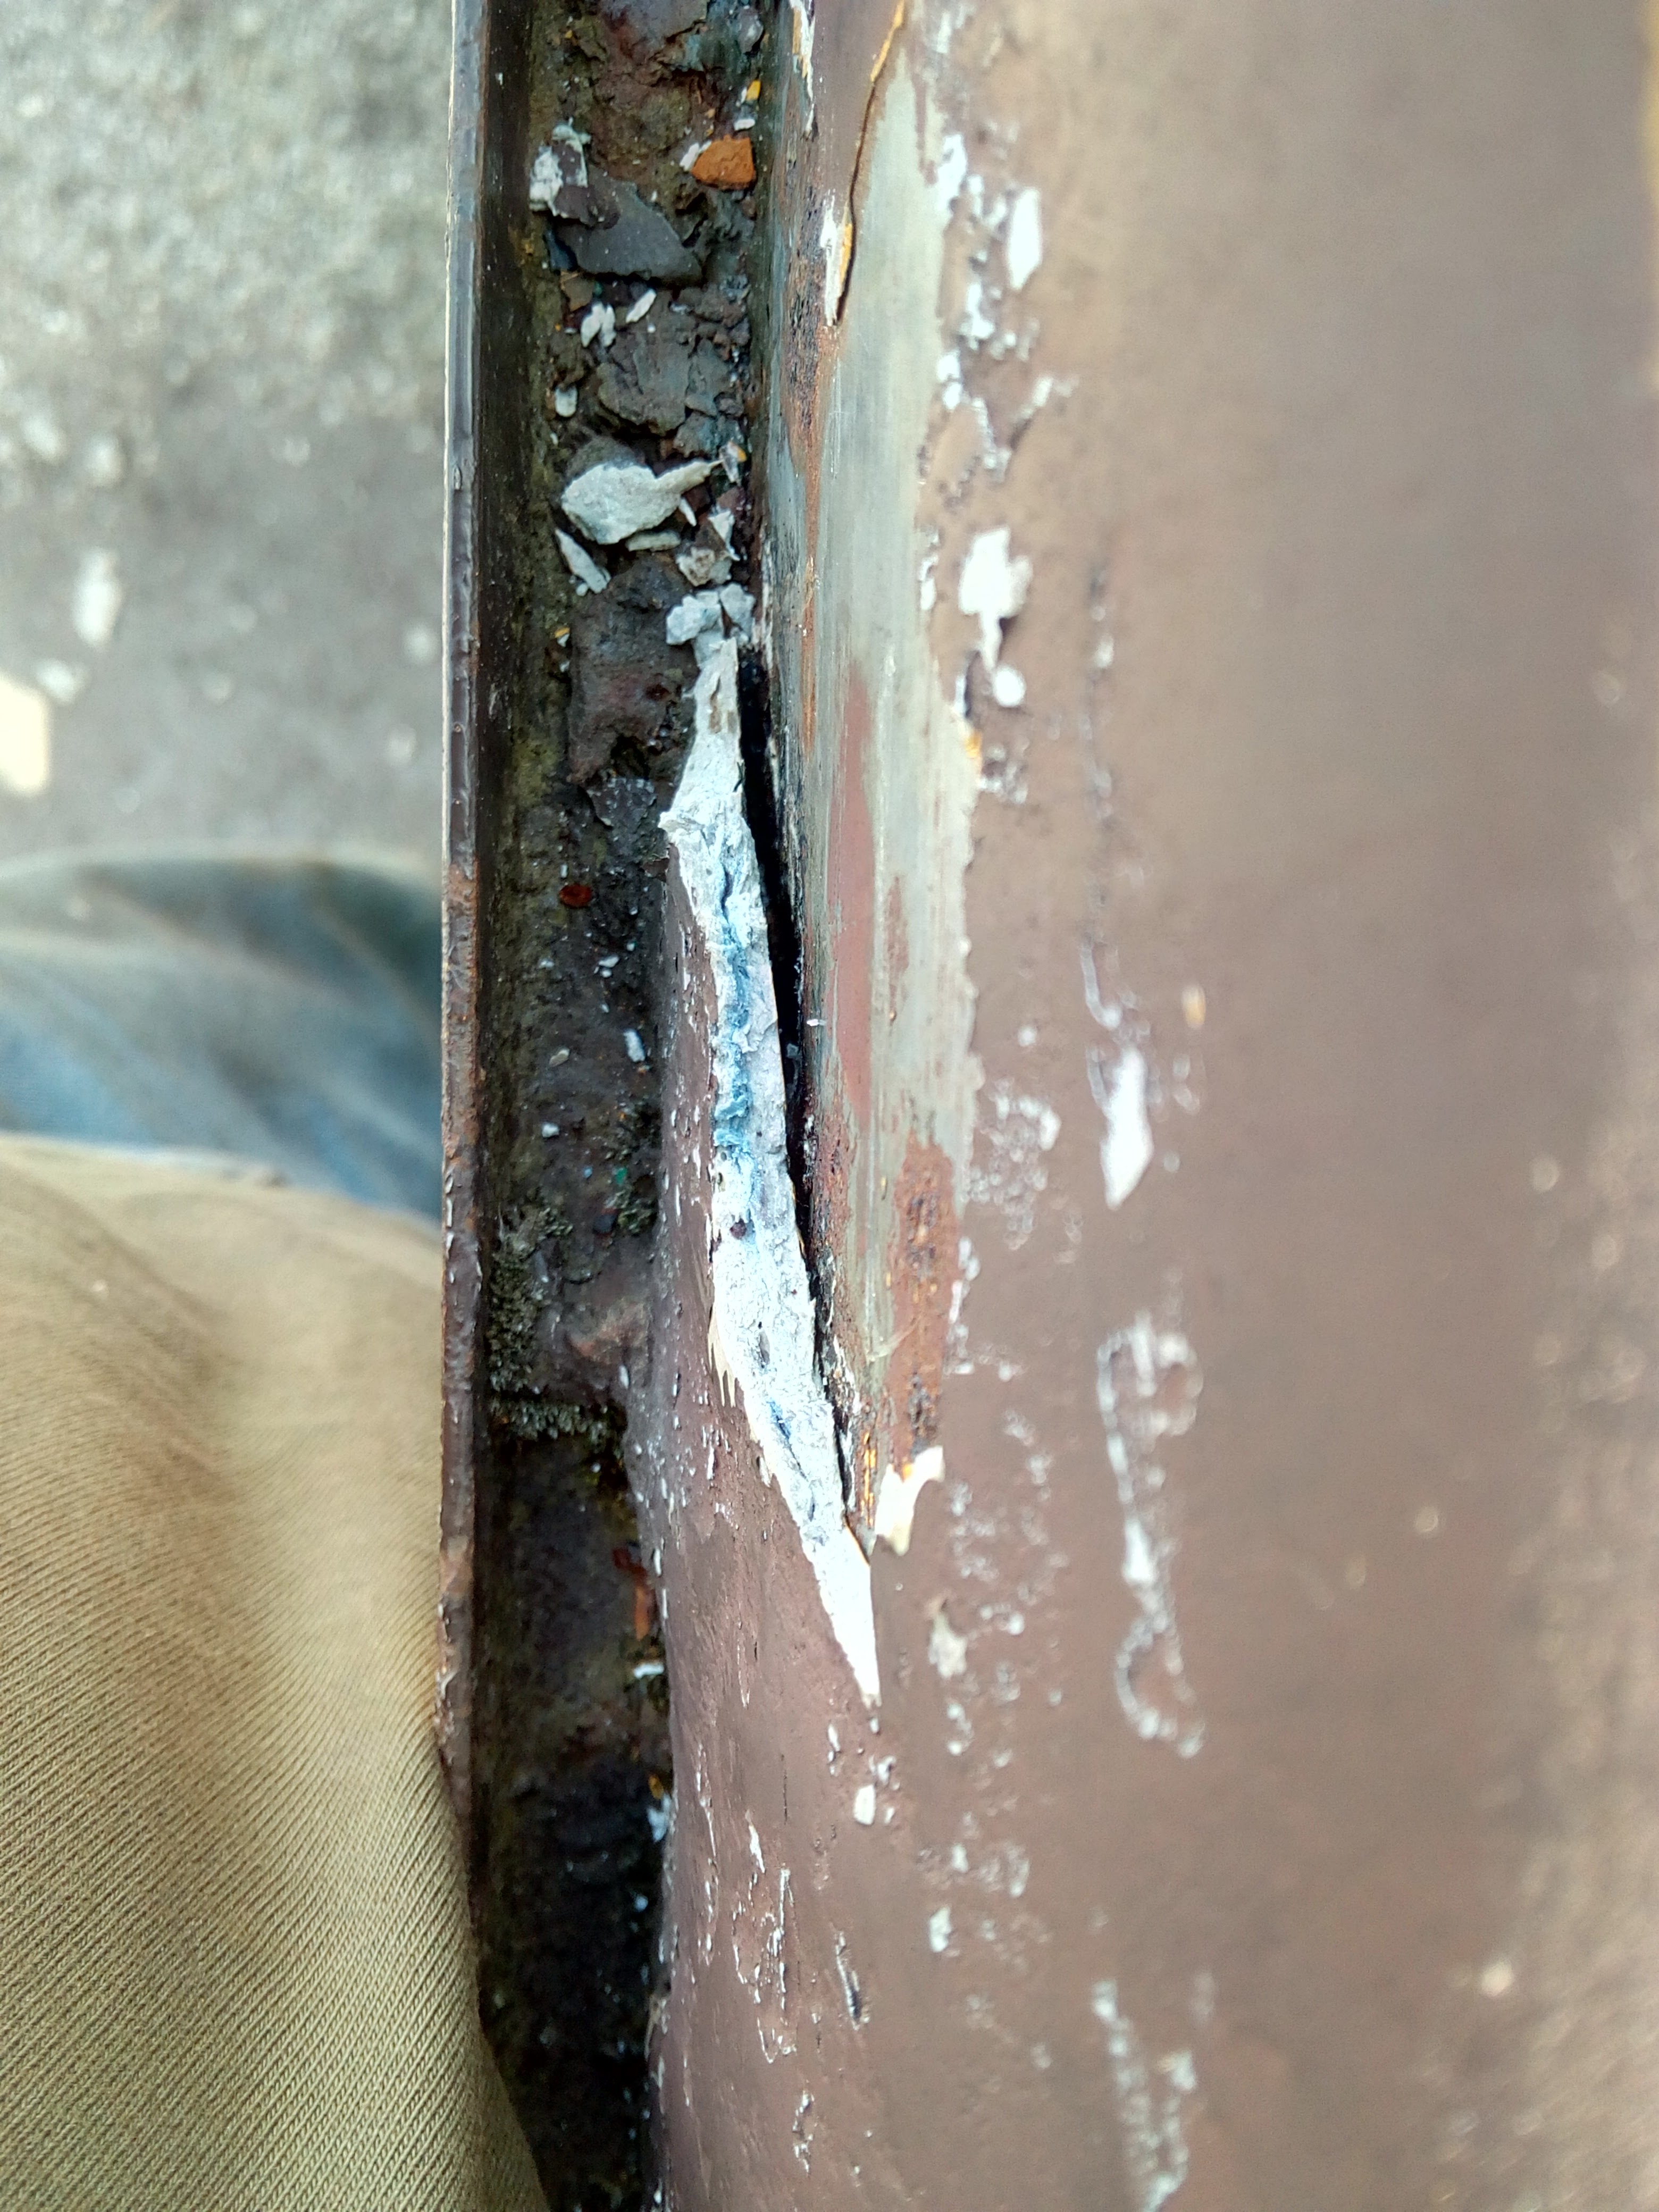
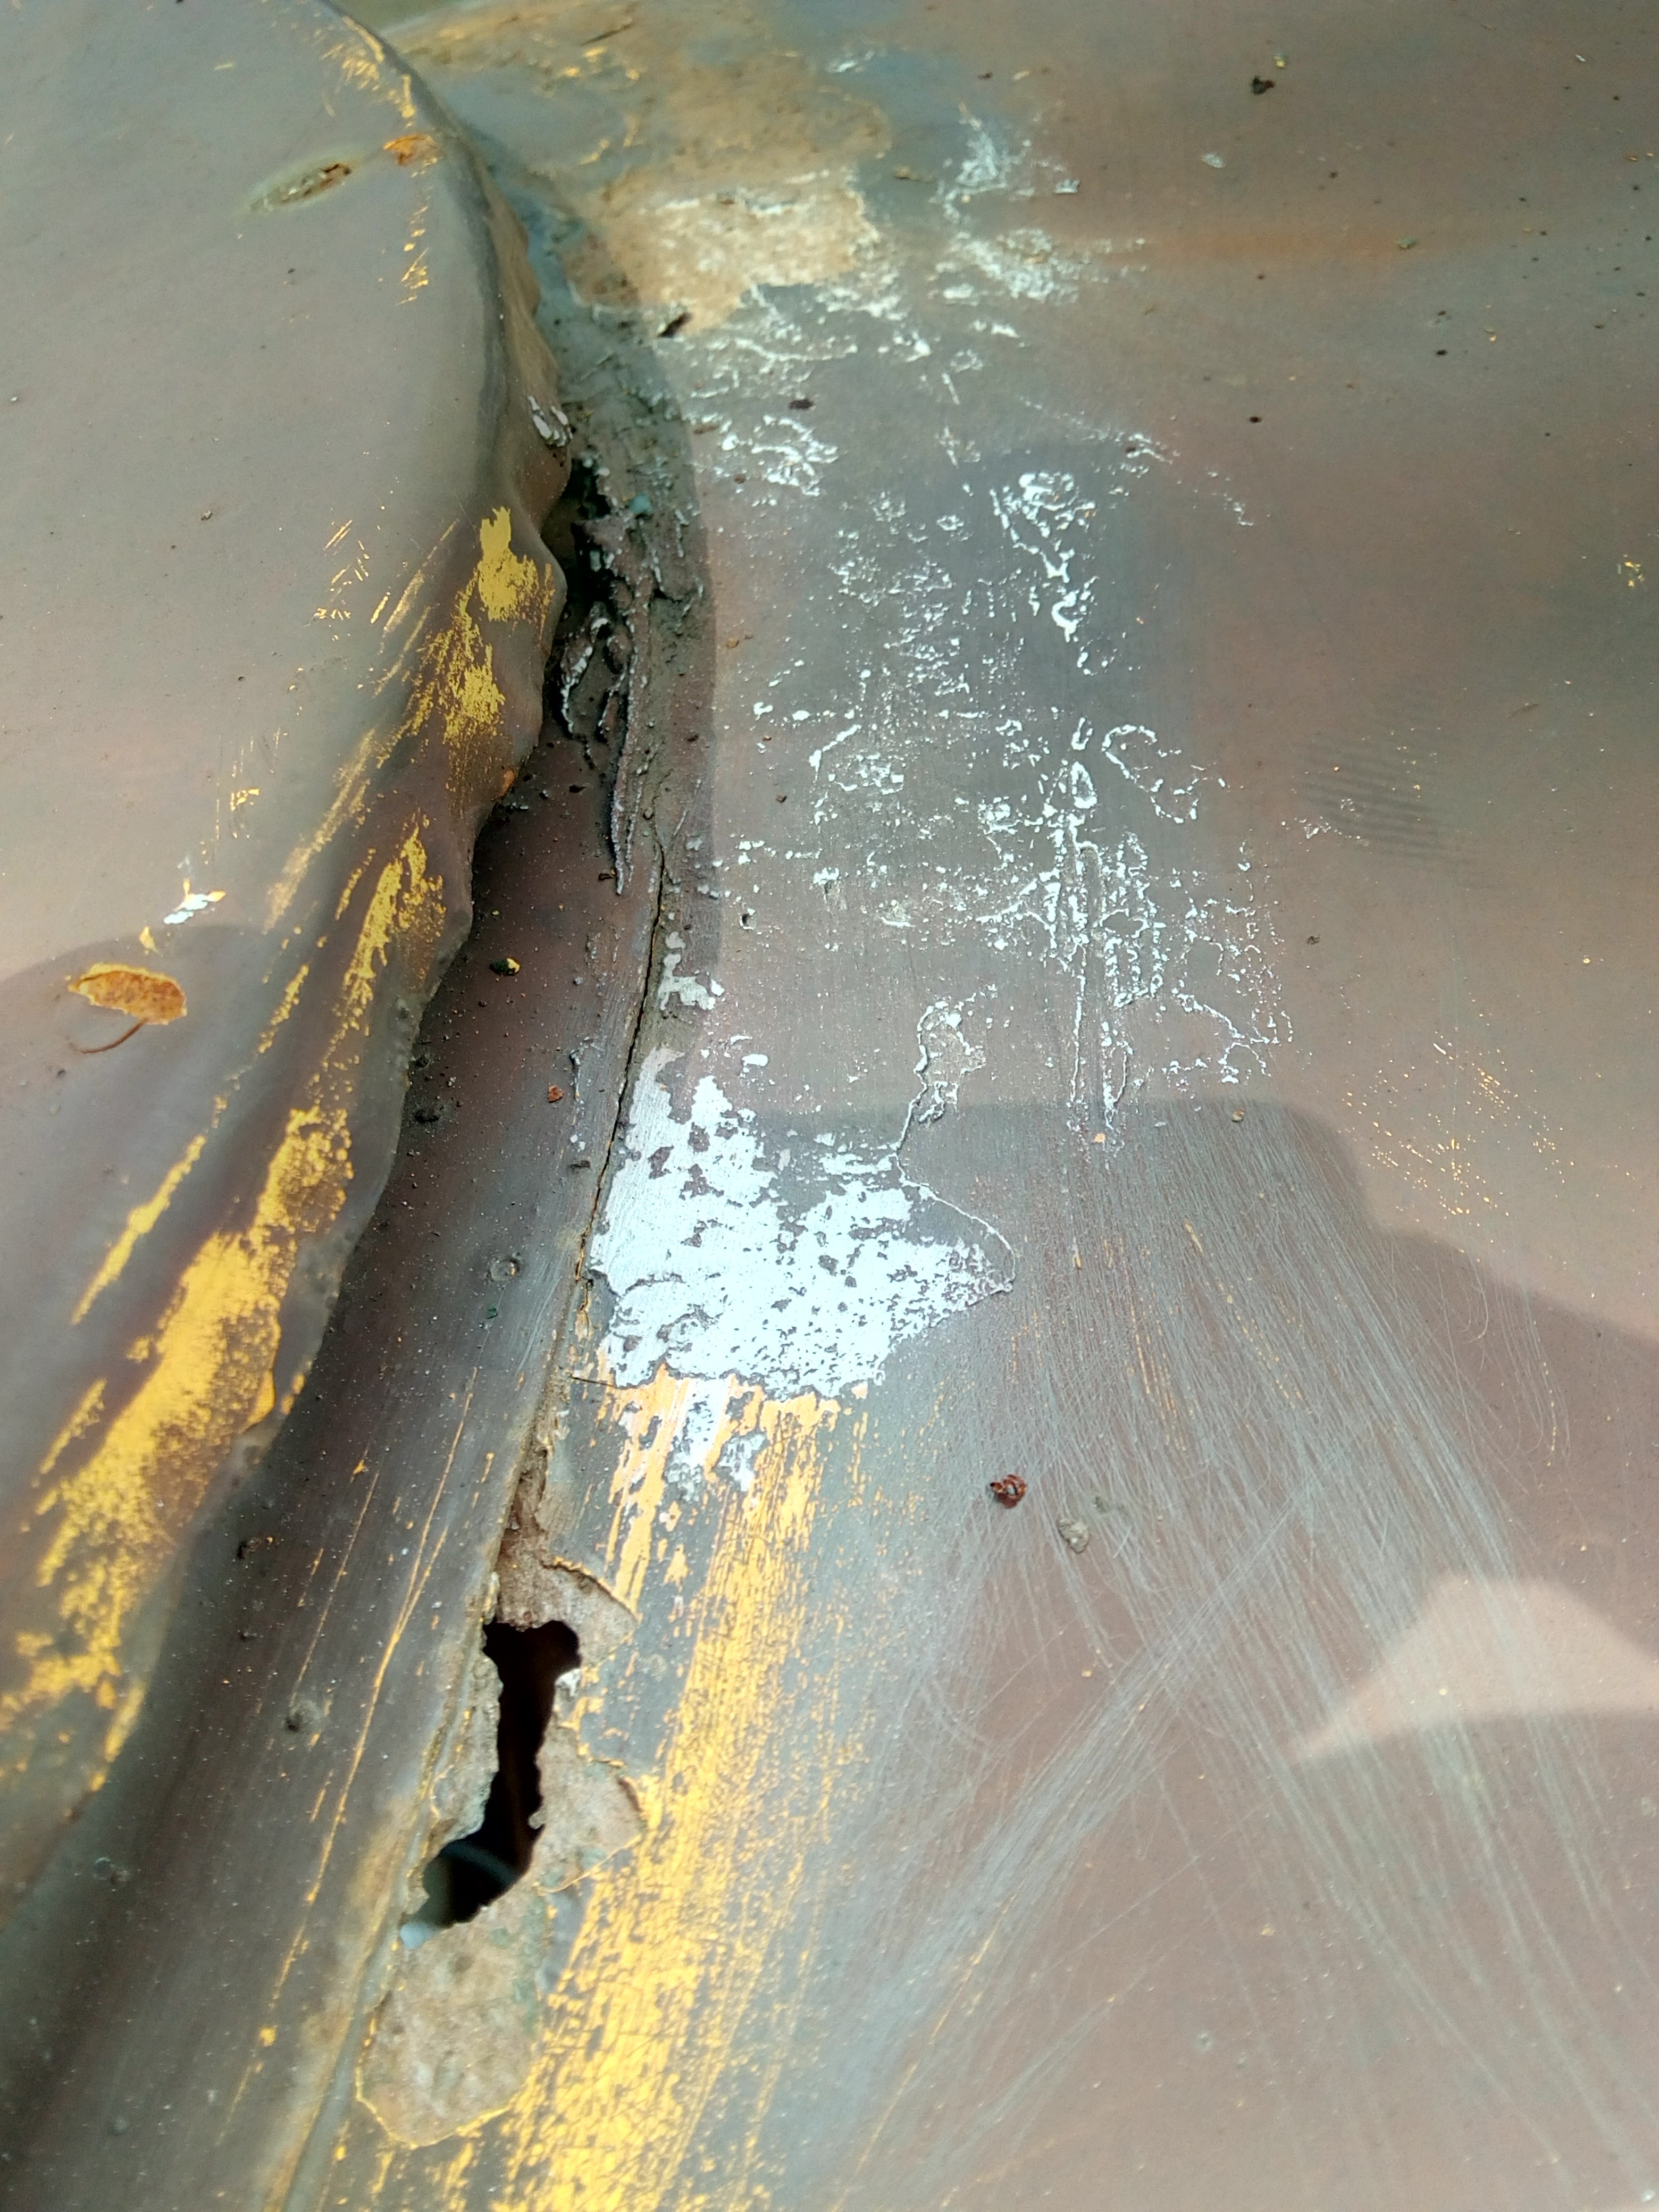
Good grief. I'll be honest with you, it doesn't get much better from here, but I suspect you knew that already. :D
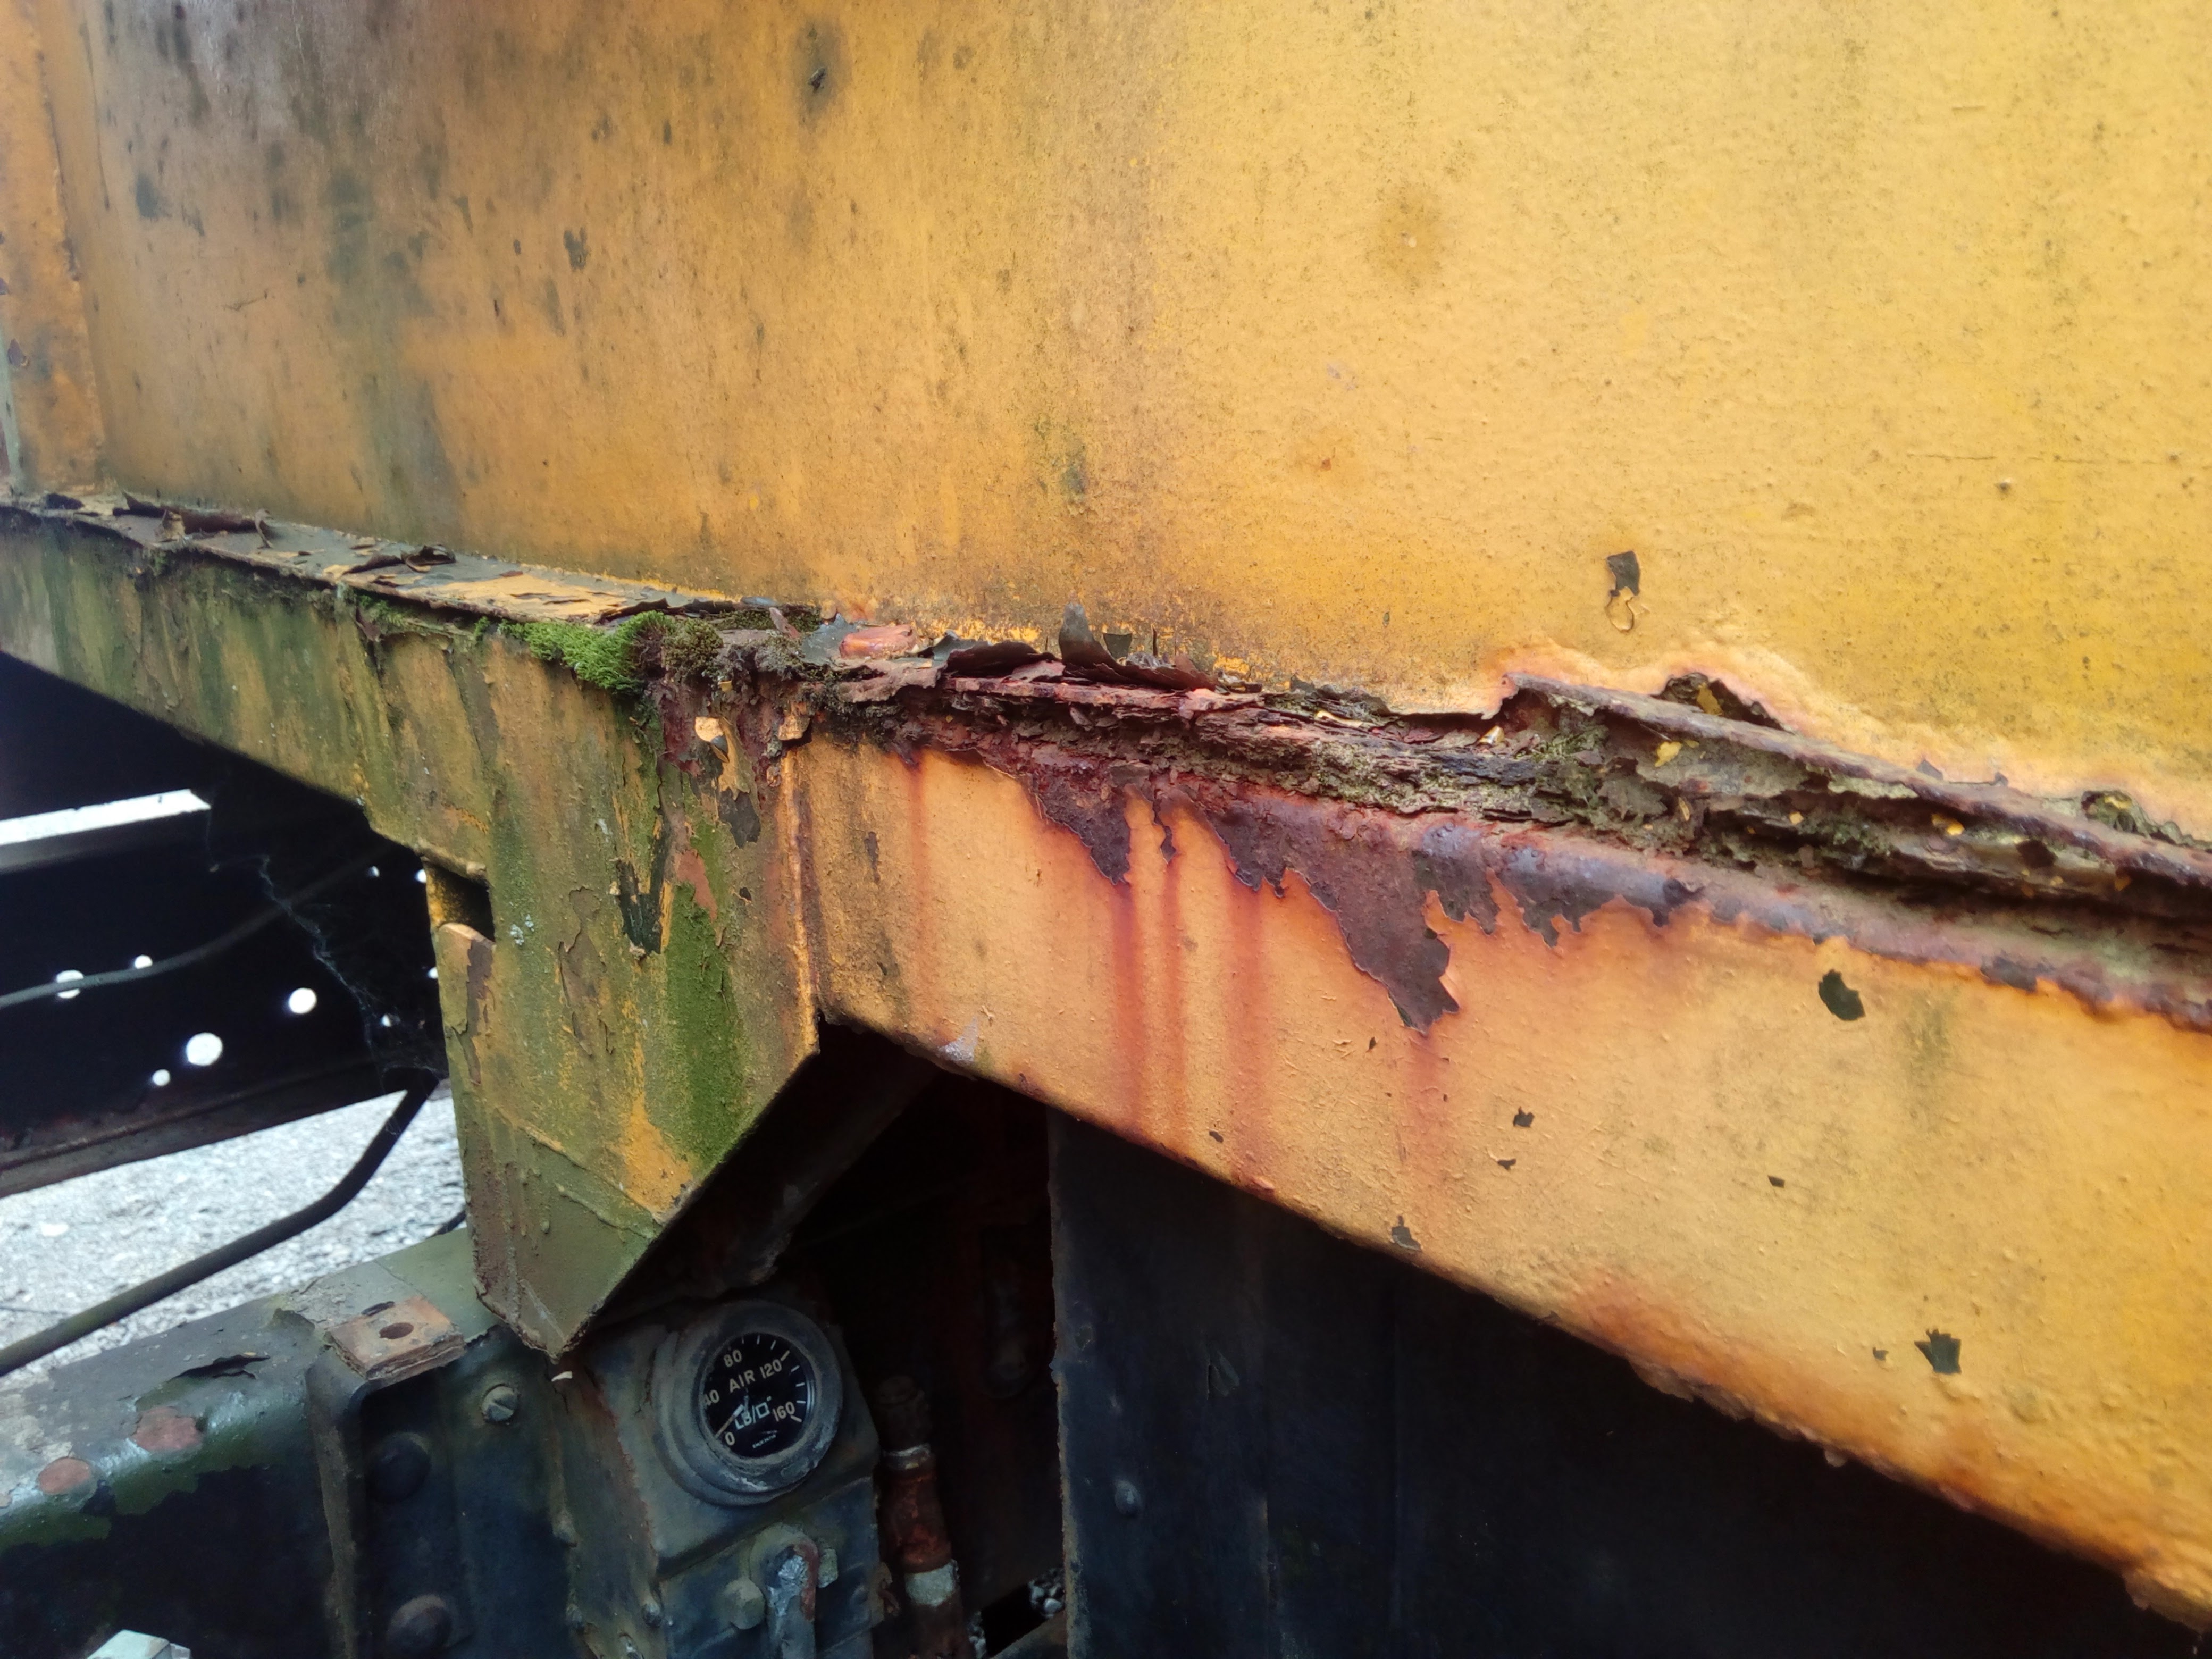
For example, I got myself a new toy, a cordless grinder, and gave the truck a bit of a trim. I didn't intend to cut so far, but, uh... Well, y'see, once I started touching the "iffy" bits with a wire wheel, and they started blowing away in the wind...
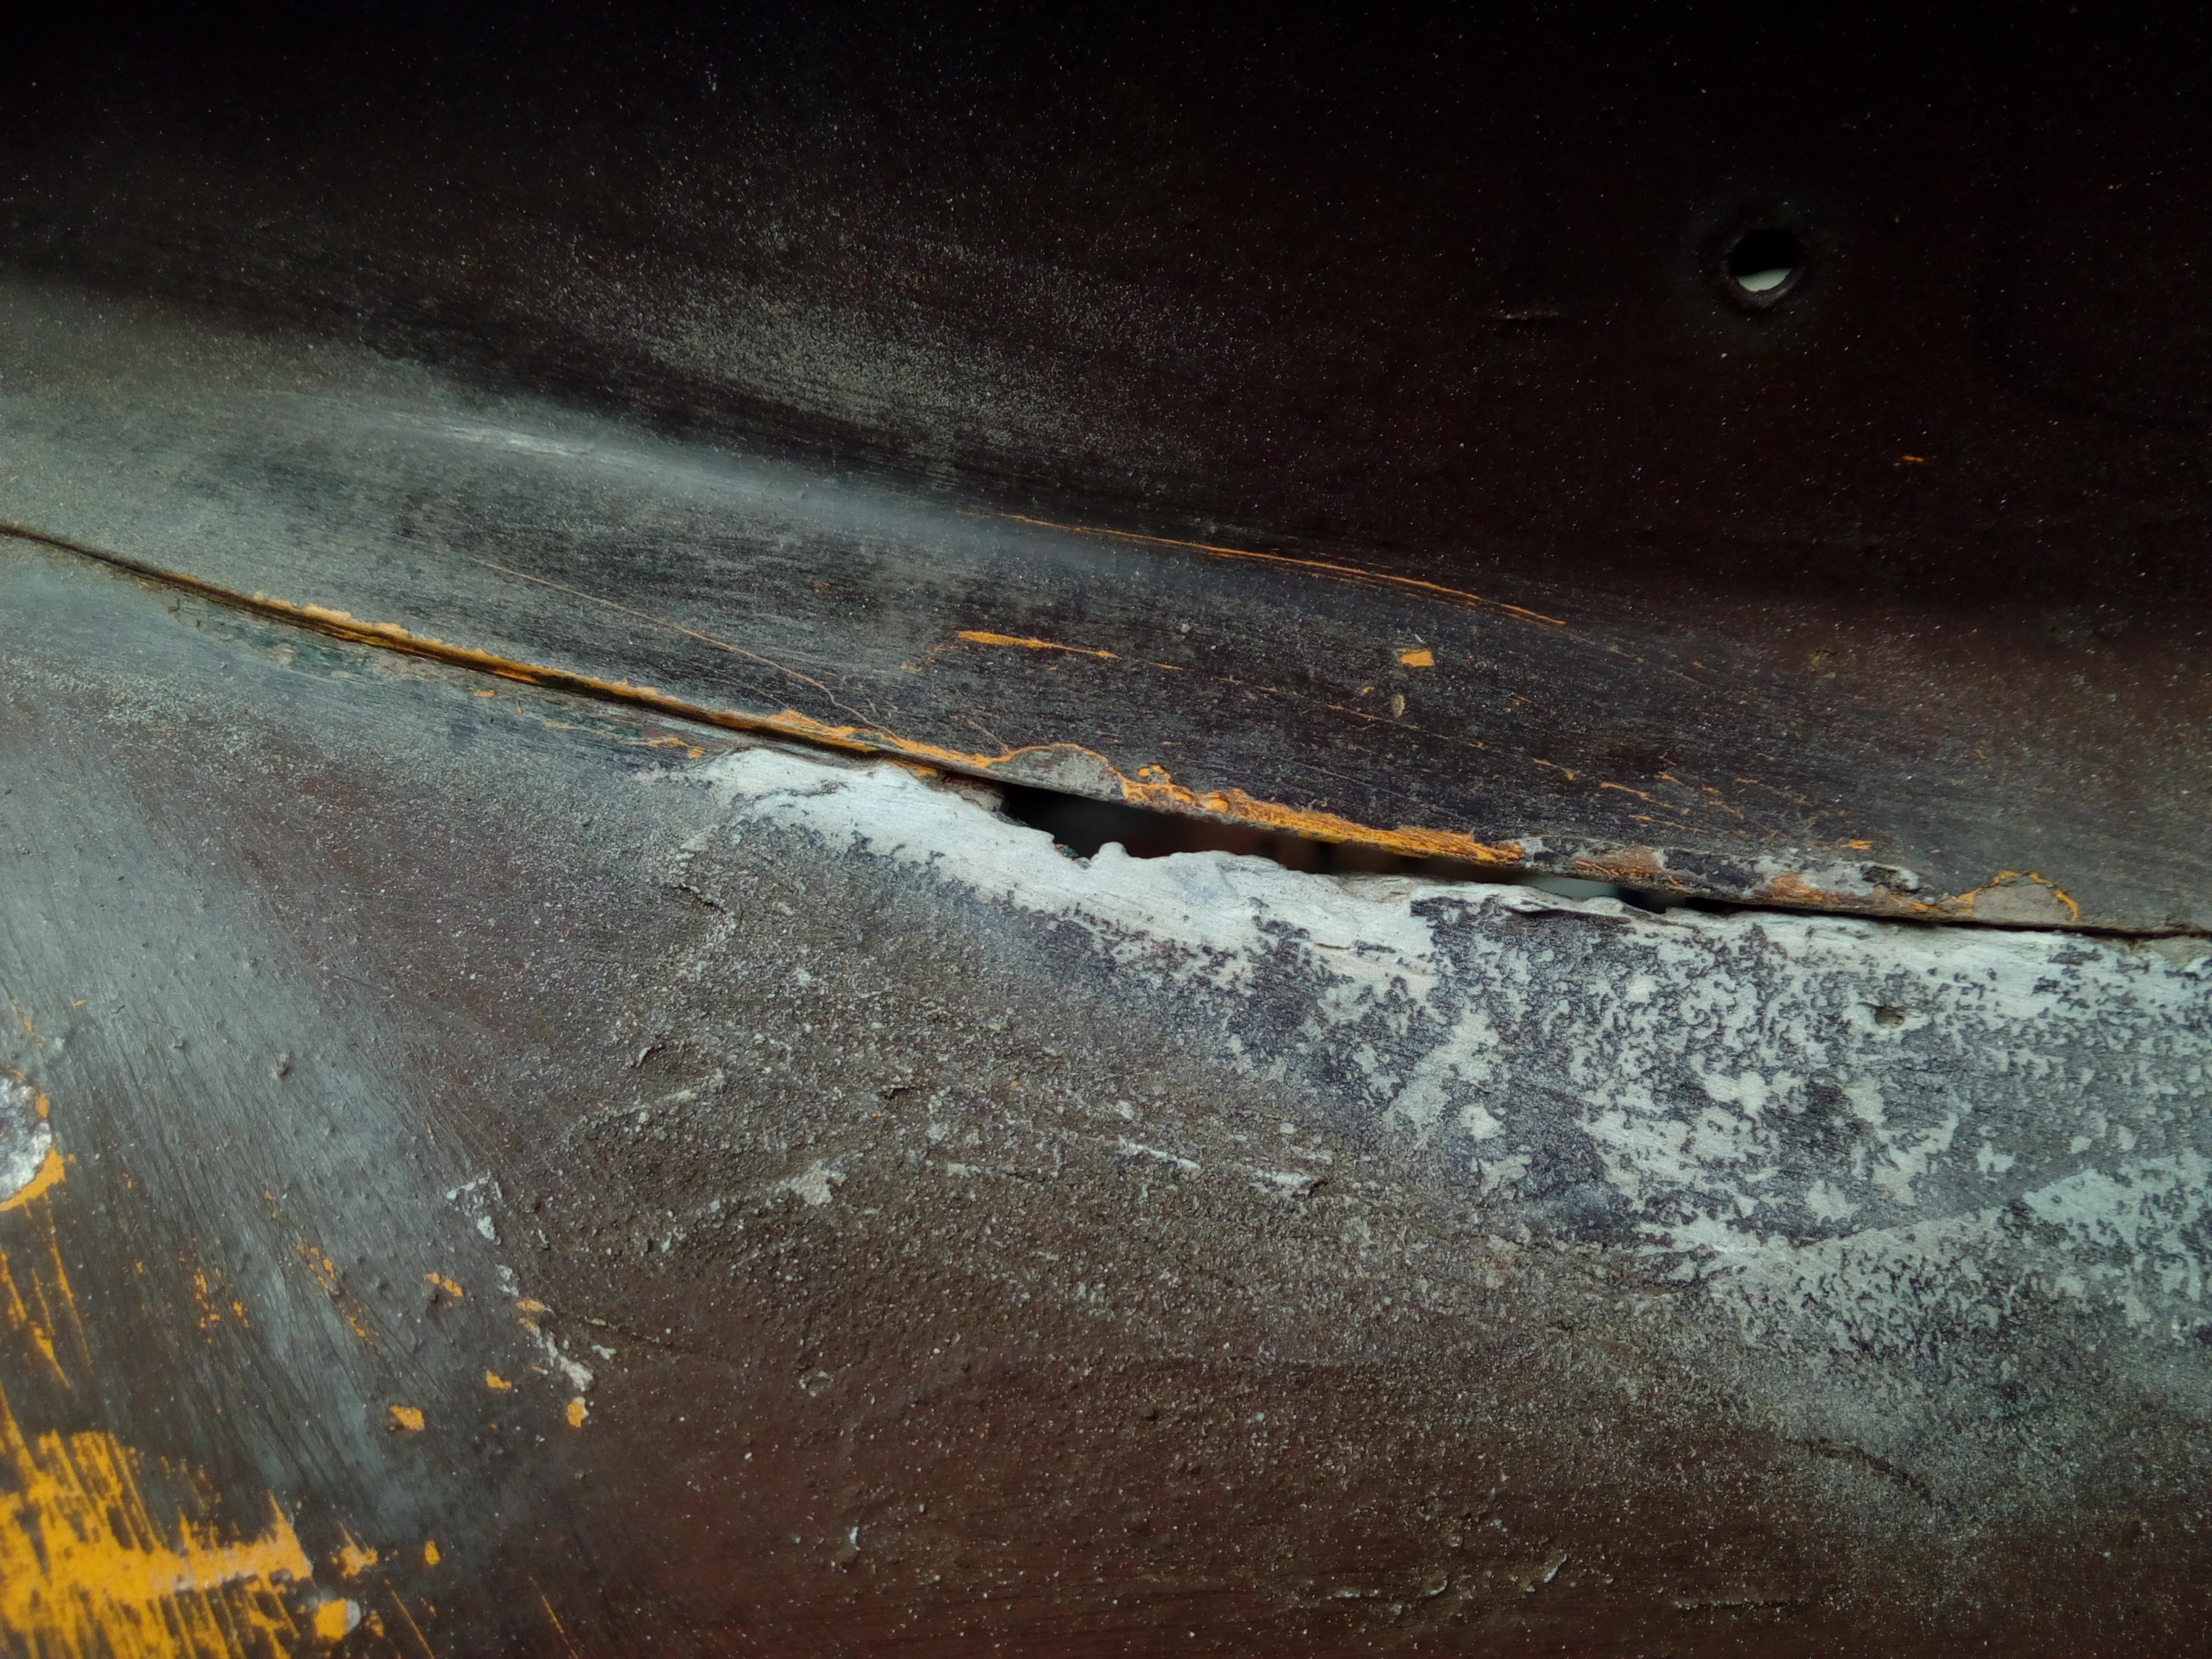
Remember that bit I said didn't seem too bad, earlier? Yeah, well...

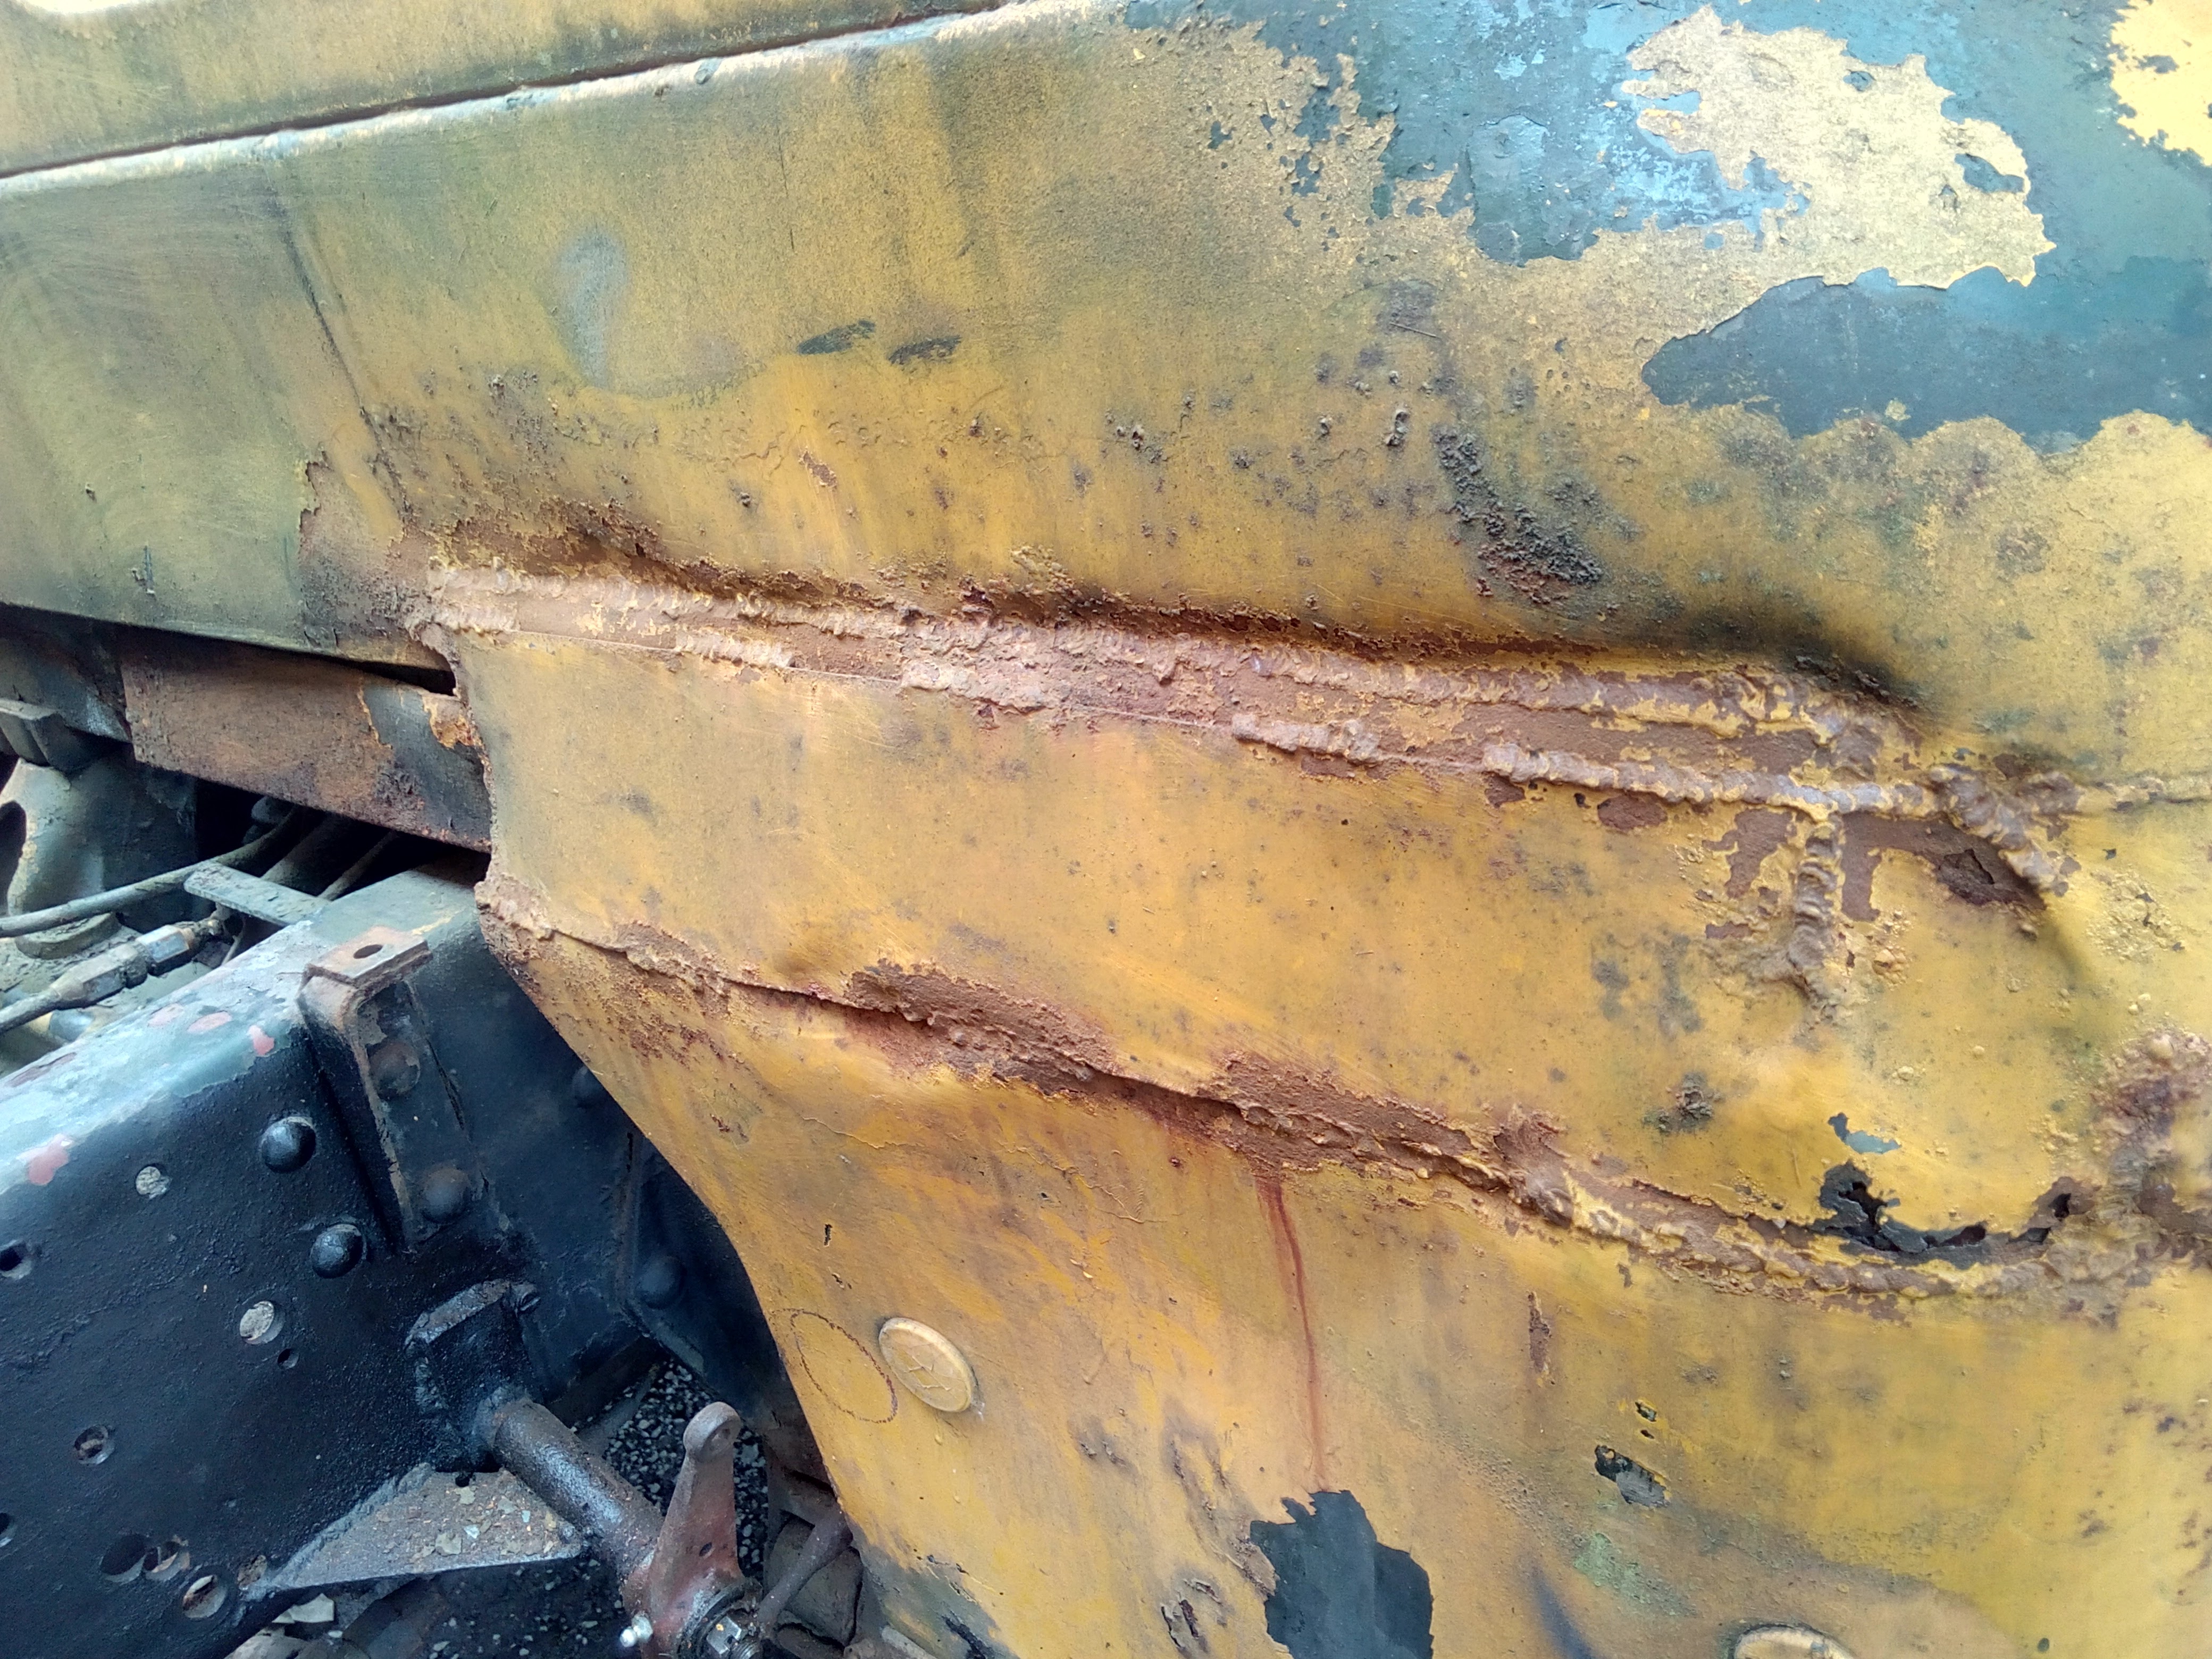
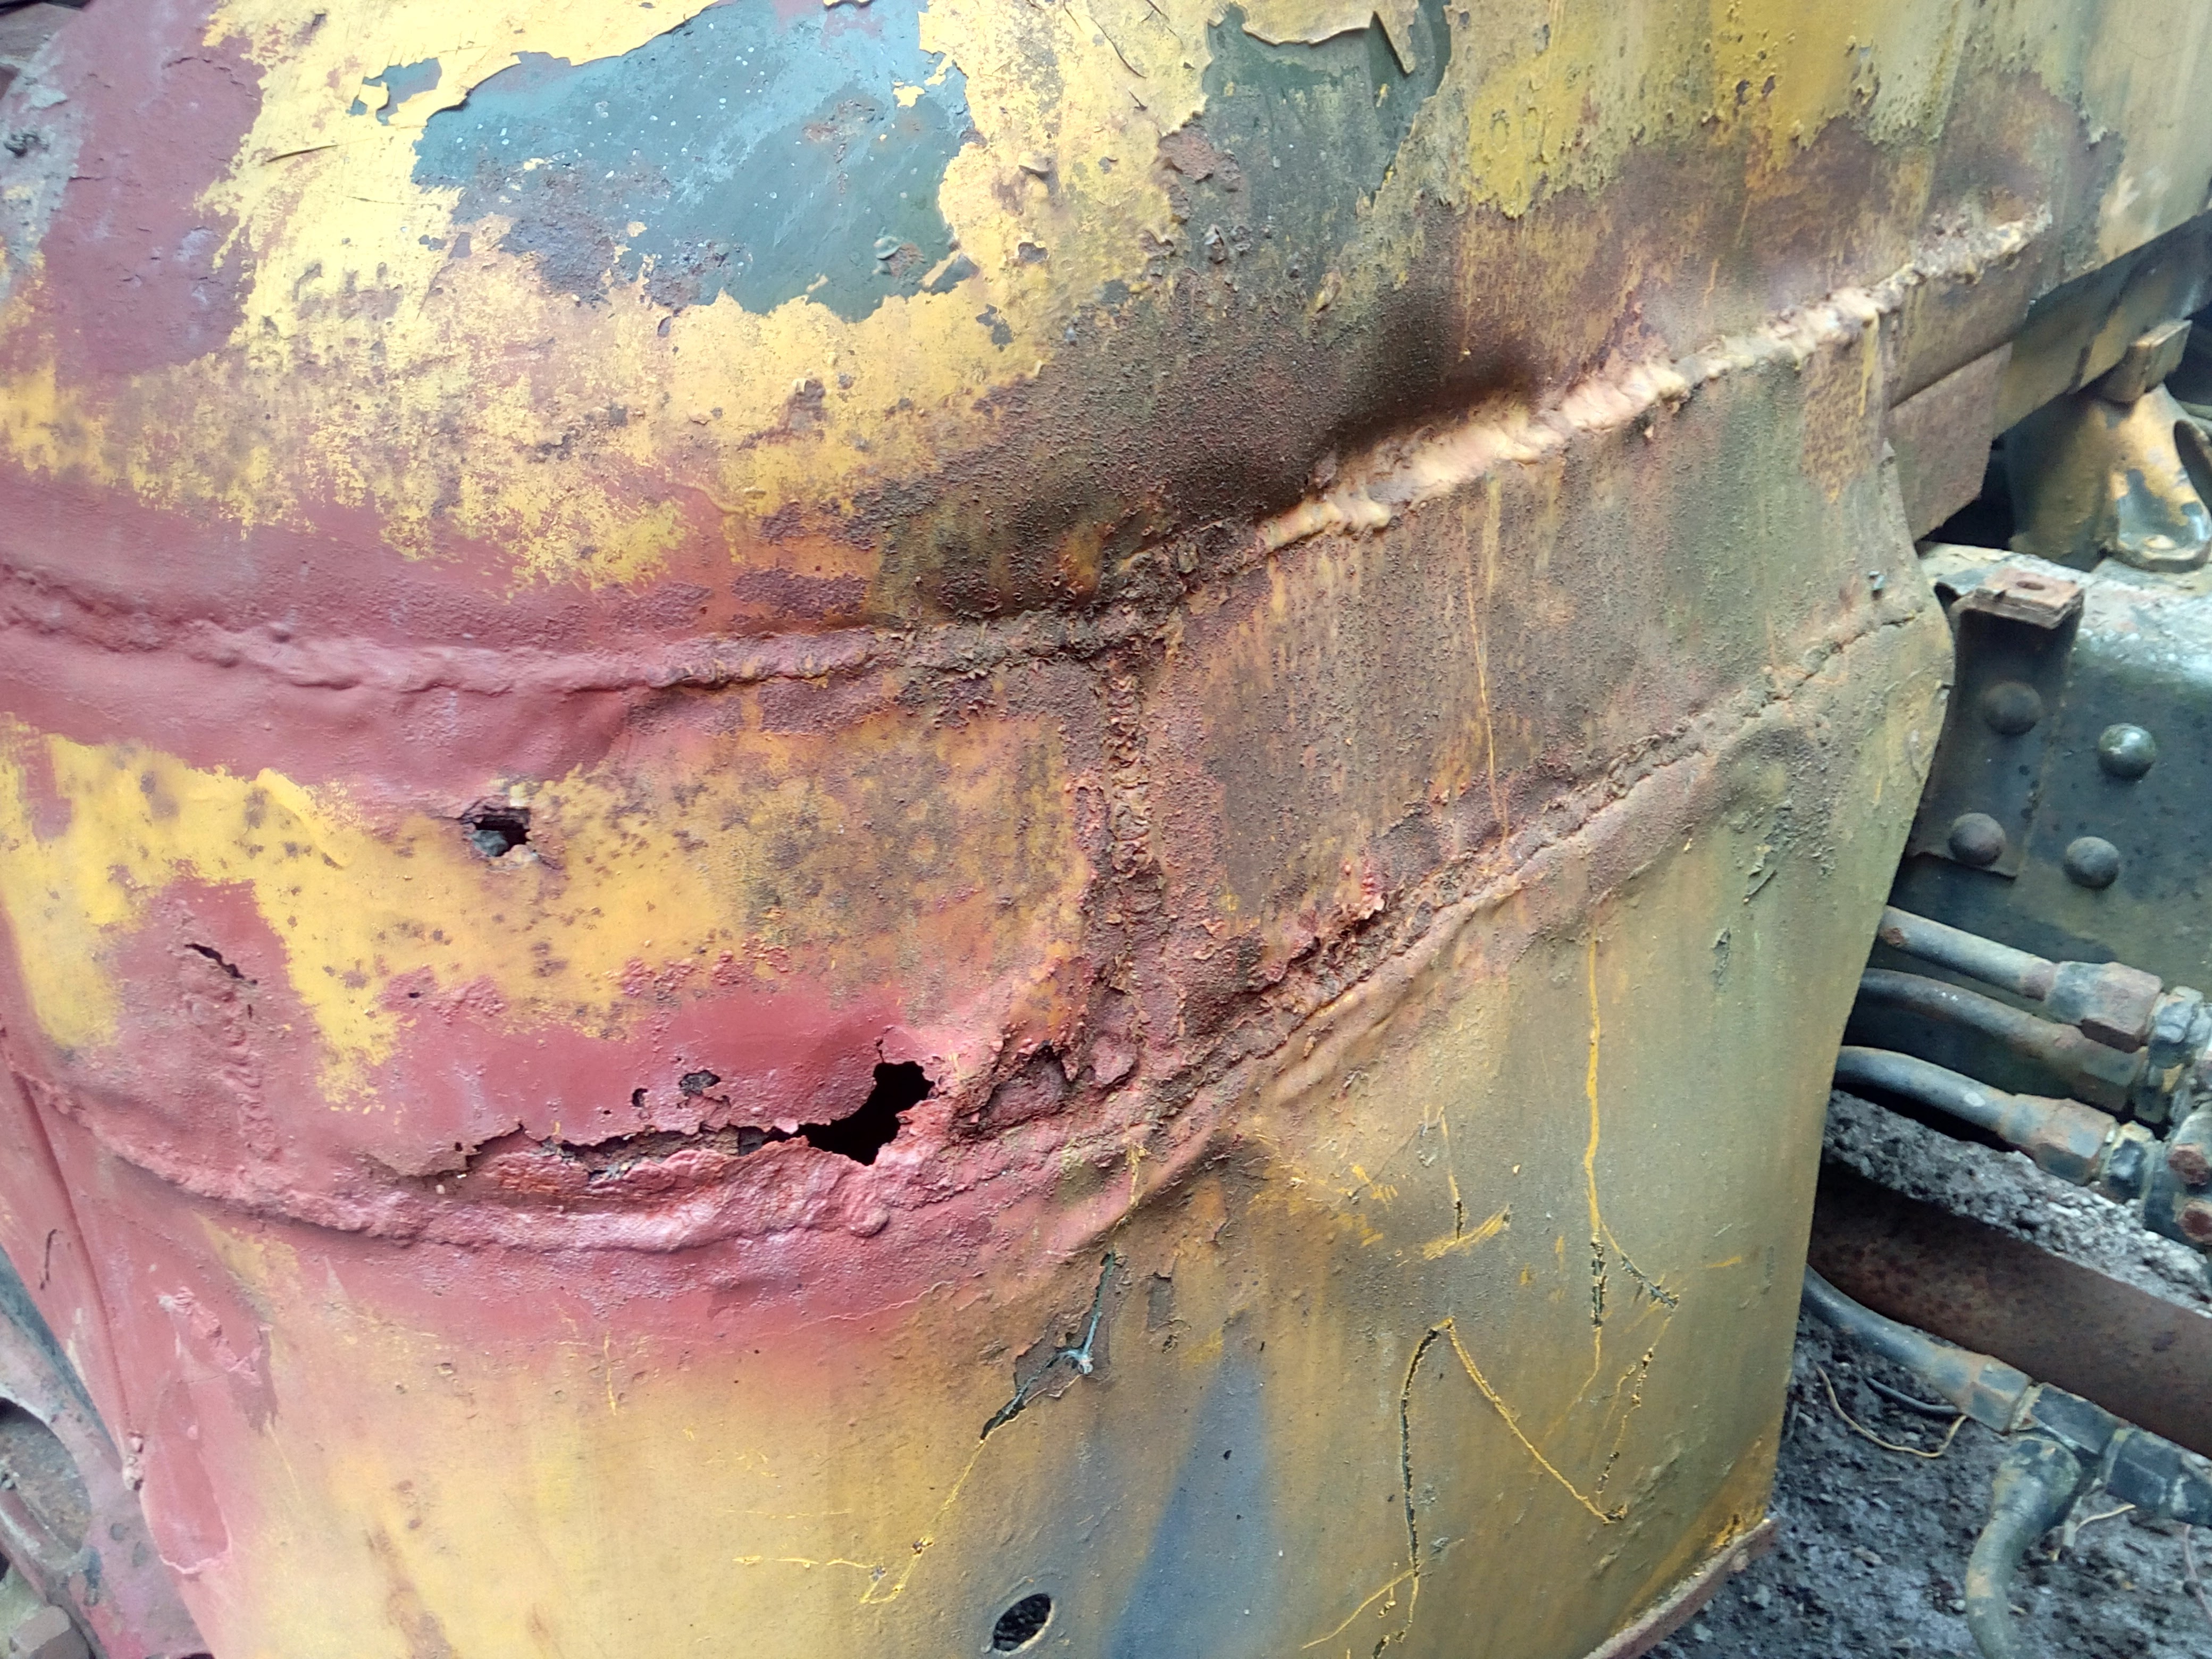
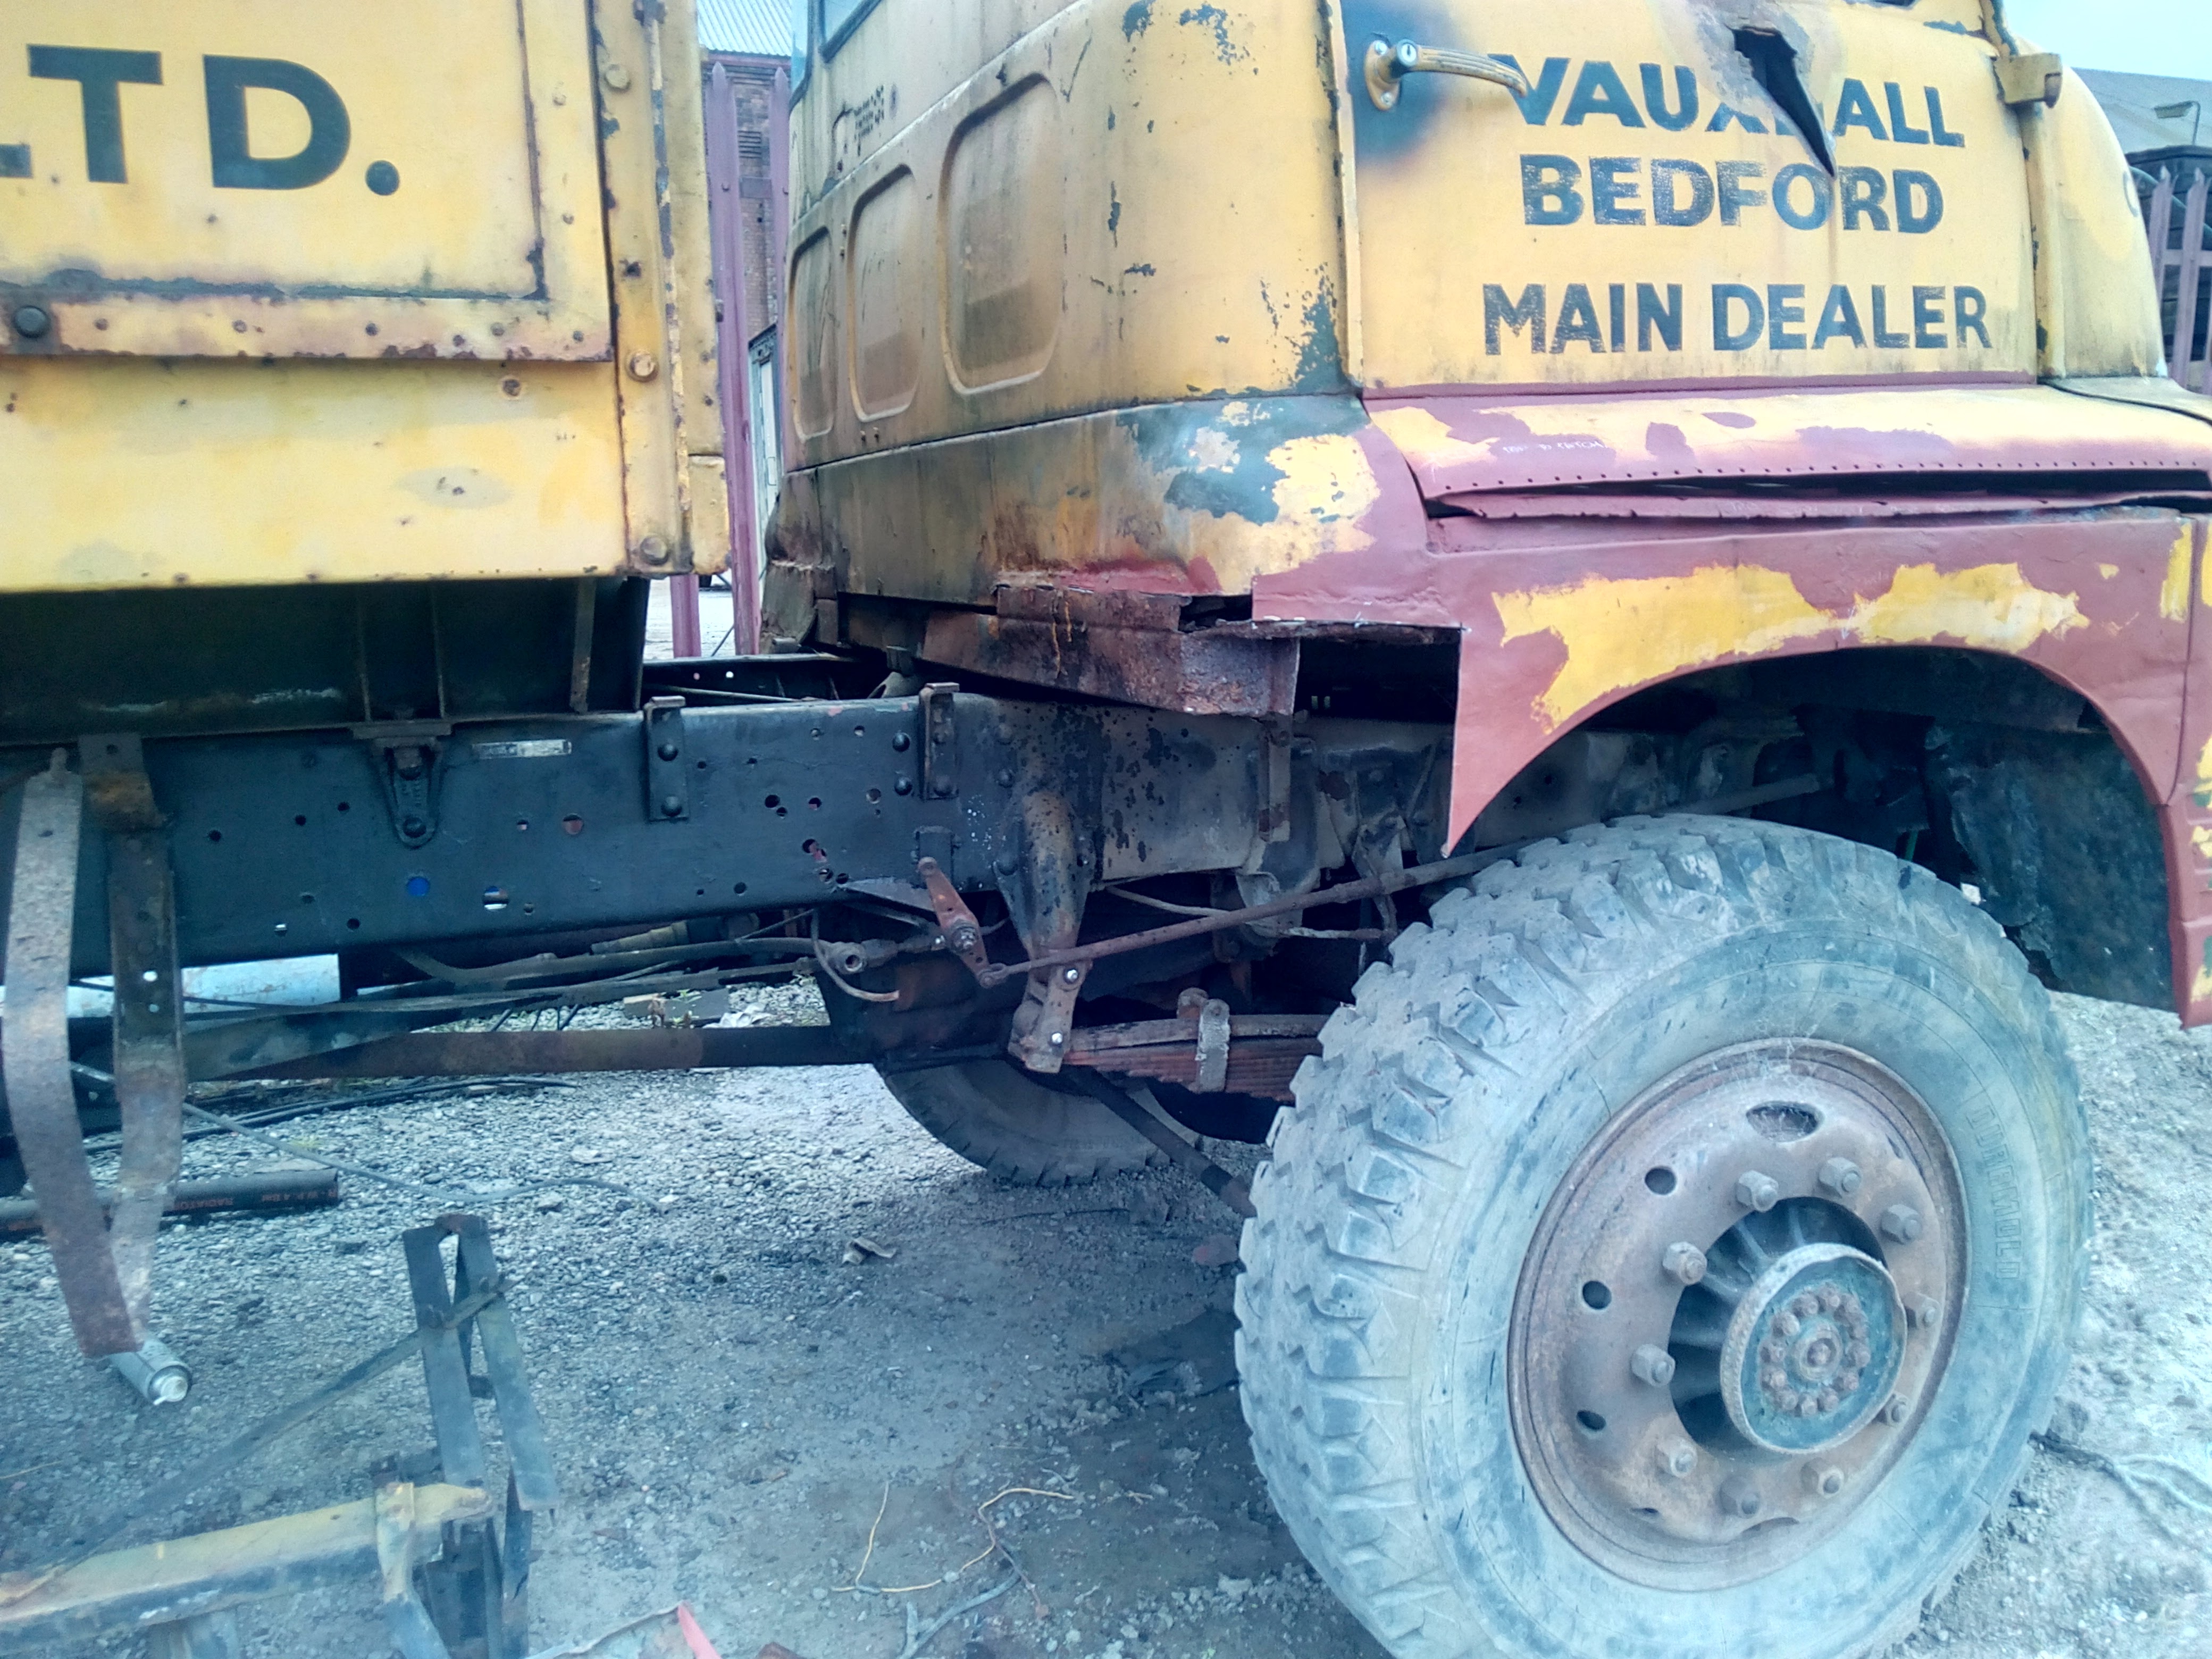
AAAAAAAAA...
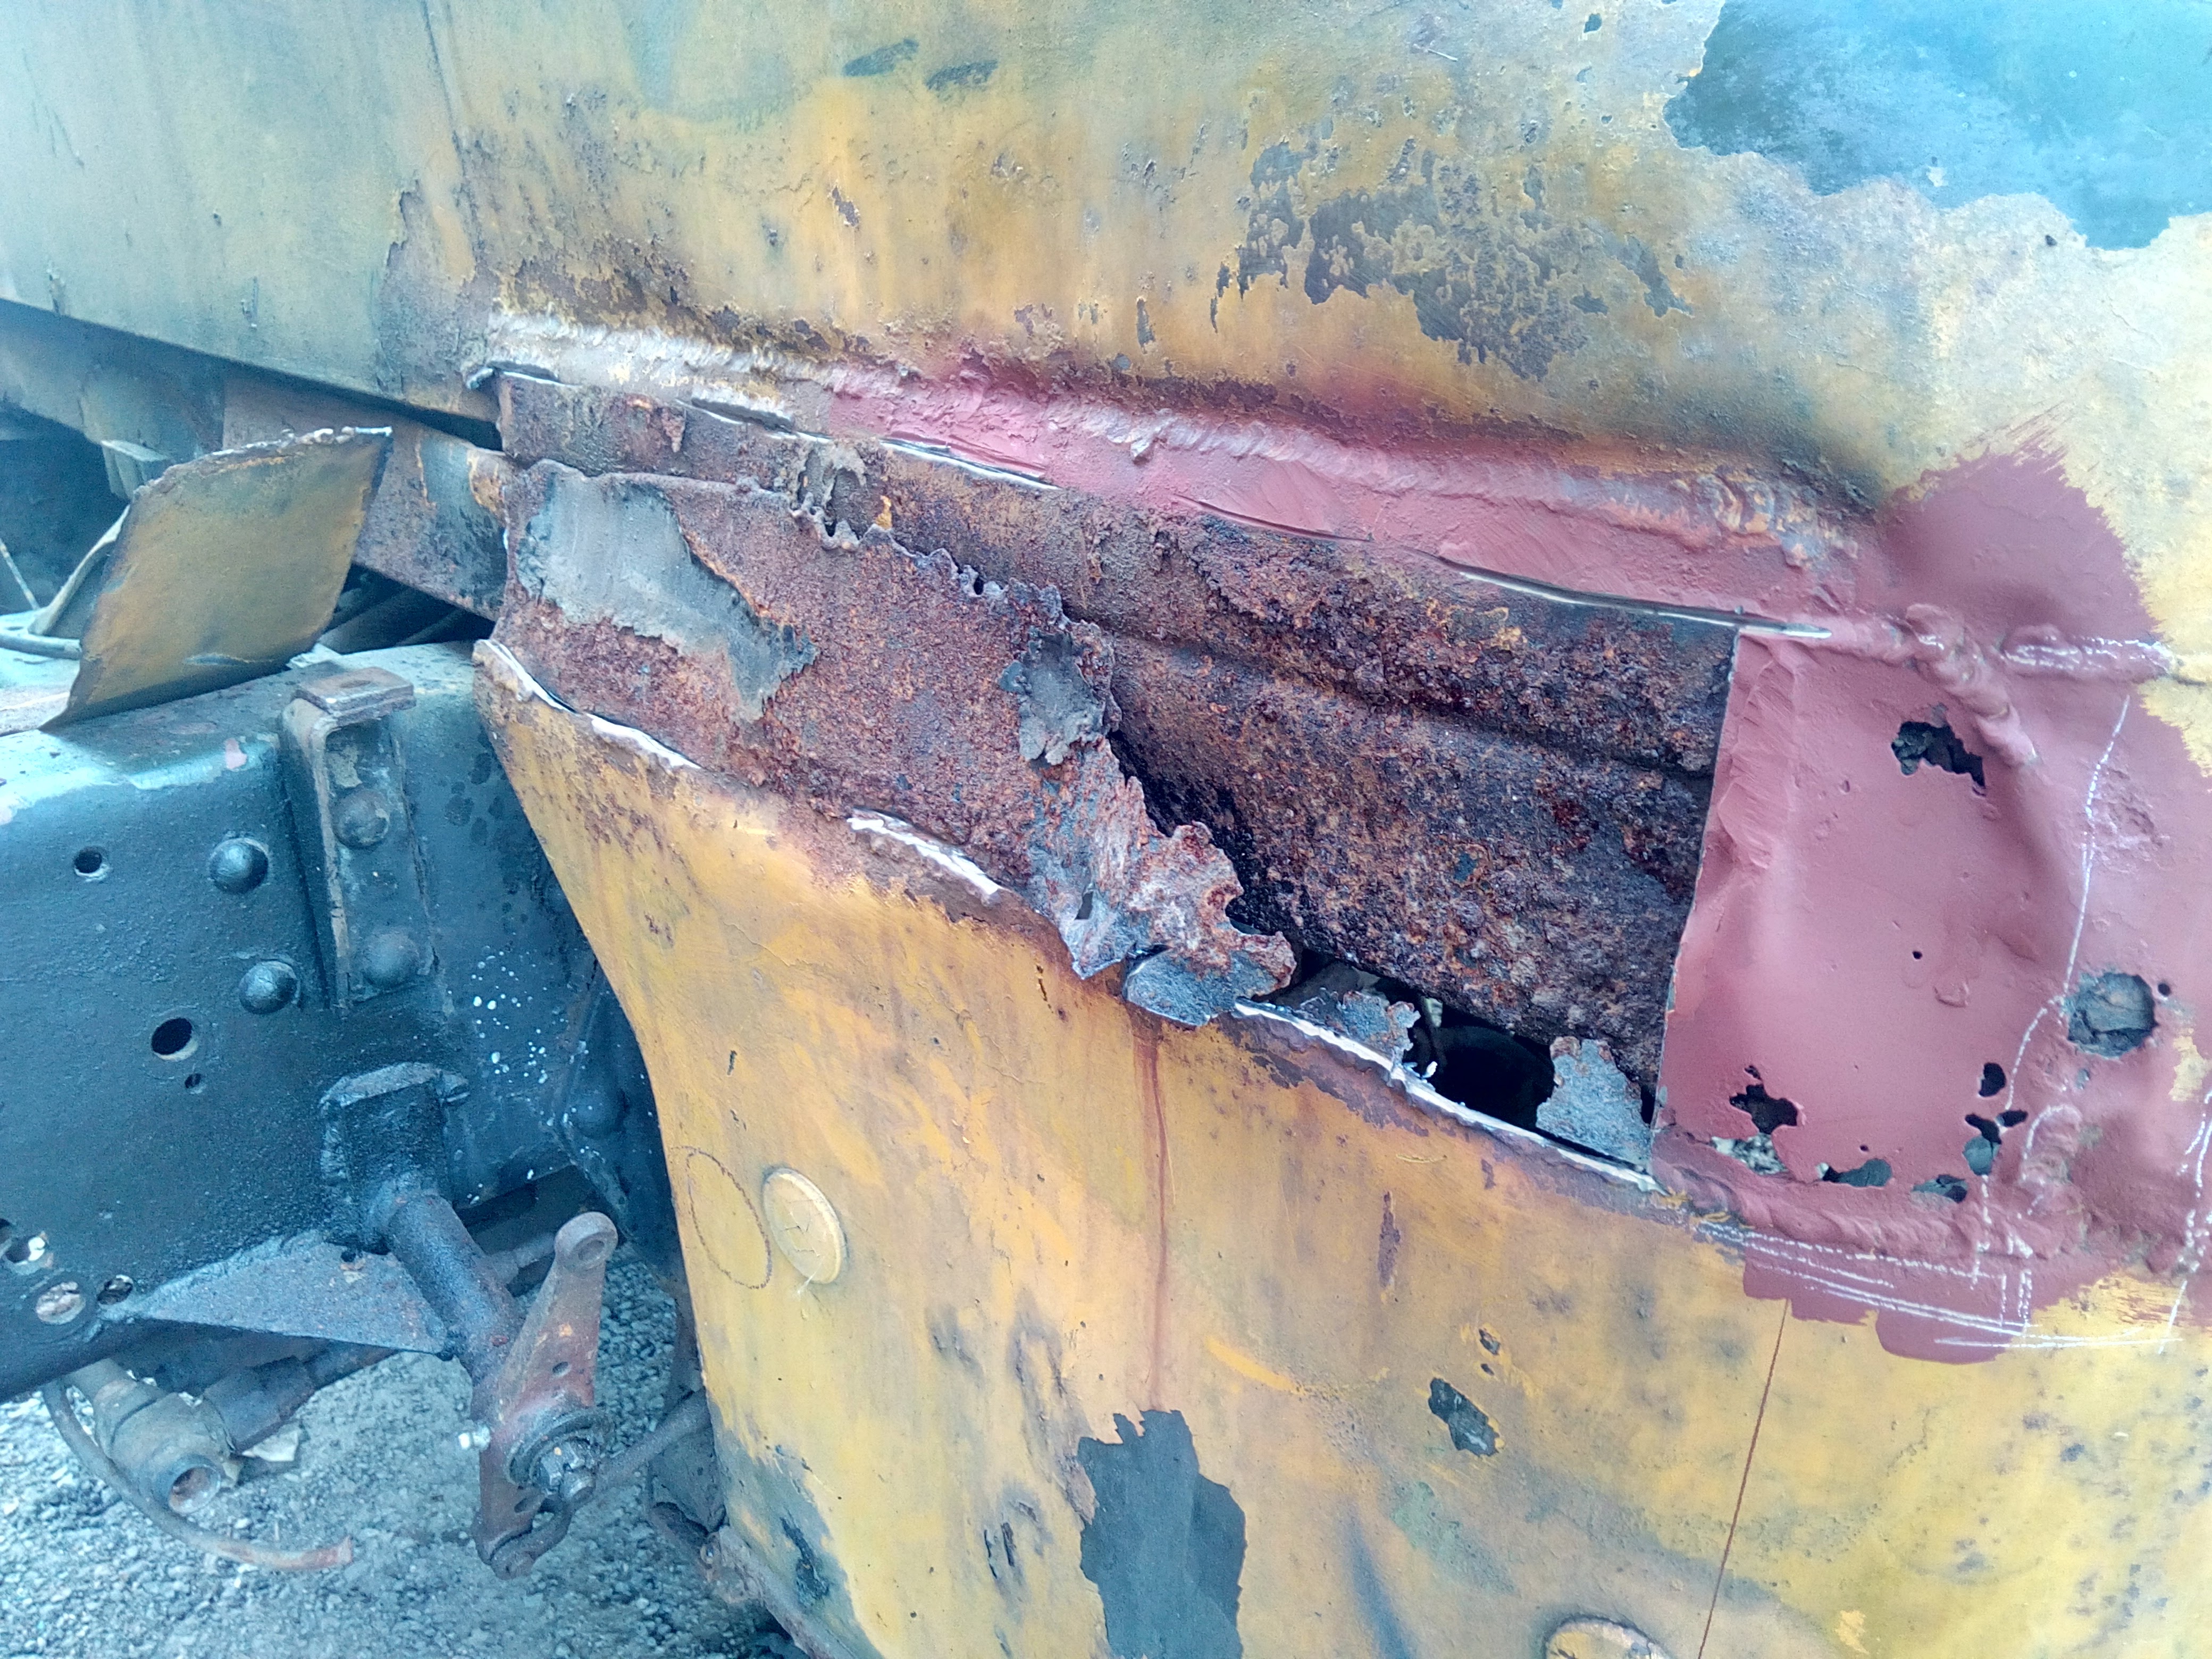
...AAAAAAA...
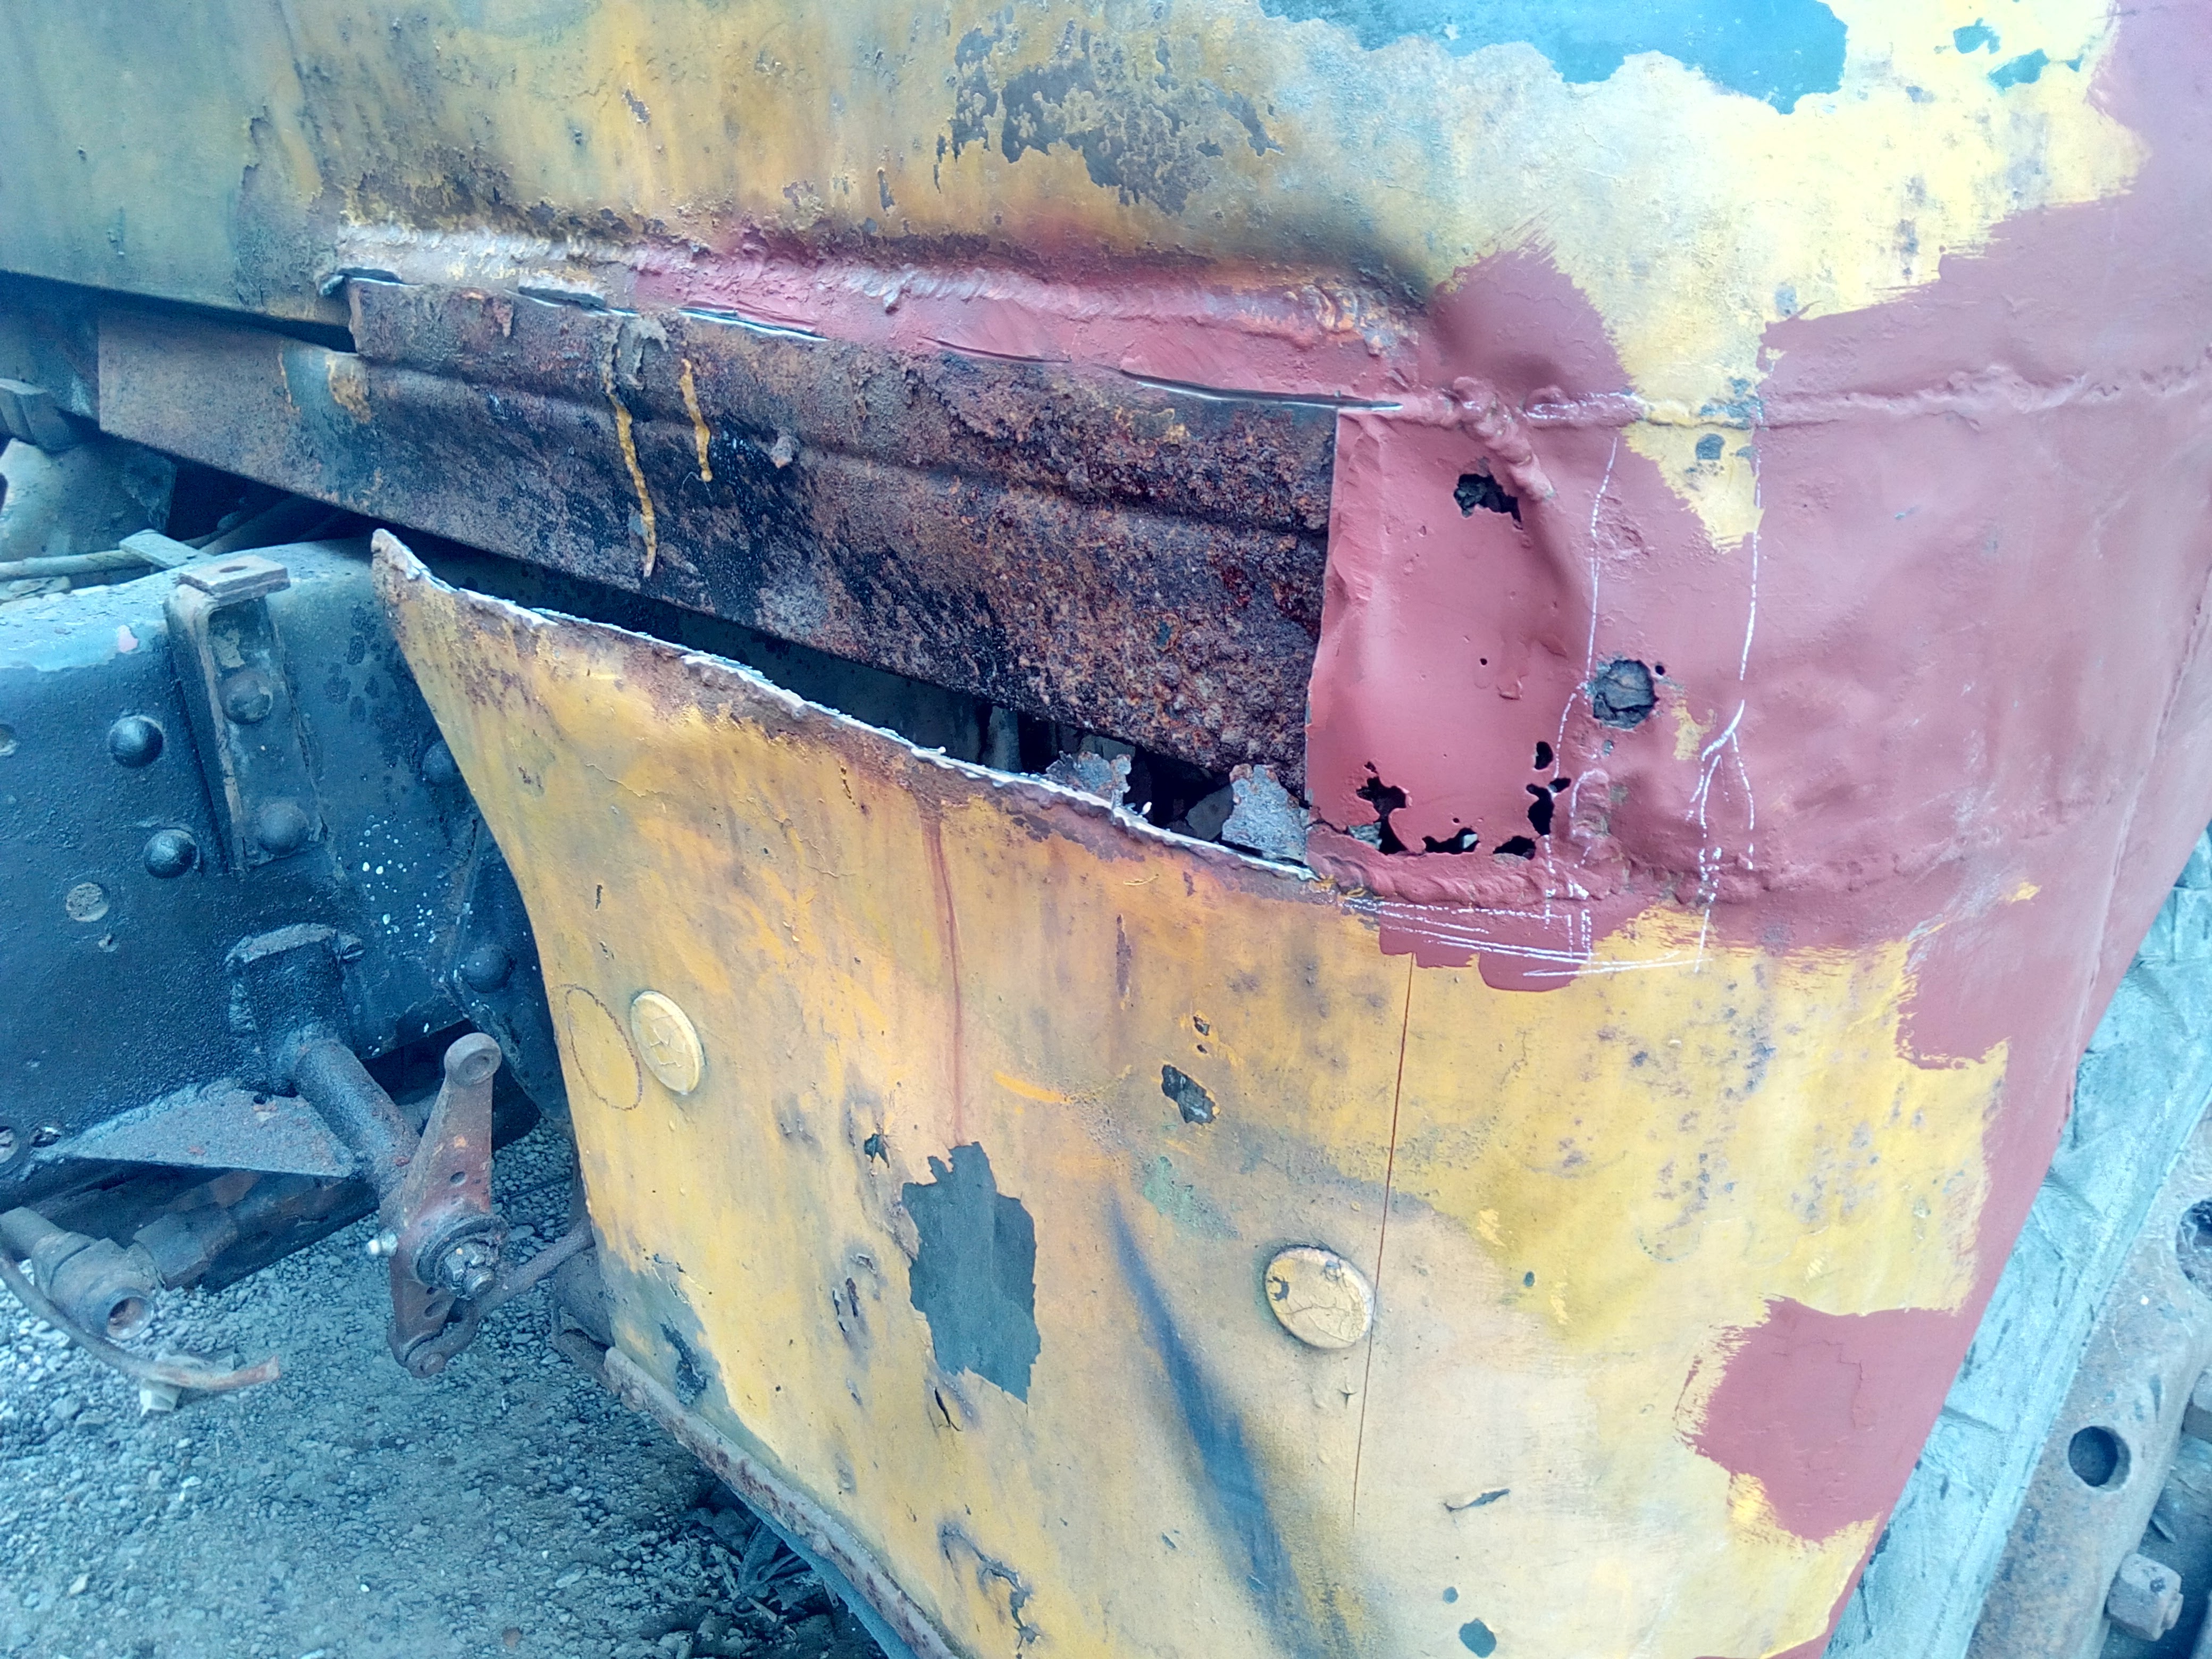
...AAAAAAA...
...RRGH!
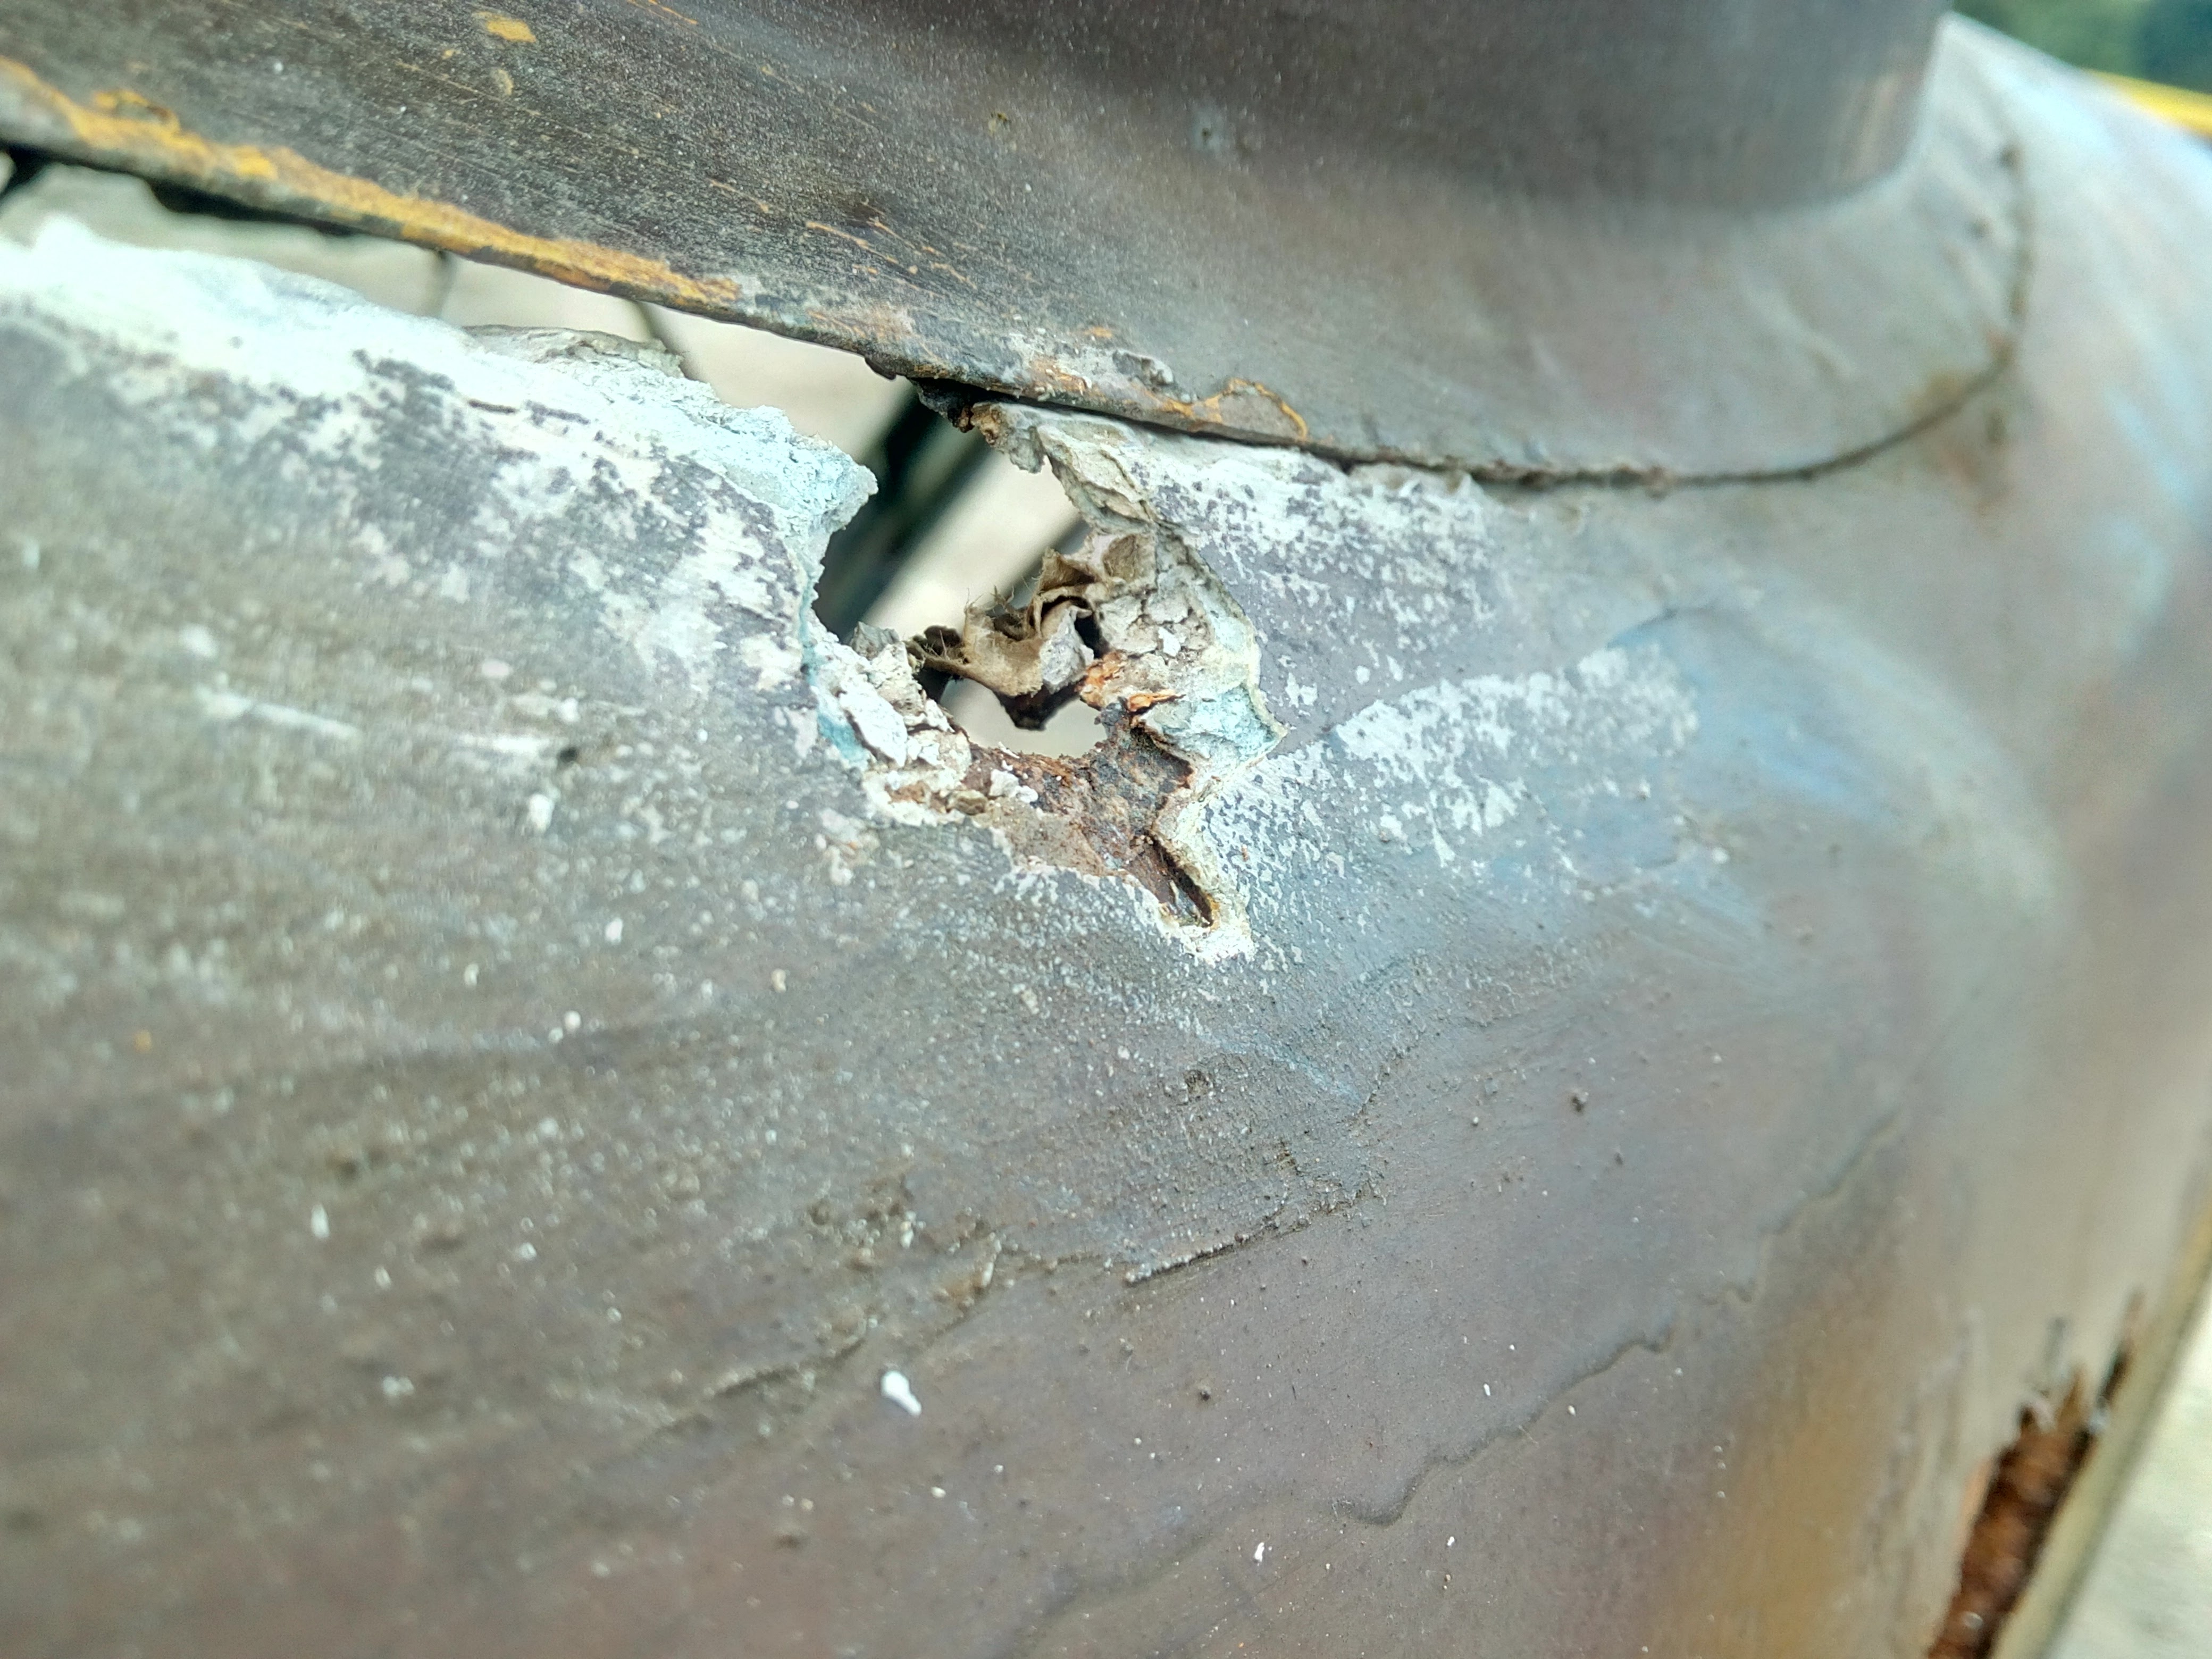
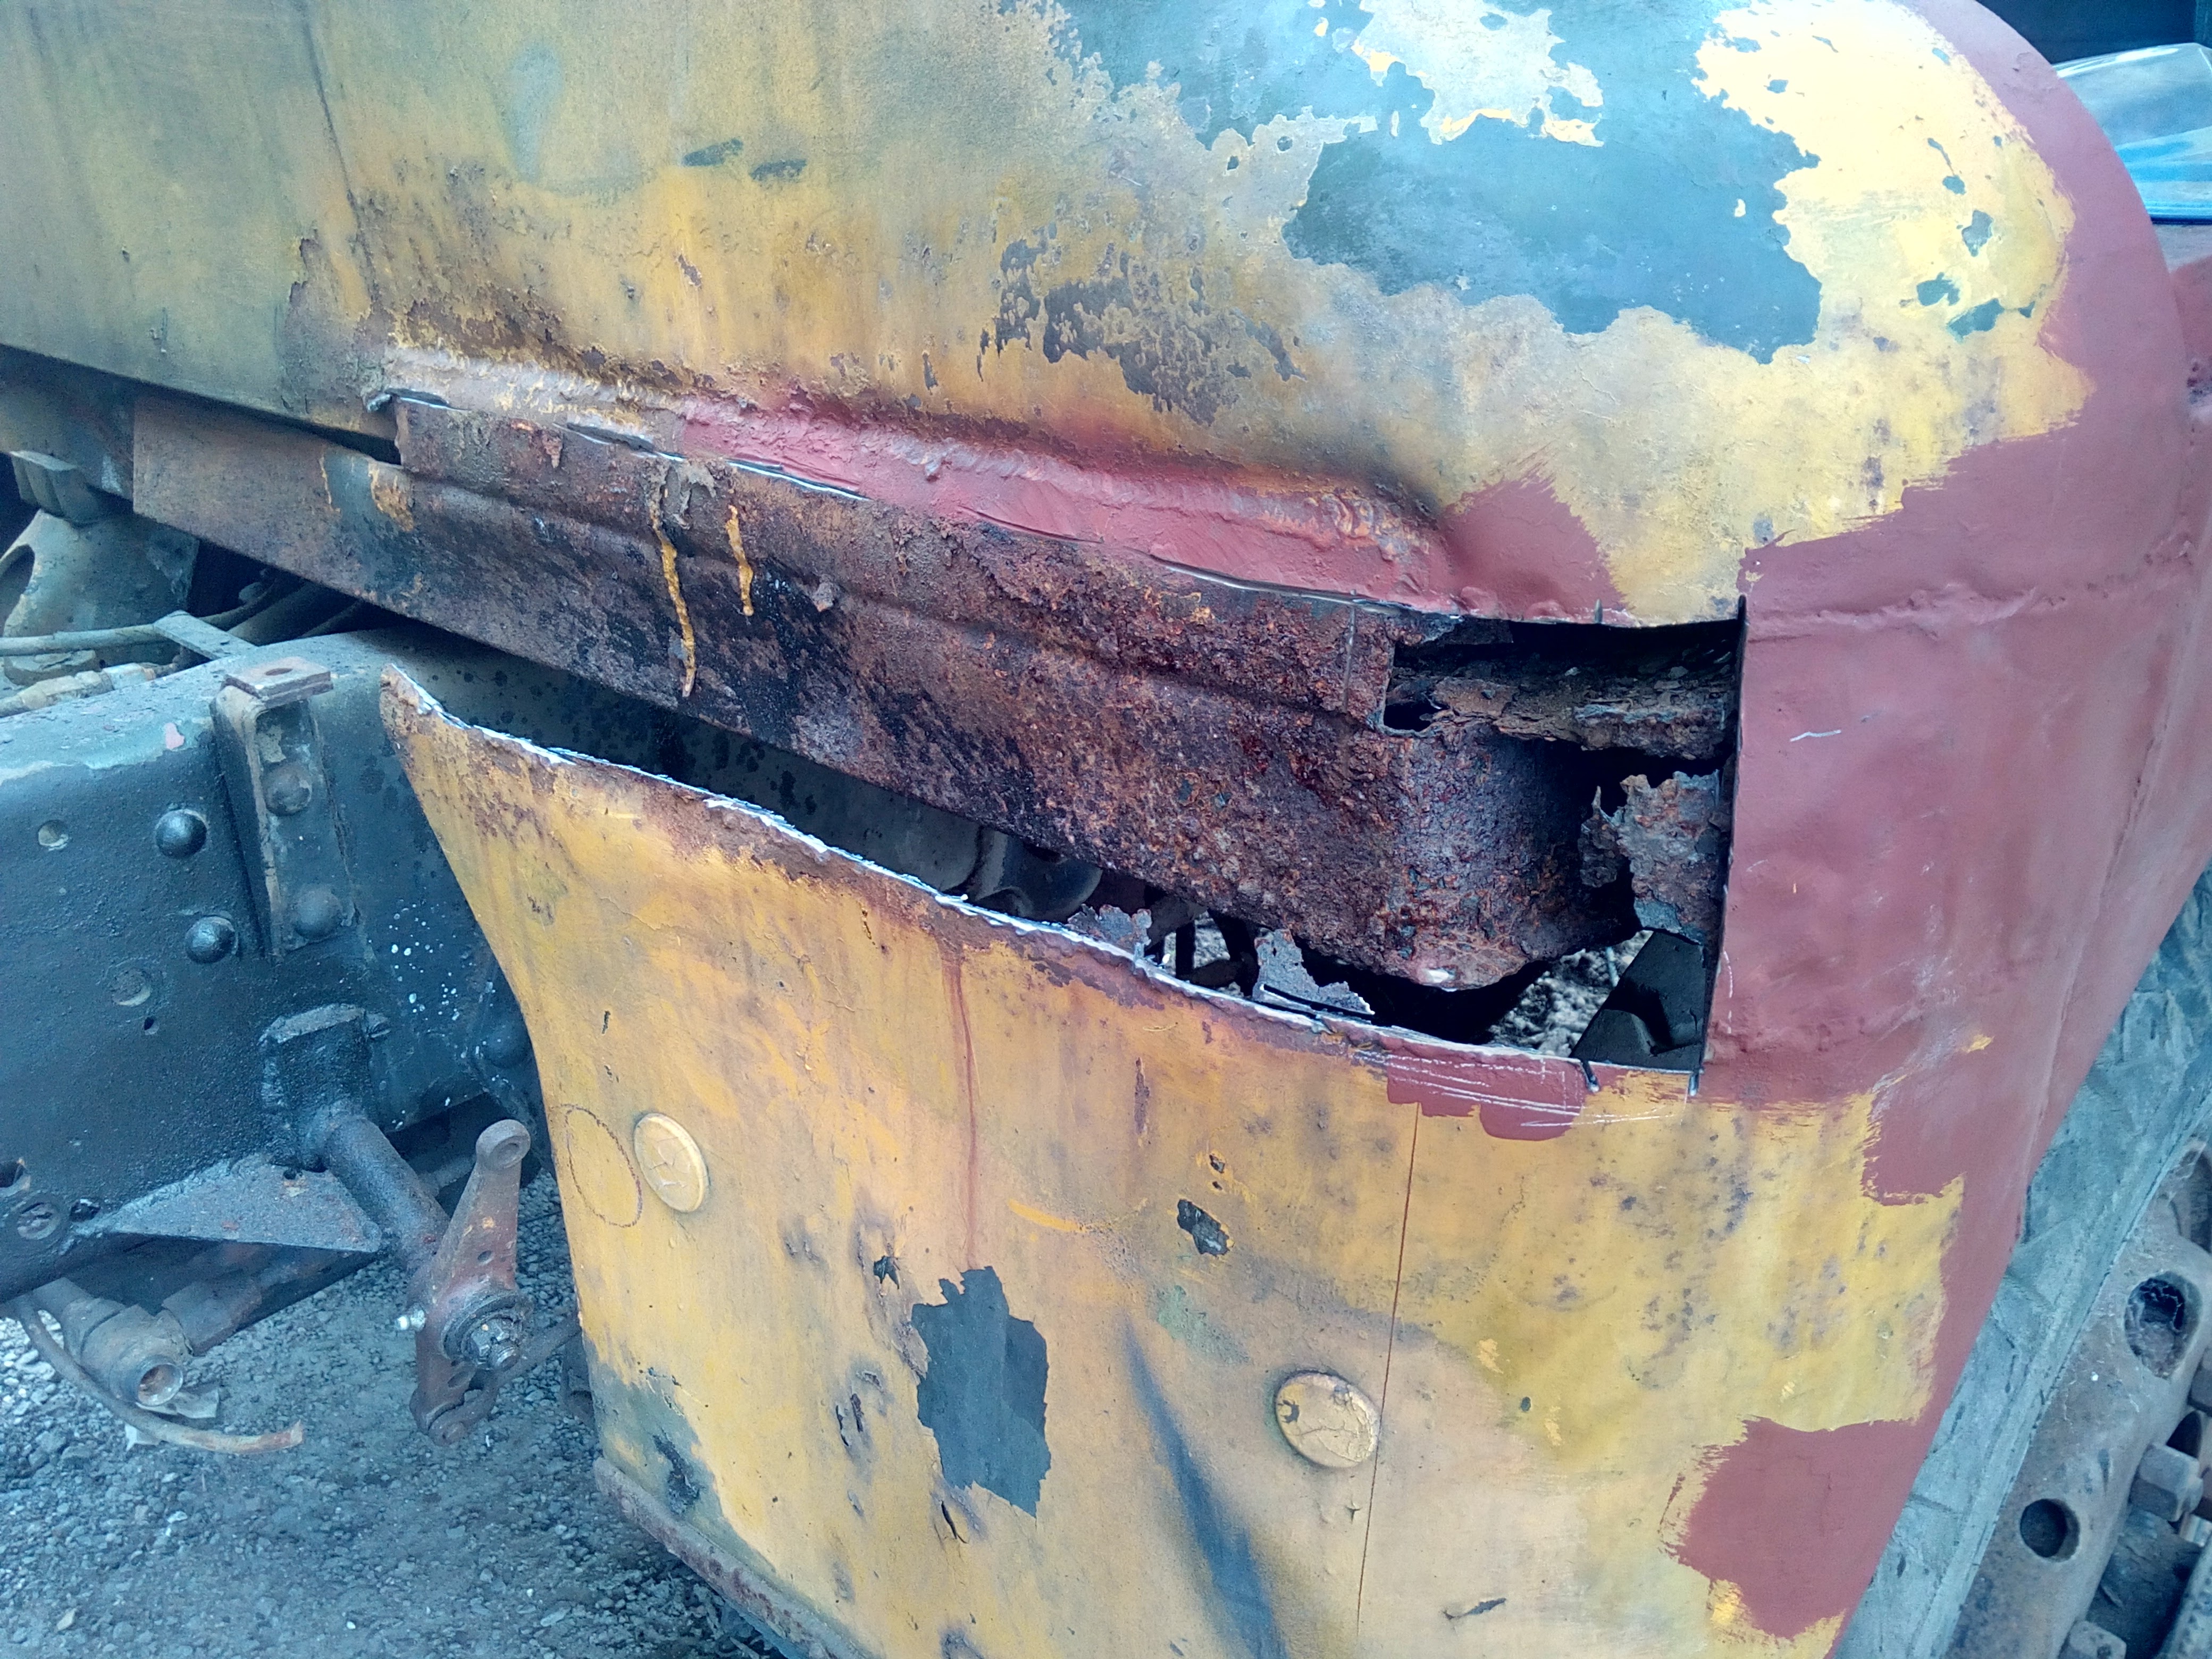
And that's when the whole corner fell off.
ZeroFiveTwo said: You can get counselling for that kind of traumatic experience.