I'm doing a lot of mix-n-match with what's on hand, or at least easy to get, or isn't original but gets me some other feature that I want. Y'know, more resto-mod than restoration. It's all part of the fun! And if someone else later down the line wants to go full restoration, that's cool too.
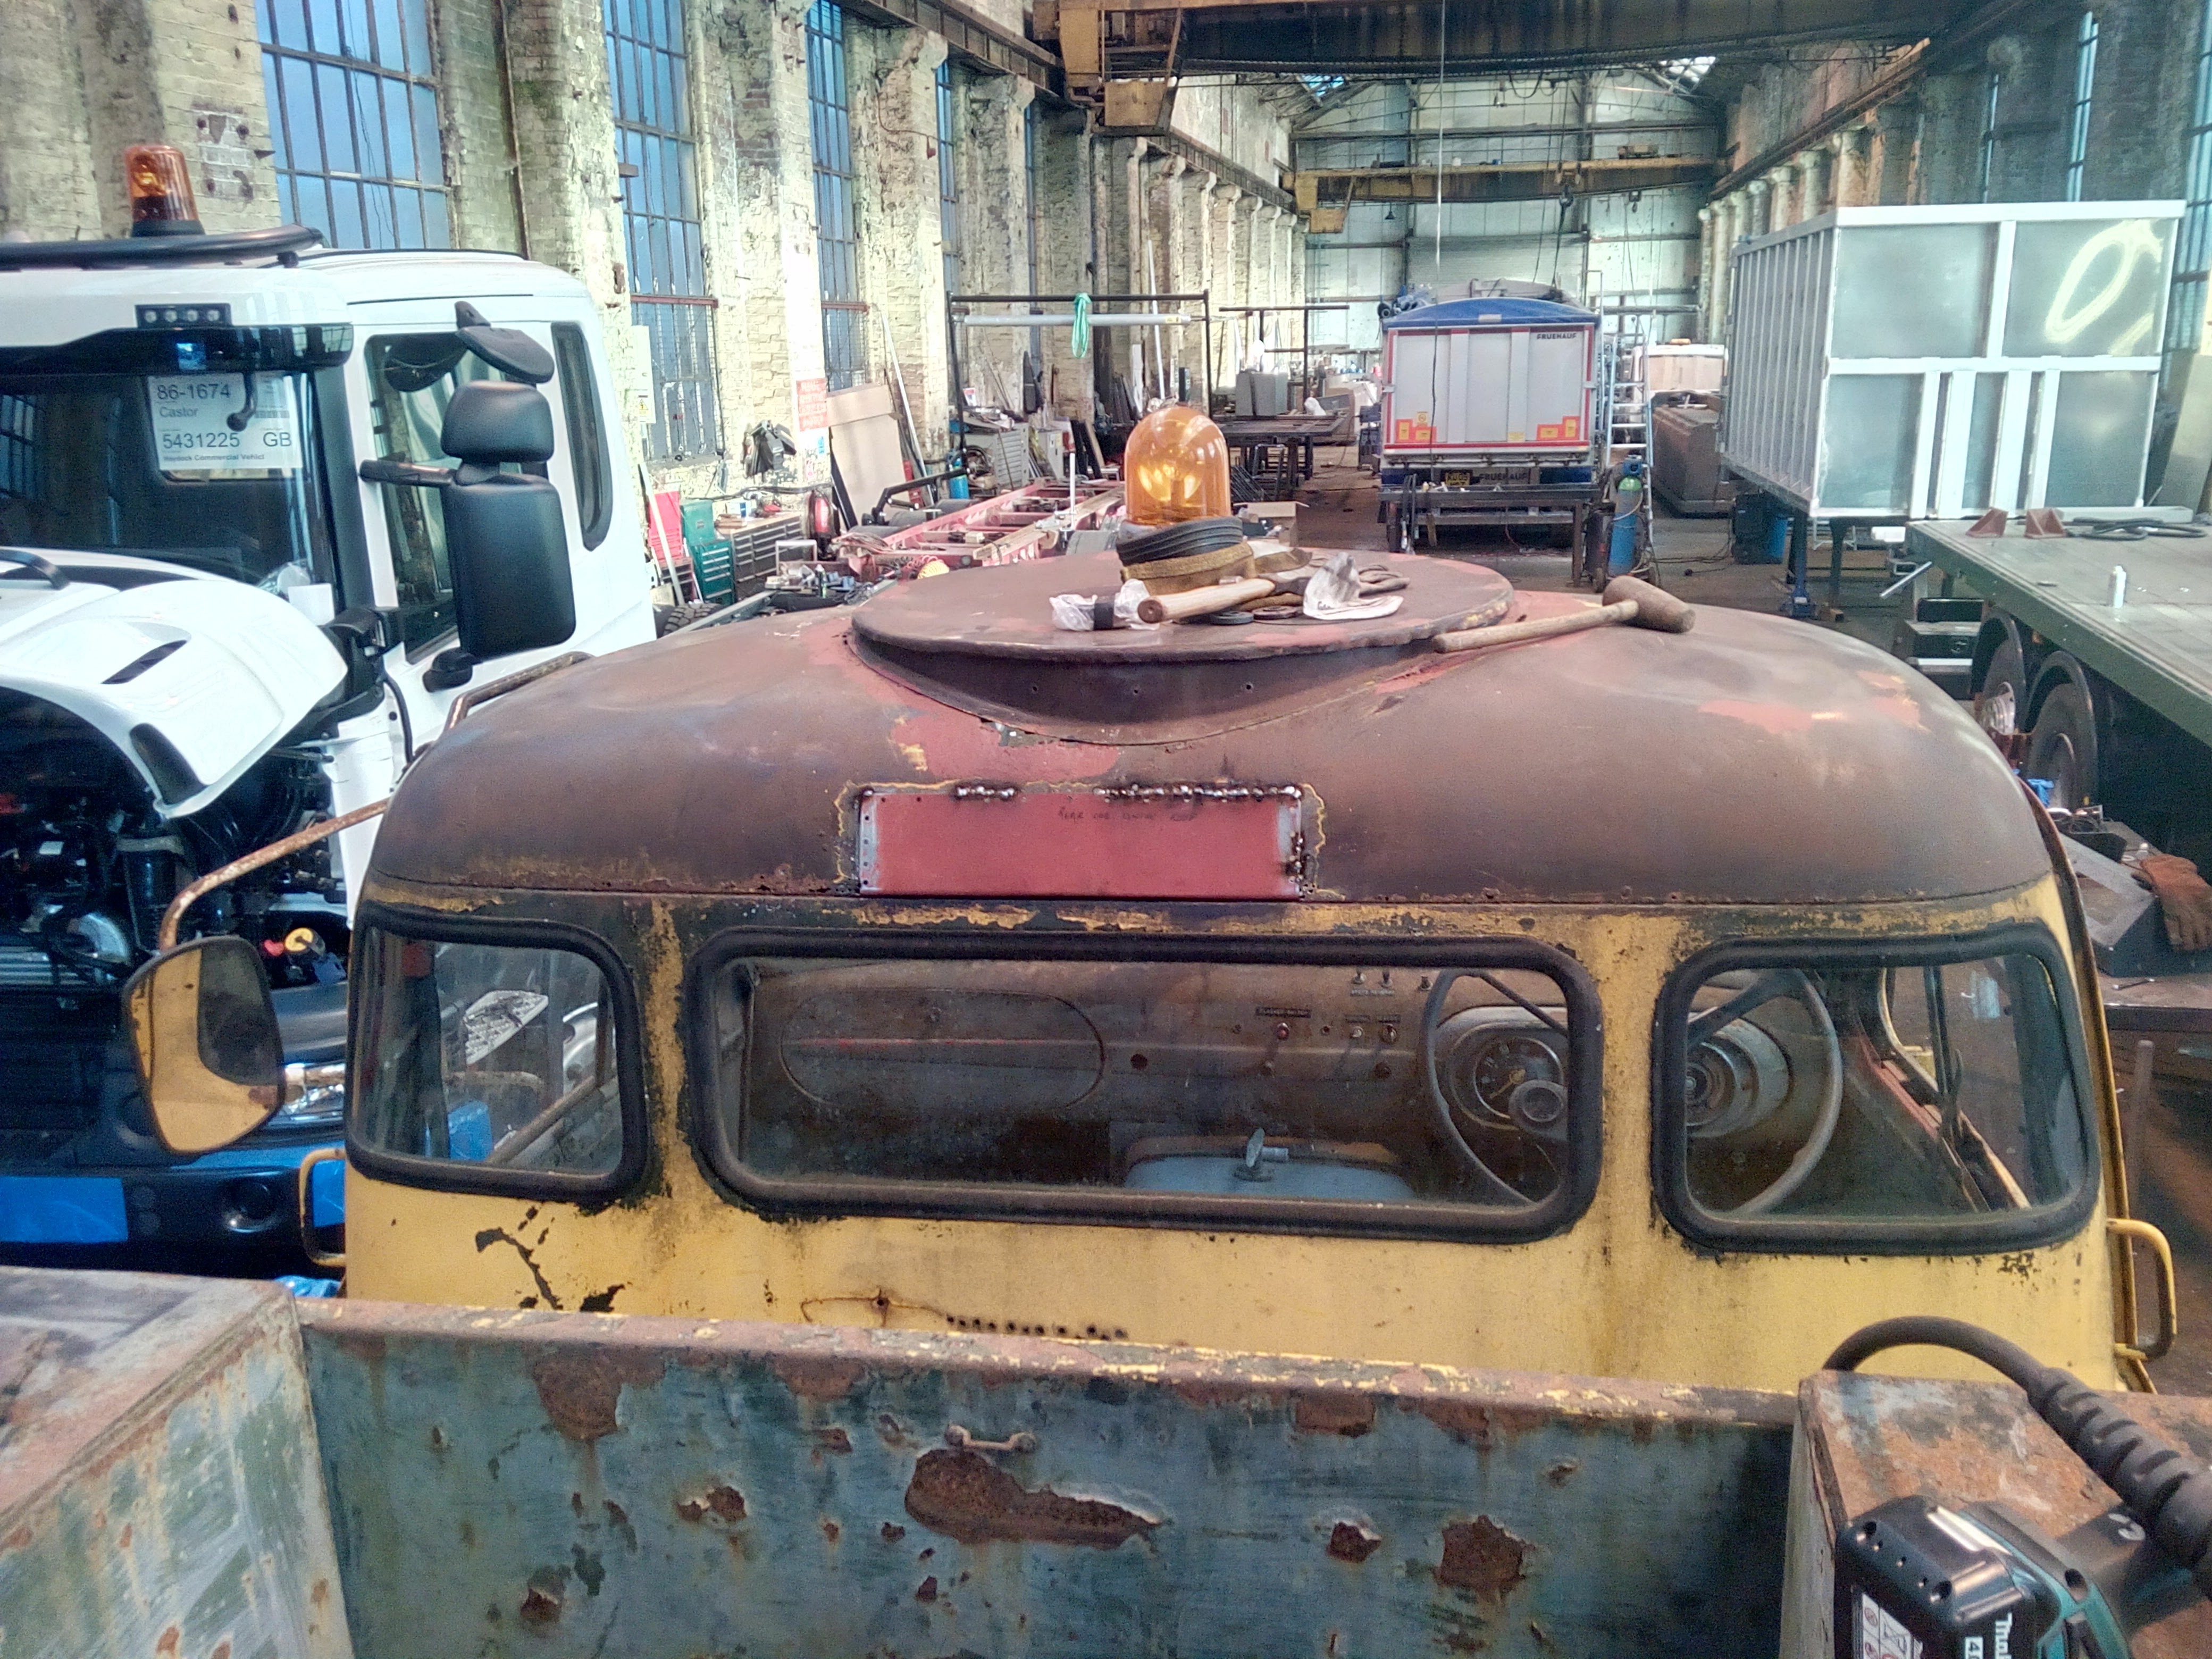
Anyway, I finished picking holes in the roof. 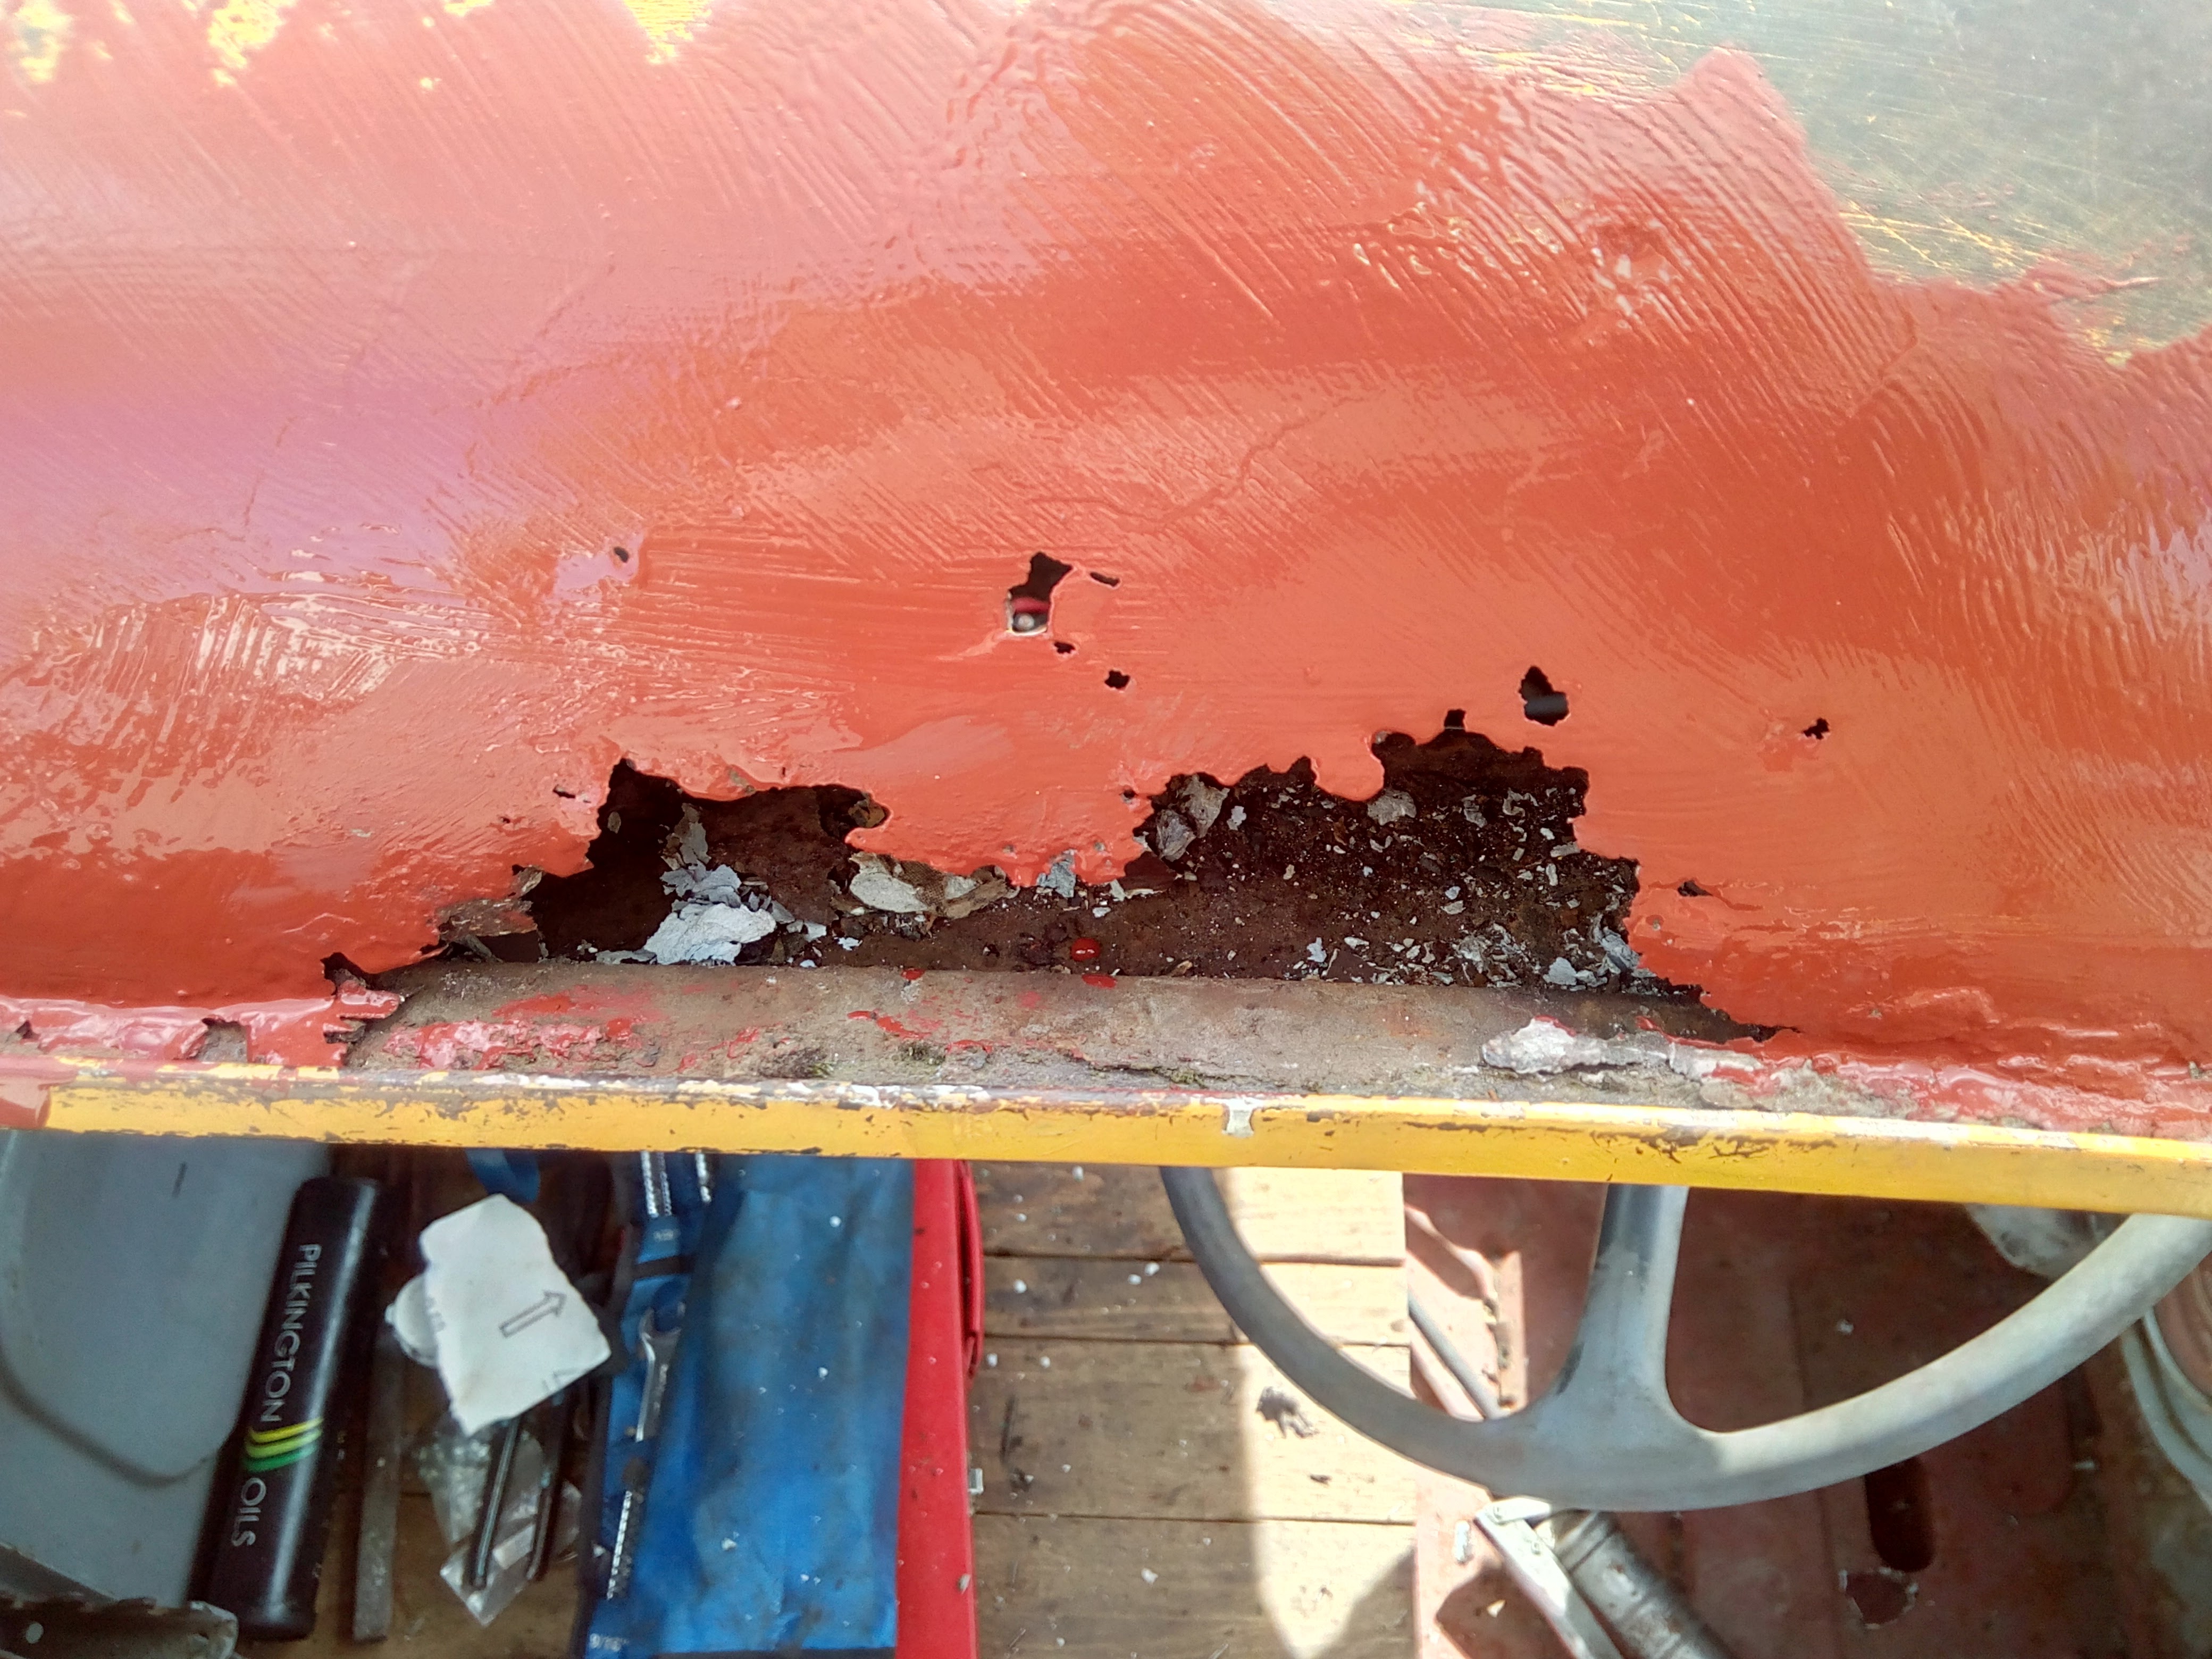
That's quite nice.
I made a fusebox. Okay, I finished the fusebox. ...Okay, mostly finished the fuse-box. :D It's still not fully bolted together, so sometimes if I take the cover off, the ali plate with everything on it, falls out. But it's bolted to the cab, so it'll do for now.
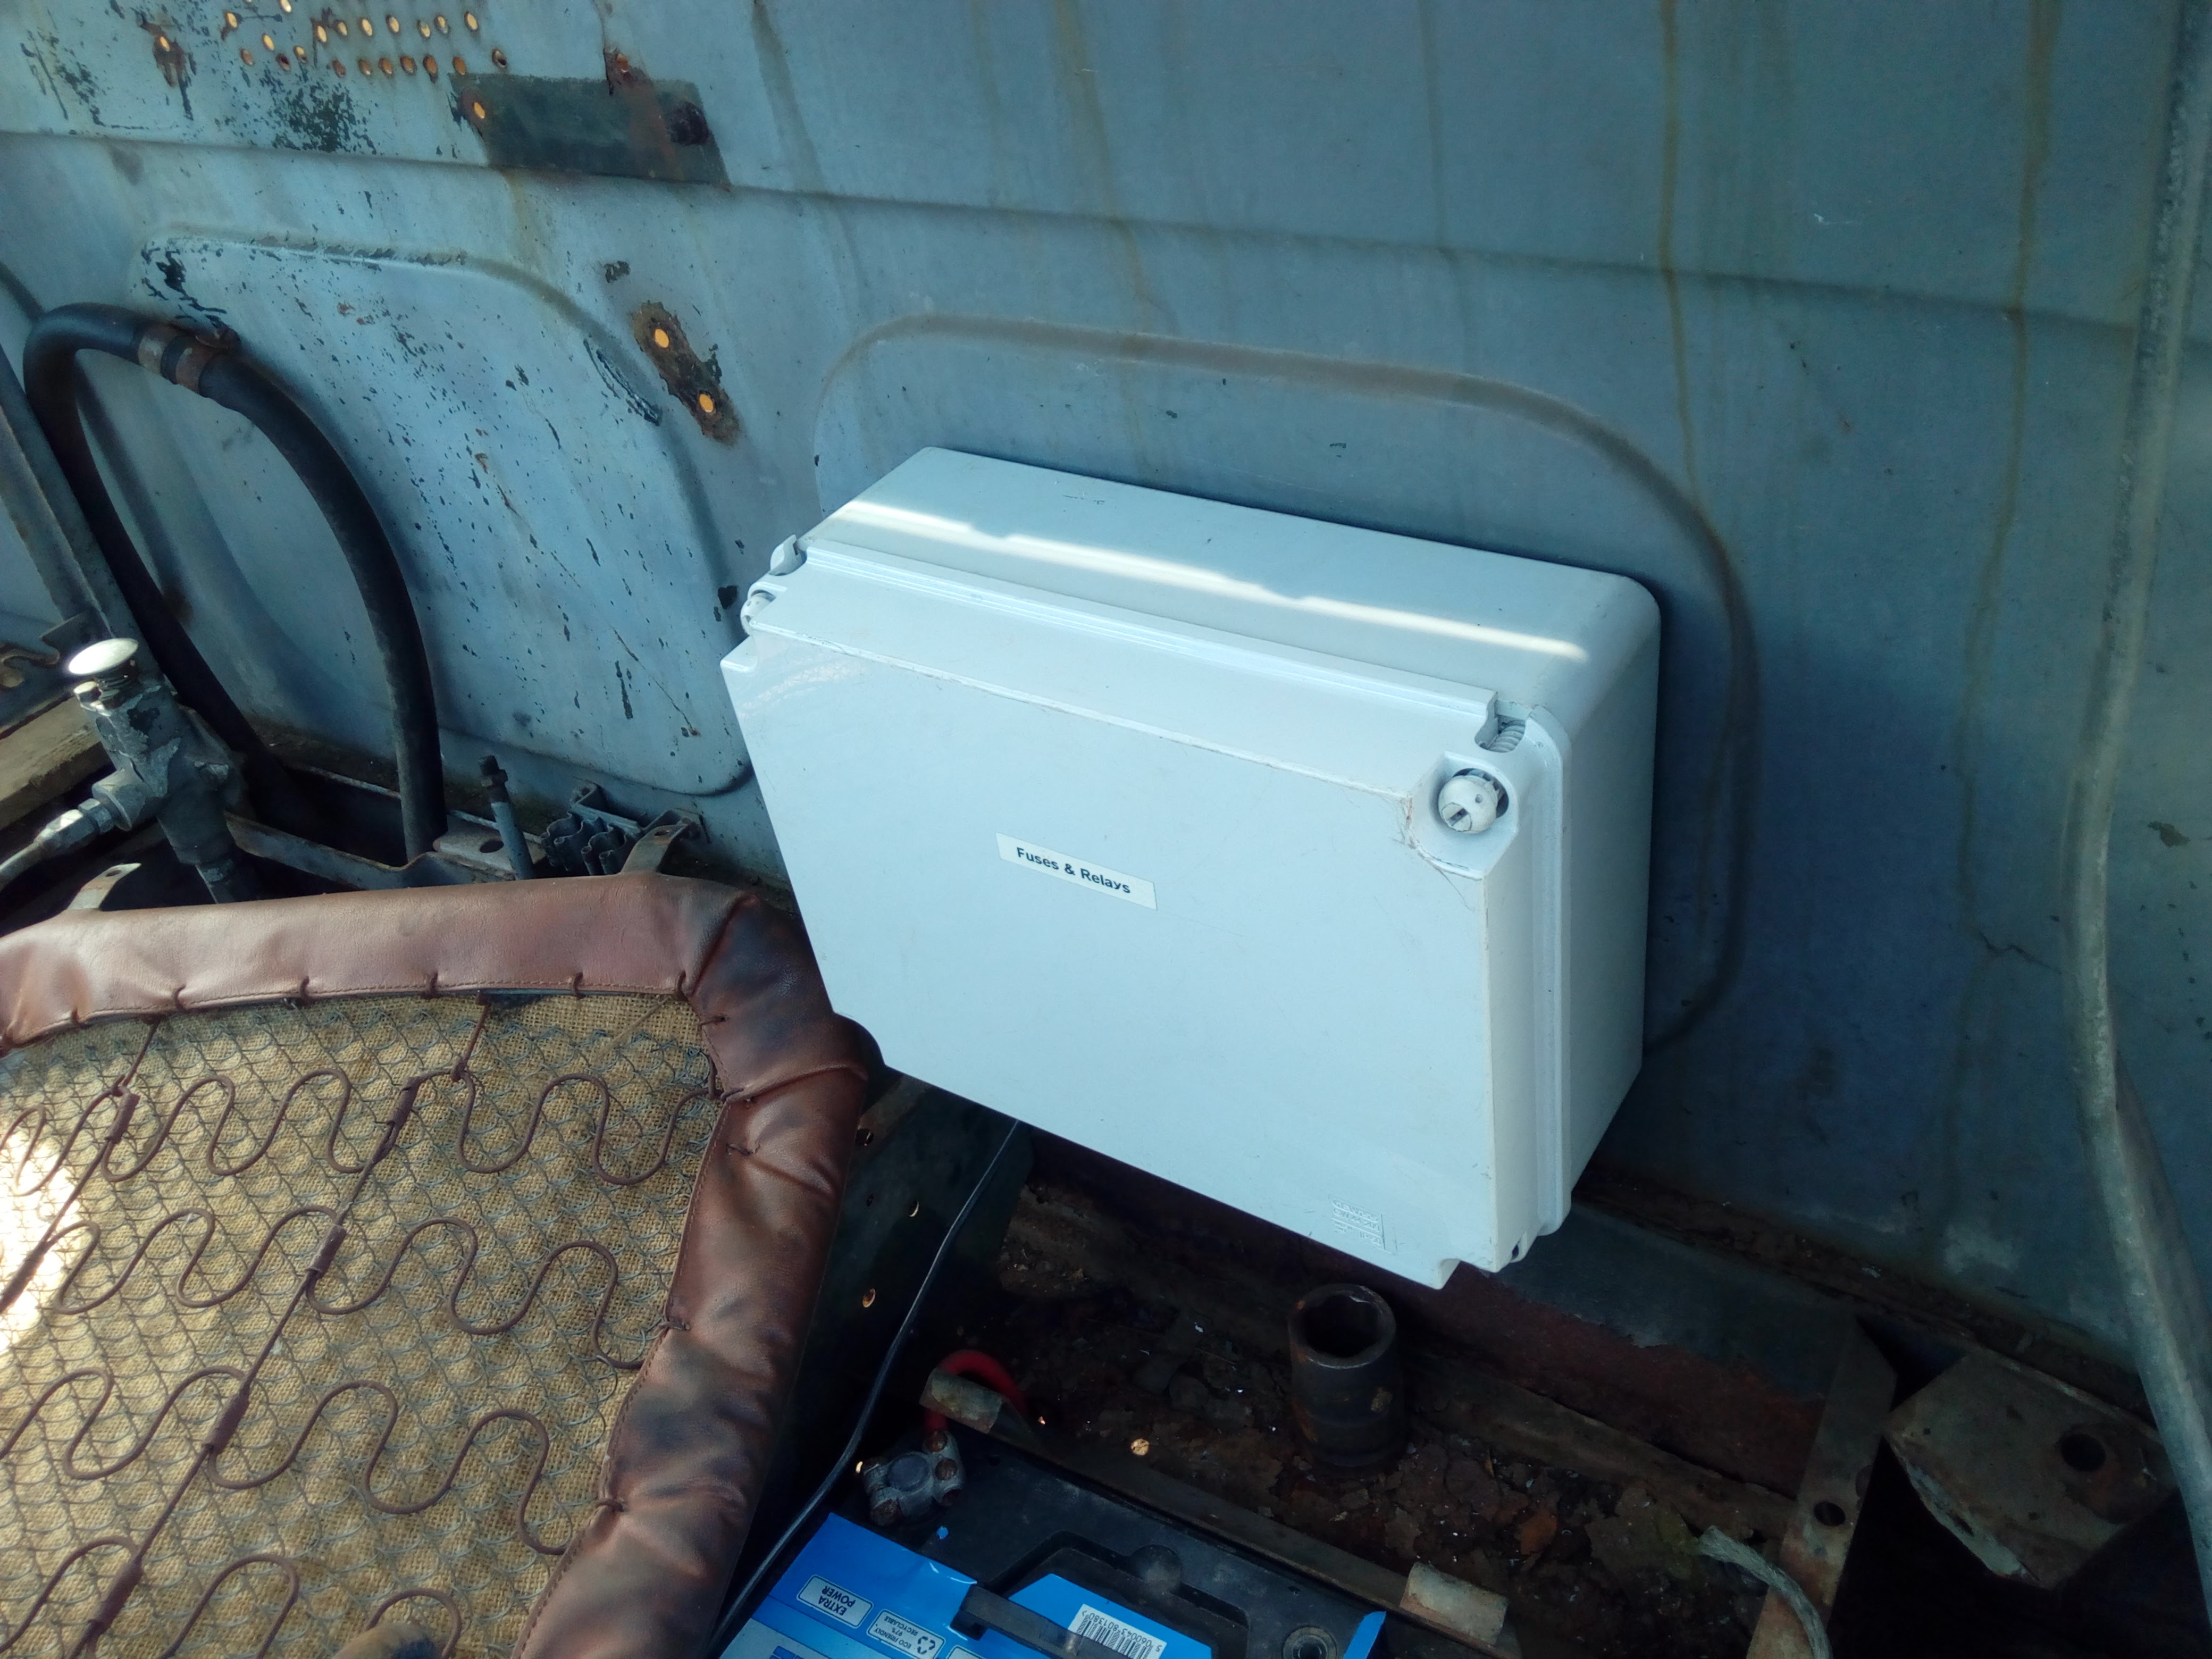
It fits, just, behind the passenger seat.
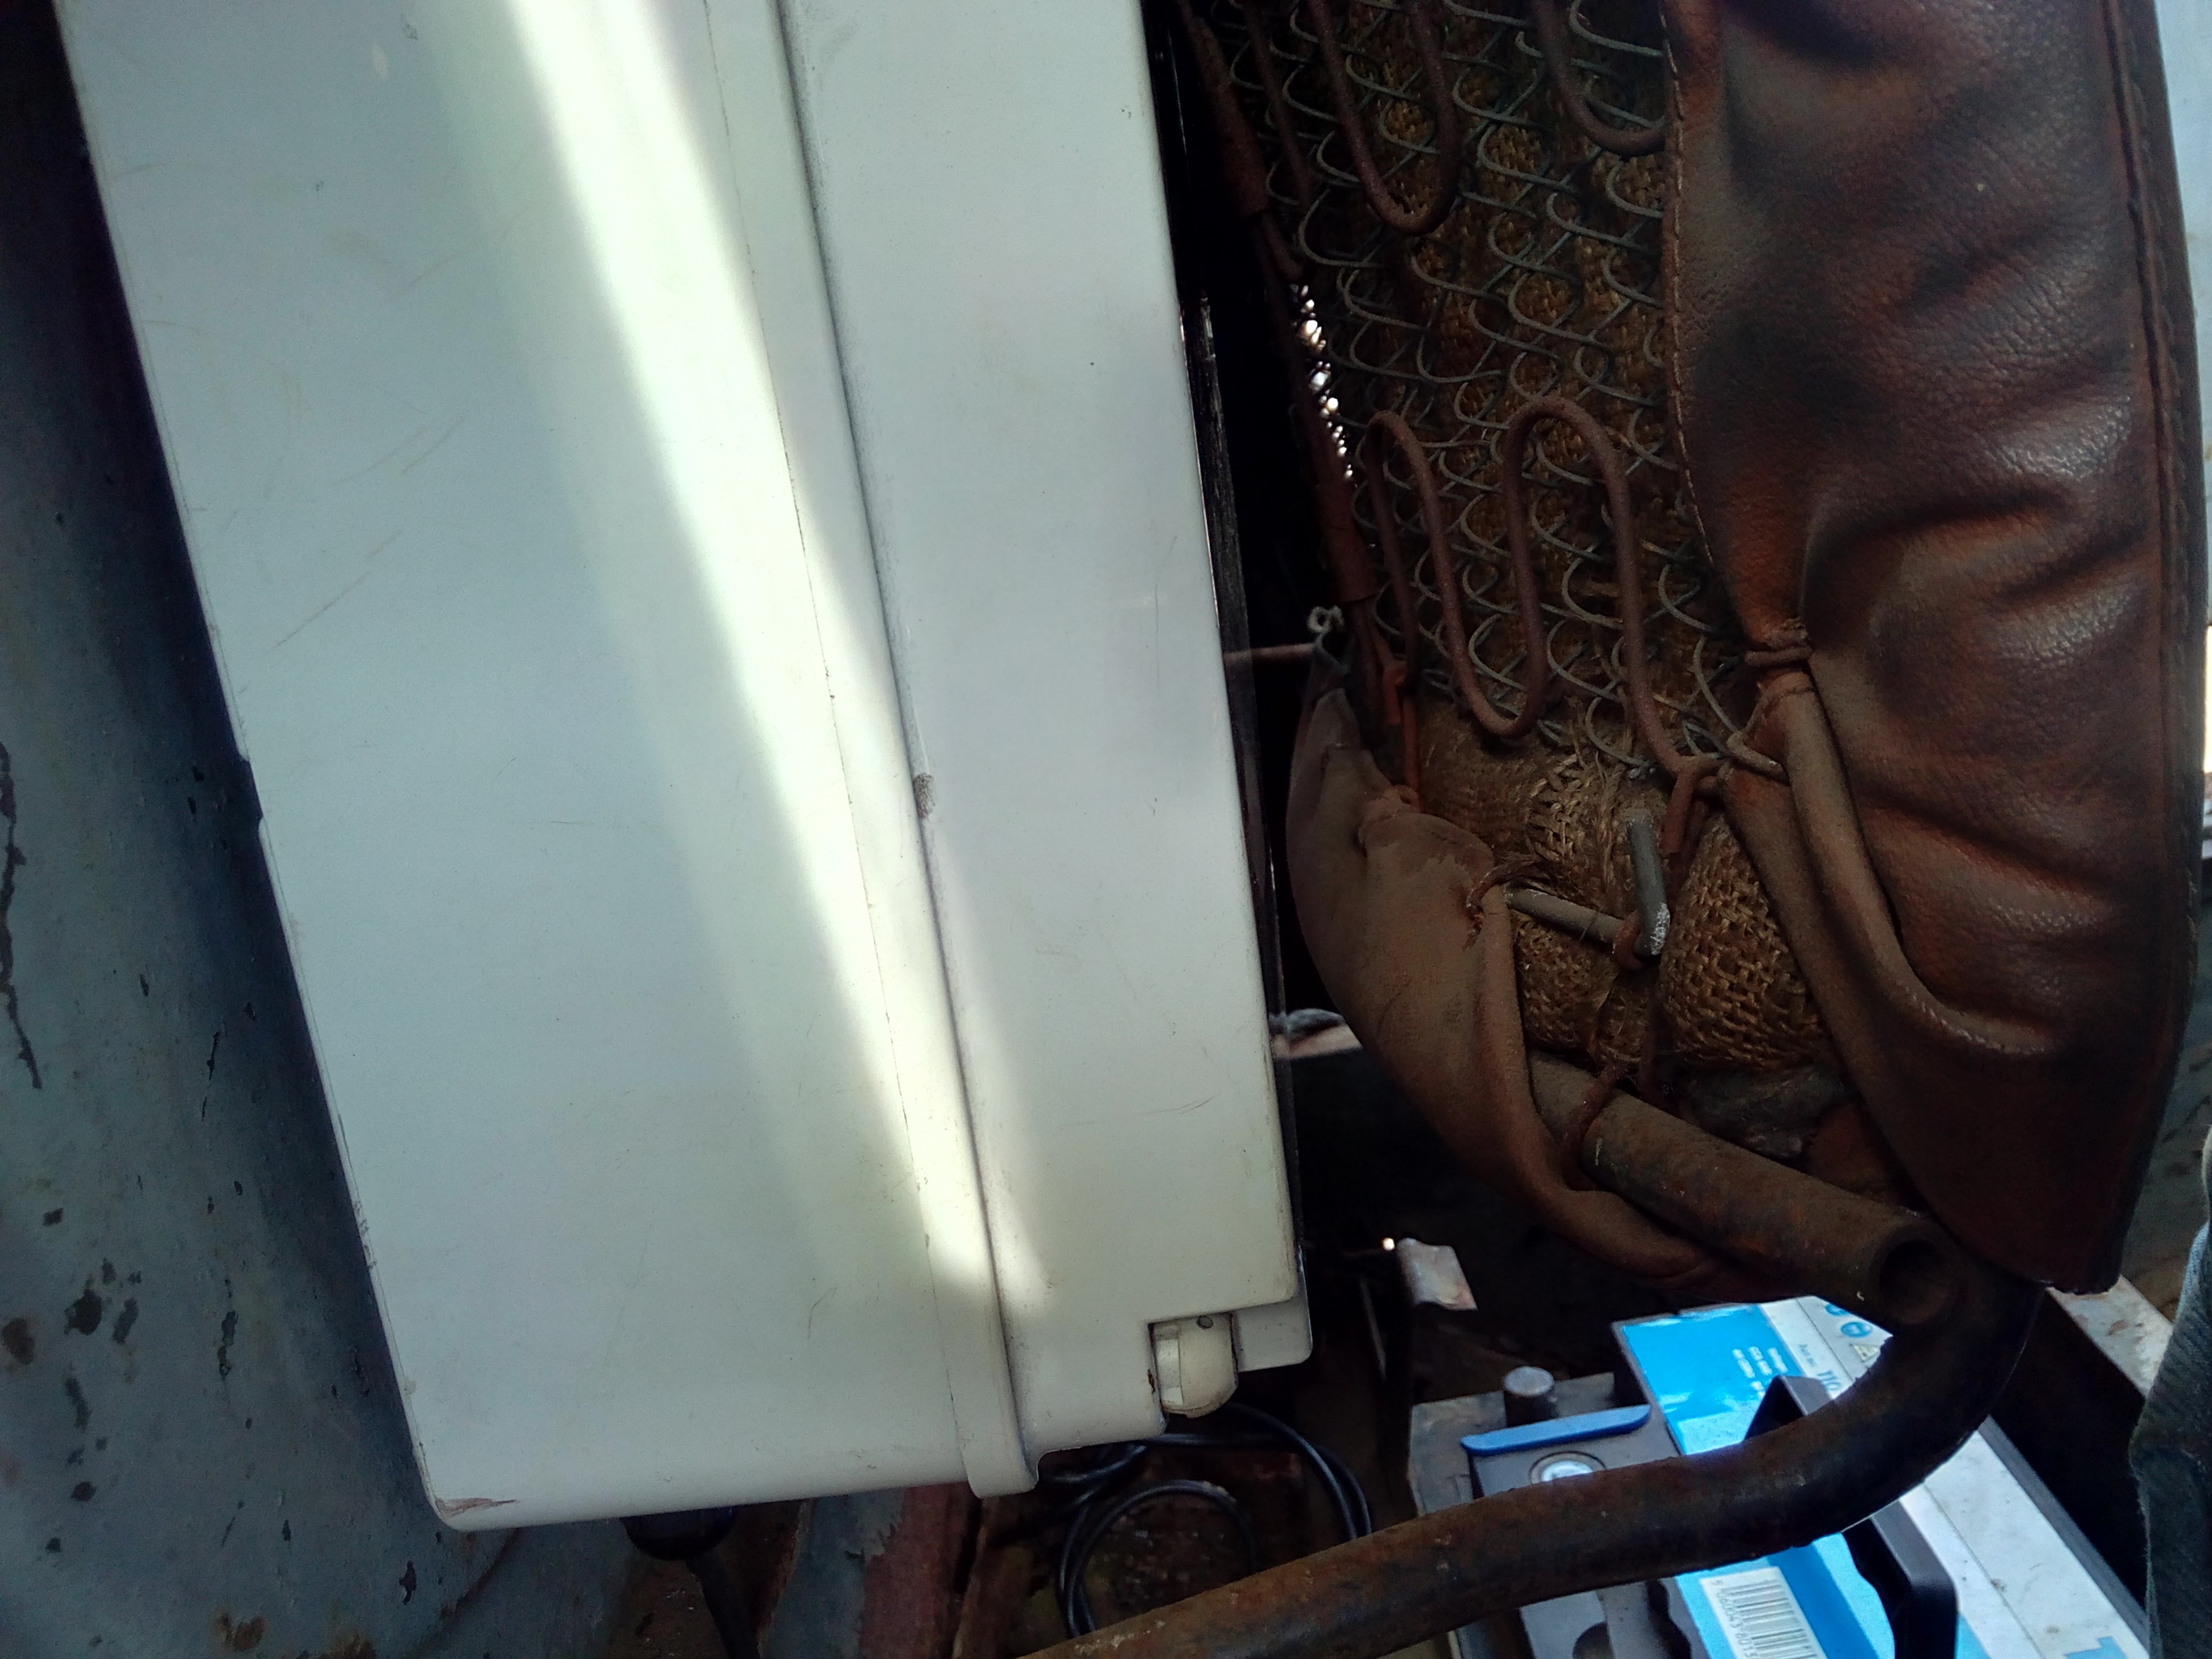
Throw some wire at it...
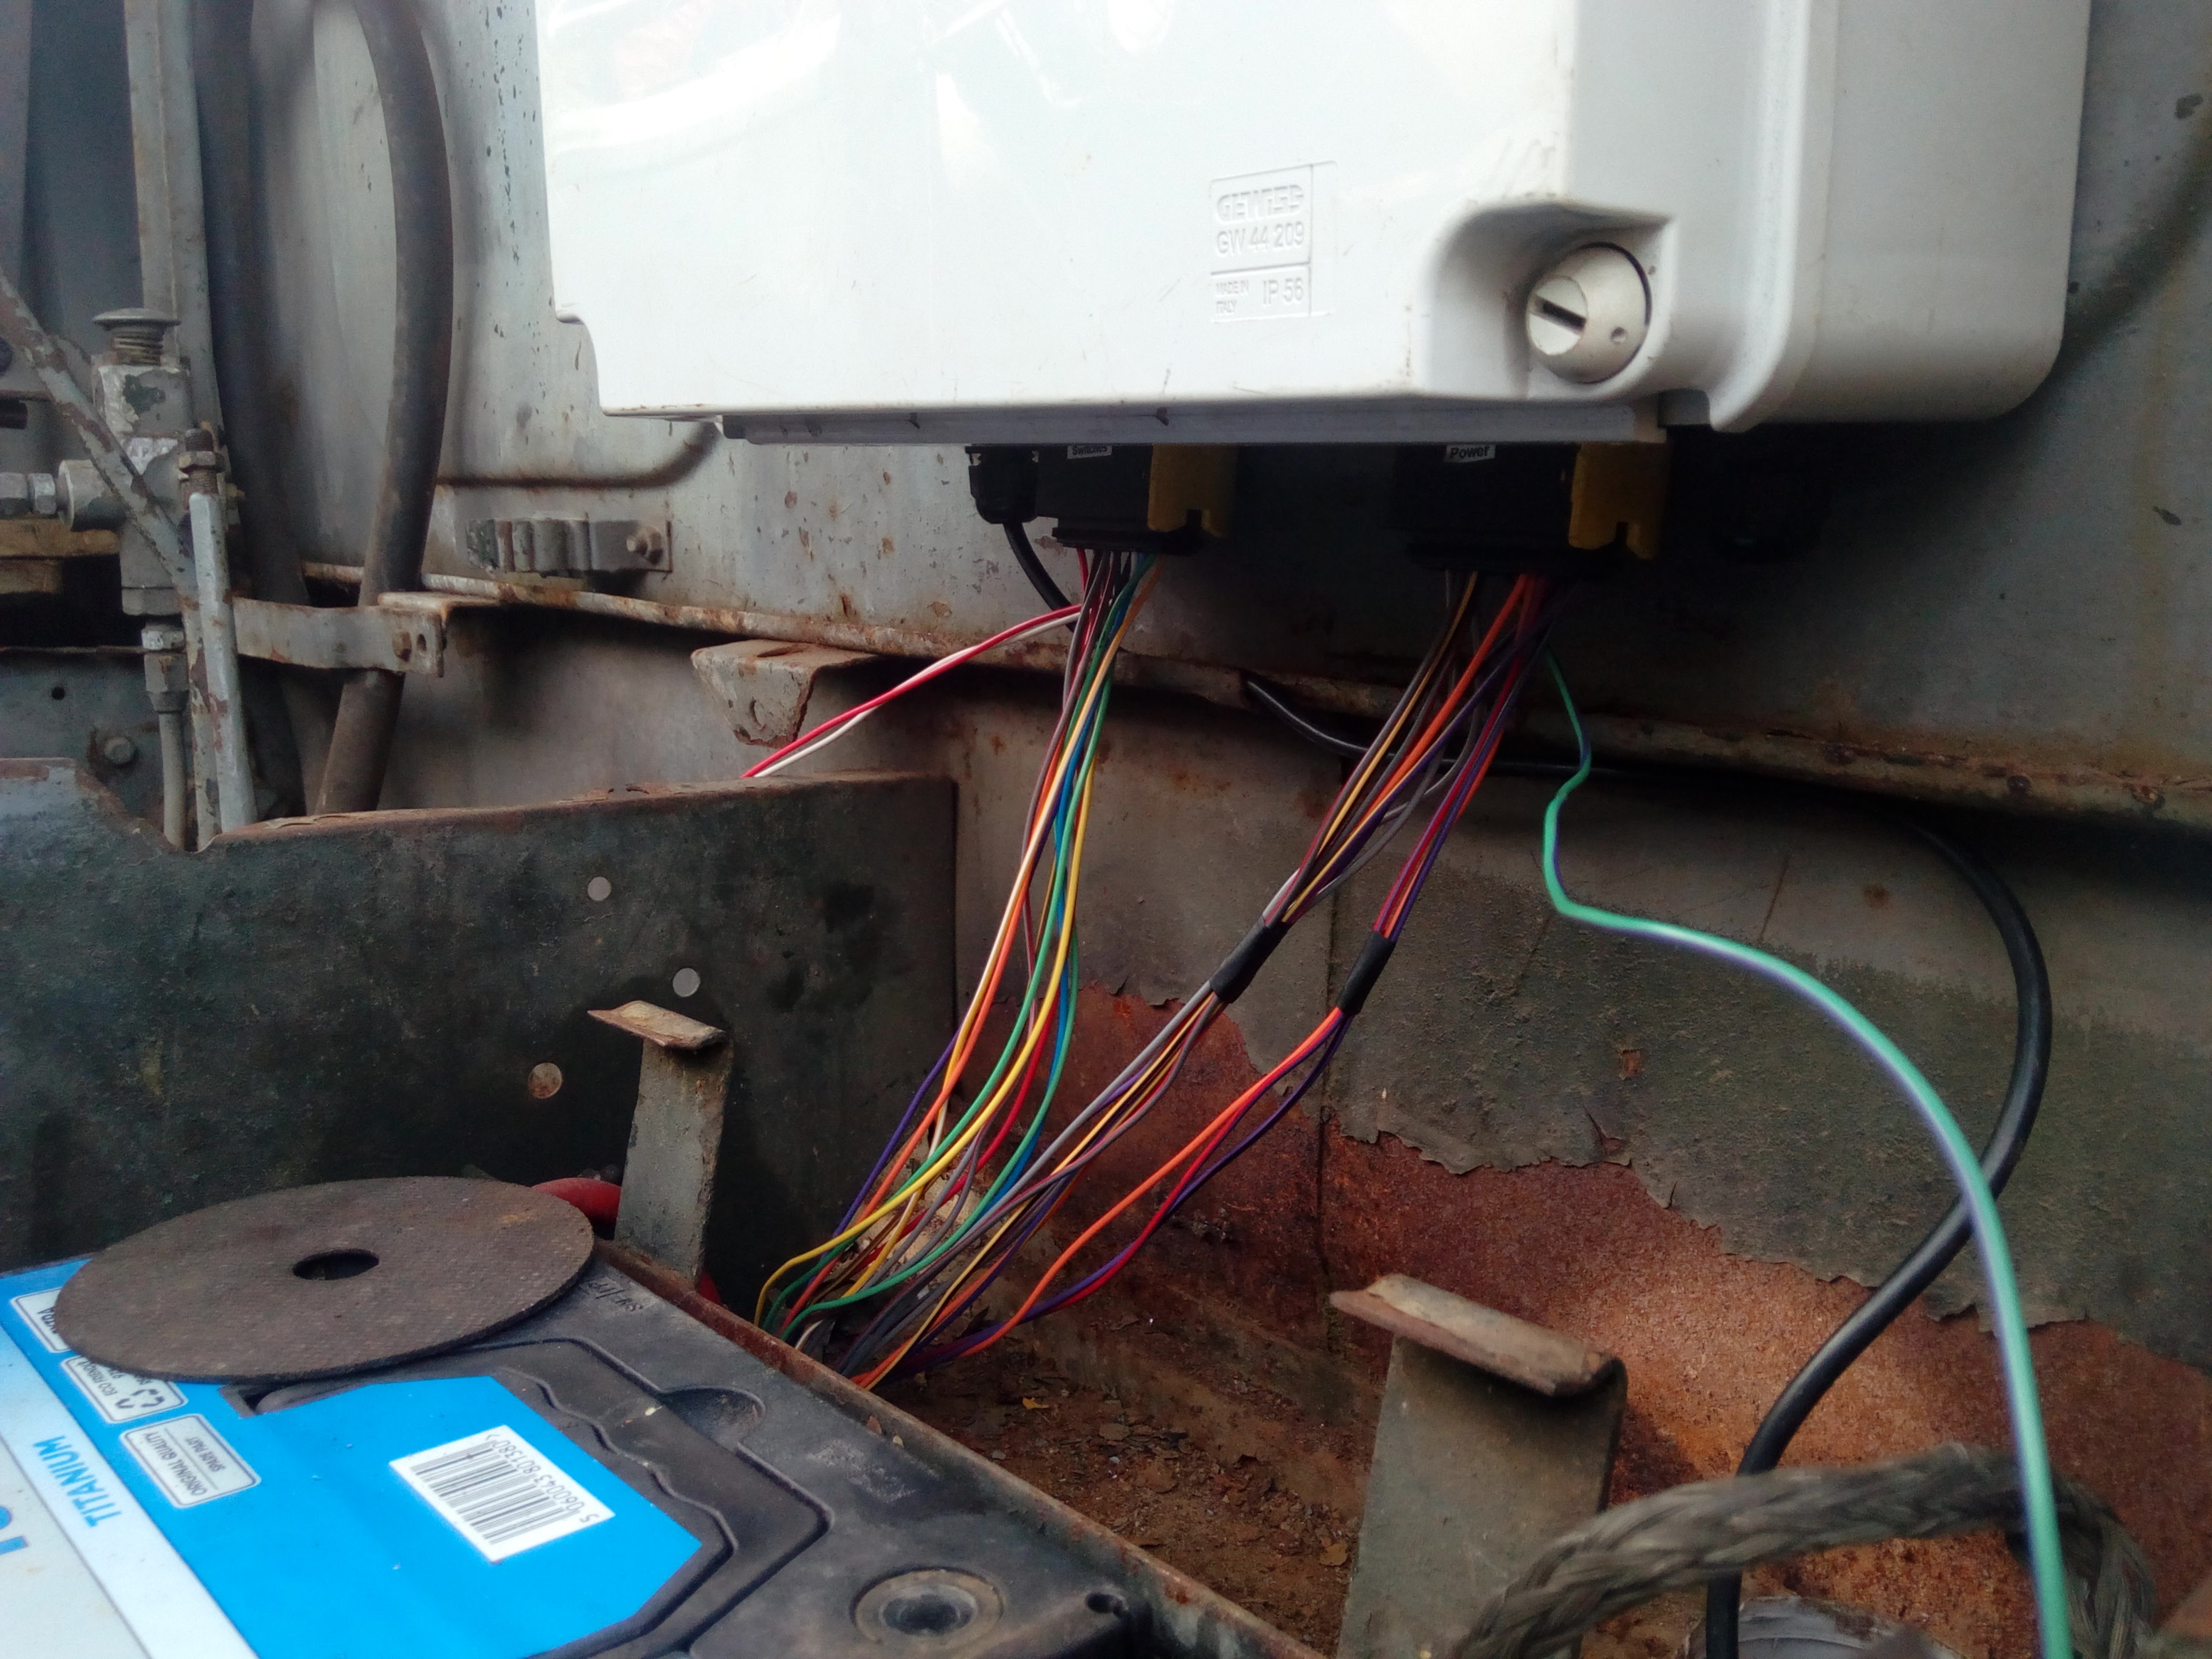
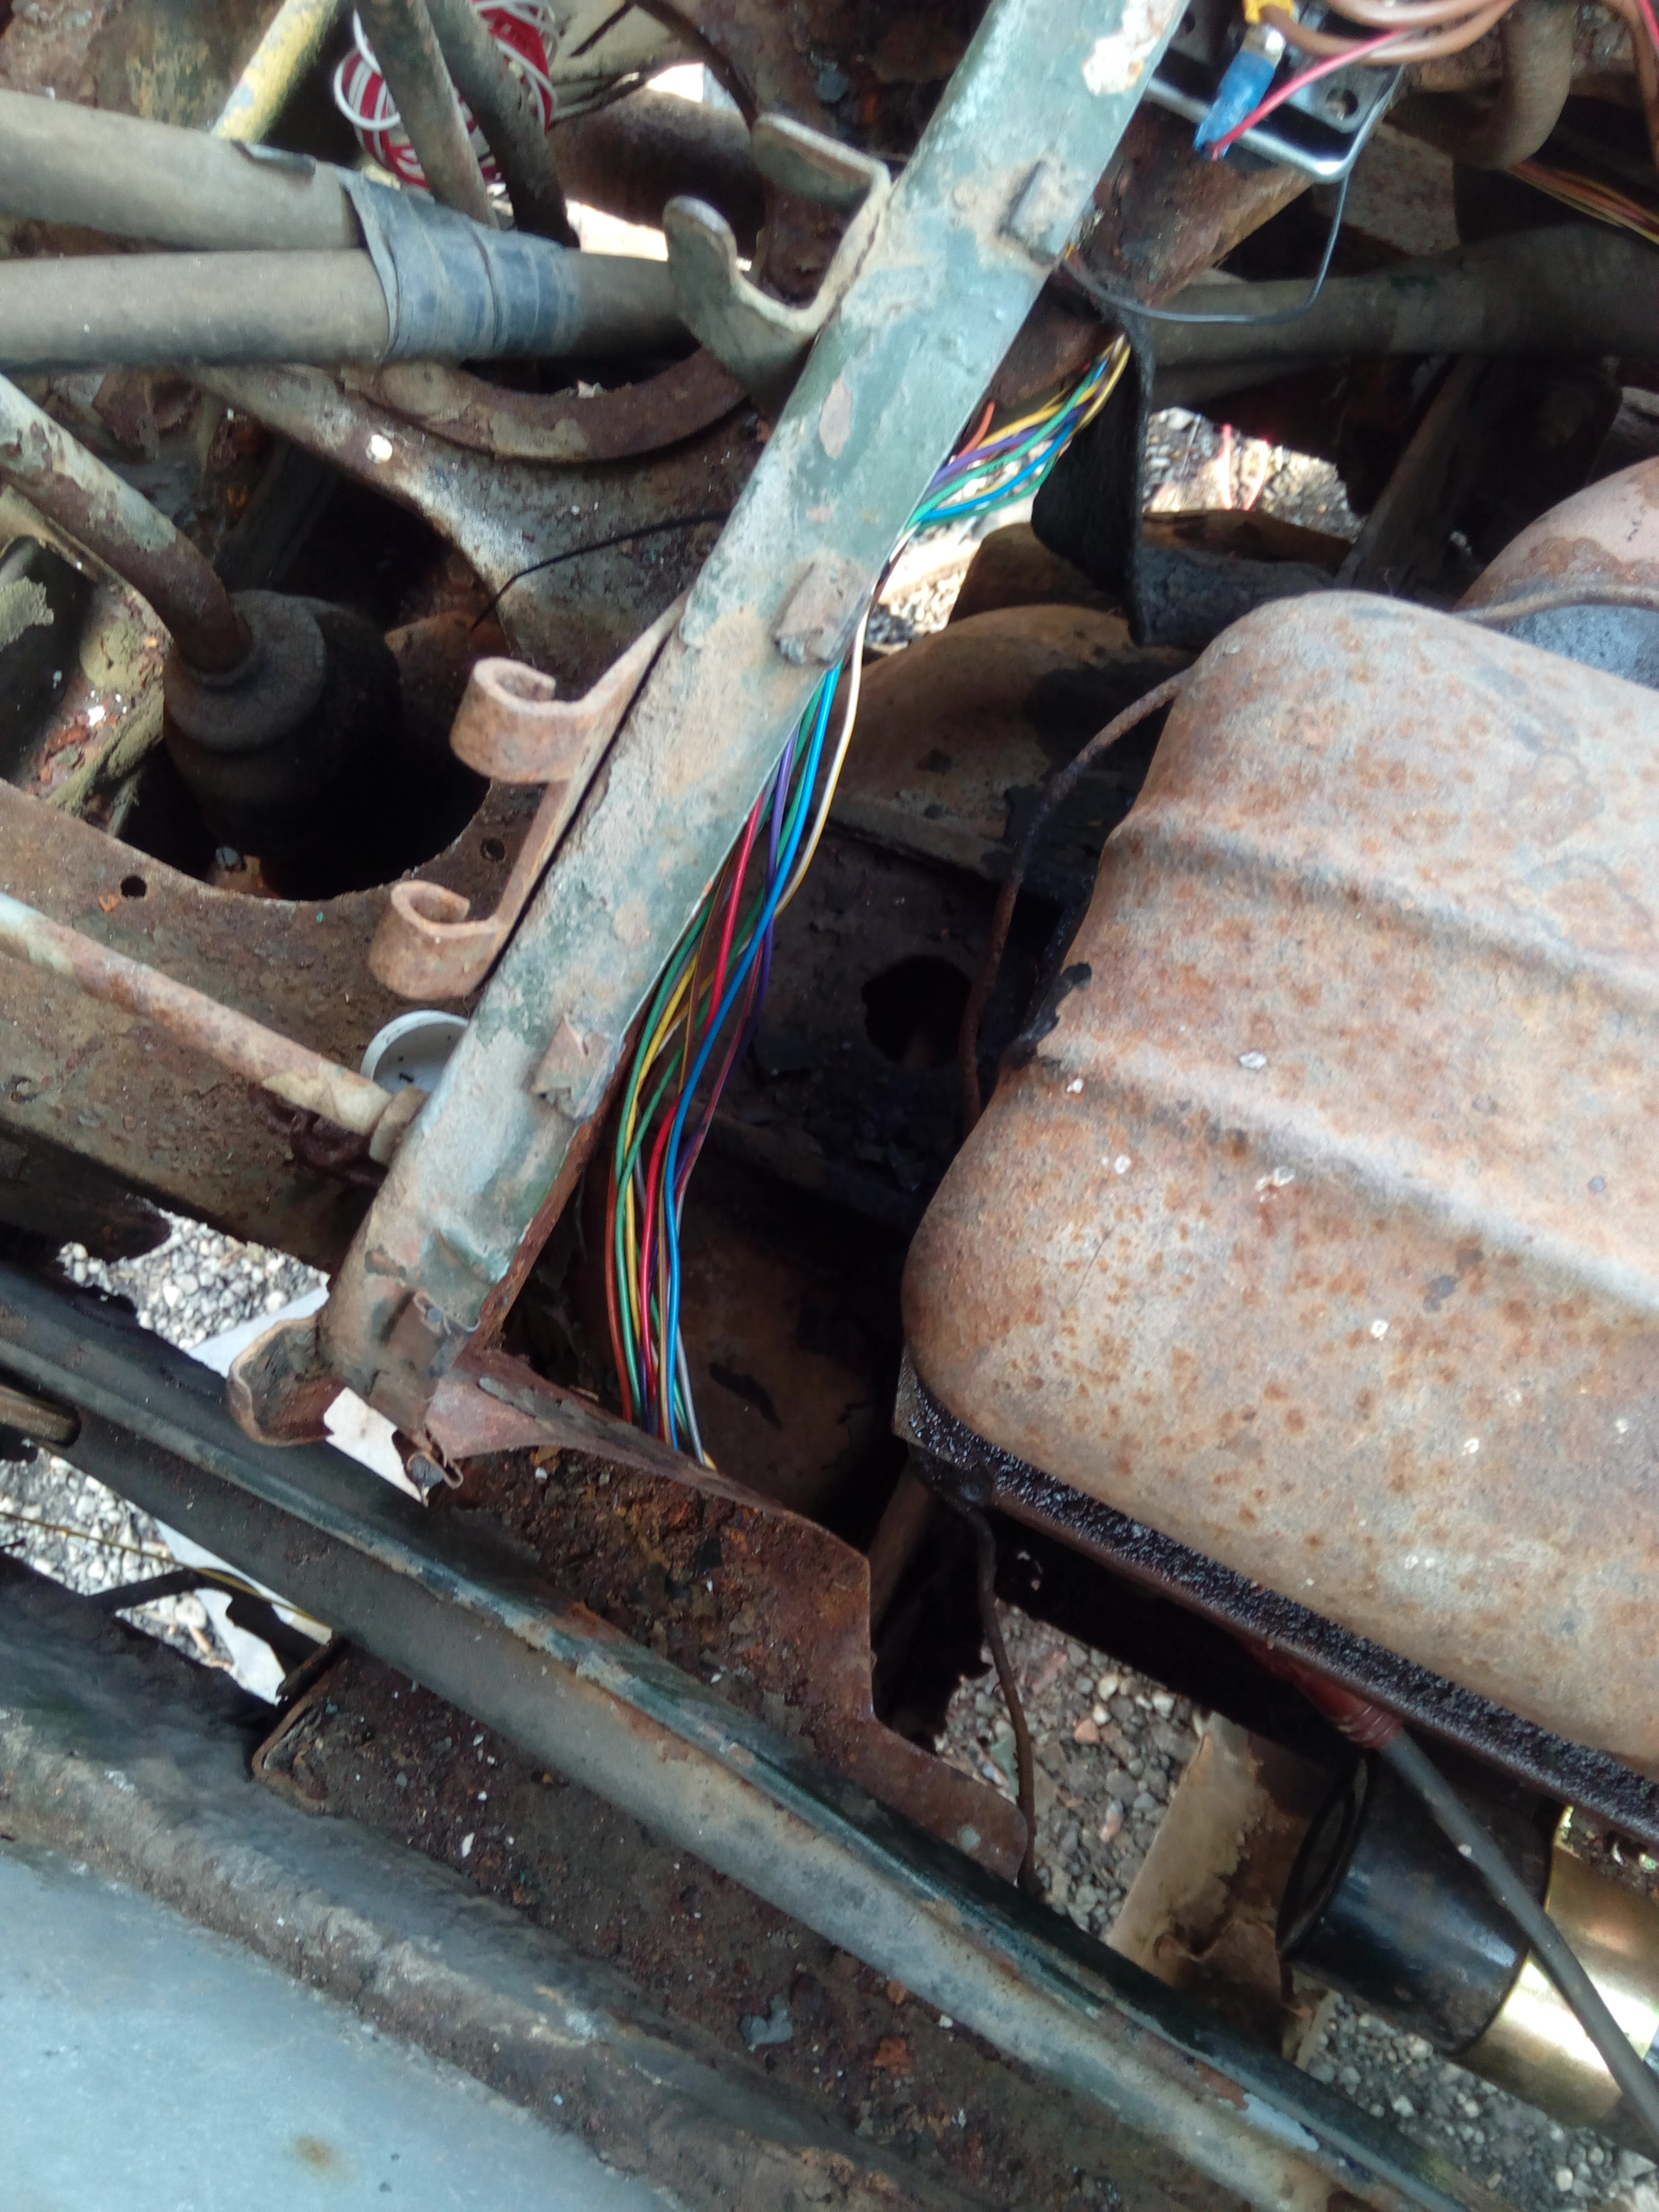
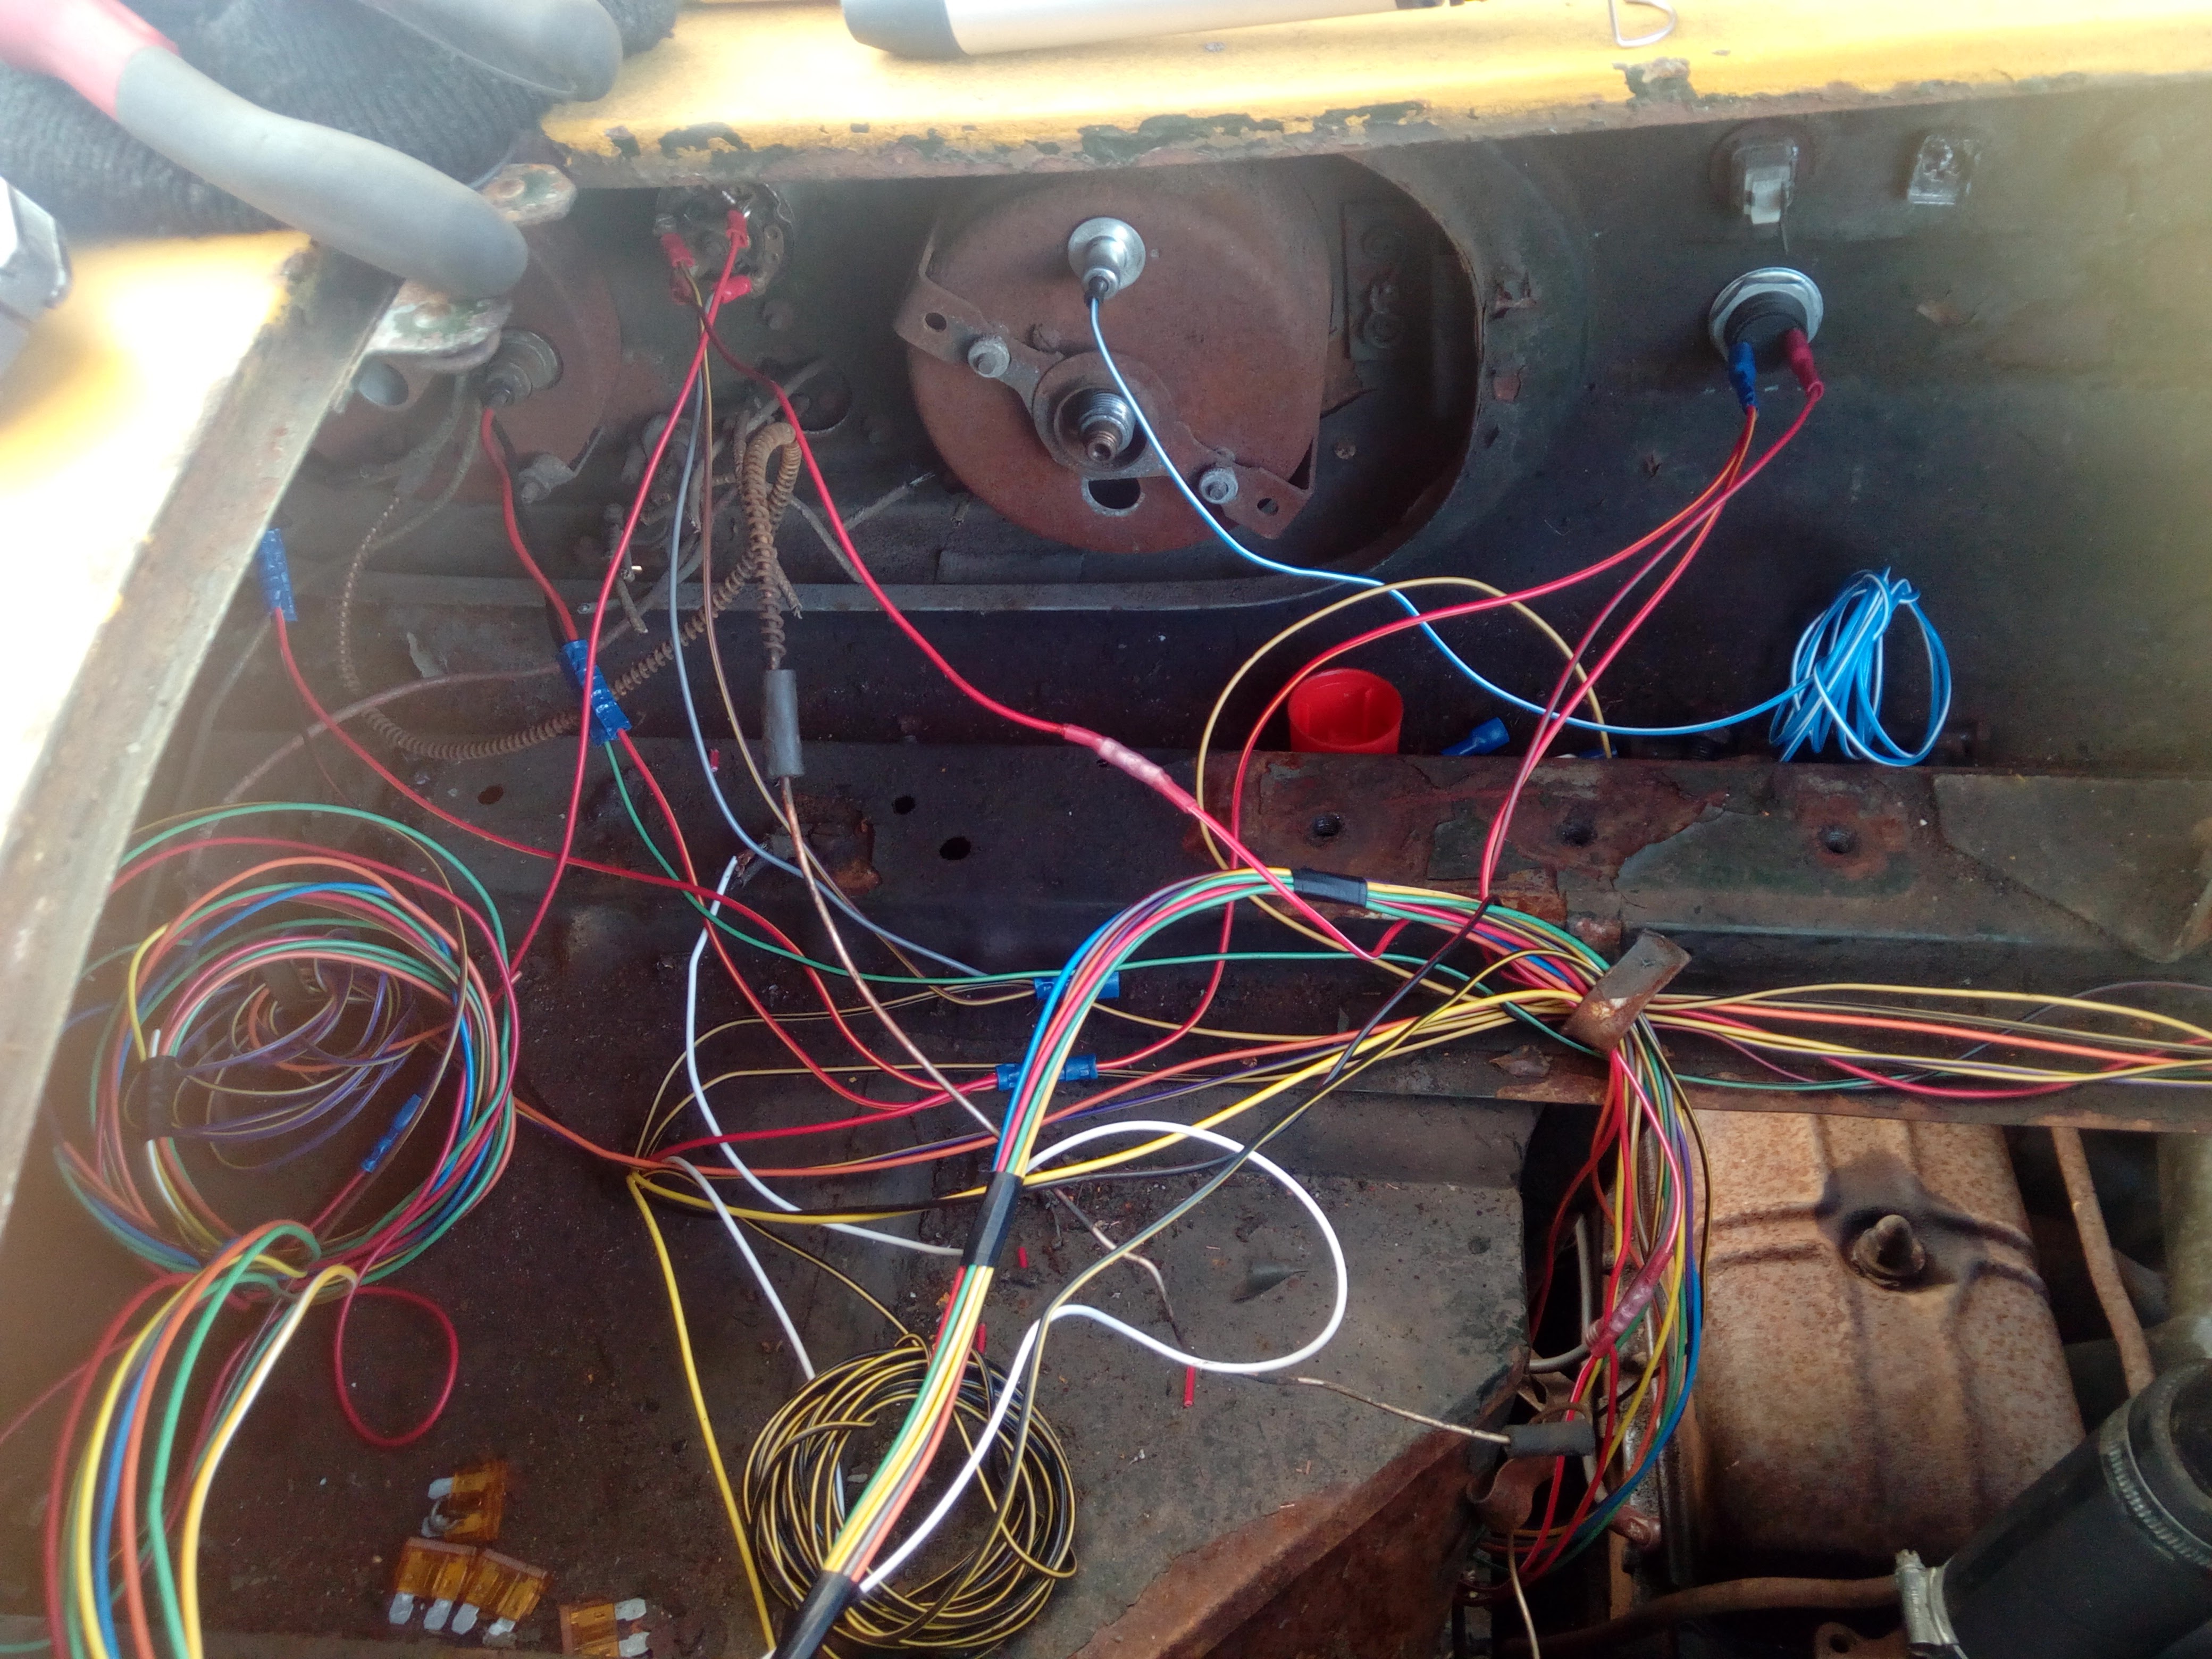
Yeah, nice! And that lets us do: 
Now, let's look in on what's going on with that brake situation again.
Master cylinder guts...
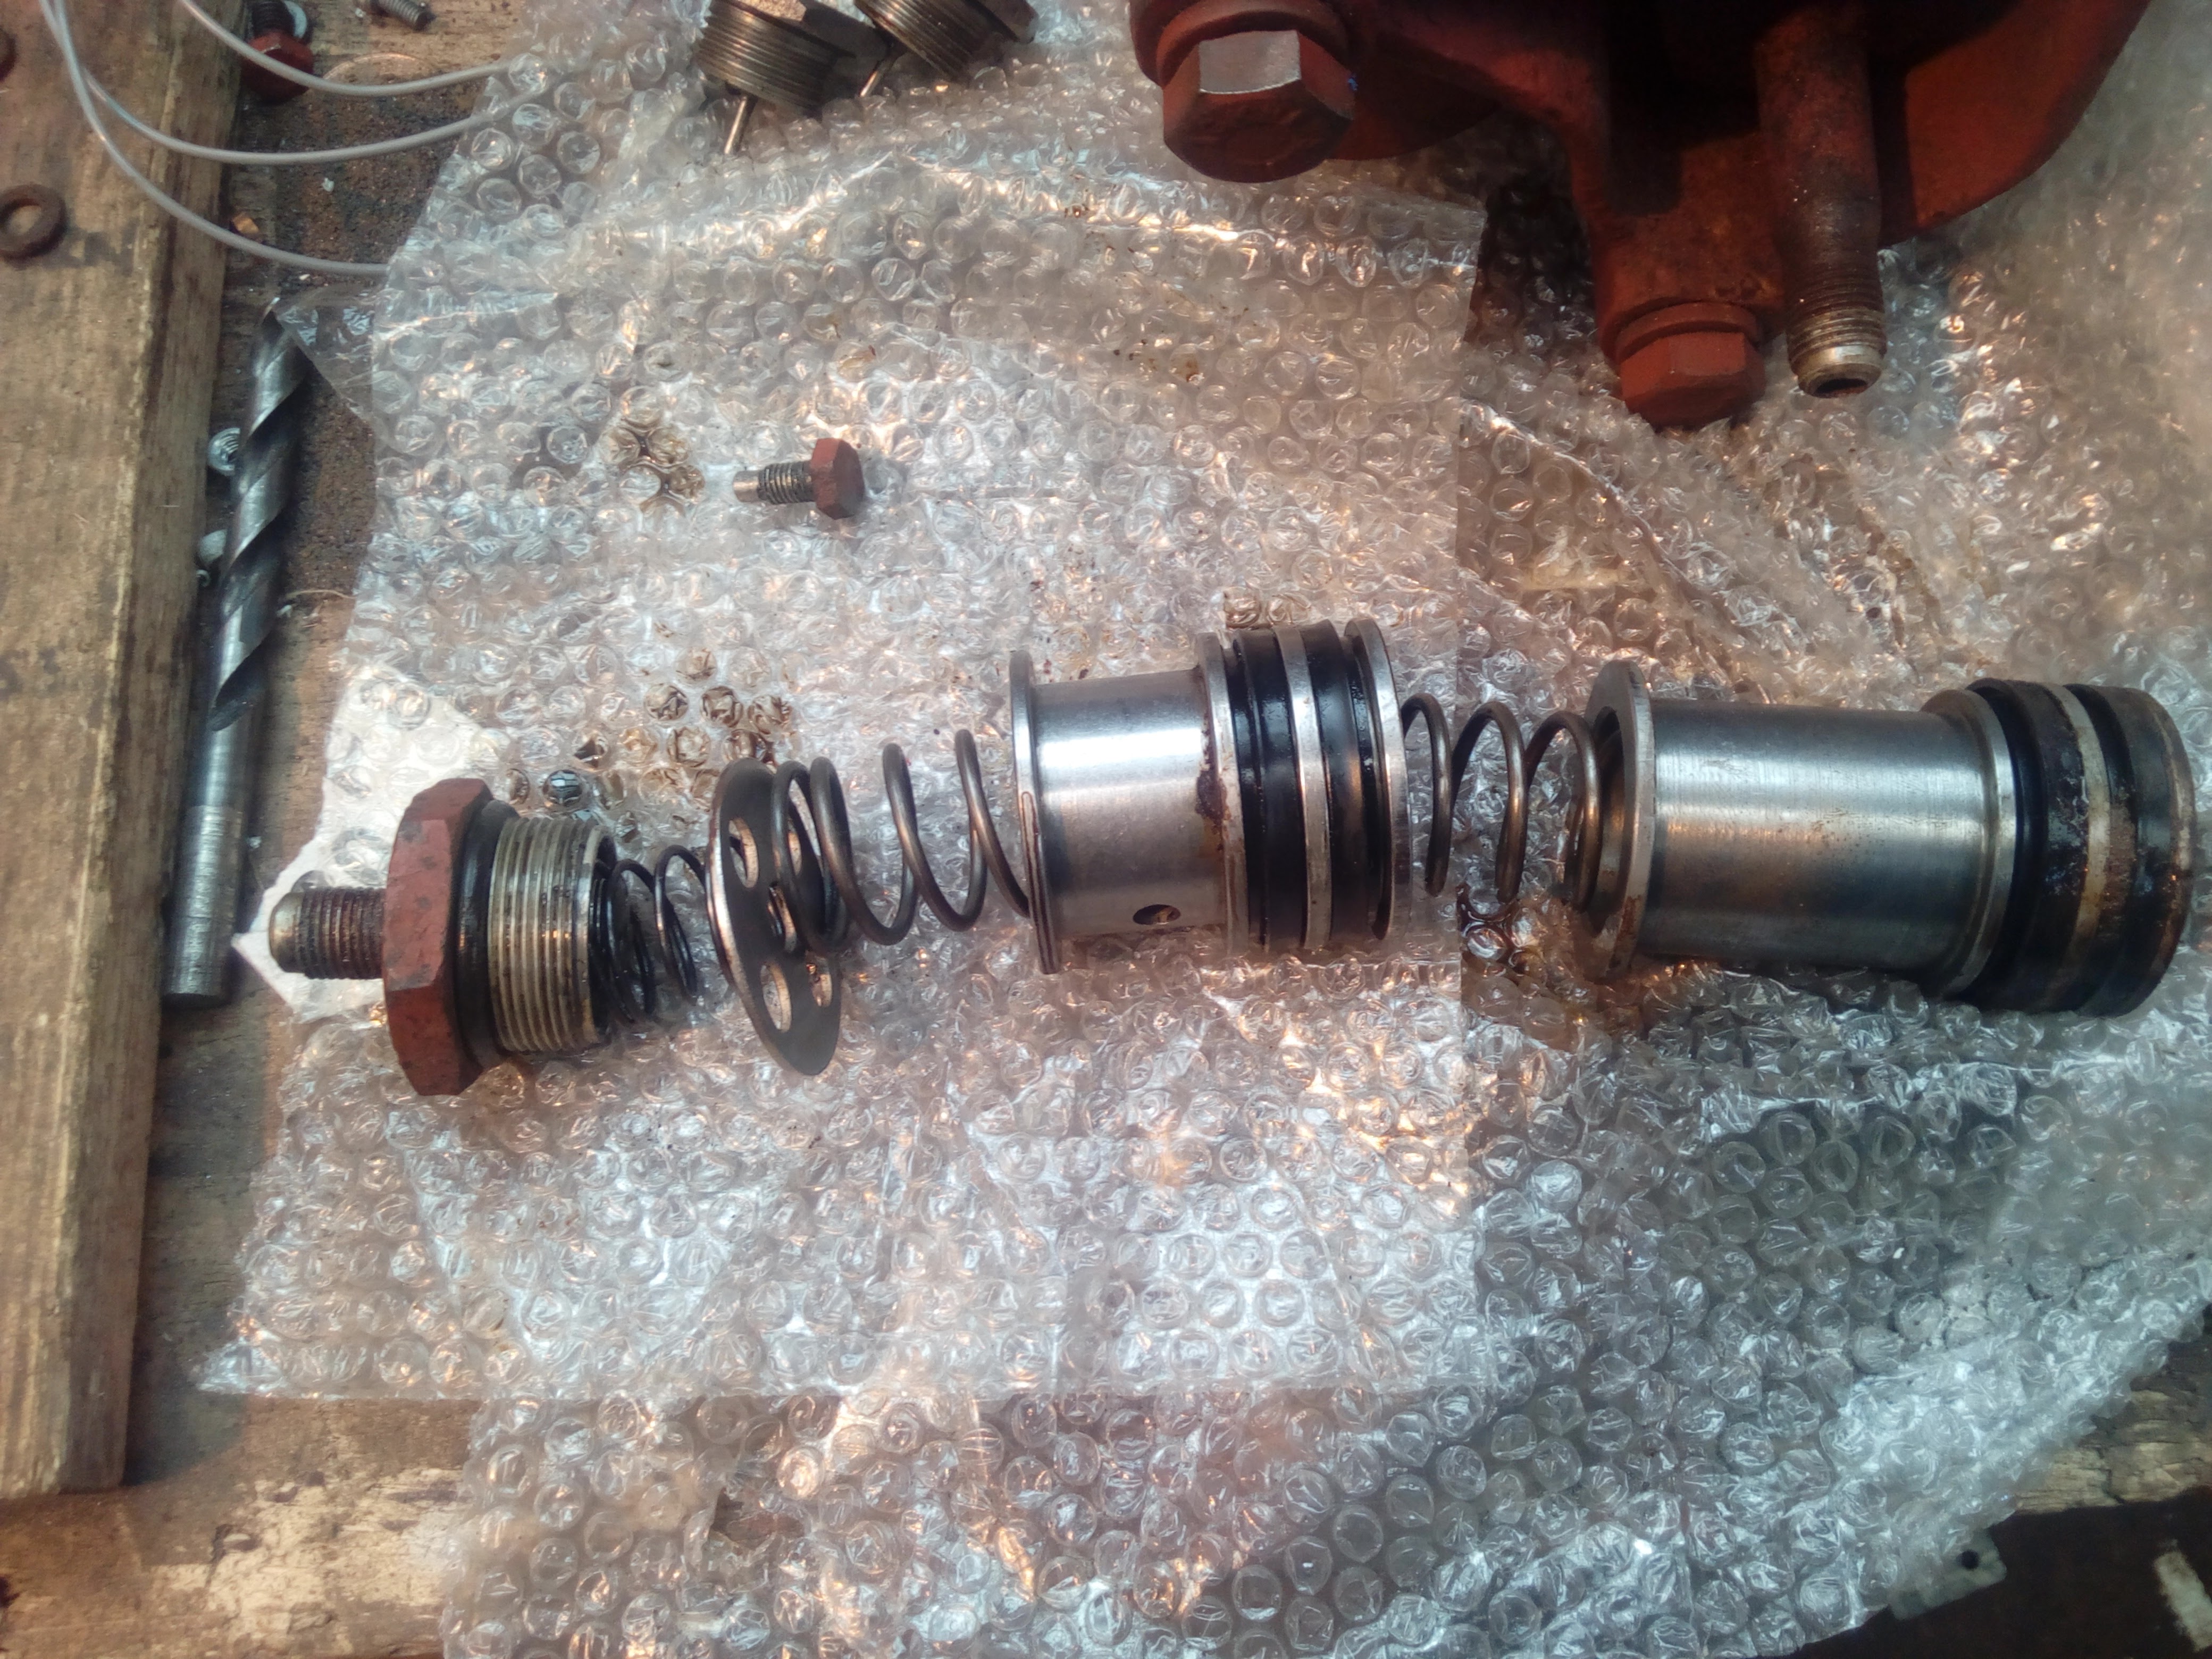
Master cylinder bore...

Mm, not pretty. Let's see if it cleans up with the brake cylinder hone.

And it does, but it's still a touch questionable. So I go to knock another gert big hole in my wallet, and send it off to be furtled about with.
Hmm, what to do in the meantime... Well, I have a fuel tank sitting around... Time for it to have some quality time wit ha wire wheel on a grinder, and some paint!
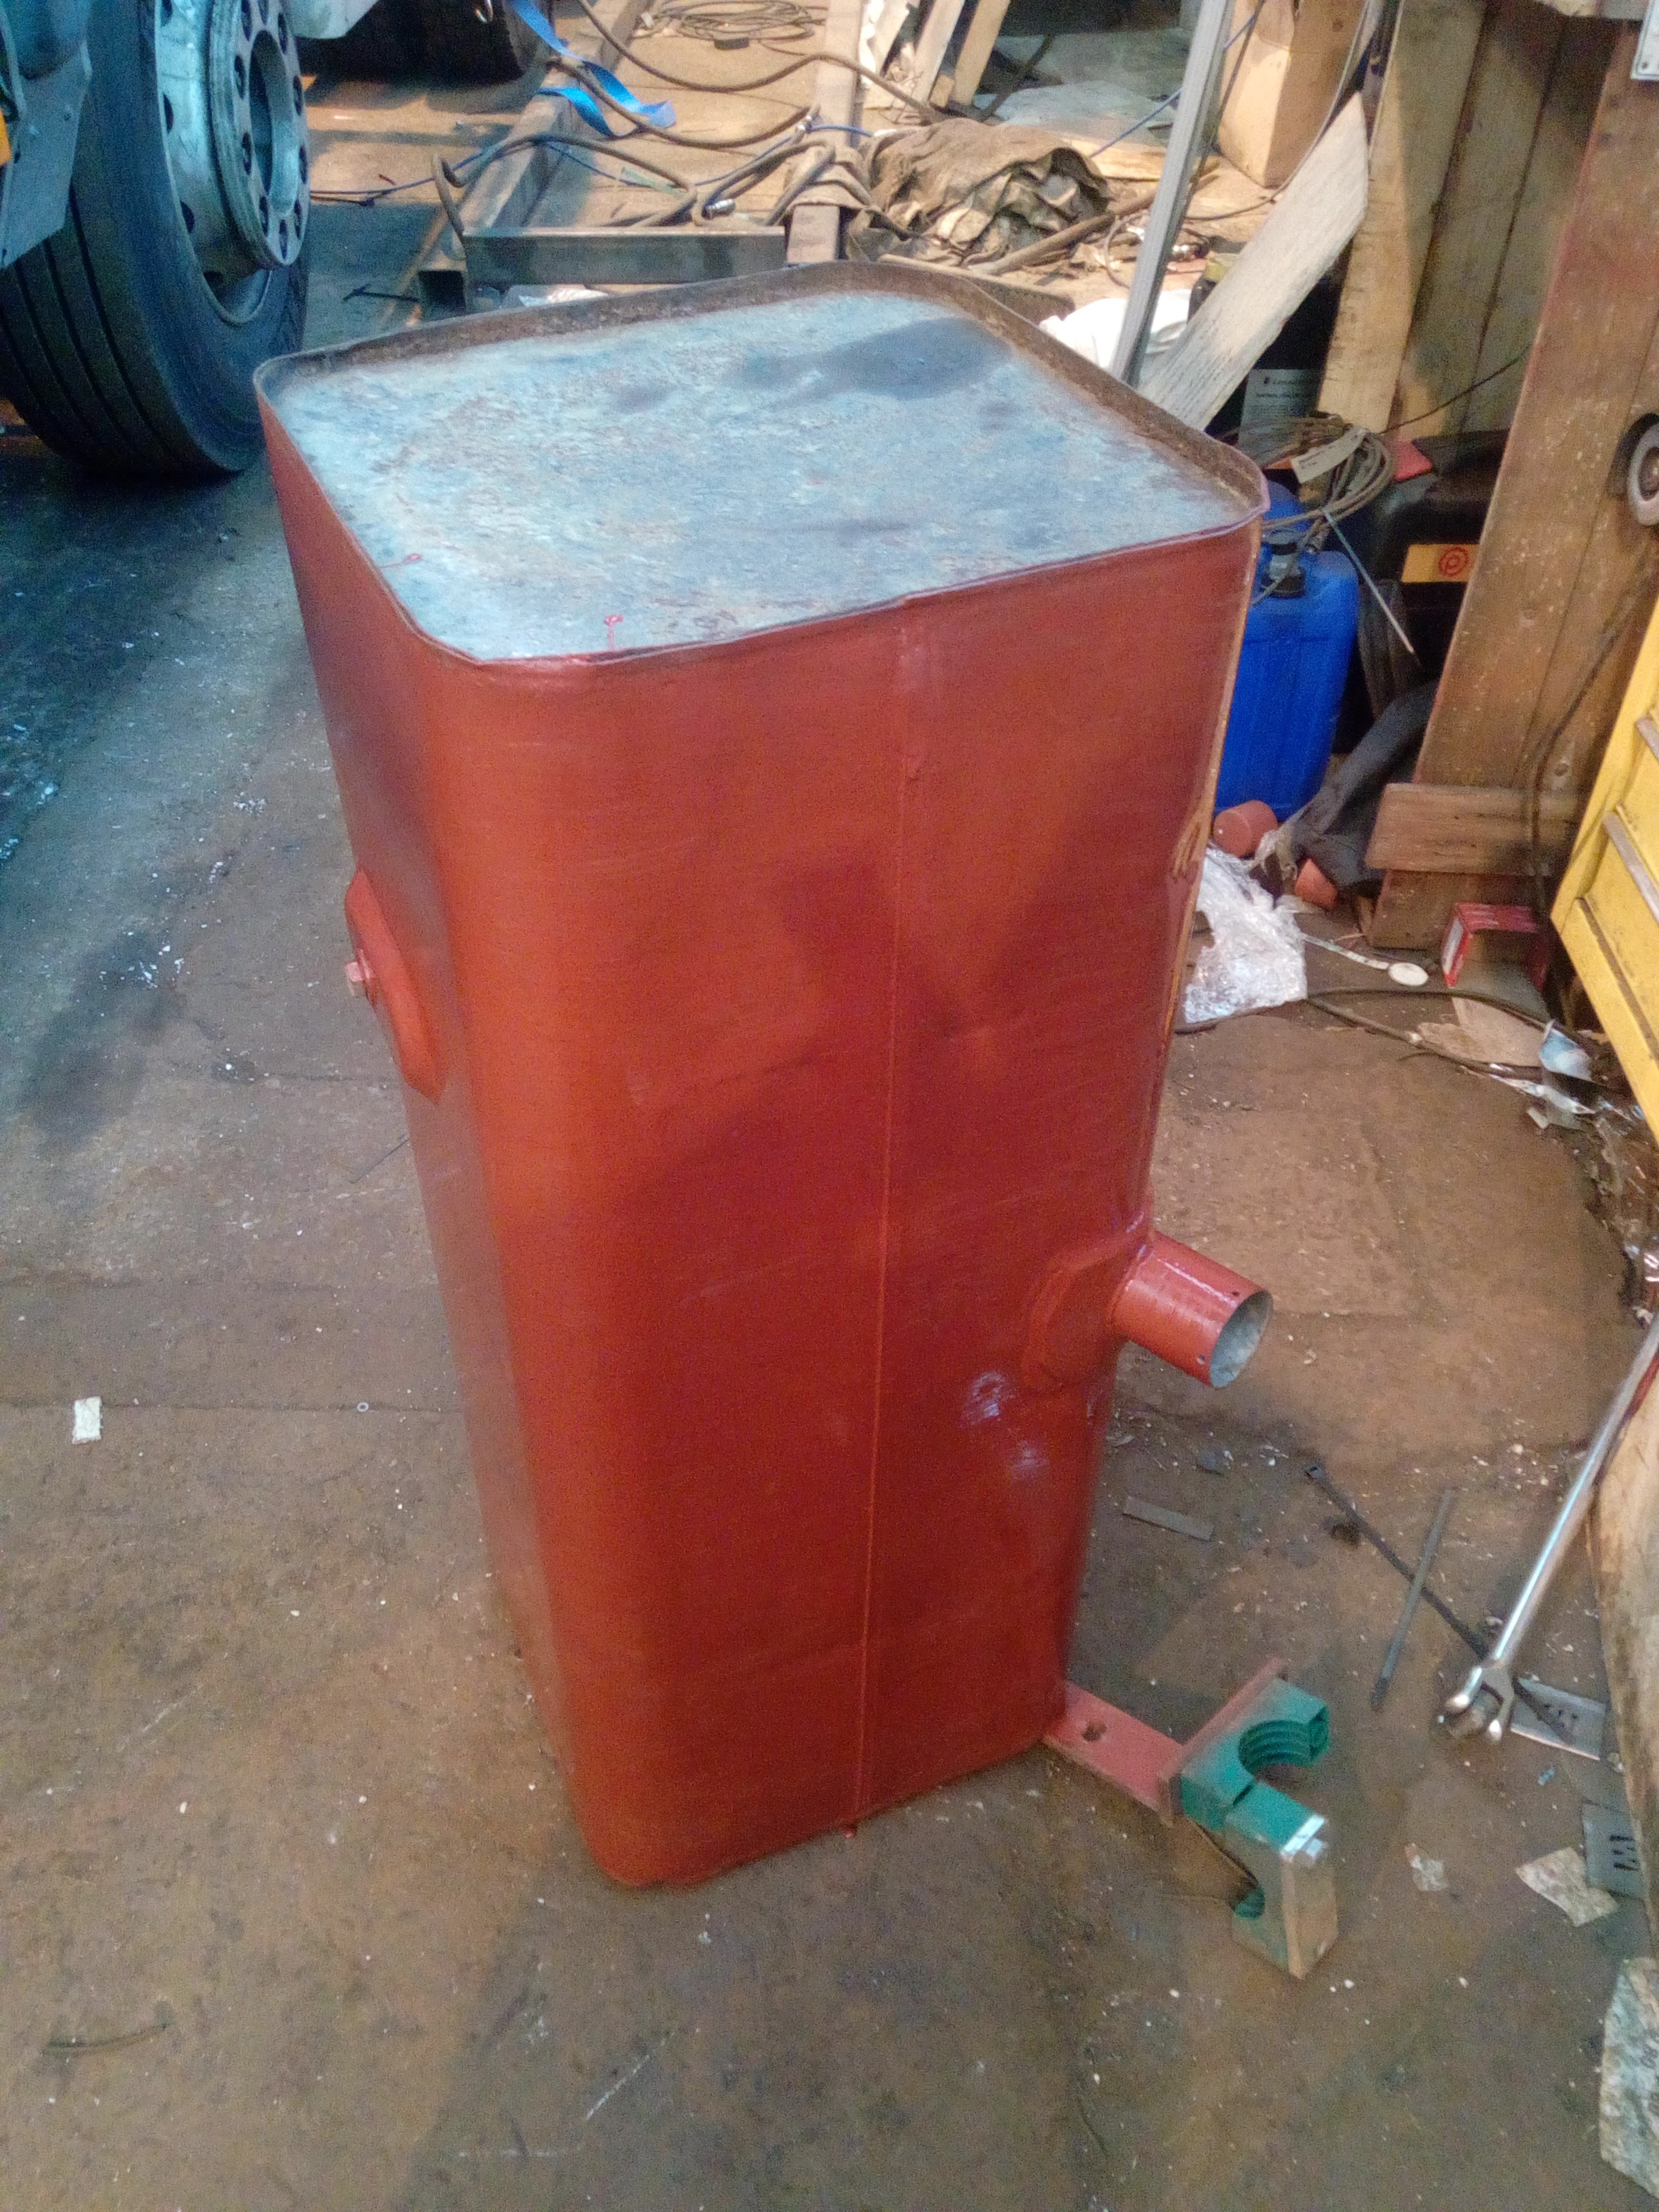
Nice! Now, let's see it in gloss black... 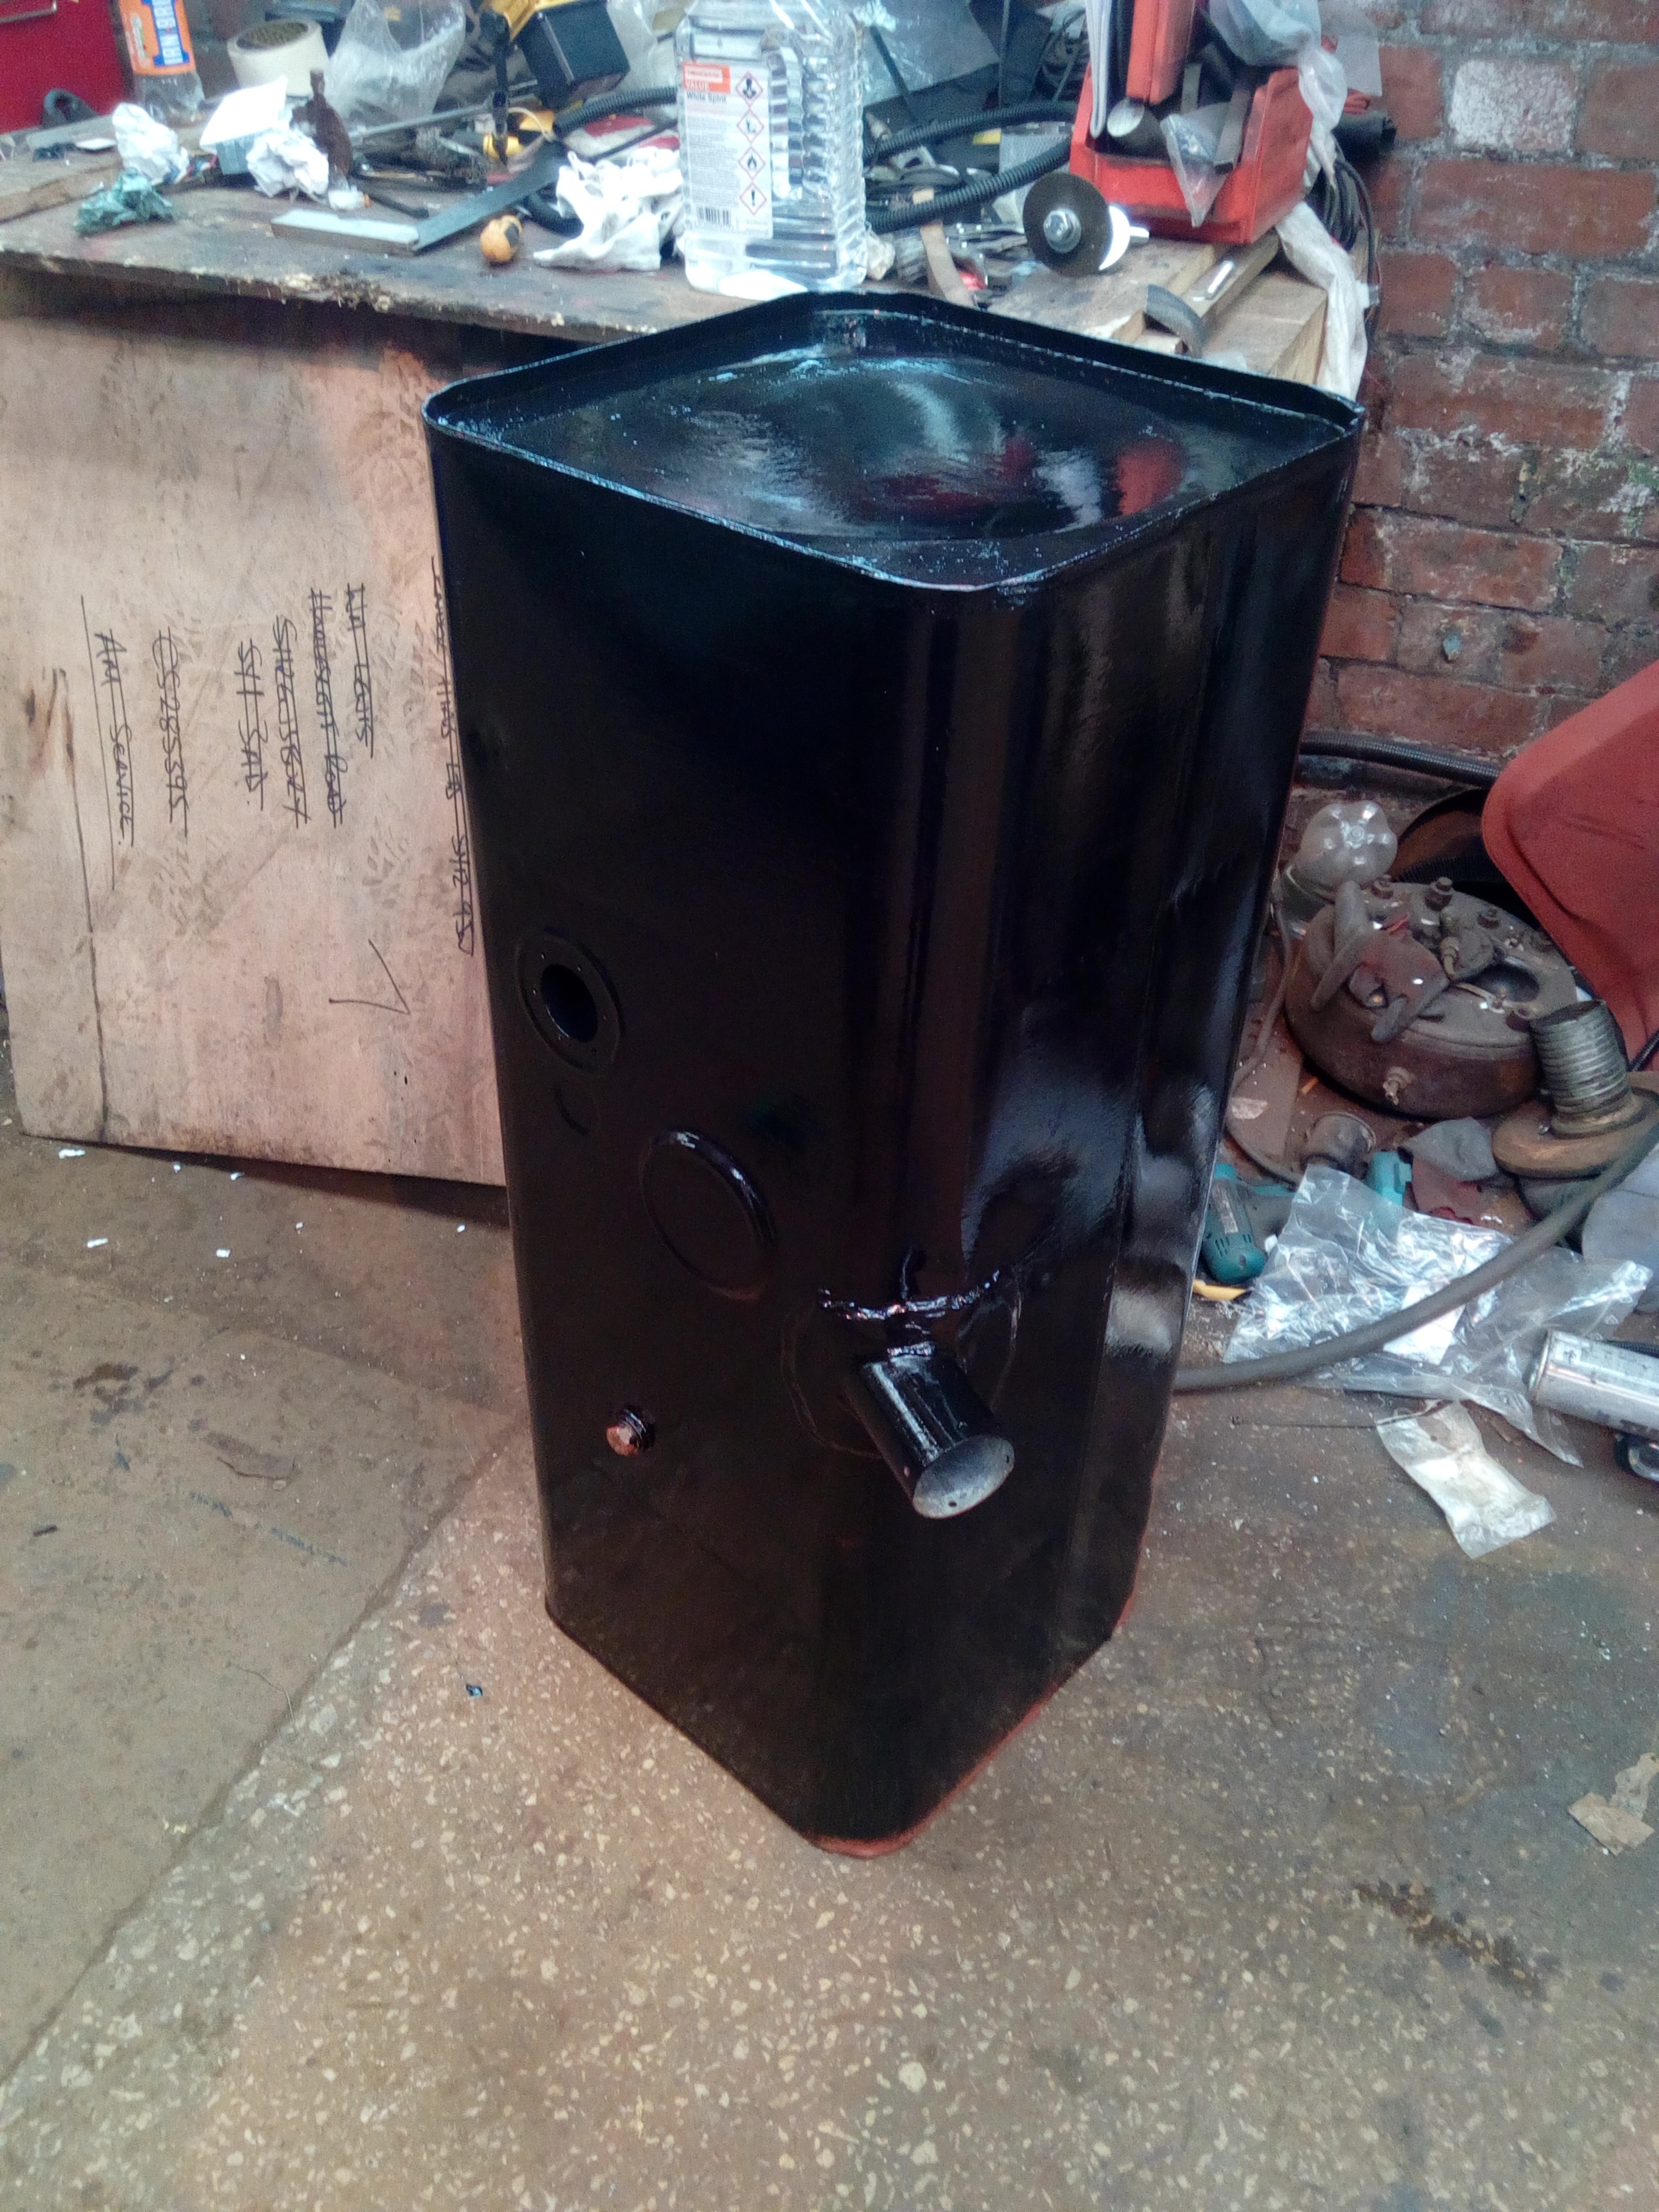
Snazzy! Also, the tank mounting brackets were done in the same black, after a course of wire wheel, Kurust, primer...
Then, some planning ahead: Add a fuel filter! Which needs a bracket...
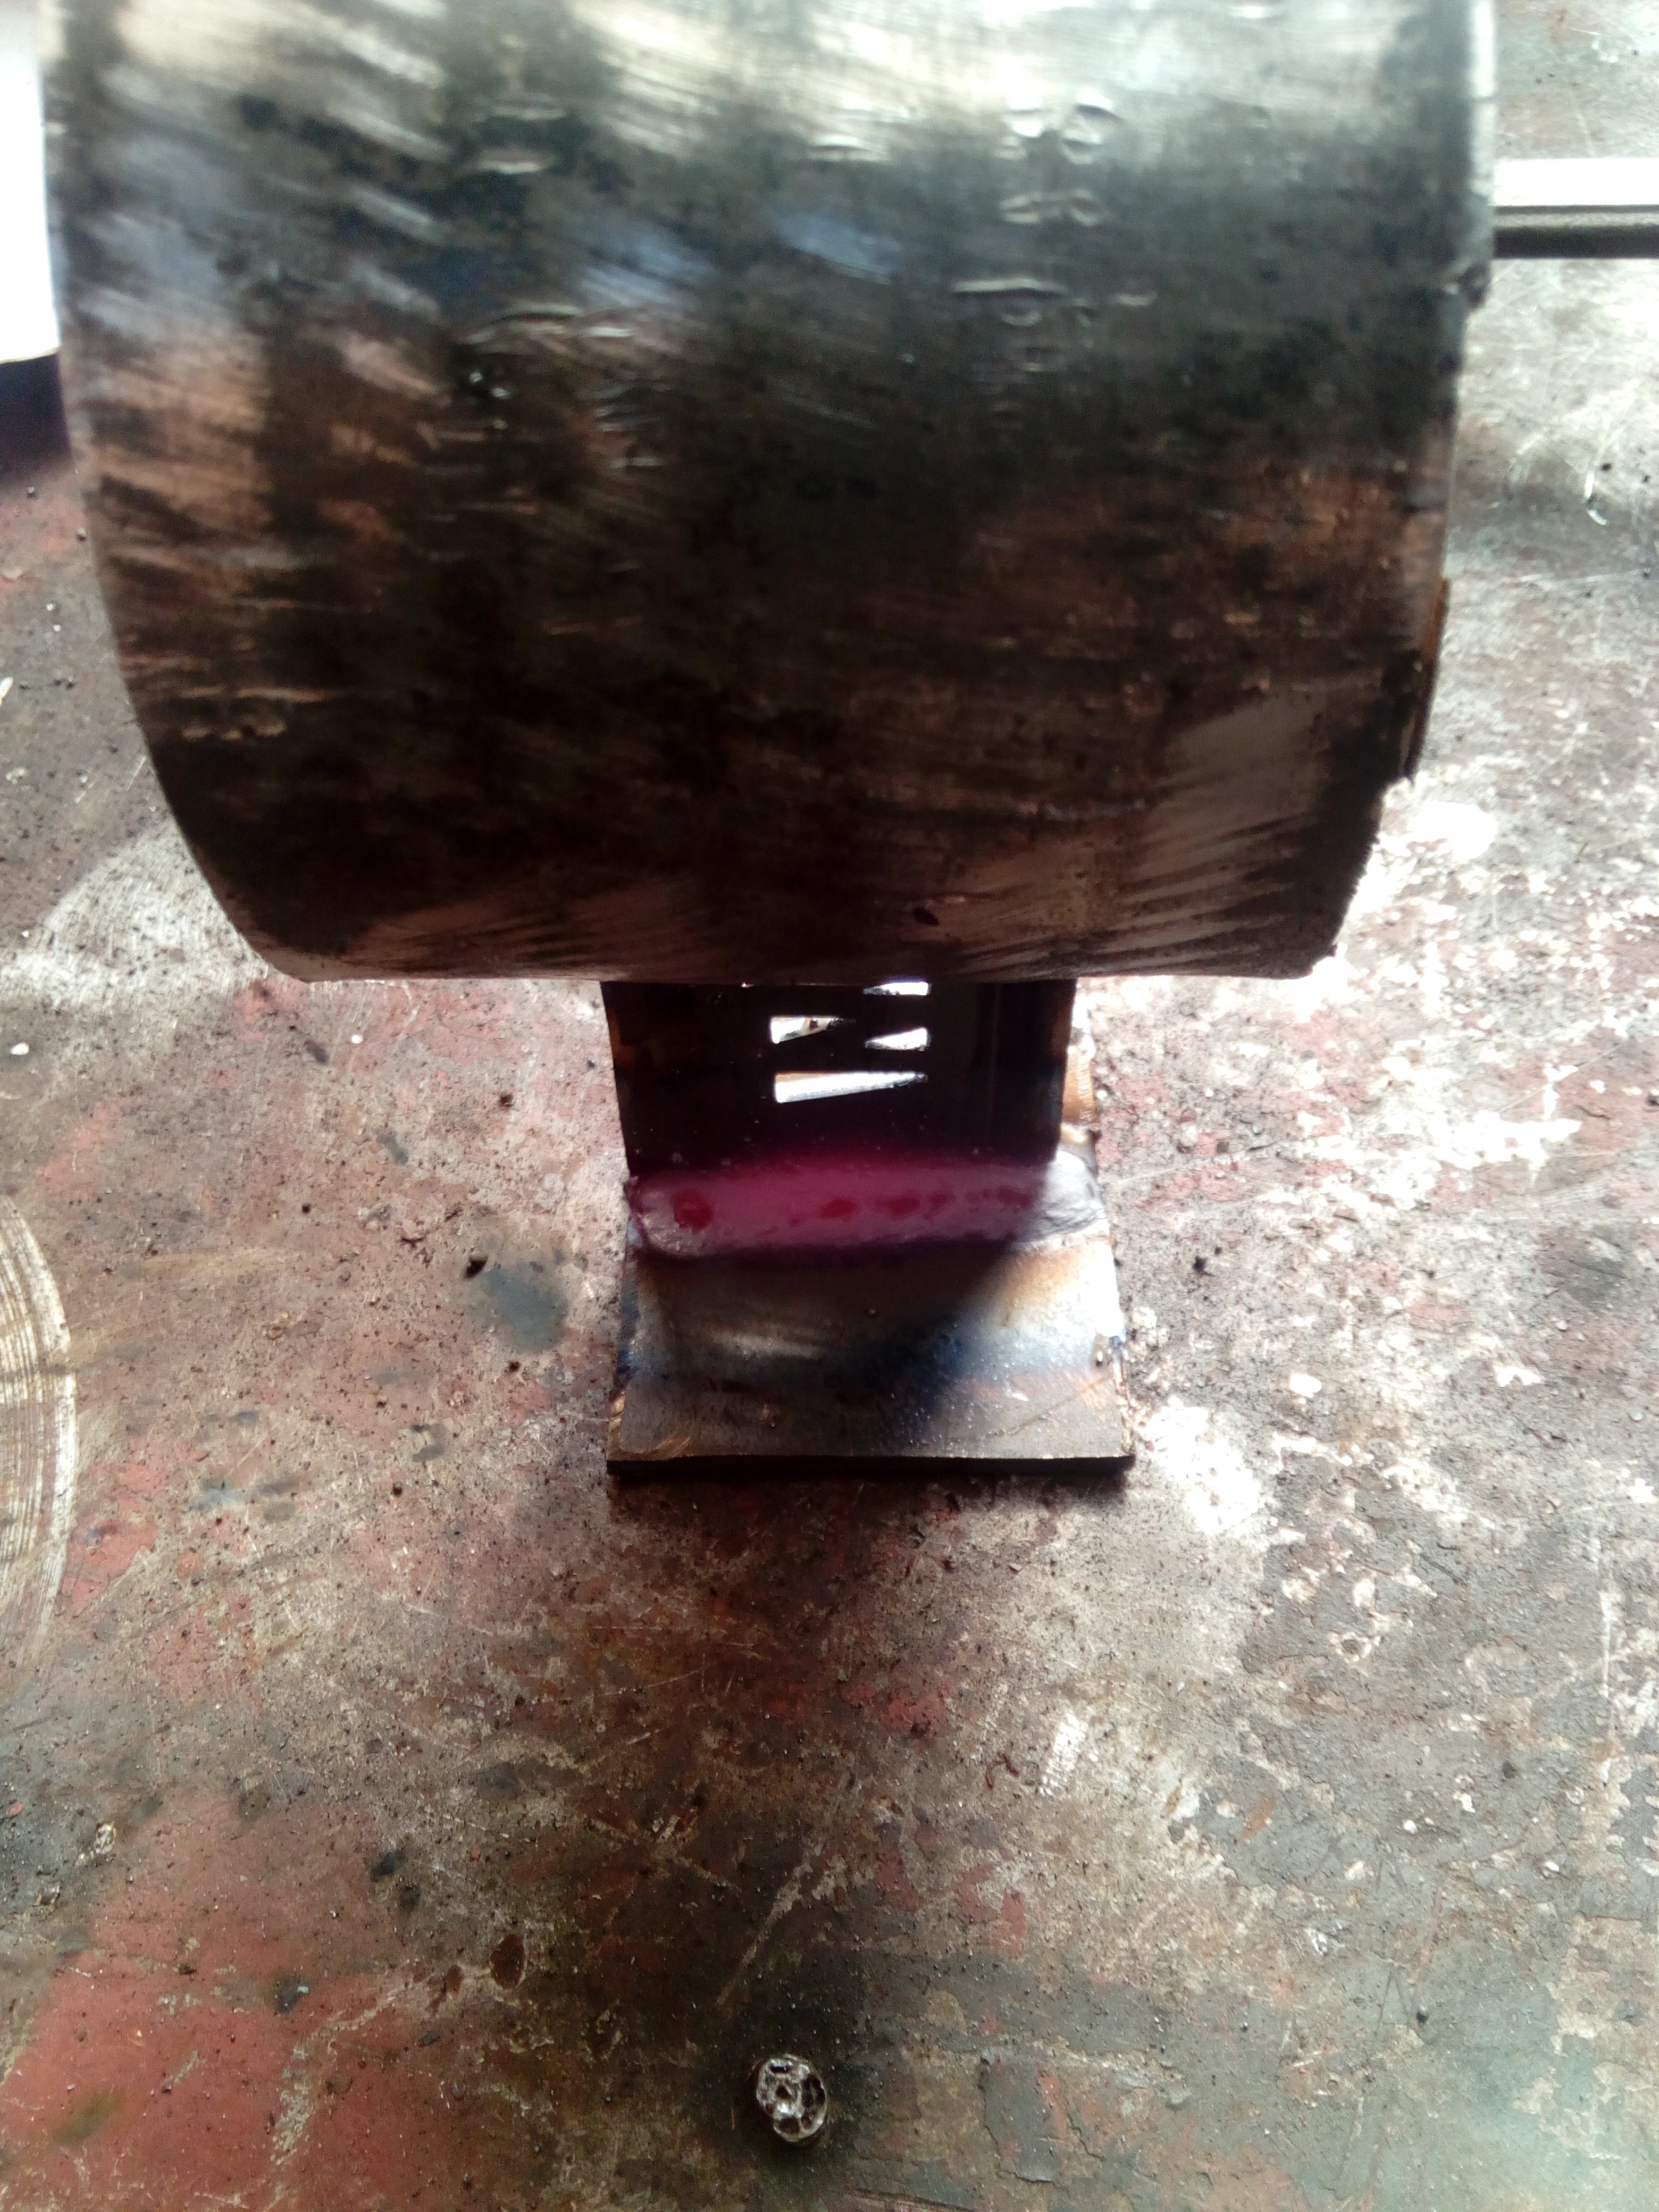
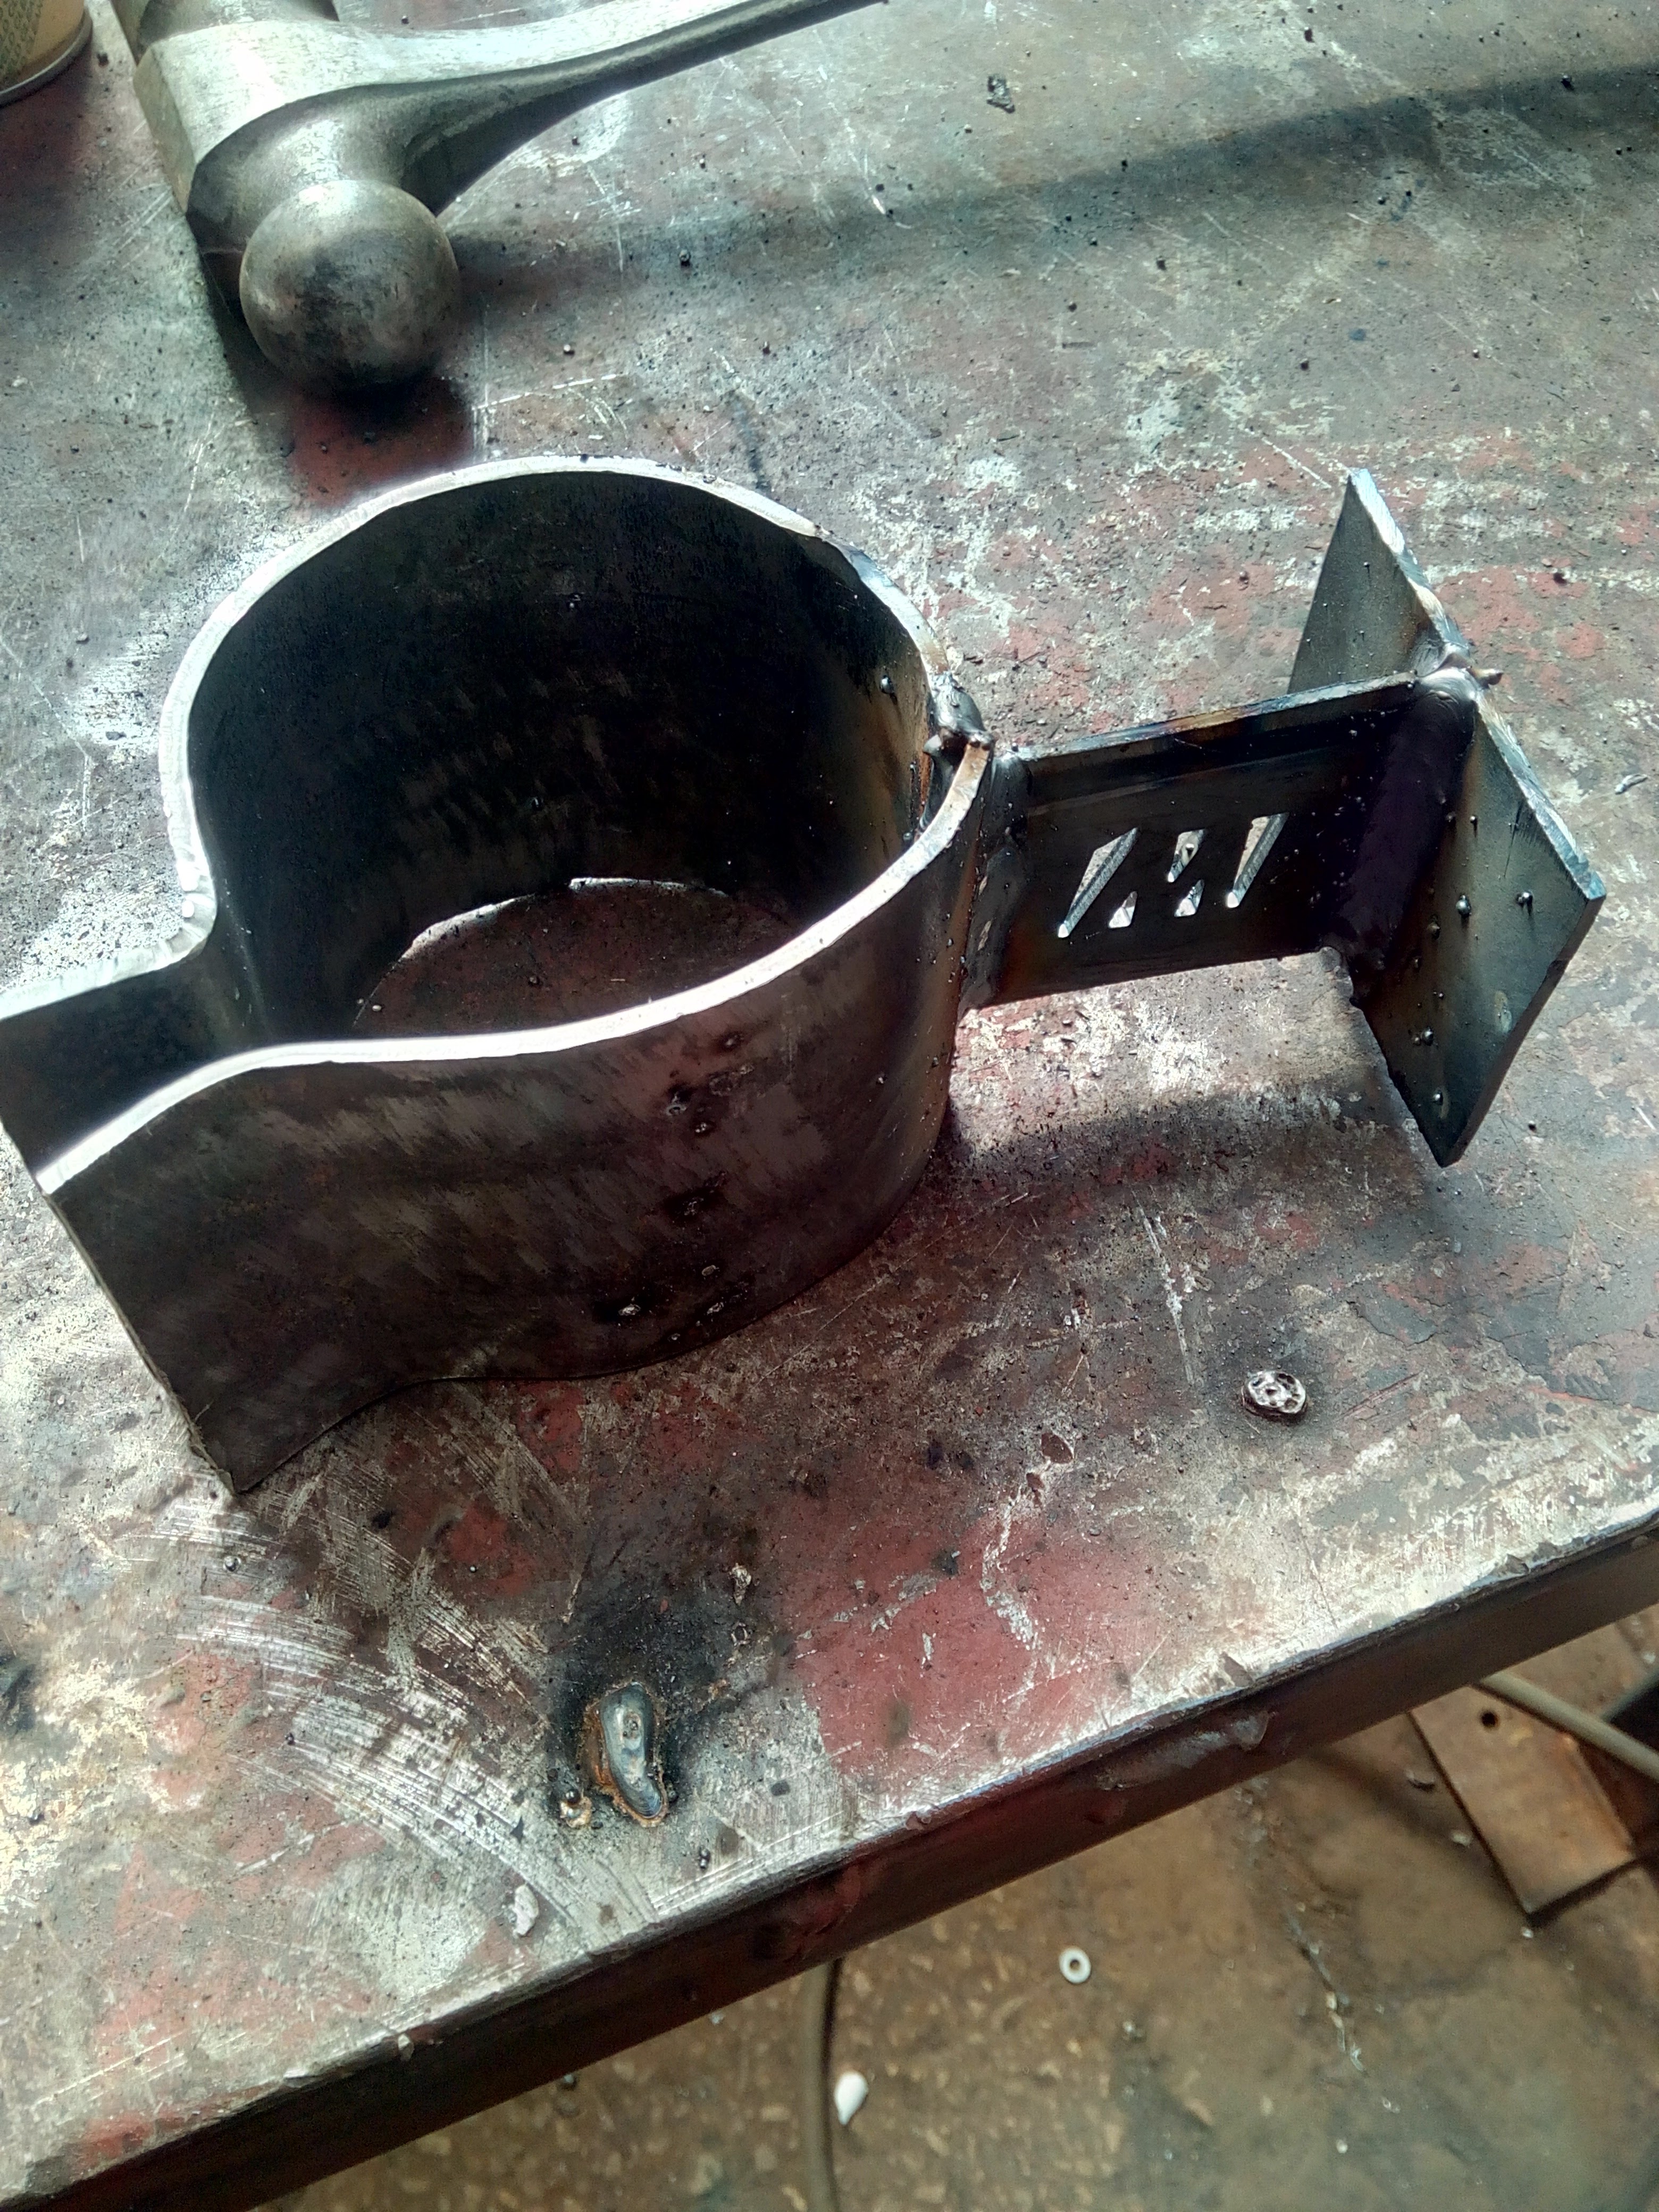
Yeah, something like that. Which goes, here: 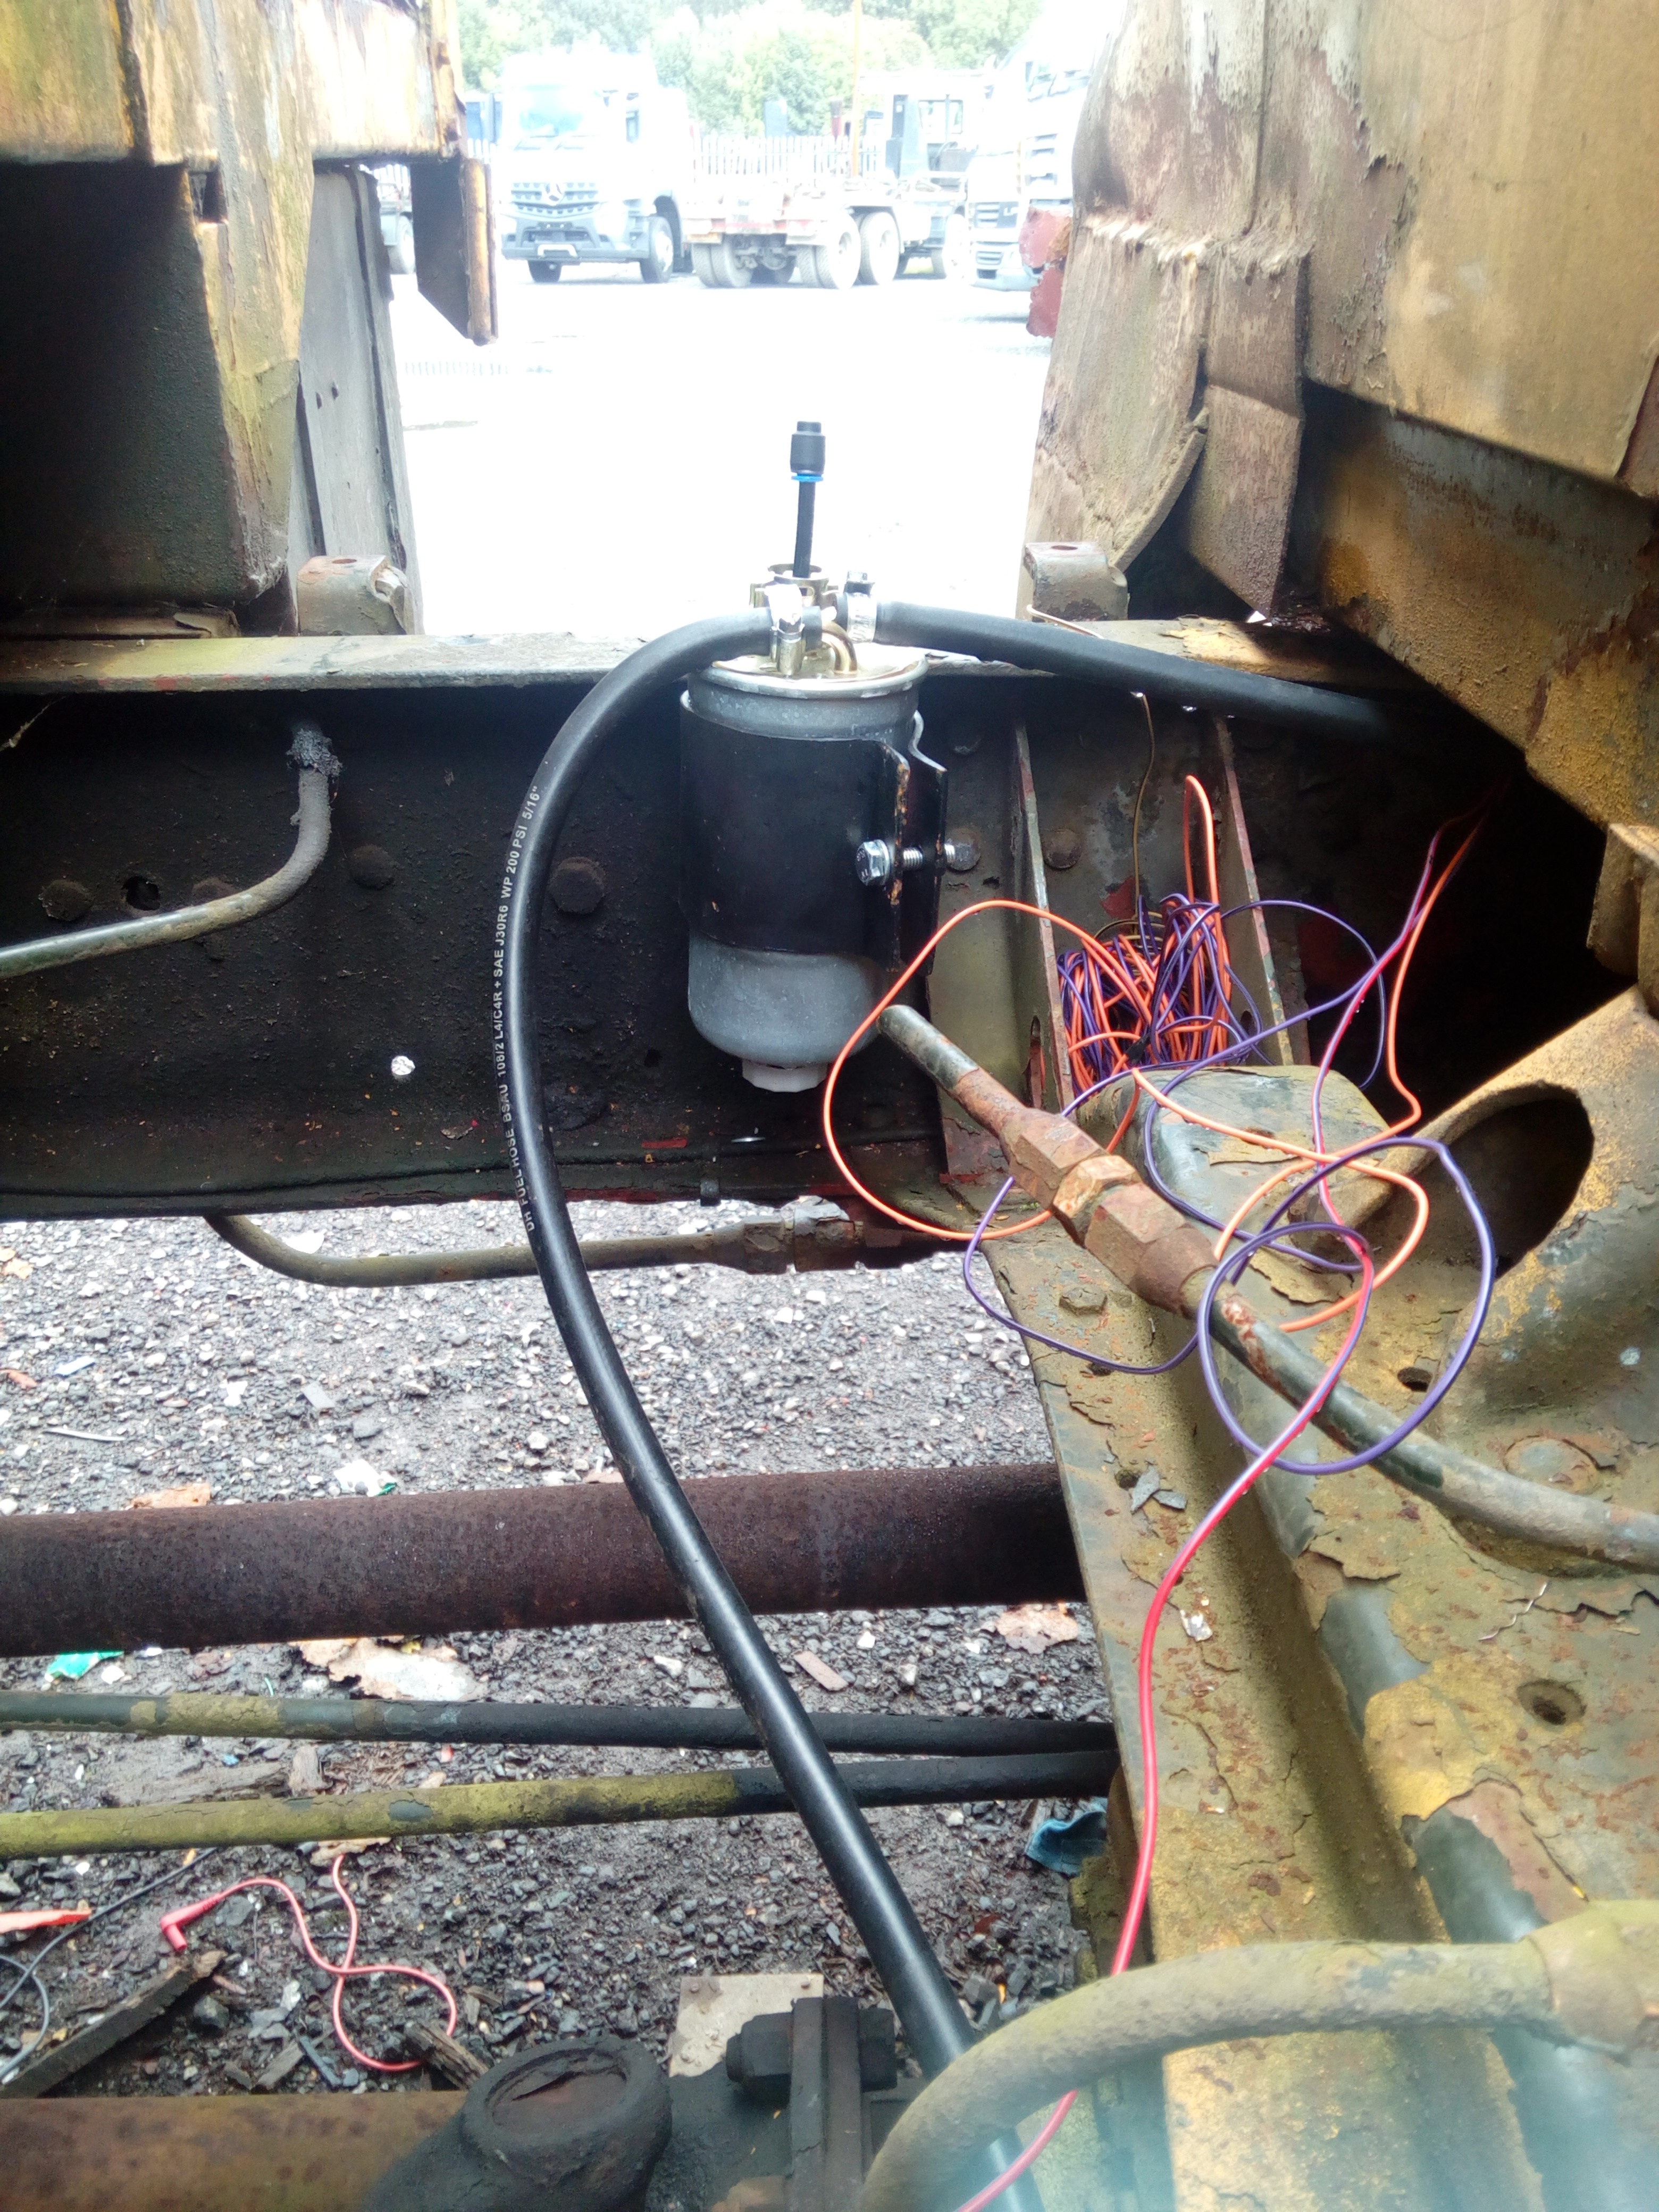
At some point, I decided to take it for a drive, again.
October 2016
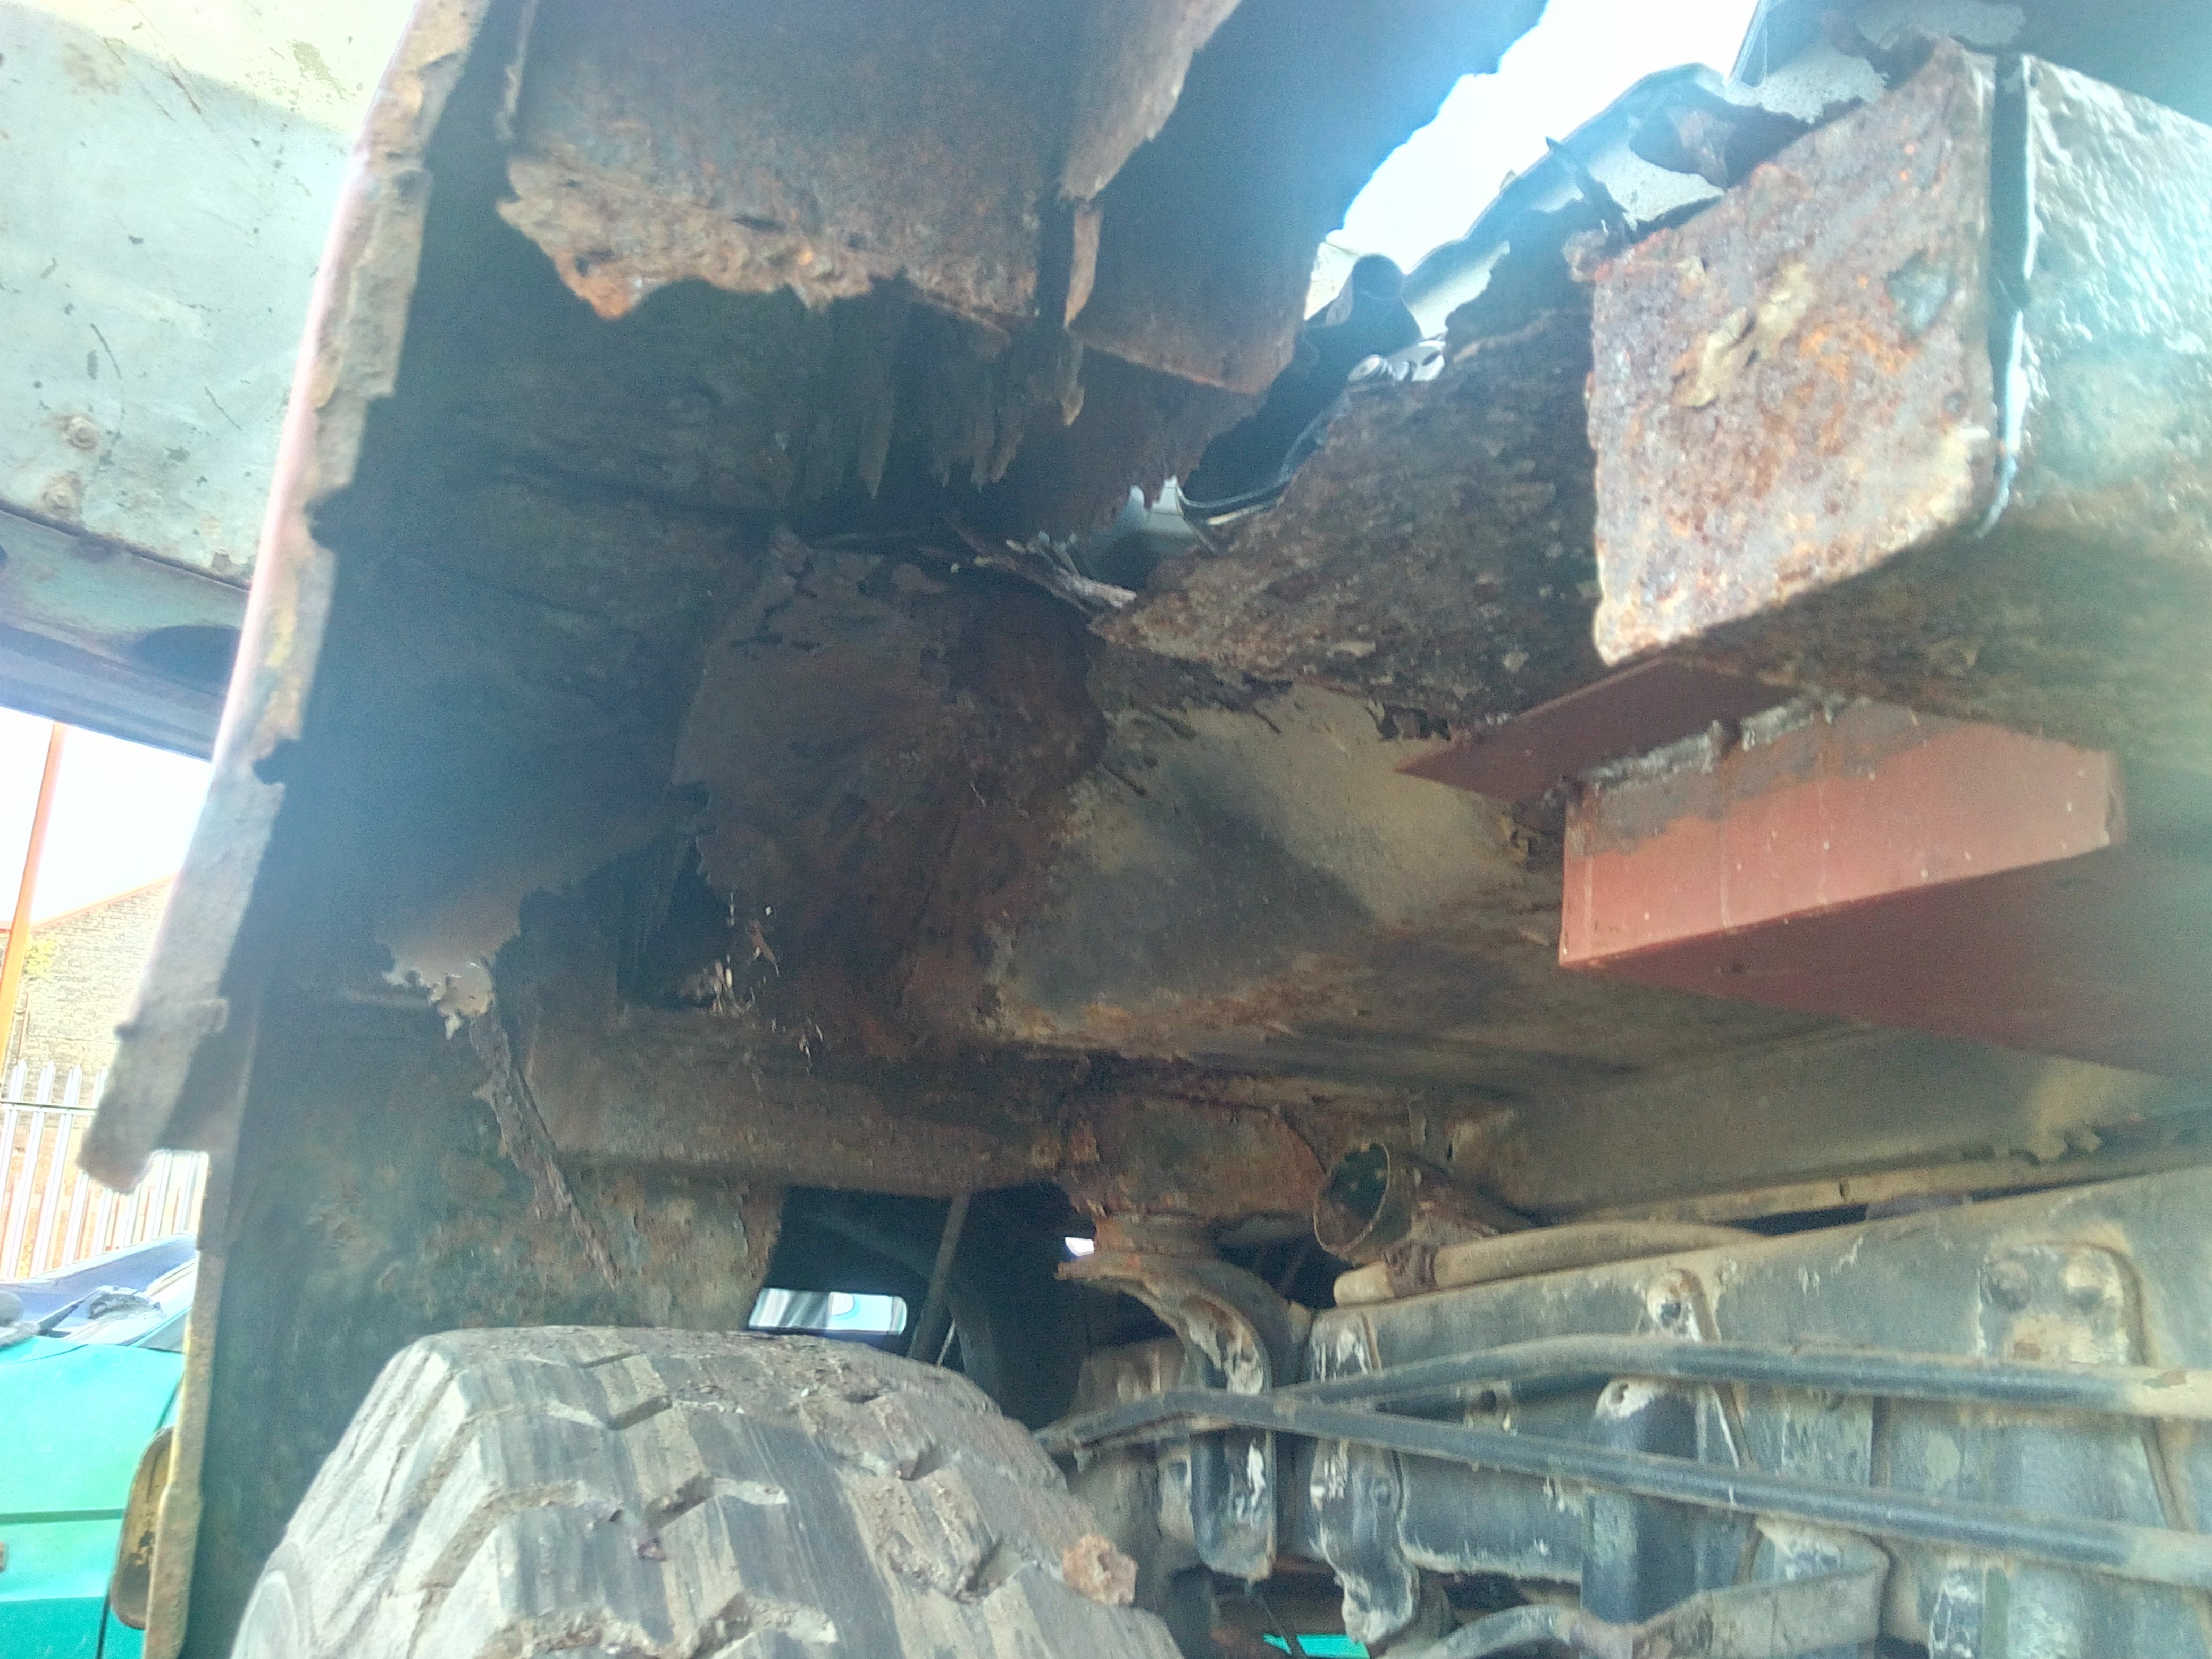
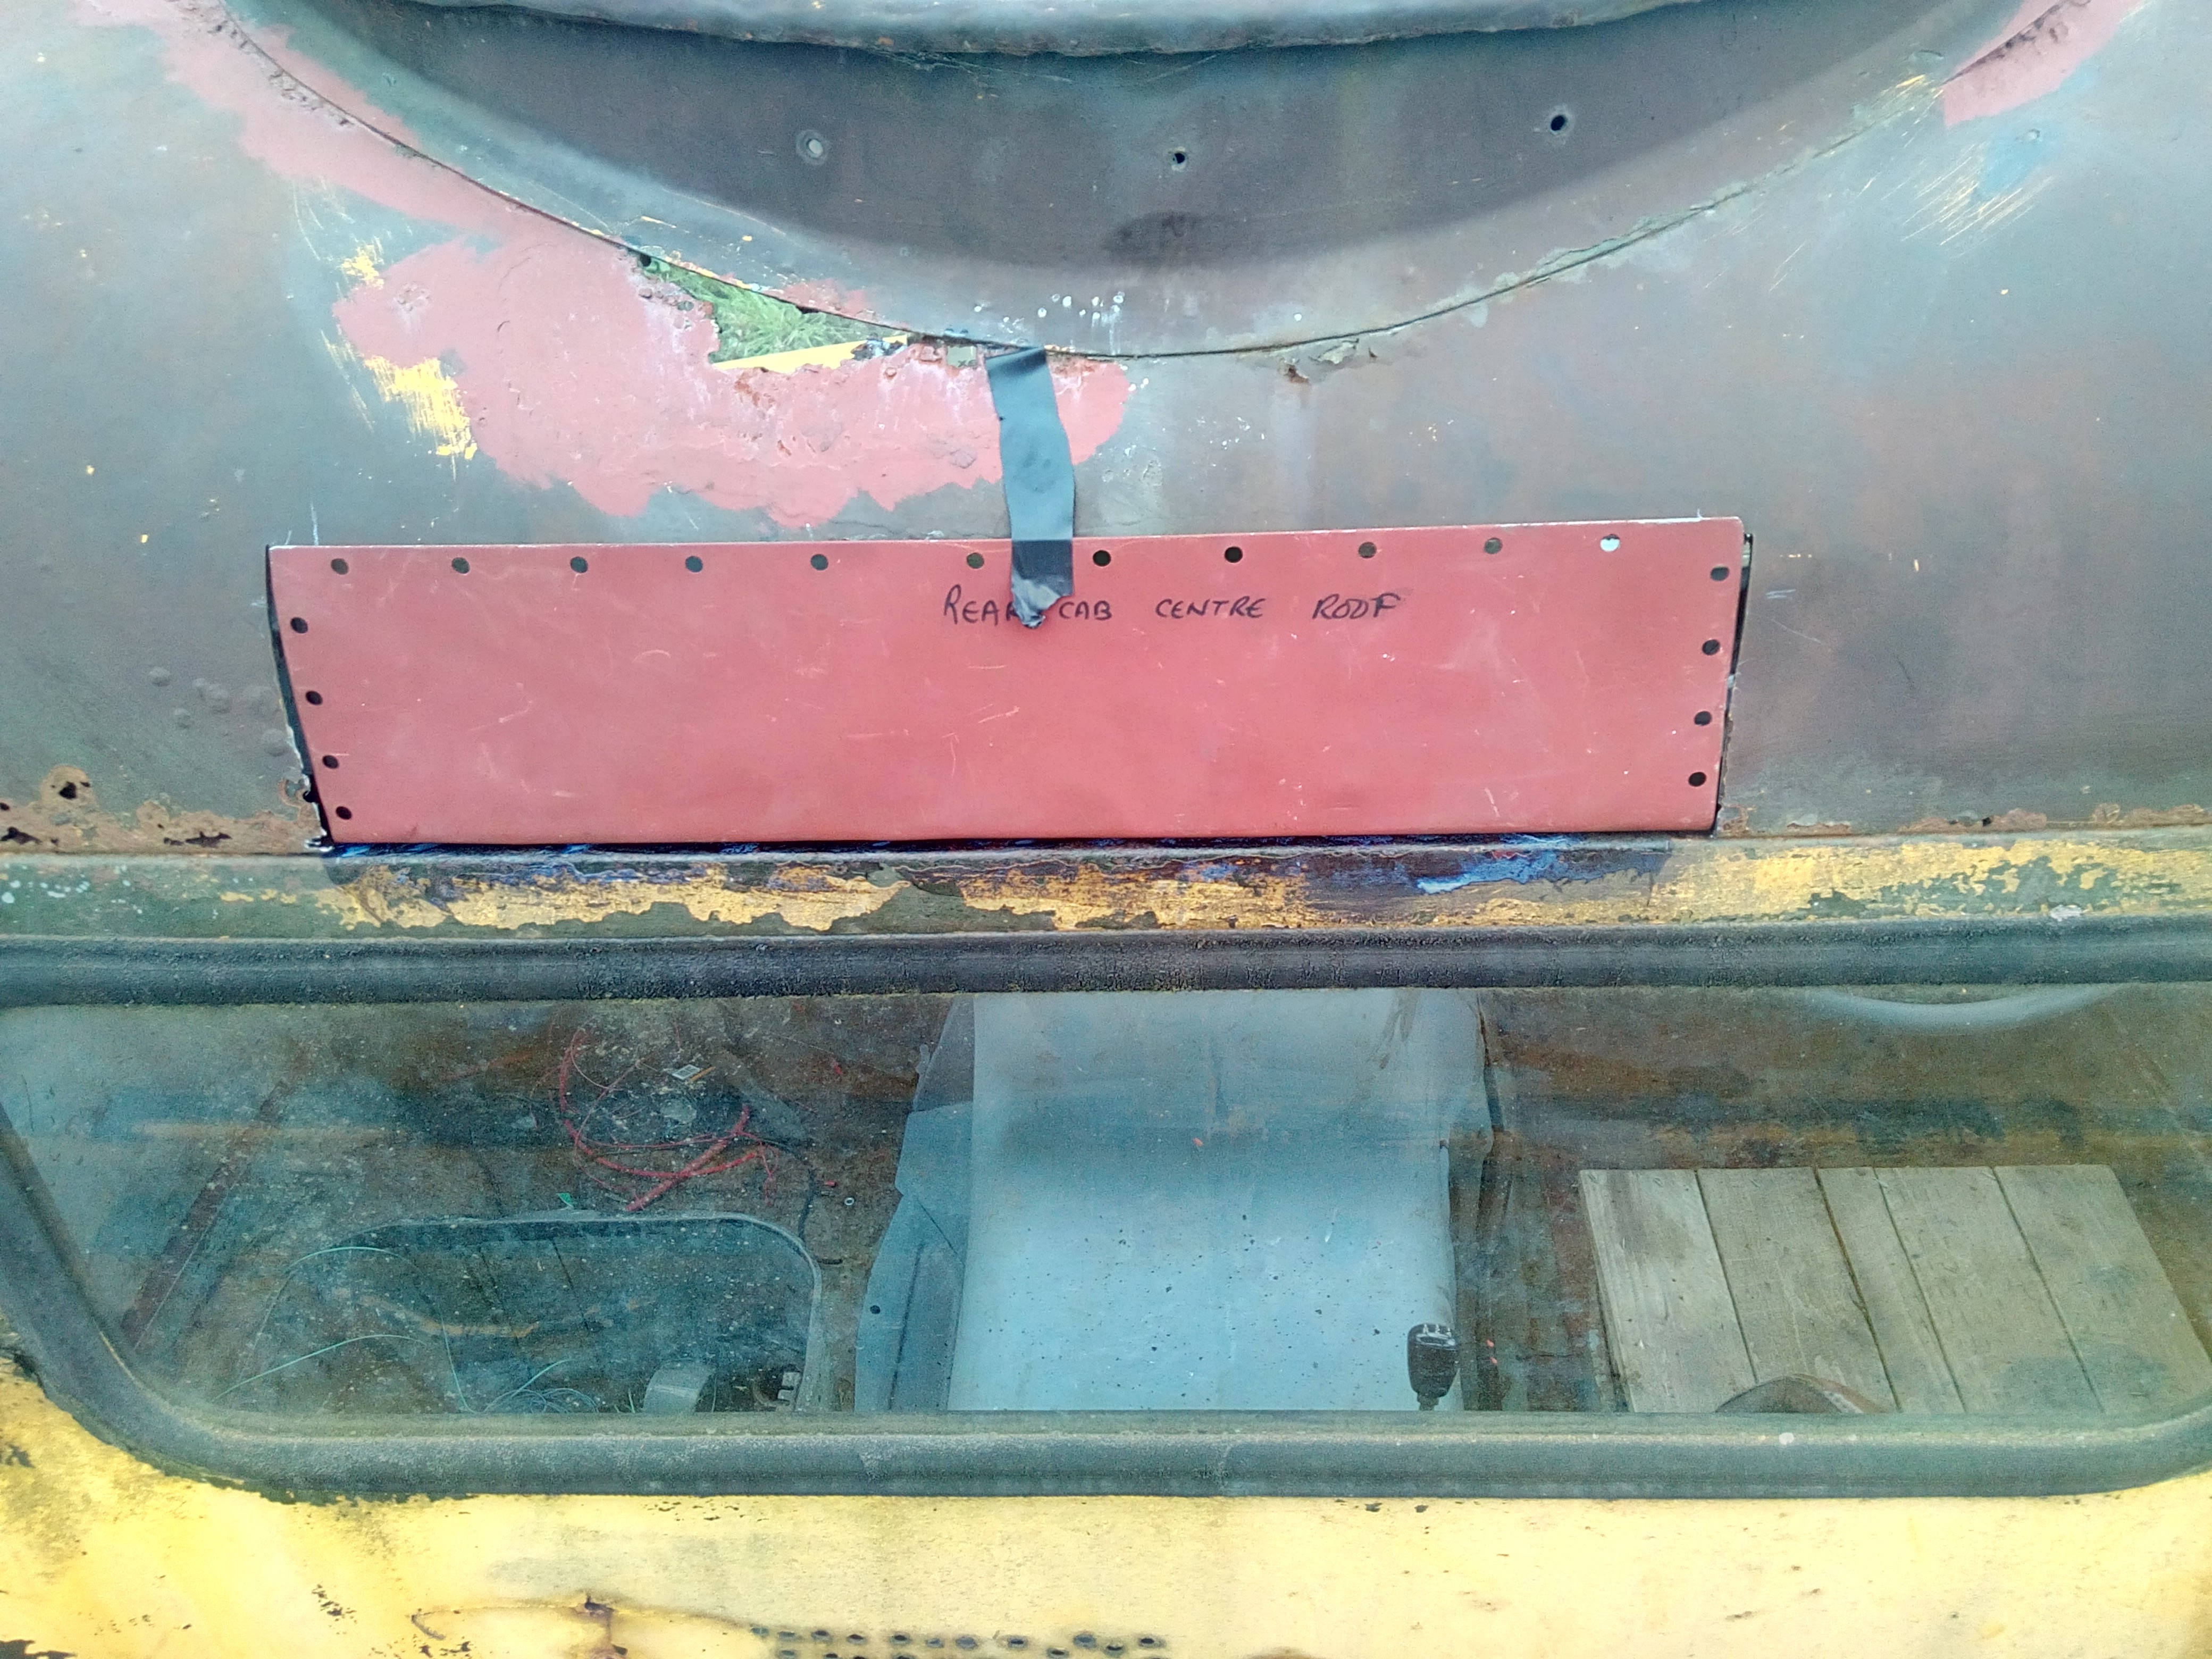
Okay, let's finally tackle that hole in the back of the roof.
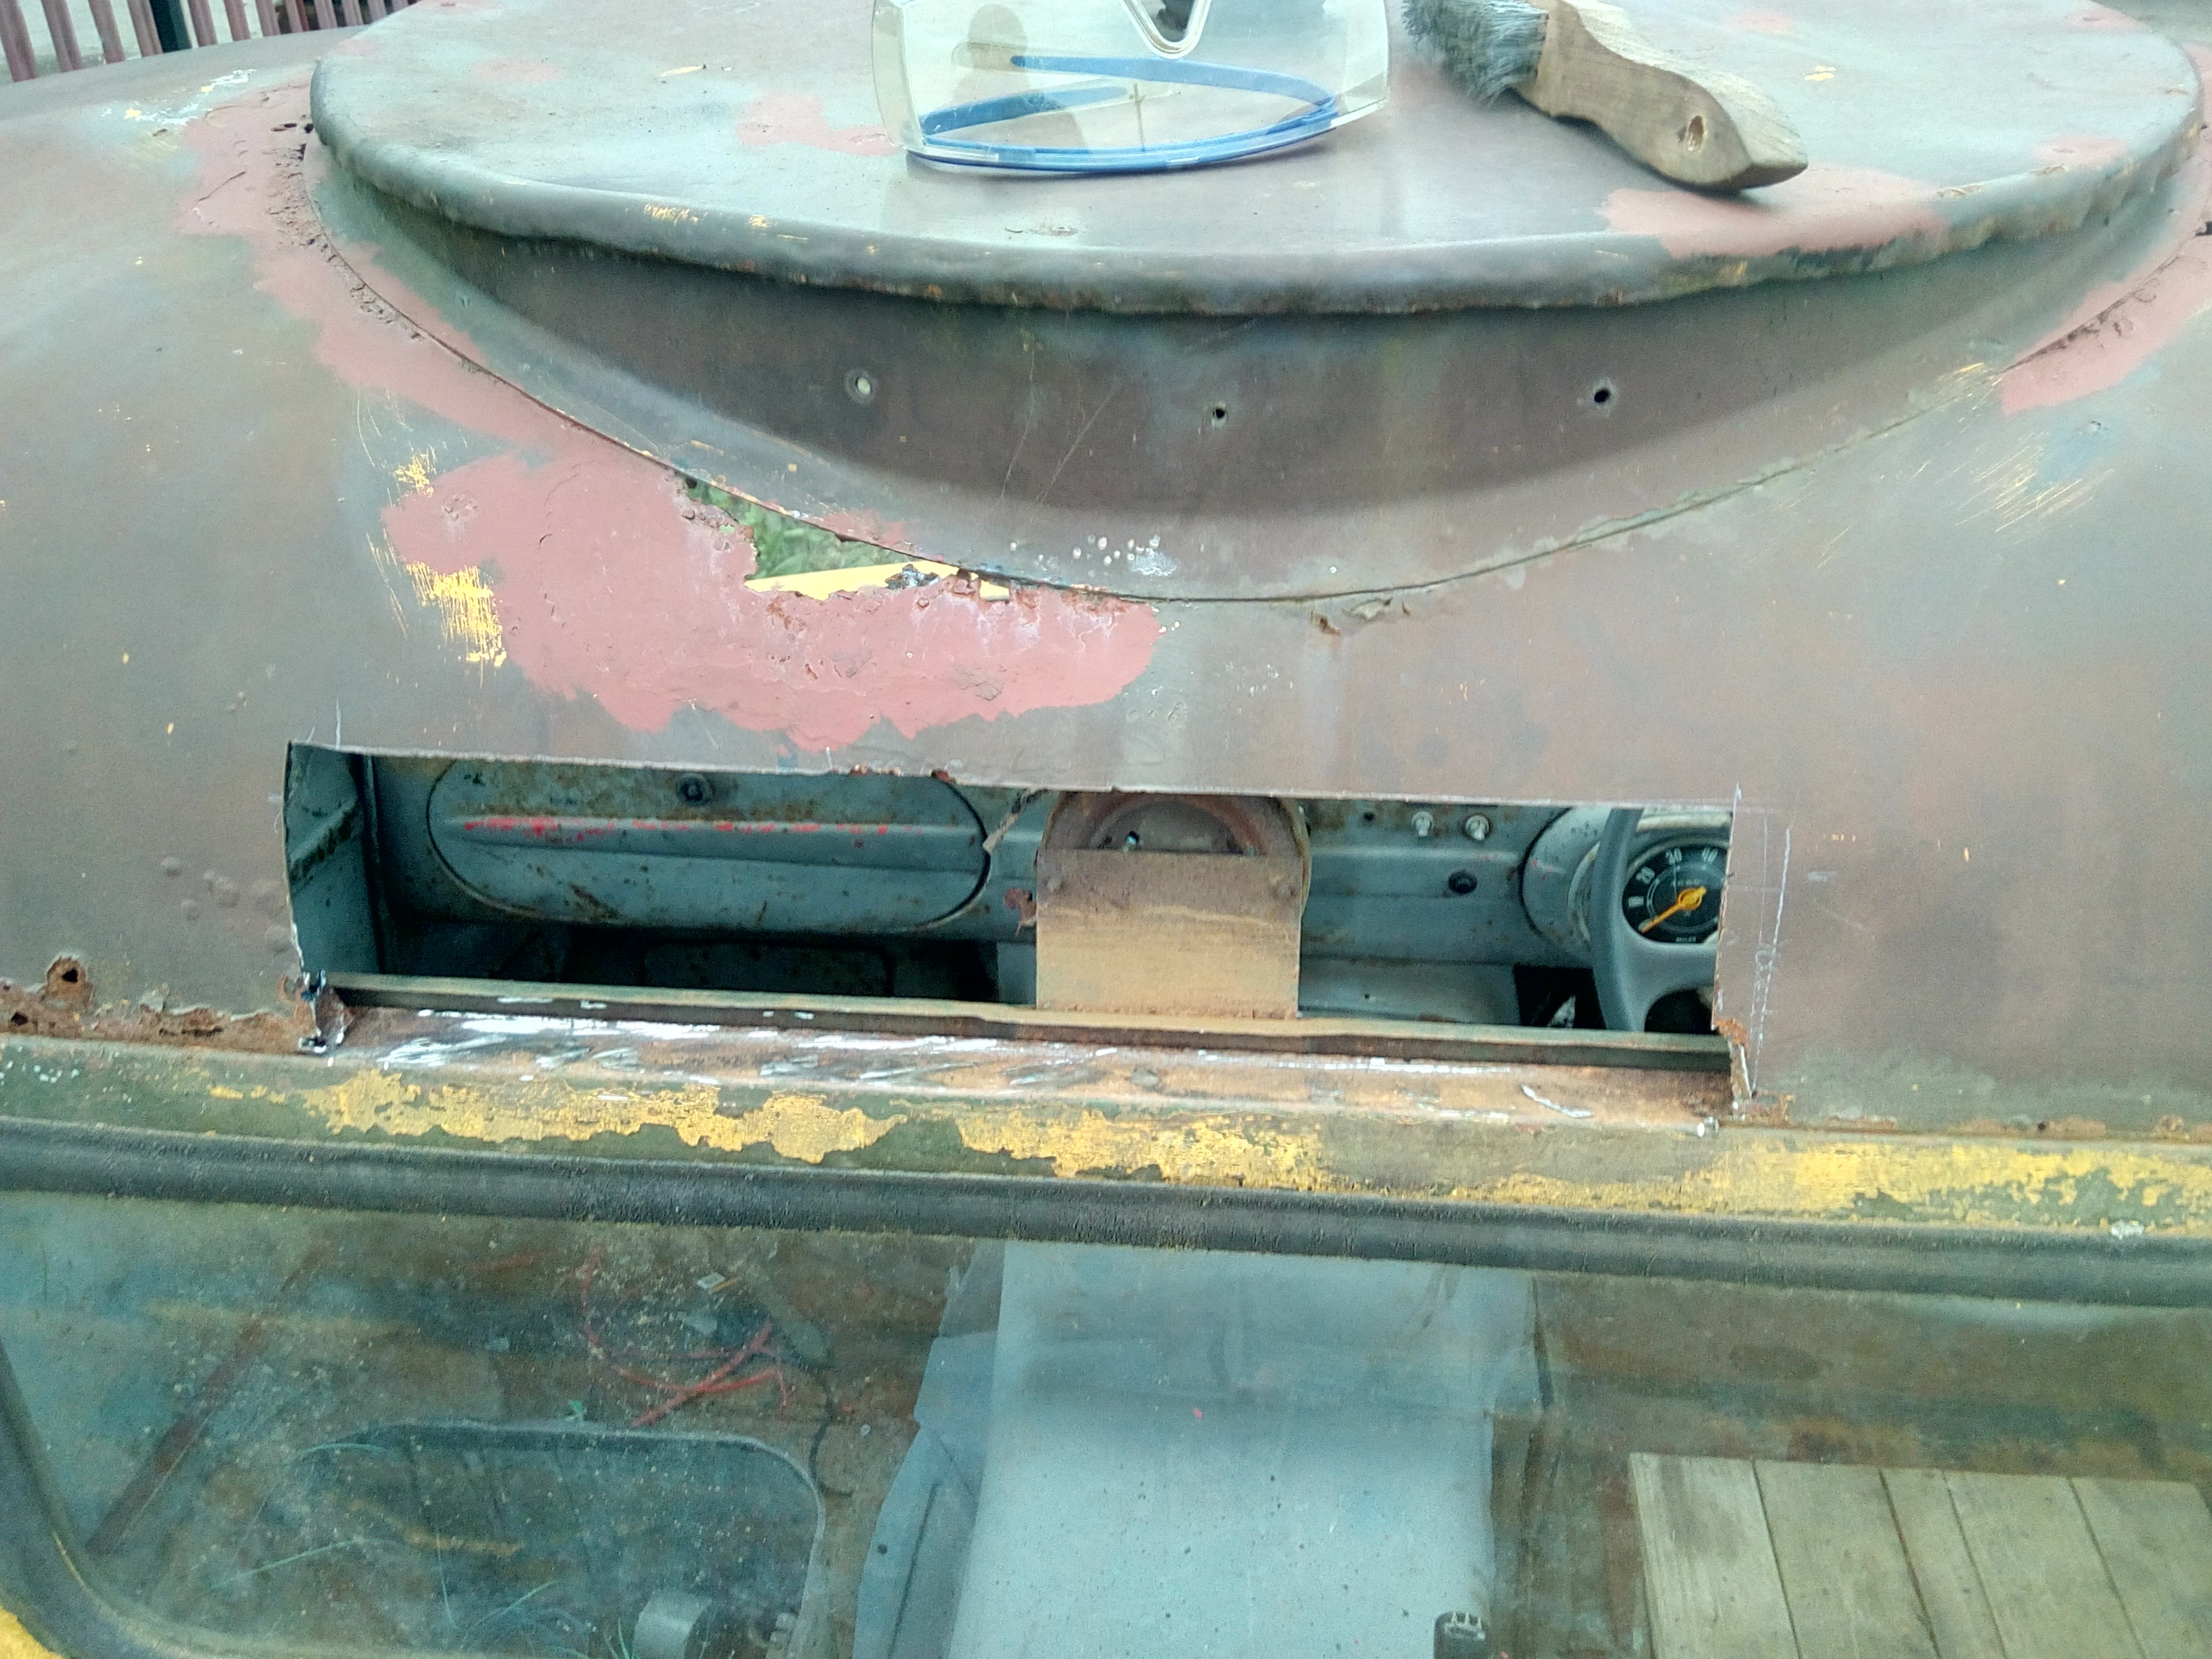
Patch panel that I punched holes in, which I shouldn't've. Again, on the "stuff I would do differently" list...
Tamber said: (Mid-process pic. It was beginning to get dark by the time I'd finished welding; and I was in a bit of a rush to apply paint, and get the truck out of the workshop, so didn't take any further pictures.
At that point, I had a repeat of the last time I had the truck pulled into the workshop: not enough fuel to start and run back to the parking spot. Thankfully, since I'm not running out of the jerry-can any more, I had enough left in that to refill the truck's tank and hurtle back to the compound.
I dread to think what an ear-bashing I'd get for blocking up prime workshop space!
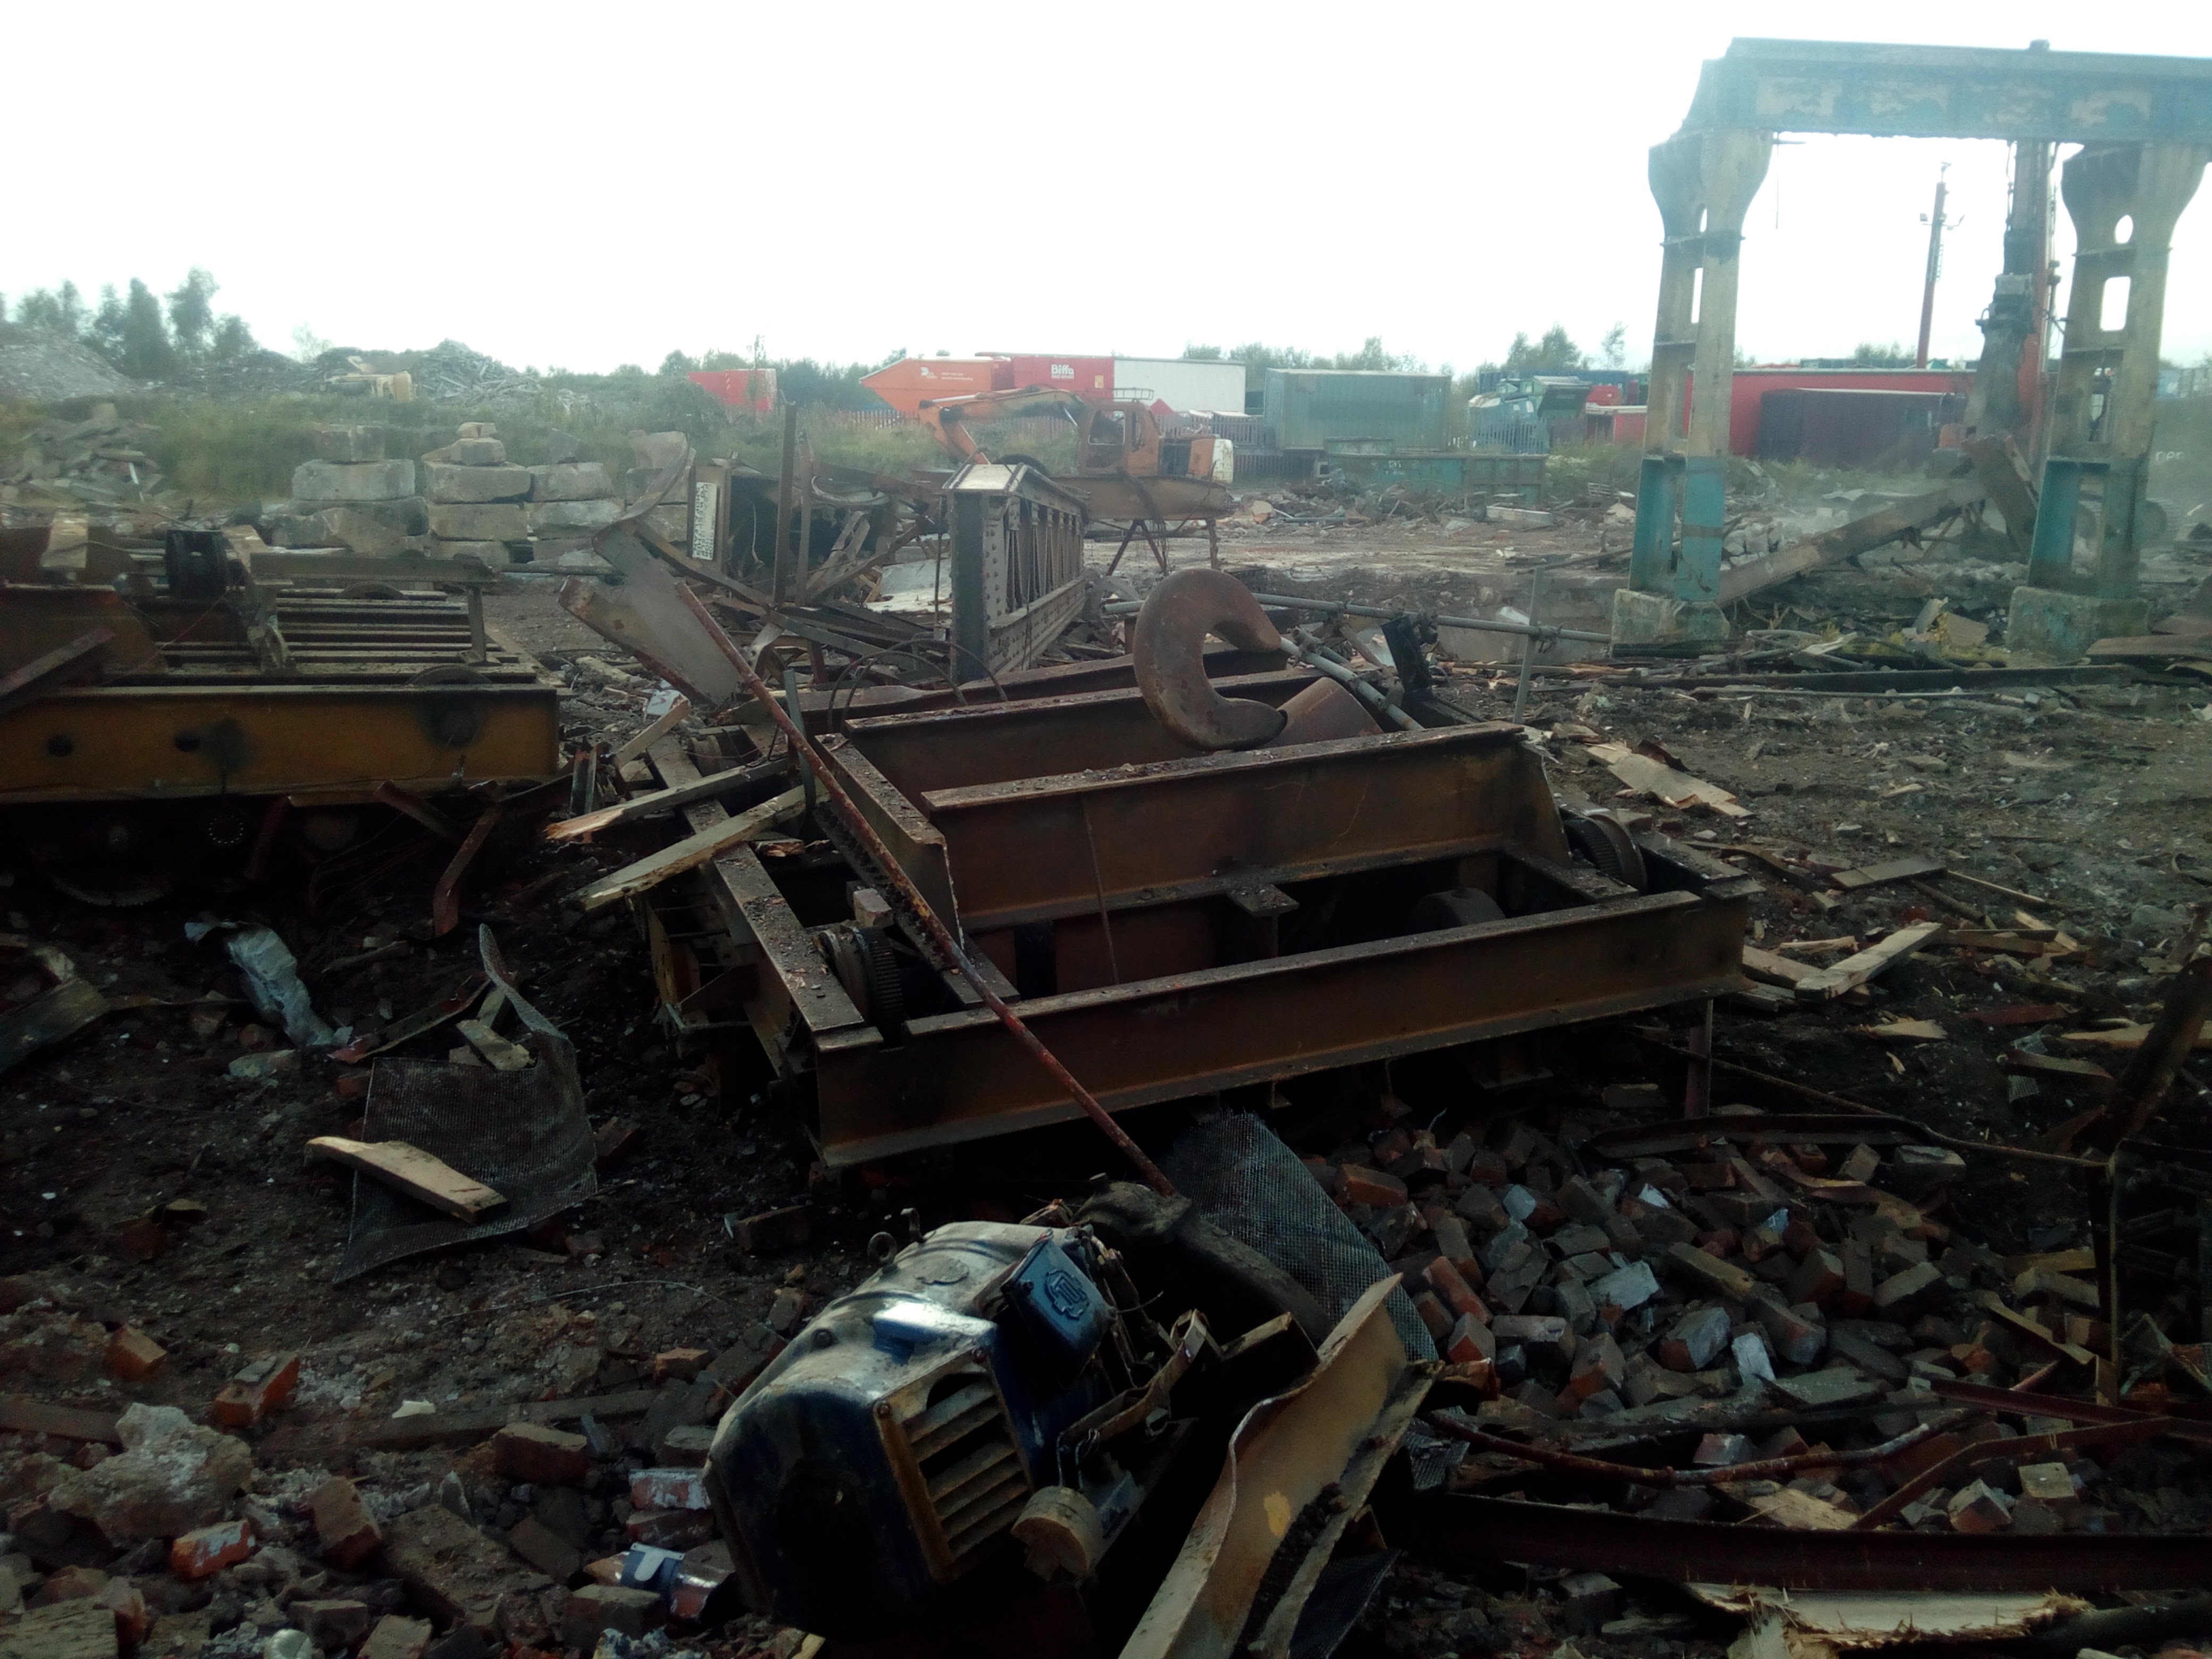
Take a bit of a detour into ranting about industrial heritage and the loss of fantastic old workshop buildings...
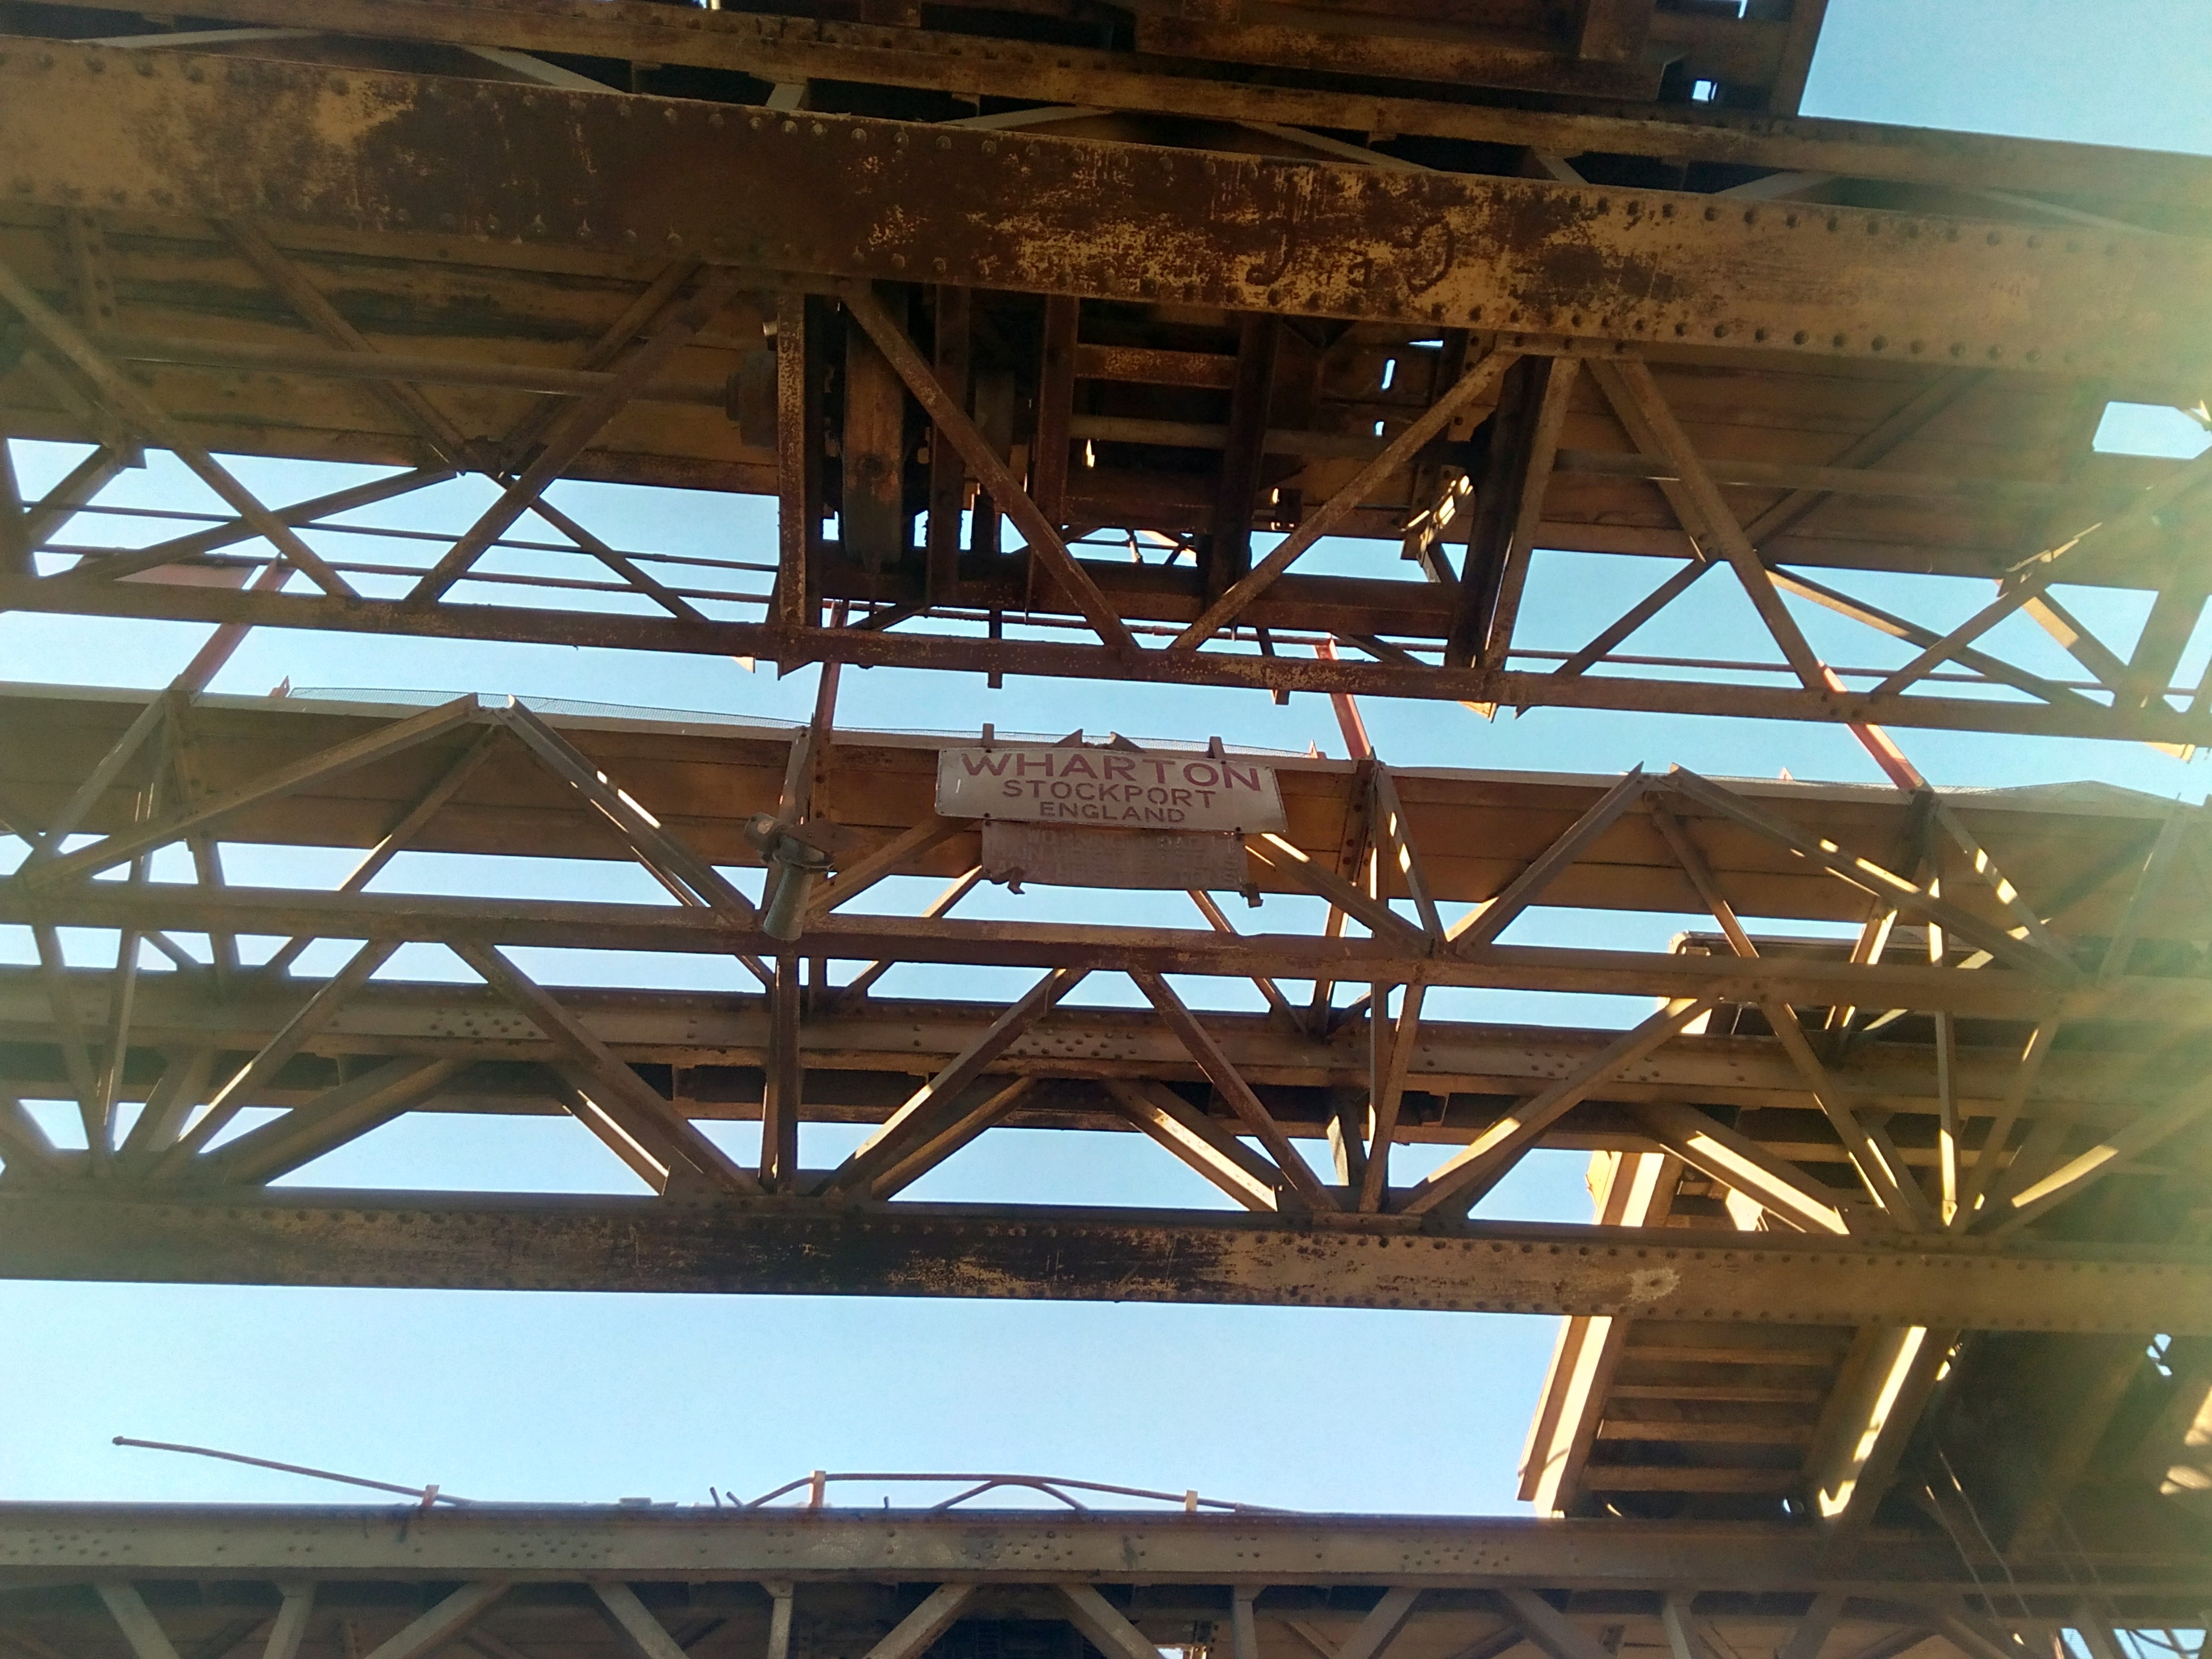
ZeroFiveTwo said: Secondly, that workshop your in is a fab bit of vintage architecture, high roof and overhead crane etc. What did it used to be?
Tamber said: It used to be the carriage and wagon wheels workshop at the Horwich Loco Works; over a hundred years old, by now. It's even possible to see the remains of the mountings for line-shafting along the walls. We also use the unit across from the back of it, which was the patterns shop for the foundry.
My boss is on the hunt for another building to move to, due to requirements for more space -- and because it's really quite frustrating how much time we lose 'unpacking' the building to get stuff out of the middle of it that's blocked by other work. It's almost as if the shop was designed around stuff running through on rails, or something -- but it's apparently quite difficult to find a place that has a roof tall enough to tip a 40ft long tipper trailer to full extension, as well as overhead cranes, and space outside for storage, etc.
Also amusing is how the foremost old overhead crane in that picture is still running strong, a few occasional glitches in the retrofitted pendant controls aside; whereas the much more modern crane throws a hissy fit every few weeks and stops working in certain directions. The one right up against the far wall is unfortunately dead, and has been cannibalised for parts -- mostly bearings, since the modern maintenance schedule in is play: do nothing until it stops working, then run around screaming about how critical to the business it is and it needs to be repaired NOW. eyeroll -- to keep the other running.)
I'll be quite sad to leave the place, honestly; as much as it's a pain with the roof leaking so heavily, I feel quite a pleasant connection to the building. It just feels right and proper somehow, with those big windows, tall ceiling, etc.
Meanwhile, right next door, they've just about finished knocking half of the old erecting shop down; they pushed the old 50t cranes off the end of the track yesterday, and chopped them up where they lay. It's a crying shame, how we've let our industrial heritage rot.
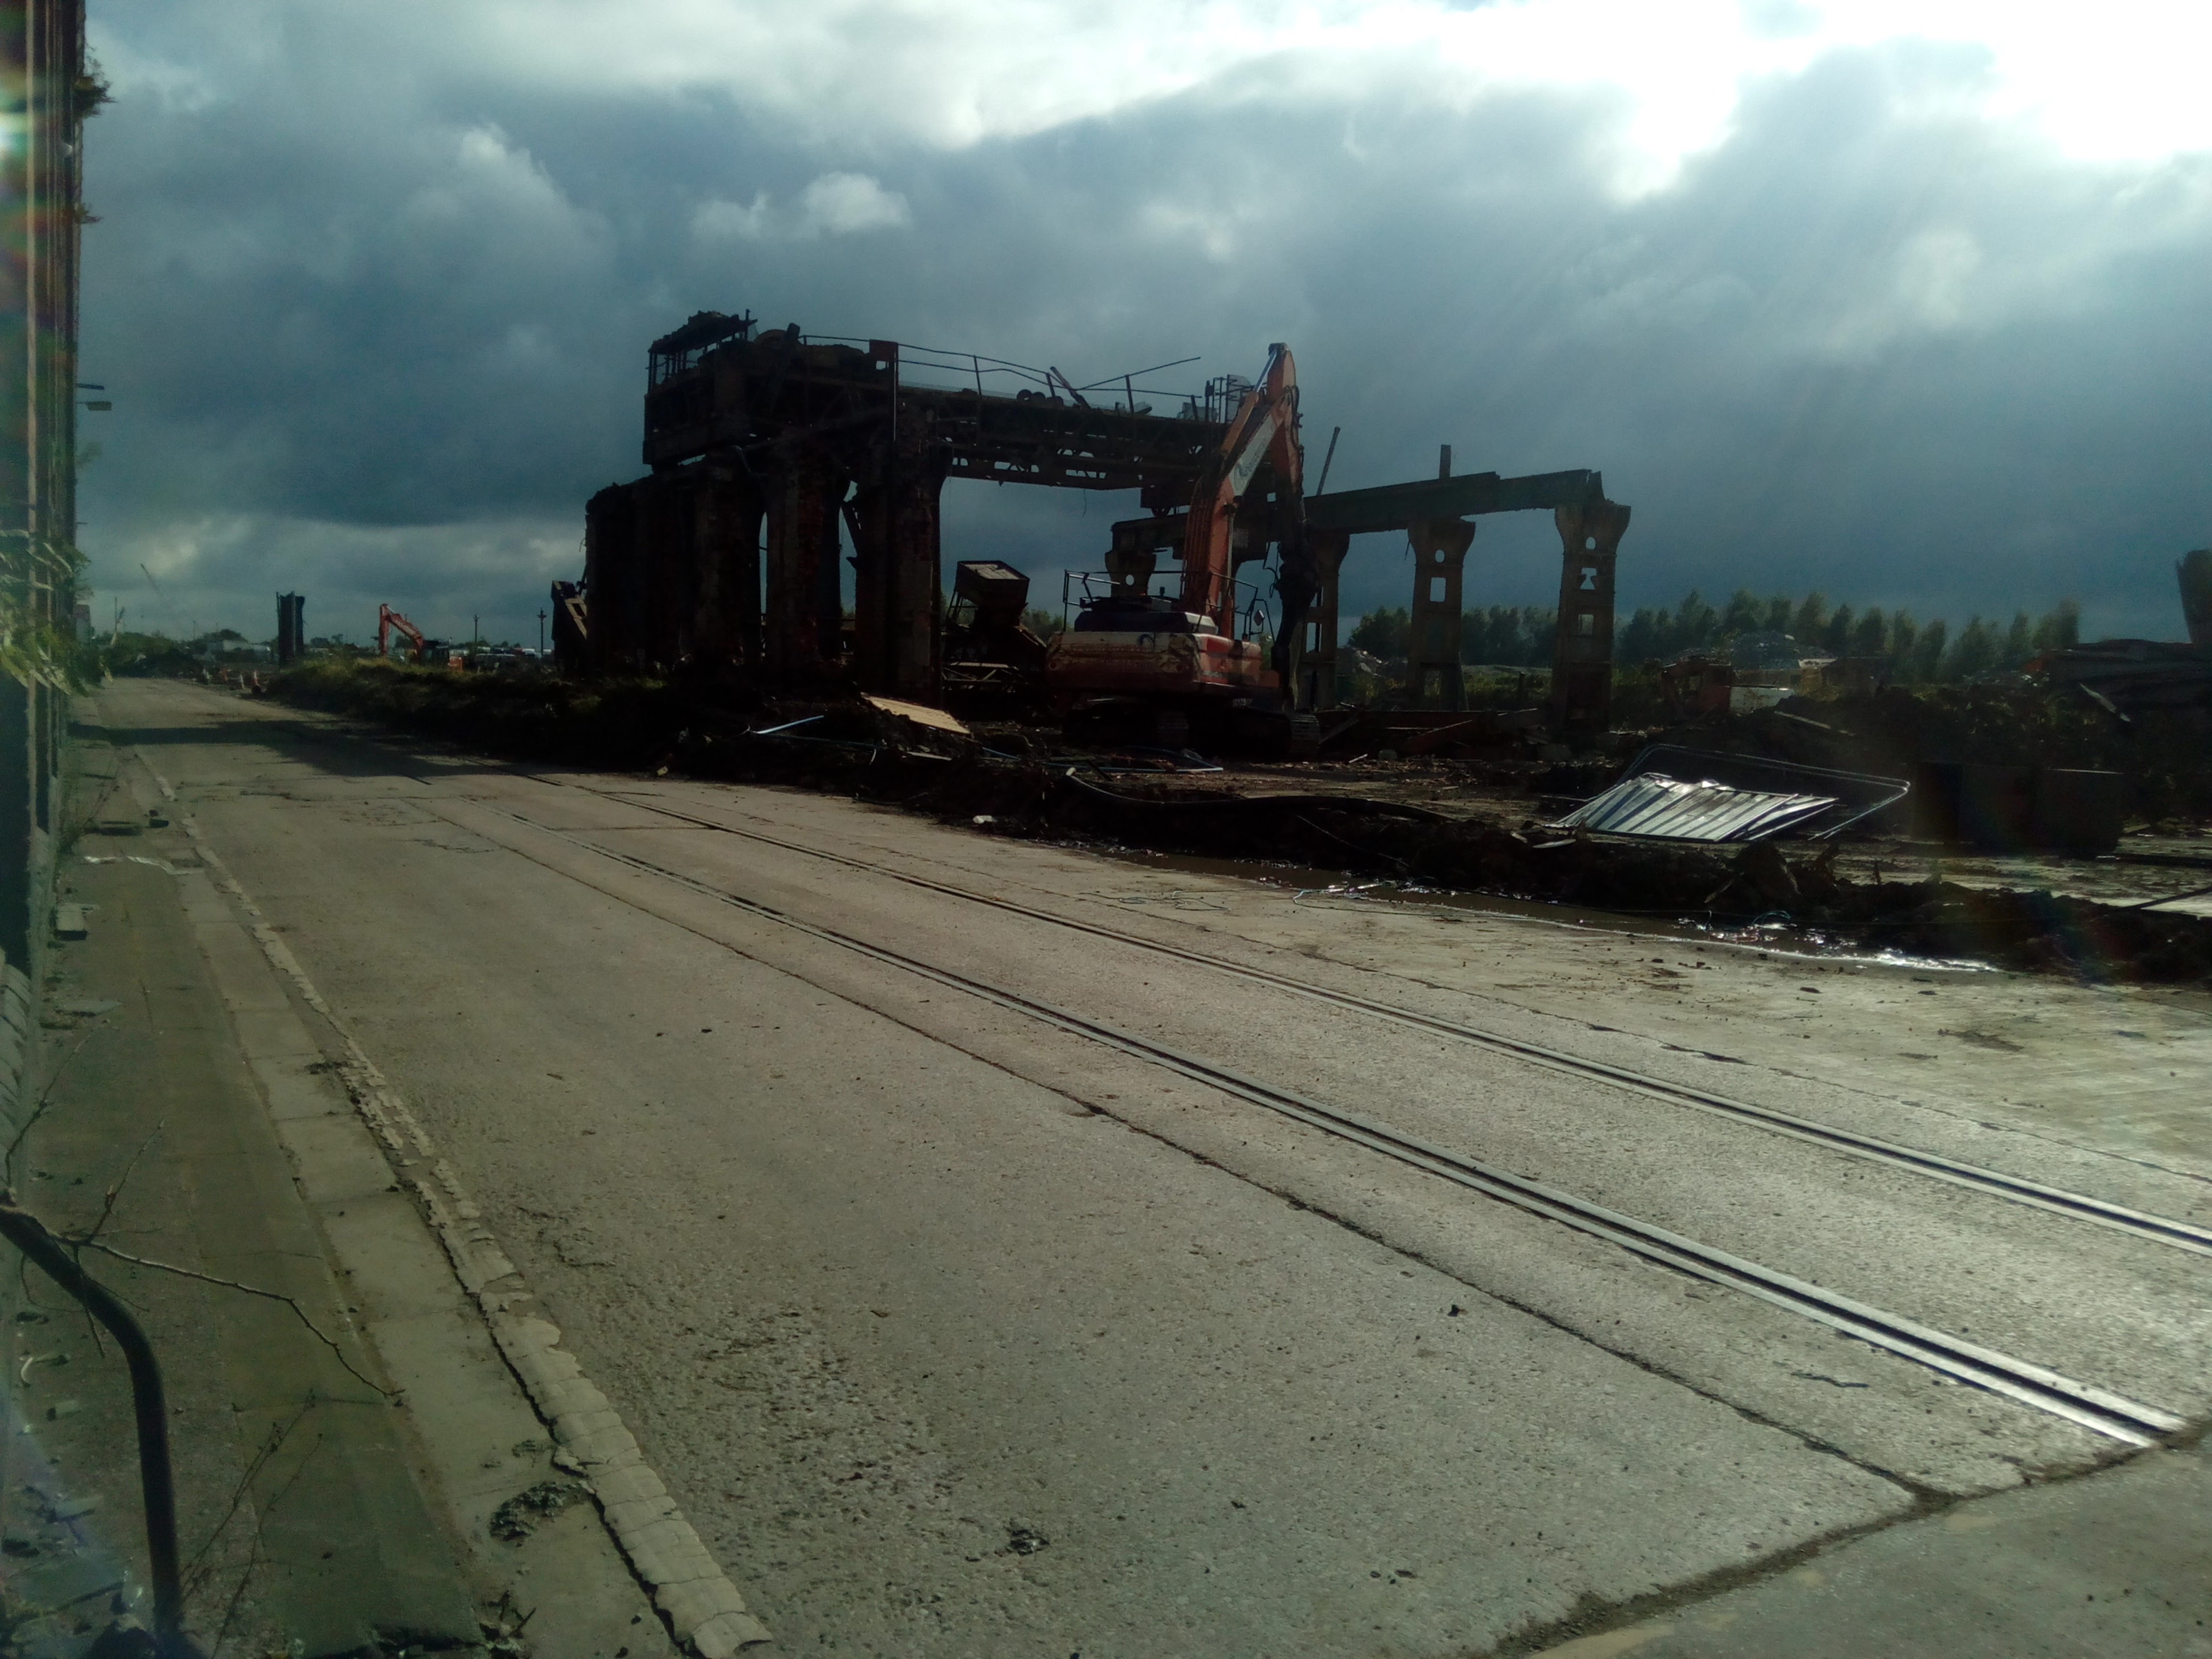
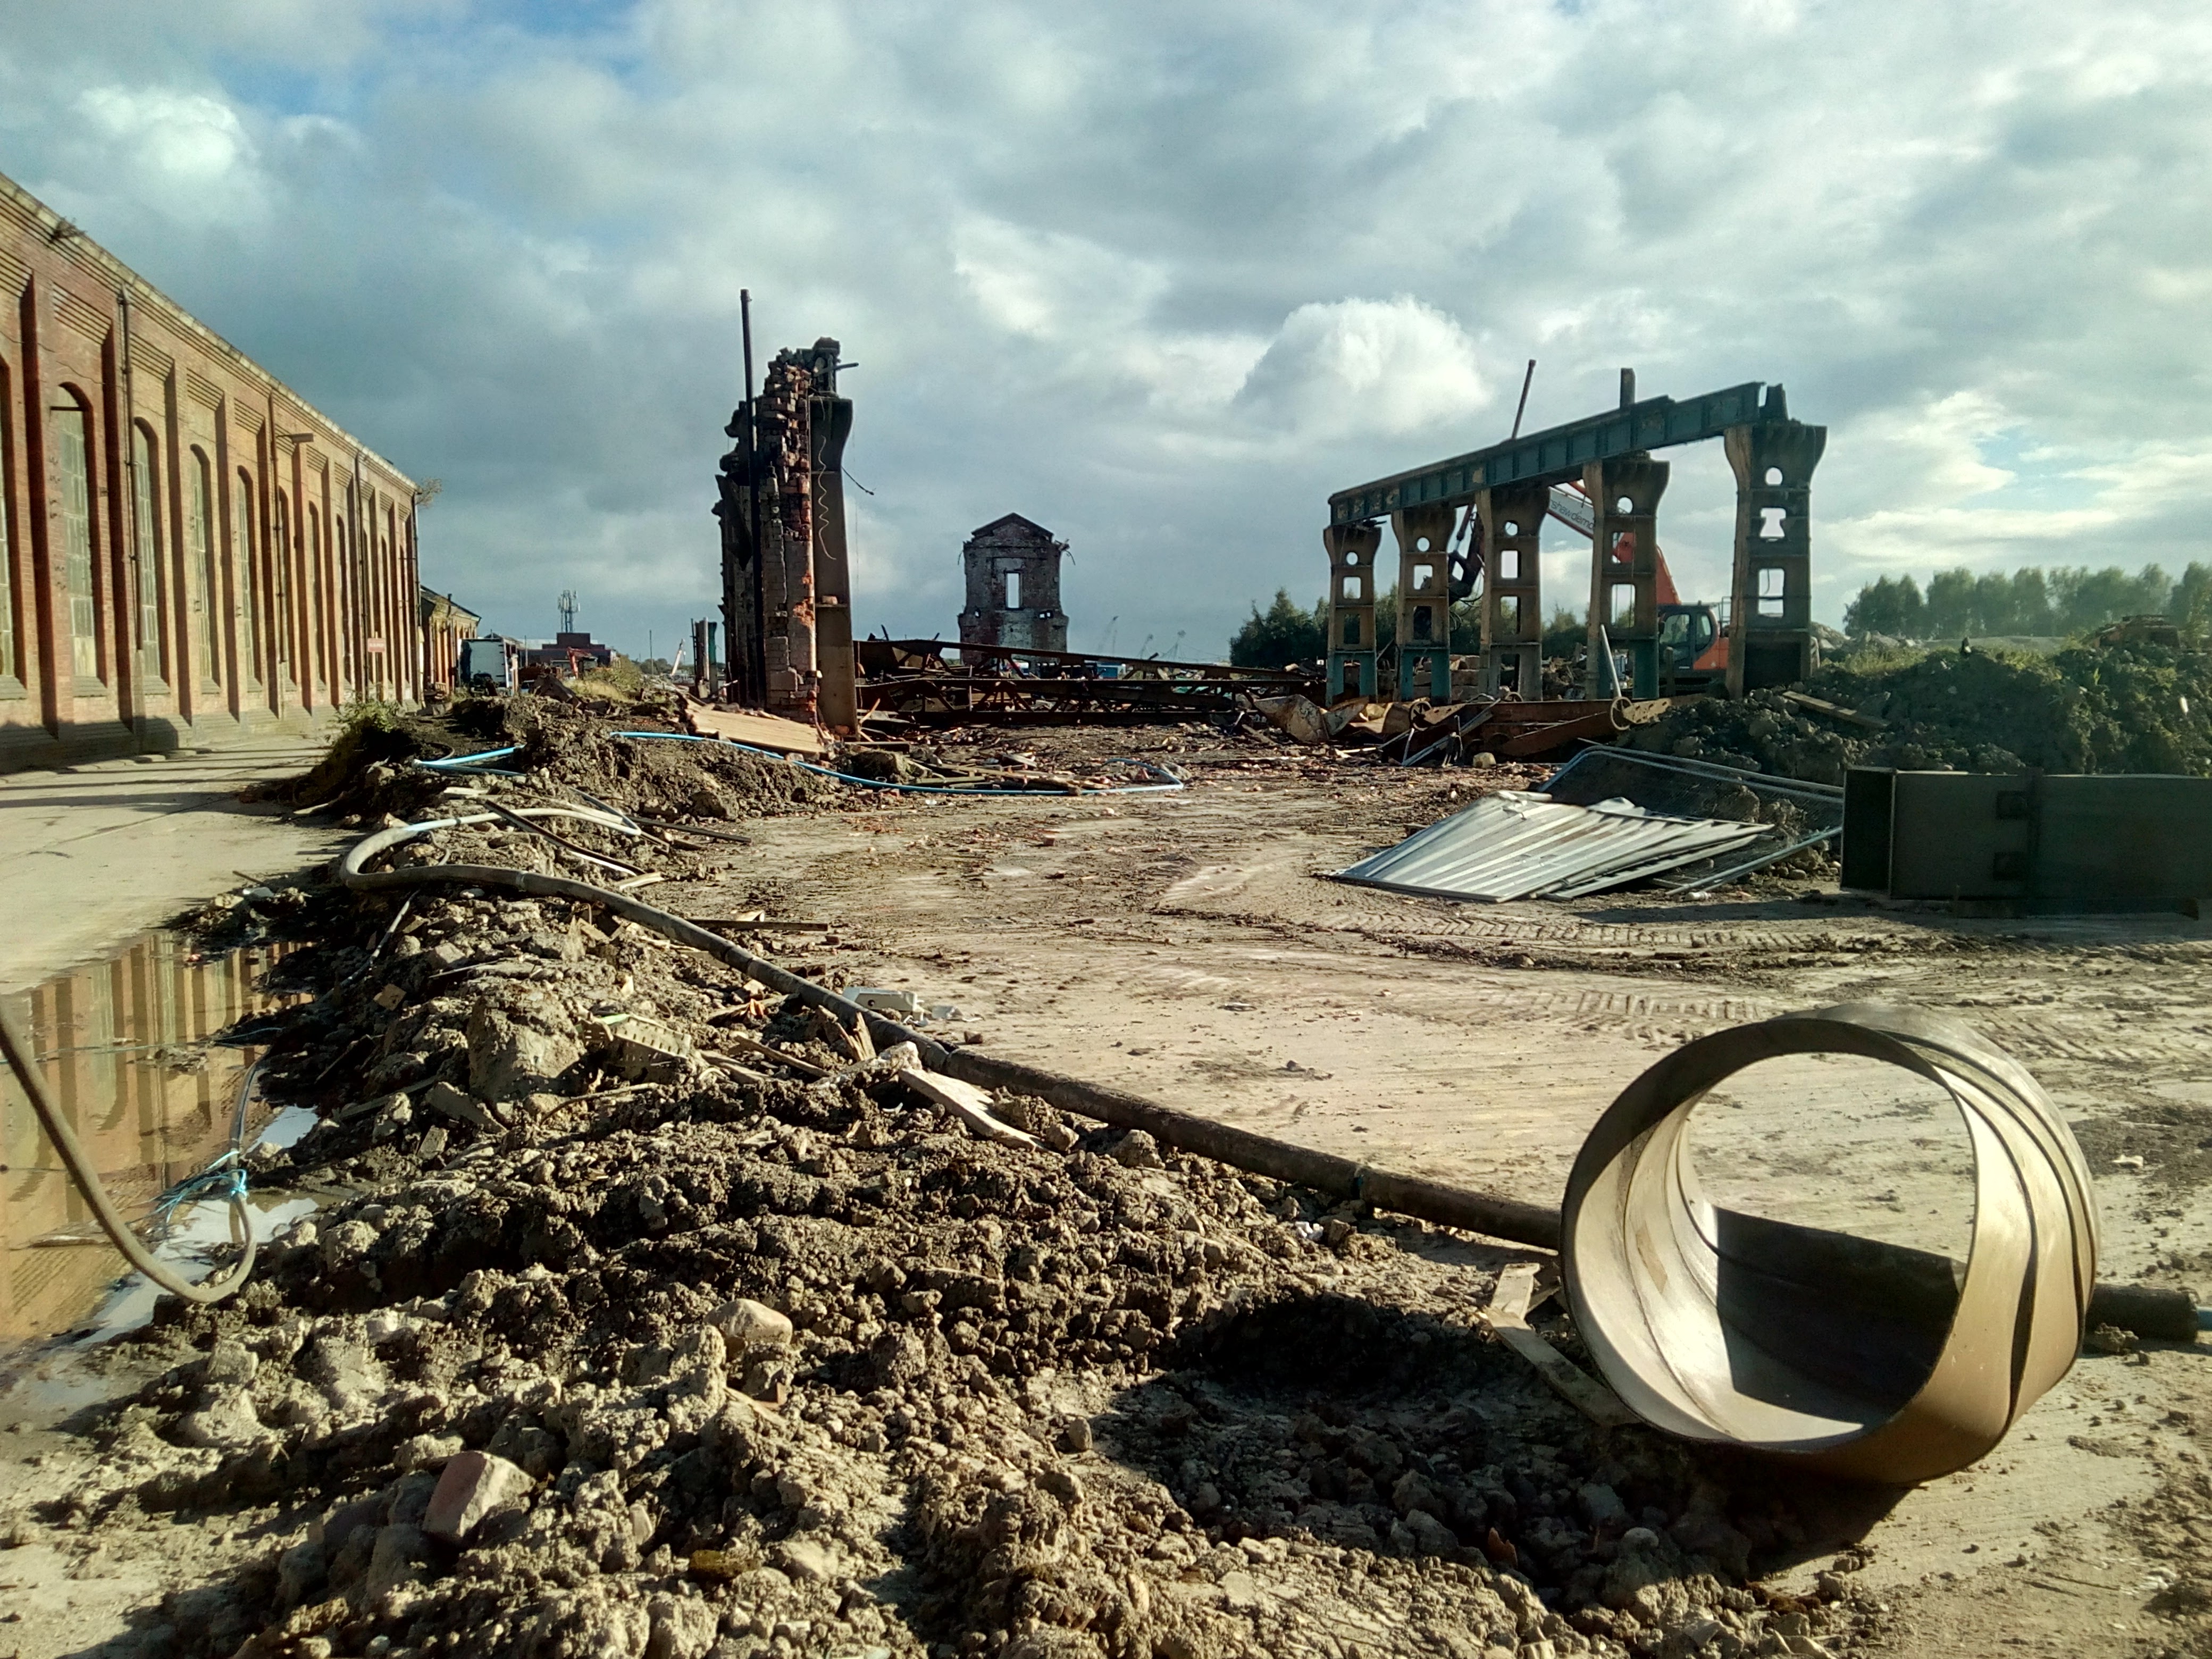
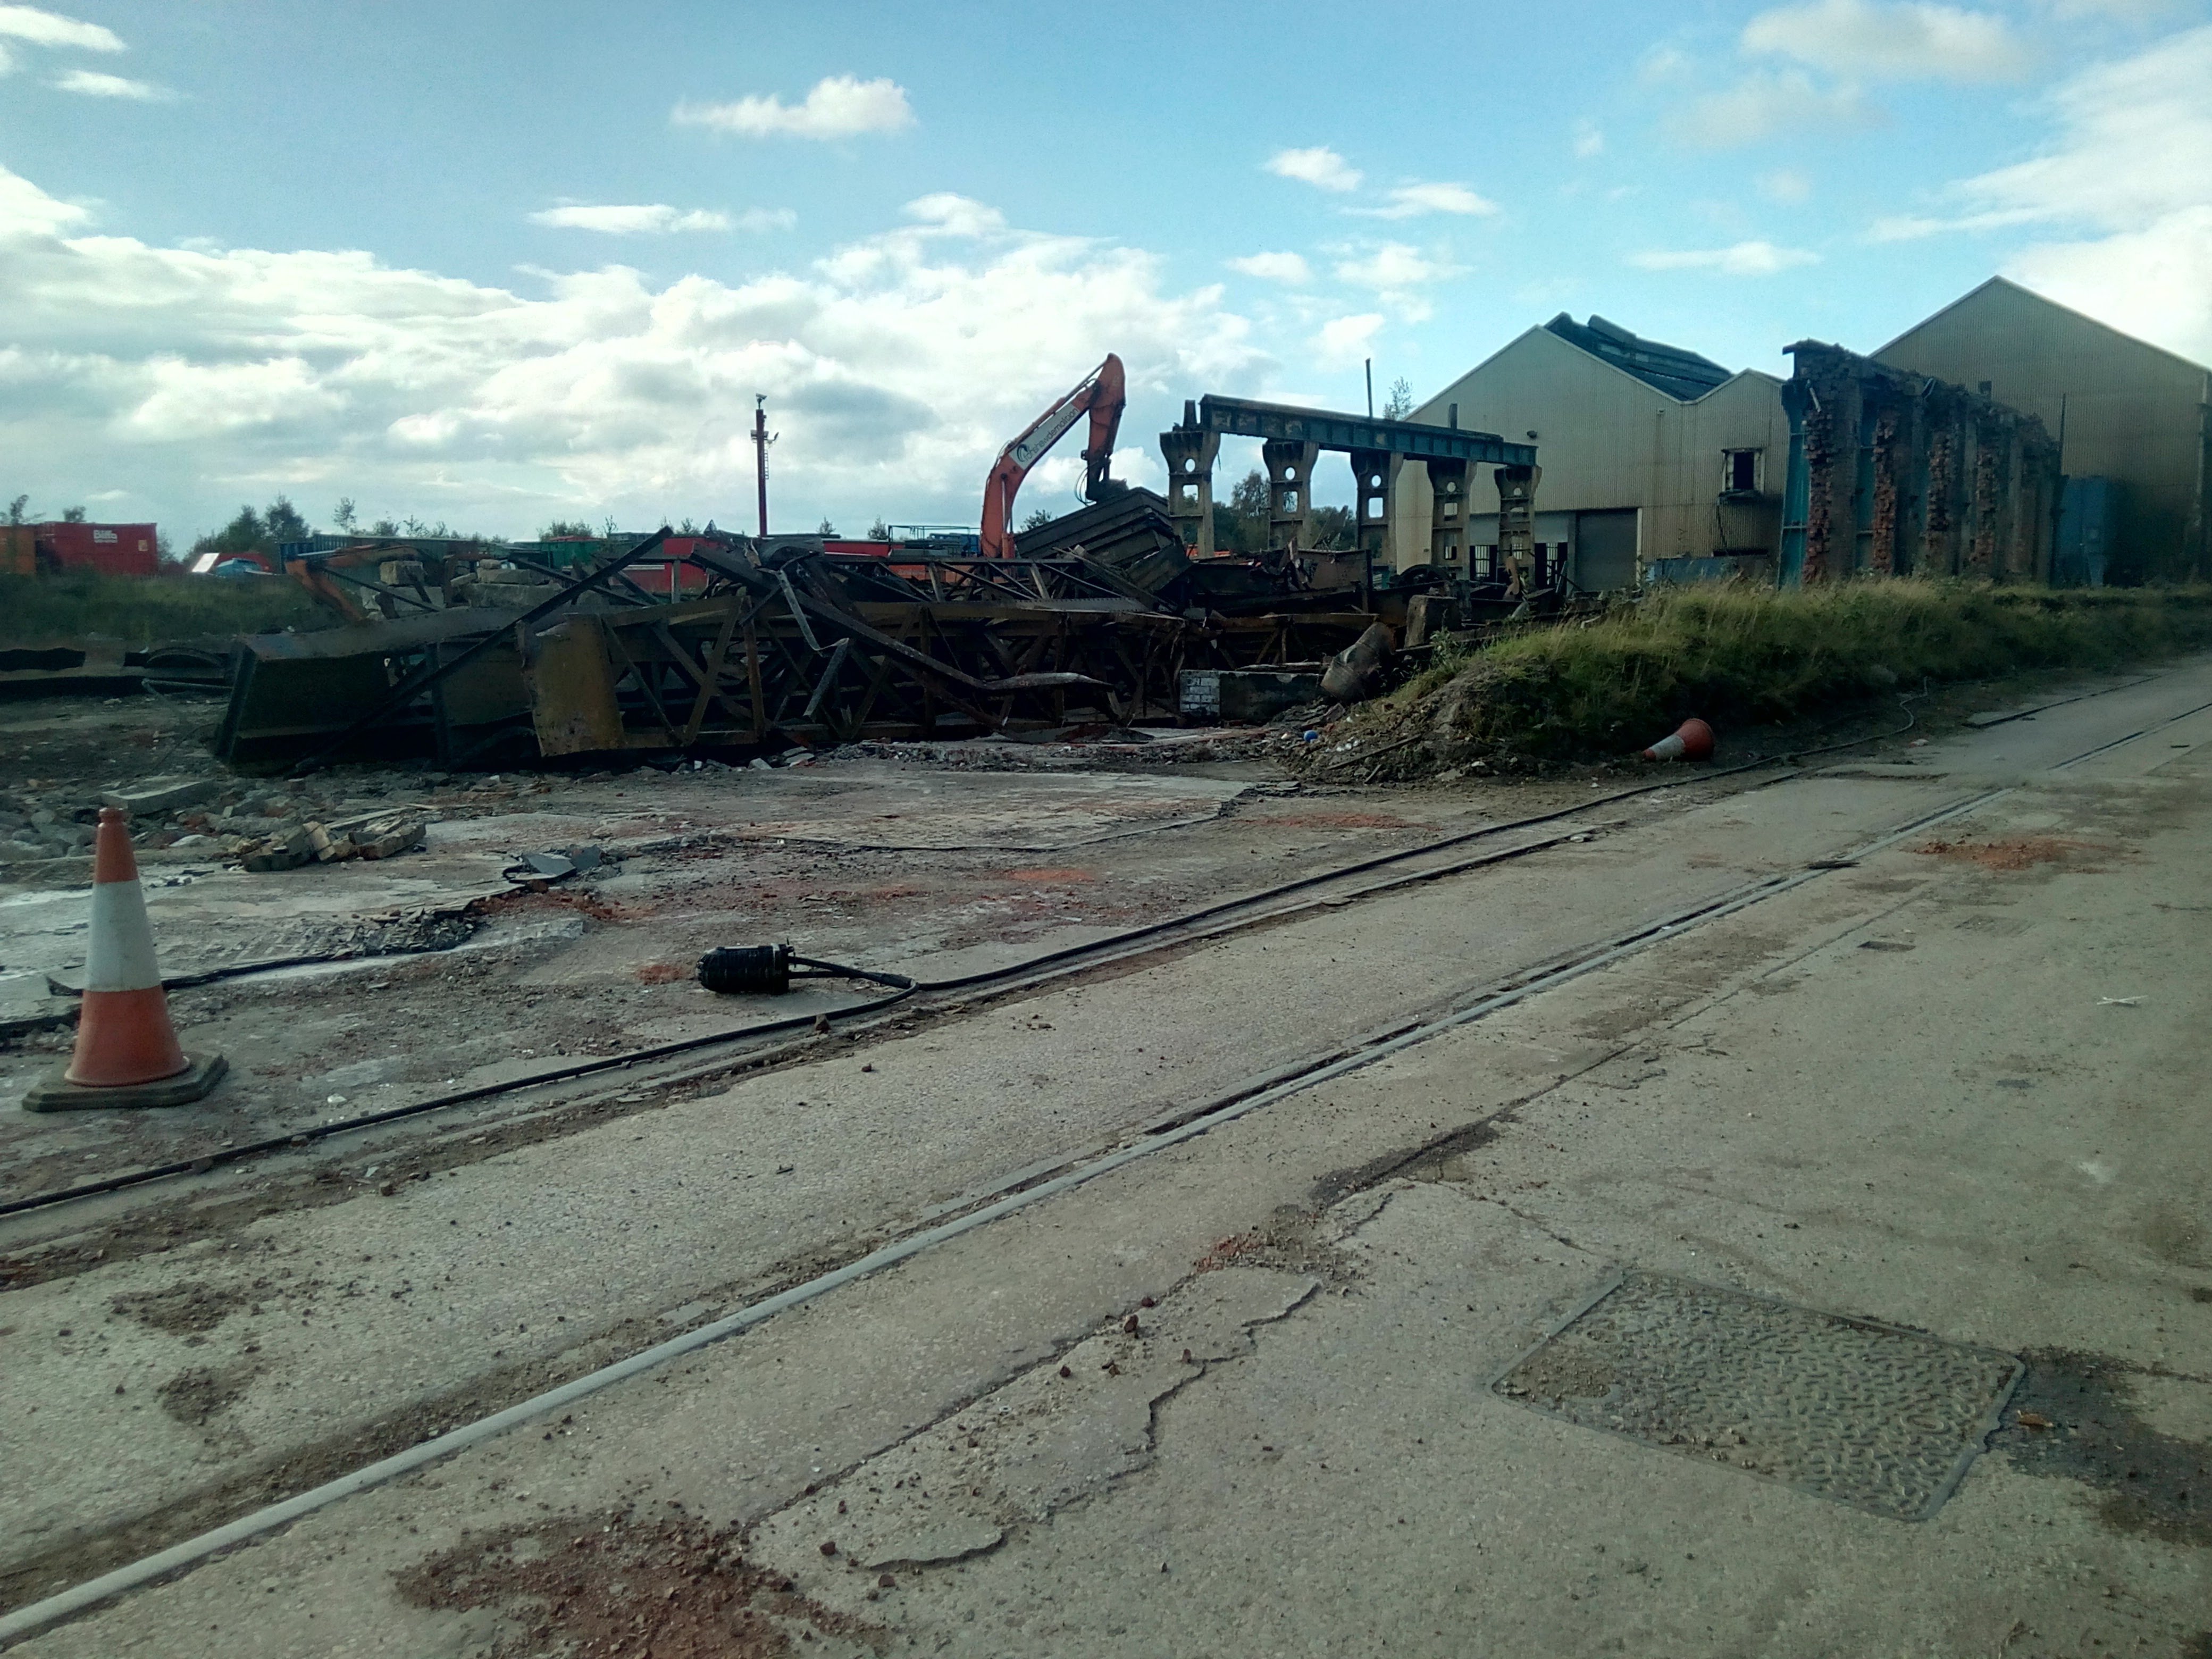
They're levelling everything they can, to make way for 1600 cookie-cutter houses, and some generic office buildings.
I have an album of pictures (and, occasionally, video. Unfortunately, nothing from when they pushed the cranes off, I missed that. Though... they went, not with a bang, but with a whimper... well, a quiet crunch.) from the past year or so, snapping what I could as they collapsed it to nothing; because, by the time they're done, there'll be no trace anything ever existed there, least of all a huge part of local heavy engineering history.
(An effort was made to have the buildings listed, but it failed because the buildings are of "utilitarian design with a few special characteristics of craftsmanship or decoration"; and, on top of this, they don't have their original equipment any more, and there have been other changes such as knocking new doorways in, etc.
And then, I expect, people will turn around when everything's just vast expanses of generic shopping centrel and identikit houses, and lament our 'inability' to produce anything, and how bland everything is... Ho hum.
removes rose-tinted spectacles
Such is progress, apparently.
Dereliction is my aesthetic.
Anyway, continuing onward! I took a week off work, and spent it doing... uh, work. On my broken junk, though, not theirs.
But because there wasn't room in the workshop, I decided I'd do sparkplugs.
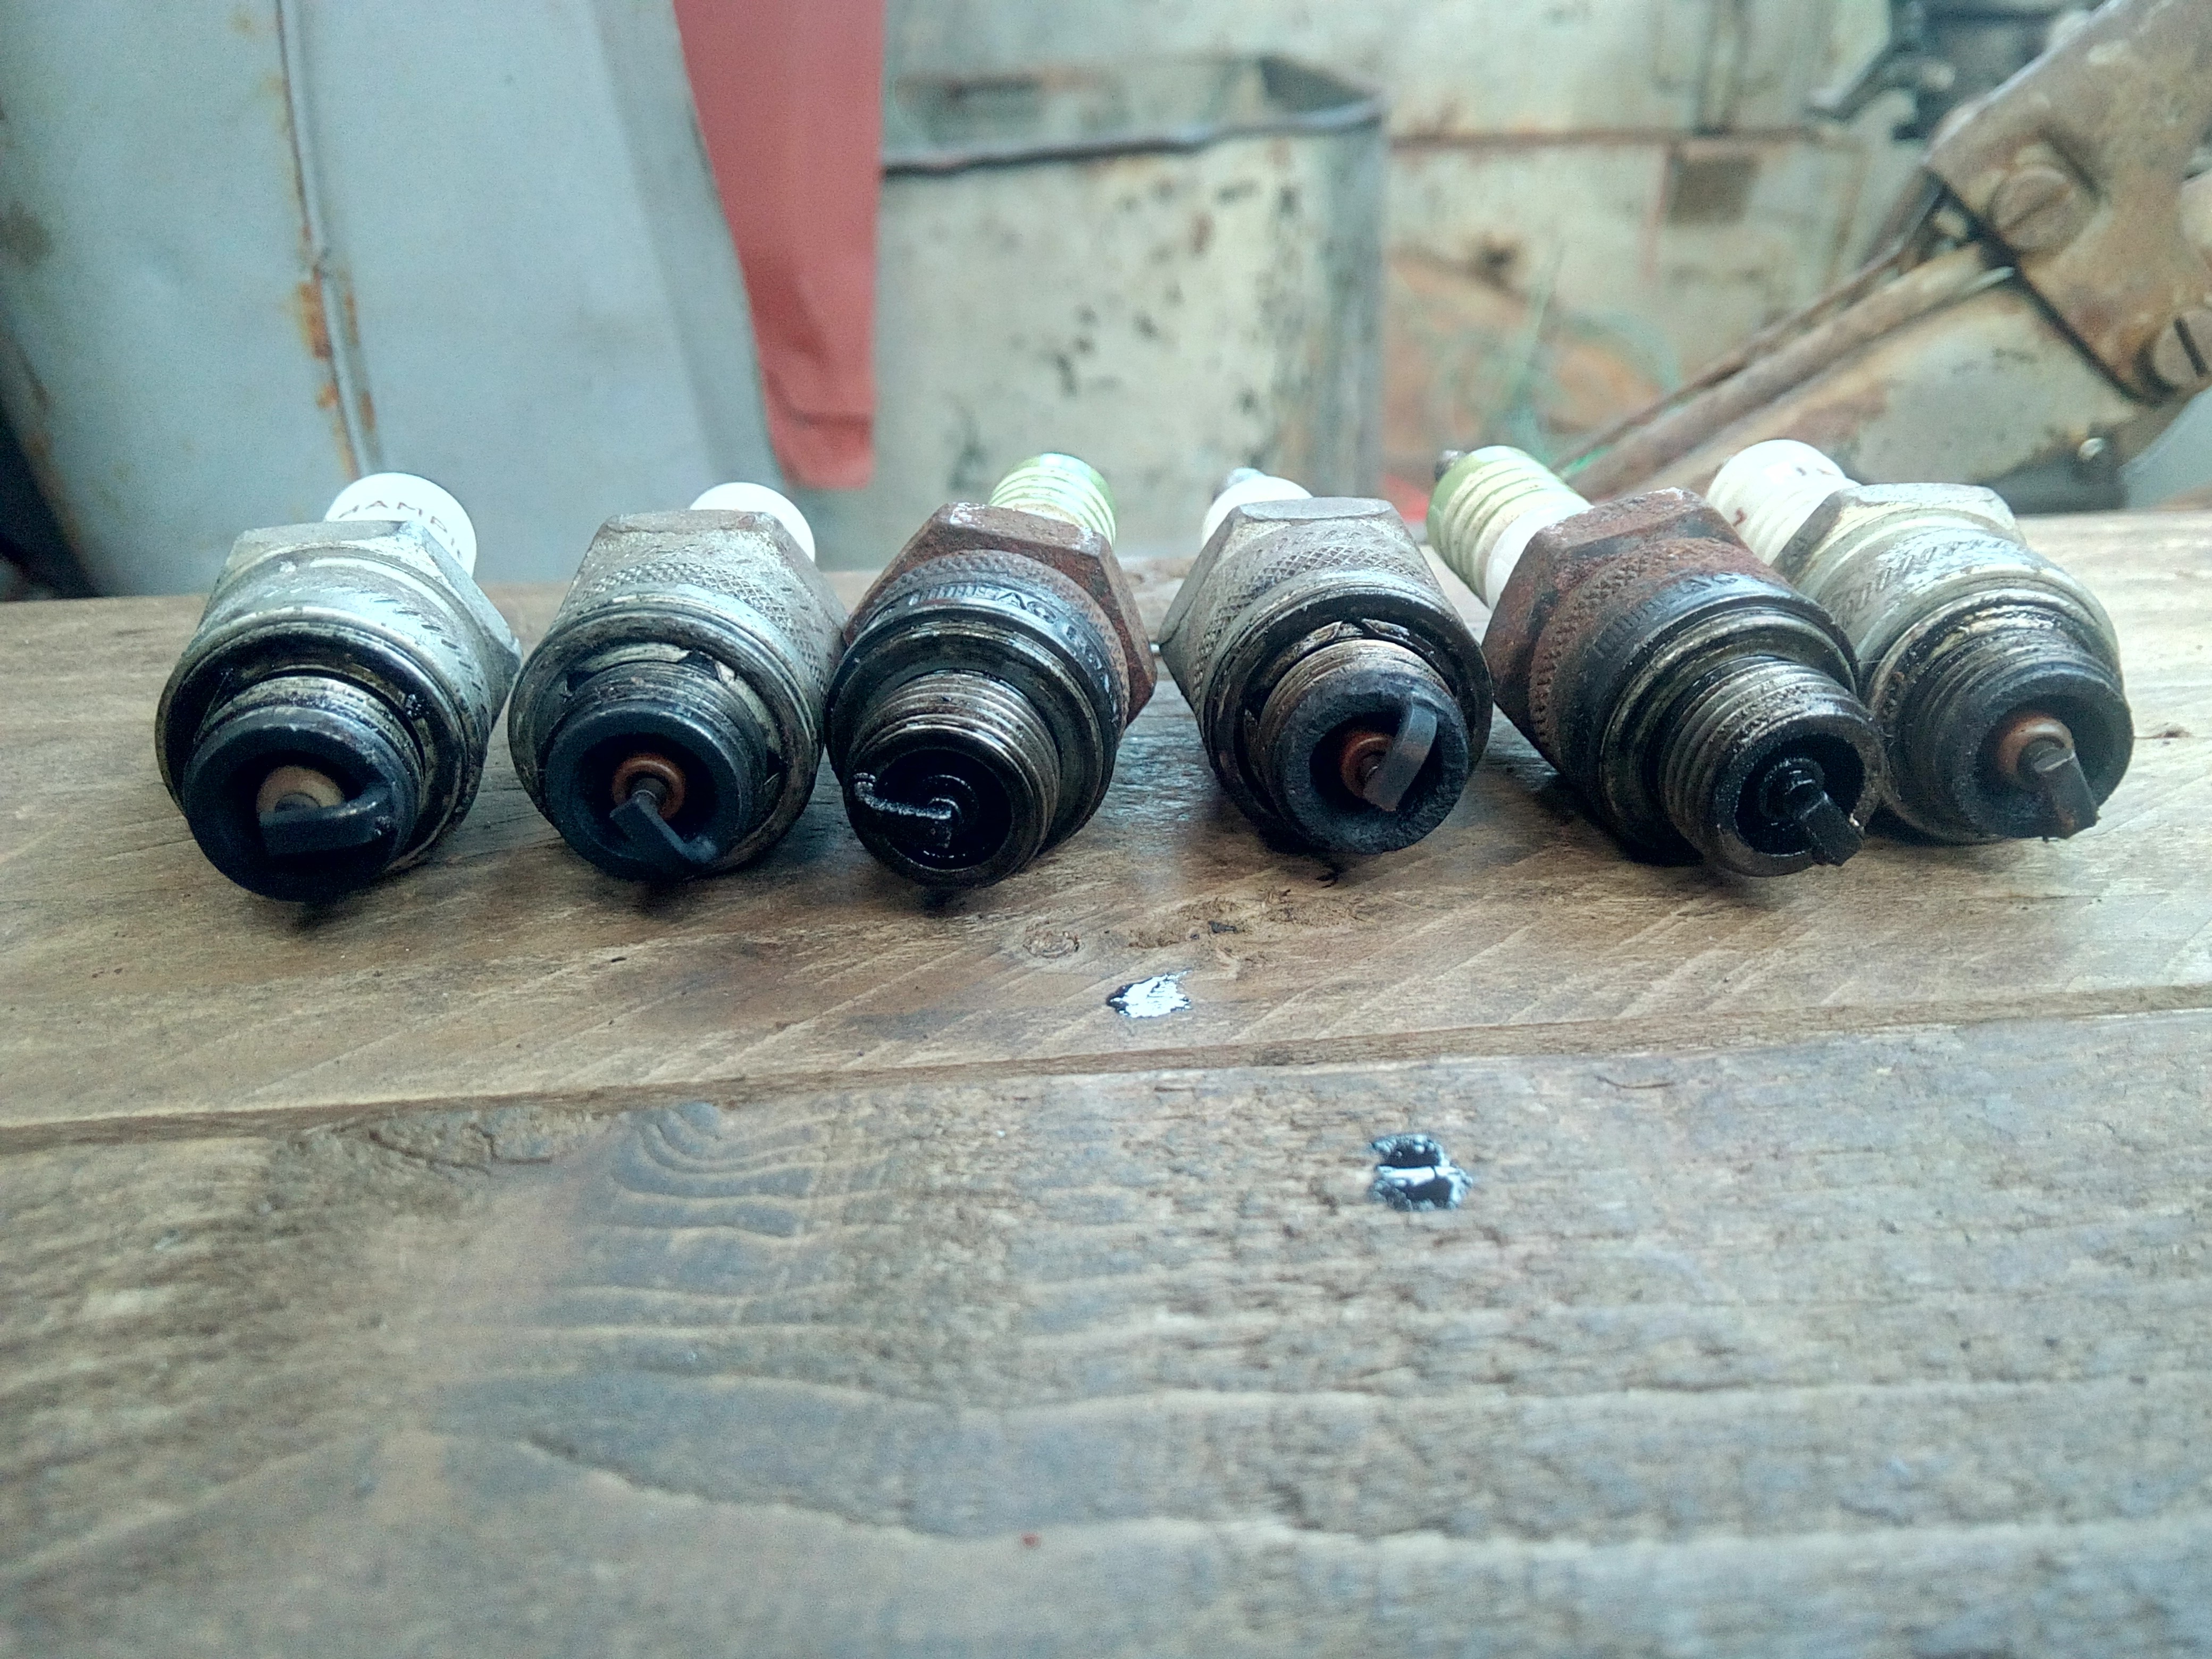
(Ordered from cylinder No.6 to No.1.) Honestly, those plugs could be a damn sight worse considering they're the ones that were in there when I bought the truck. (You can even see the rust-pitting on the end of No.3, because that was the cylinder with its intake valve open, if you look closely!)
A new set of NGK B6S went in. NGK is my preference because the box is a nice cheerful yellow. That's all I have to say on the matter of spark-plug manufacturer preference!
Some new leads were also made up, because why not.
Then, the following episode, I weldinated a bit more of the roof.
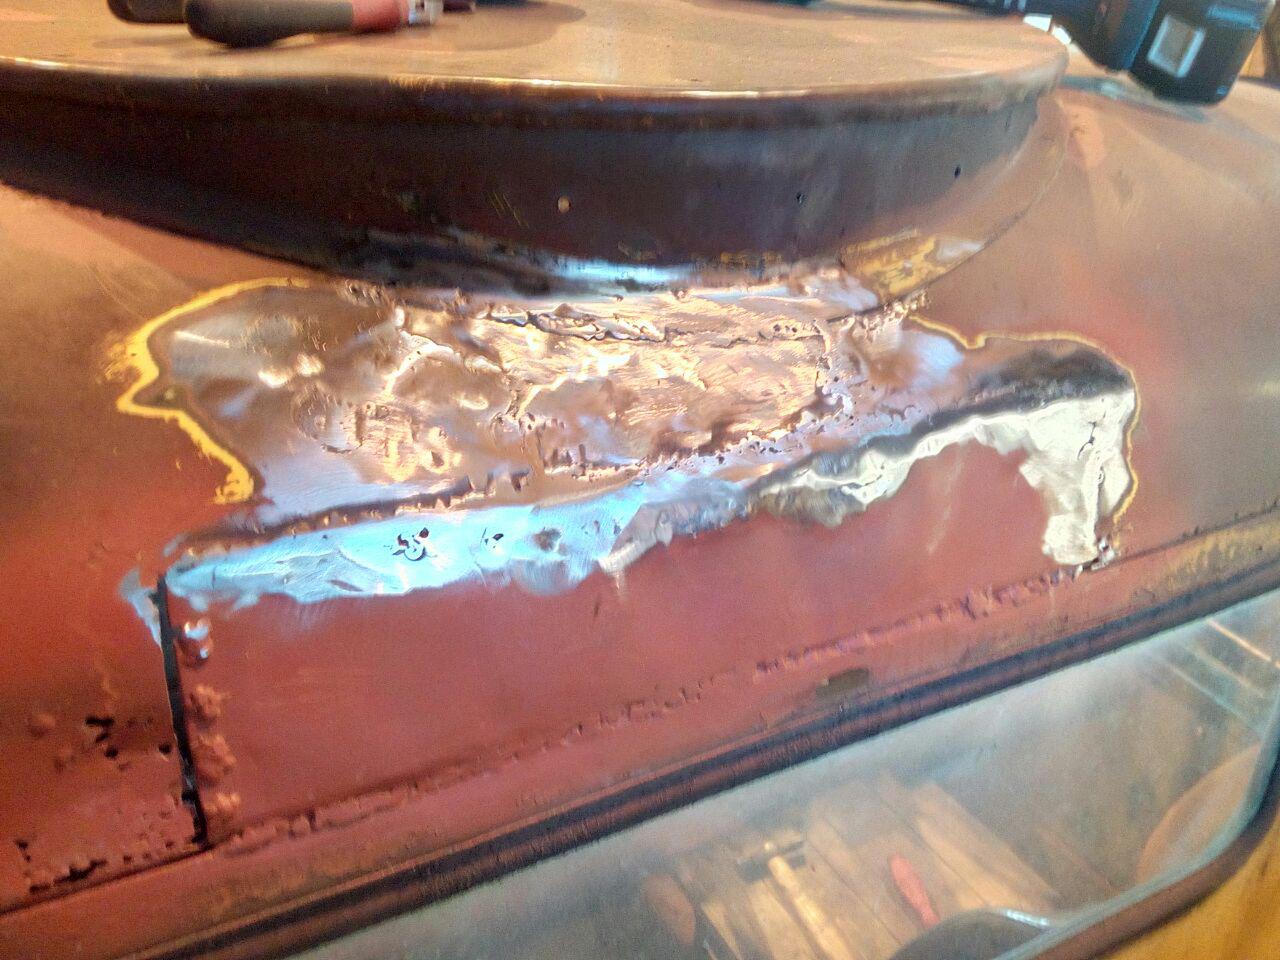
And then I promptly fell off it, one elbow on the roof, the other on the top of the body; which brought them sharply up to the level of my ears, and something went crunch. Oh well. Whatever it was, it grew back.
(Note from the future: Maybe this is part of why my shoulders hurt so much now?)
Also discovered the offside cab mount has delaminated! This was discovered by the whole cab tipping over alarmingly as I heaved myself up by the grab-handle above the nearside door! This same thing also claimed another victim: my co-workers iPhone, which fell out of his pocket and landed screen-down on the carpark when he did the same thing I did, to point out the body-mount separating. It popped the whole front off it, cracked the screen, and launched the home-button off to realms unknown. (Possibly to join my socket adapter...) Those things are the very definition of fragile, by my book...
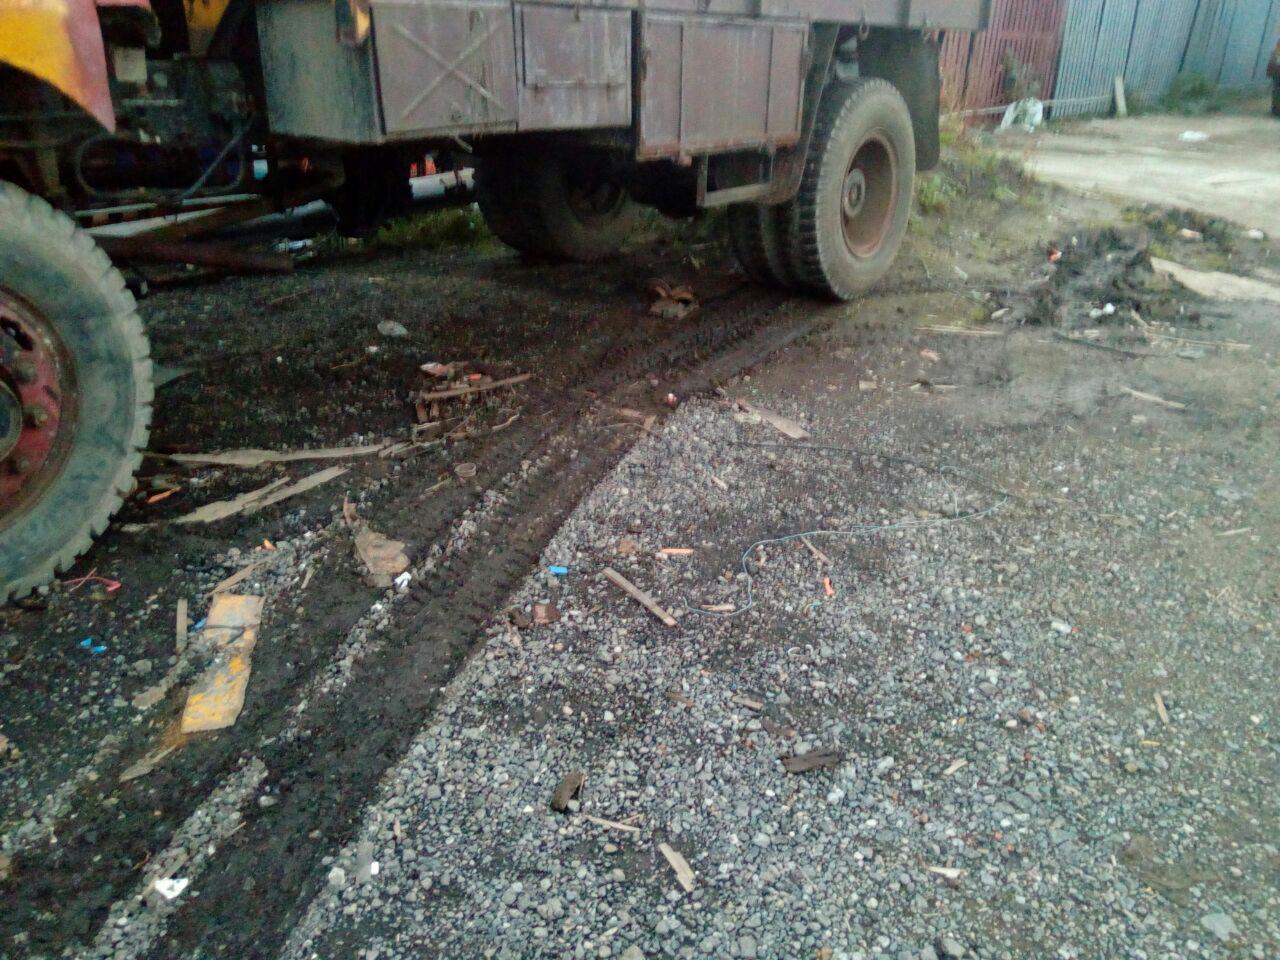
...oh, and I also discovered that the brakes are dragging on one side of the rear axle, so I'll need to unstick that again.
Ah, she'll be right...