November 2016
Okay, fine, I'll go deal with the fuel-toilet...
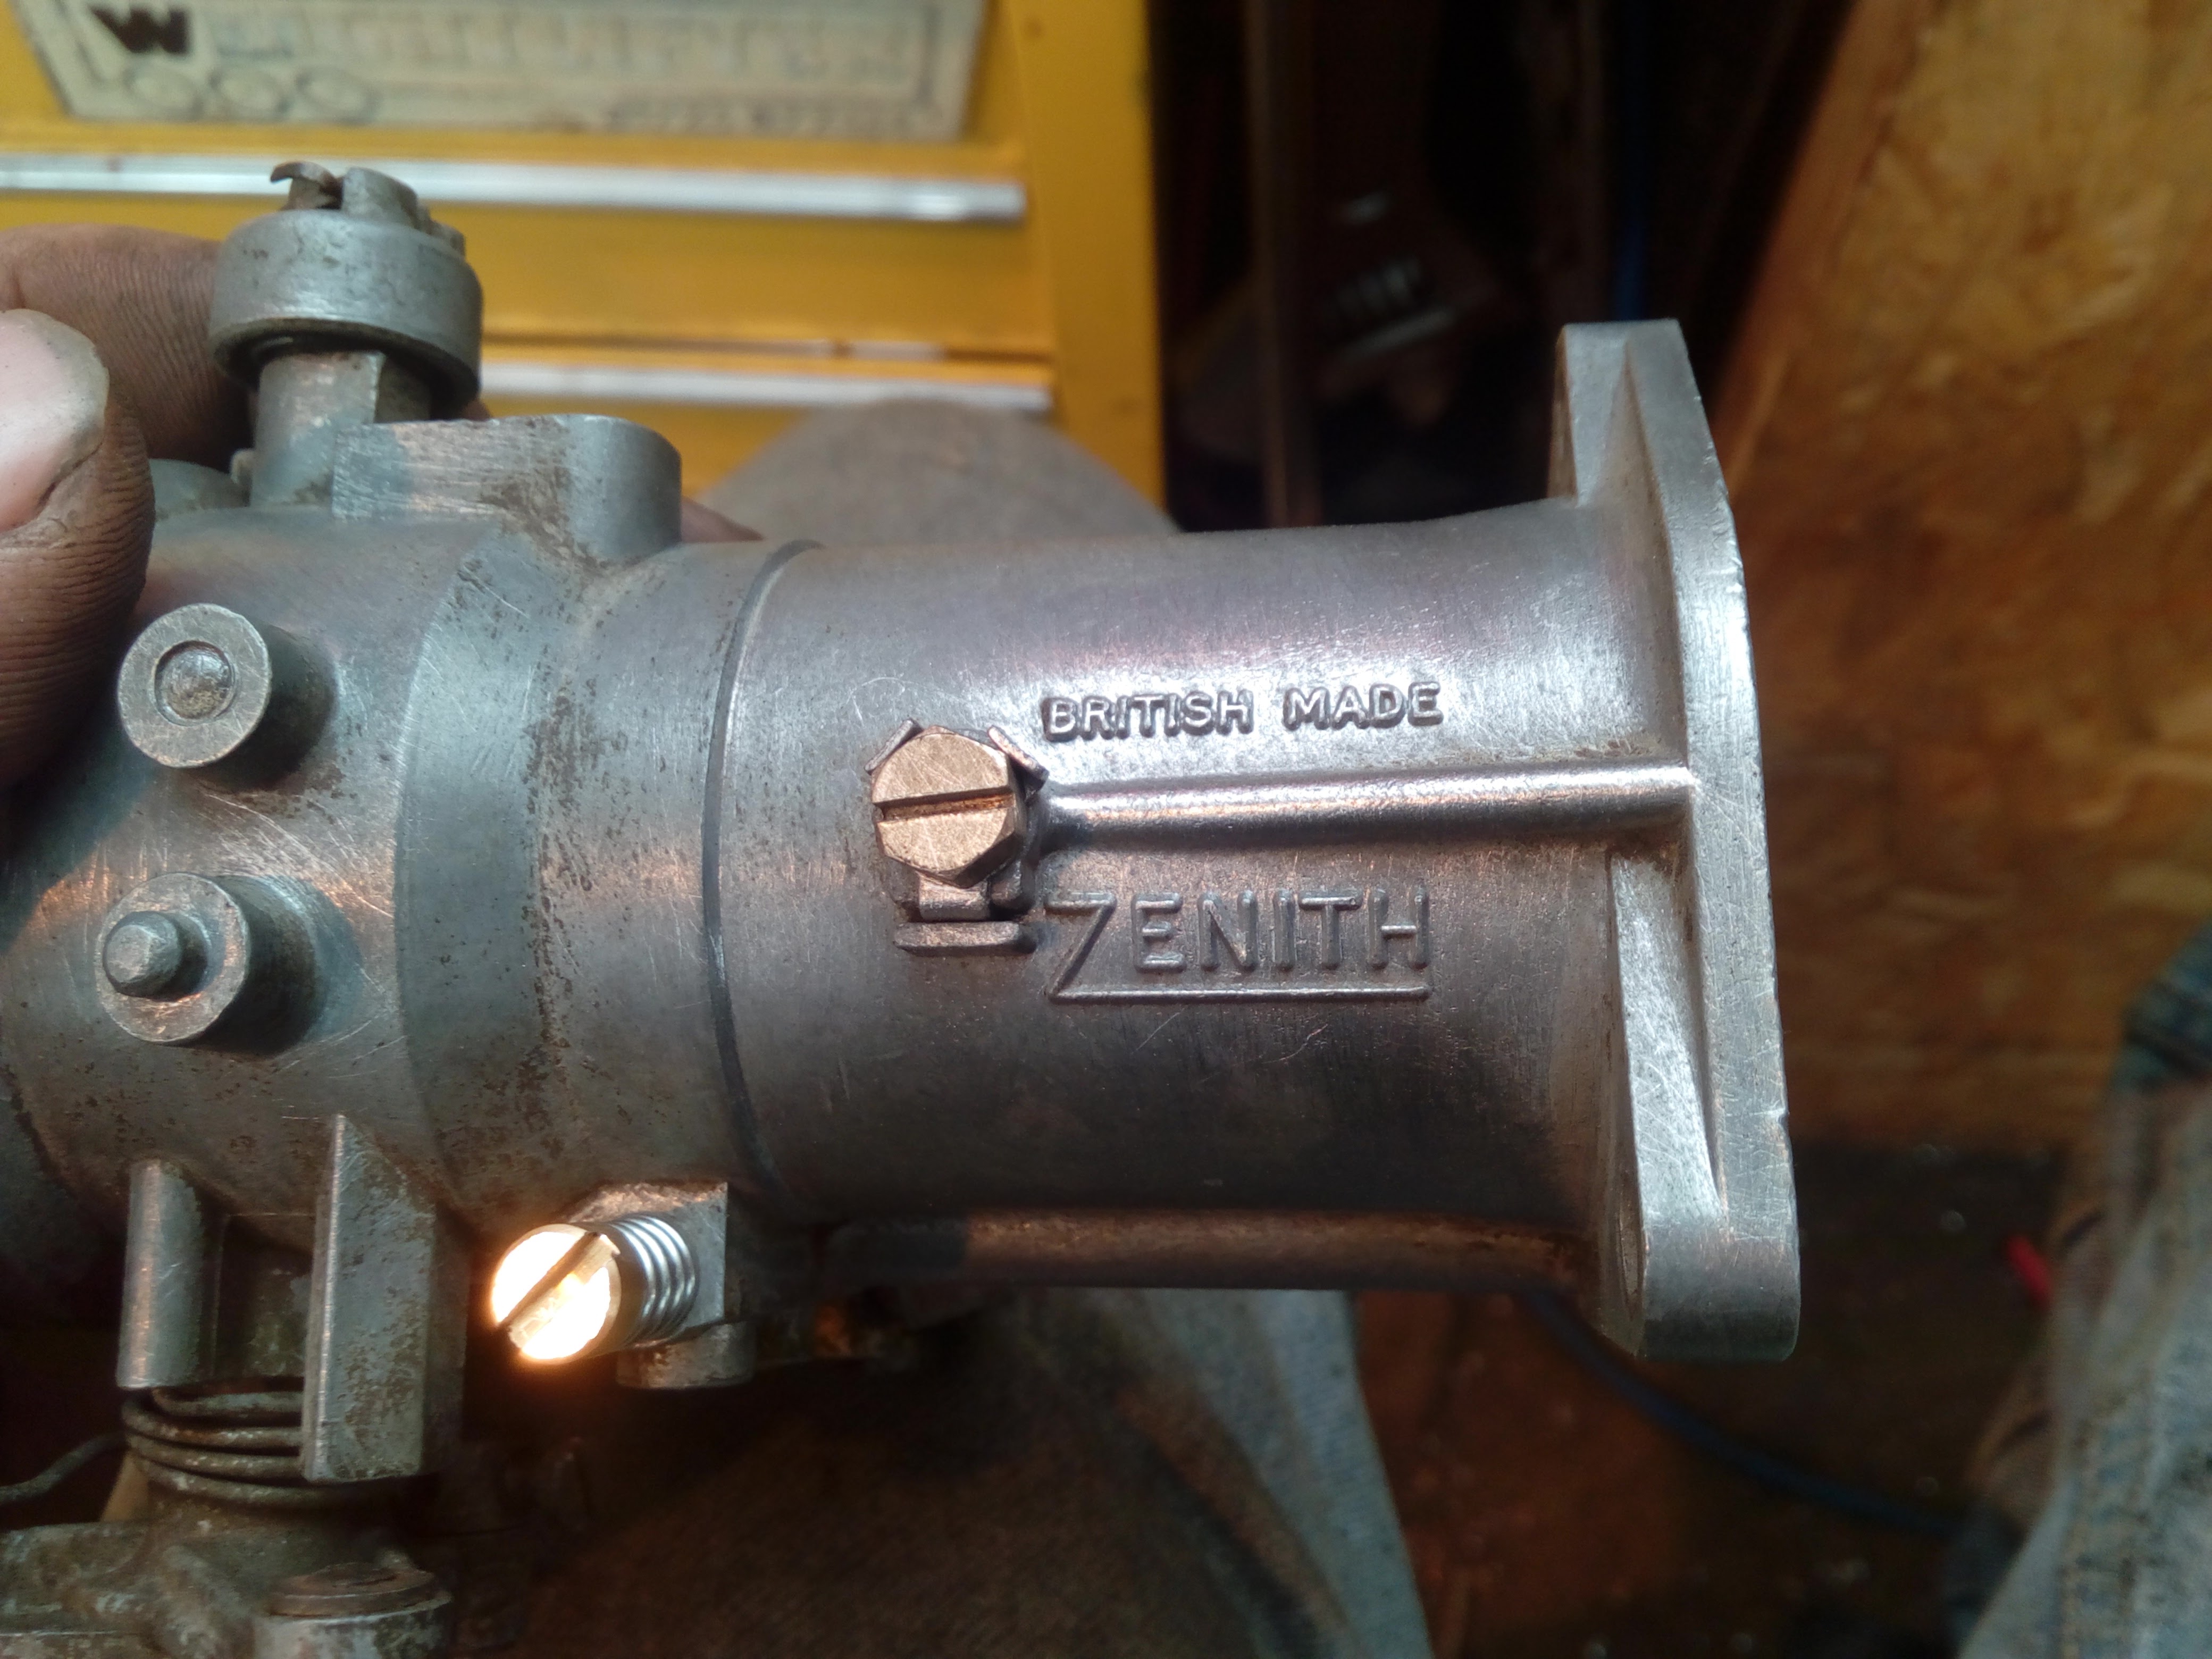
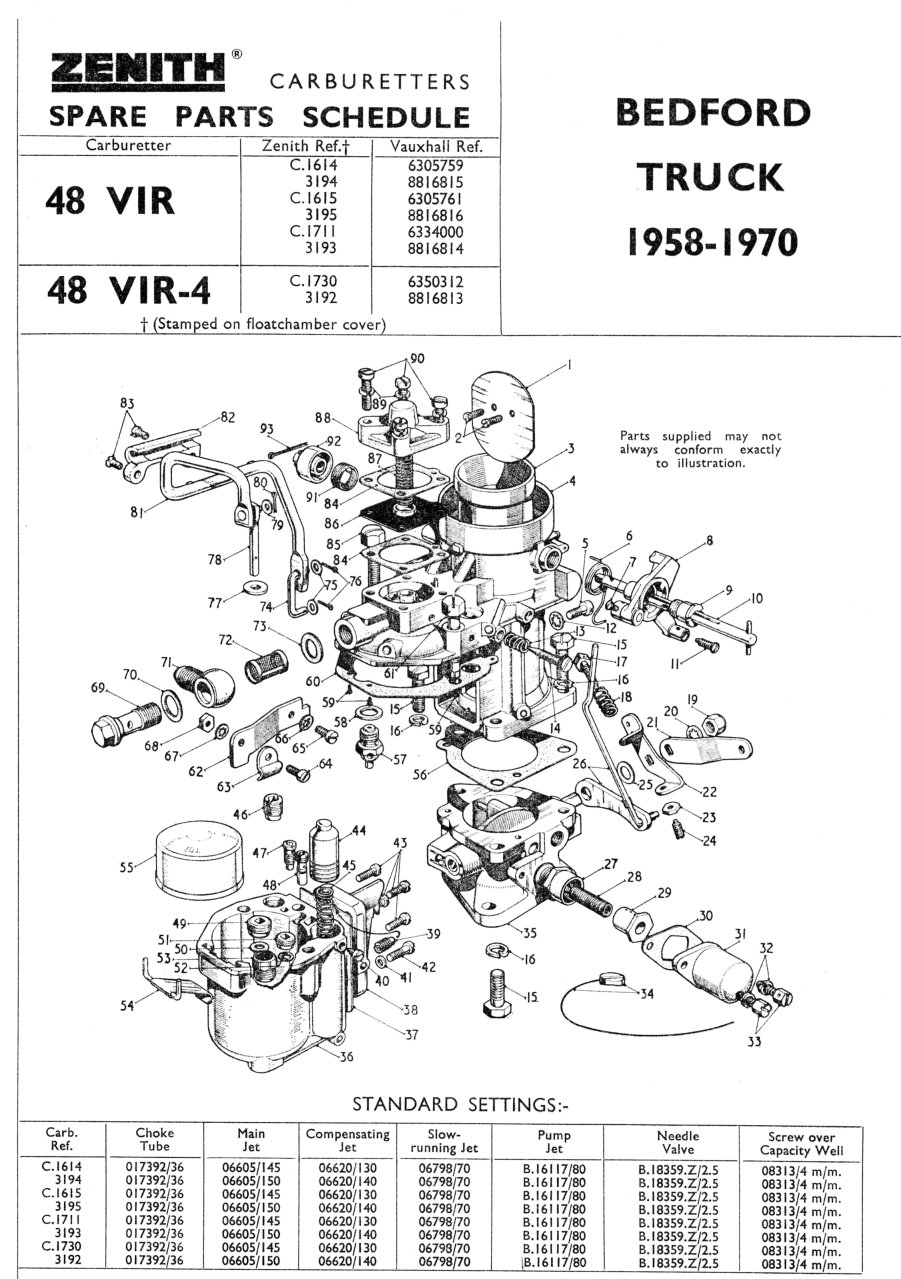
(Item No. 42 fucks me over later. Spoilers!)
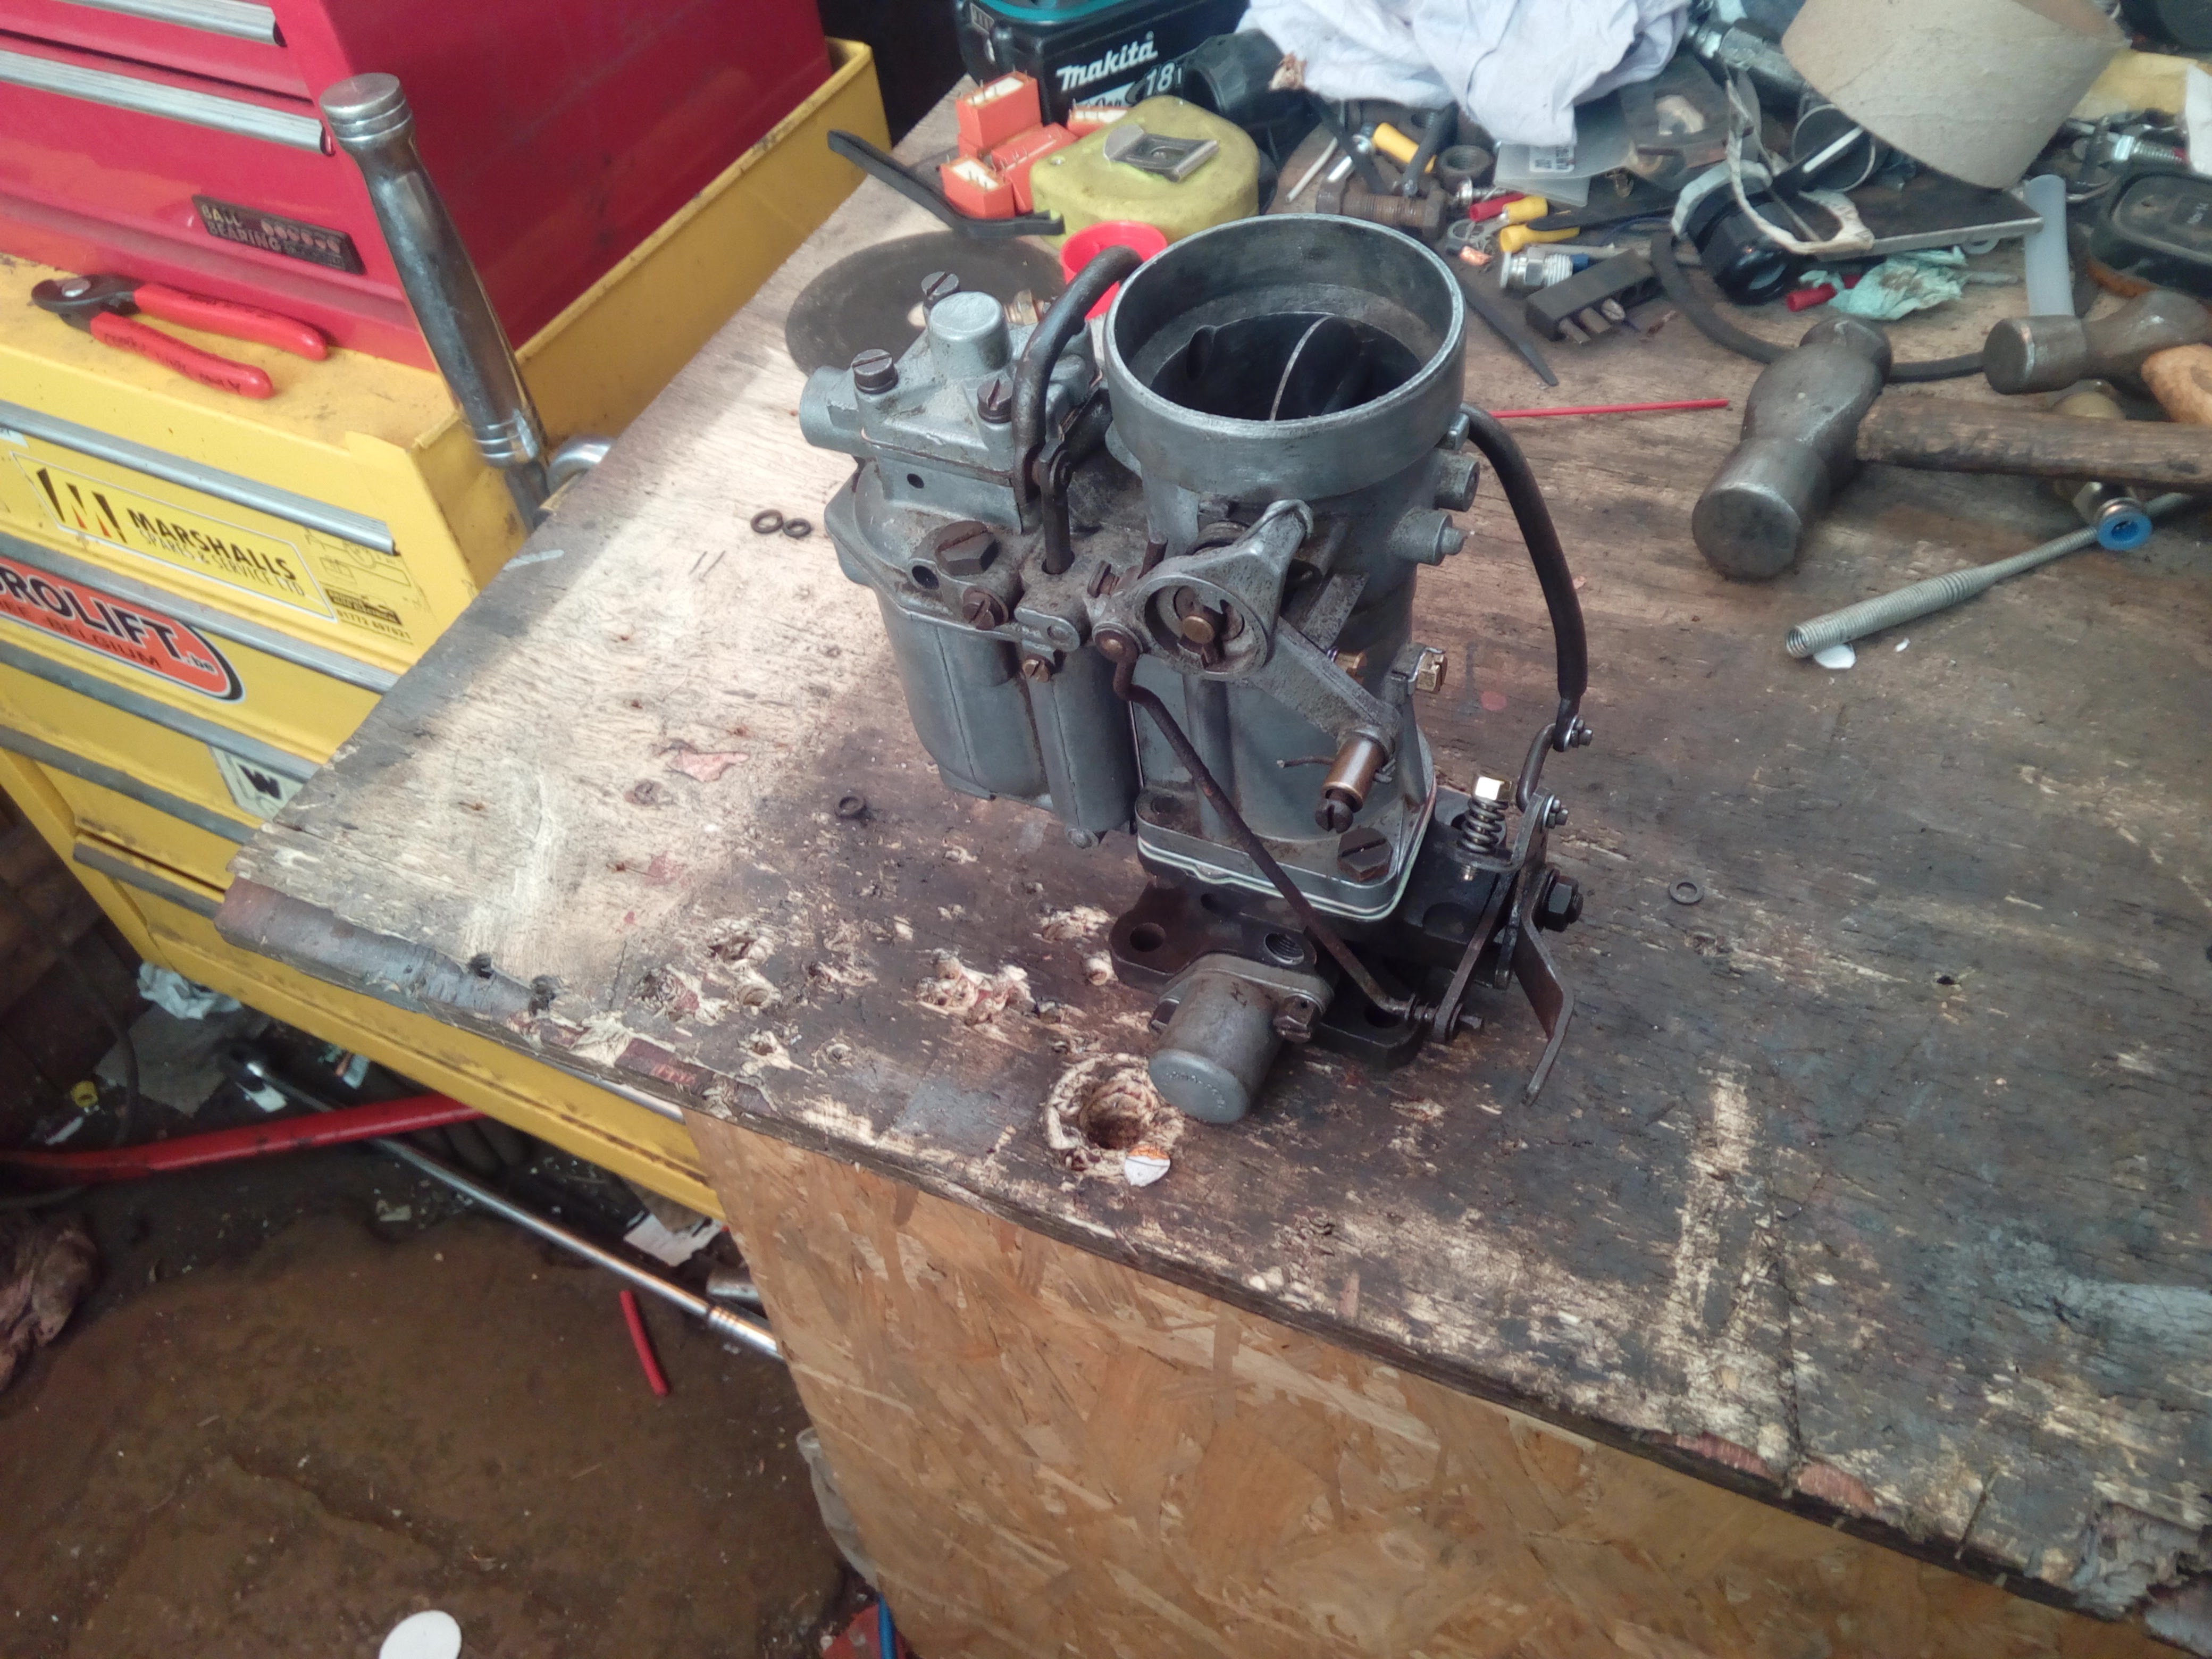
Assembly is the reverse of disassembly, but you swear in different places.
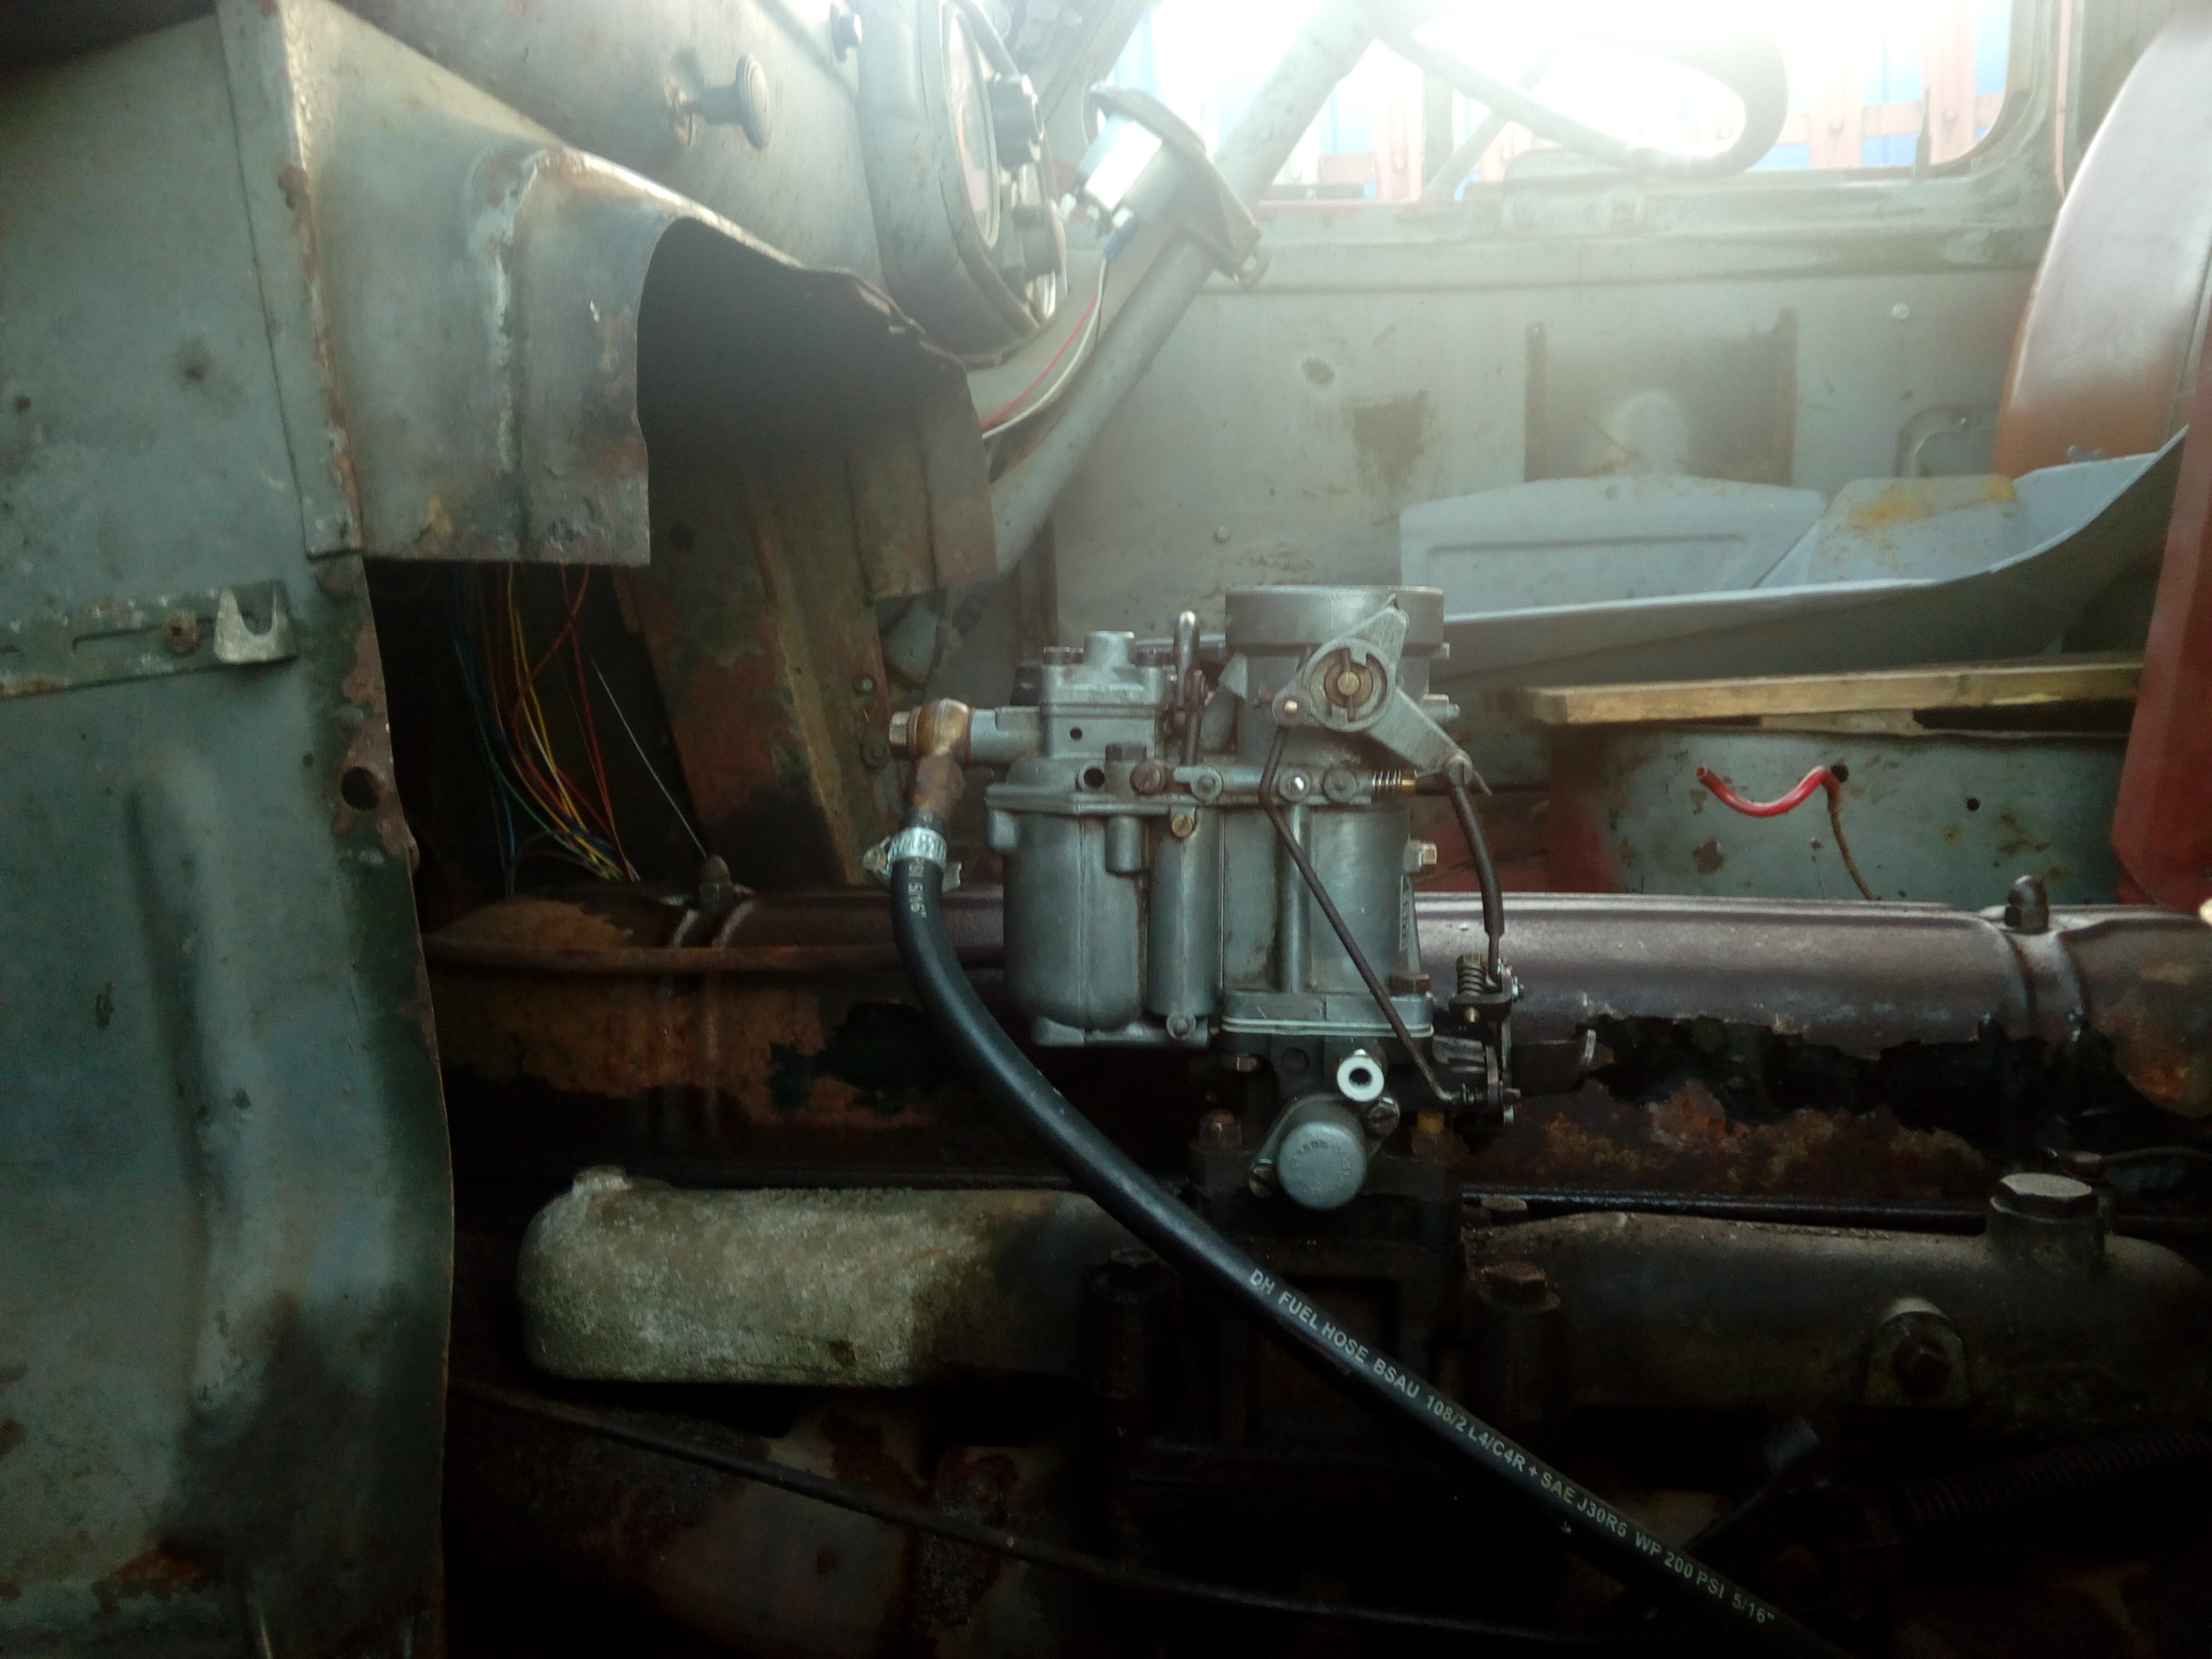
Refit. Forget to connect the throttle linkage, which means the throttle goes to full-governed open. Shit pants when the engine goes straight to 3000 rpm upon starting. Stop engine. Shake gravel from pants. Connect throttle linkage.
A few days later
New master cylinder comes in, and looks snazzy! 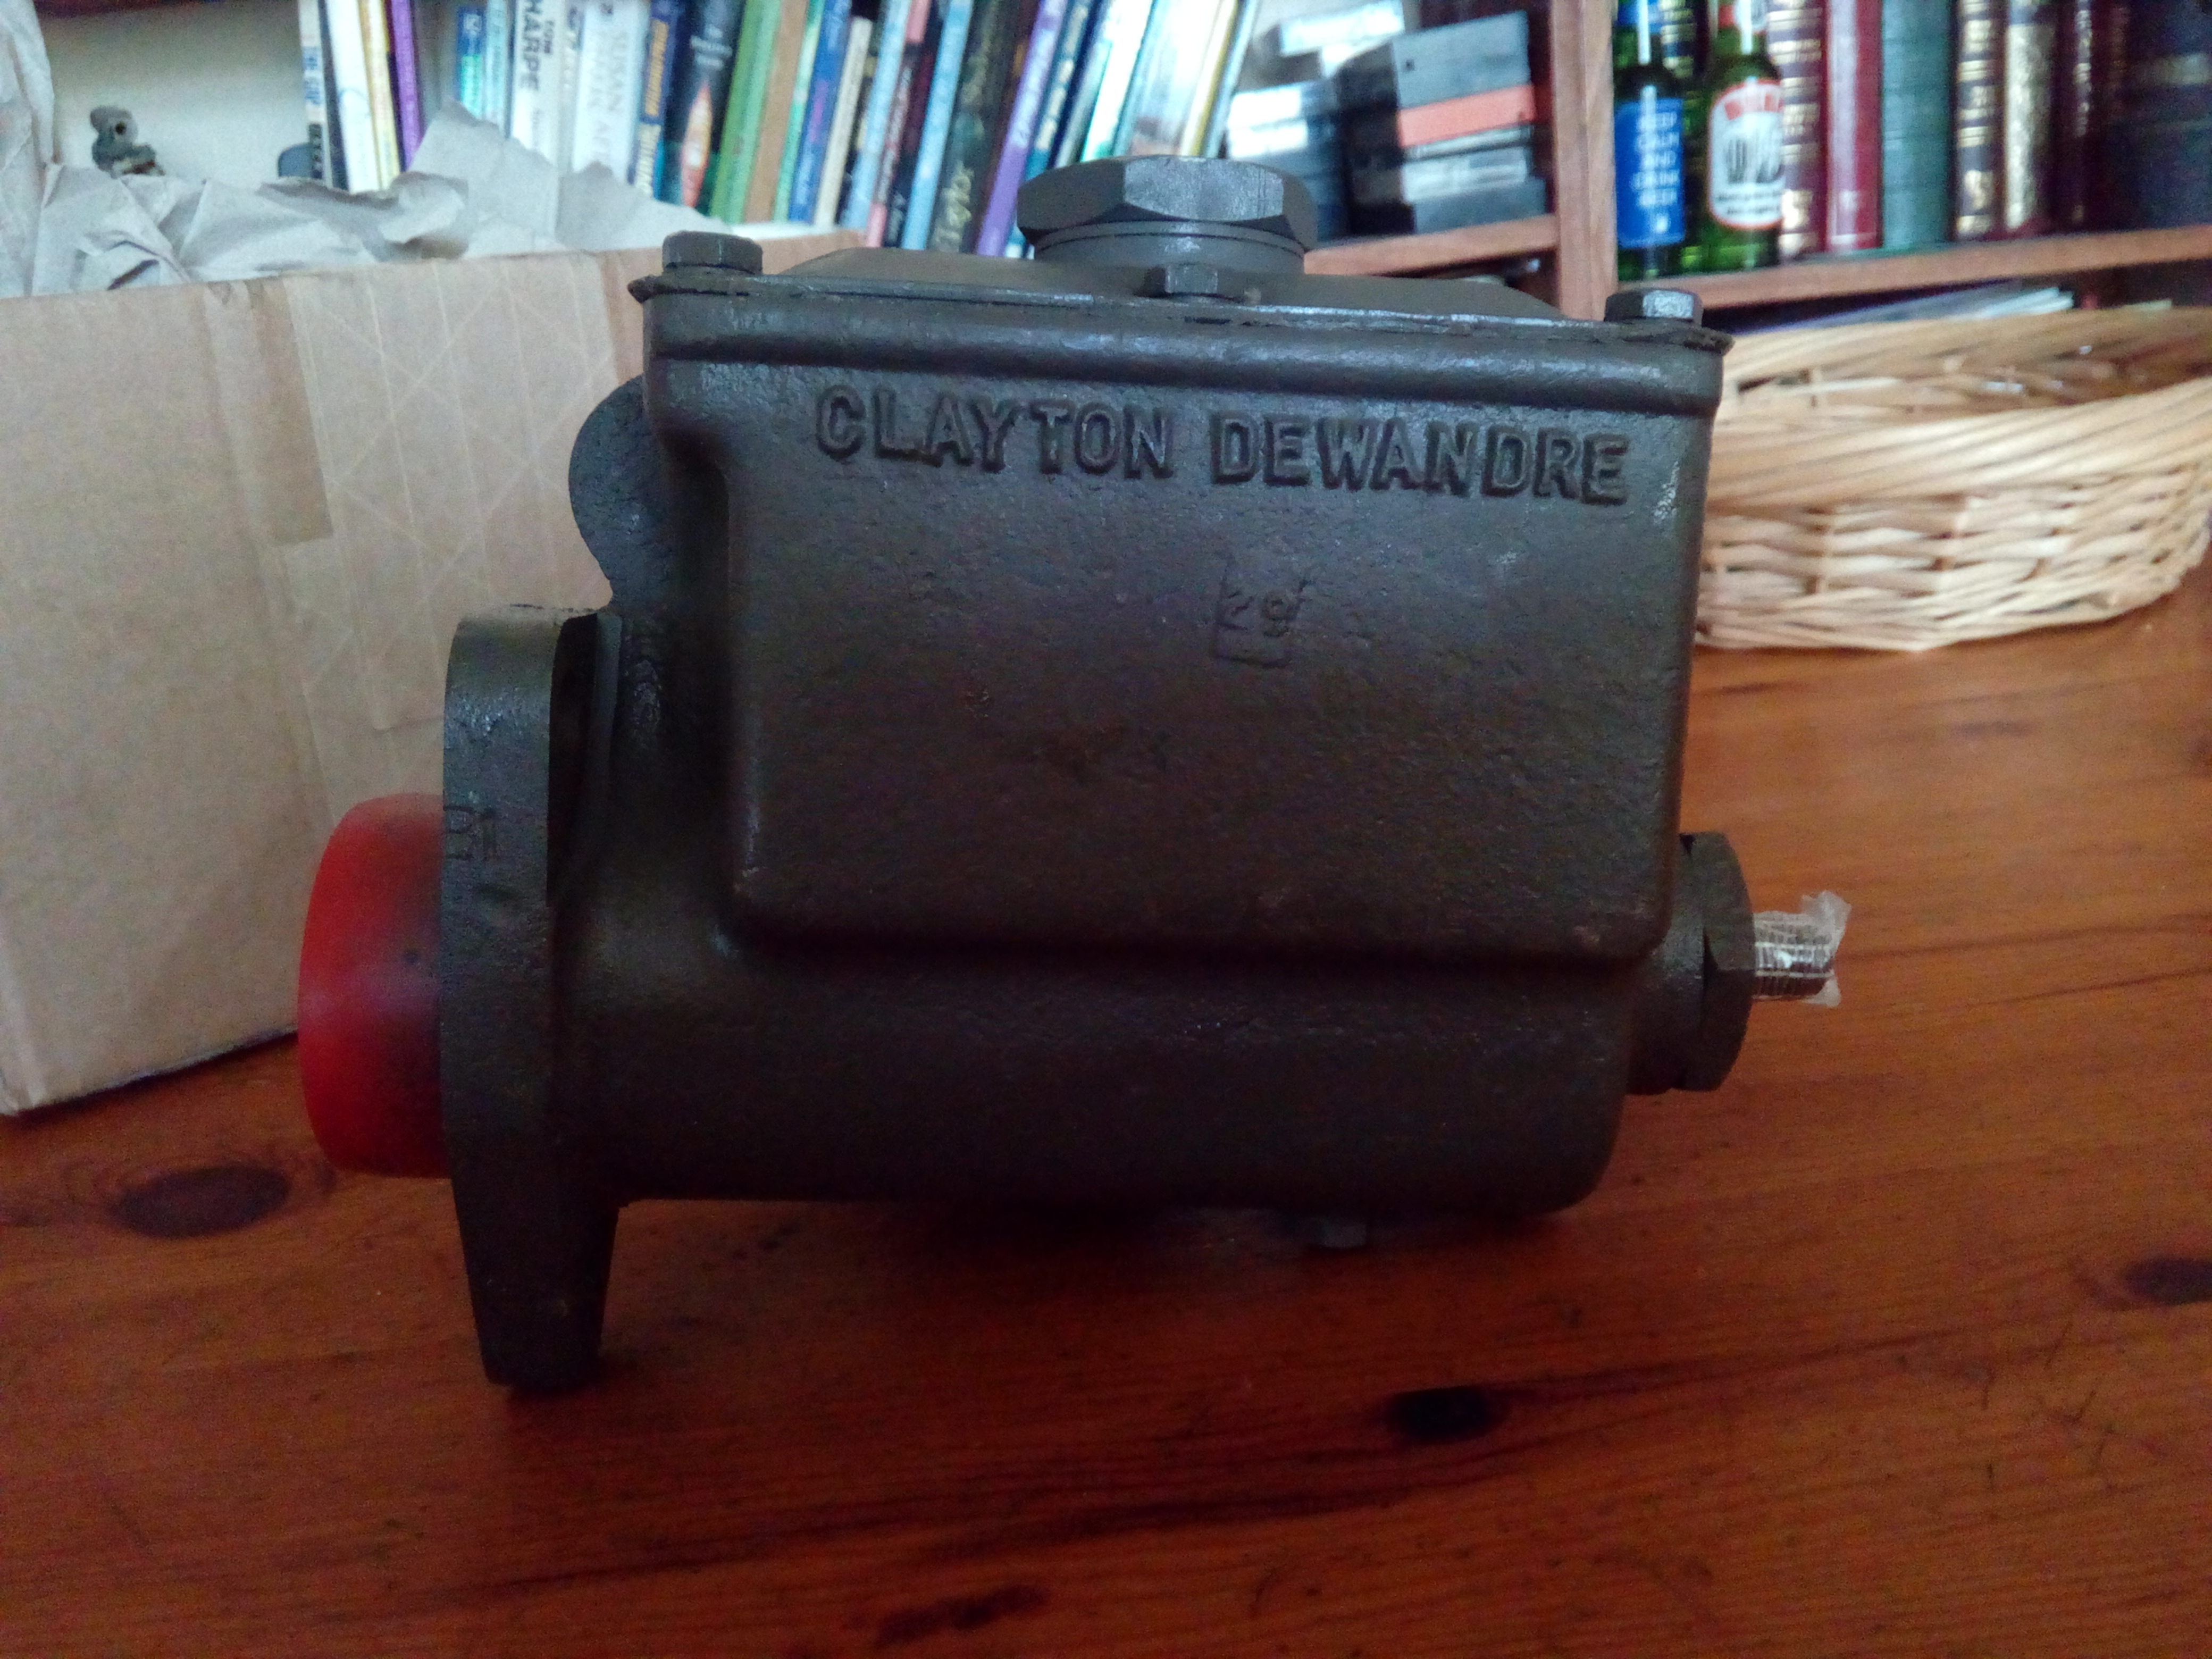
I've read, and re-read, the section of the WSM regarding the brake drums a good few times; and I'm still 50/50 on whether or not I can actually take the drum off without pulling the bearings.
The diagram makes it look like the drum is bolted on the back; but the text of the manual reads like the drum is pushed on over the wheel-studs, and retained by the three screws. (And the conical washers for the wheels.)
I've got some material to make a socket to remove the bearing retaining nut, if I have to; but I'm going to try removing all the cone washers and seeing if I can just slip the drum off. The bearings may well have to come out later on, but right now, I'm hoping to get away with not removing the hub.
We shall see...
The next day
Well, you may resume laughing at me. The hub does have to come off to sort the brakes out... :-D
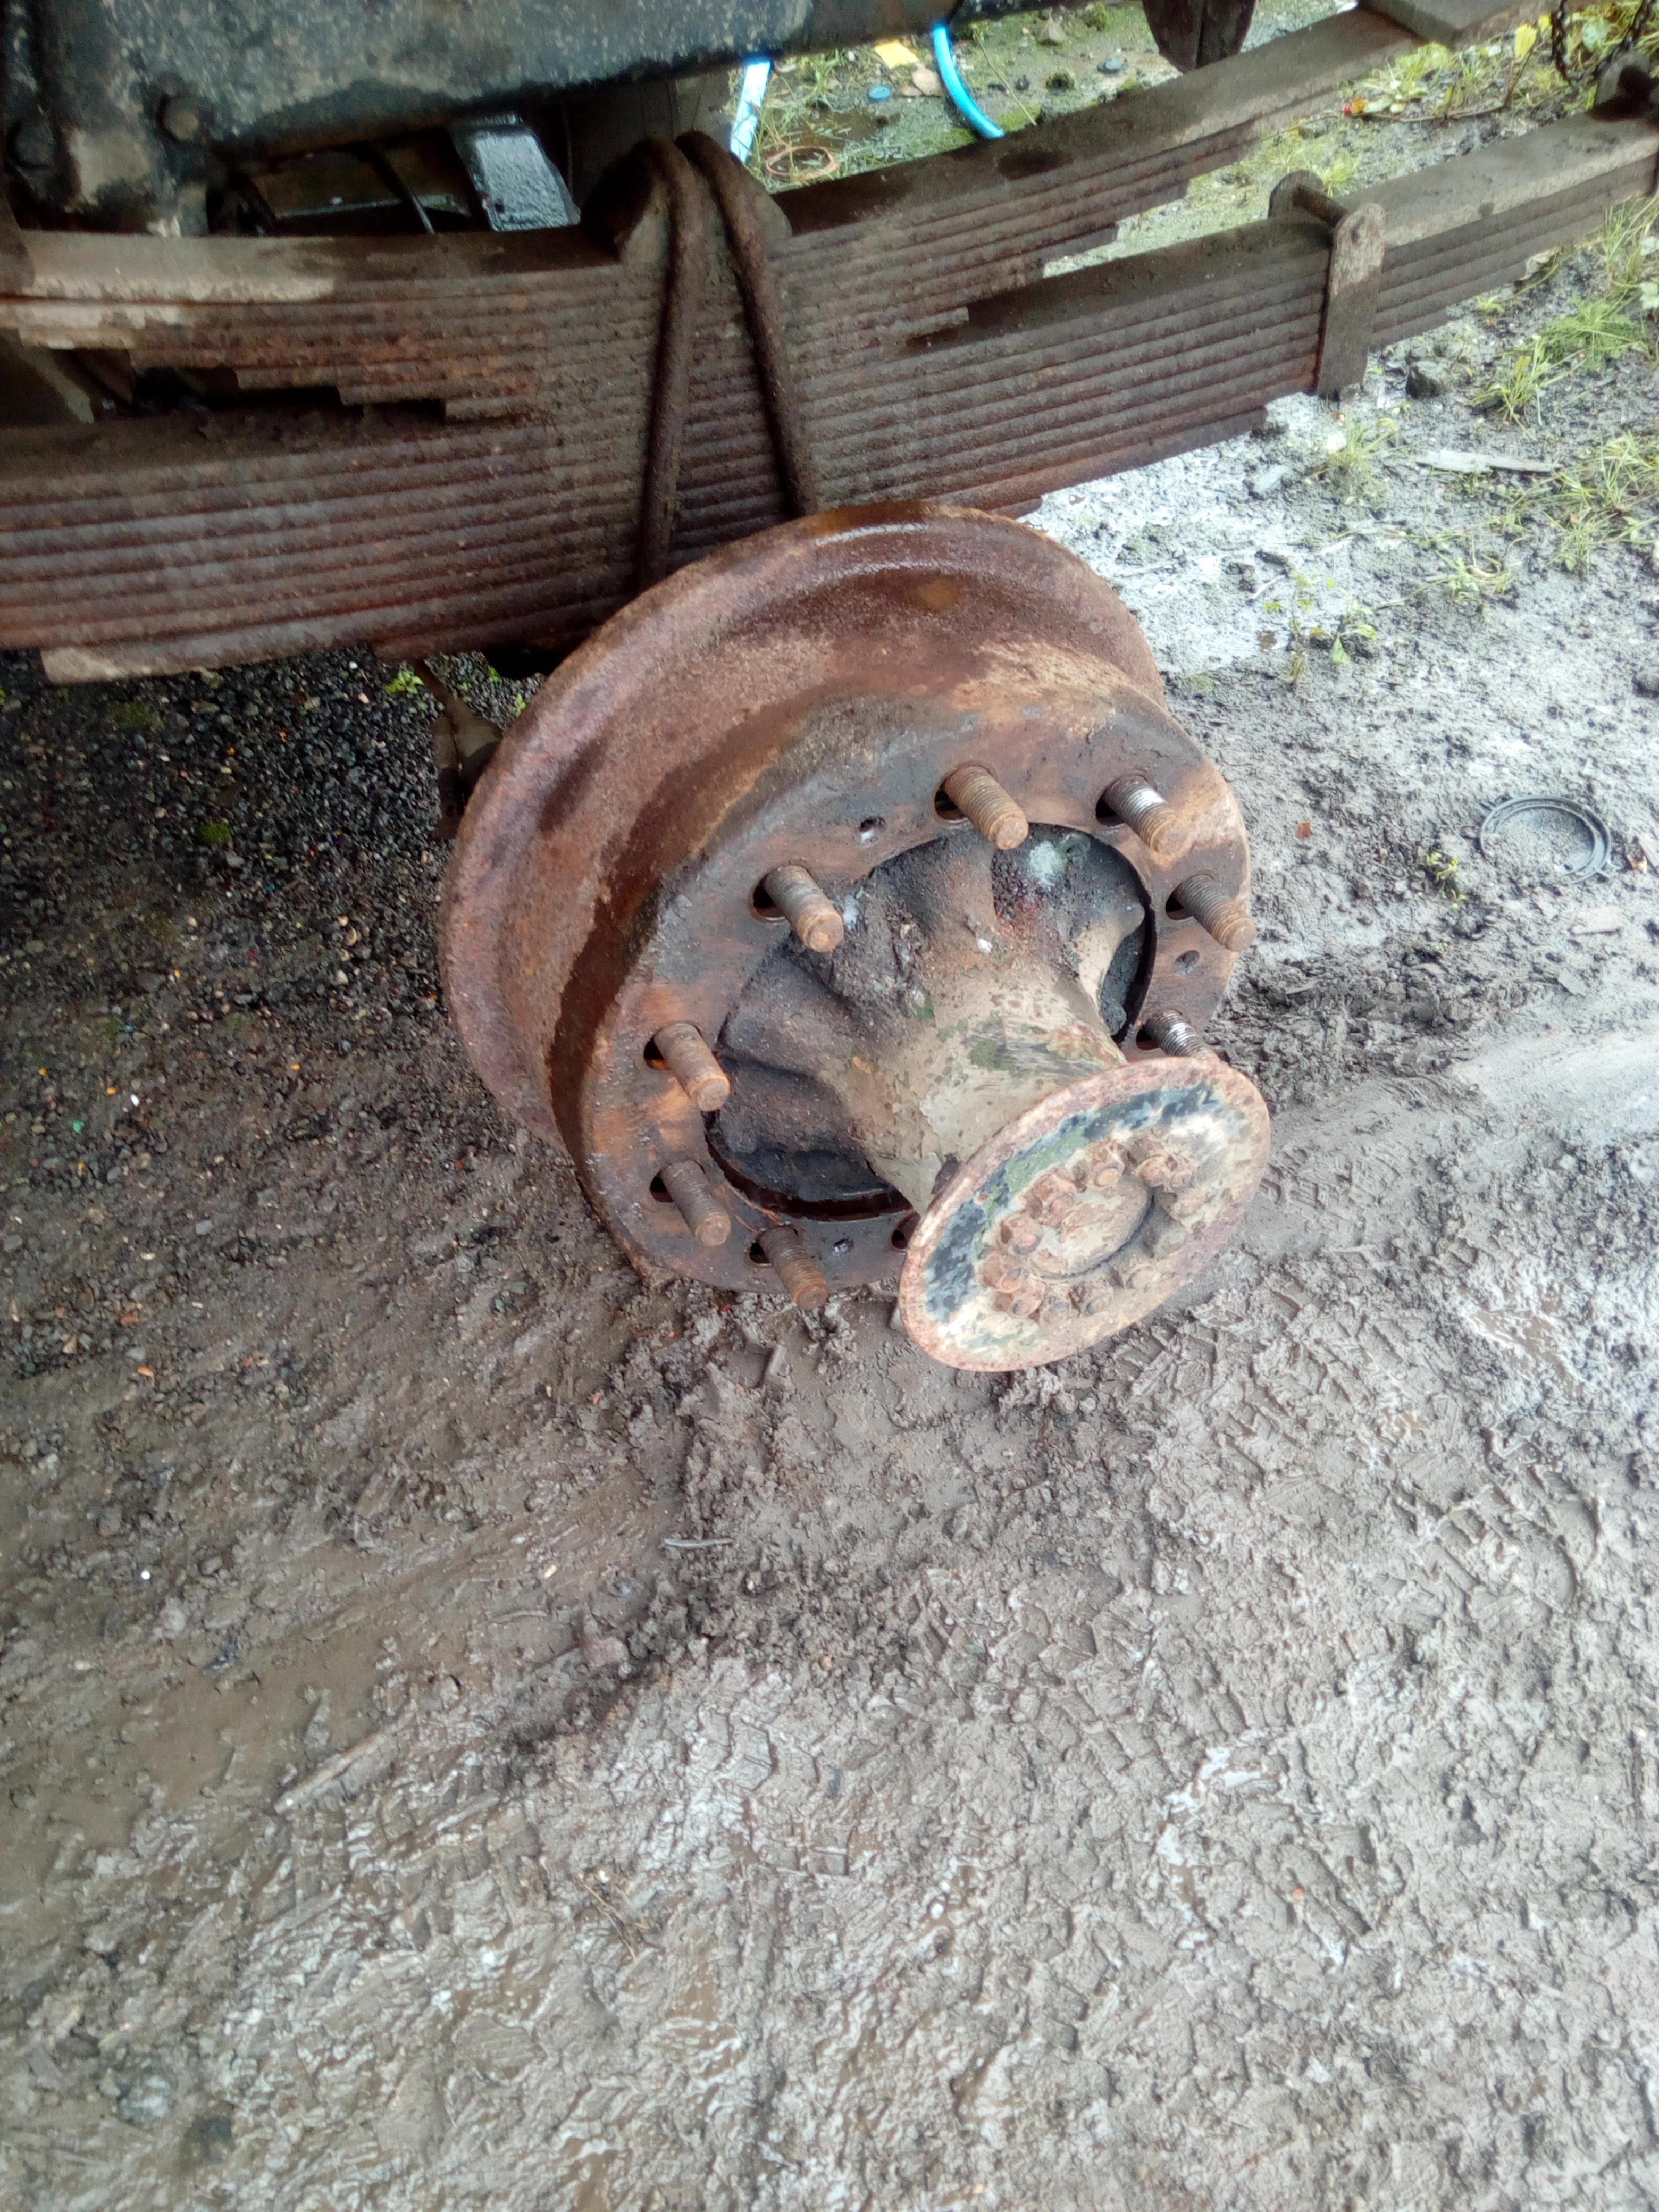
The drum came off nice and easily with a little careful persuasion, after removing the cone washers. So, without further ado, here's today's progress, along with the thoughts I was experiencing at the time.
Just after pulling the cone washers. "Oh, this looks promising."
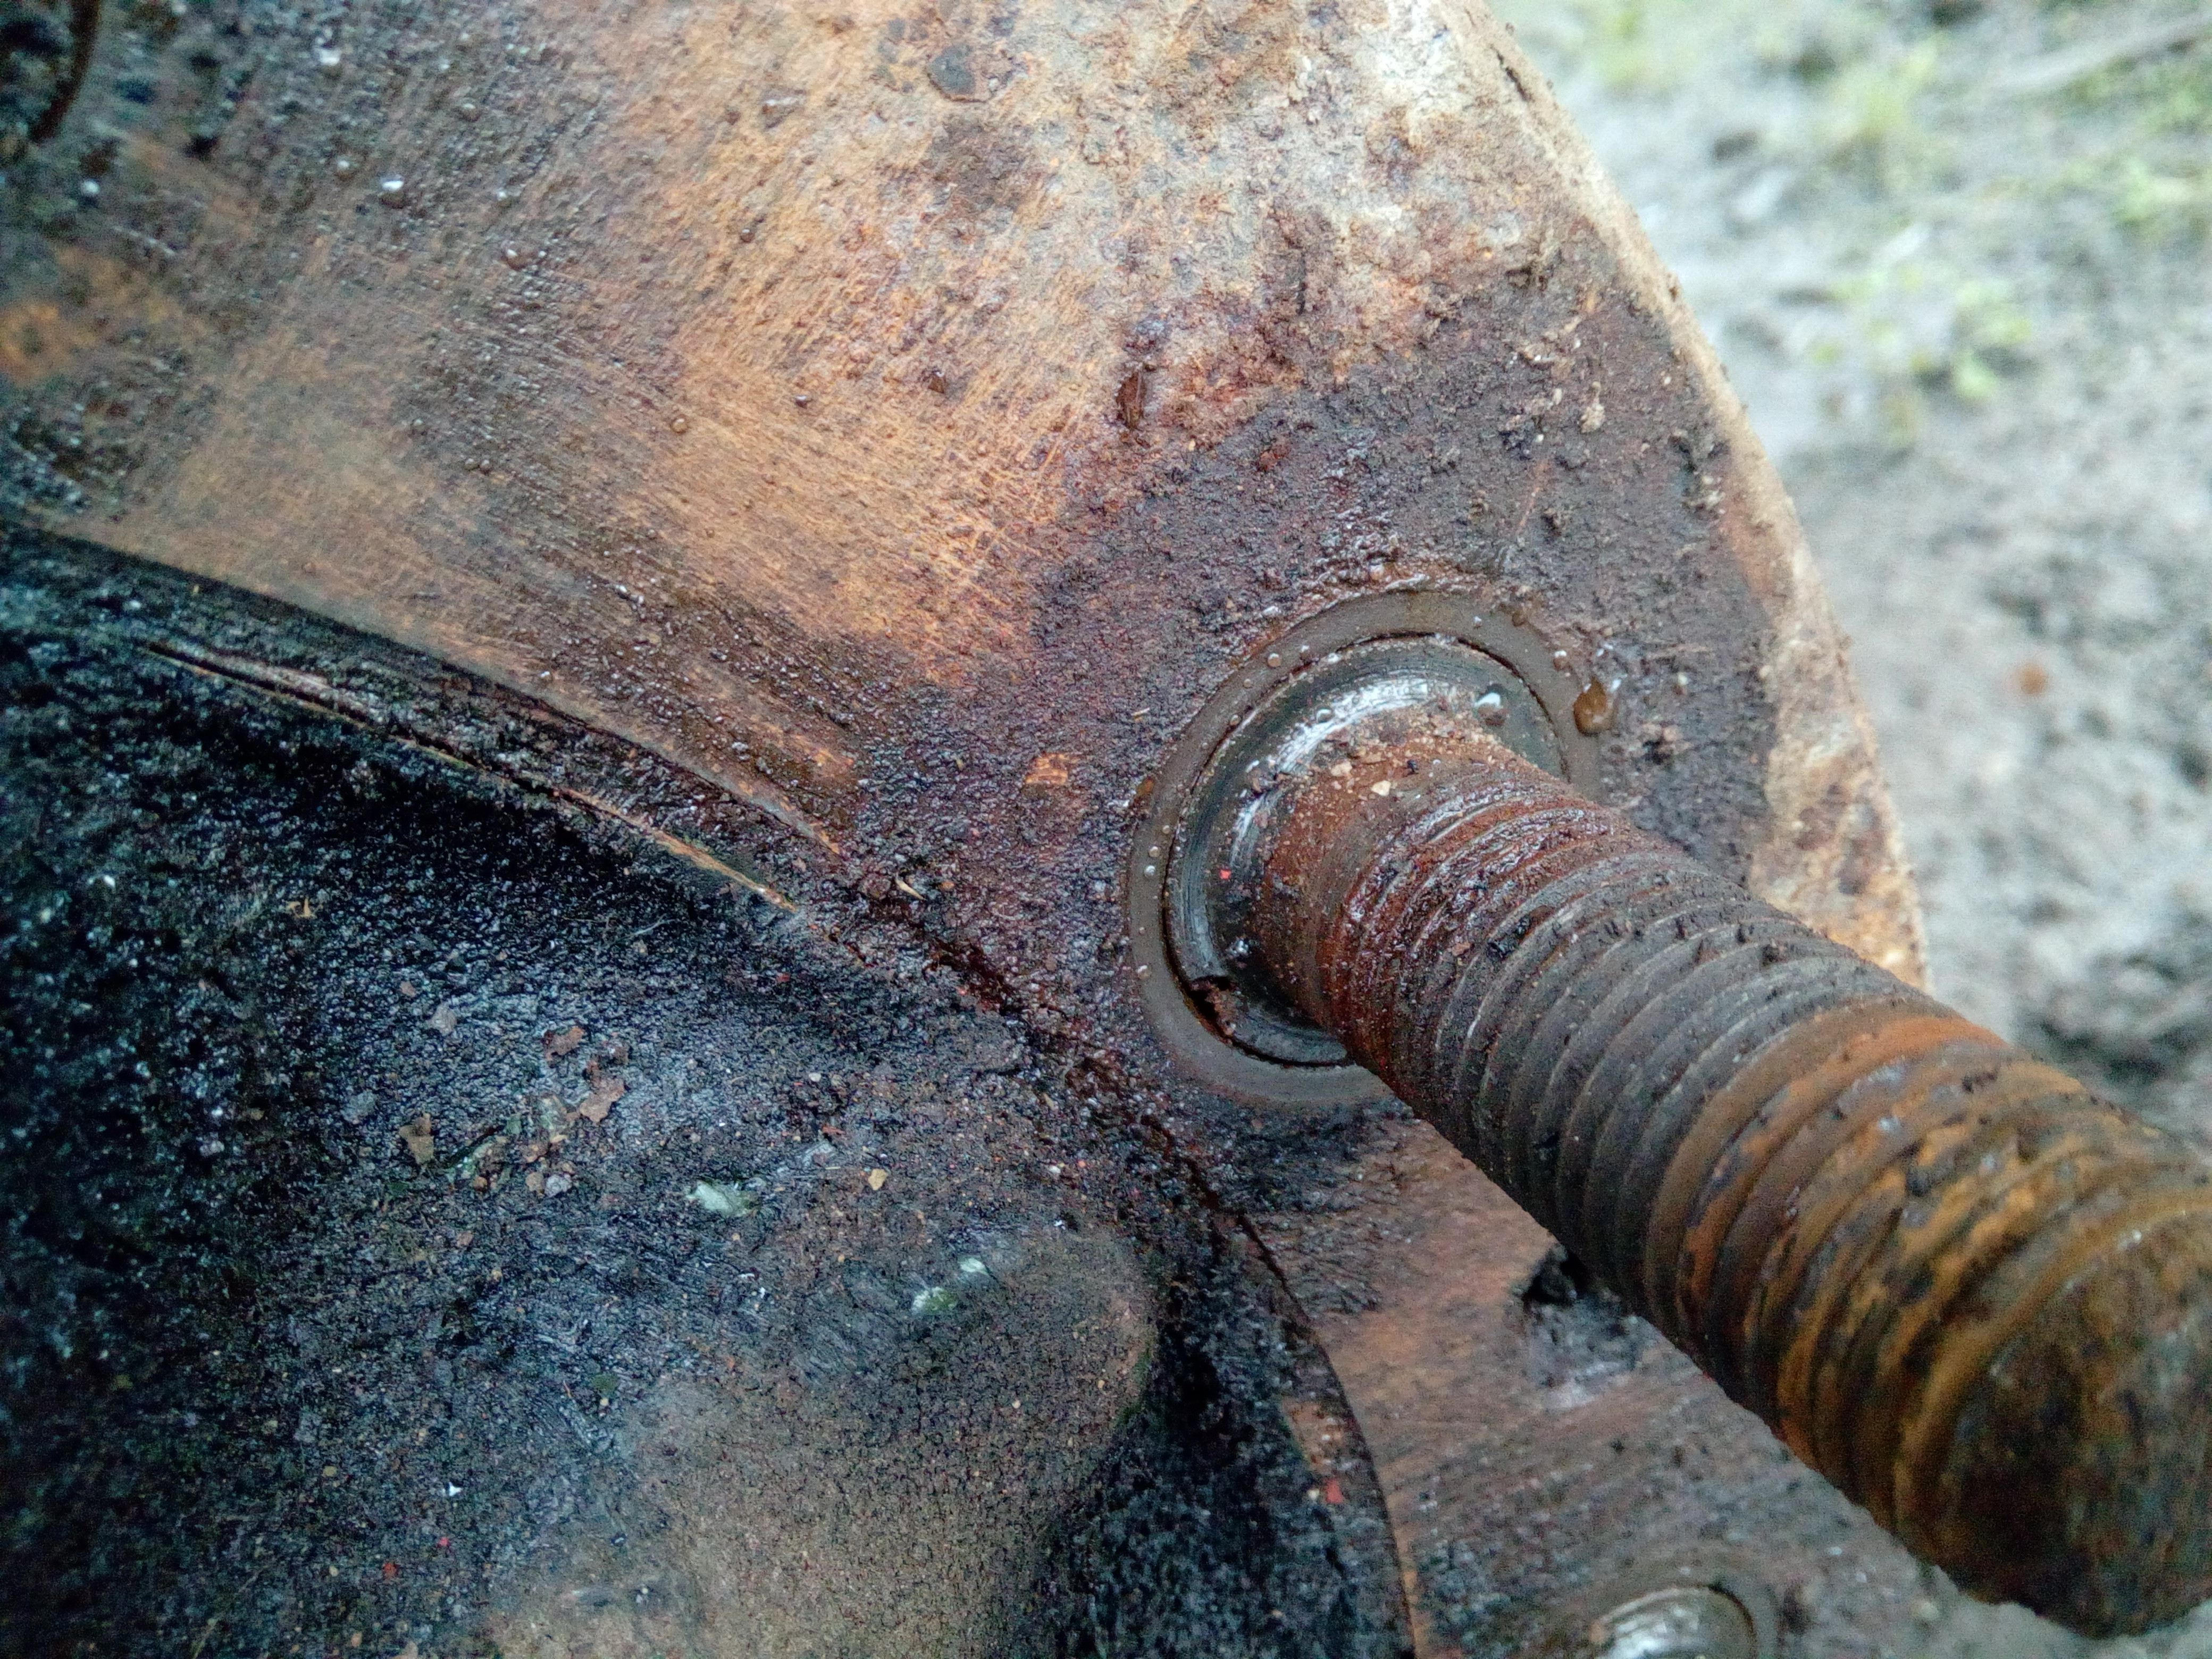
The drum retaining screws came out as if they were still brand new; which was a little strange... Cue the tap tap tapping; and "This is going well!"
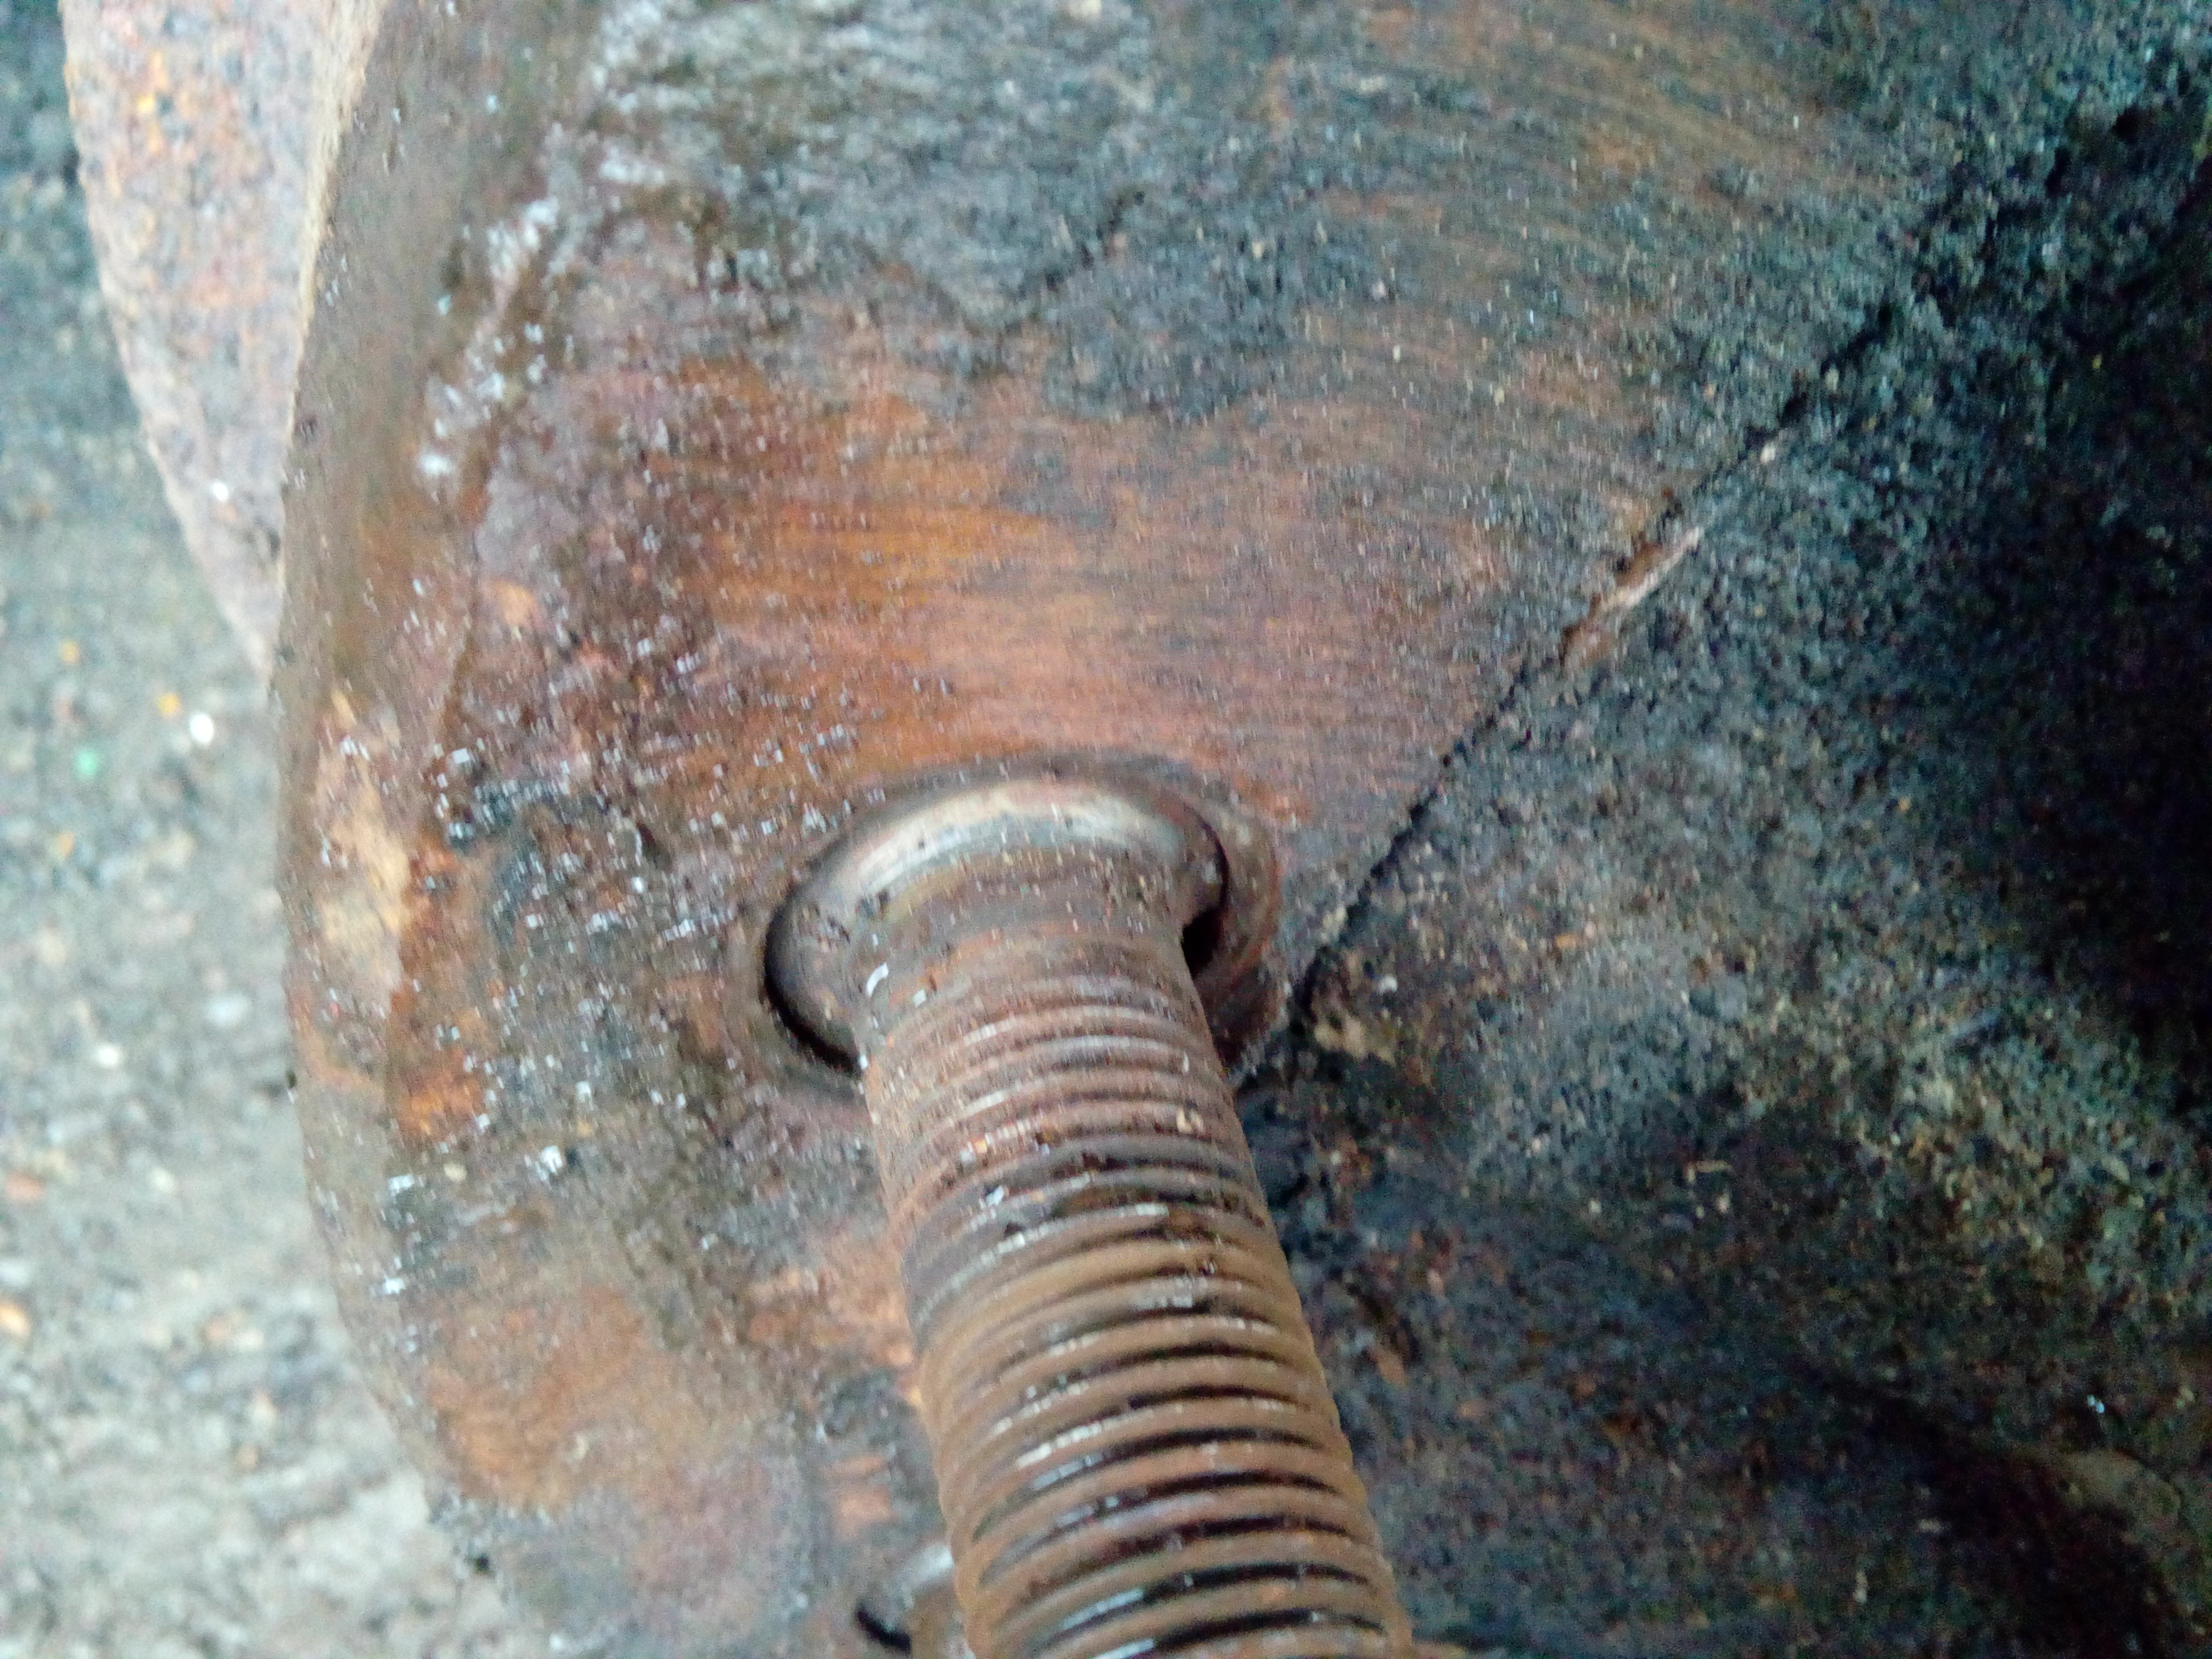
"Oh, wow, I might just about be able to do this!"
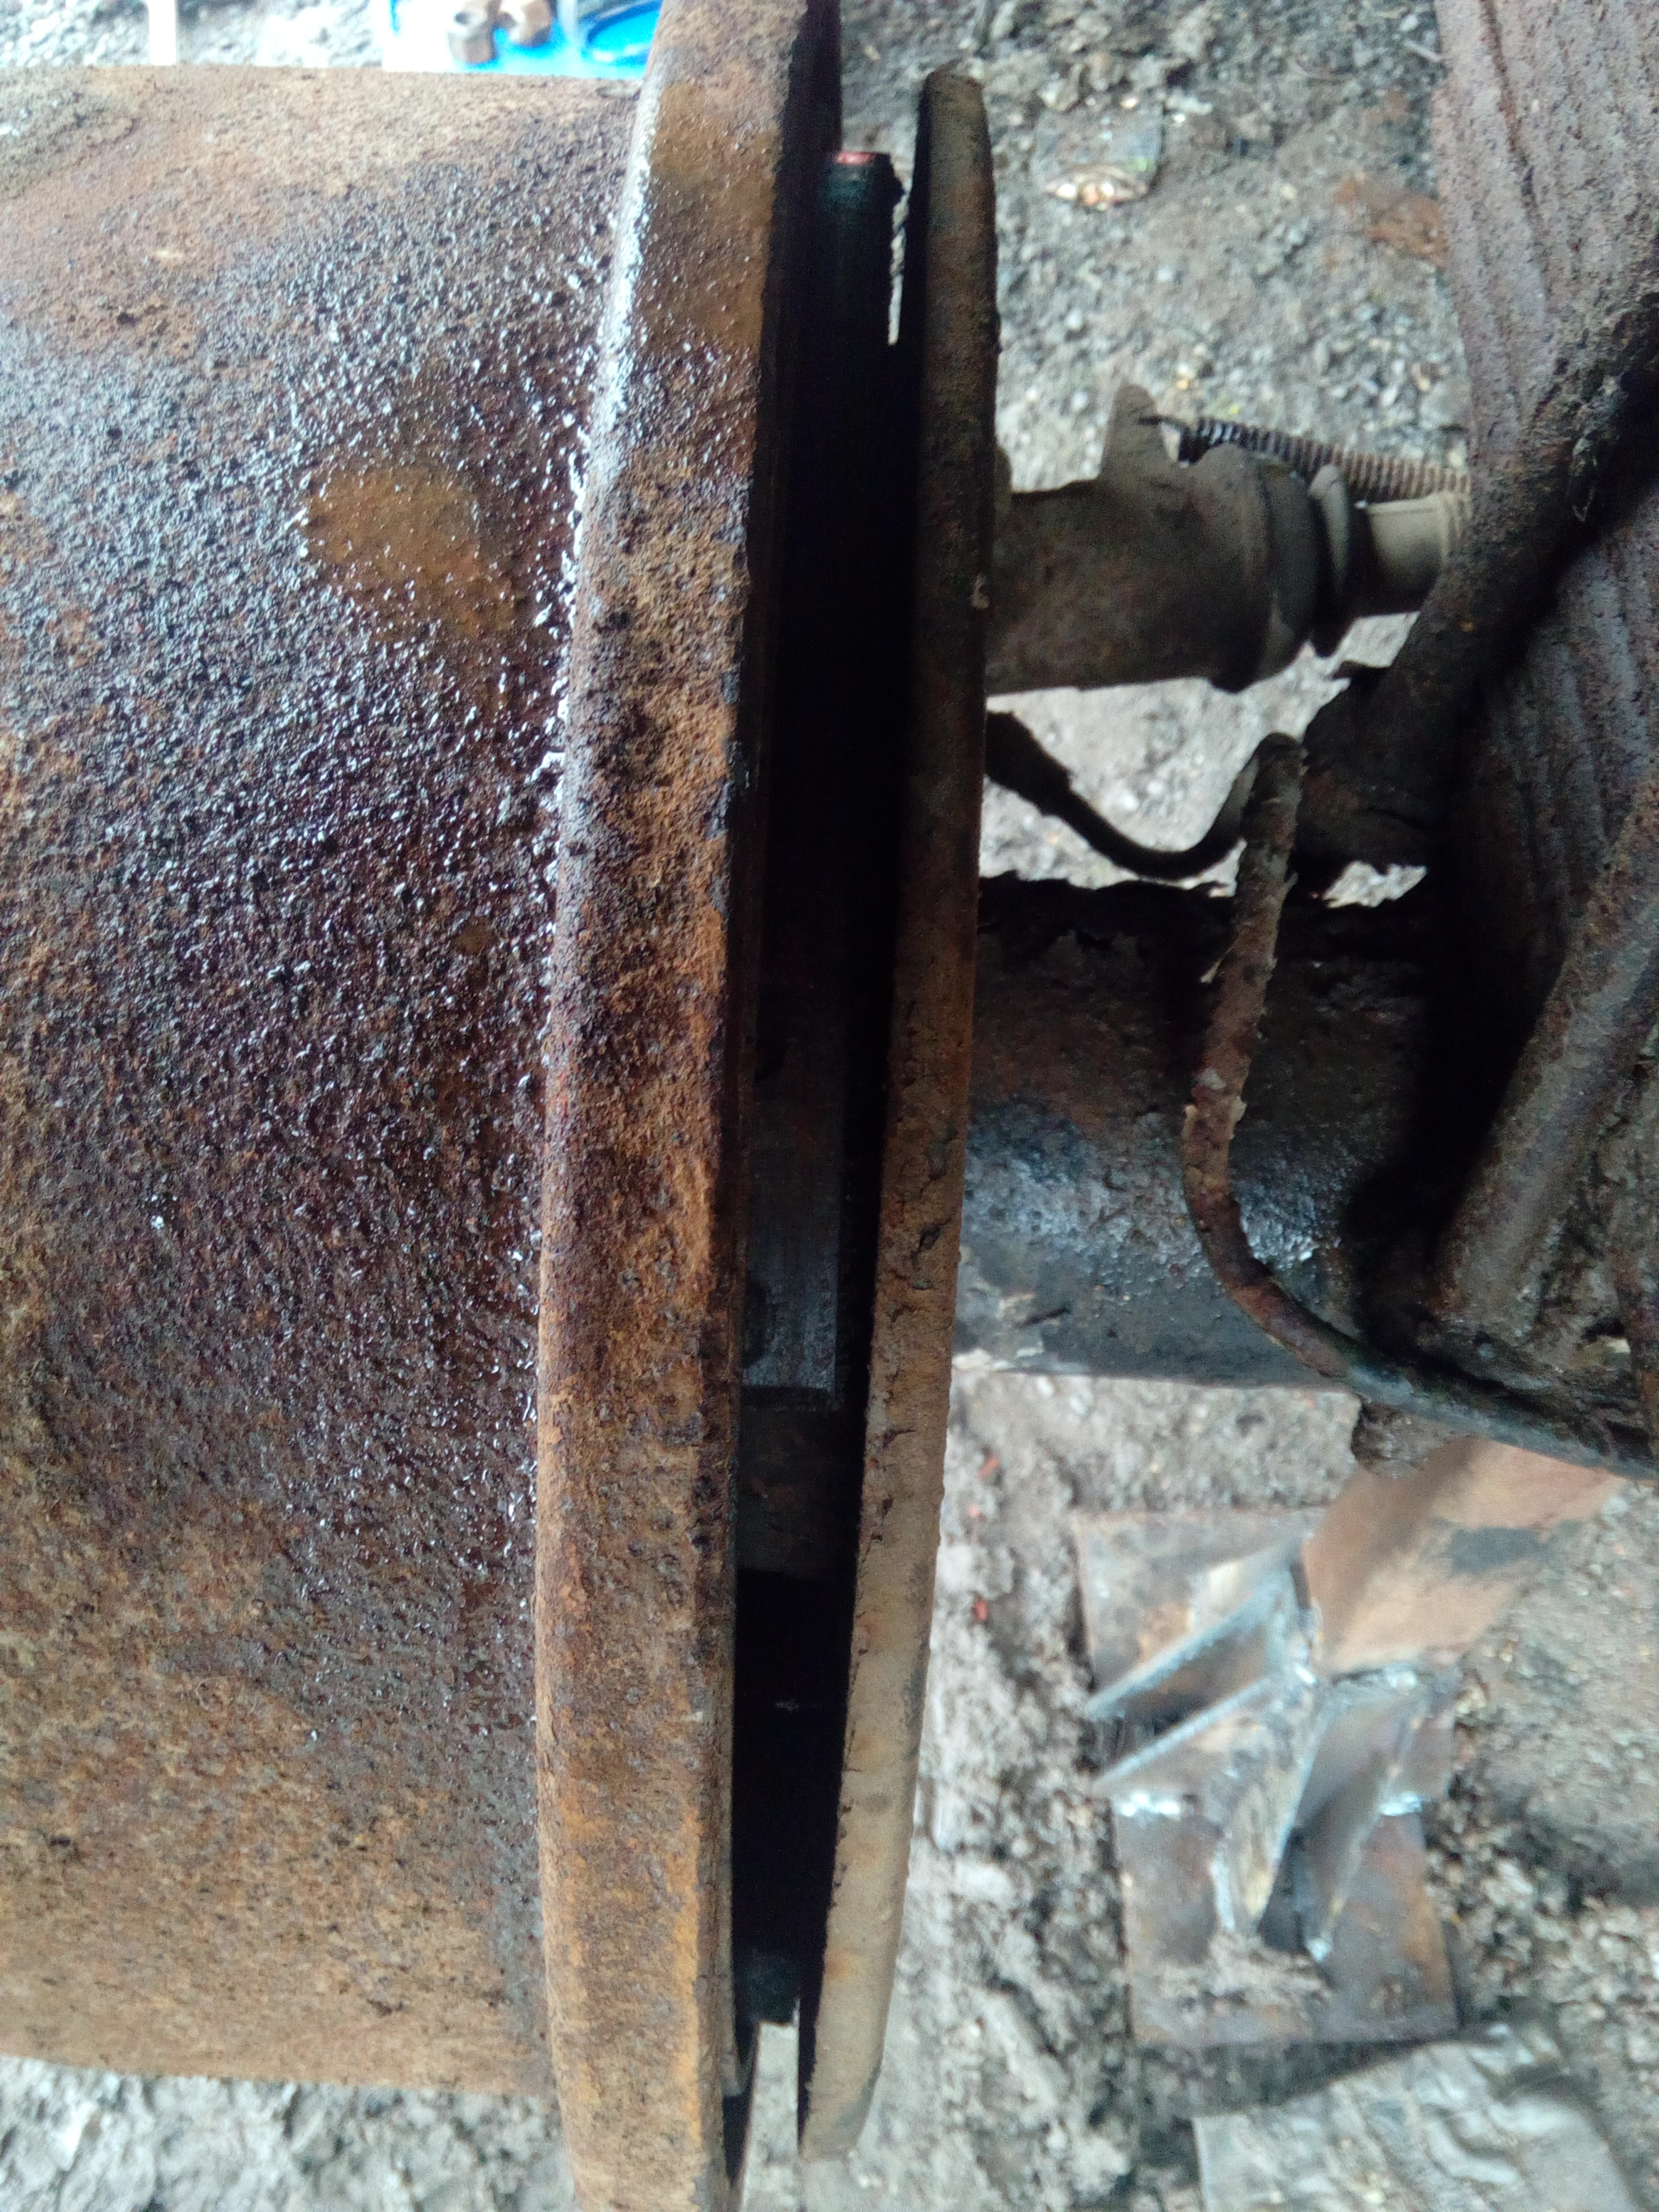
"Ahaha, this is going great!"
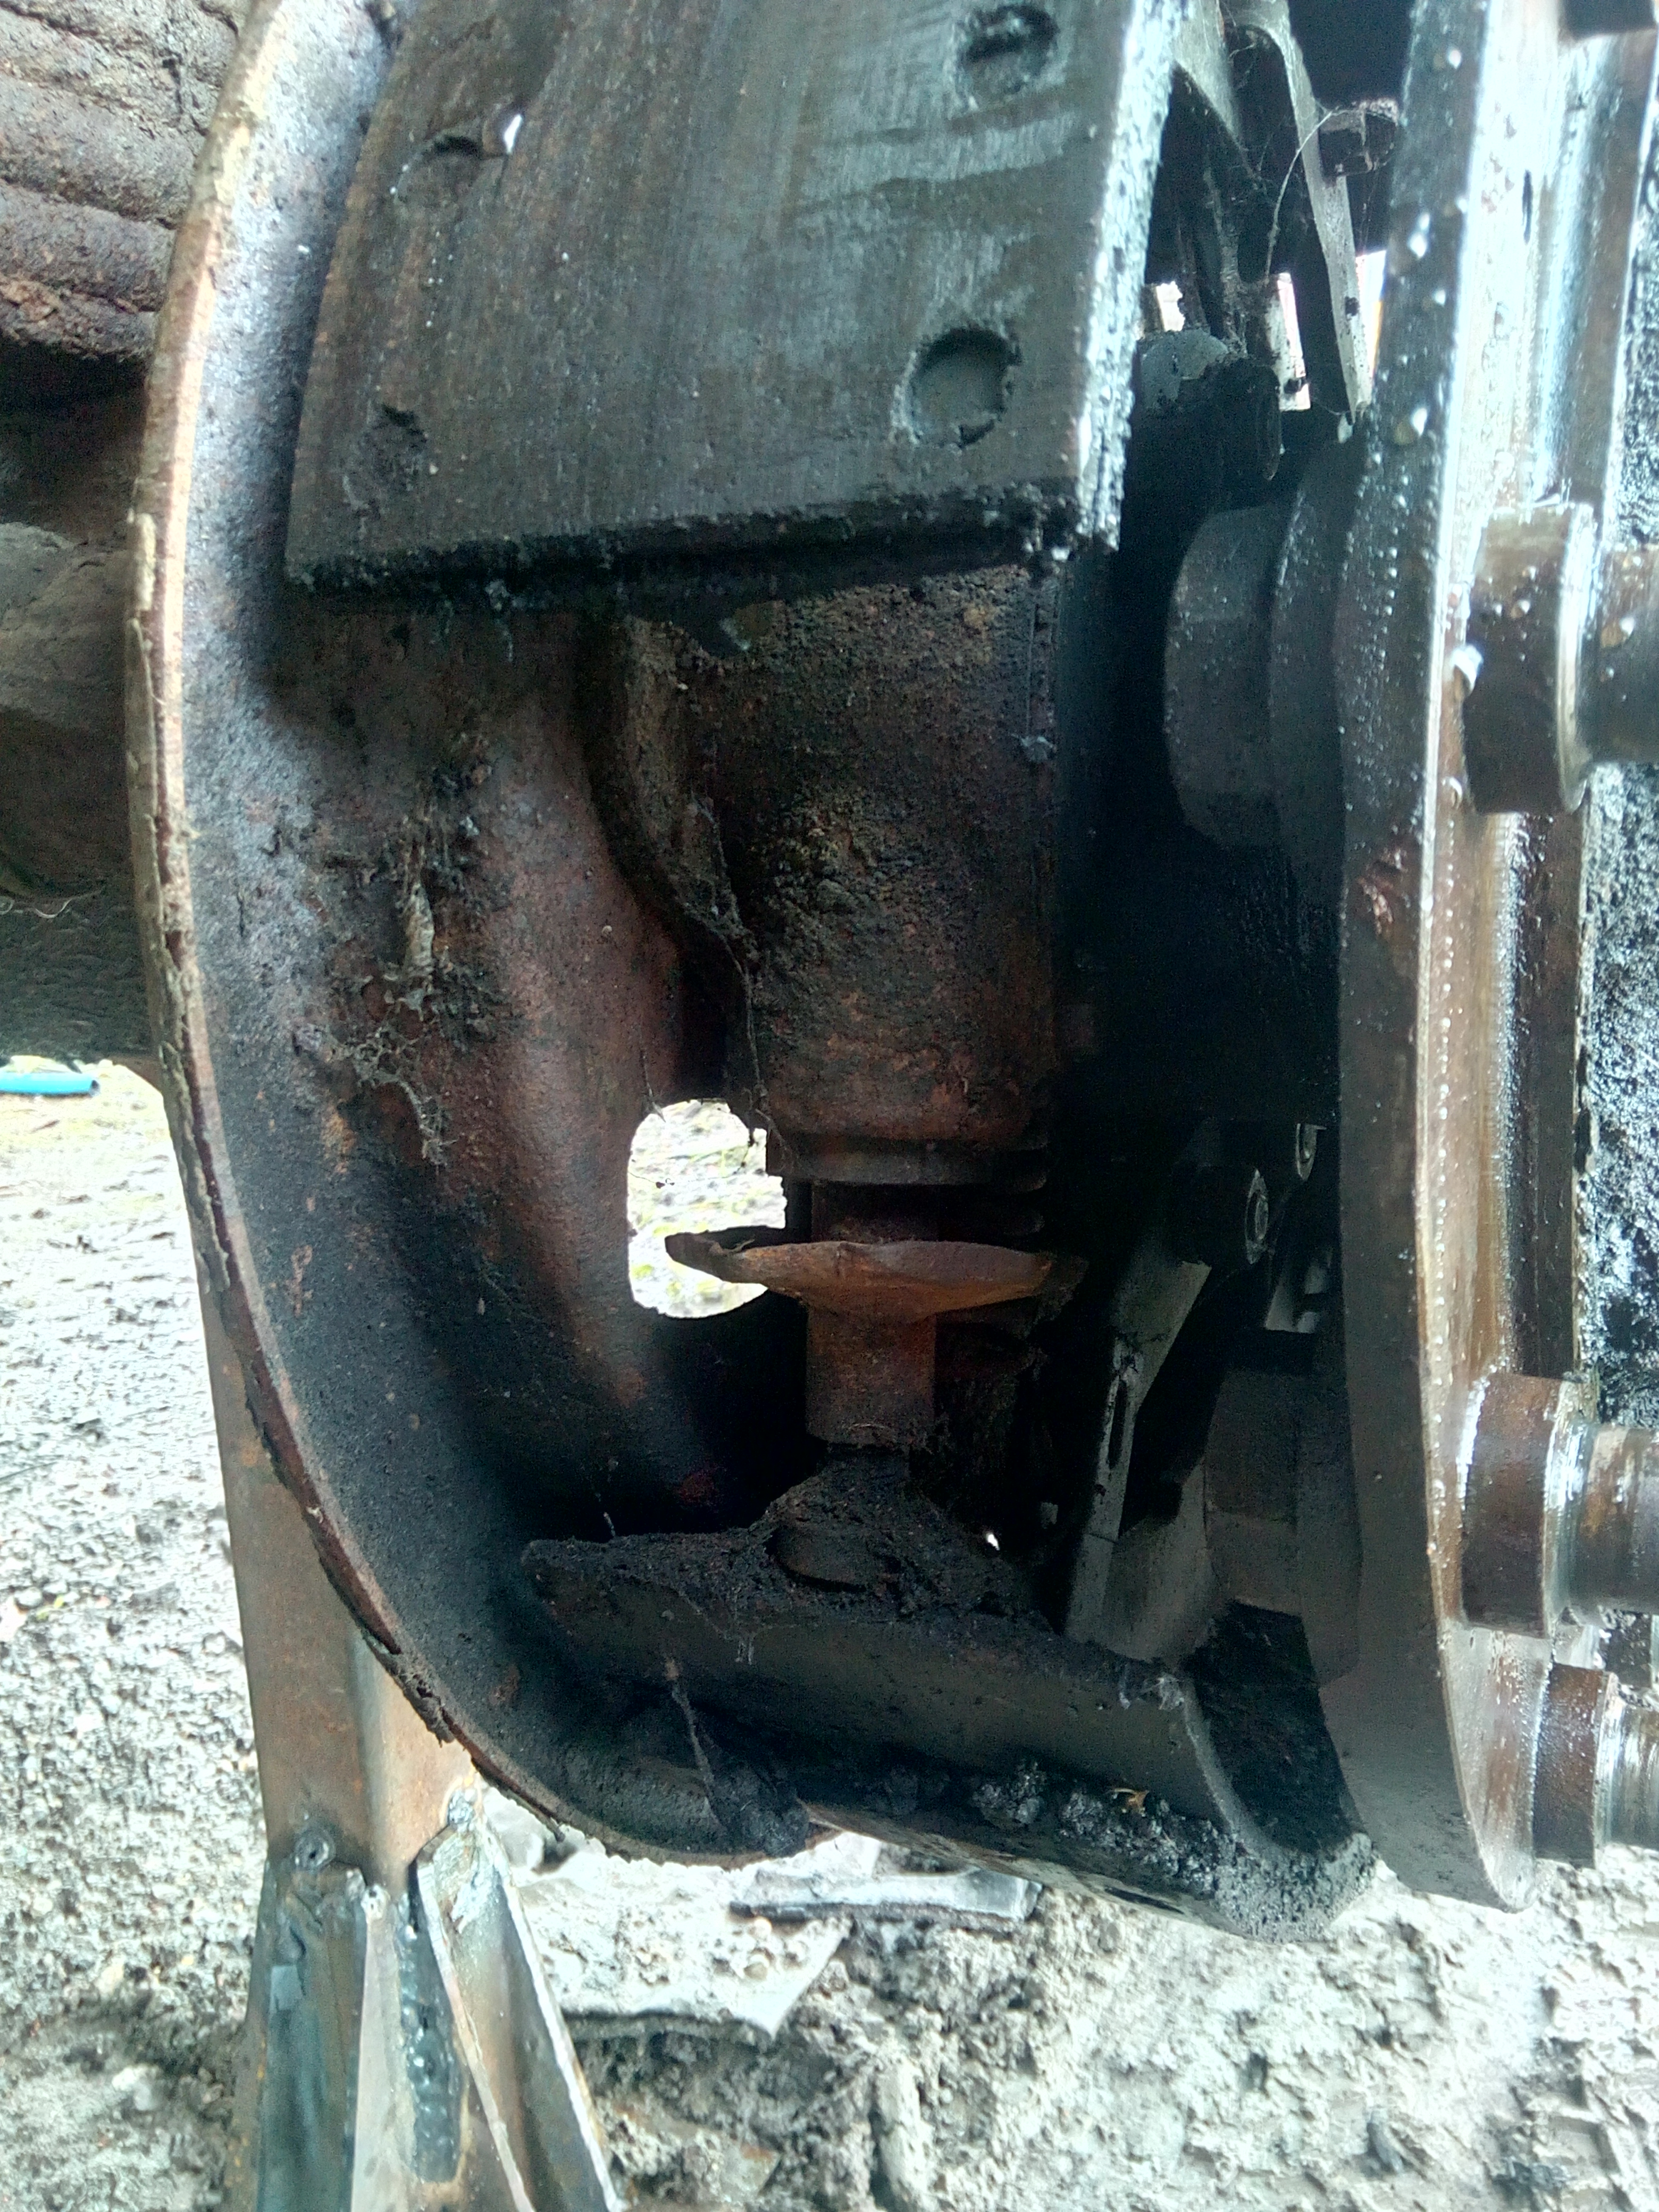
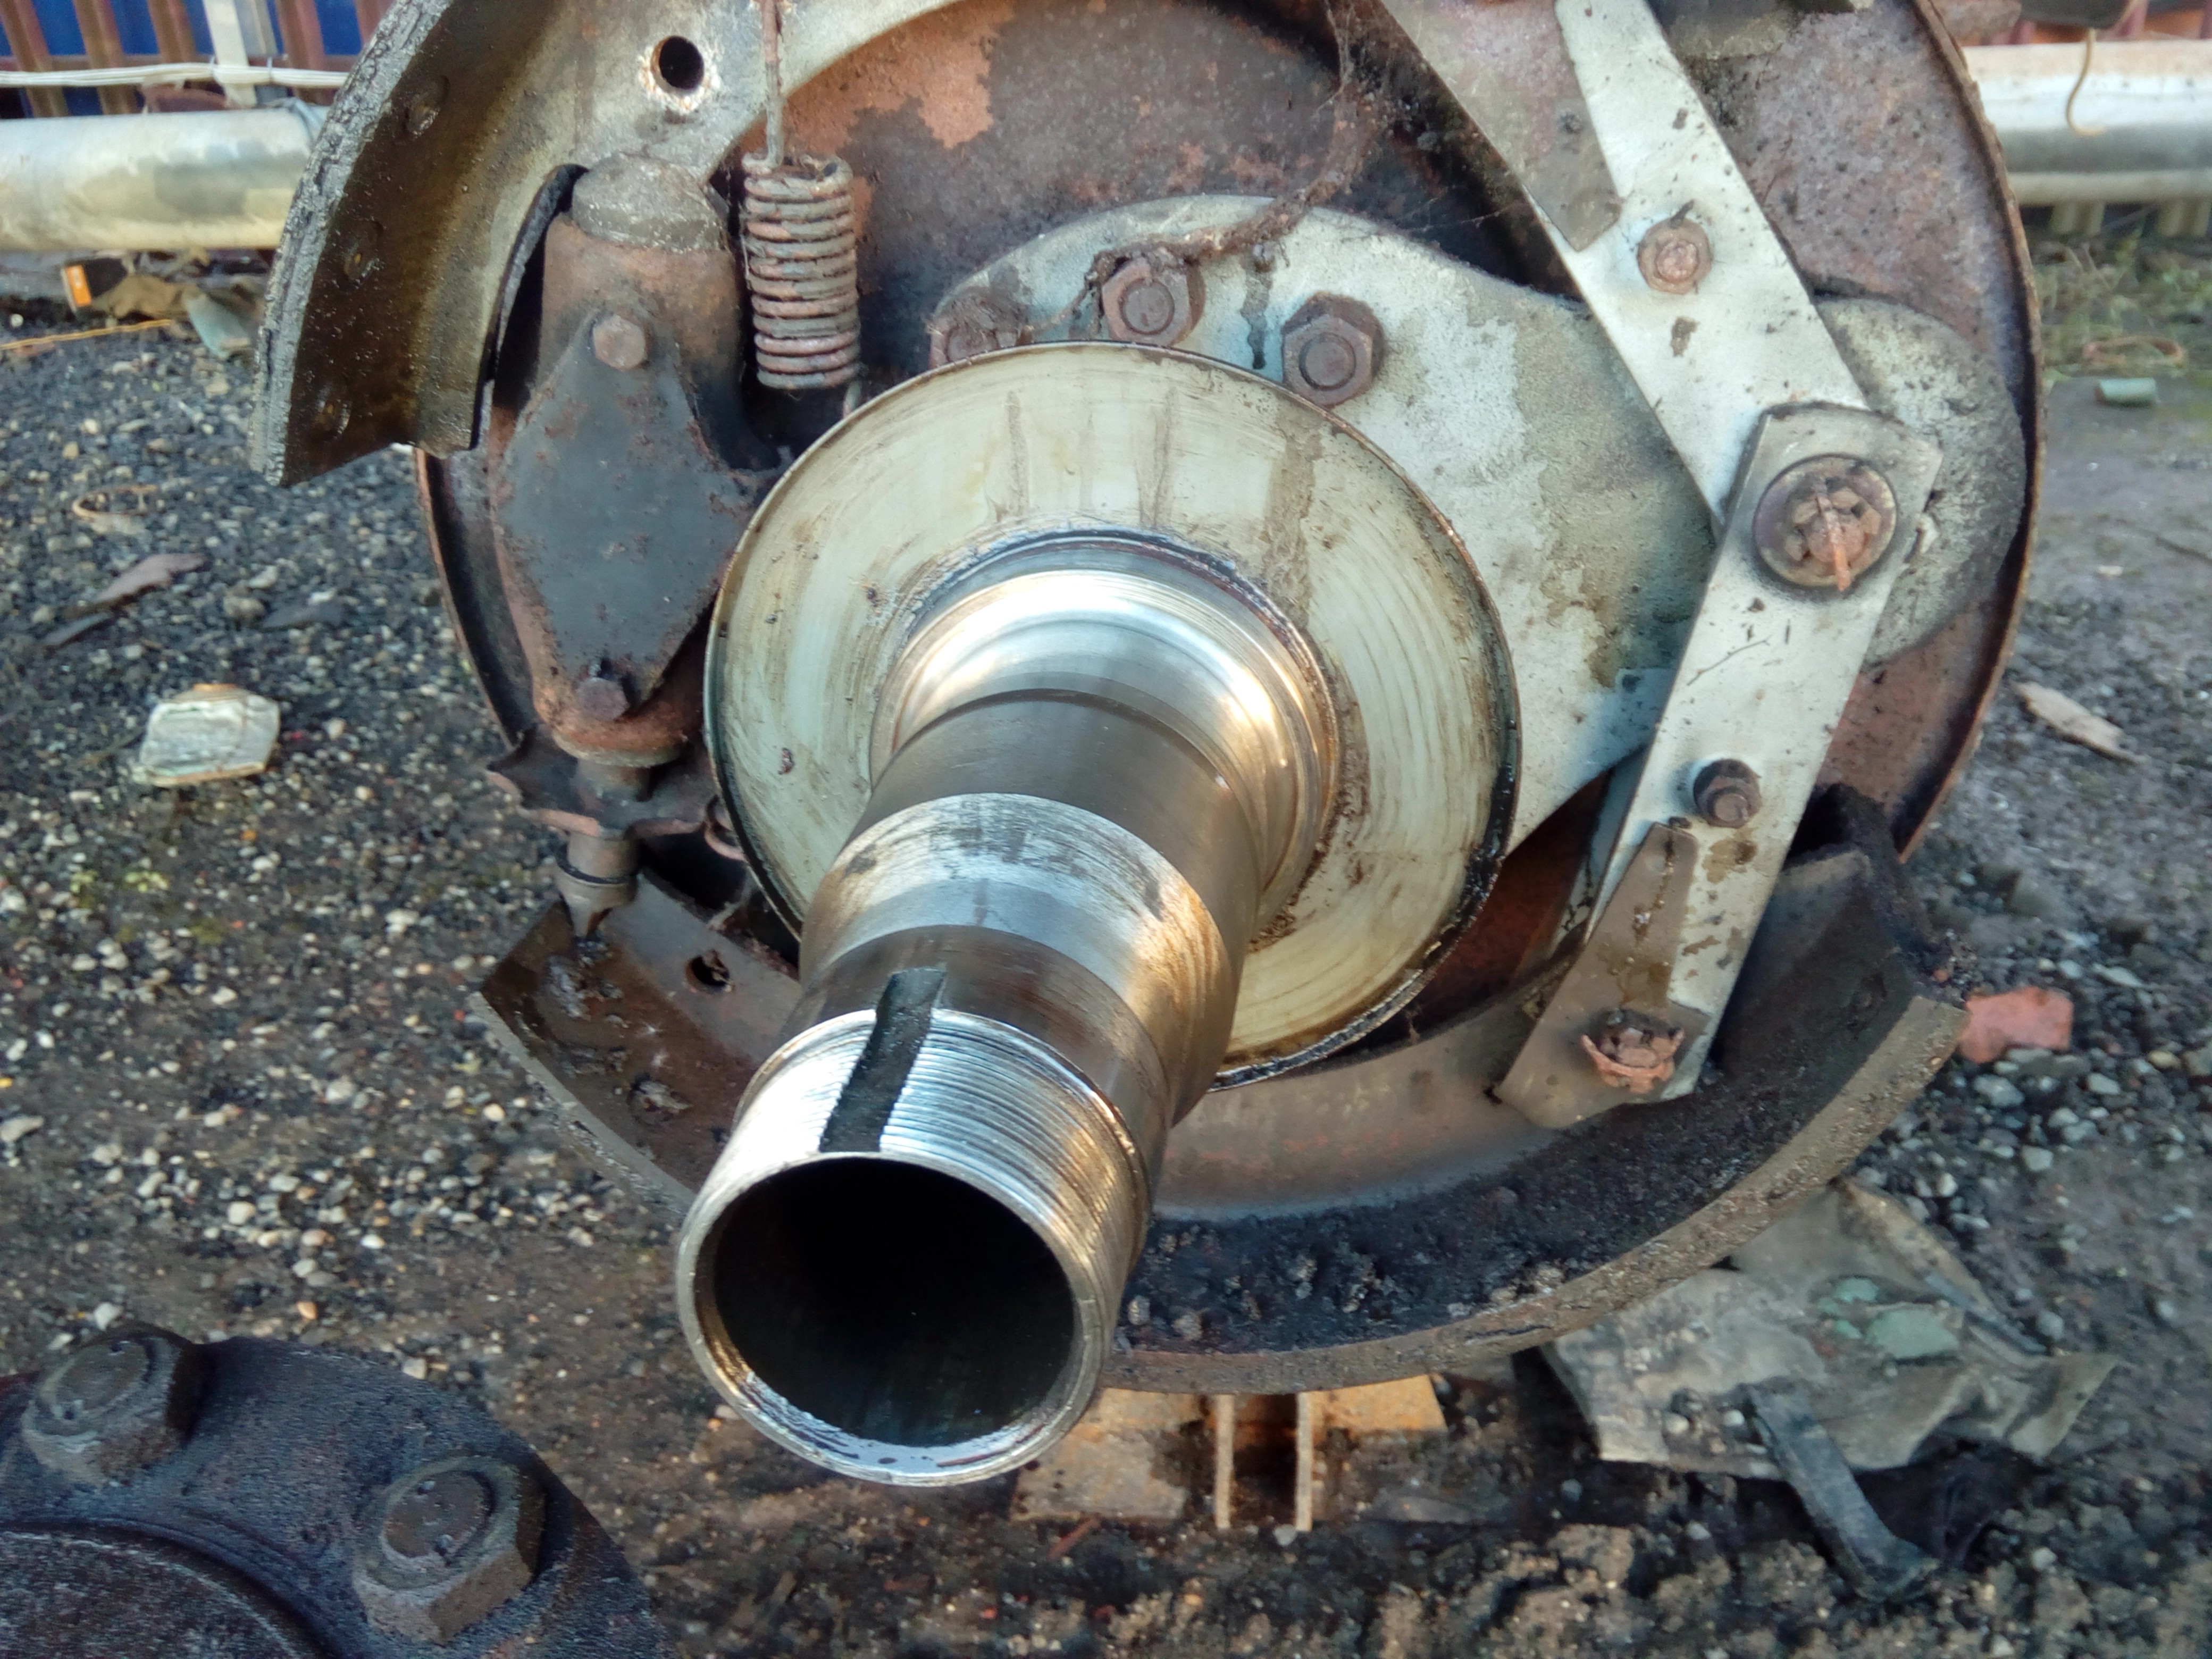
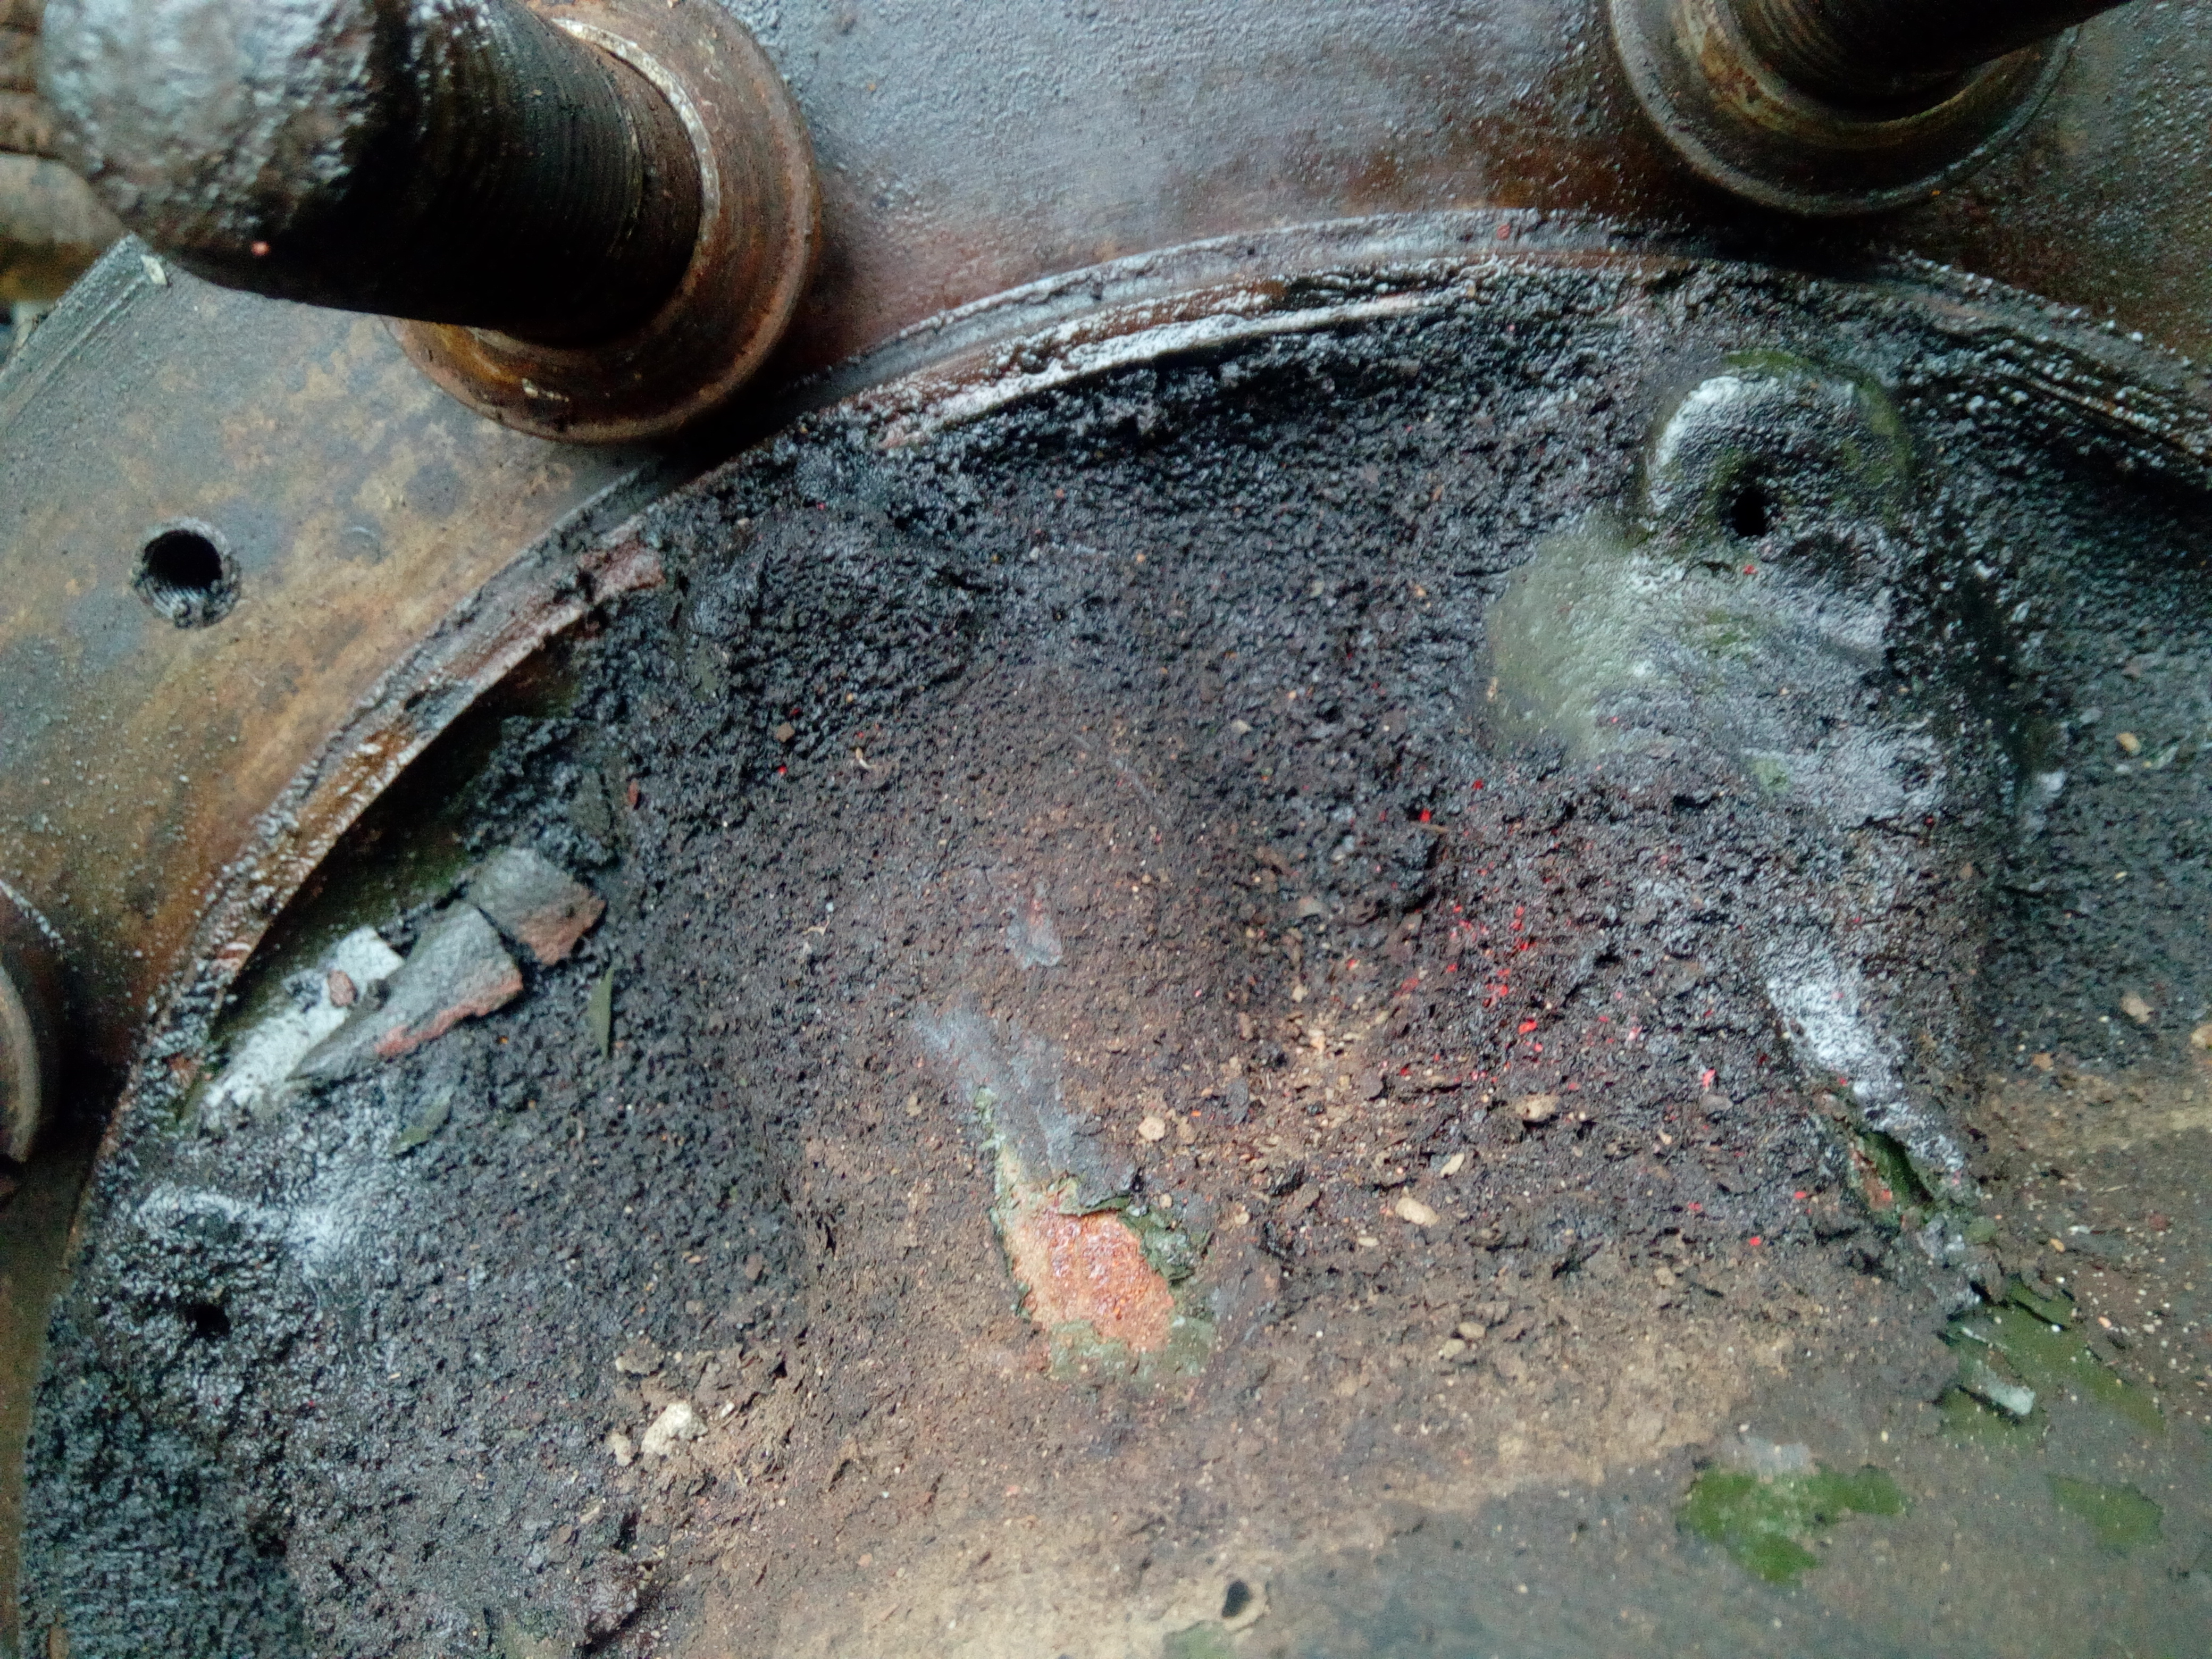
"...Oh. That's why the manual says... right. Hm. In hindsight, this is blindingly obvious."
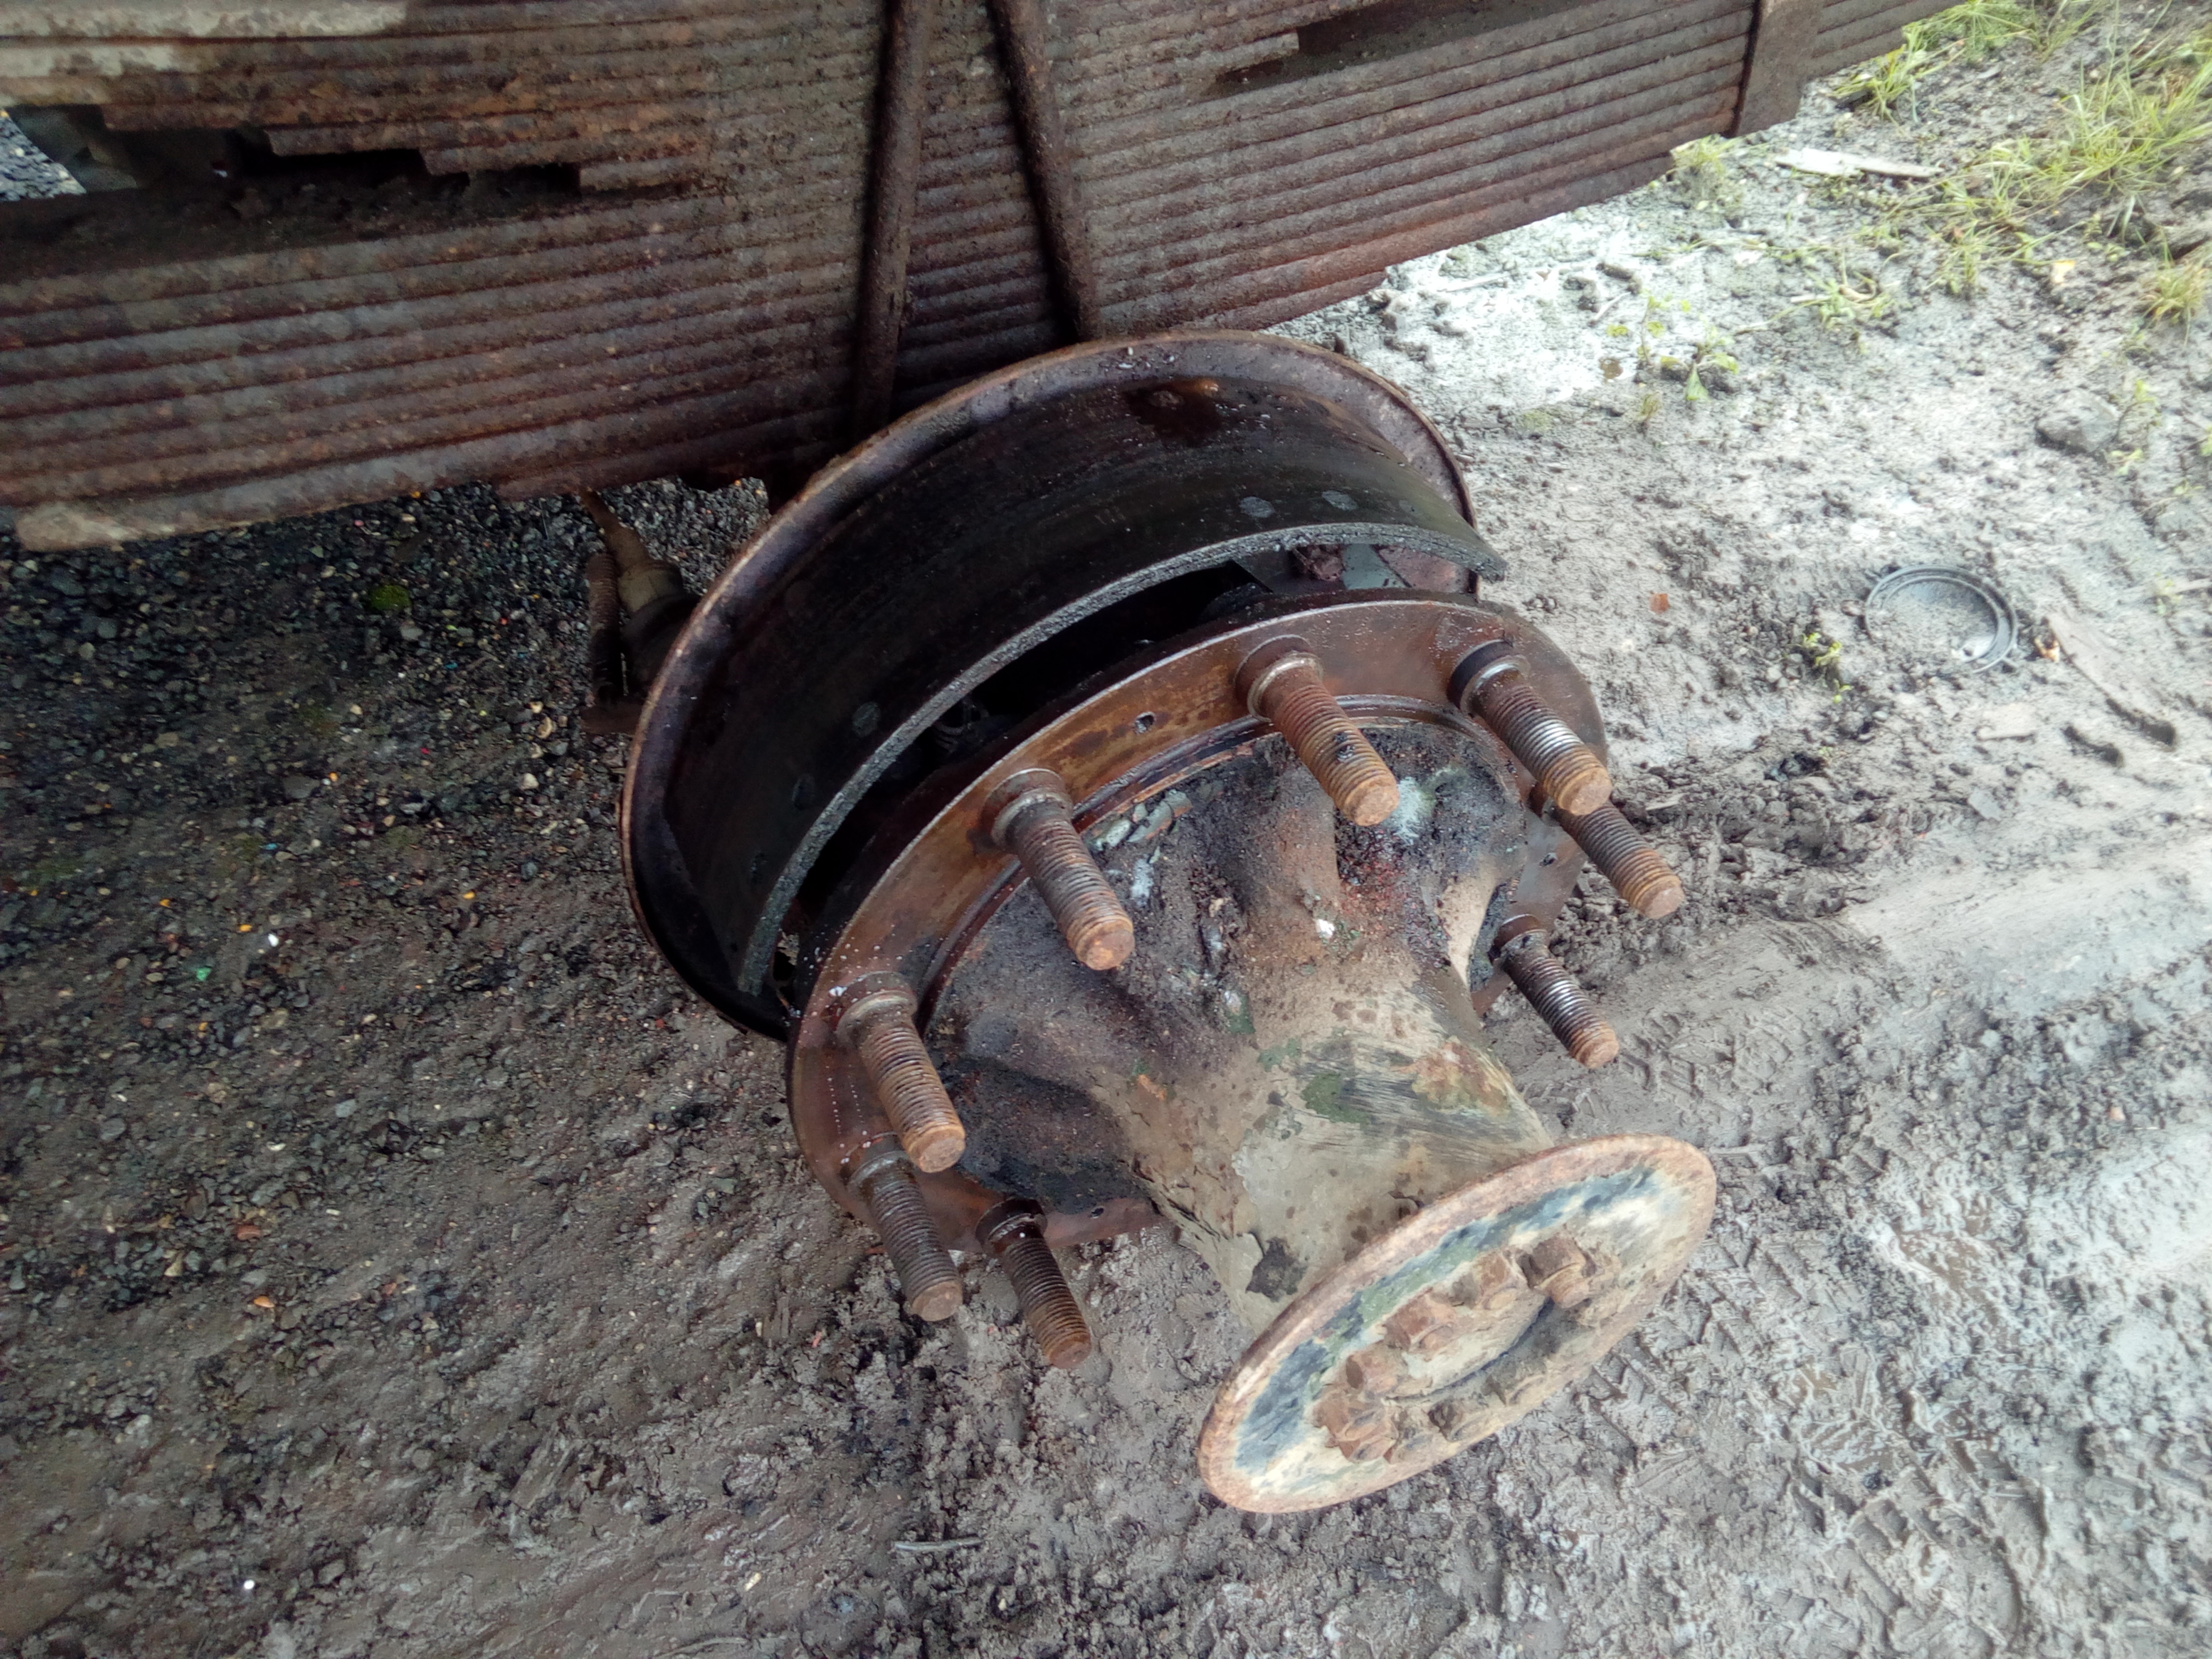
Brakes are looking delicious!
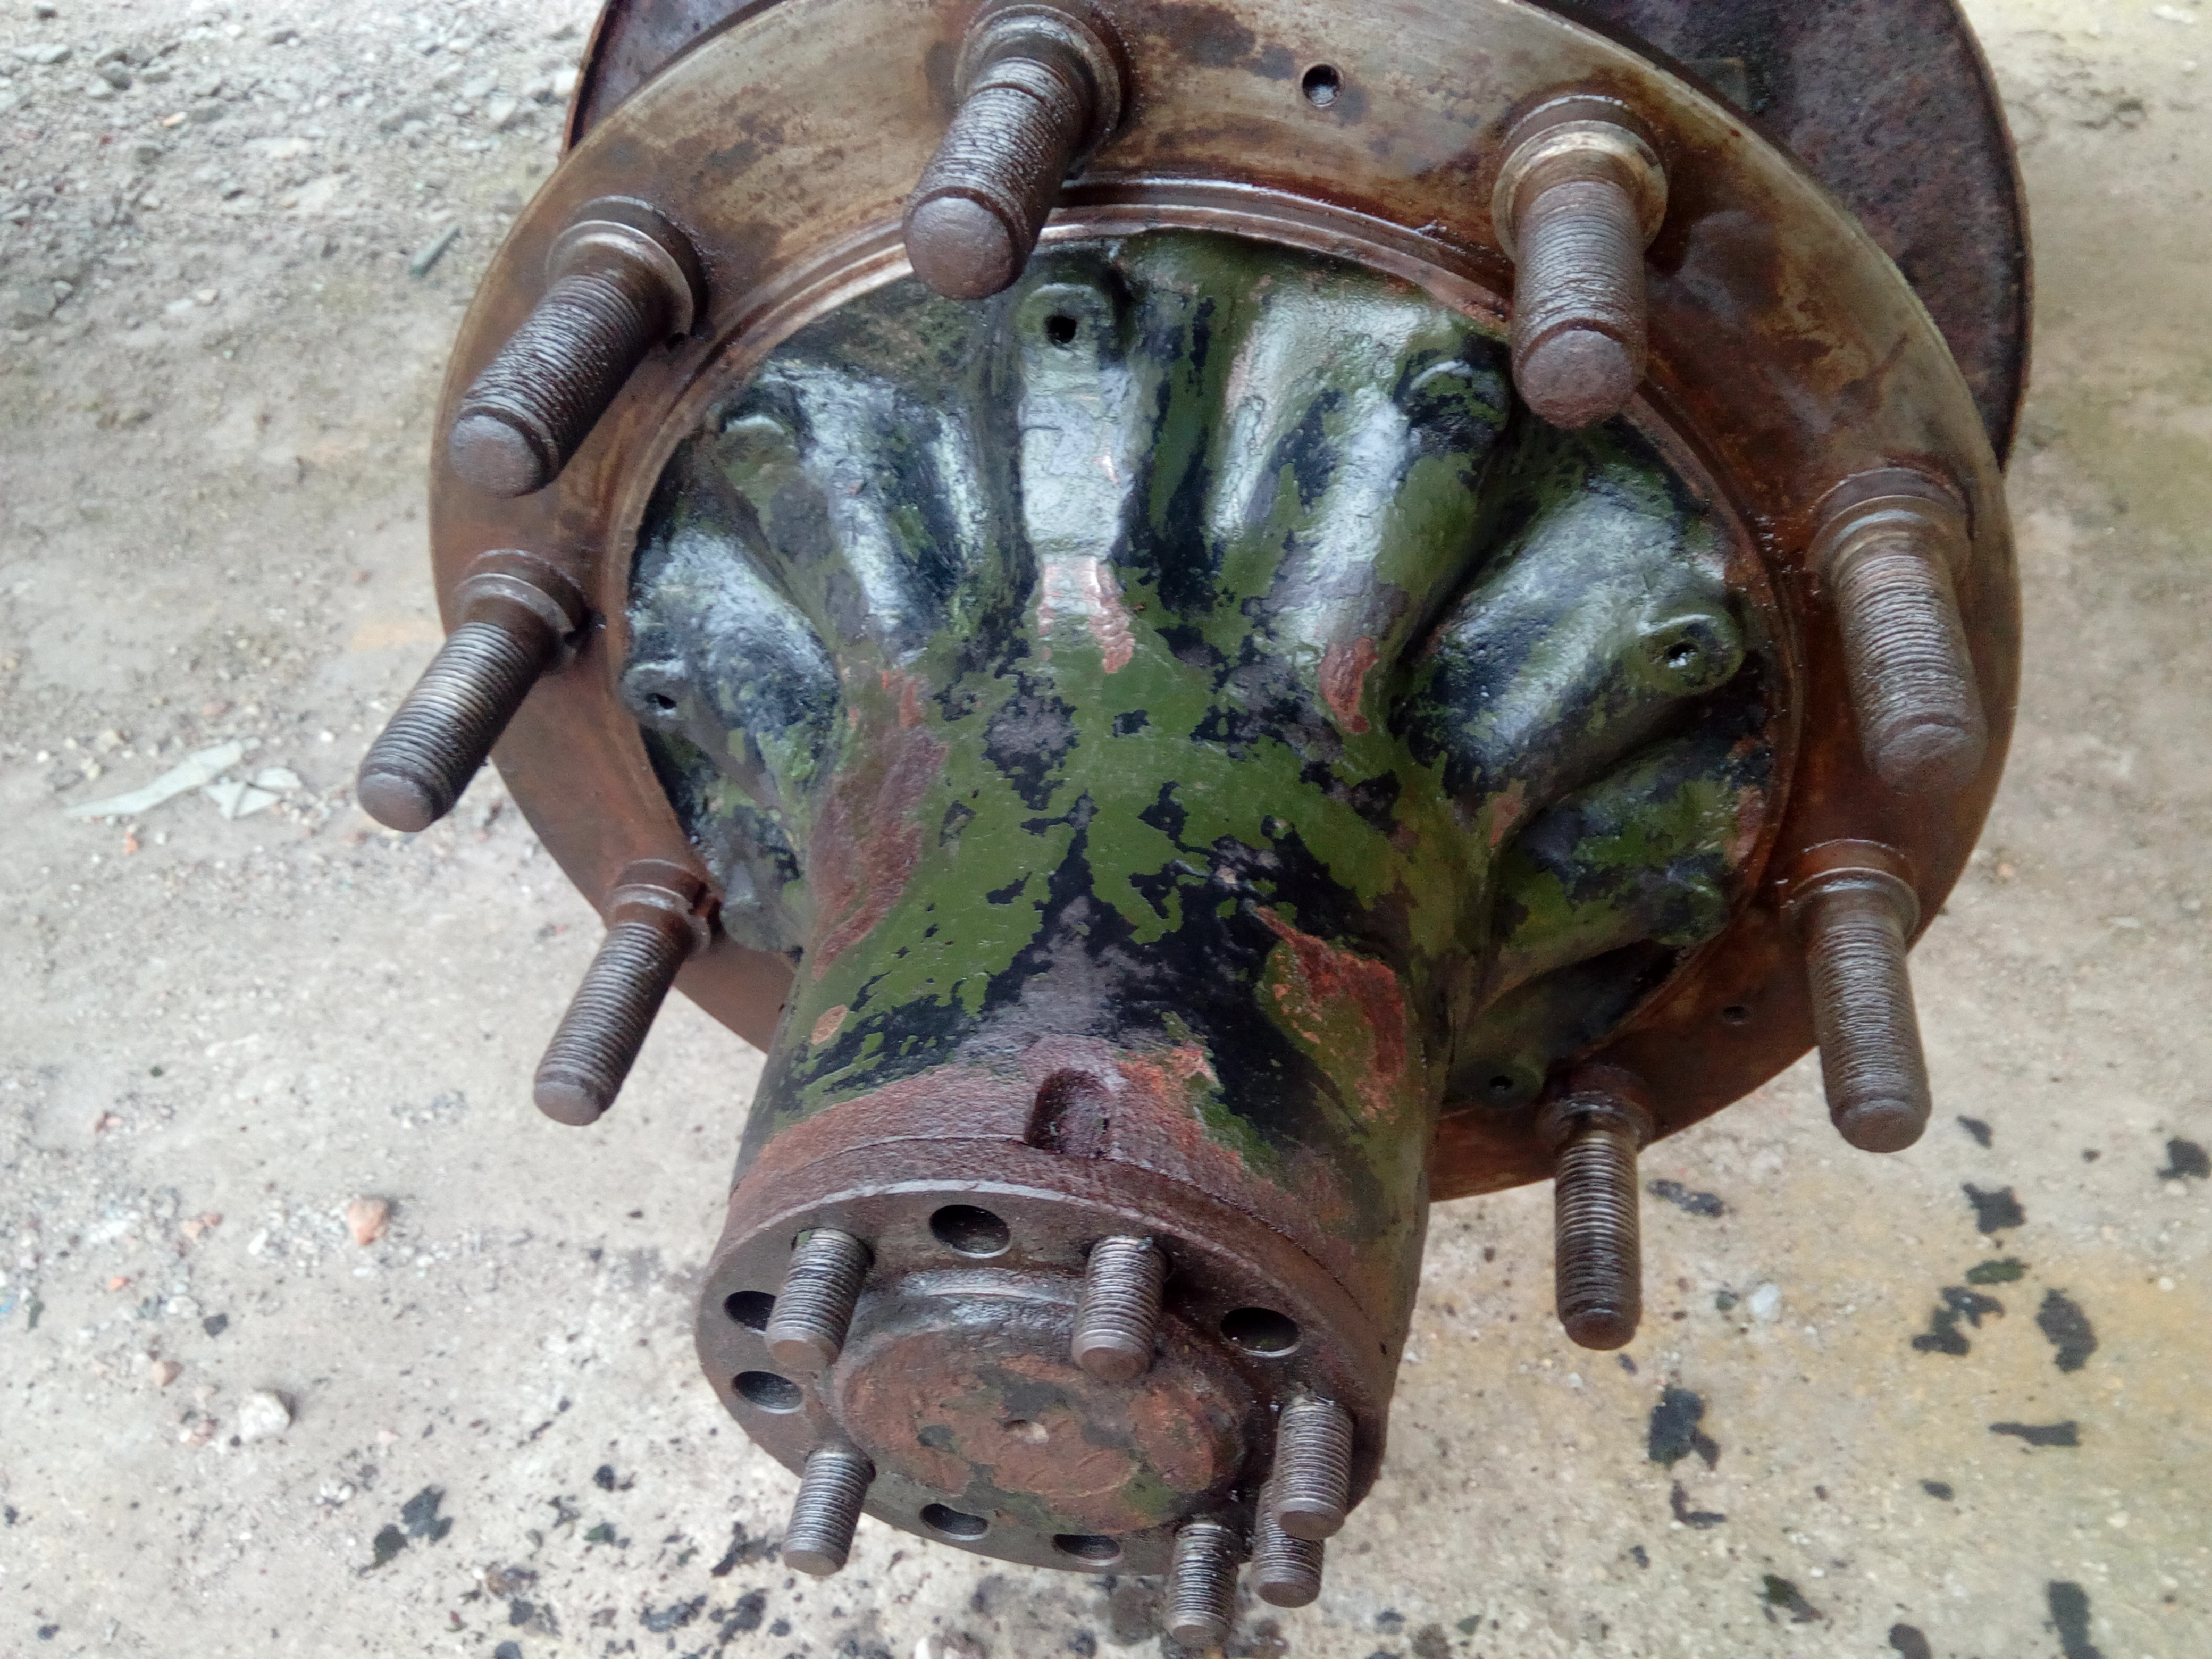
Okay, hub's gotta come off. (At the time of originally posting this, back in 2016, I'd never done it before!) And that means half-shaft out...
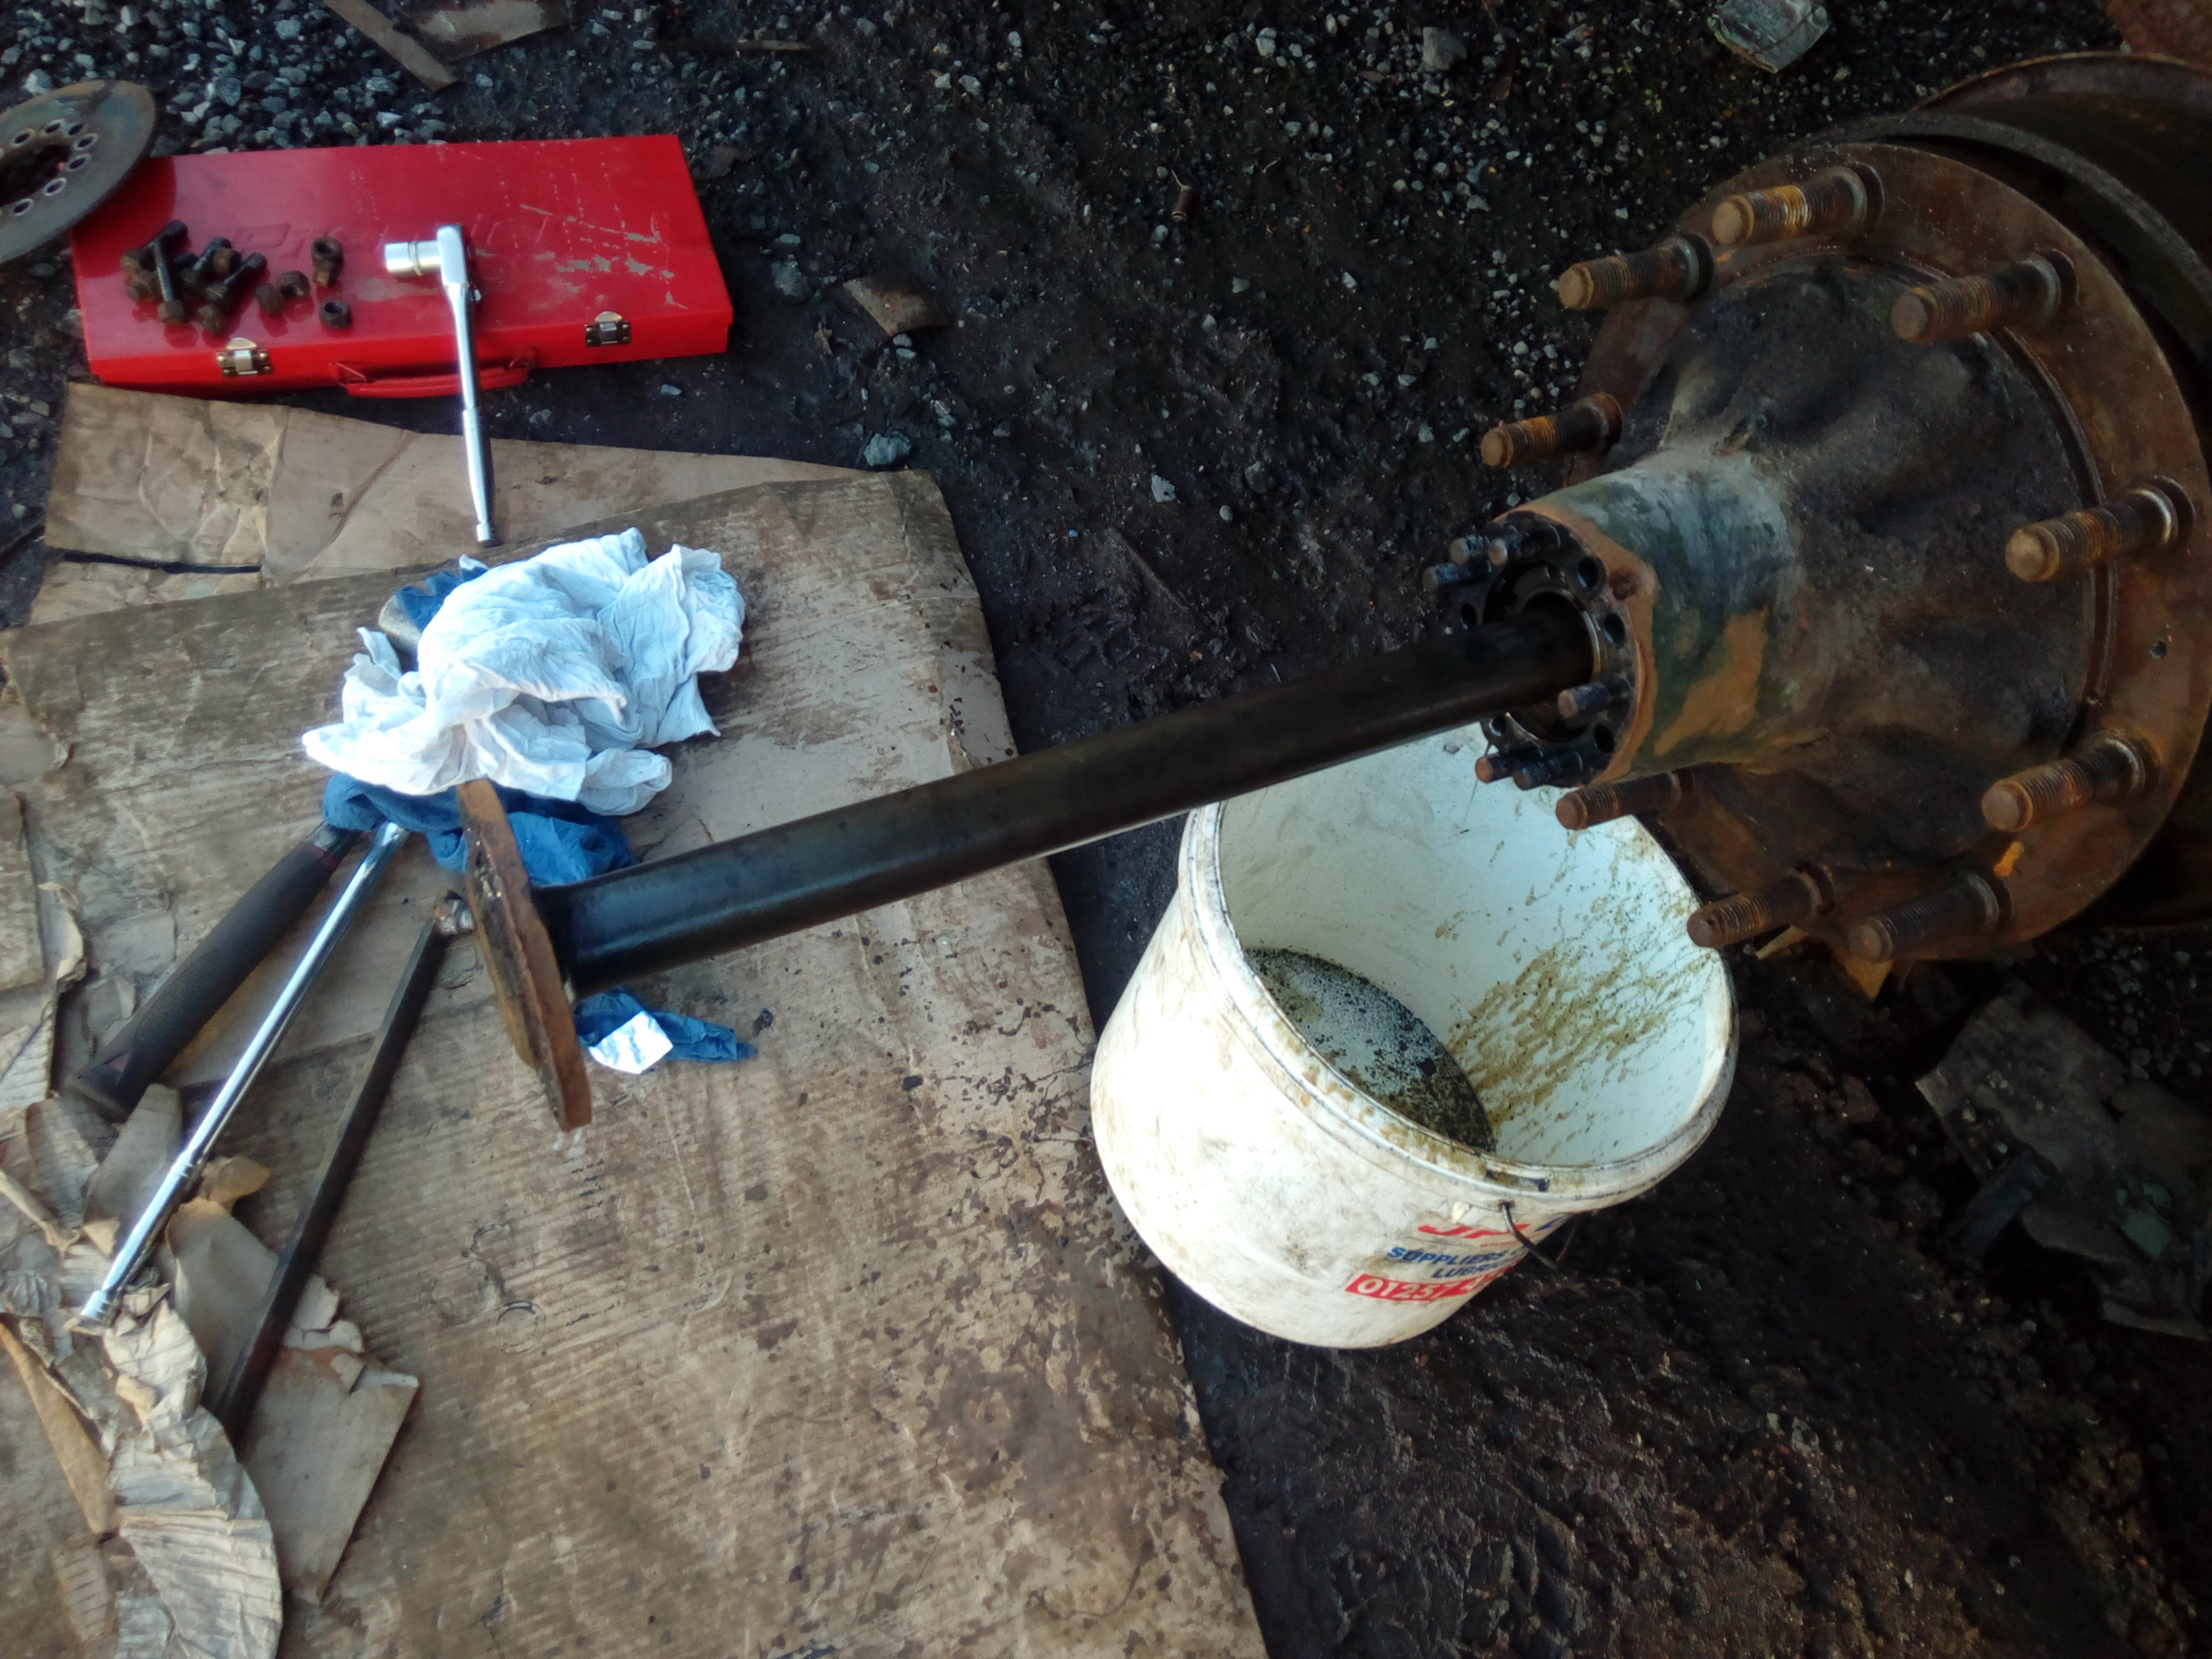
Admire the chunkiness of the shaft. 1/2" ratchet for scale! 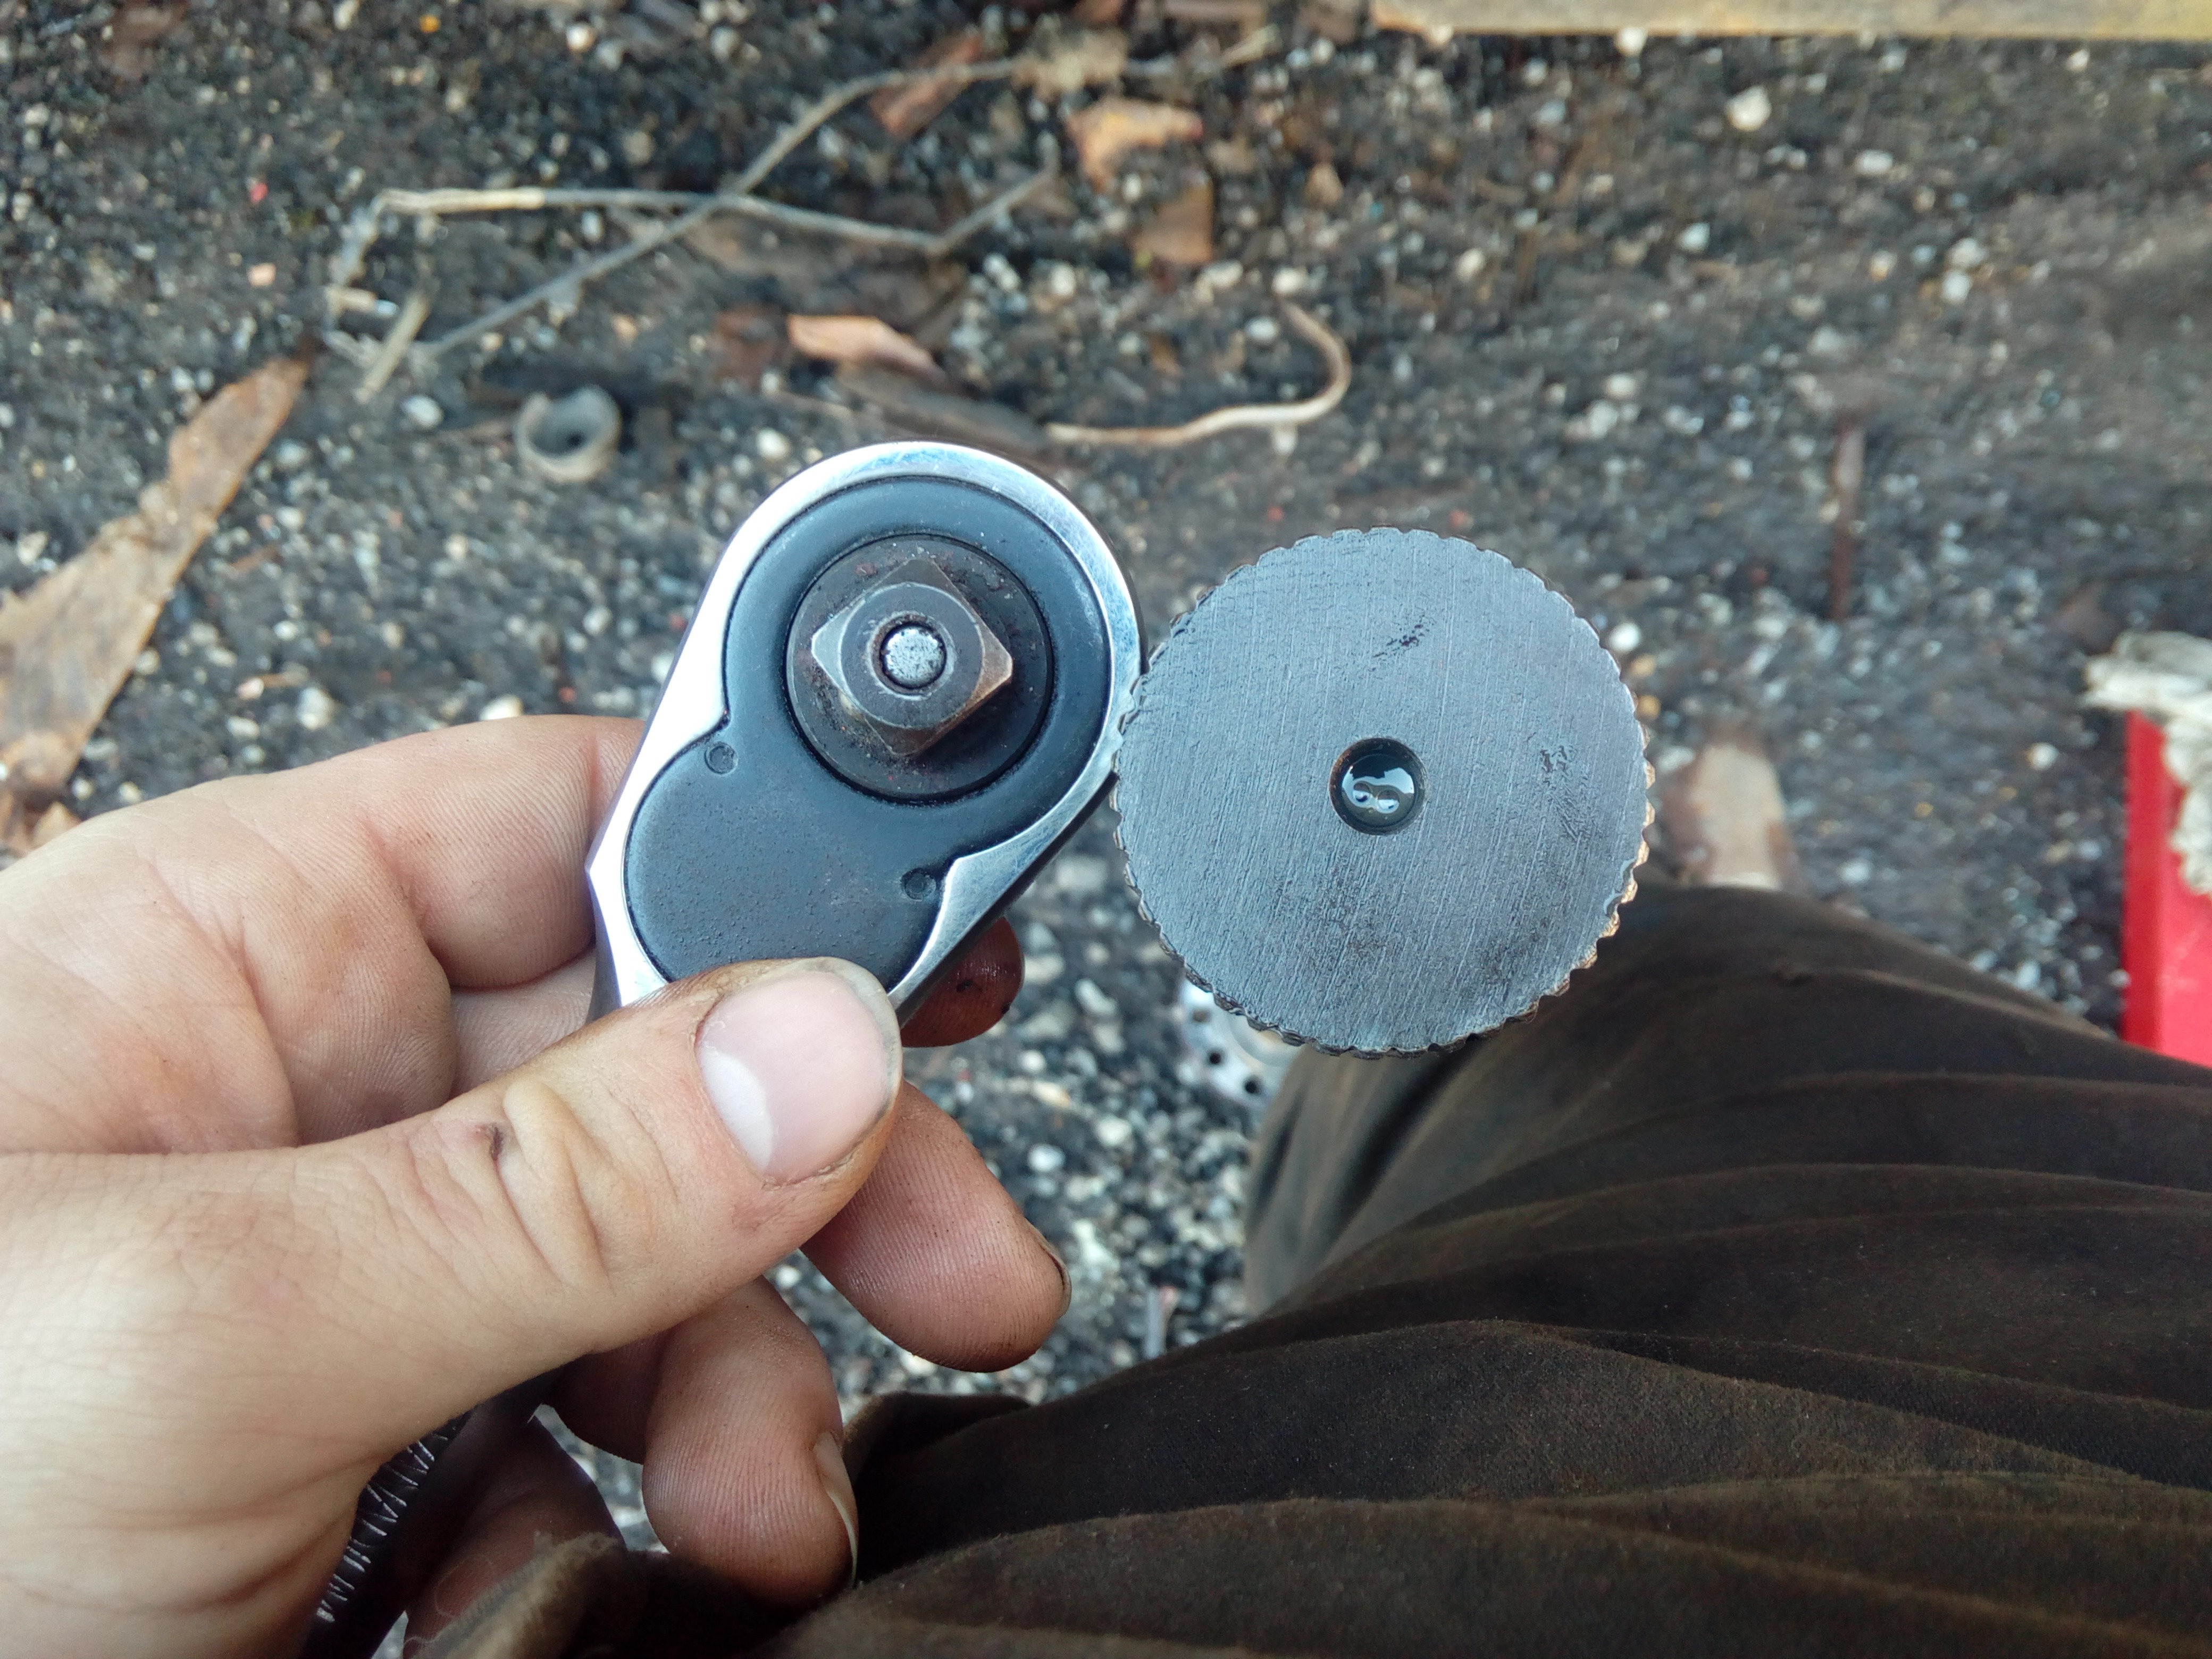
Remove those retaining nuts, and schlide the whole thing free, promptly dropping it on my foot and covering myself with the ensuing drool of gear oil.
December 2016
Little things!
Some more connecting later!
The offside sidelight wire was still curled up waiting to be pulled through and connected at that point. It got connected up later, and more recently I disconnected it to route it with all the others, because fox only knows what I was thinking when I ran it the first time.
January 2017
At this point, I was beginning to have problems. Remember what I said about part number 24 during that carb rebuild?
Very very minor update; since the carb rebuild, I've been fighting a few vacuum leaks, which I think I've mostly nailed down now. Though, with typical good timing, I appear to have run out of fuel; thankfully whilst parked up, but it's annoying when it happens part-way through trying to make sure you've strangled all the vacuum leaks, check timing, etc. :D
The suspicious part of me suspects someone's siphoning fuel out of the tank. This remains to be seen, however. Probably going to bump a better filler-cap further up the priority list, just to make myself feel better. :/
(And then it'll turn out that nobody's siphoning it, I'm just burning through it that quickly... :D I don't think I am, though; at the rate it seems to be 'evaporating', I'd have to be pumping liquid fuel out of the tailpipe...)
Anyway! Onto the current minor headache, timing. Following a bit of advice that "most carburettor problems are actually ignition problems", I thought I'd check where the timing actually was.
I located the markers on the flywheel, cleaned them up and added a few dabs' worth of white paint marker just to make them even more visible. (And I know the clutch is worn out! Something else that needs changing...)
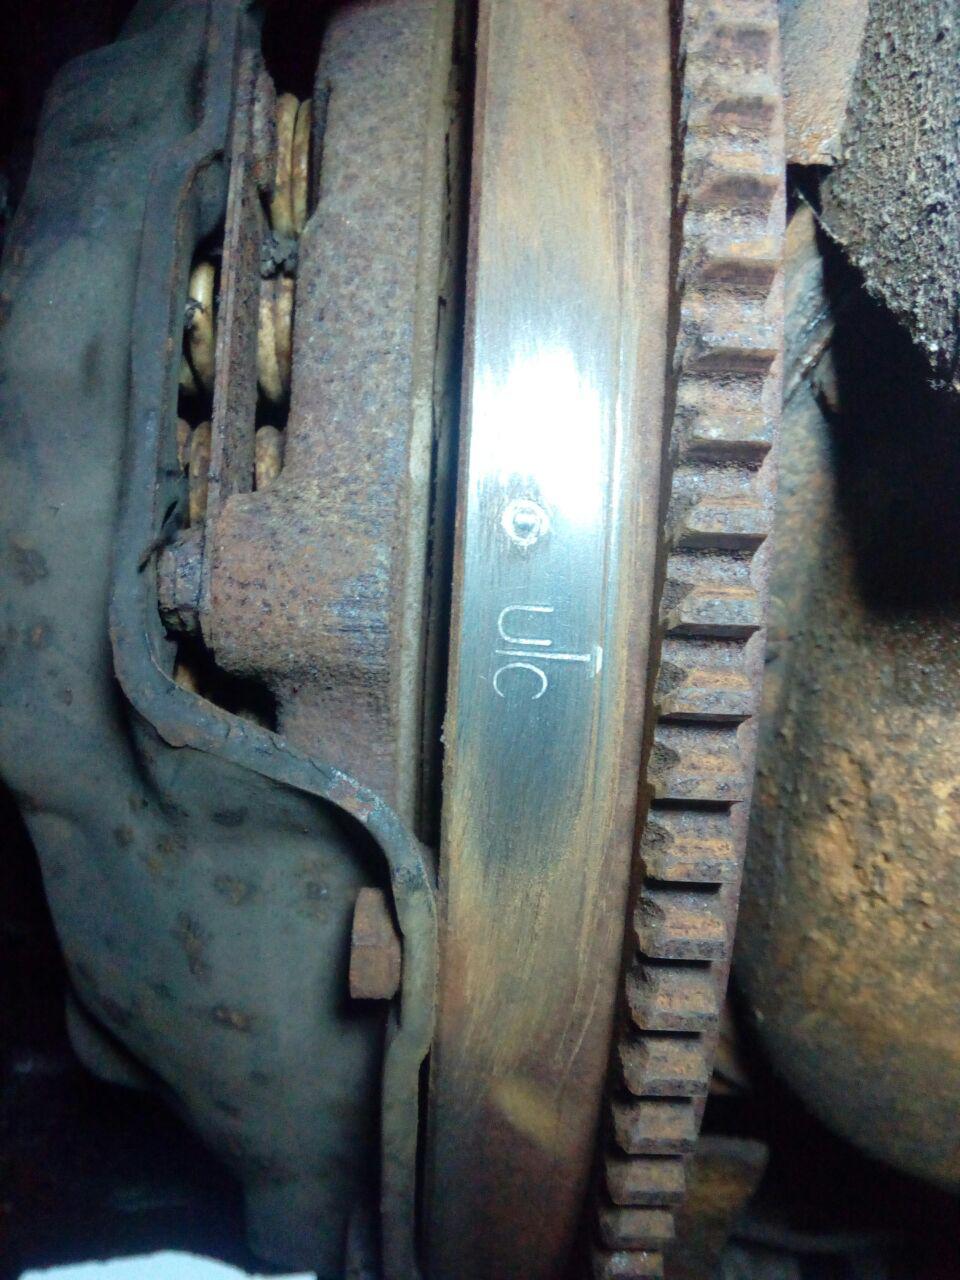
Cue some time going back and forth trying to figure out what the hell was going on, where the hell my timing was, why all the fuel was disappearing so fast, why are my points burning up, finding out what distributor I actually had (Delco D200) and so forth.
Late February 2017
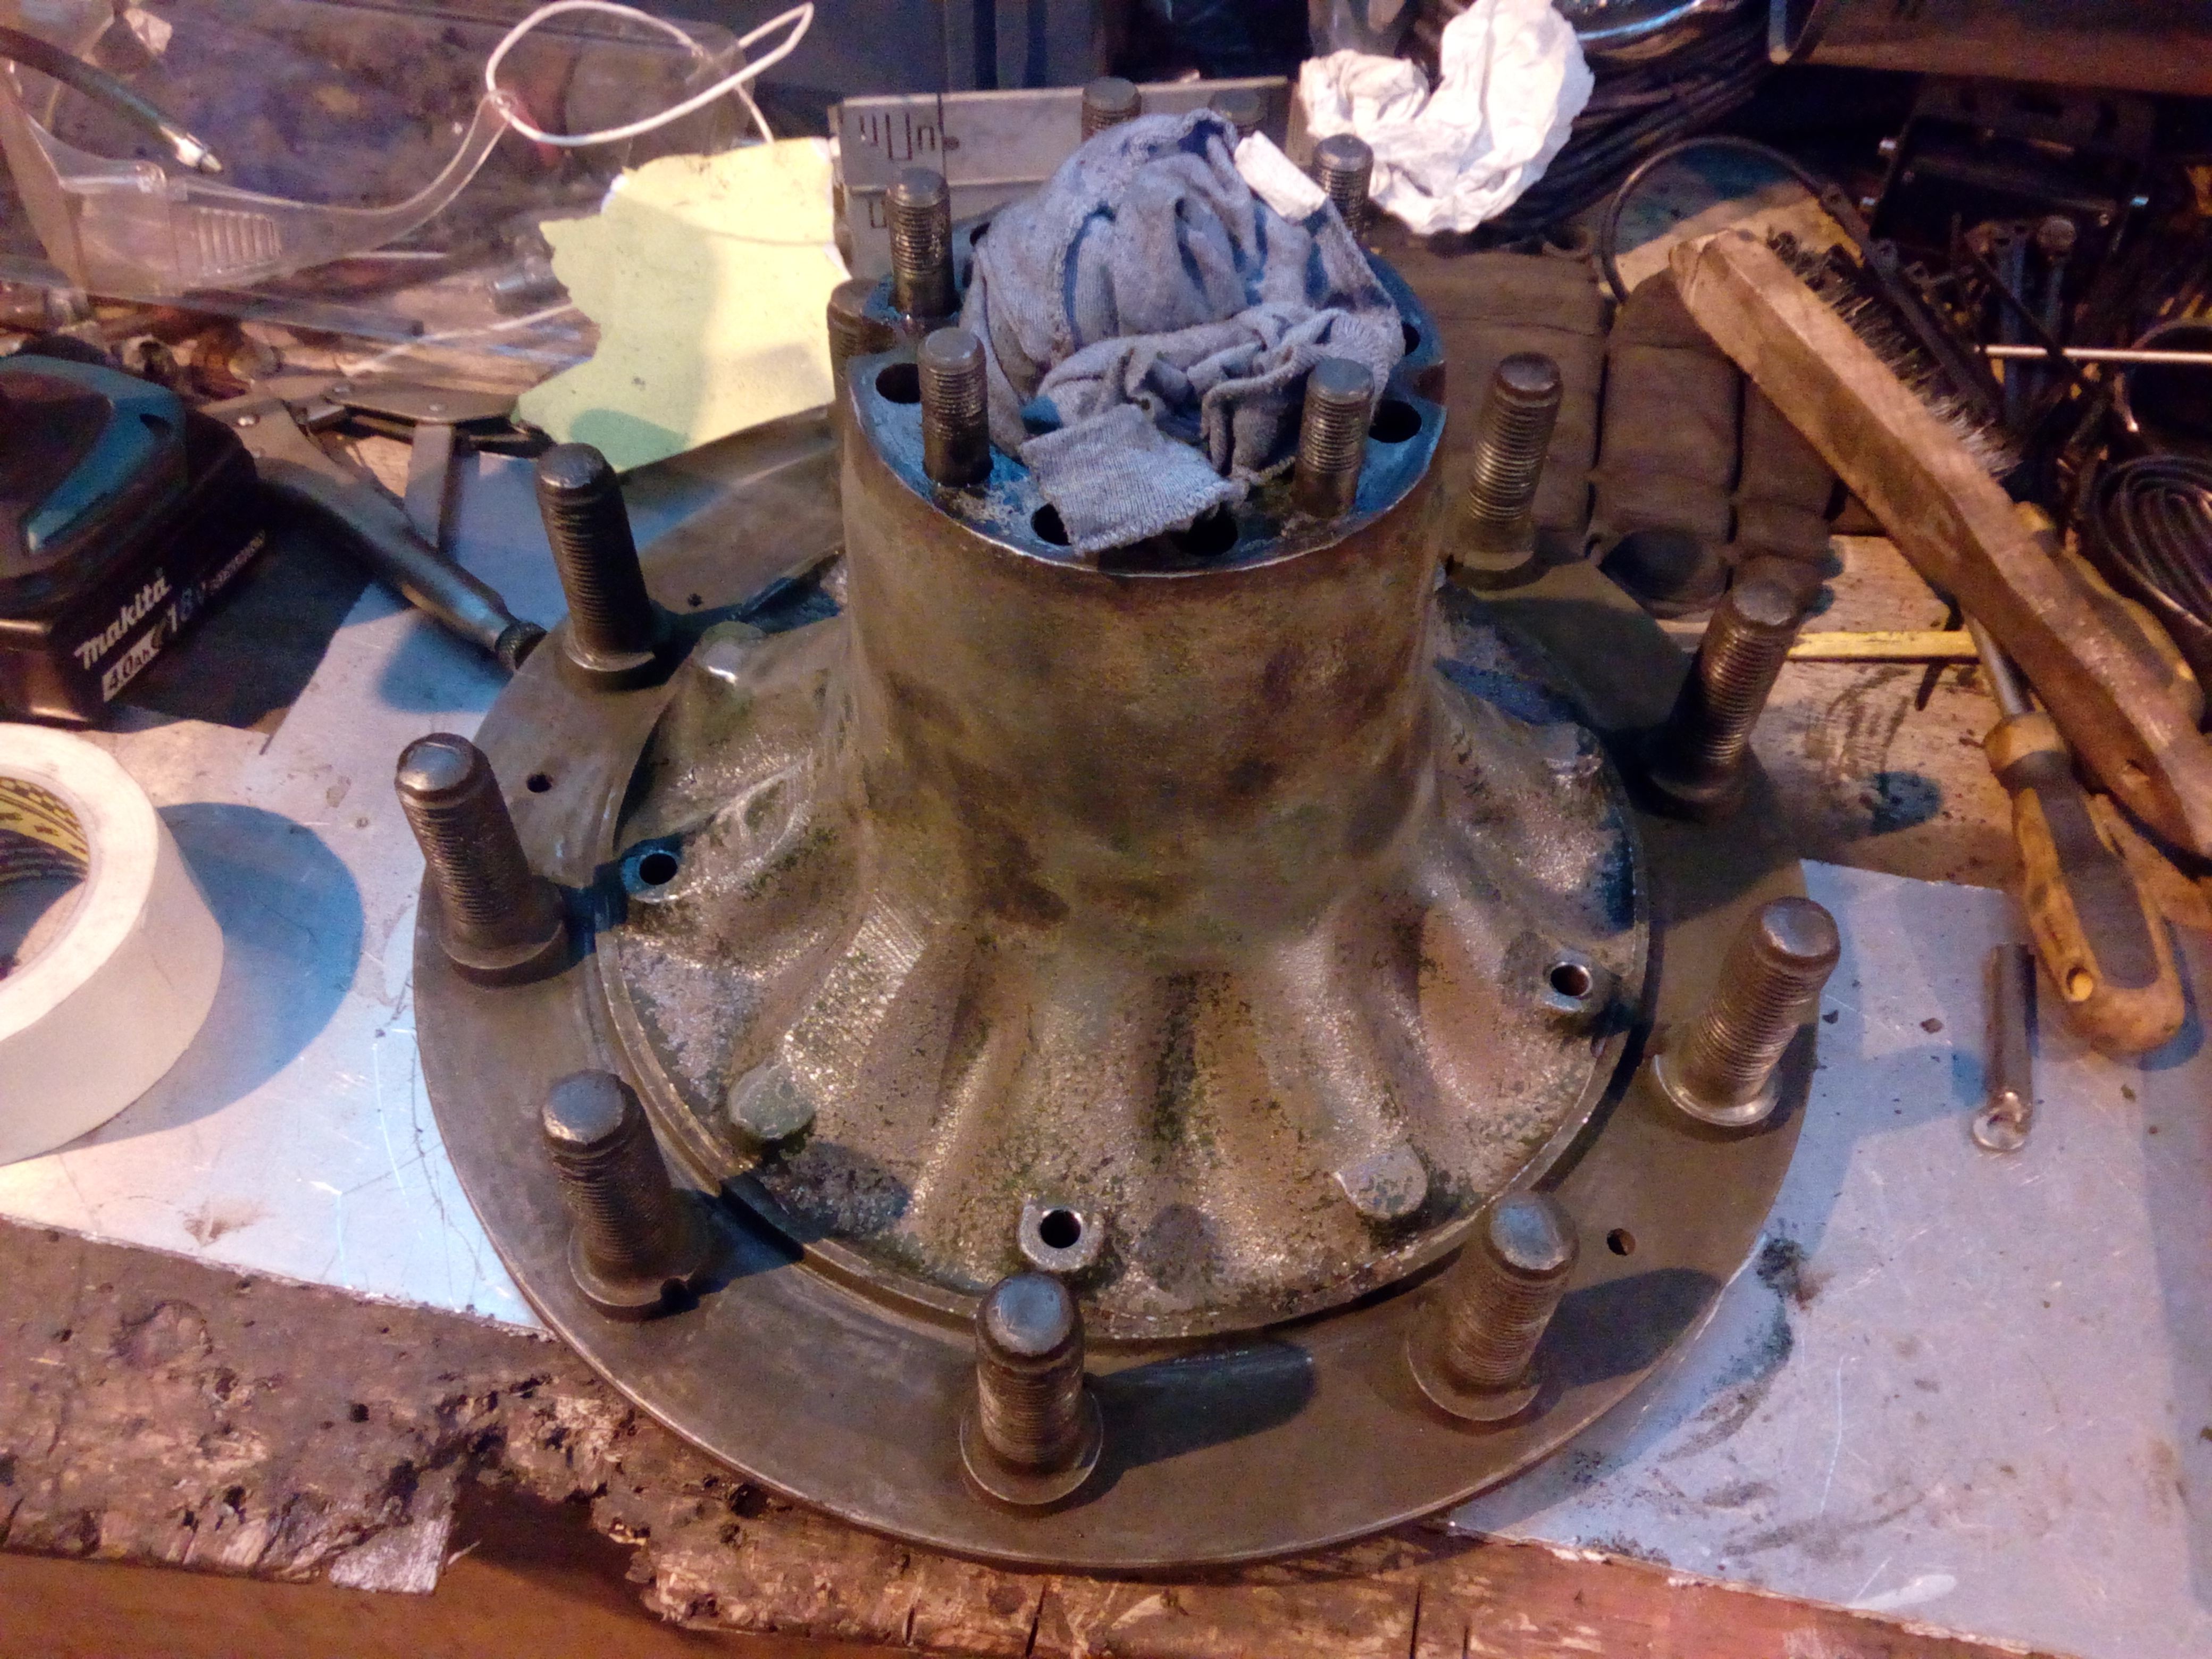
Time for some cleaning
That's better! Time for the new hub sea... oh, fox.

Cue some measuring, and a run out to a bearing shop nearby, at some point. In the meantime, more cleaning! This time with the needle-gun!
And then for some un-cleaning, with the red-oxide. 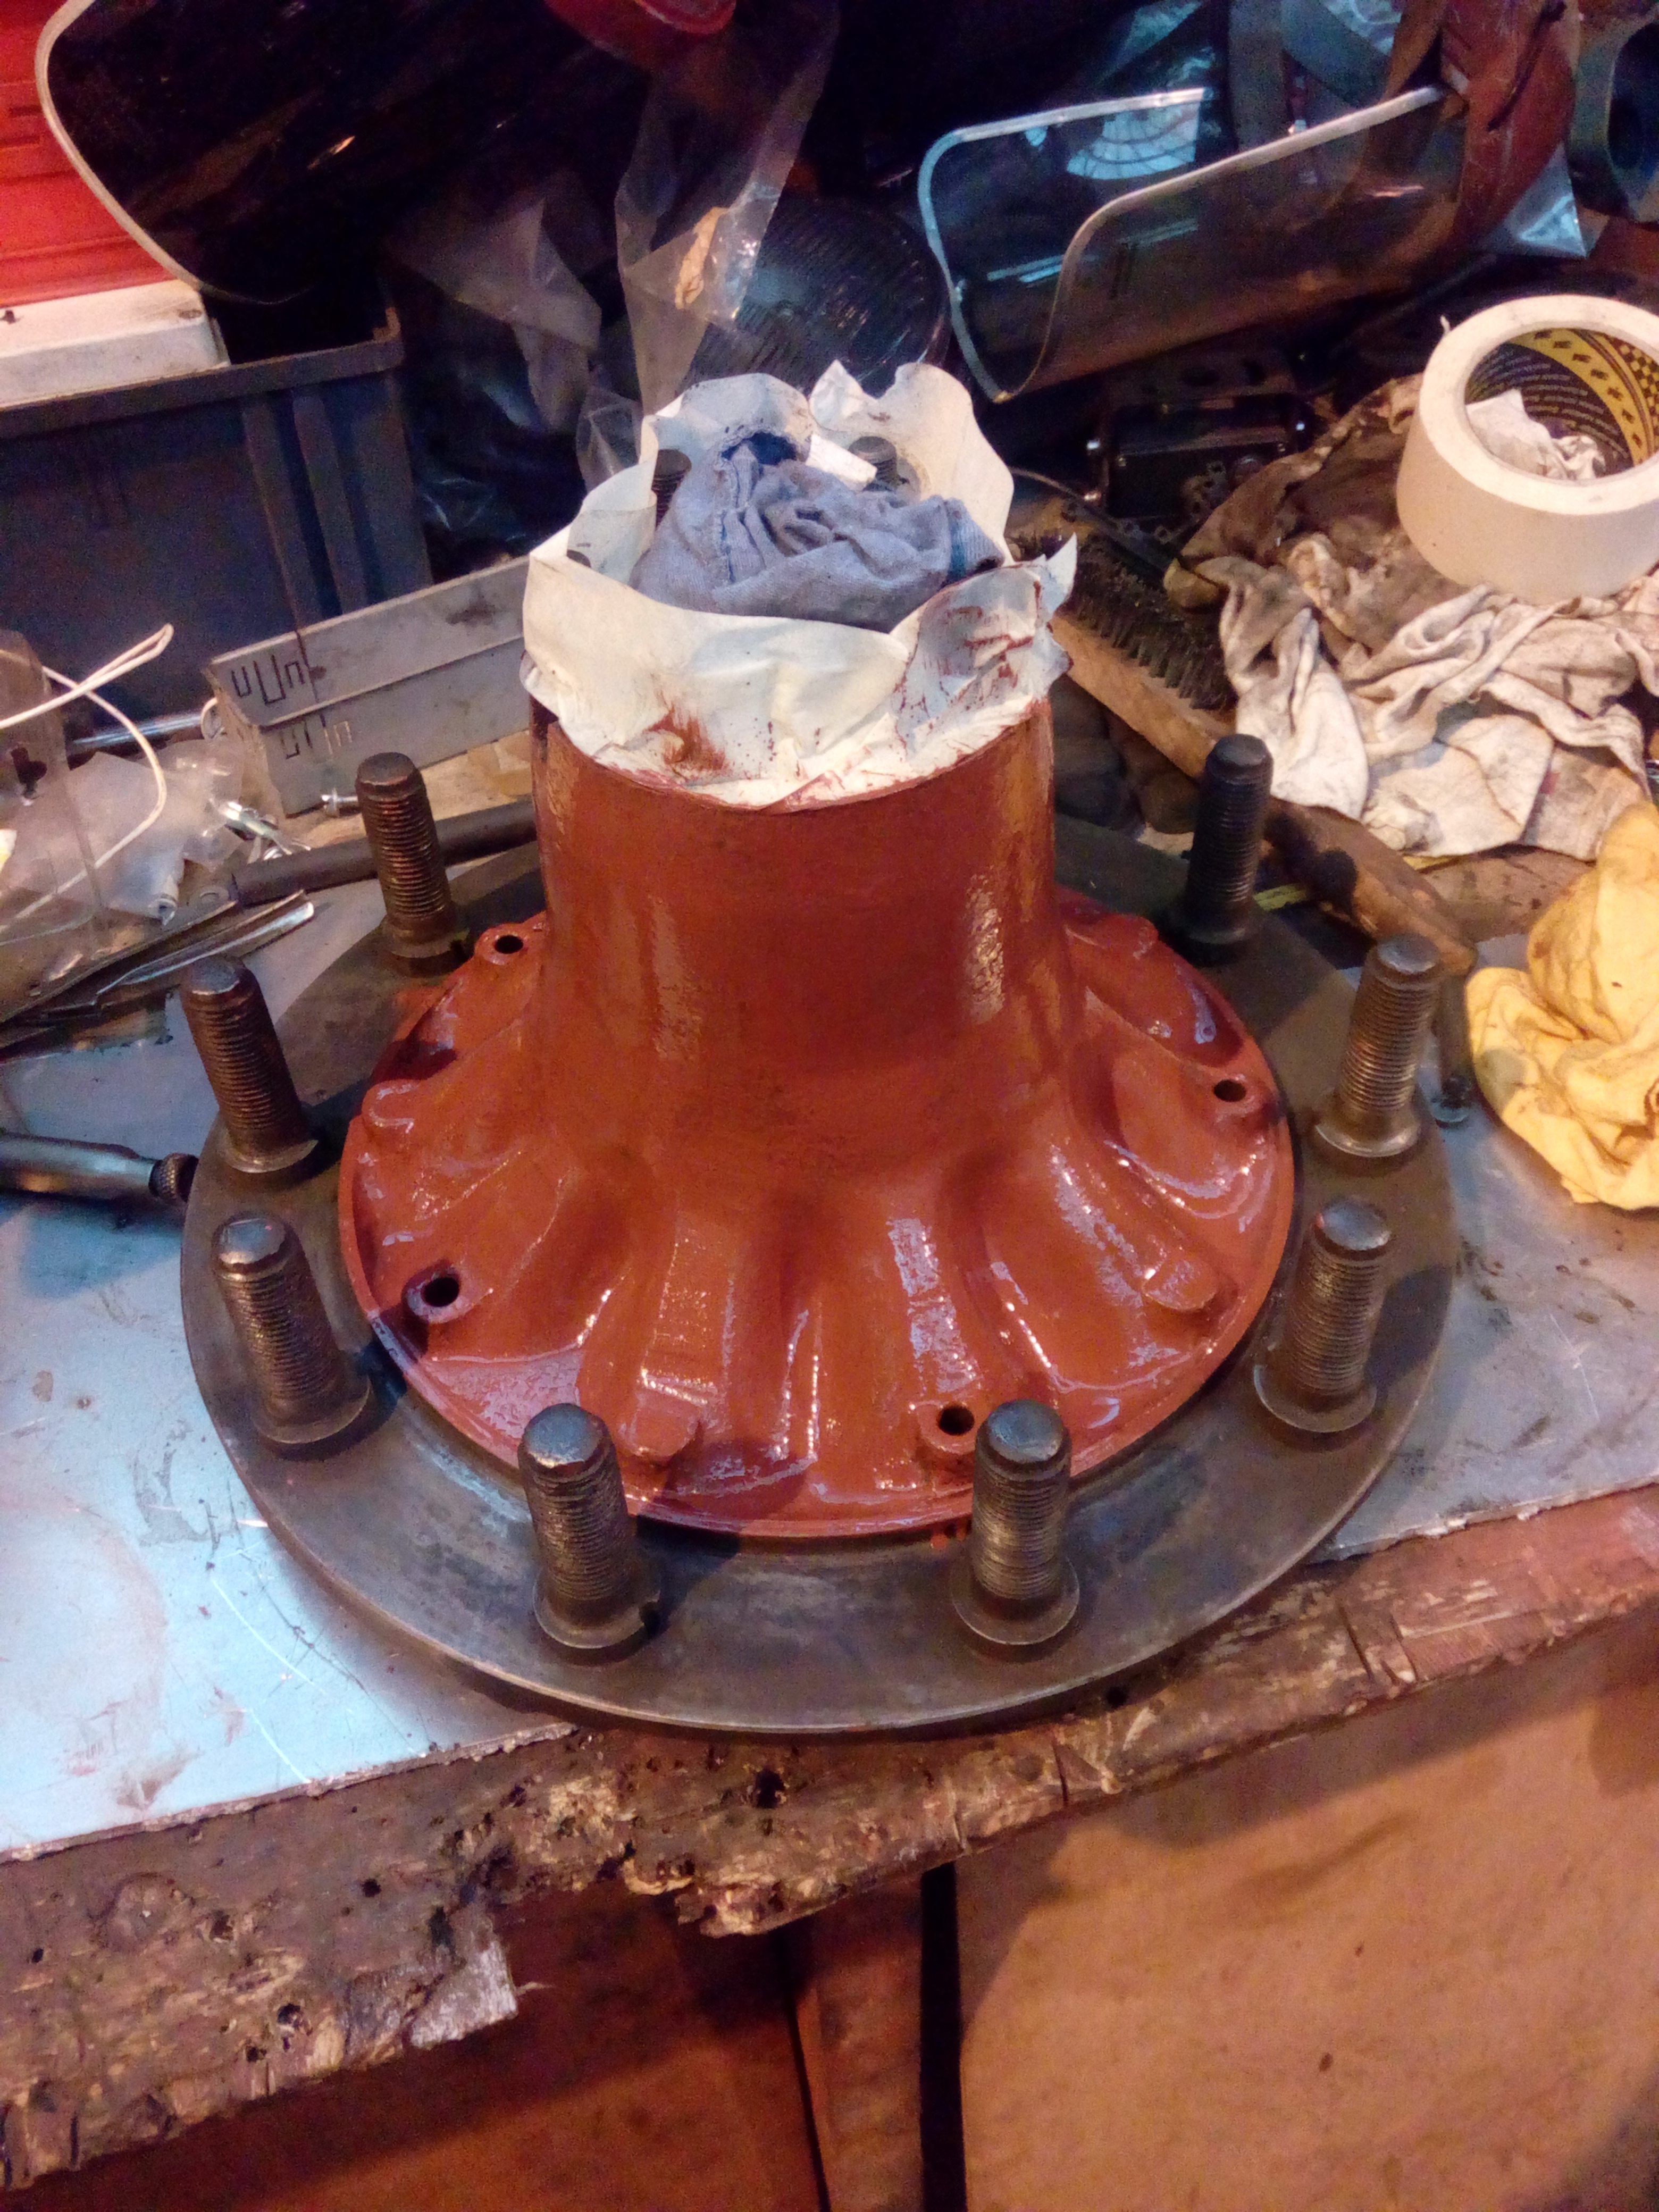
I should probably paint them black as well. Maybe in the future. (Note from the future: I did, yup!) Now to look at the brake bisectors...