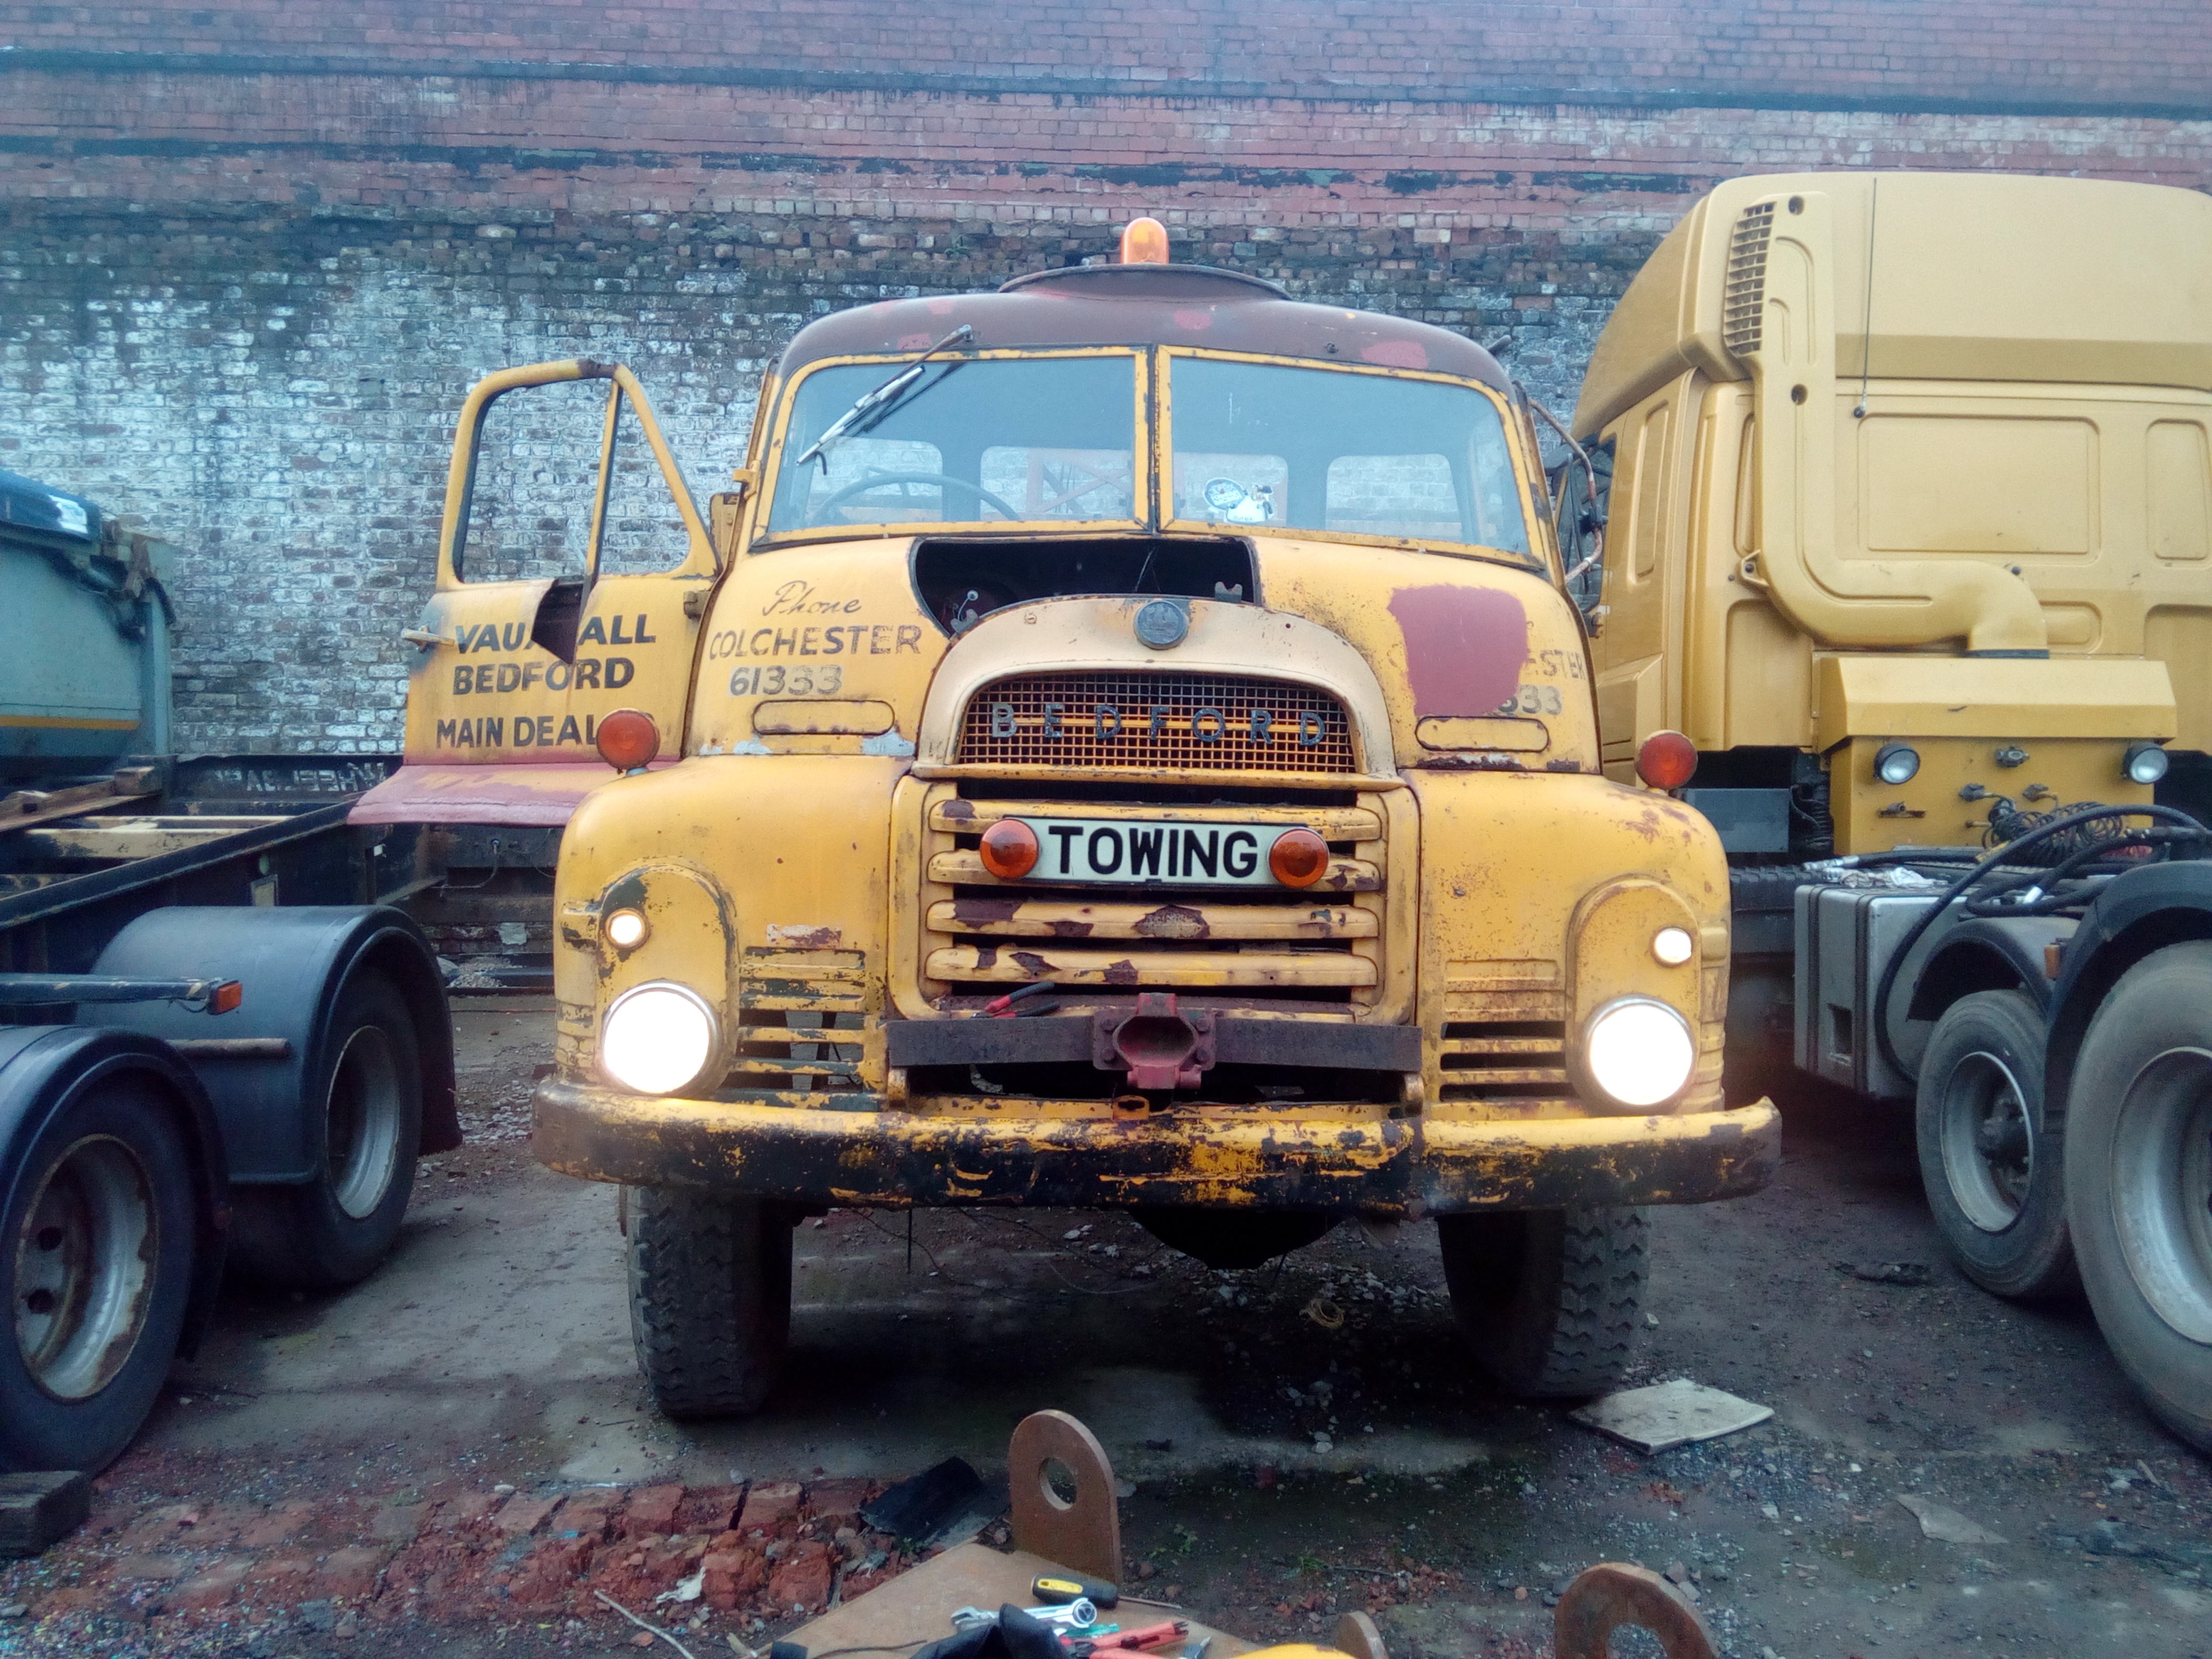
Brake Bisectors!
So, at the end of the last installment, I said I was going to look at the brake bisectors. Well, I did that.
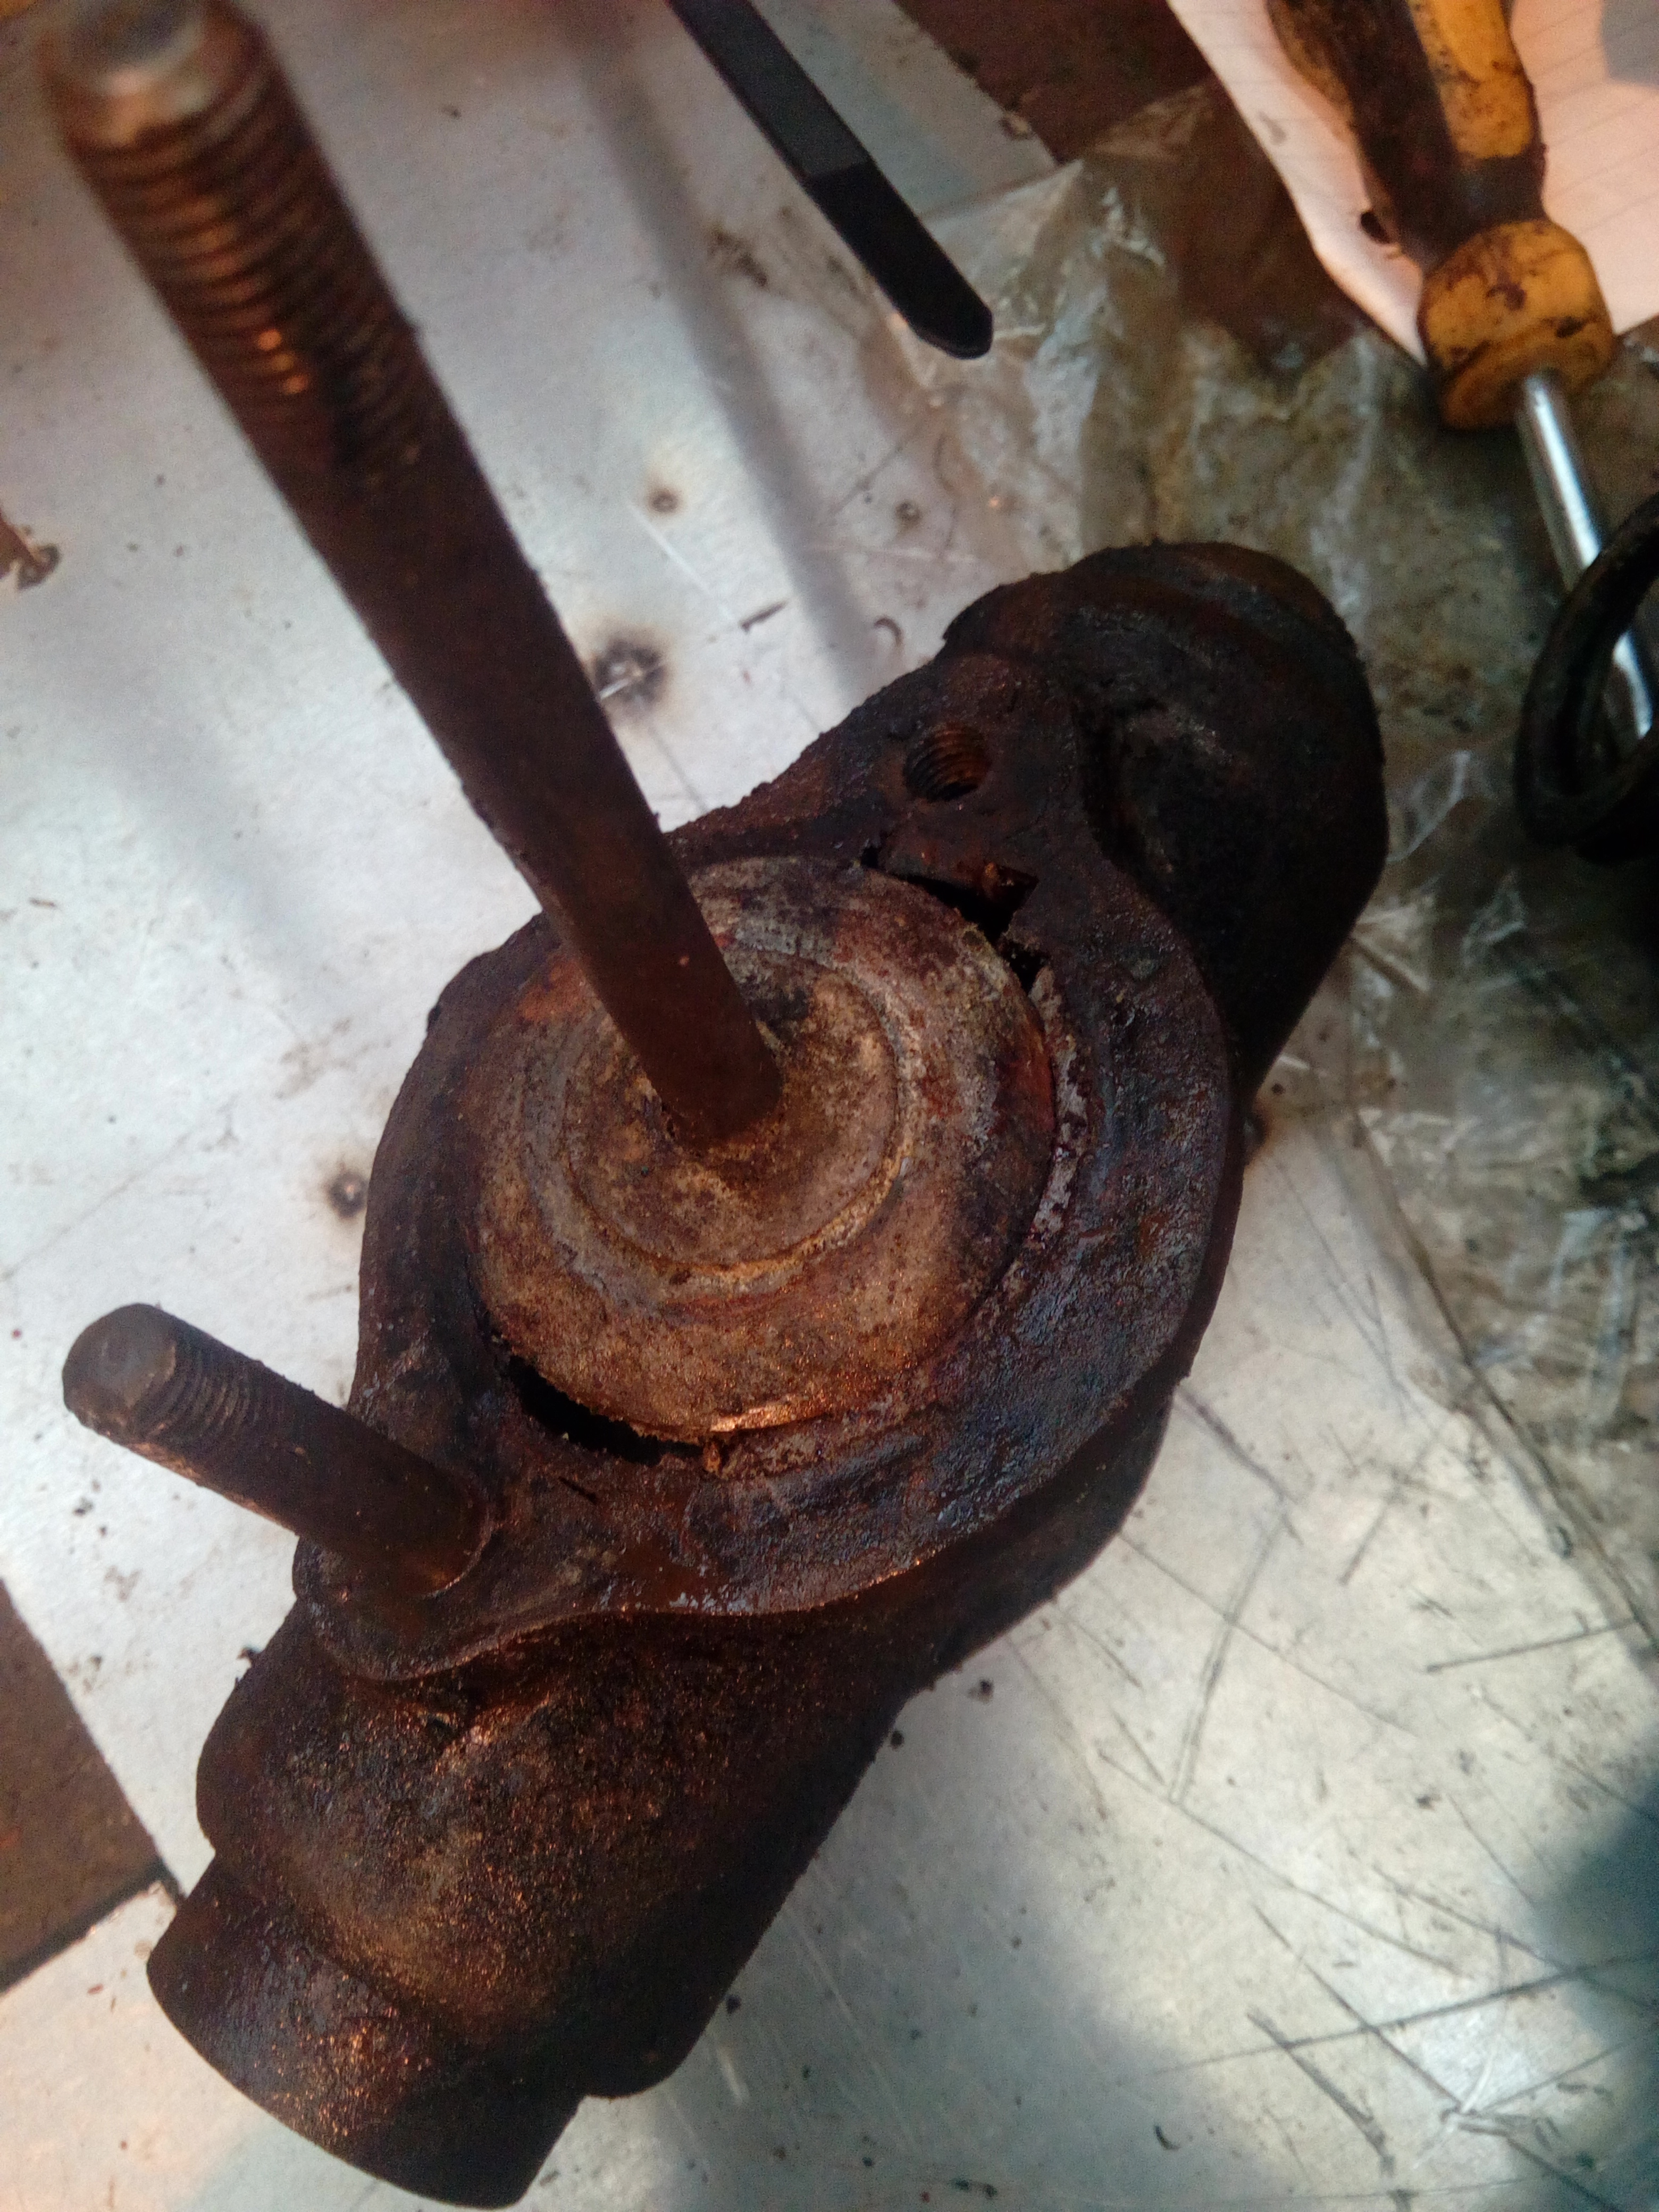
Mm, that's not ideal. And neither's this, the rear brake cylinder:
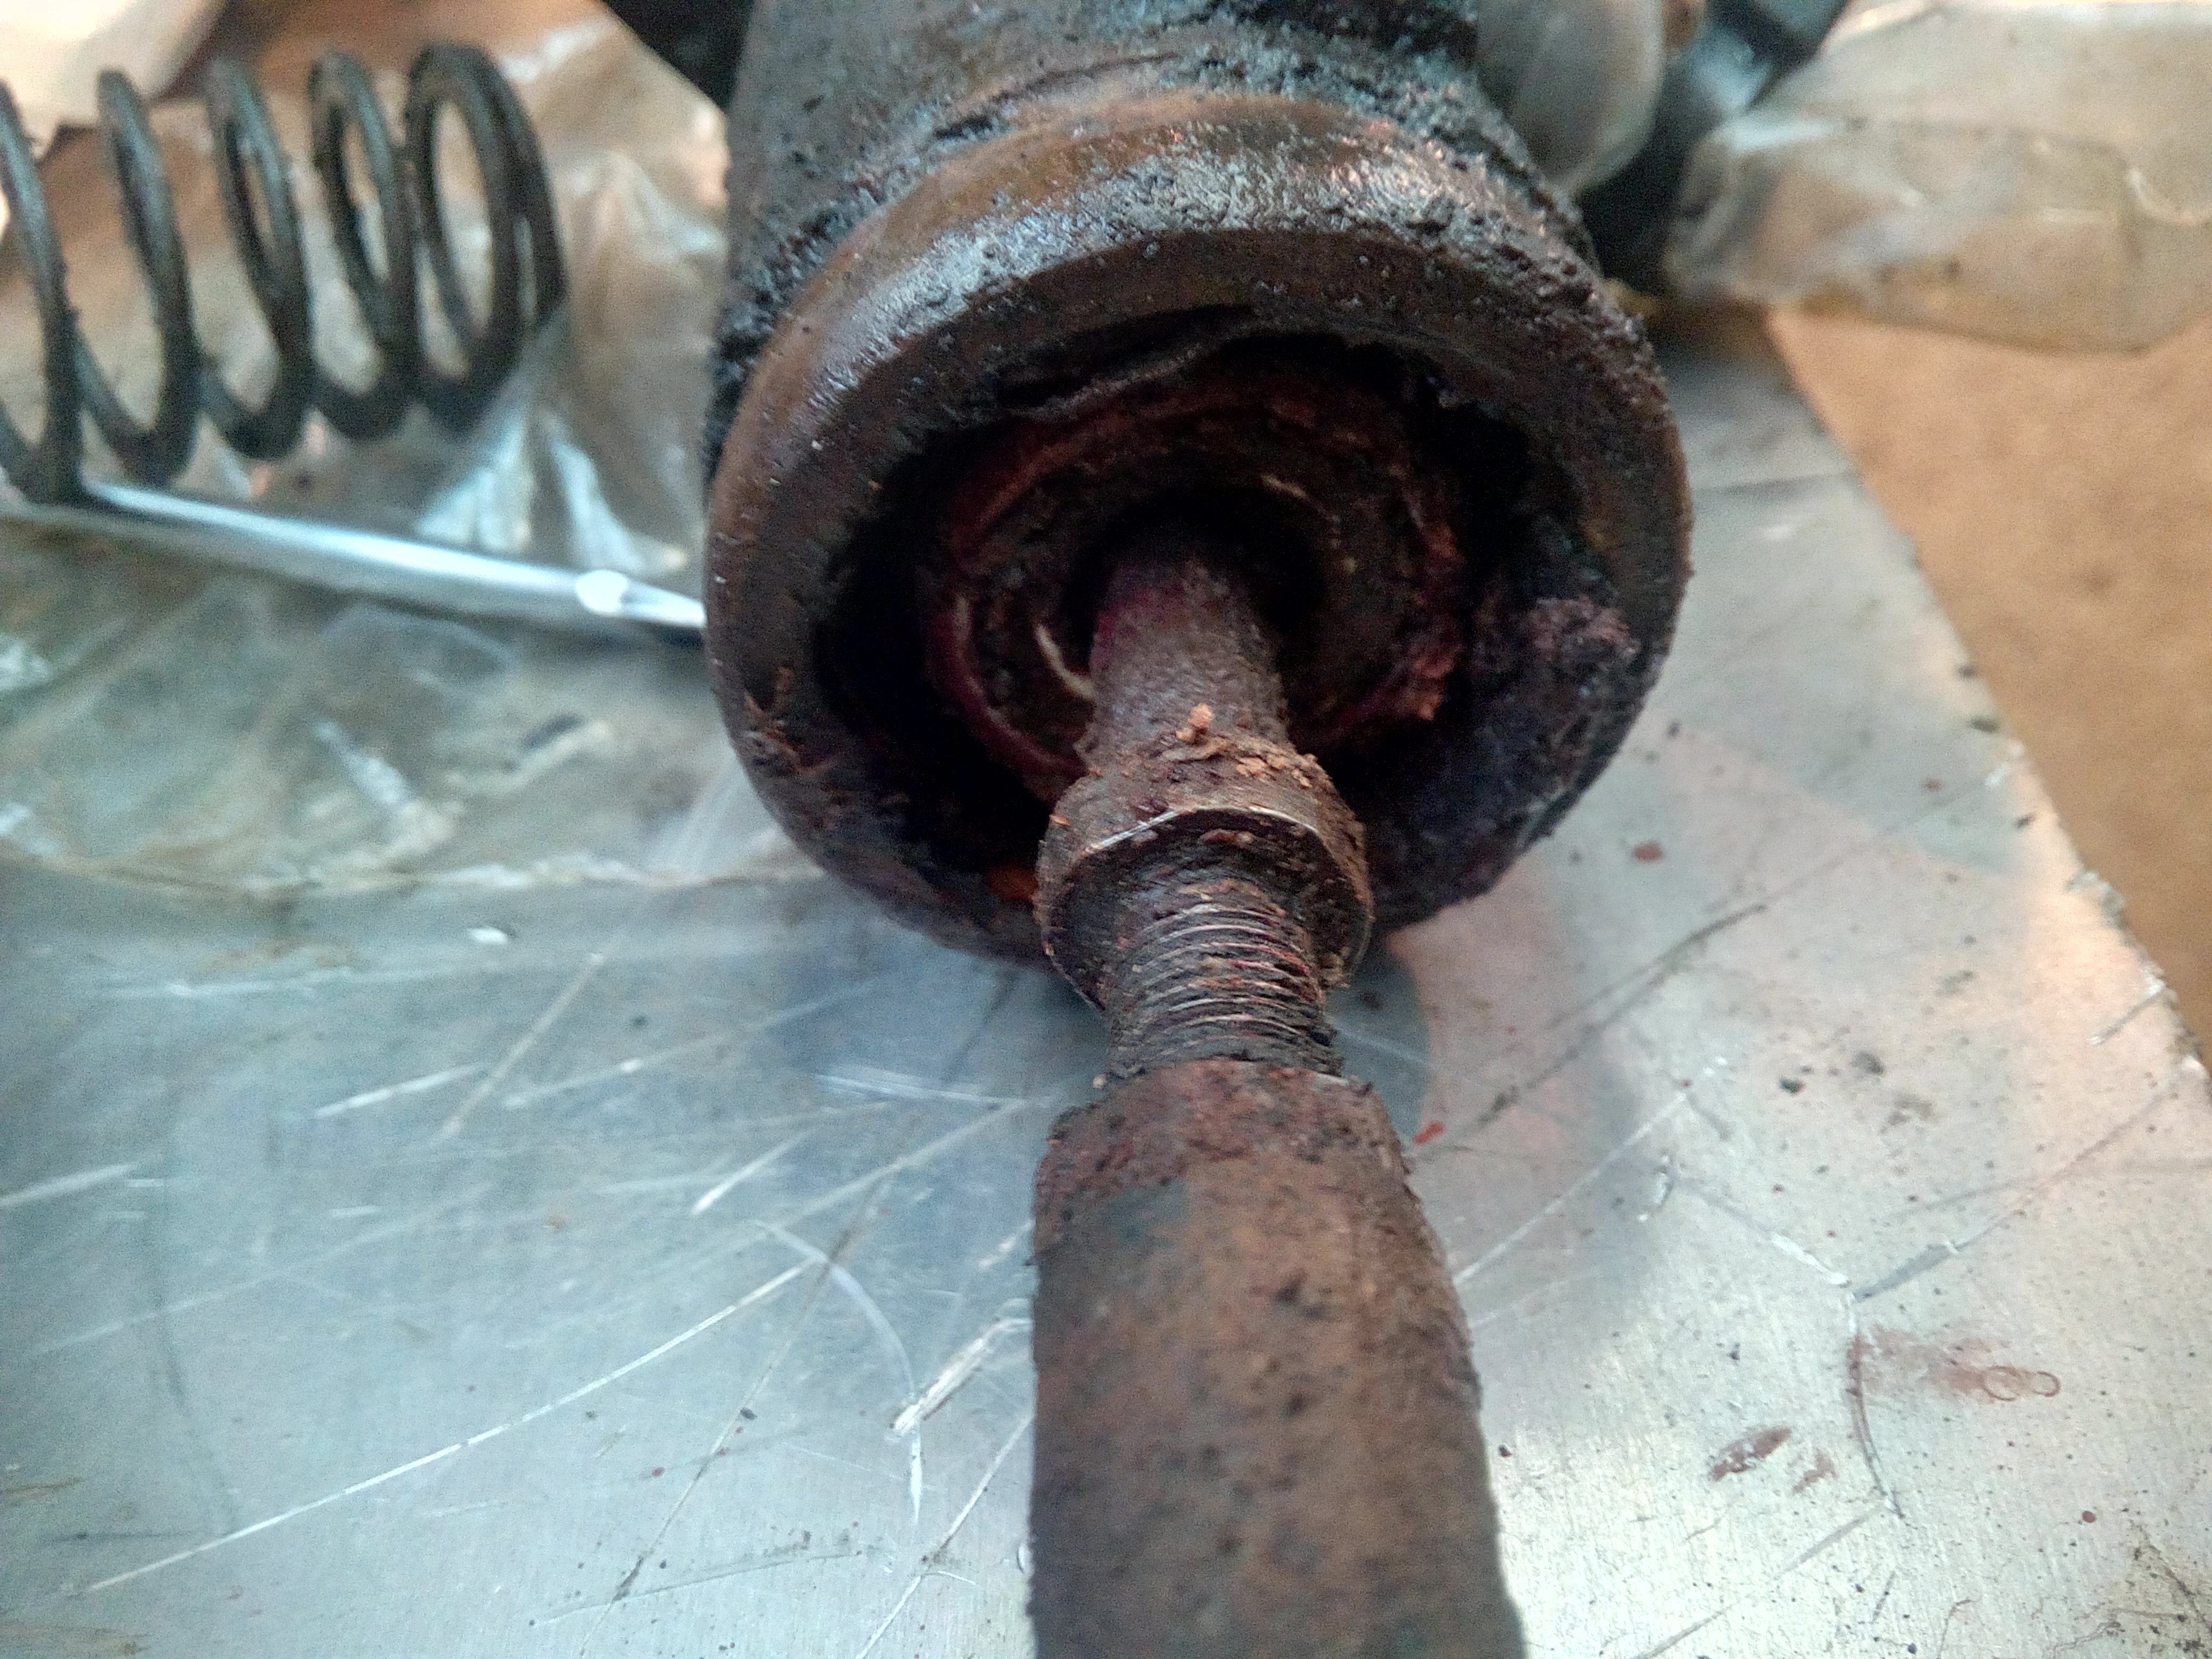
More cleaning needed.
Much better.
March 2017
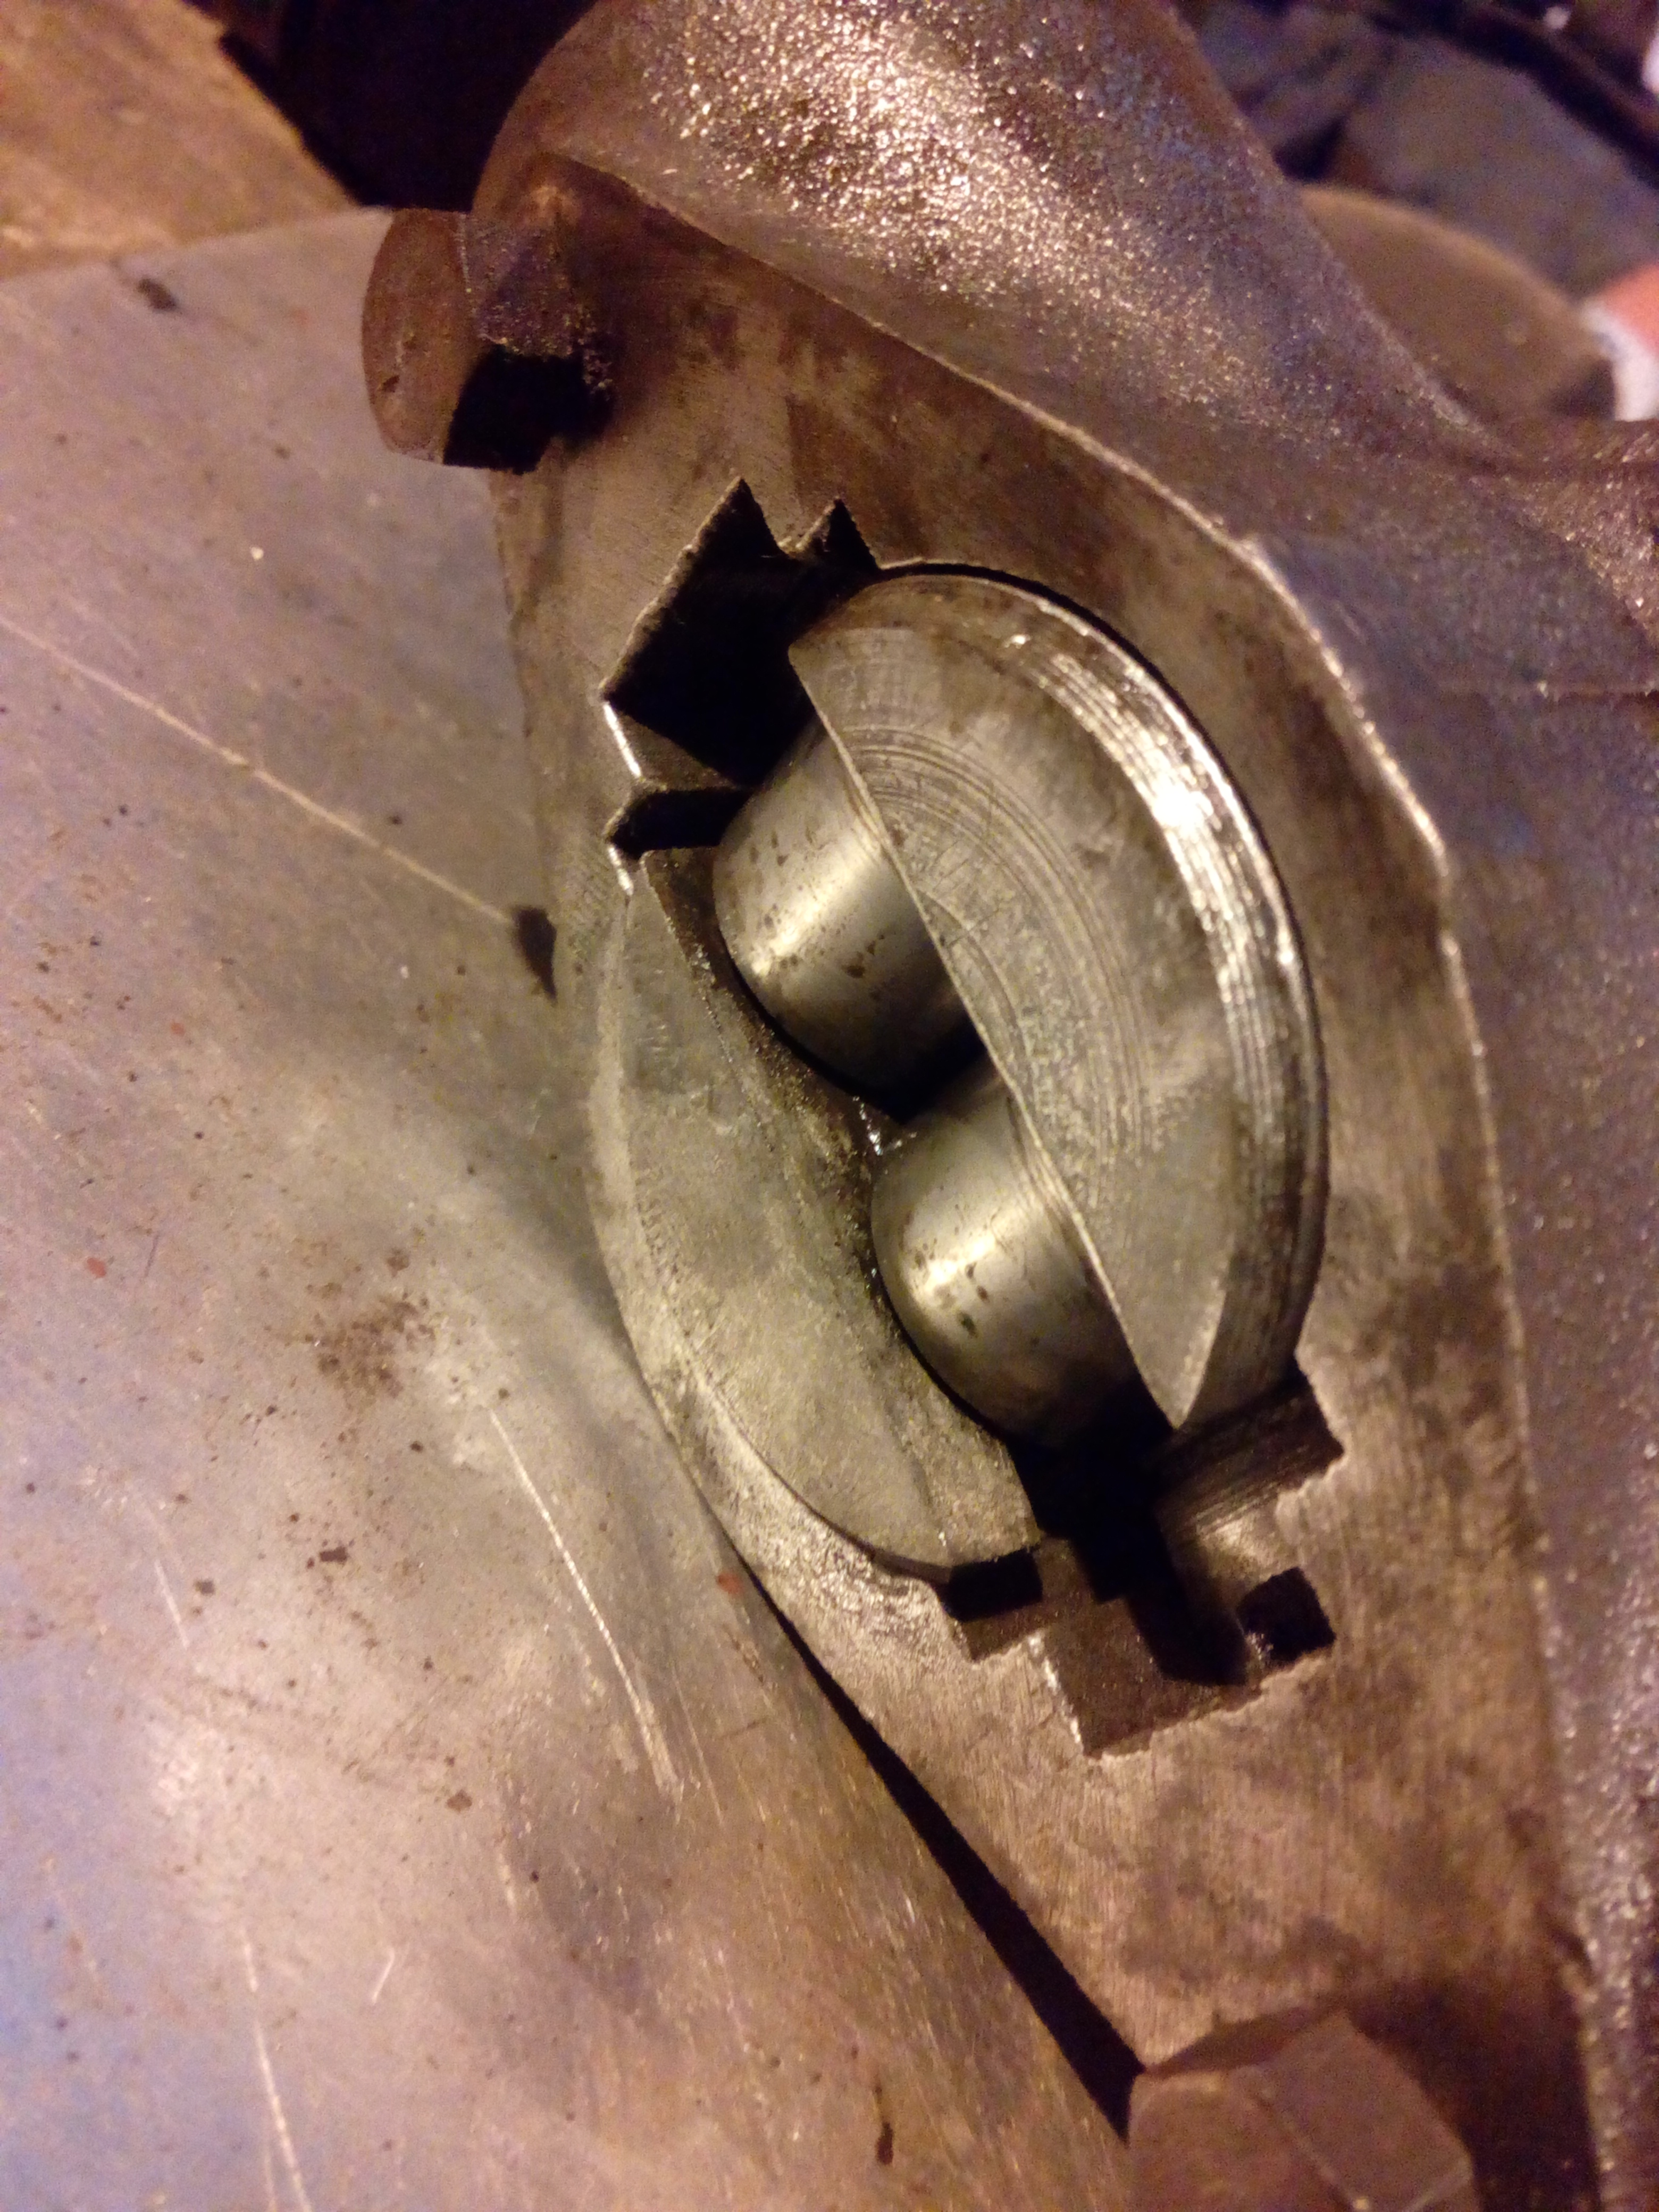
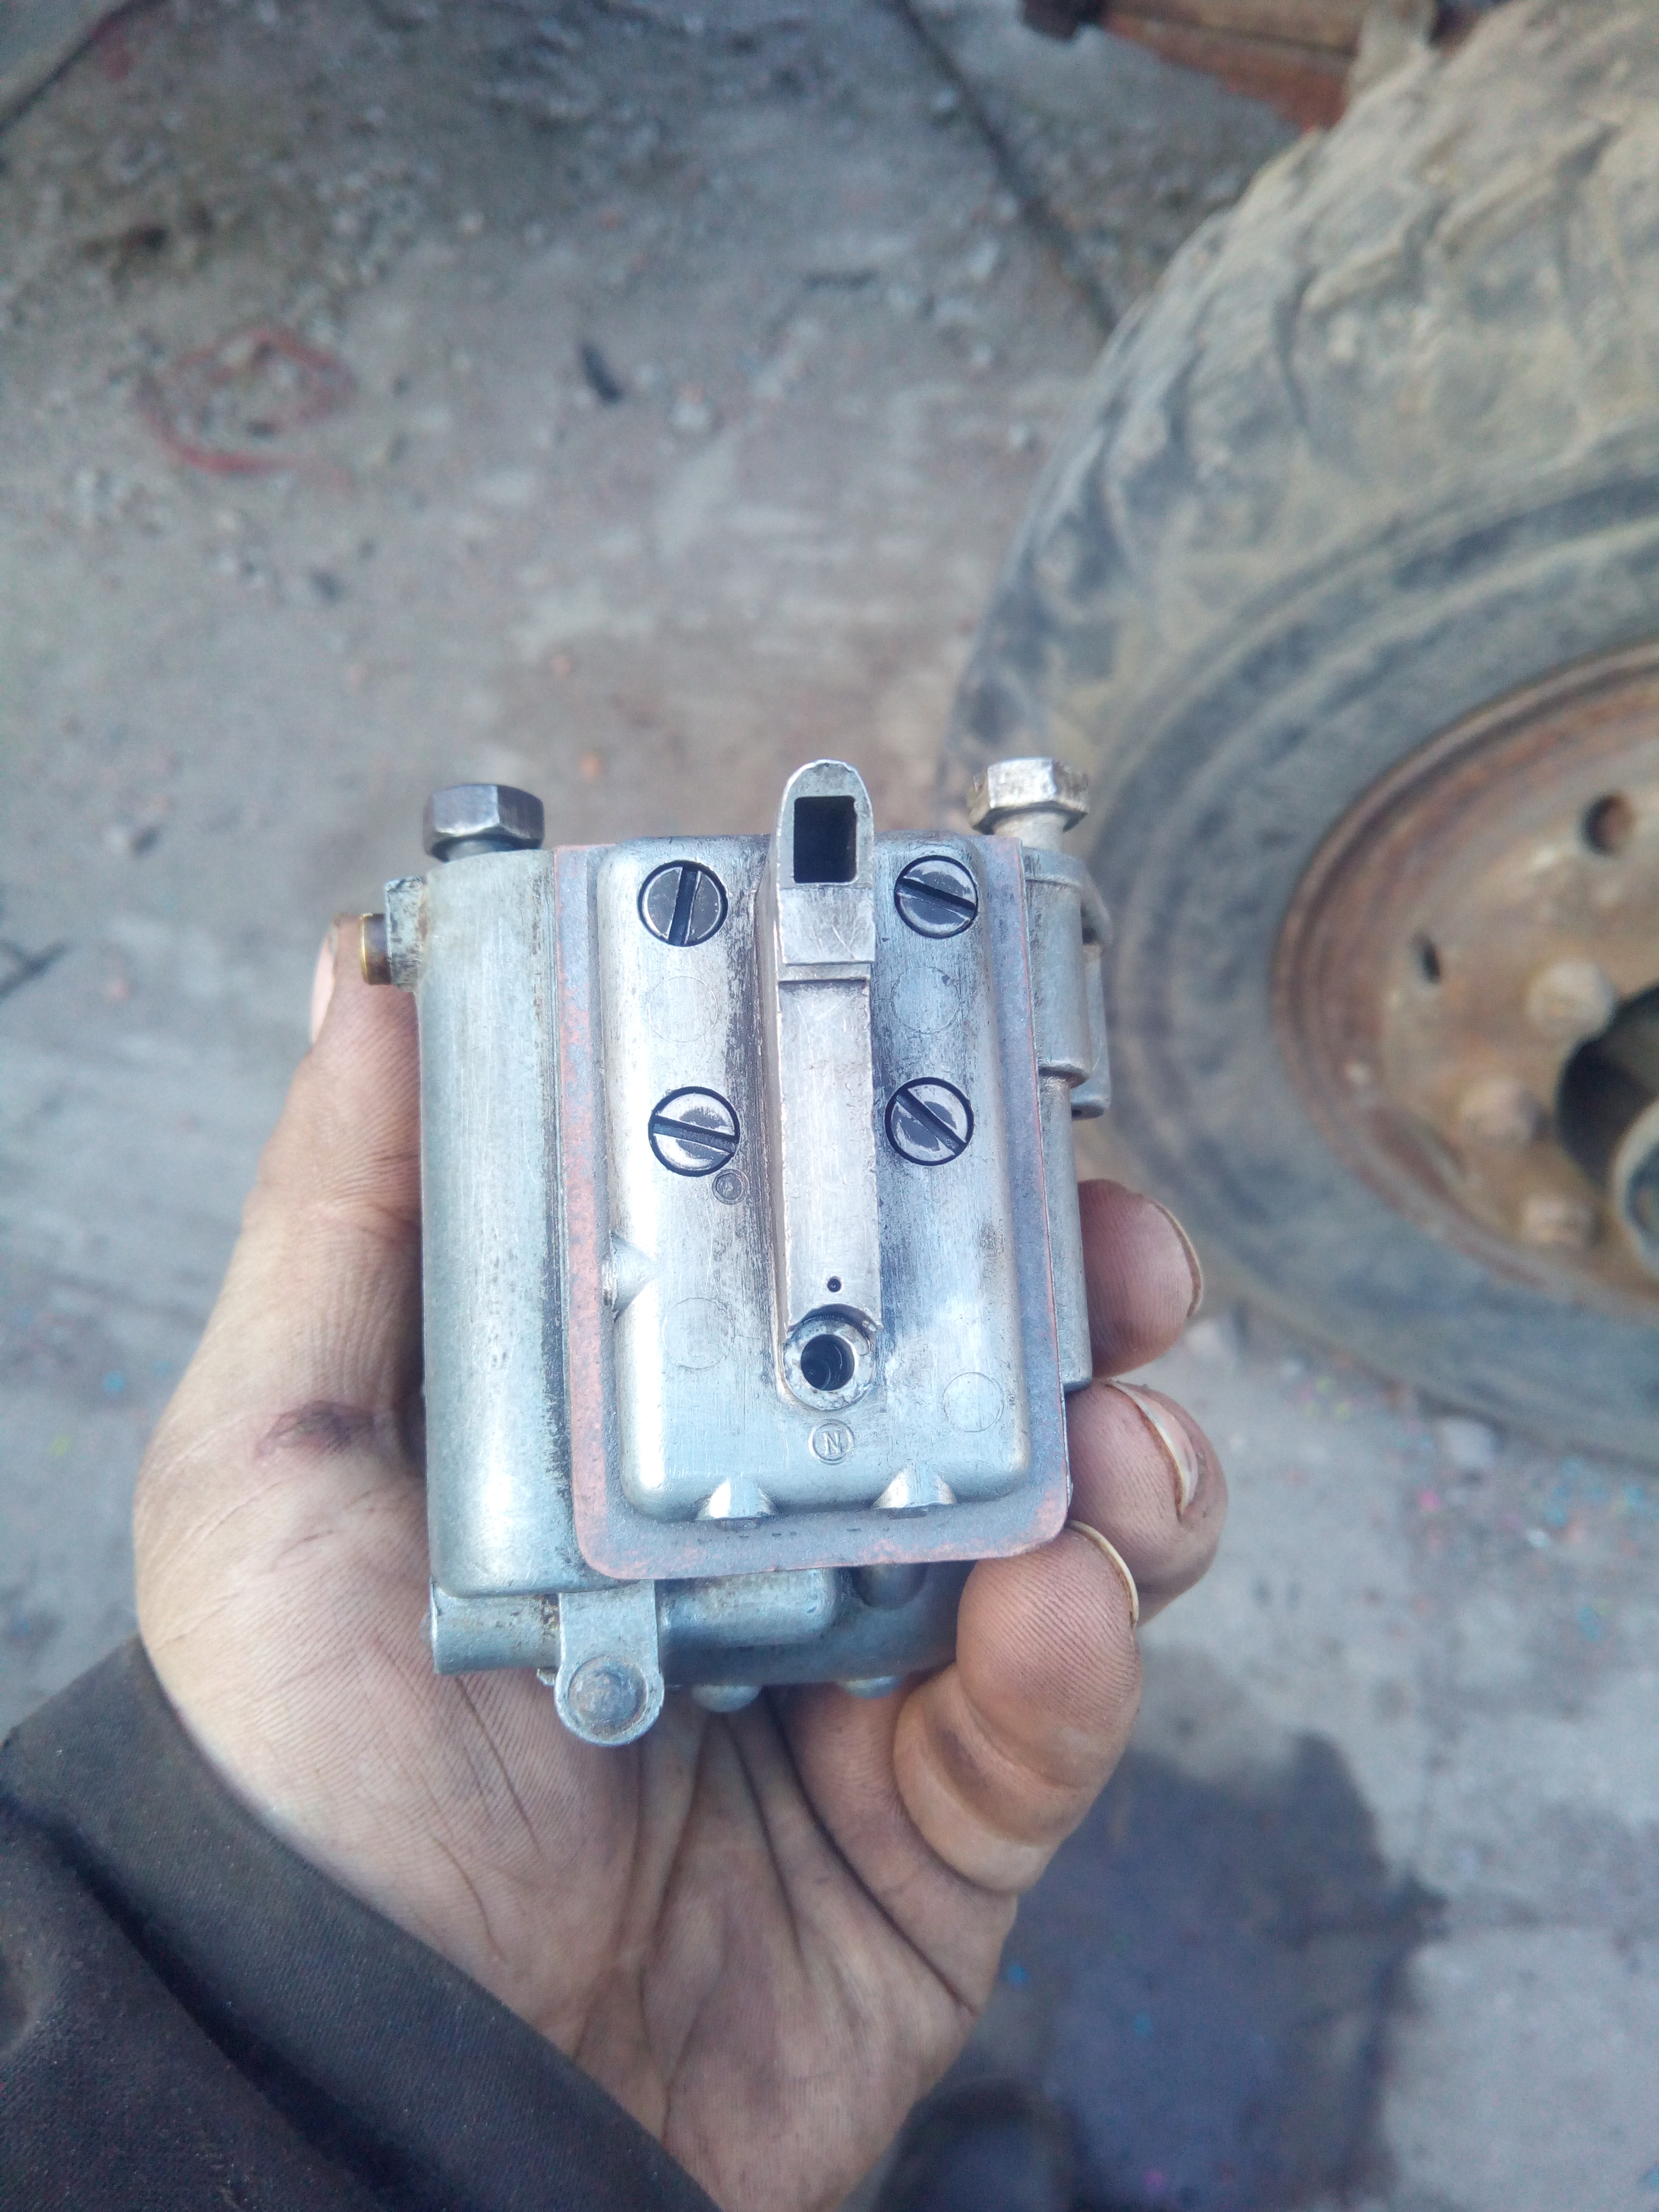
Hey, look what I've got!
Wonder what's inside?
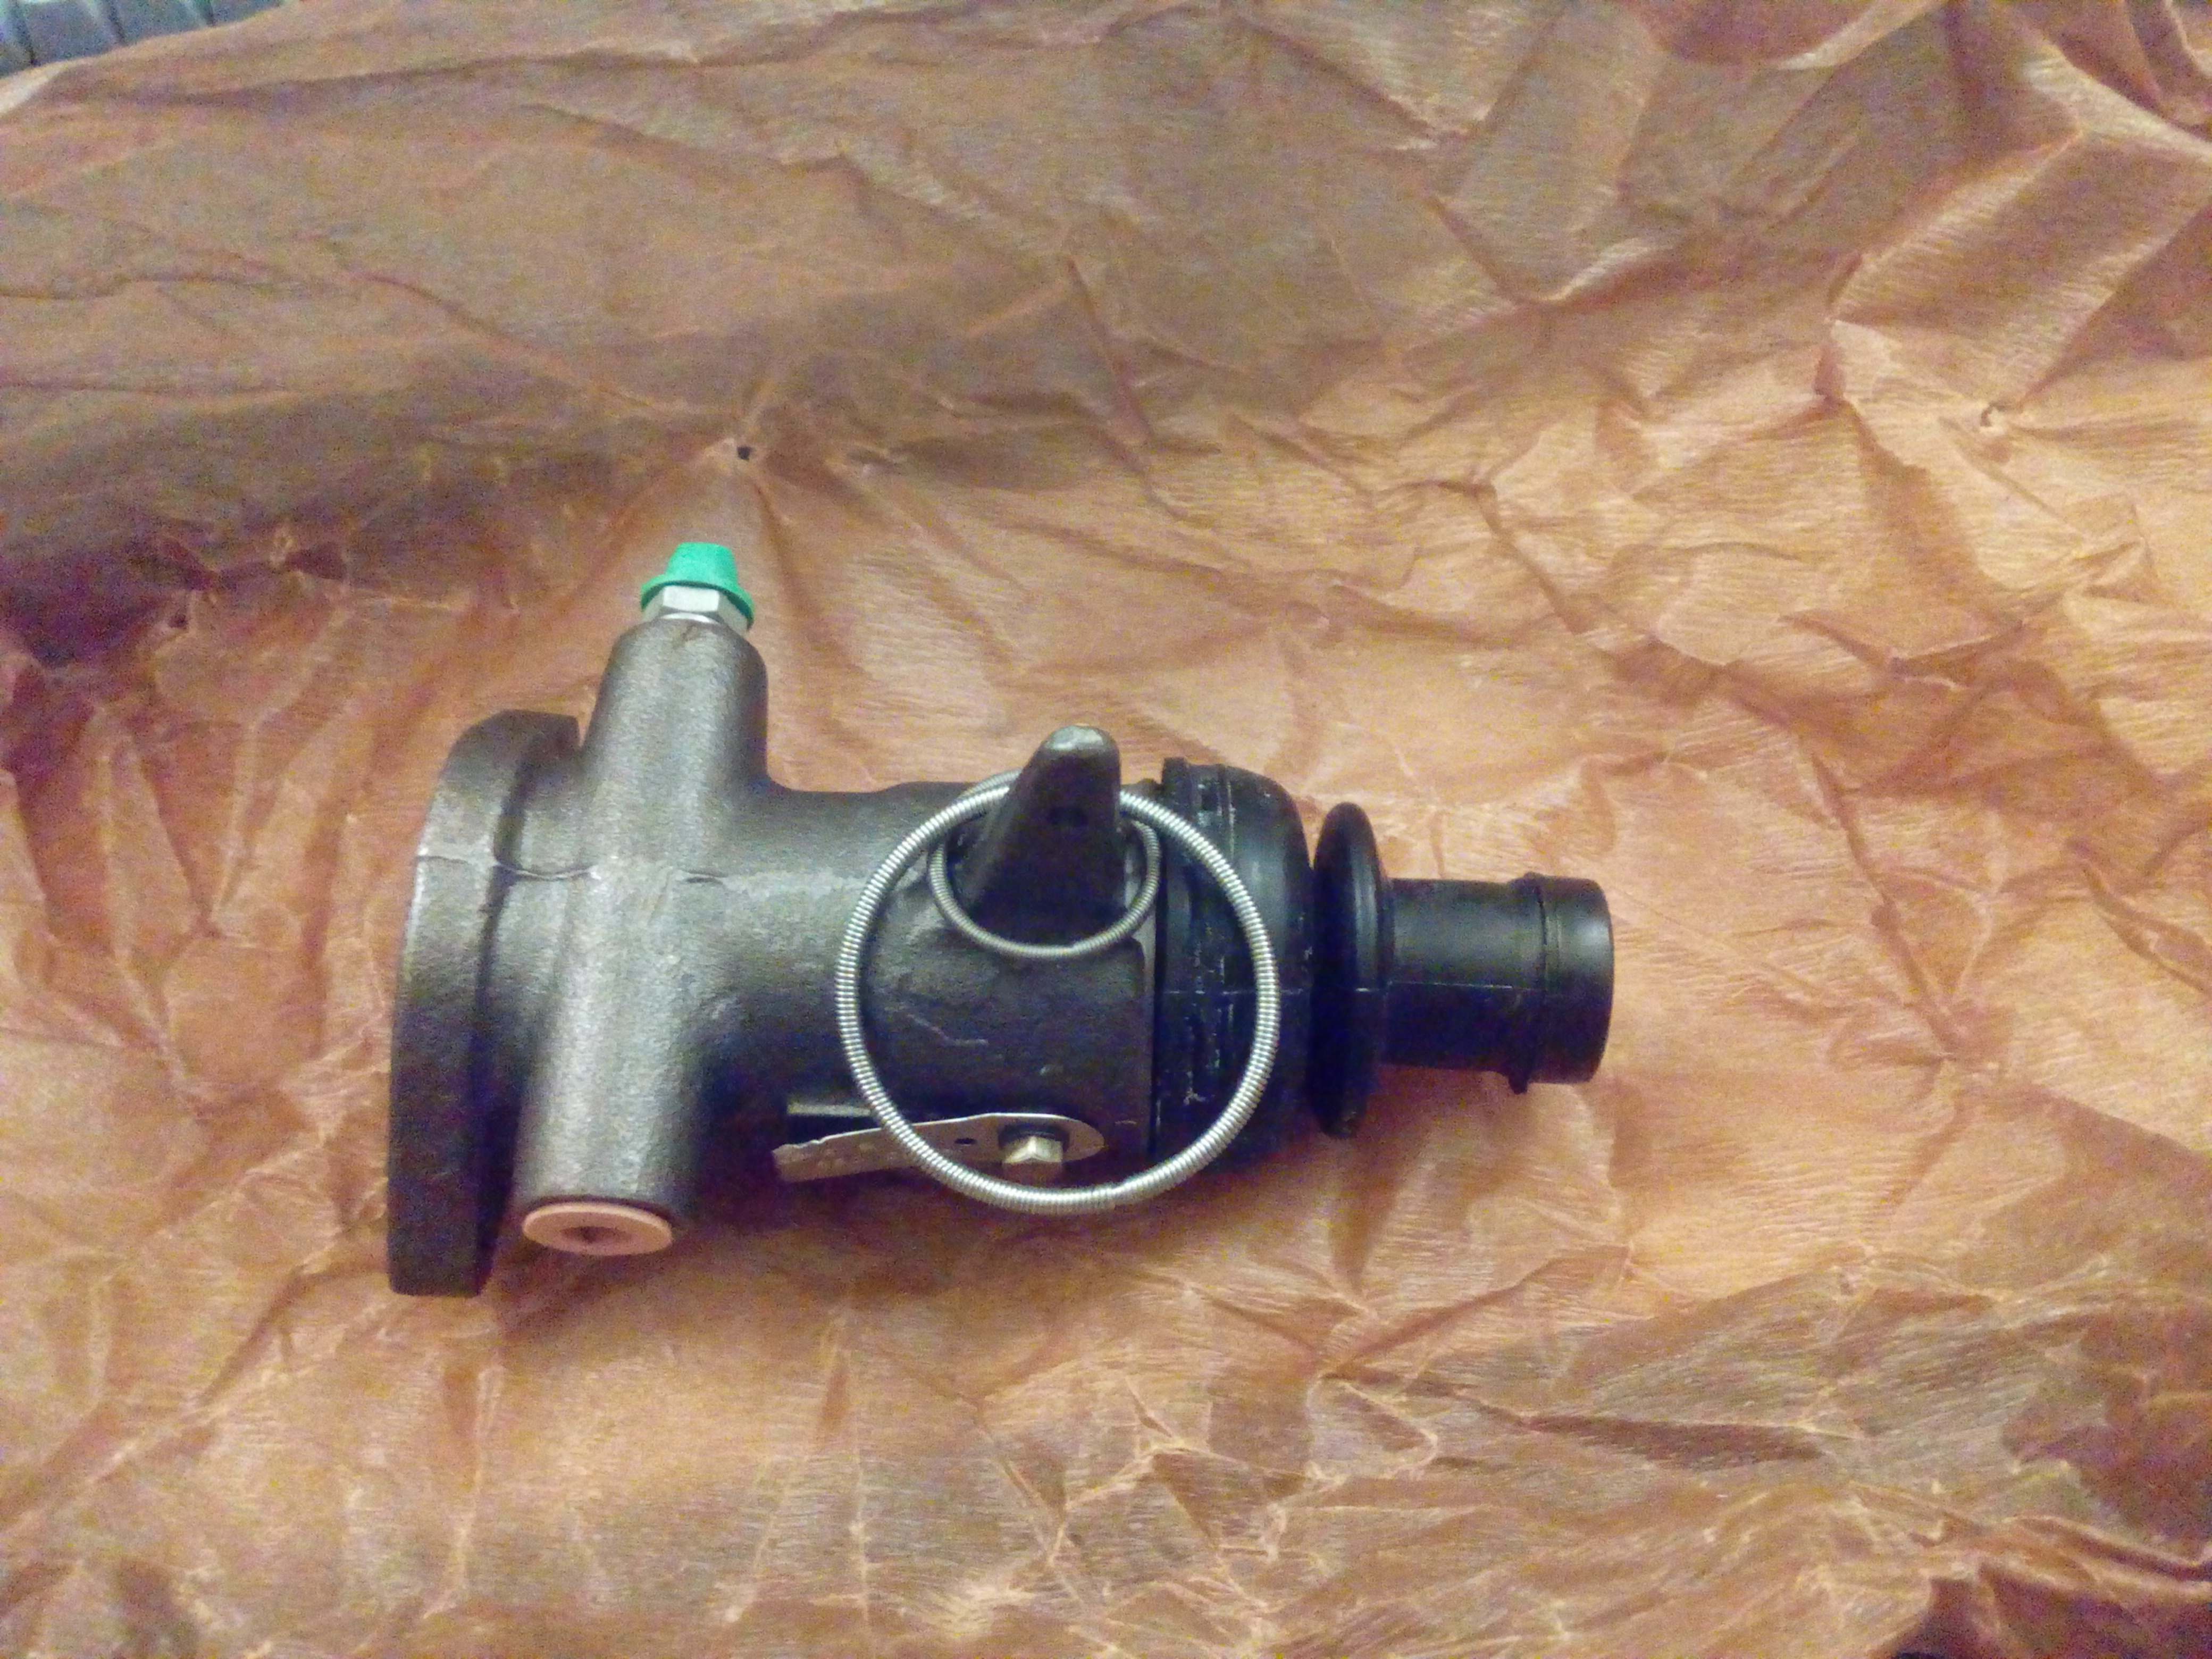
Mmm, transverse brake cylinders.
Later...
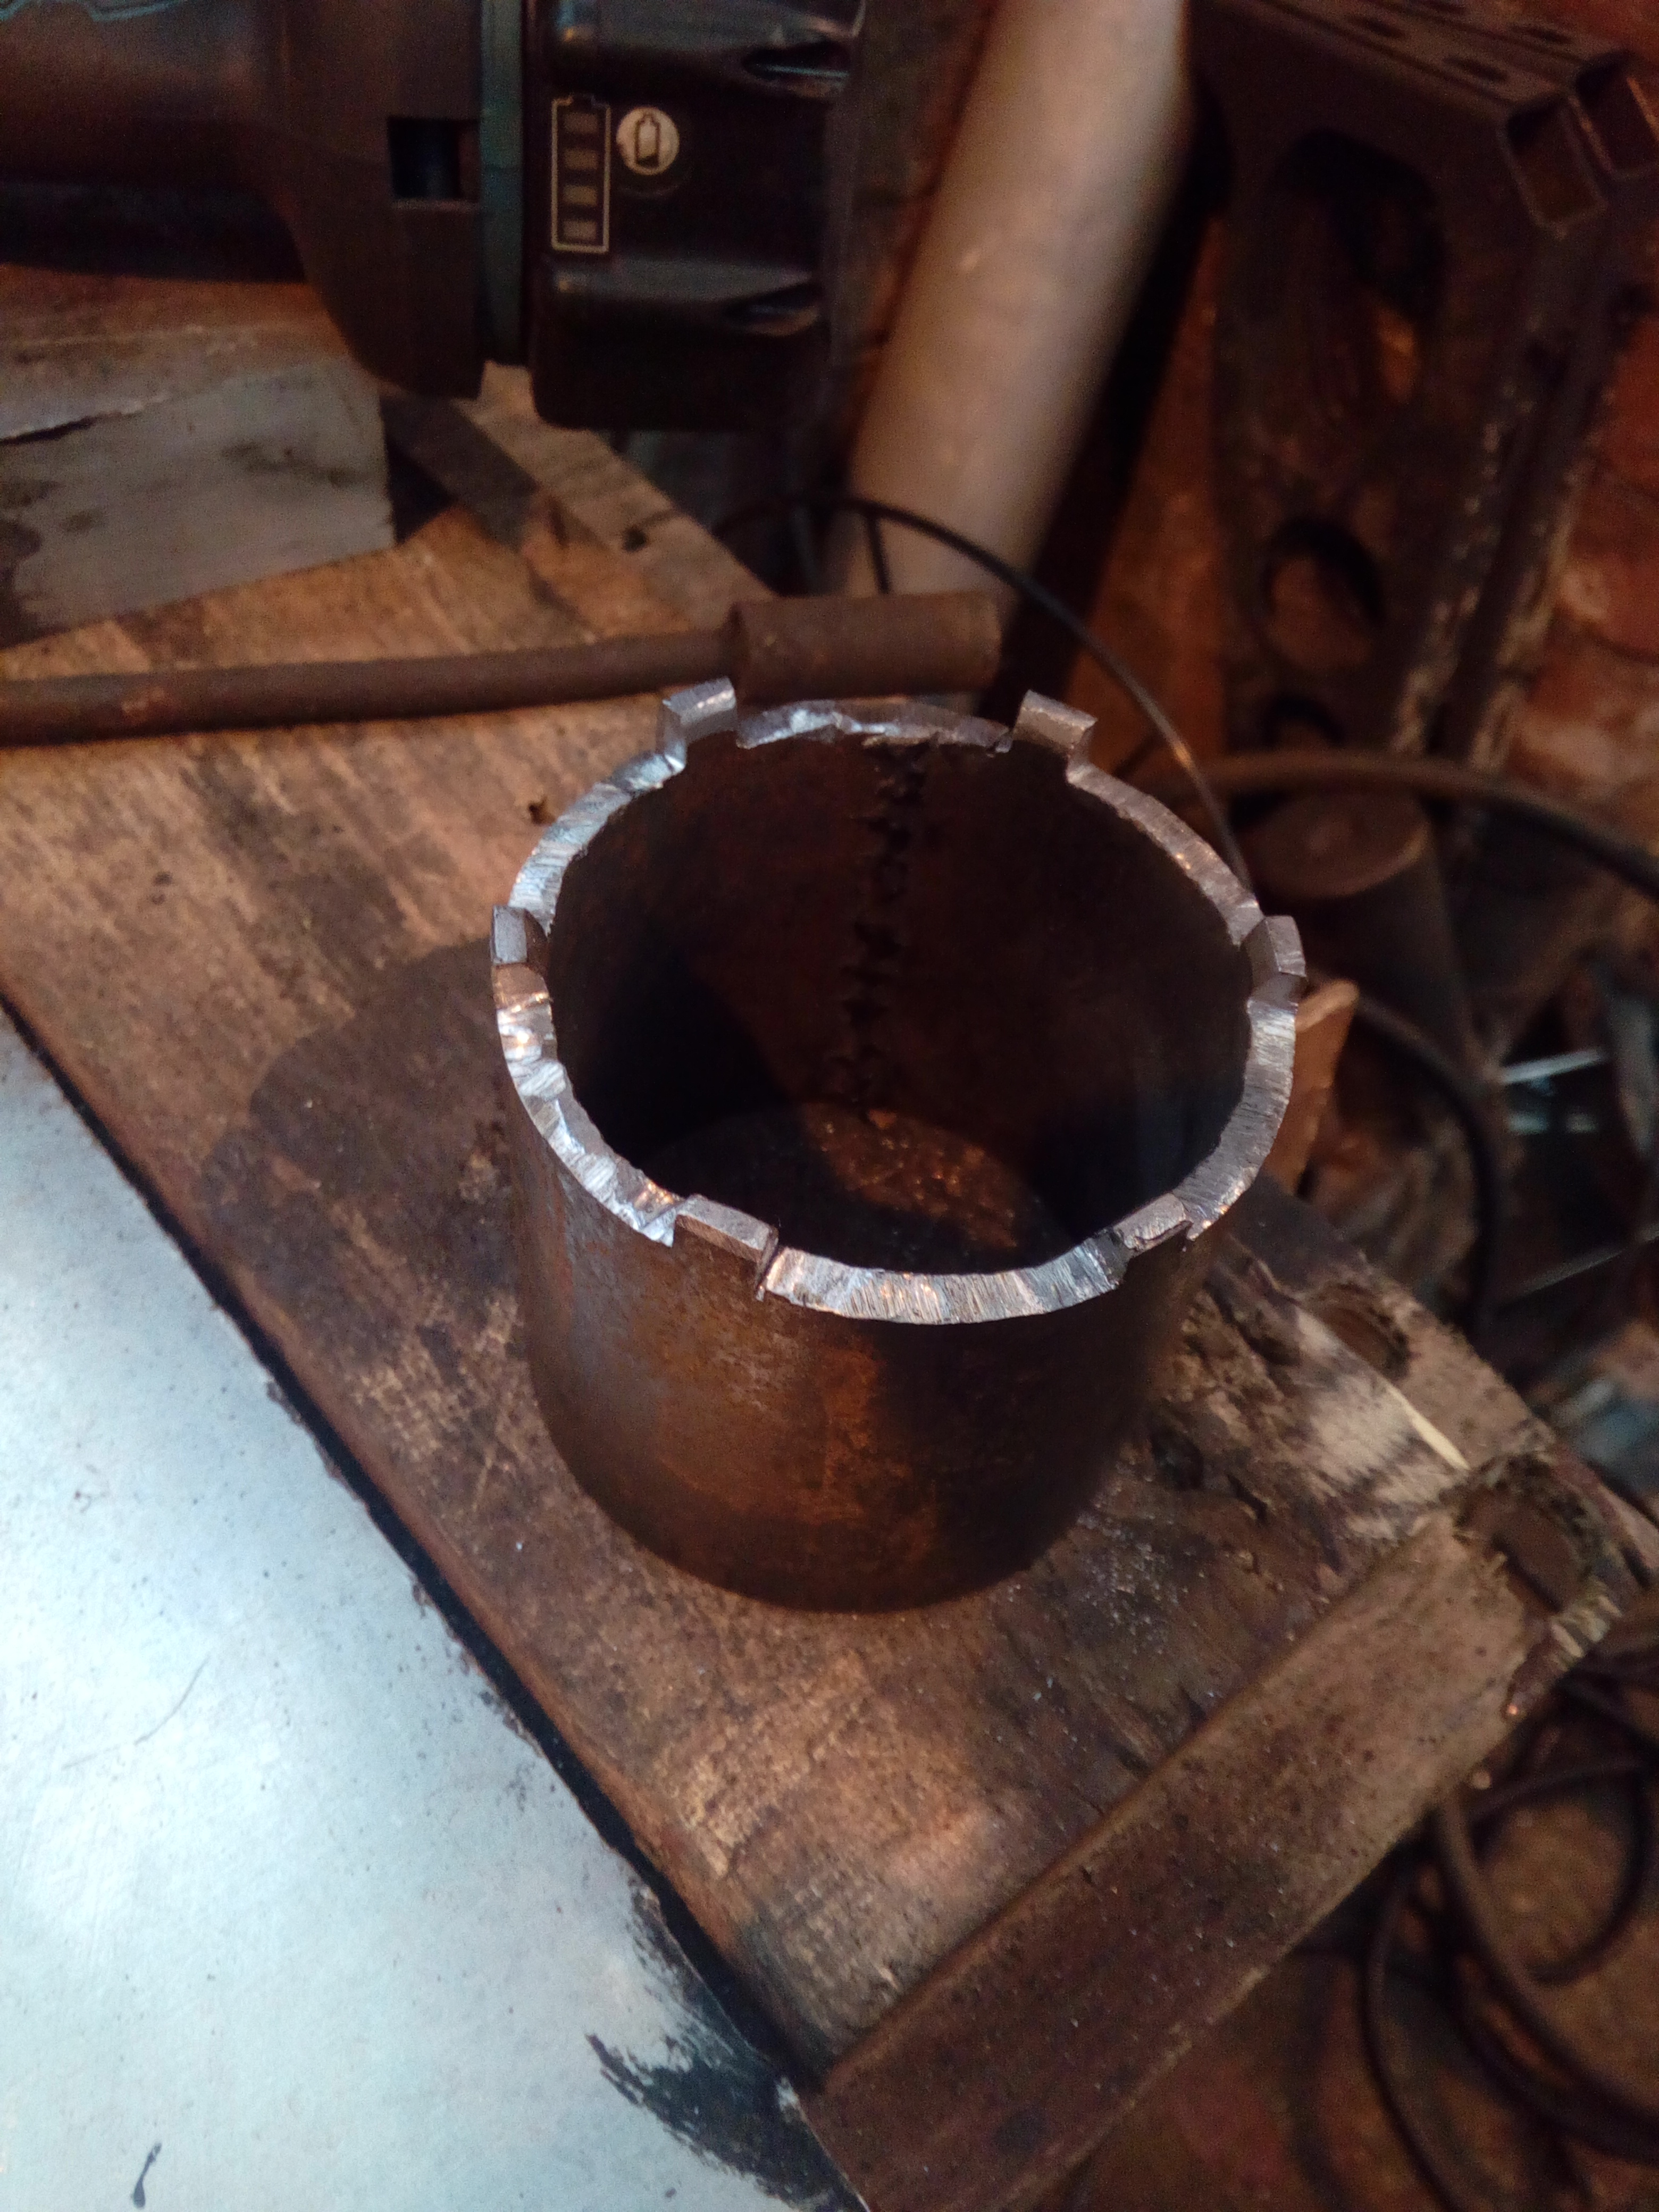
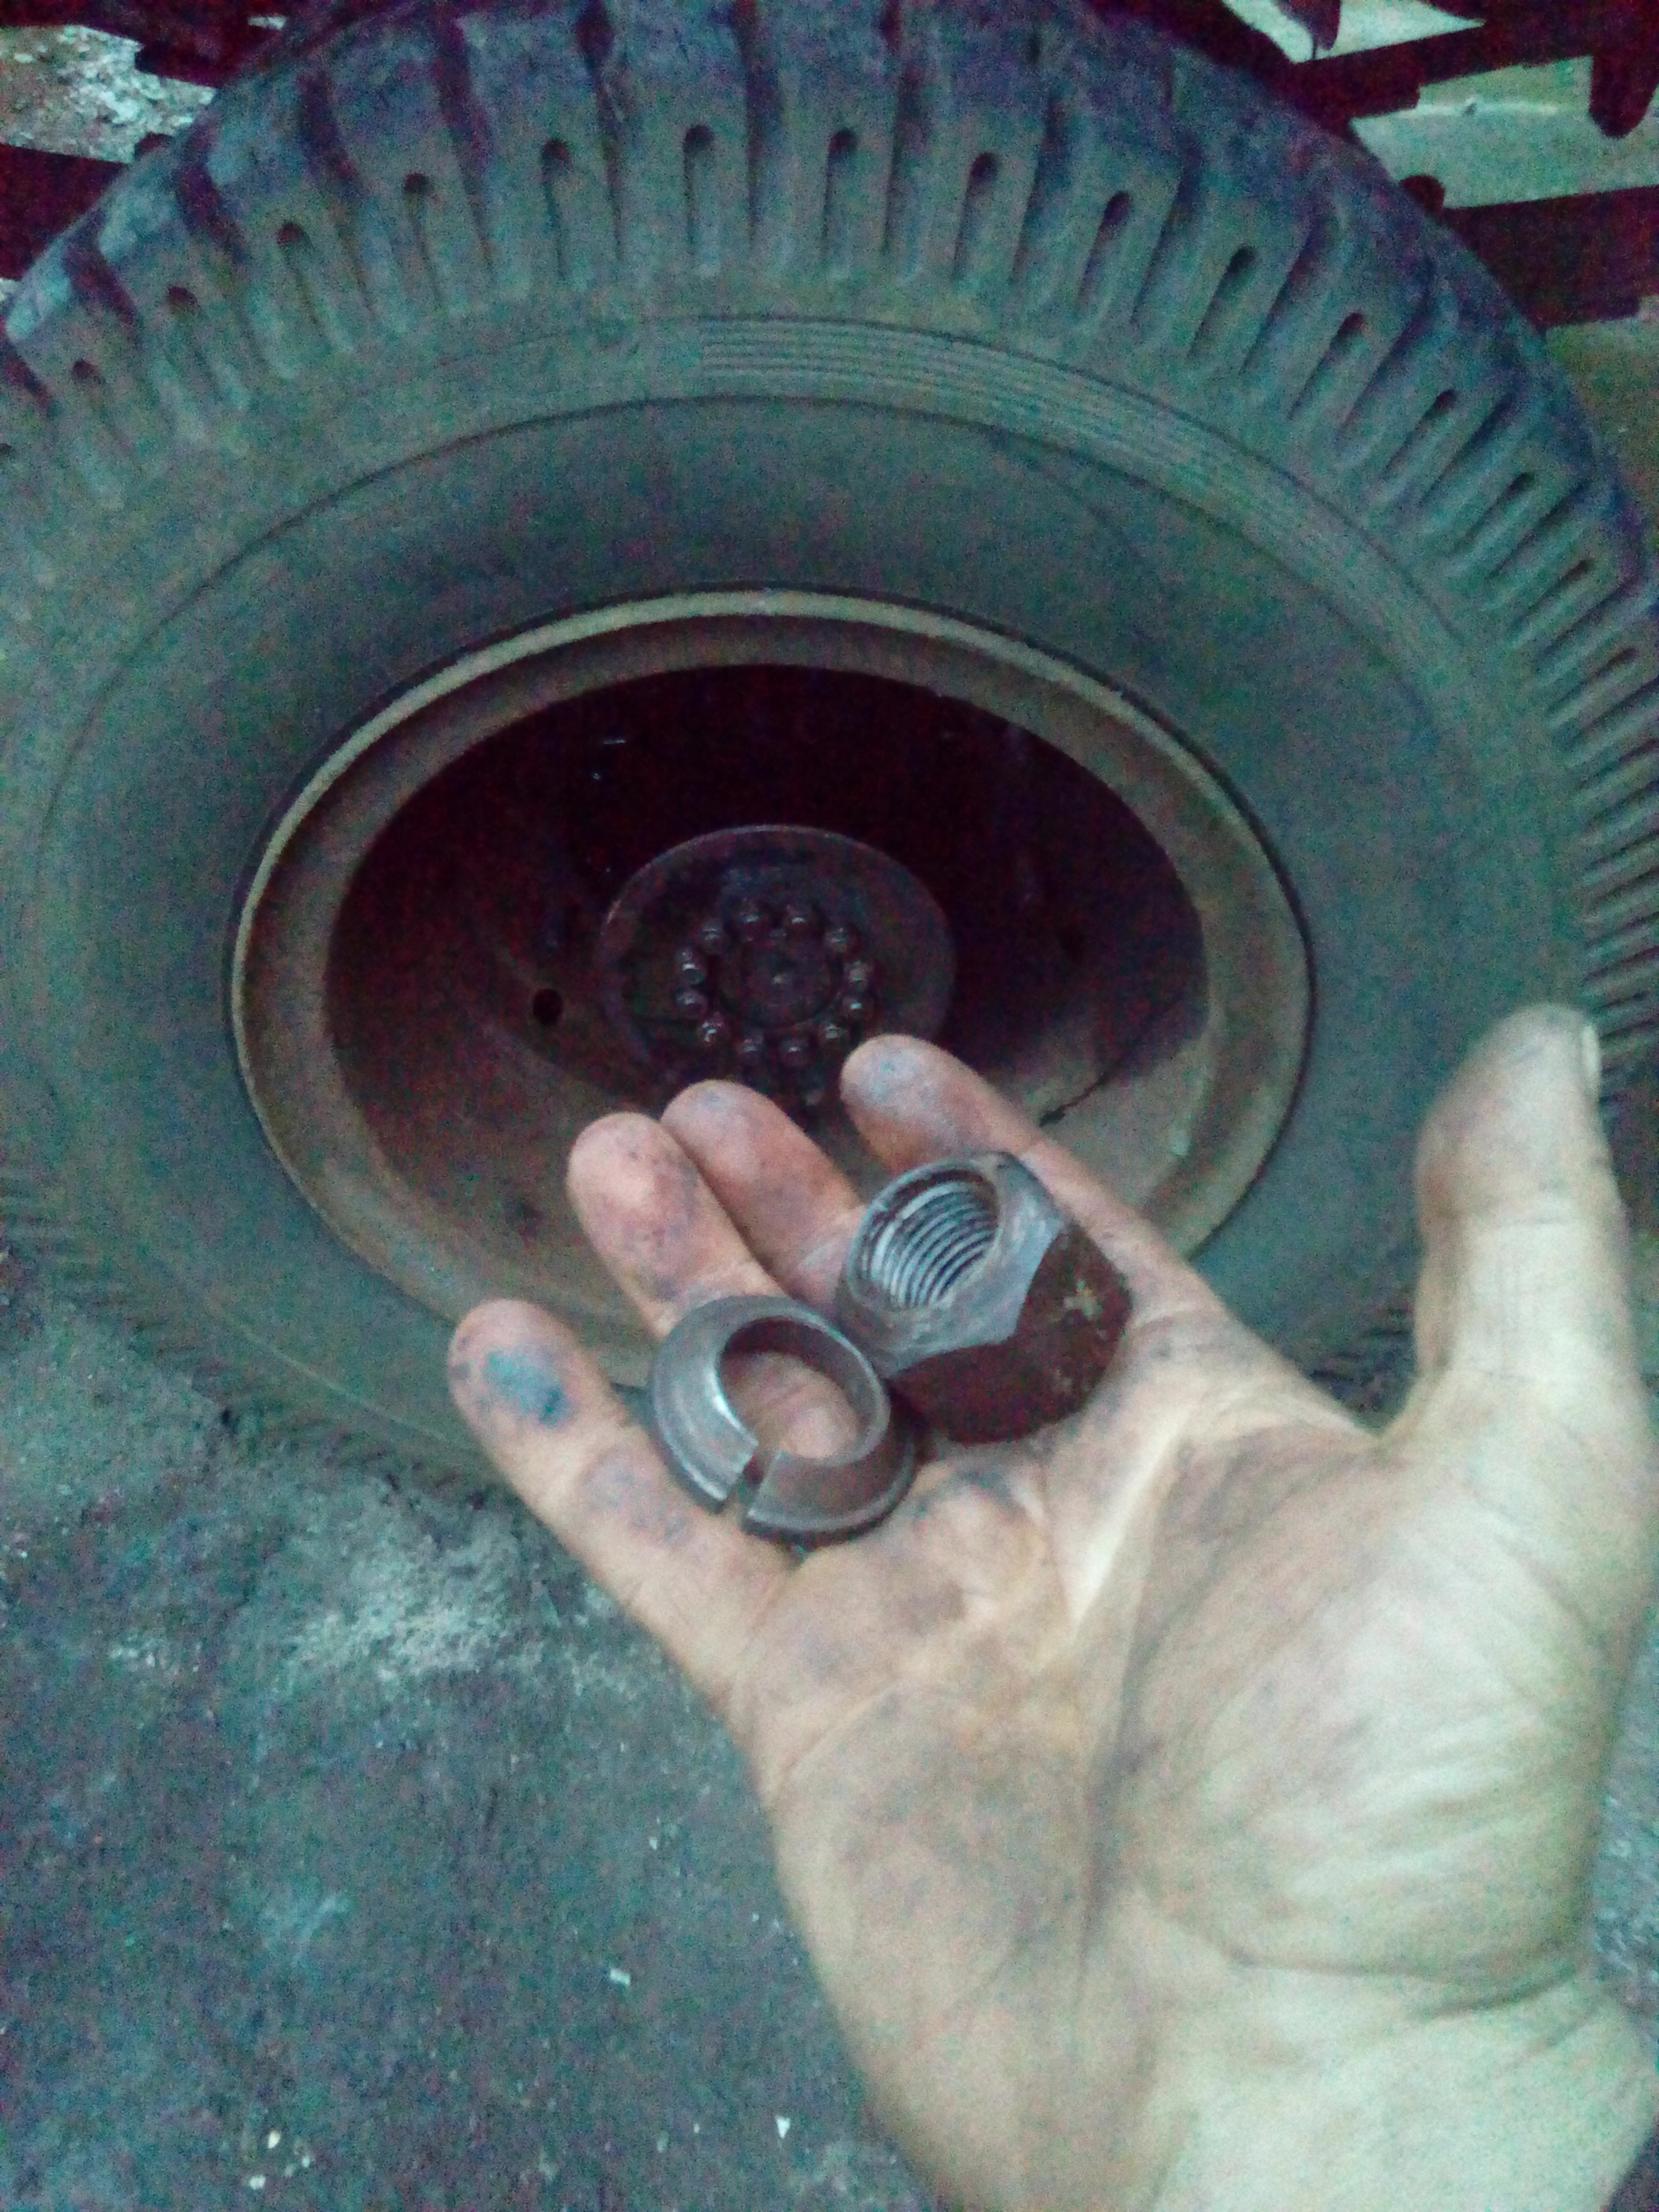
Time to make a hub nut socket!
...and go stick the hubs back on, now with new seals and shiny black paint...
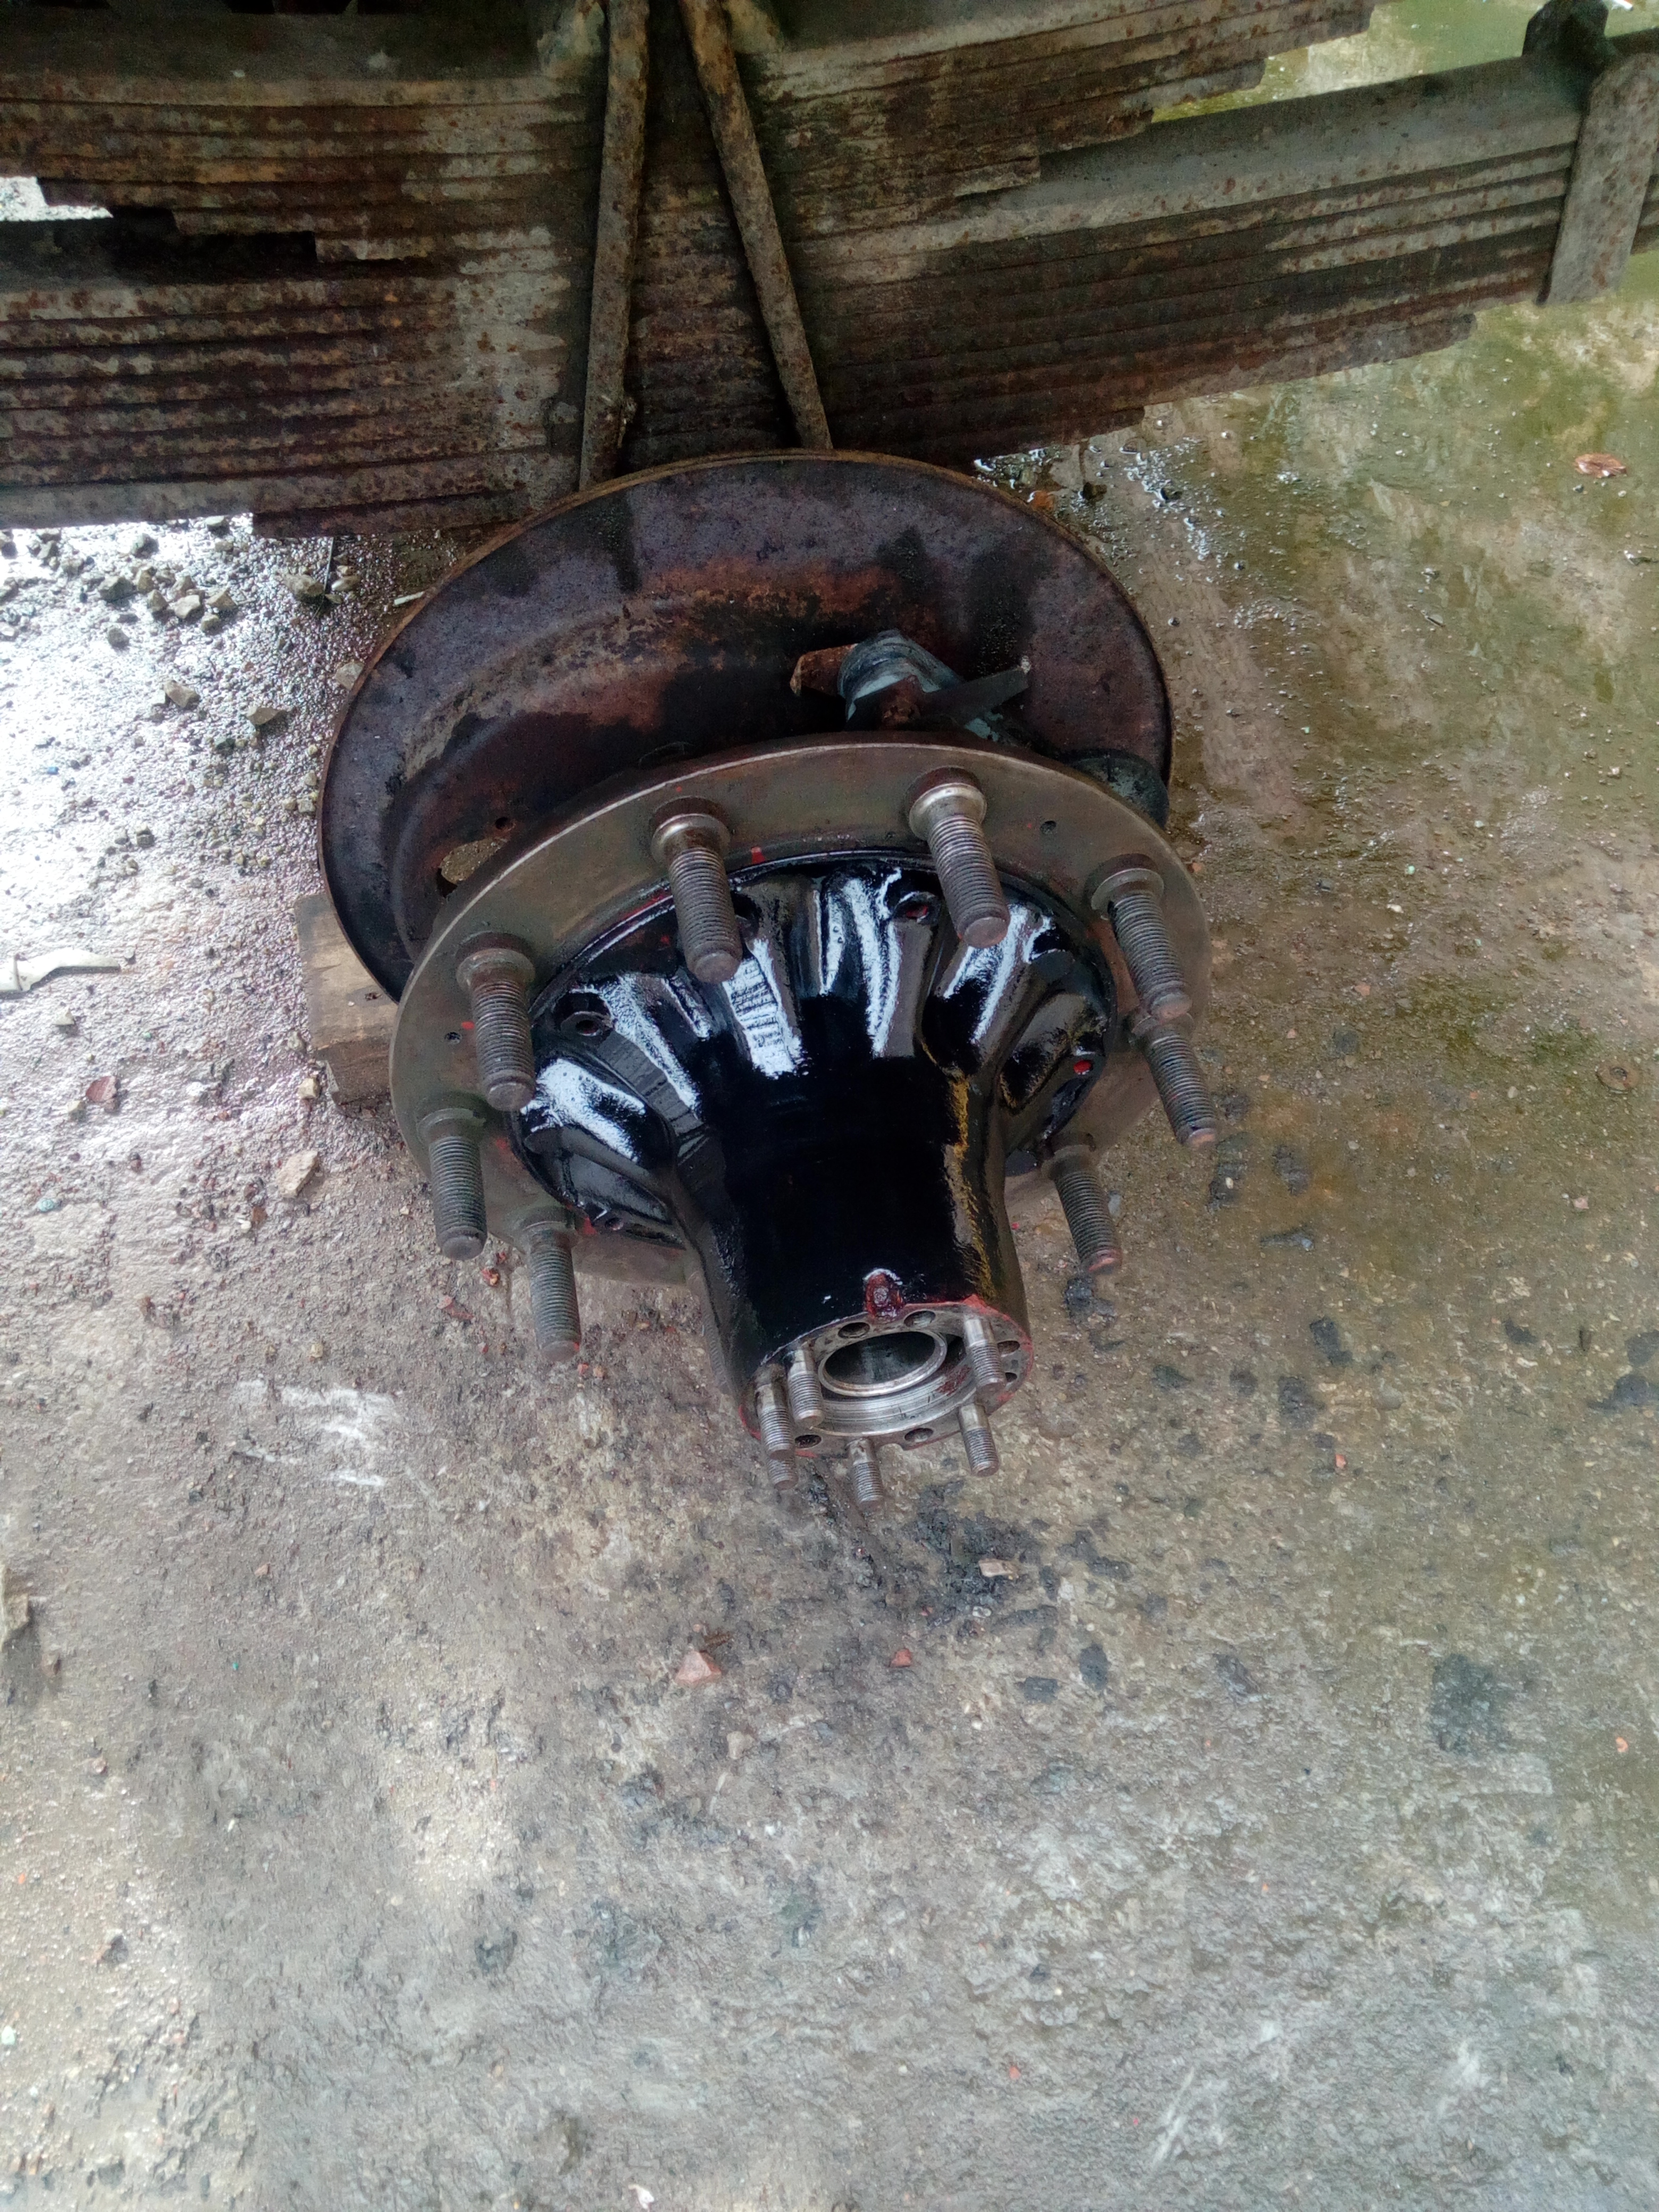
Stick the wheels back on, discover I forgot to put the conical washers on first, curse profusely, take them back off, fit the washers, re-fit the wheels, etc.
Late March 2017
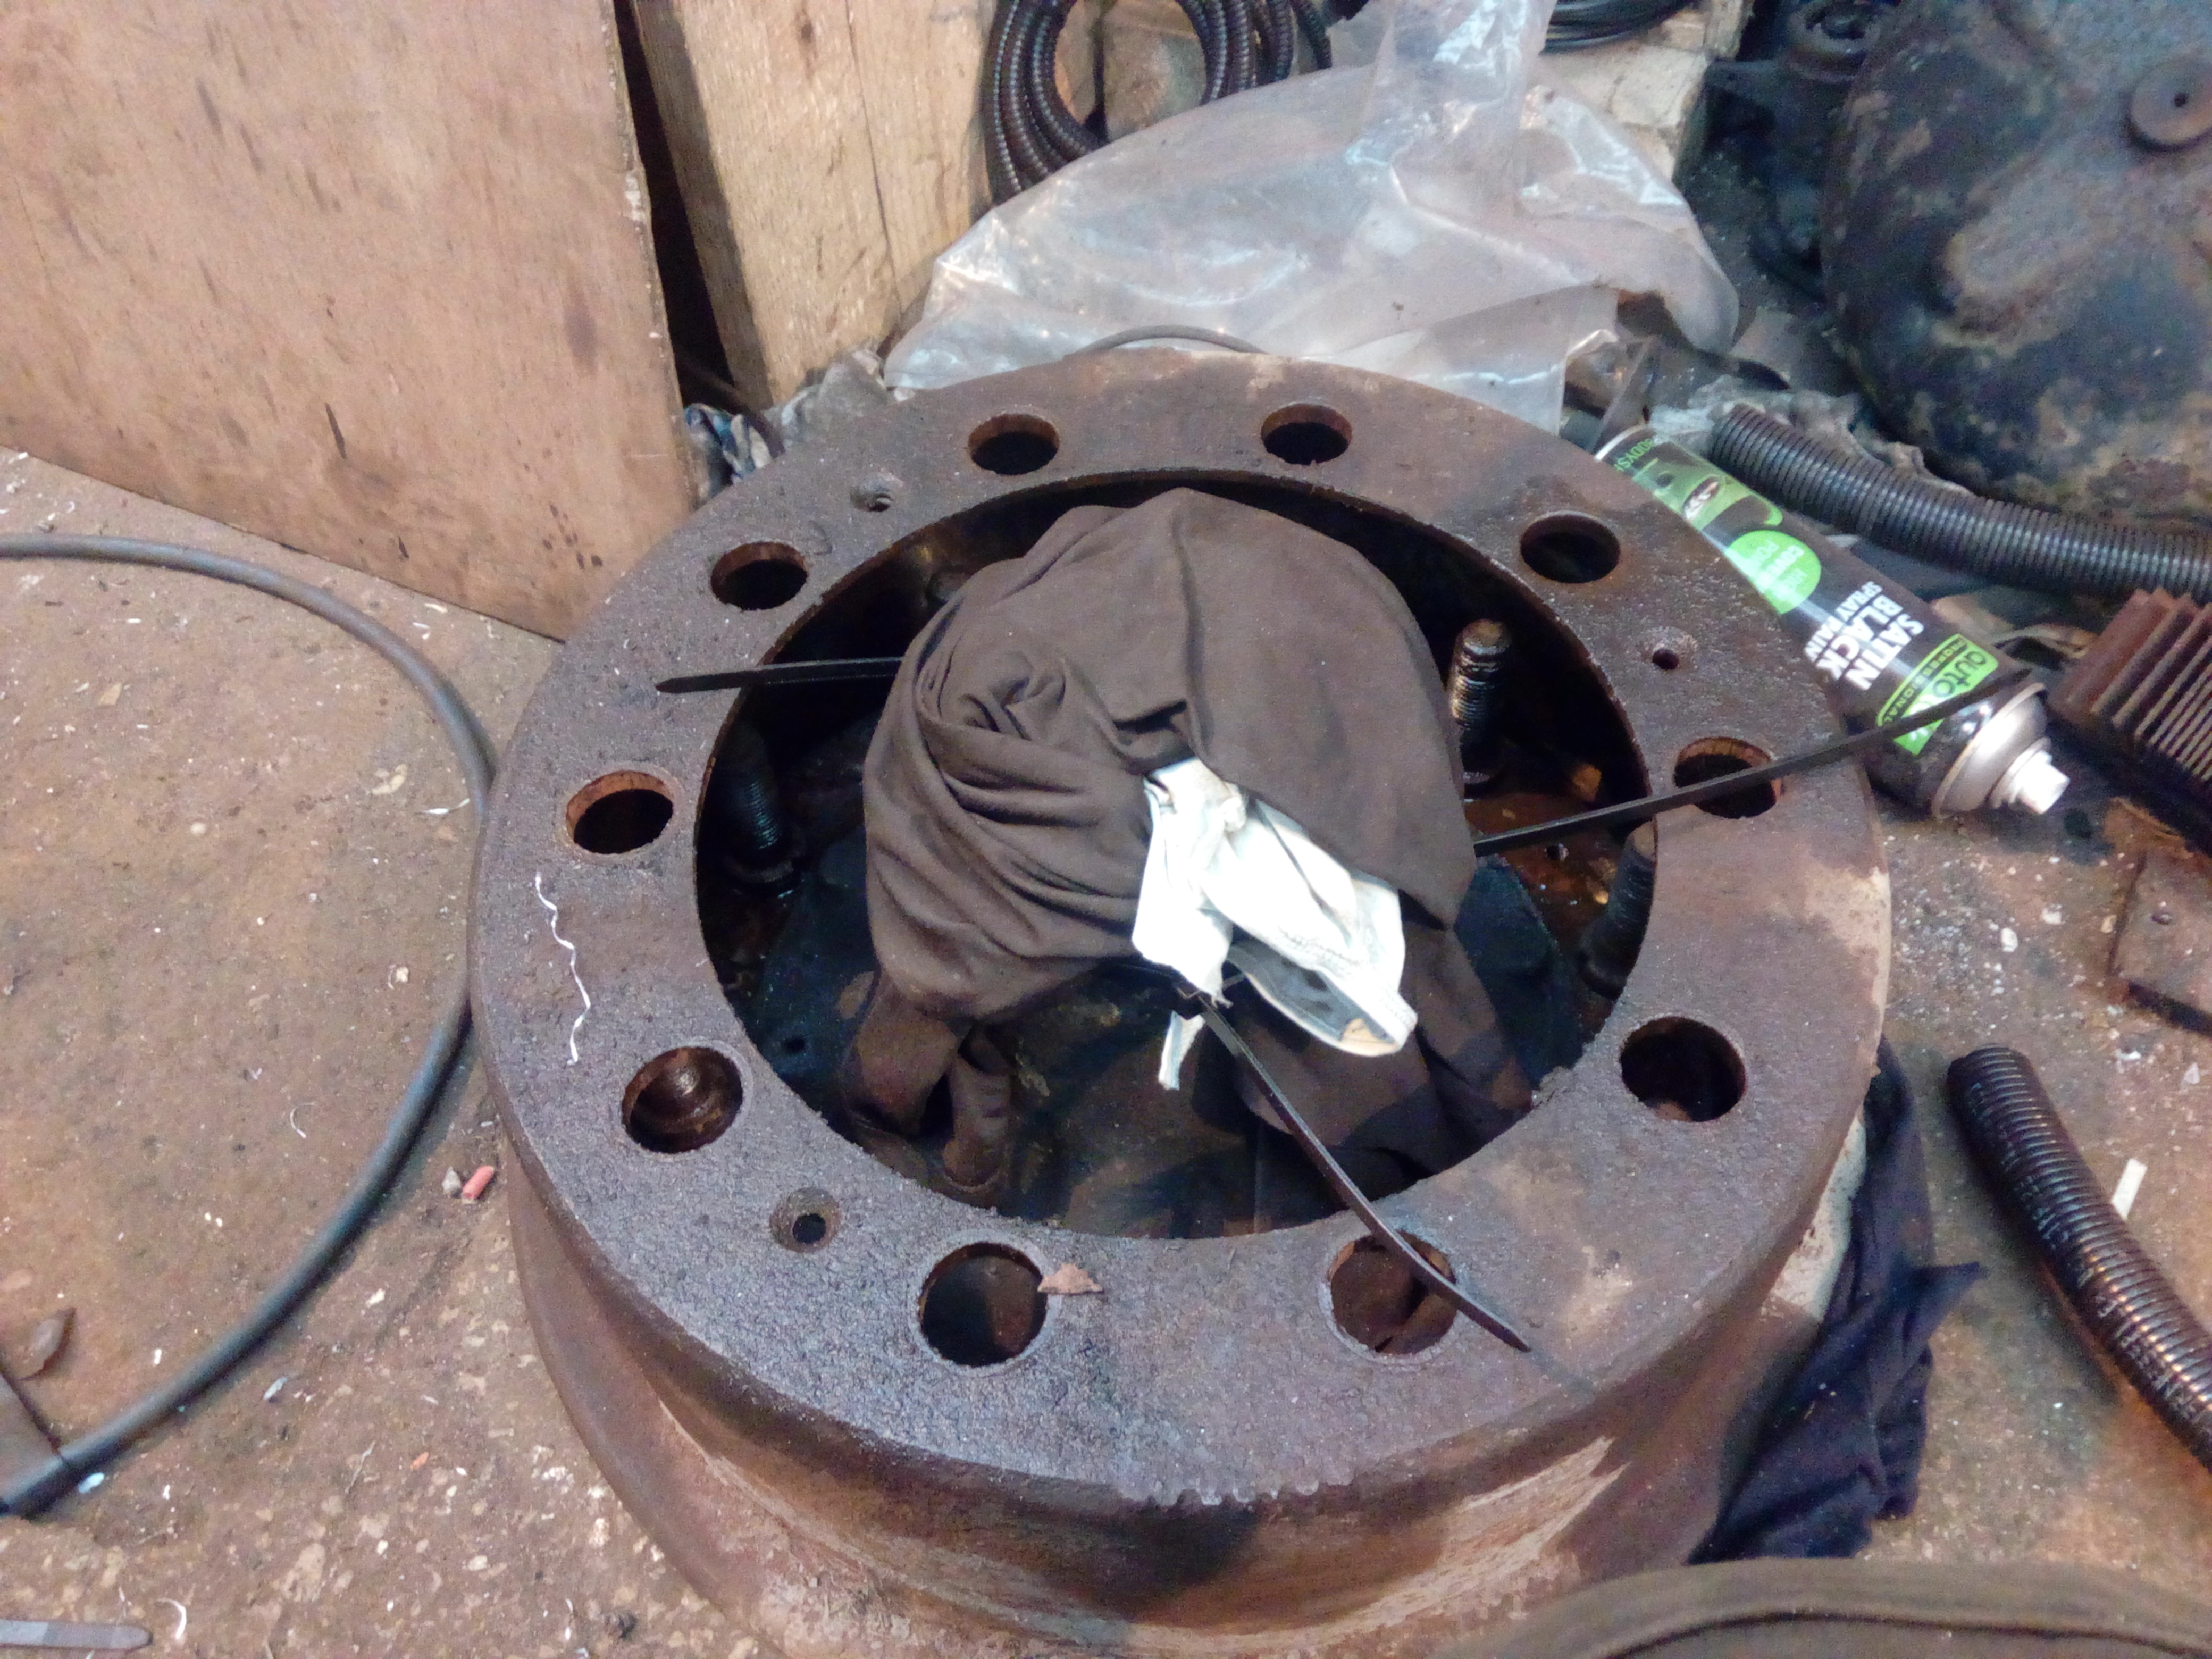
Off-side rear hub time now! And hte drum didn't want to come off, so I took the whole lot -- hub and drum -- off in one go. Then persuaded it to come off with a big hammer.
Then I celebrated my success -- and the annoying of the entire workshop with my thumping -- by wiring up the other sidelight. Noice!
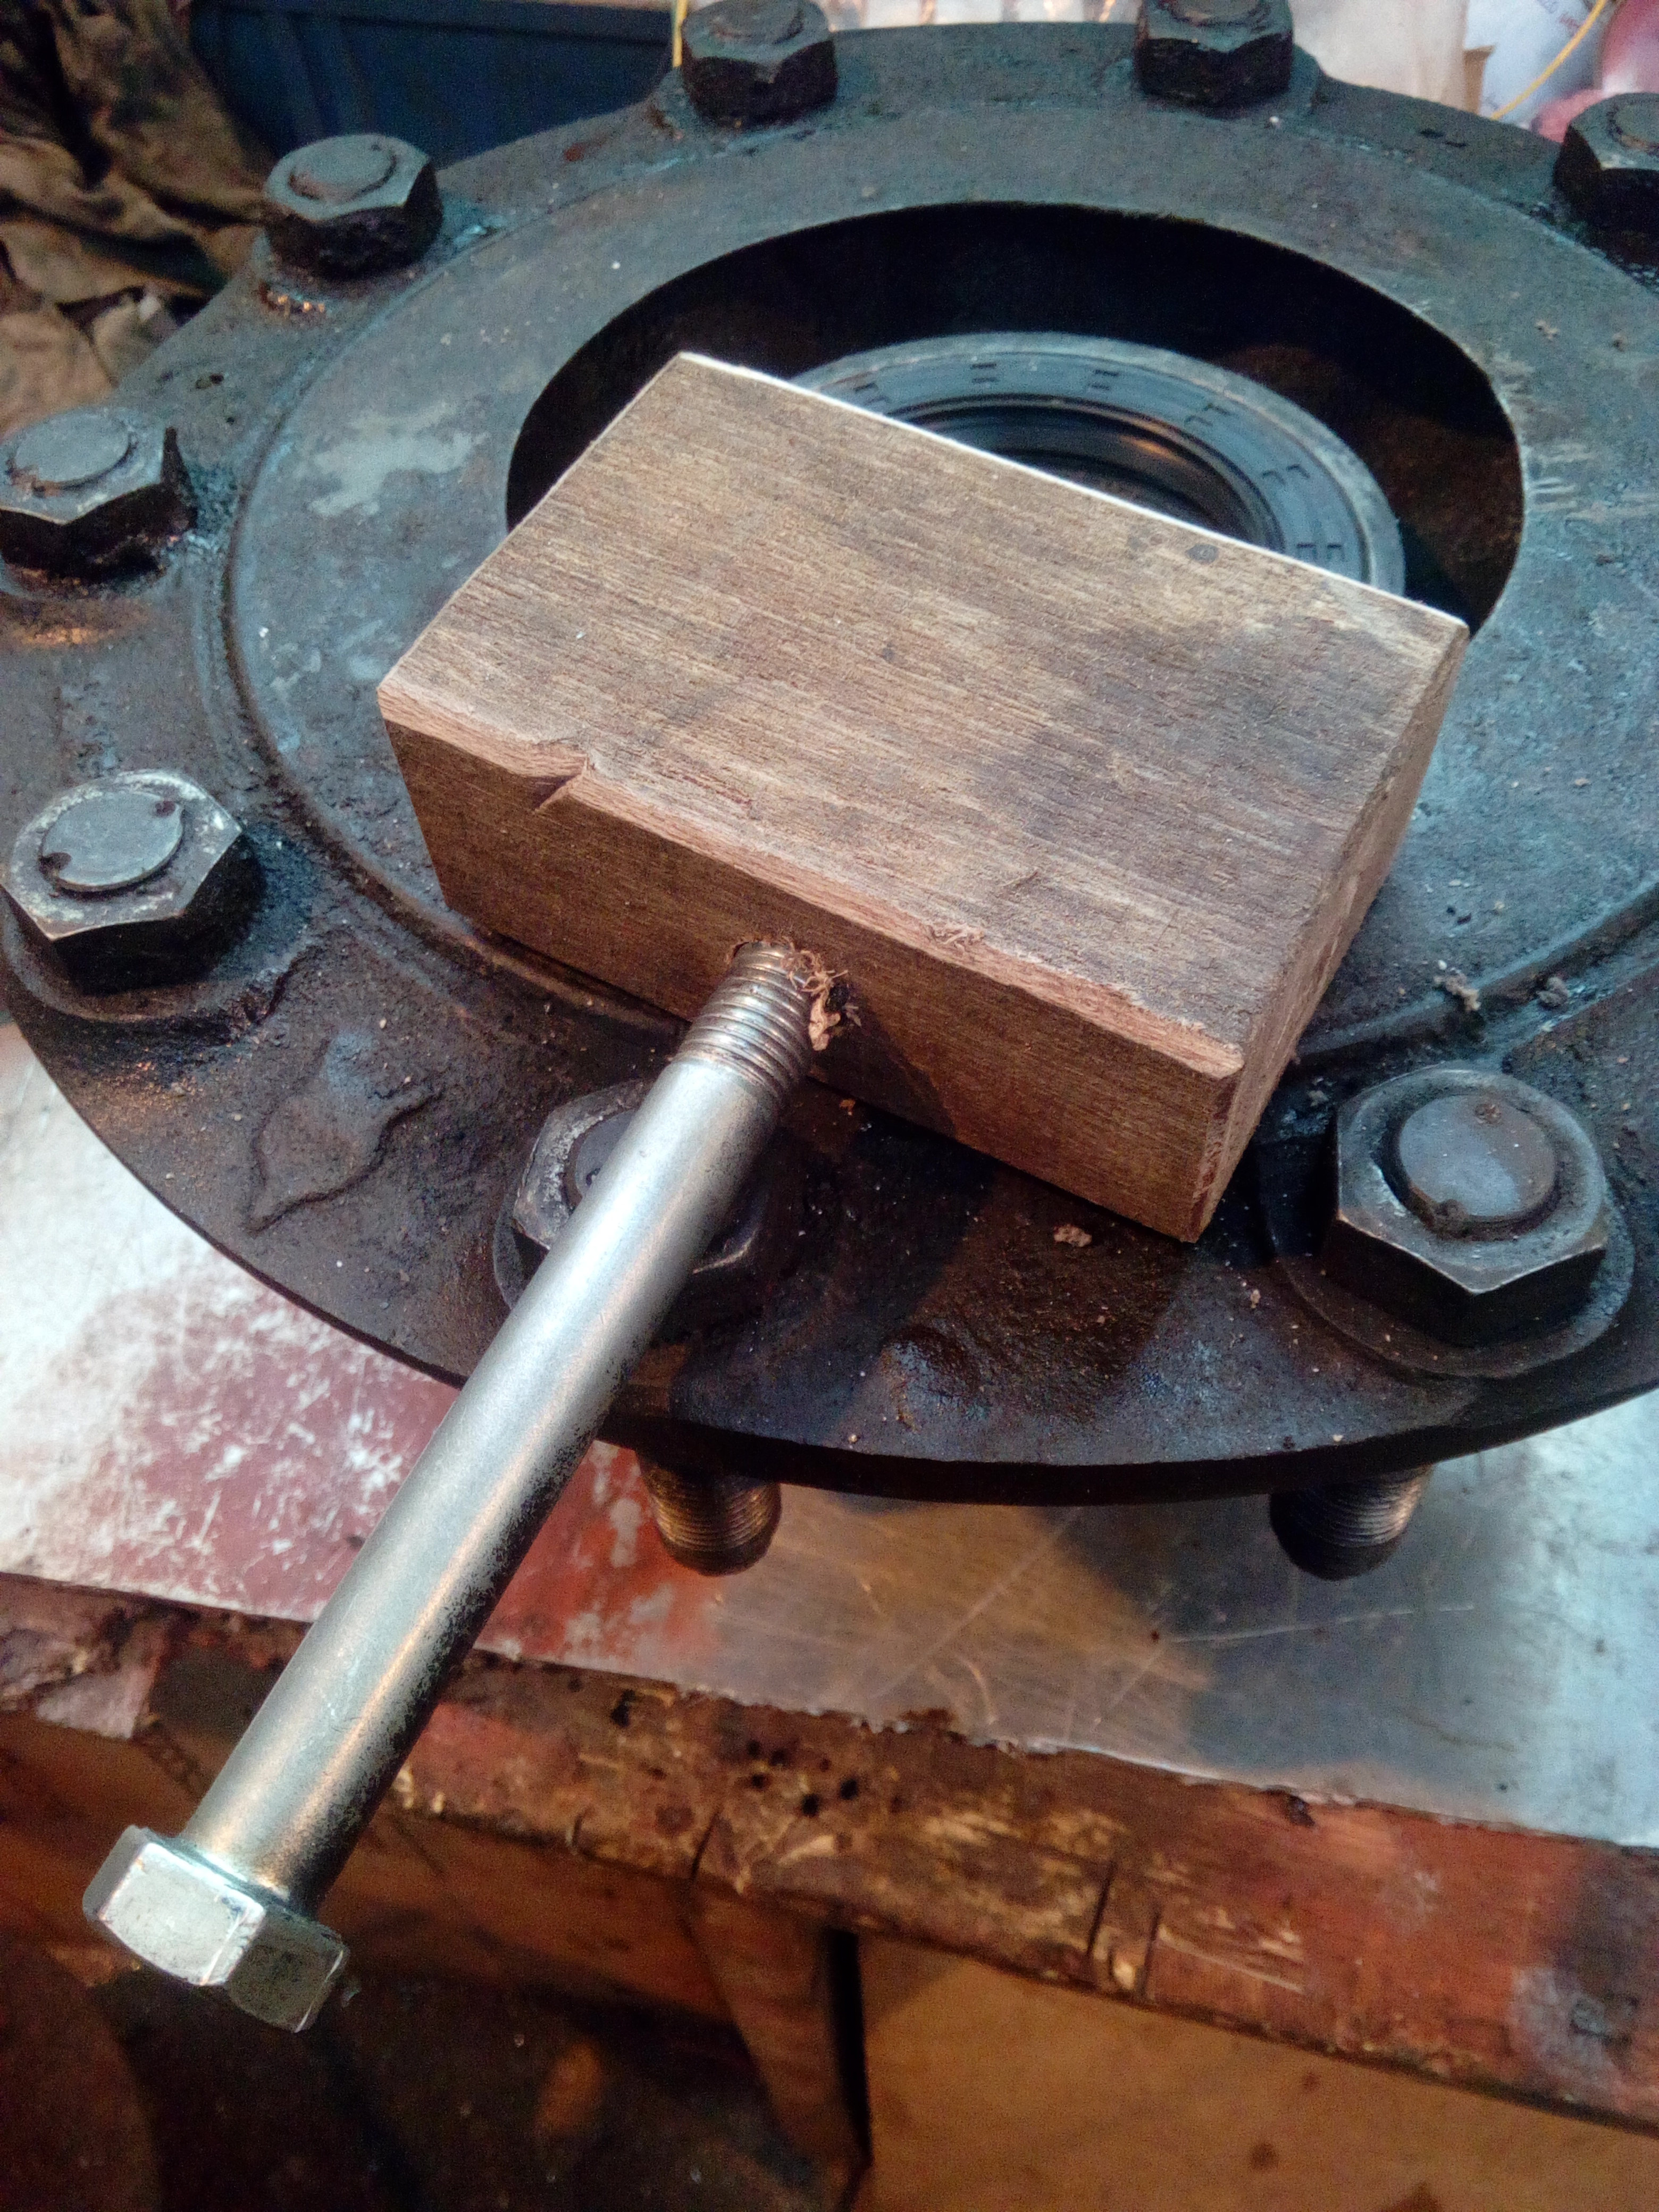
The hub was descaled, primed, painted, and fitted with a new seal... now with the use of my artisanal hardwood mallet:
Here, have another video! It's likely to be a total waste of nearly an hour of your life, but hopefully it's a bit entertaining watching me struggle:
So, what next?
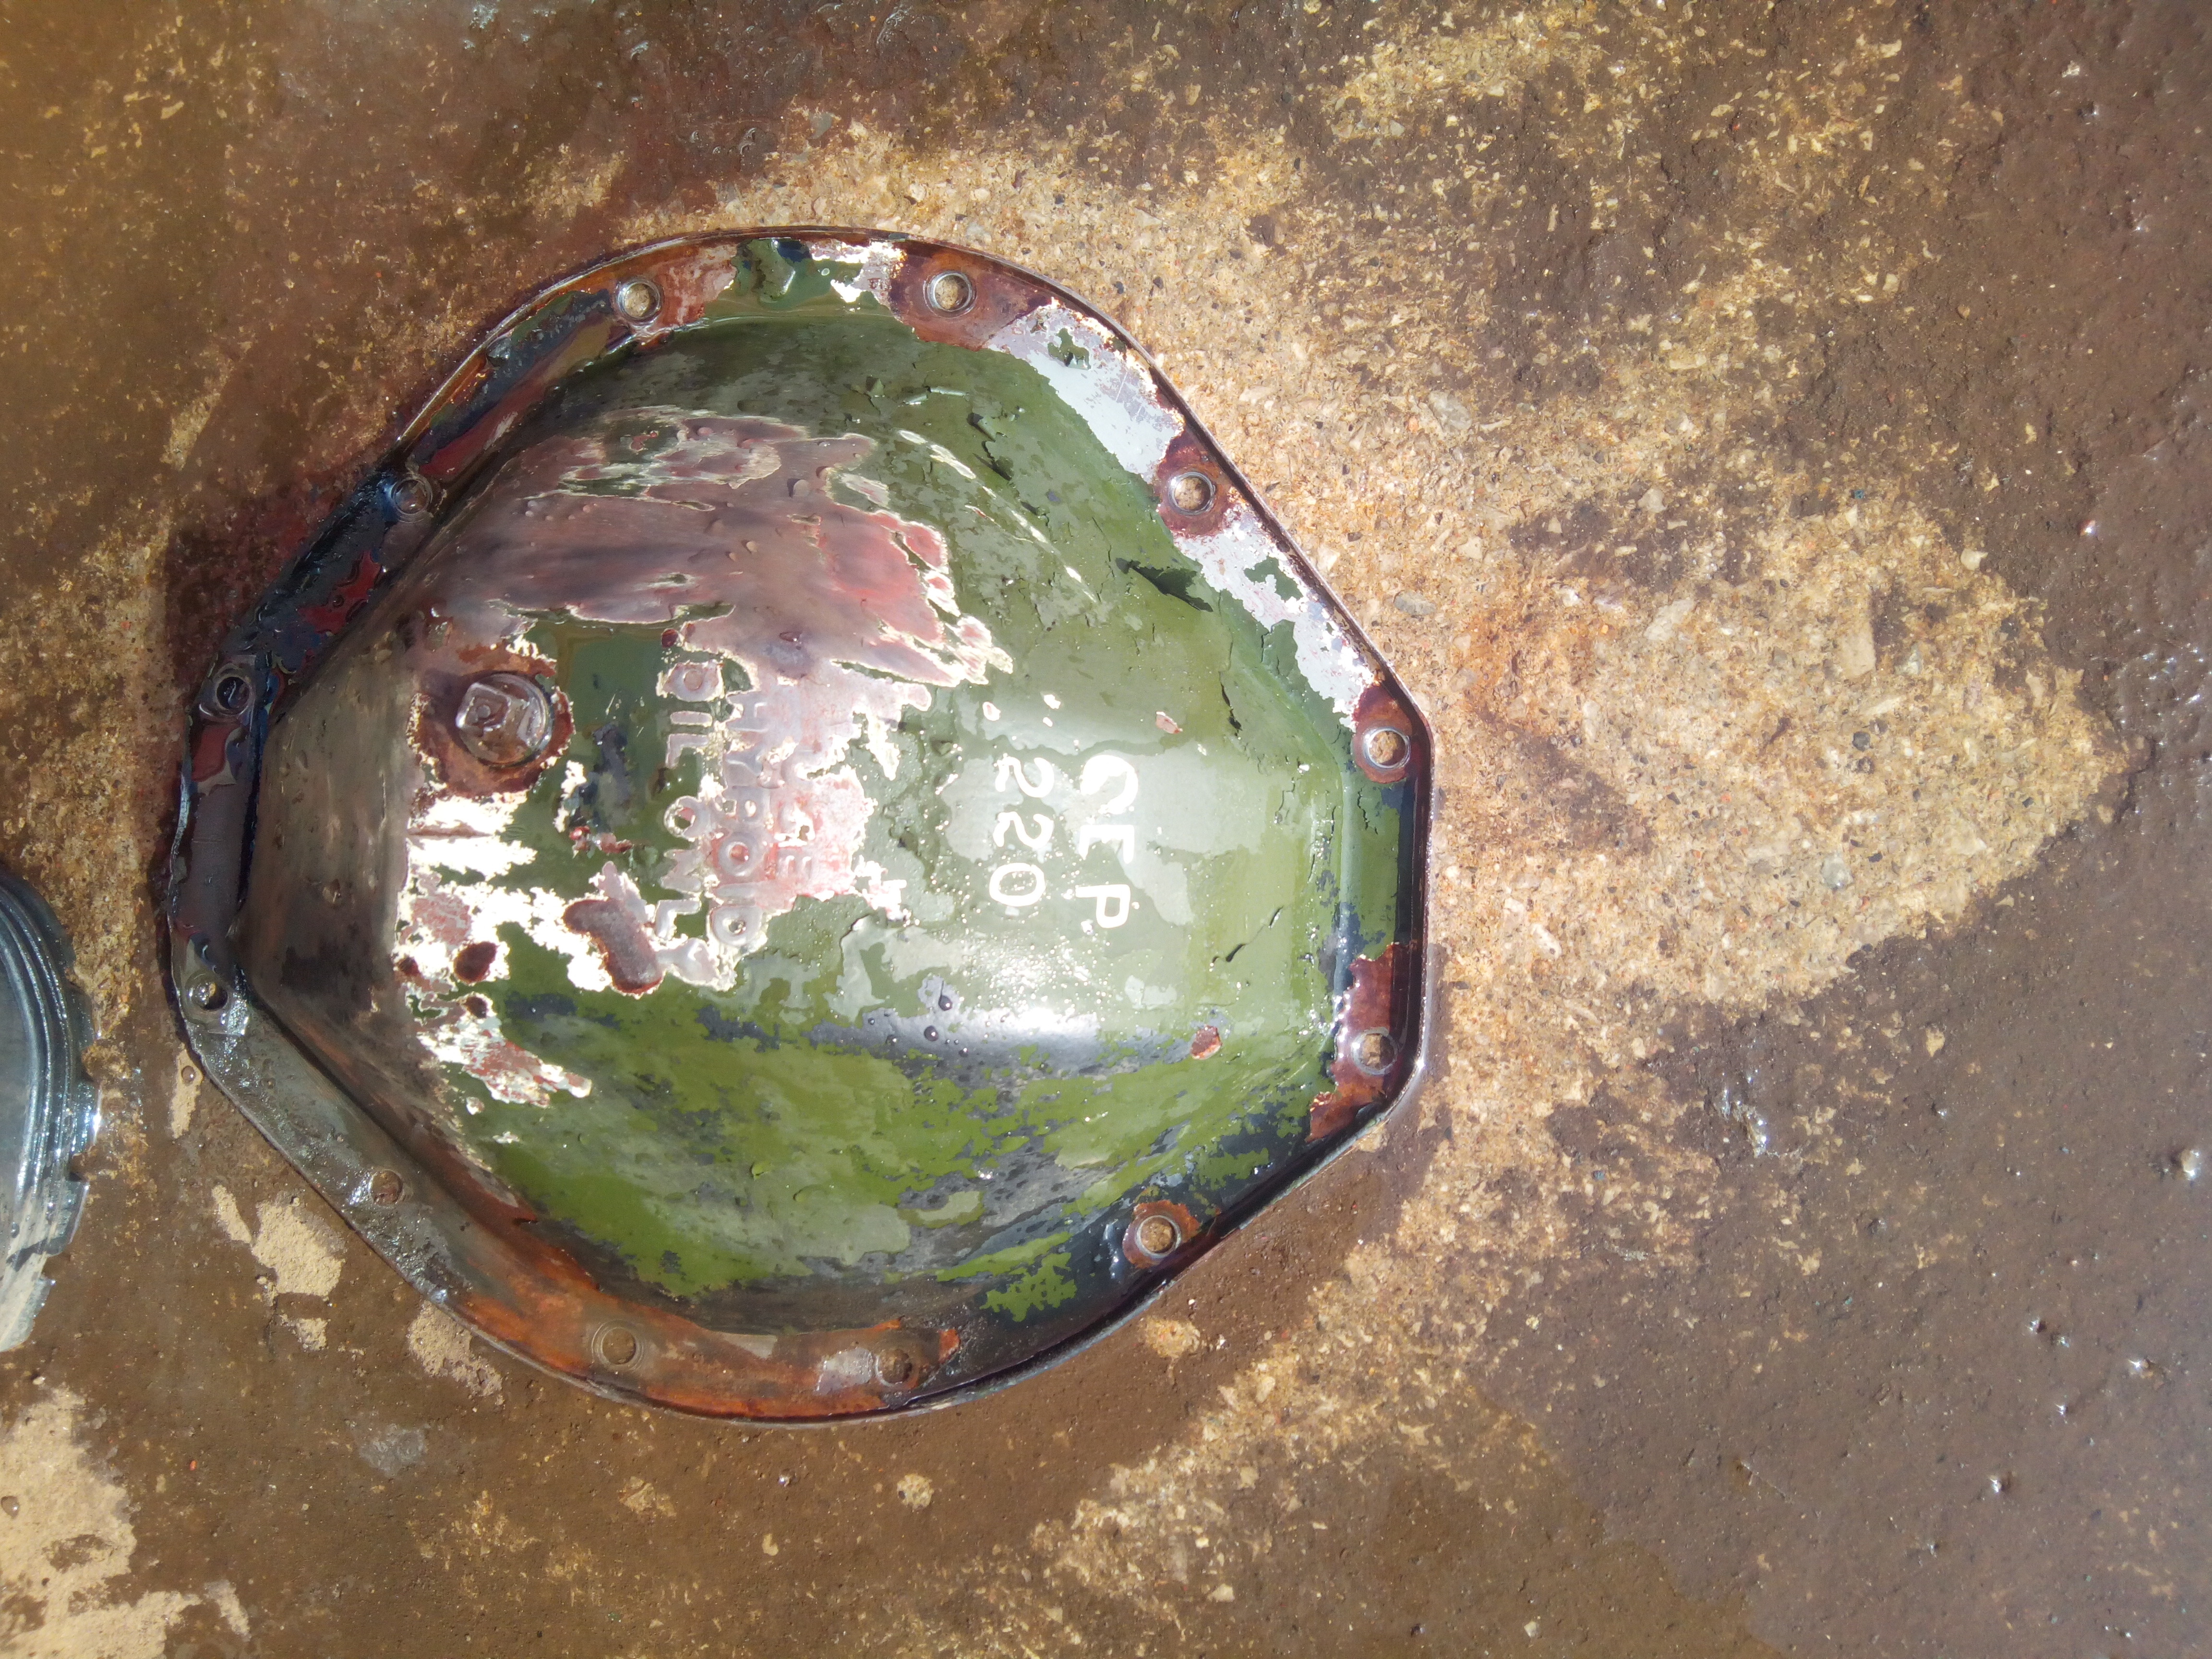
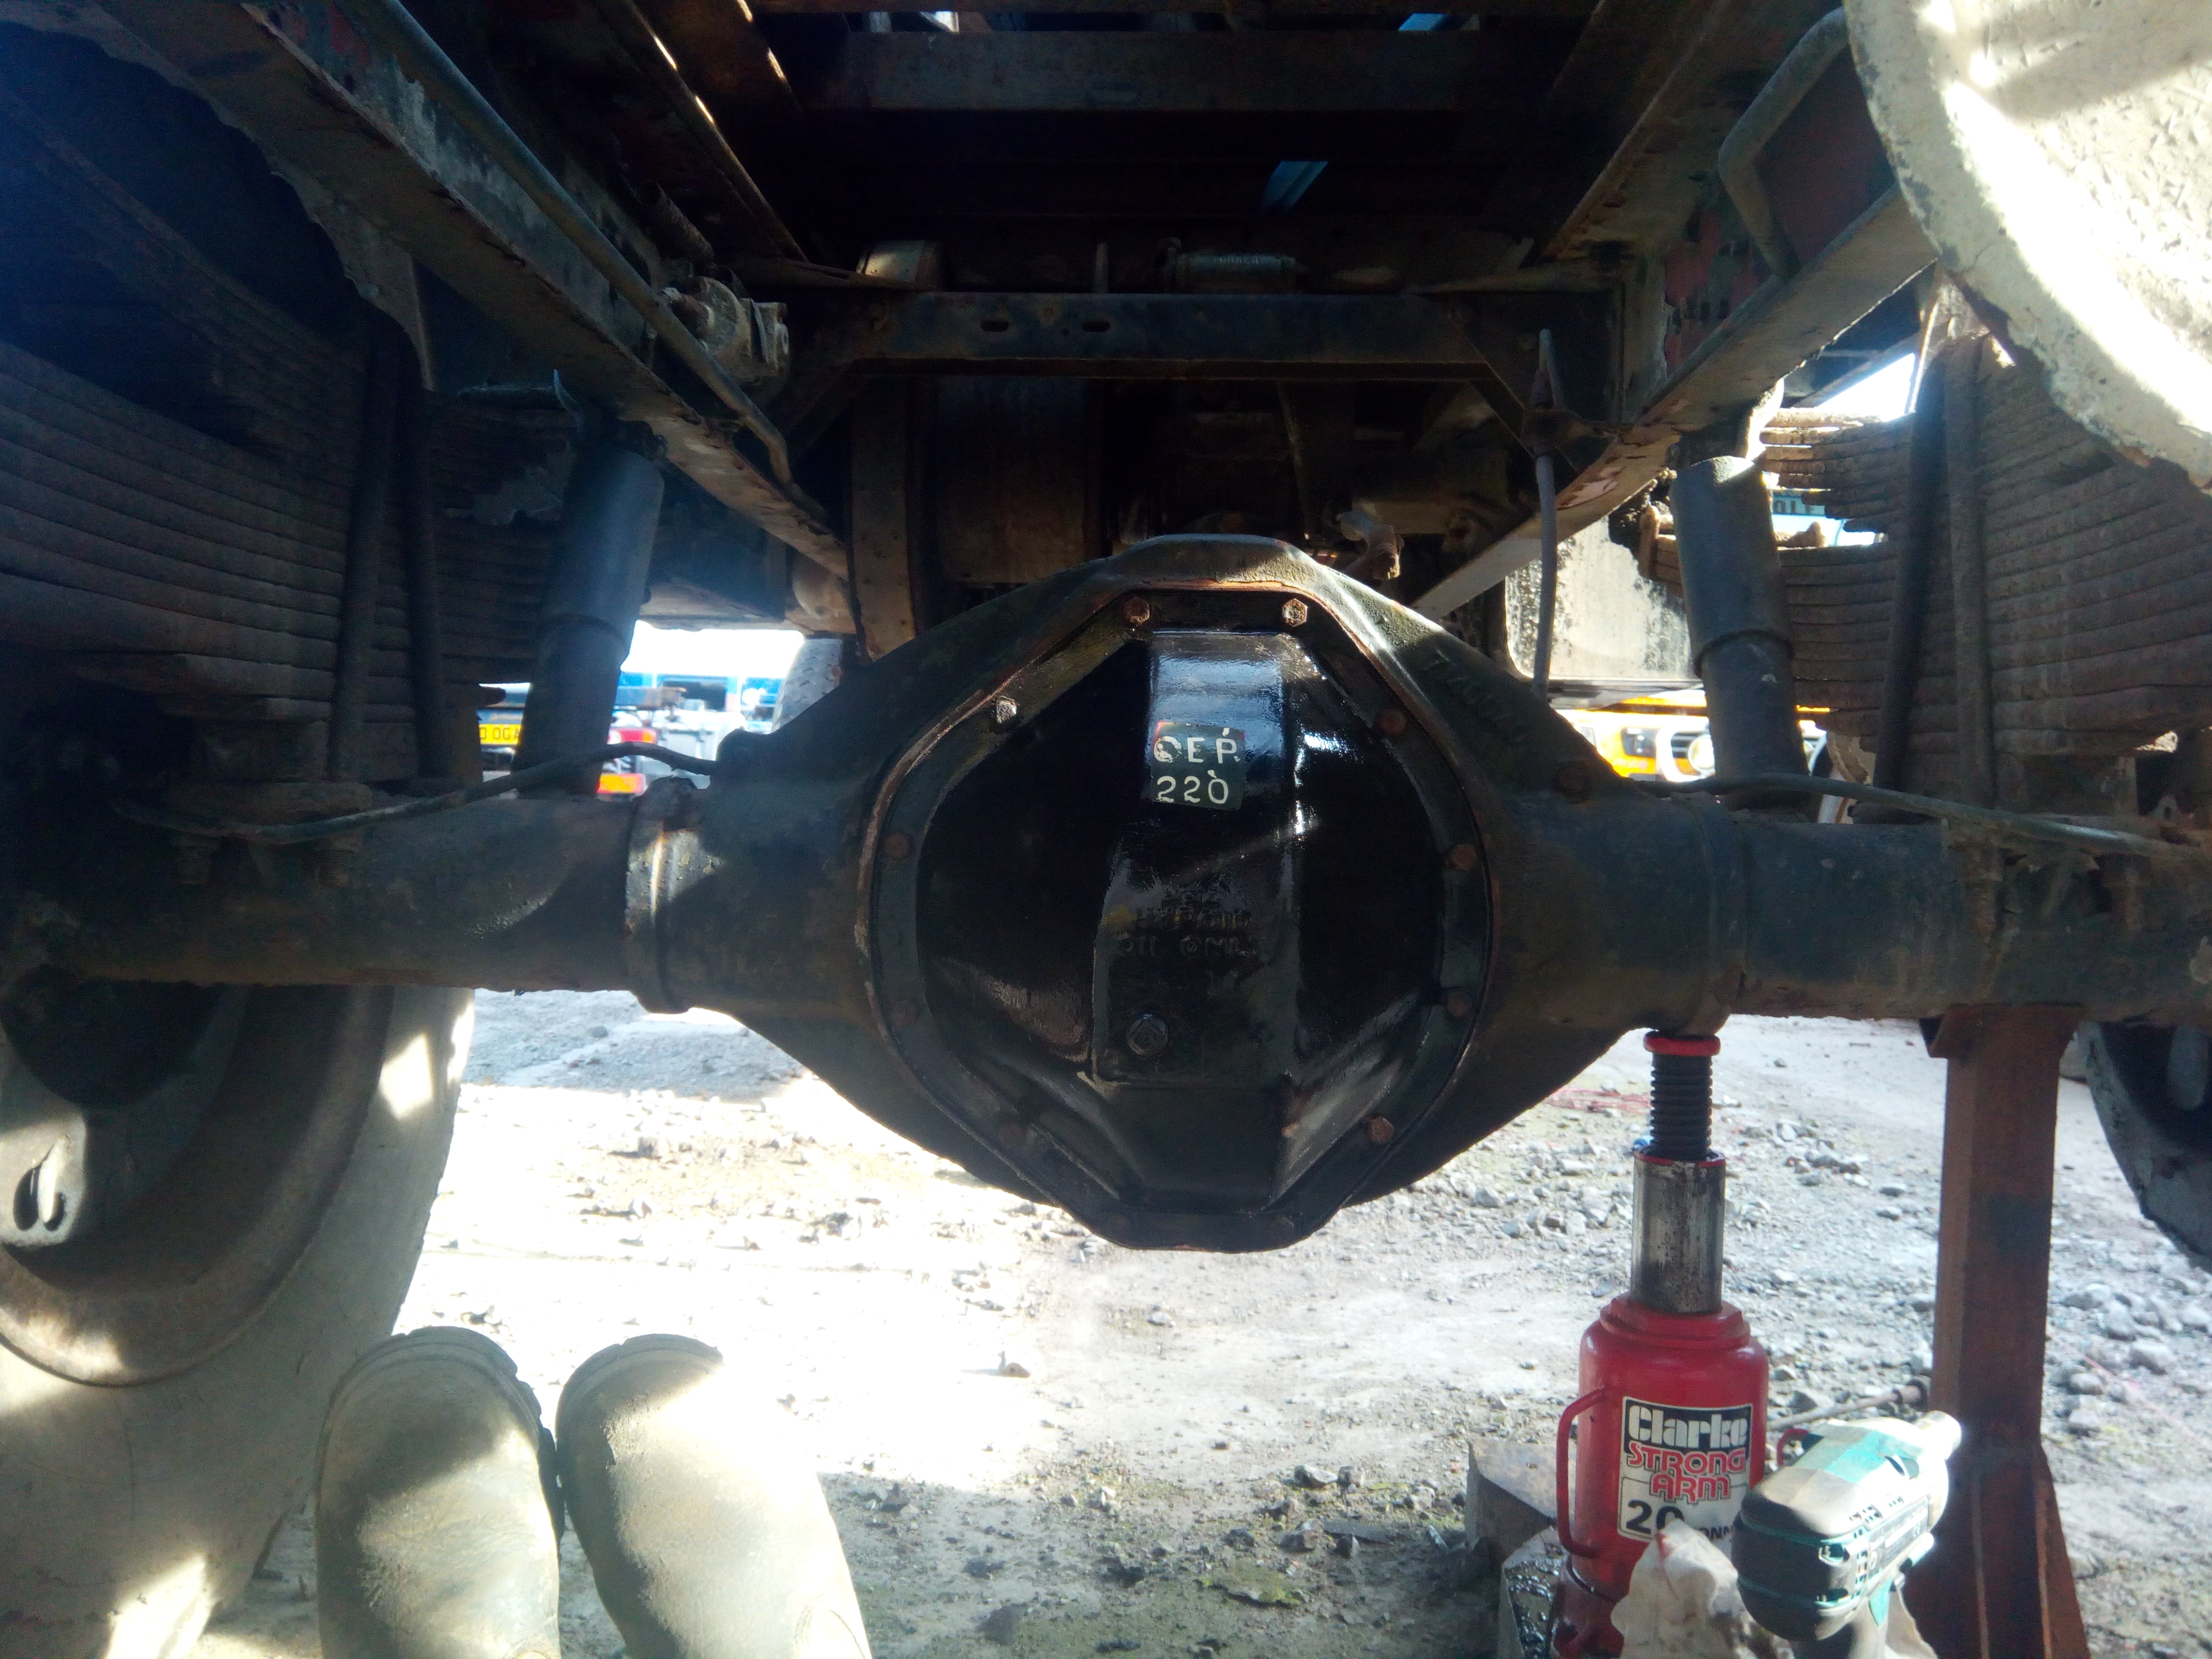
How about, uh, inspecting the diff of the rear axle... which was in no way because I forgot the bottom two bolts of the diff cover are actually the drain-plugs, and just zipping them out from the top.
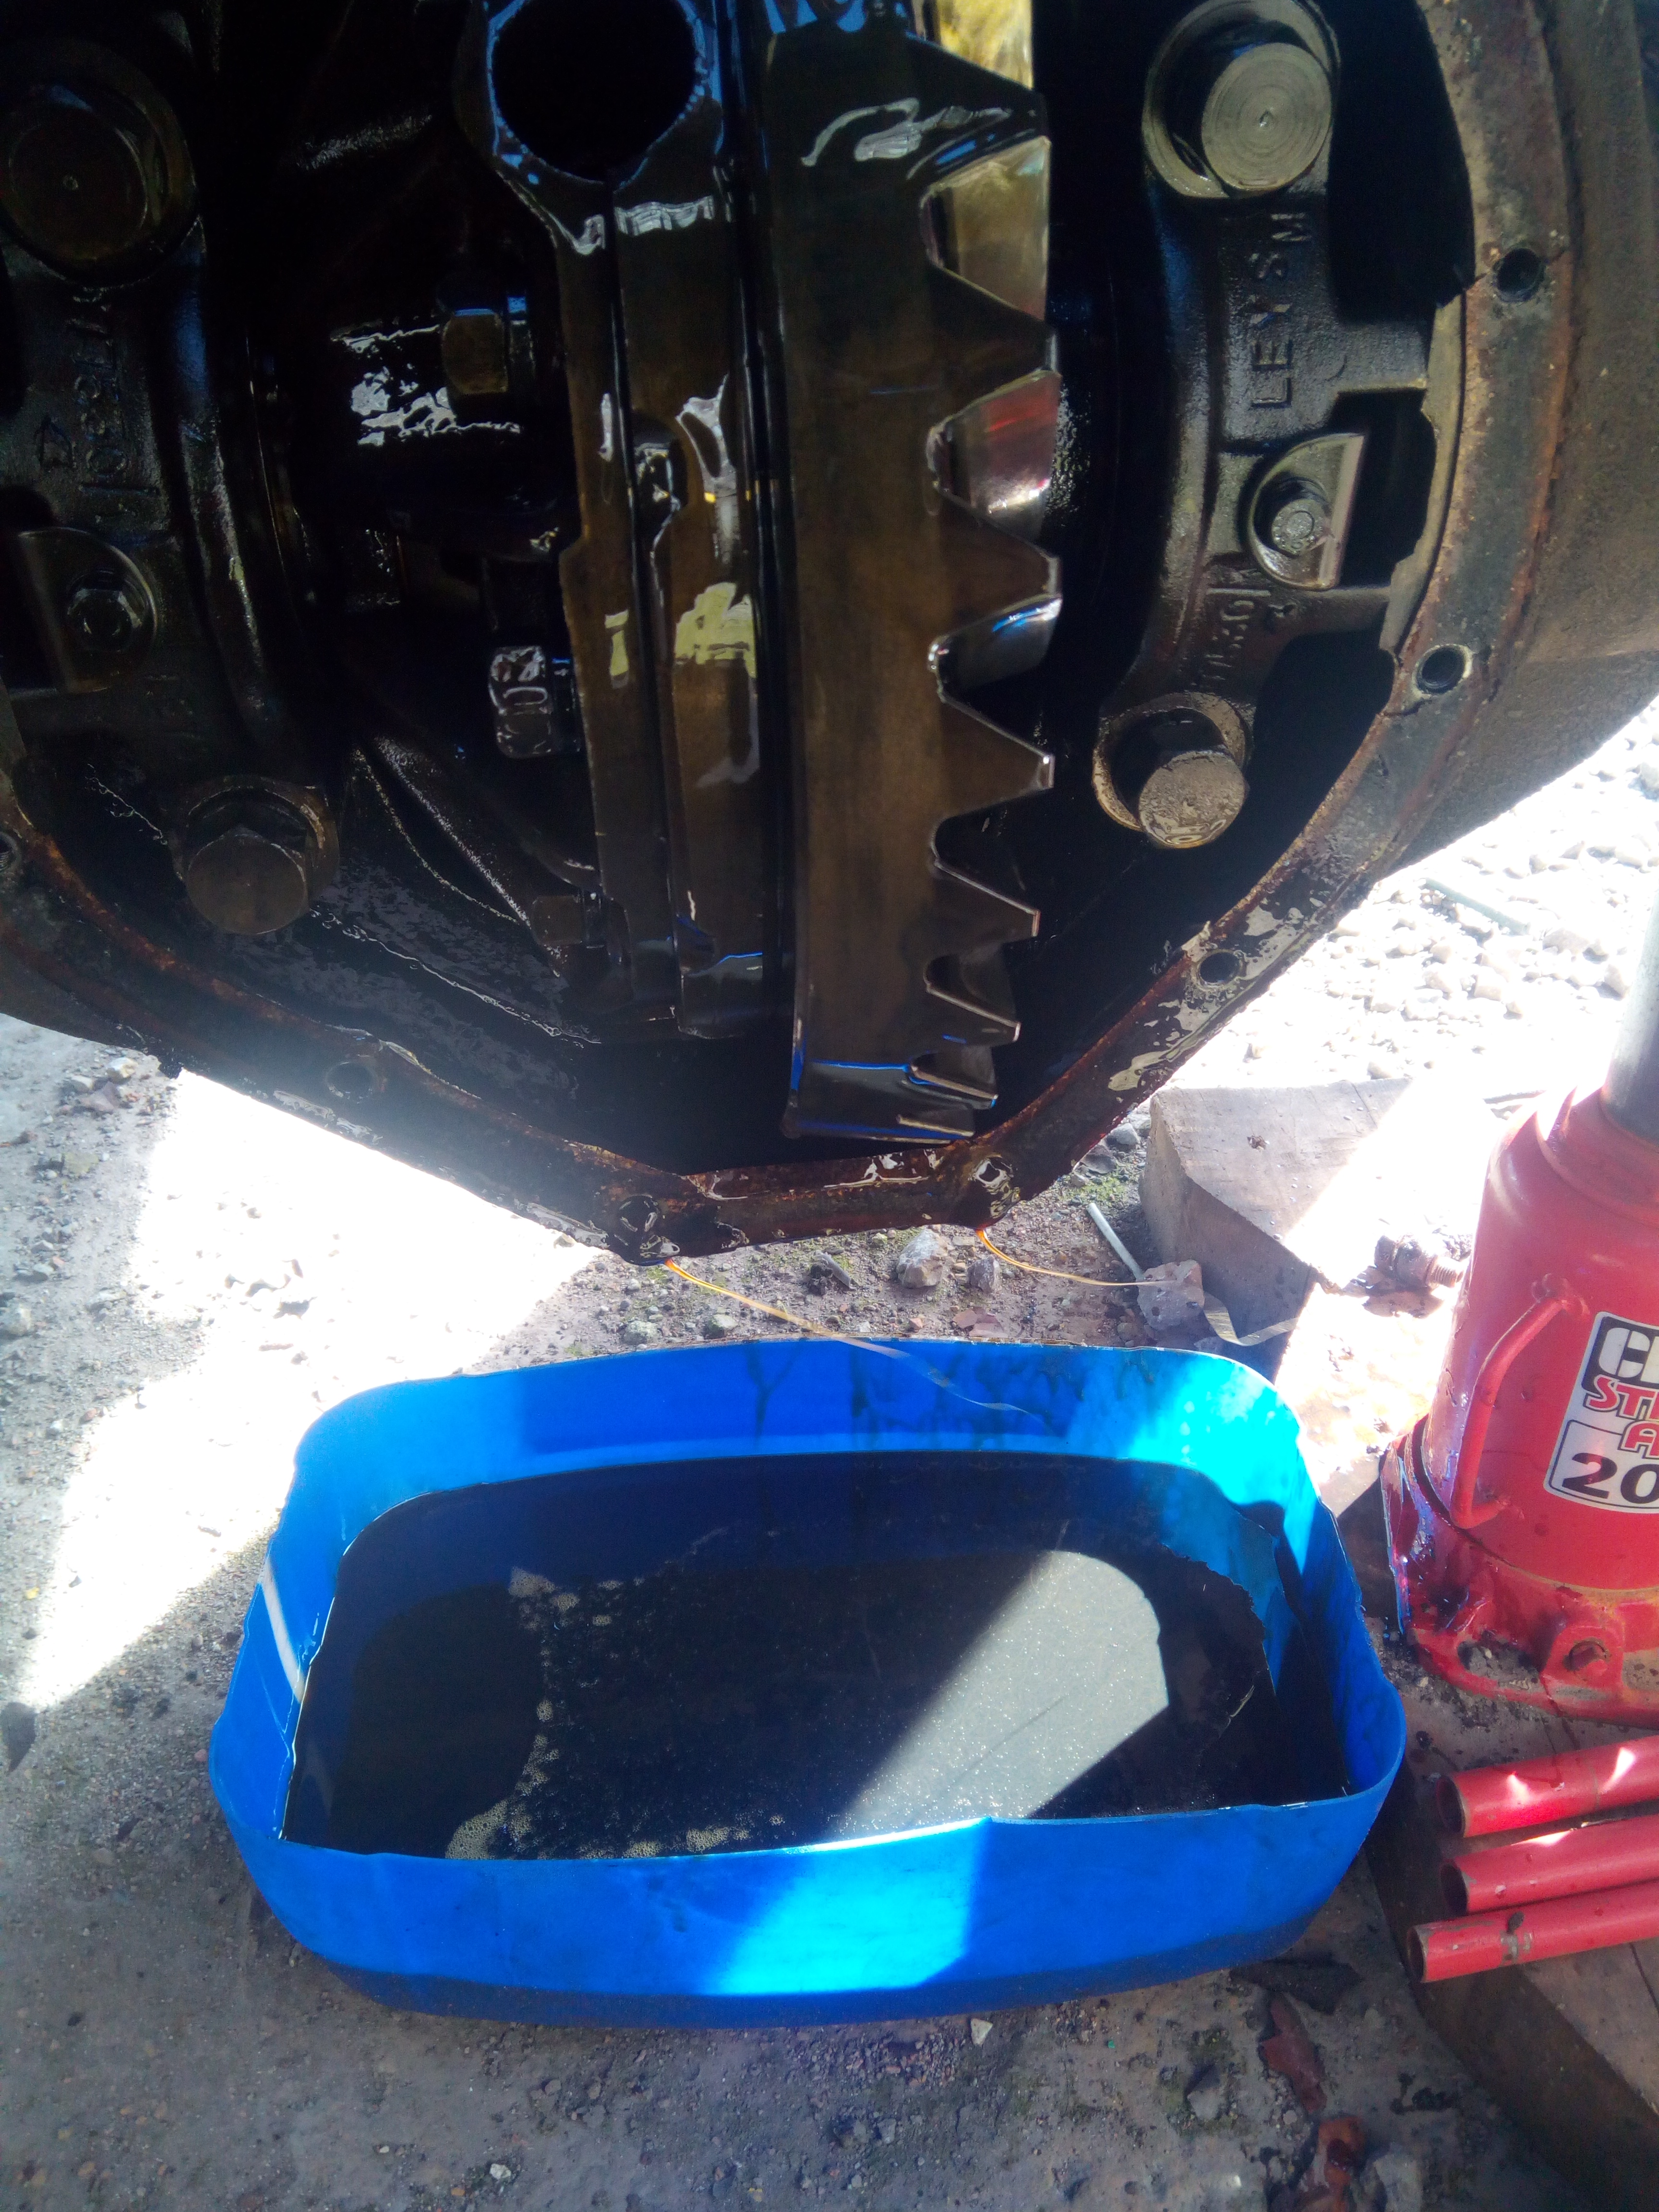
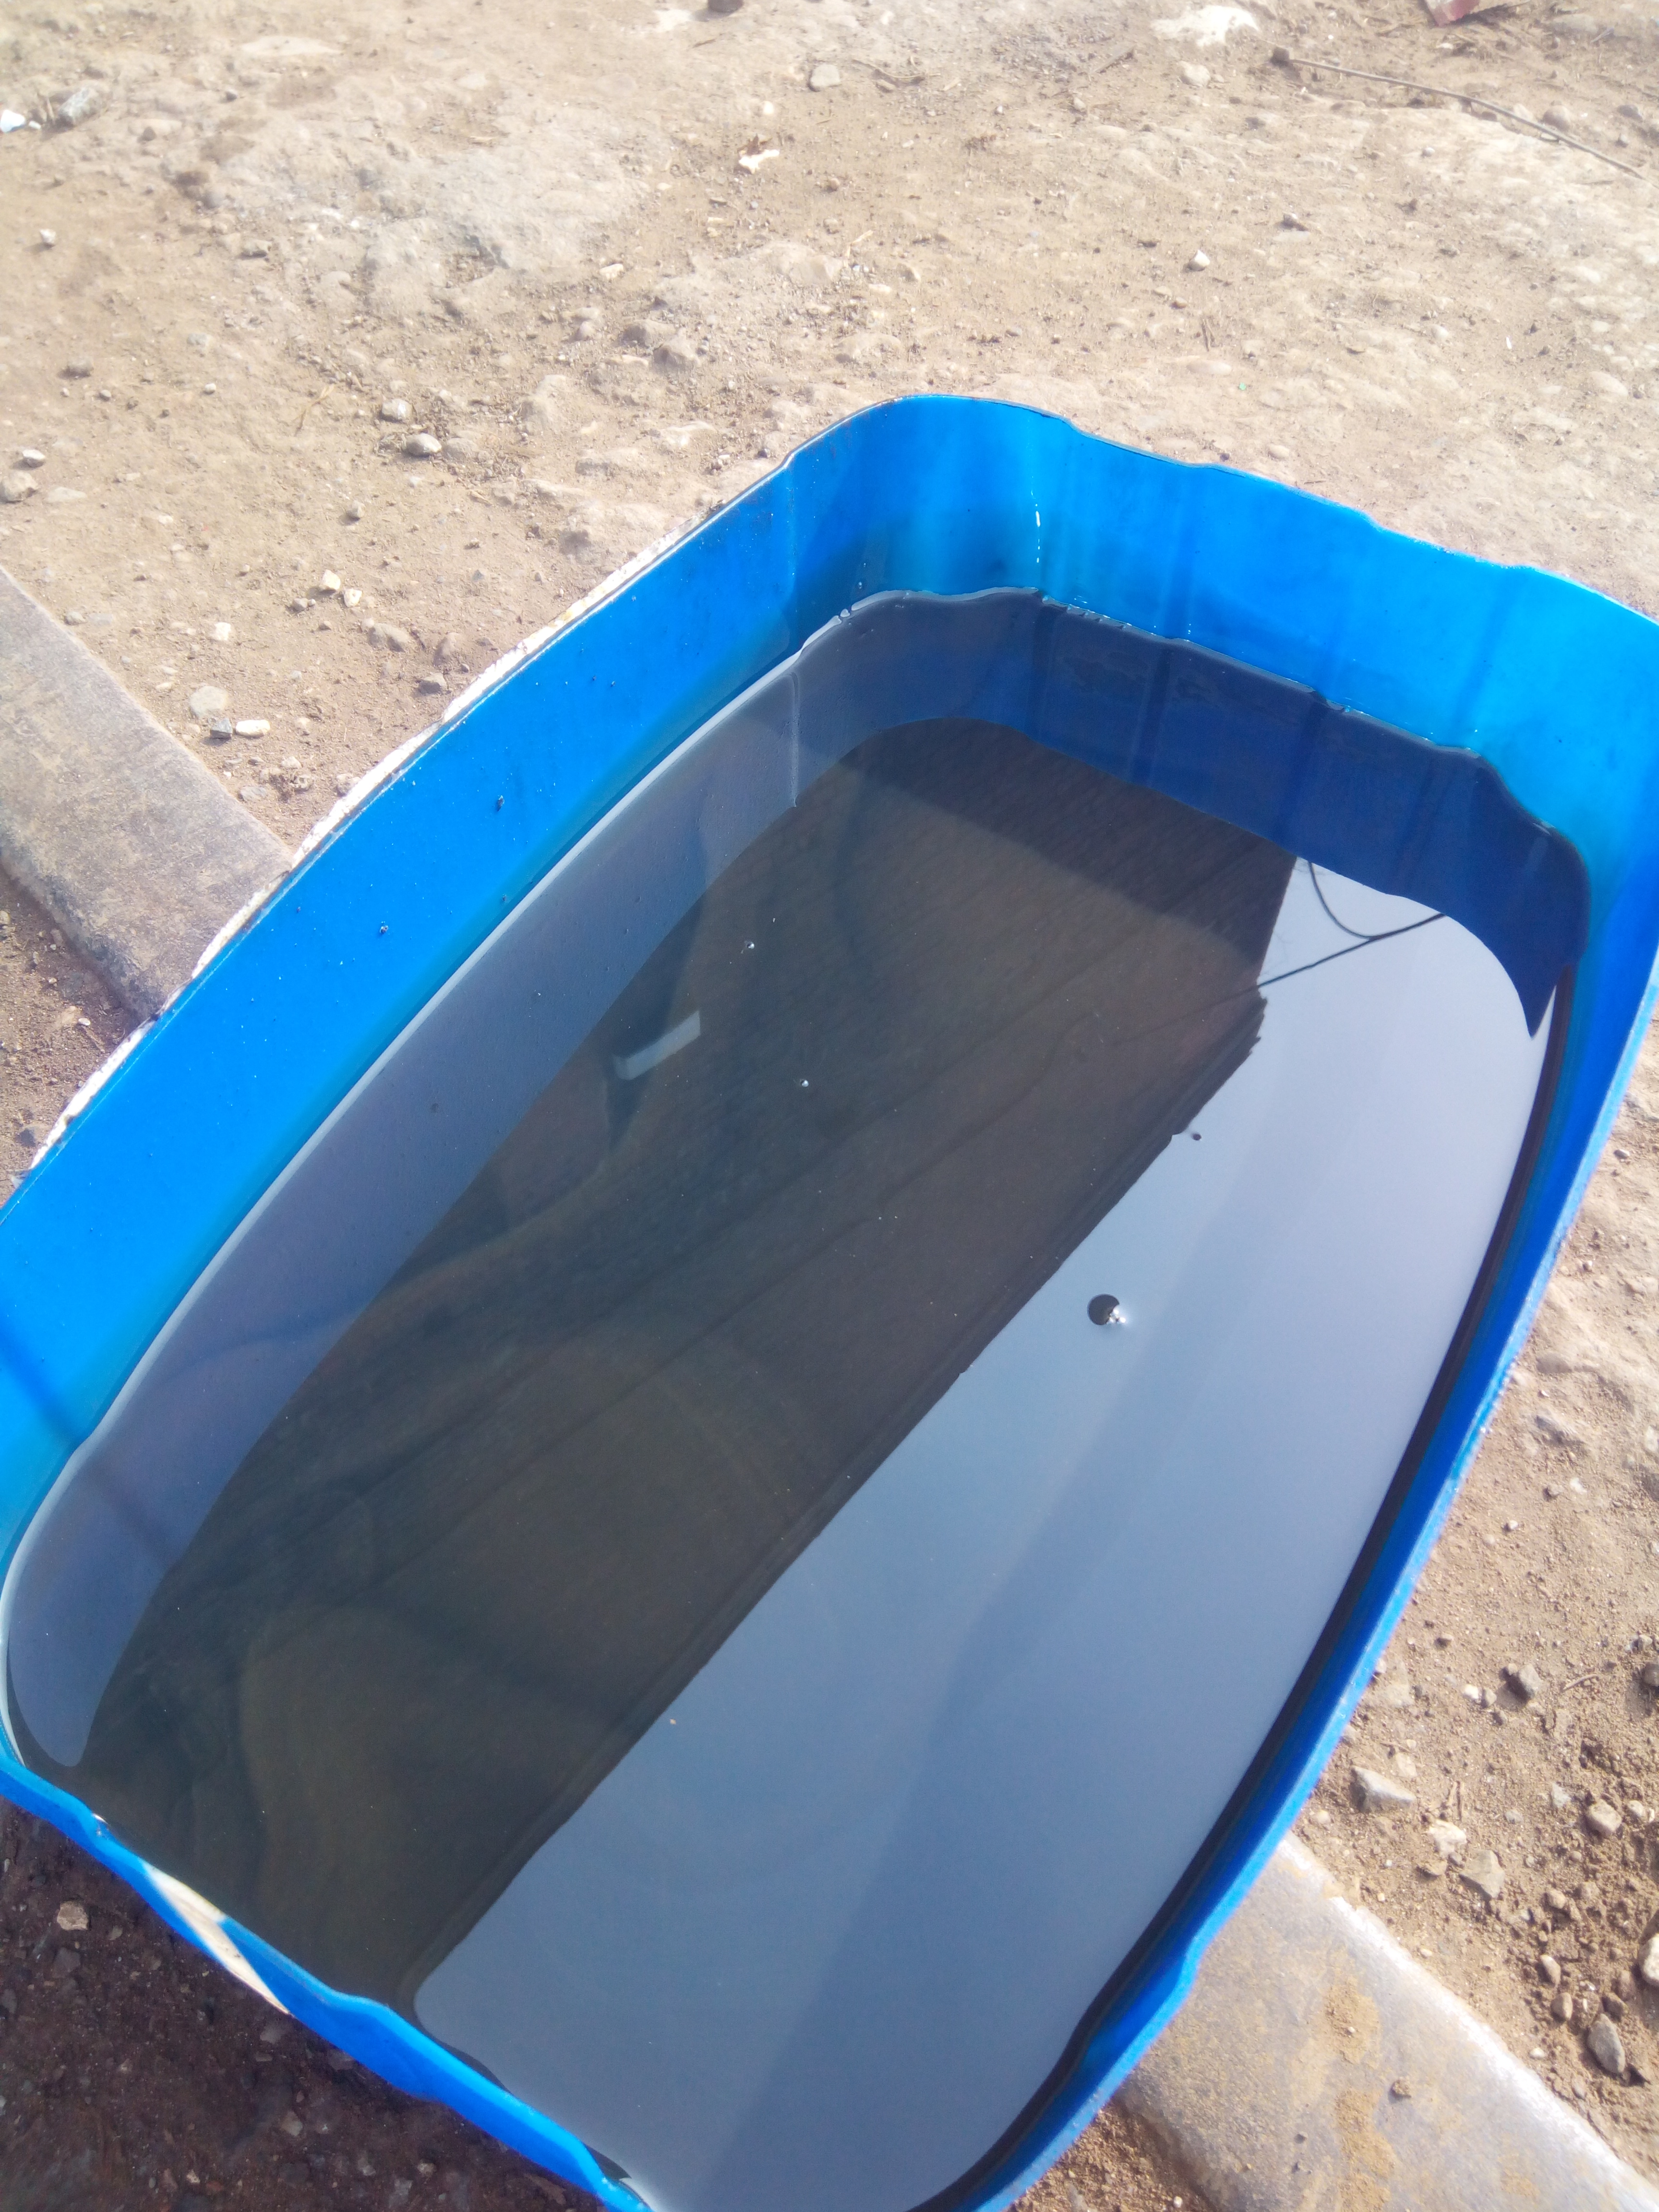
Oil doesn't look bad!
Diff cover looks like it's seen some excitement!

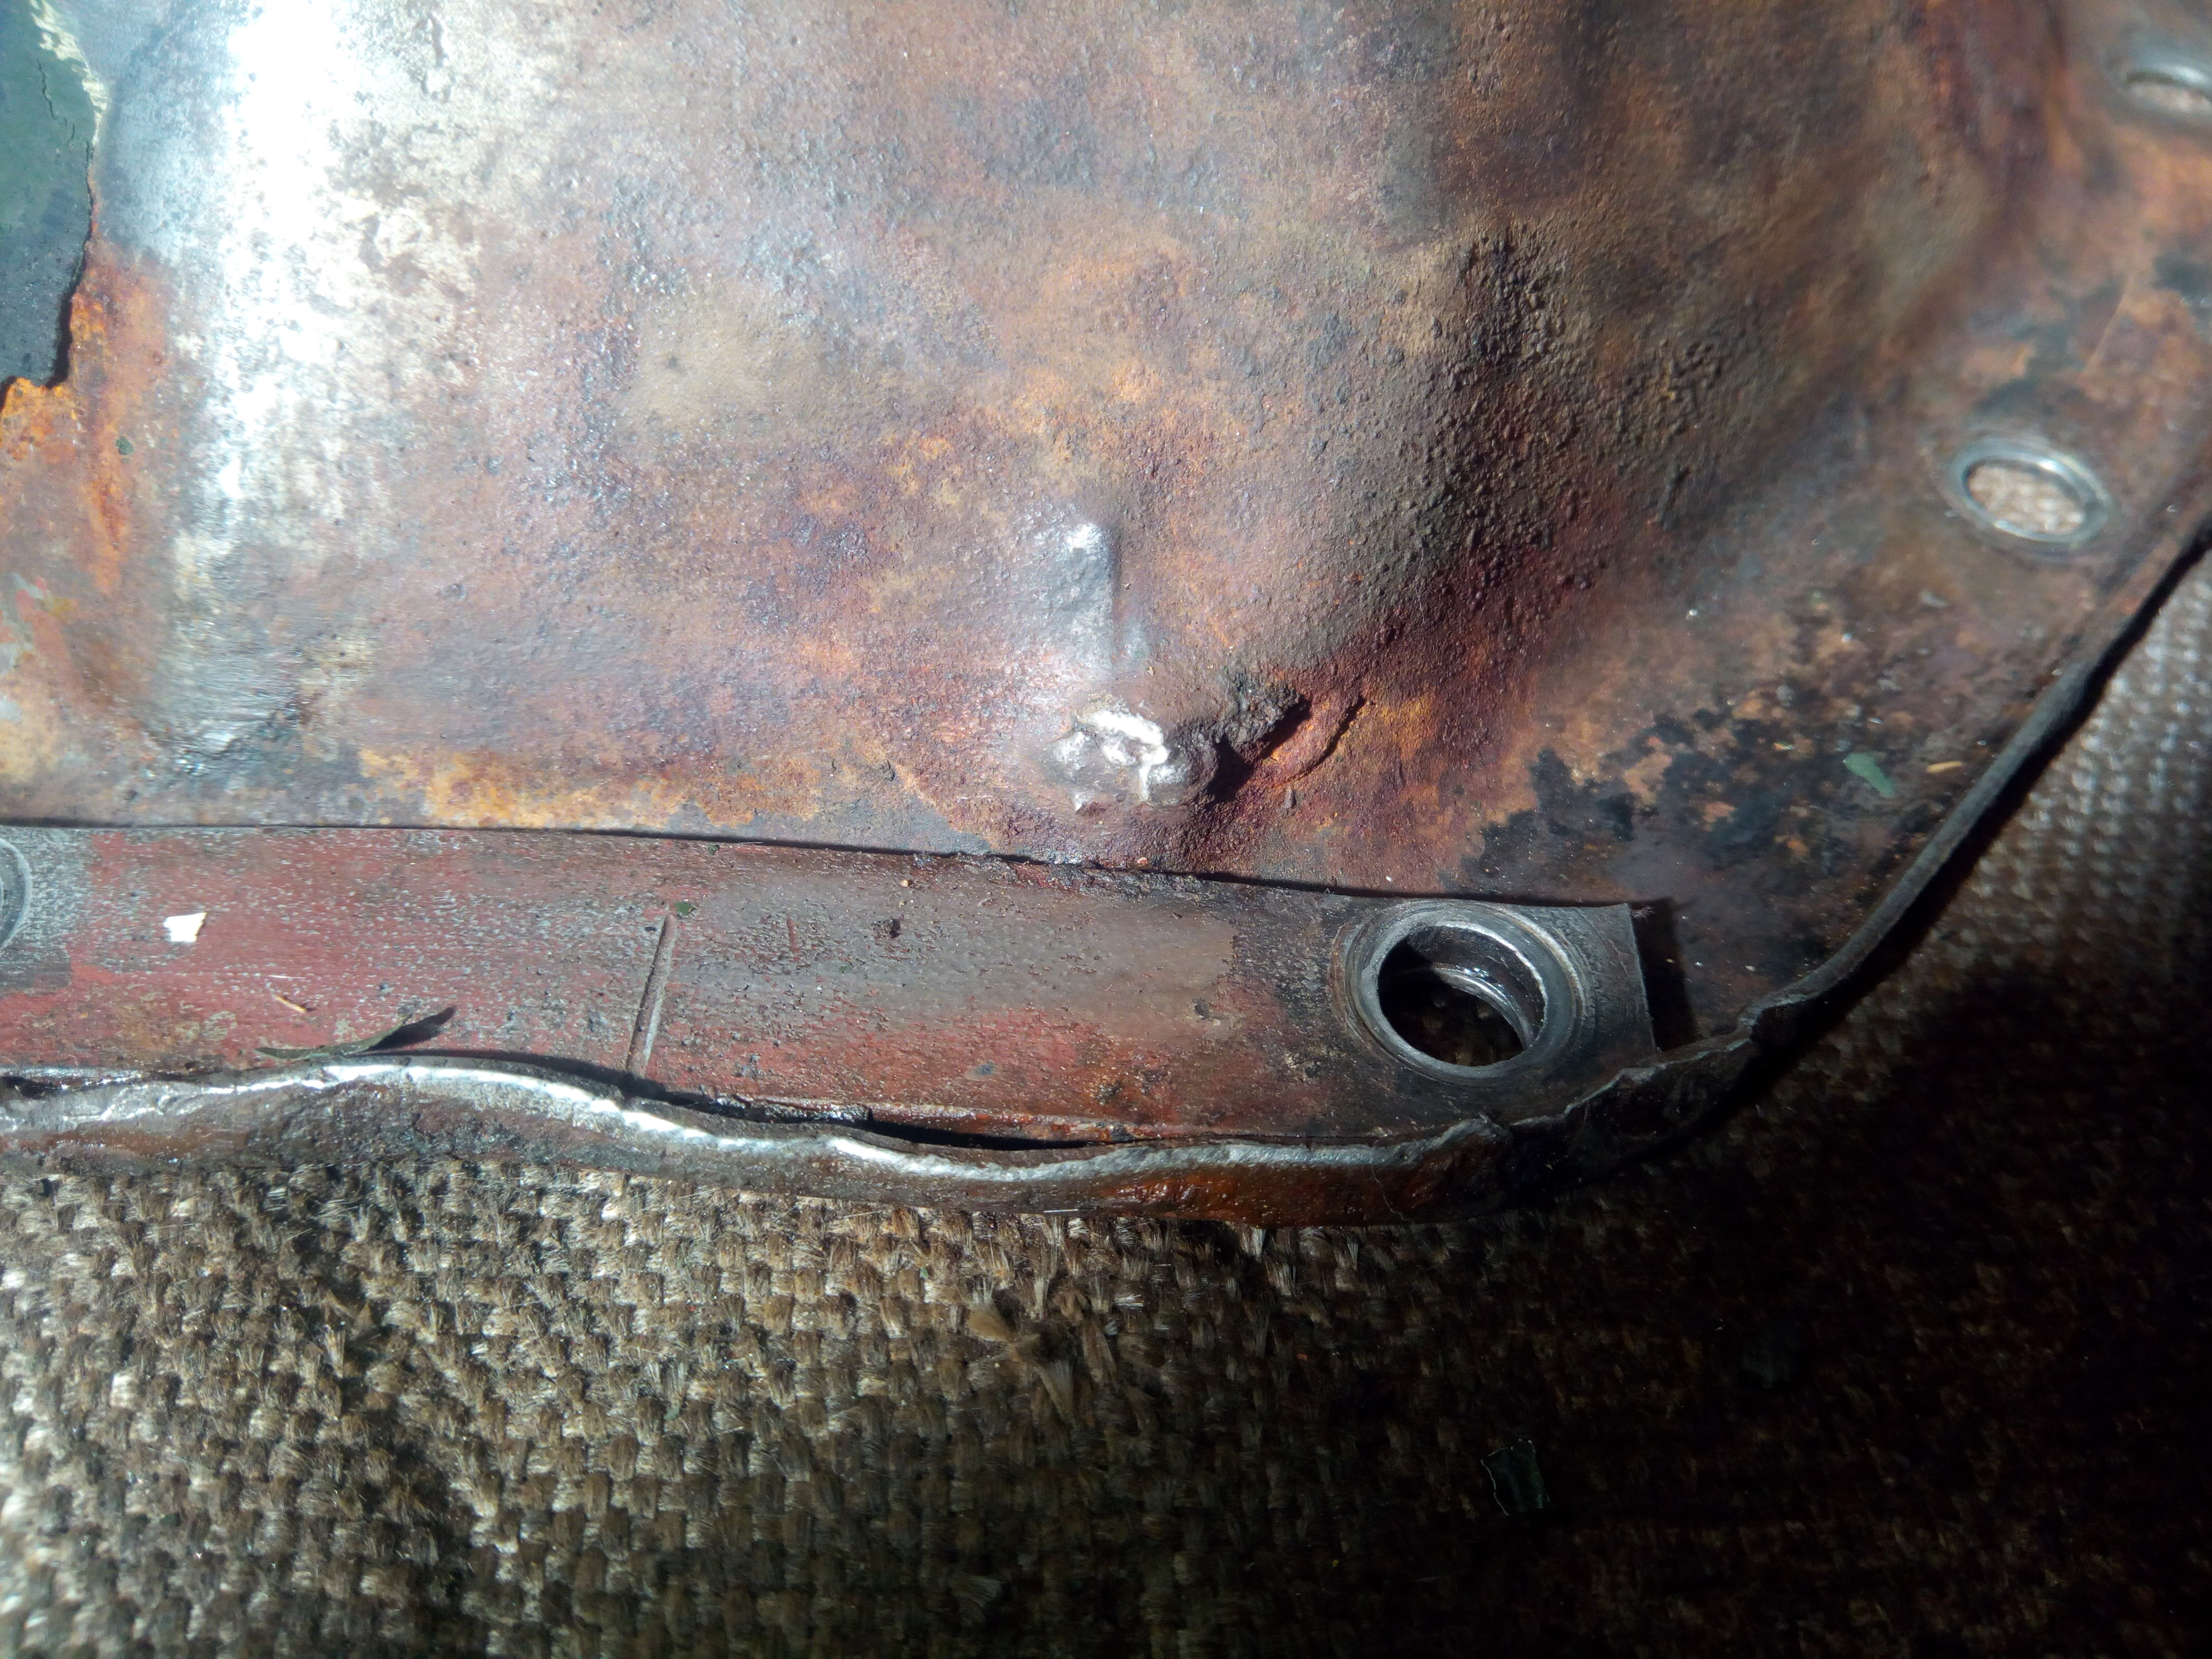
All in all, a bit shabby and in need of some tidying.
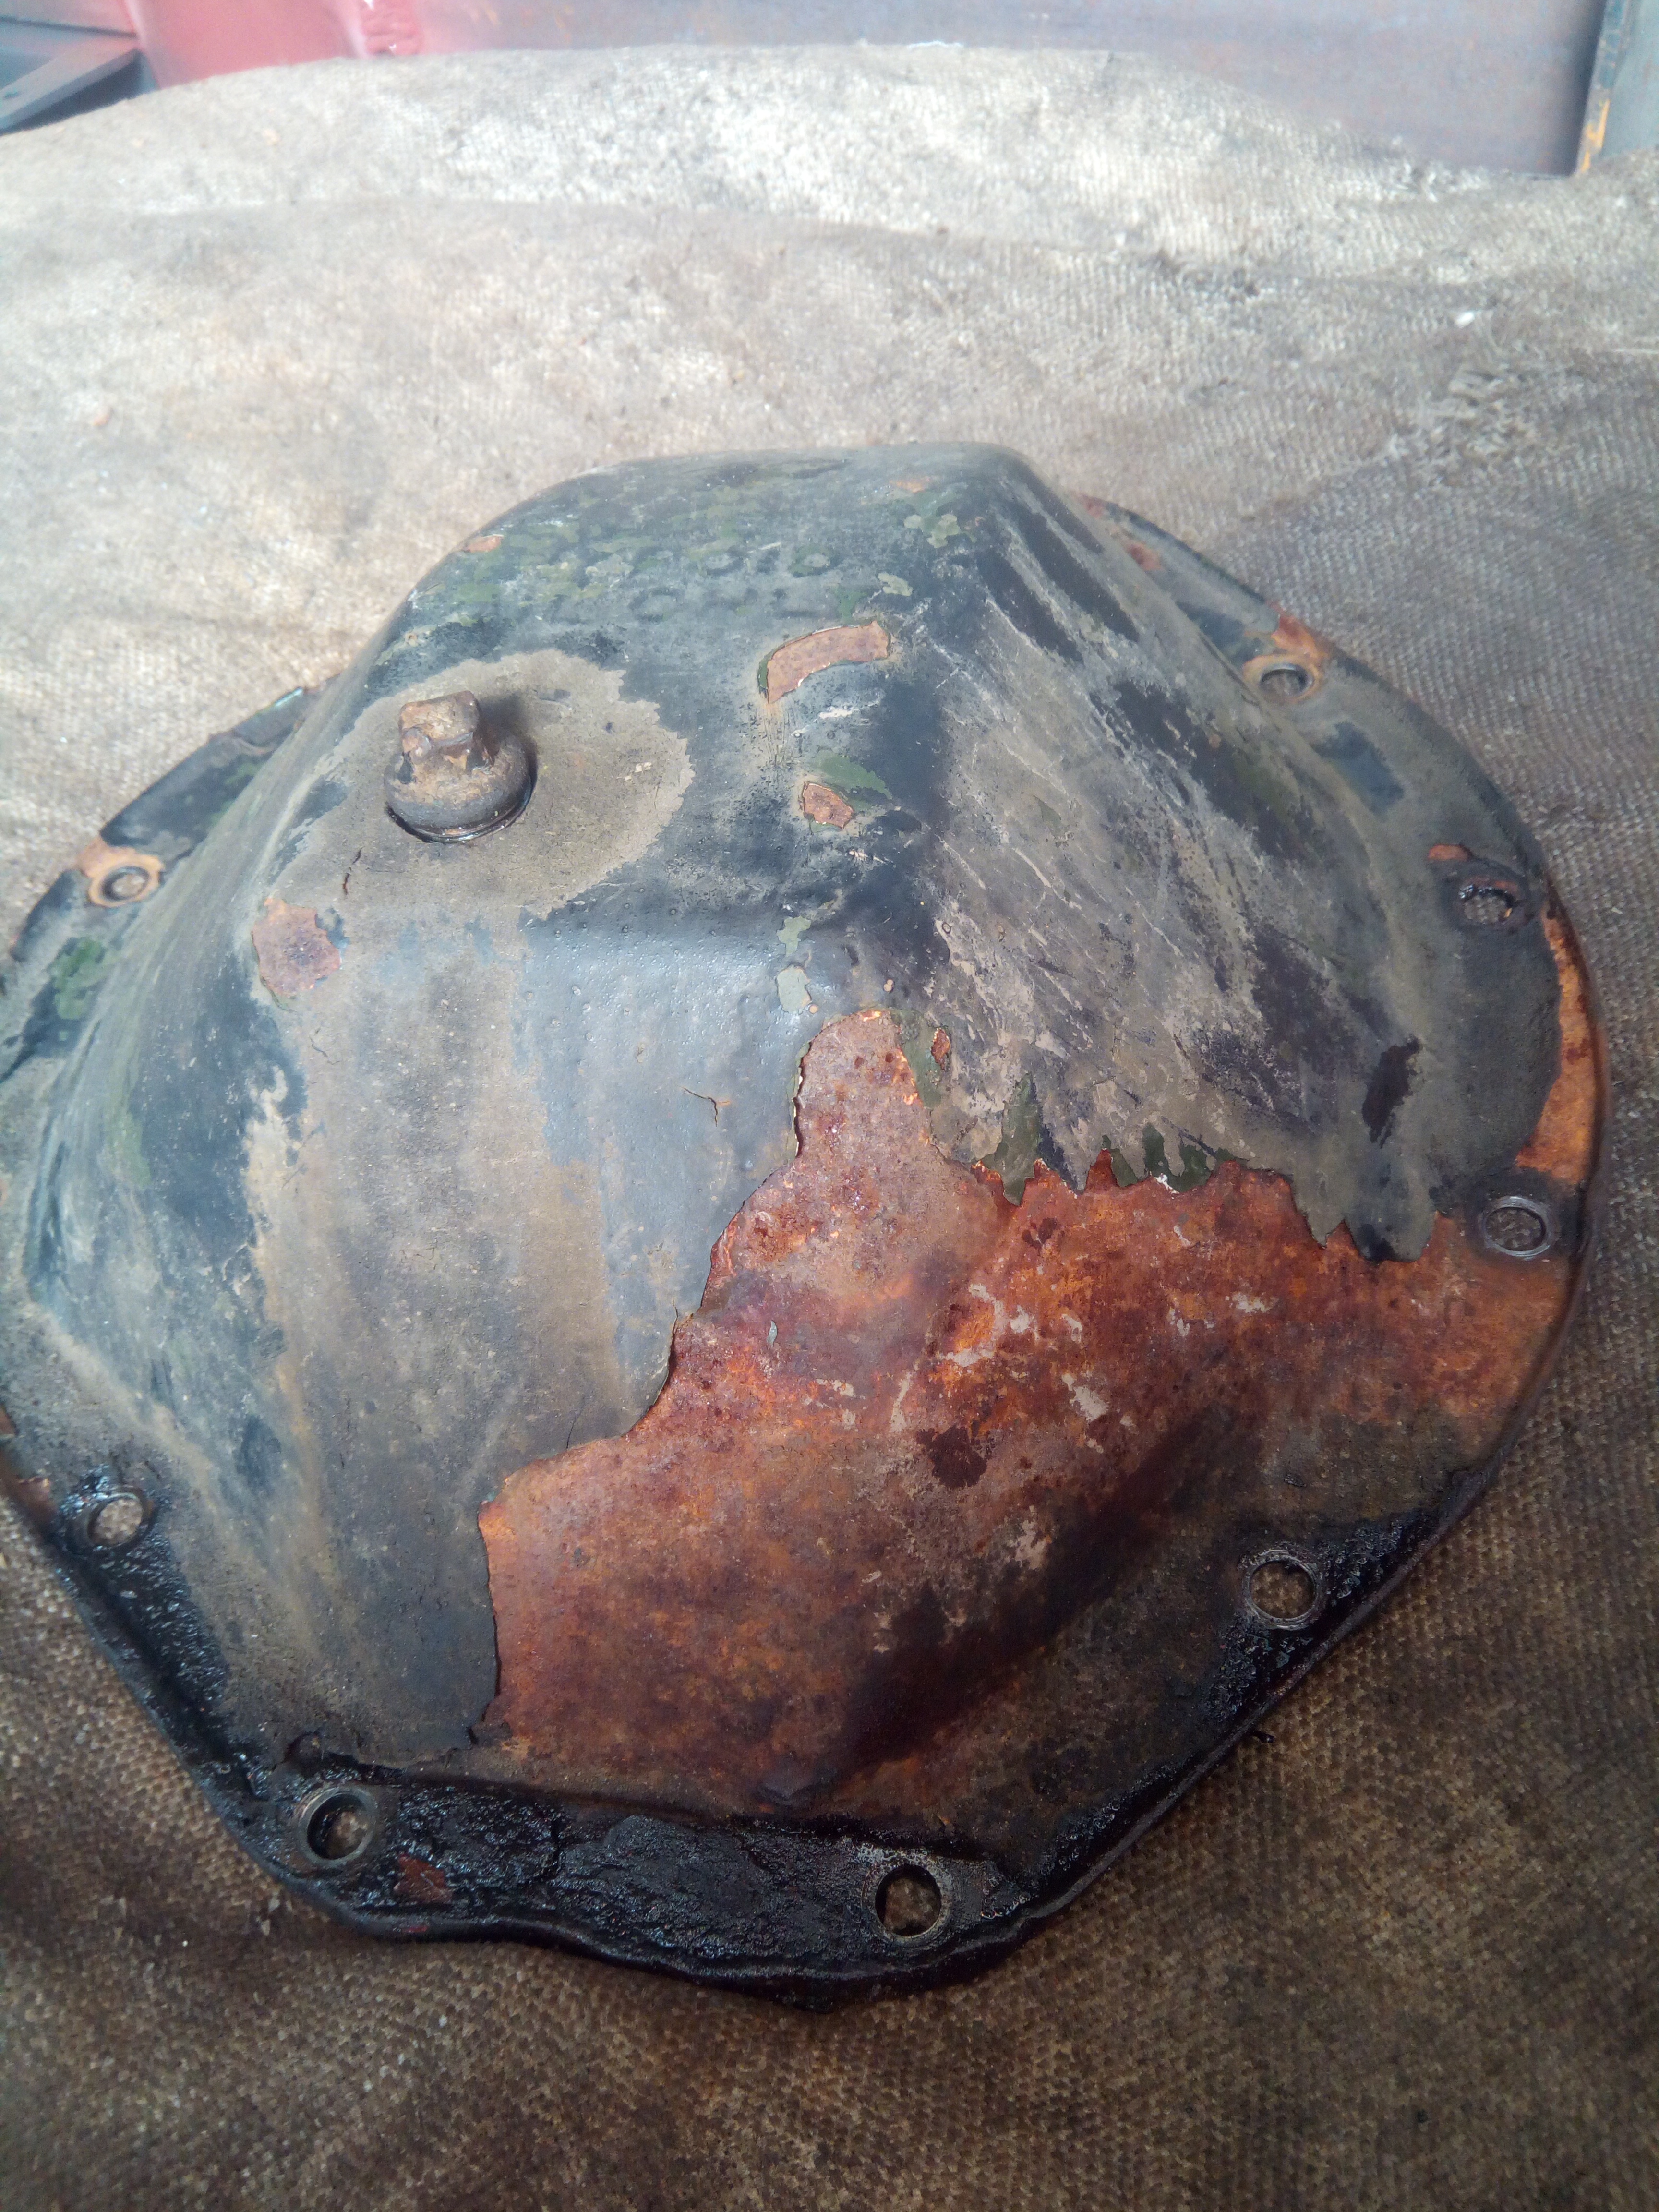
Better!
Mid-April 2017
Let's have some light!
And a bit of light philosophy:
Tamber said: (Side-note: Apparently, their go-to place for information on these bits has most of its knowledge-base residing in the head of a man named Frank, who's only in on Tuesdays. It scares me a little just how much information is contained solely within the Franks of this world.)
SeanN said: There is an old saying - "when an old man dies, it's as though a whole library has been burnt". I wish there was some way of downloading the knowledge of the Franks of this world. Forums like this are a start.
ZeroFiveTwo said: Unfortunate but very true. The main problem is, the stereotypical Frank is an unassuming bloke who is quite modest and doesn't see himself, or his knowledge, as being anything special. He does what he does, but no one notices until after he's gone
Tamber: Very very true, unfortunately. :(
(Same with all those parts places that are wall to wall shelves with scruffy little cardboard boxes, and the old guy behind the counter who knows where everything is; even if you're looking for that 1958-only counter-clockwise turbo-retro-encabulator that's just a strange assembly with spinny bits and a collection of springs to everyone else.
Then the Franks pass on, and you get left with the spotty young kid who's job is apparently just to tell you that the computer can't find the part you need because it doesn't recognise your chassis or registration number.)
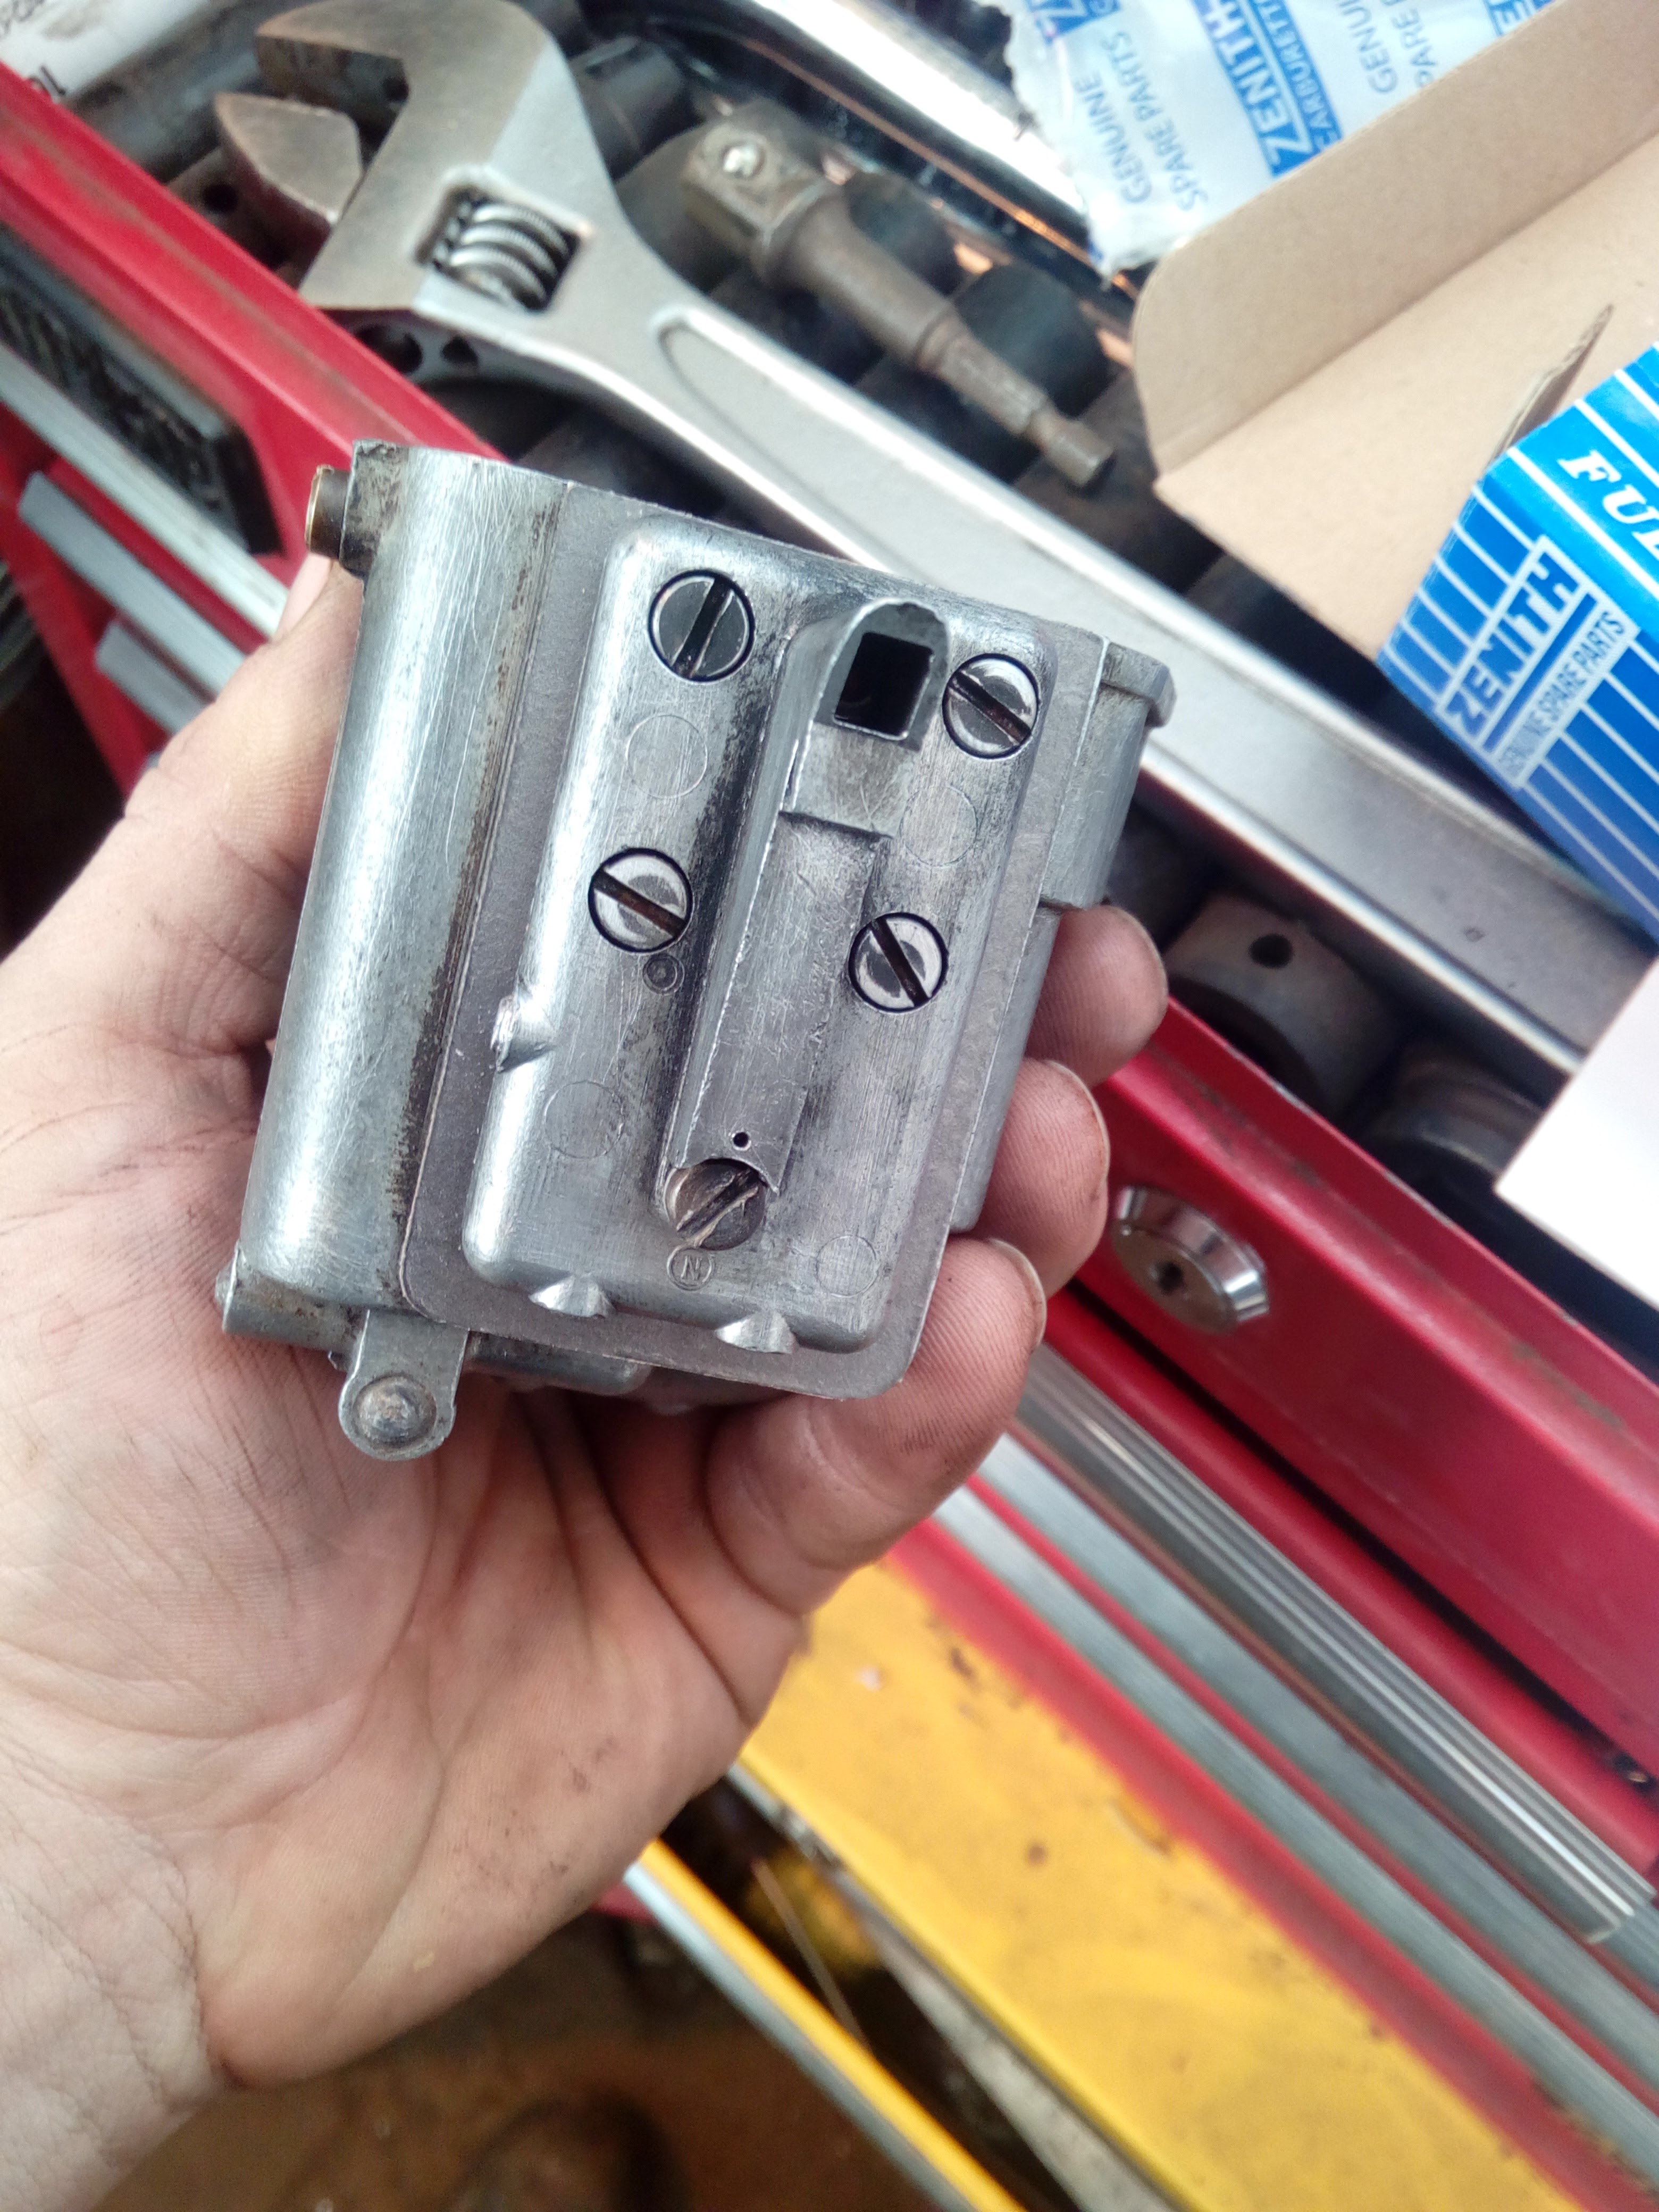
Anyway, there was a bit of furtling about with the little control valve for the air-assist in the servo. It didn't really come to anything. I sort-of have an idea of what's supposed to be in there, but nothing close enough to concrete dimensions to make a replacement. So the current plan is to fit an external foot valve from a more modern truck alongside the original brake servo, controlled by the same brake linkage. Details yet to follow.
(It also has the advantage of inherently giving me air brake control to a trailer, which is something that I wanted to add in anyway.)
In other little items, one of the members from HMVF, Ian43, managed to figure out what sort of key was needed for the locking fuel cap, and then...
Early-May 2017
The fallout from "Part No. 42" finally hits me.
I went to double-check and re-set static timing, just in case I'd screwed something up (fnar.), and as I barred the engine over, there was a thunk and it stopped dead.
Pulled out the spark-plugs, and it started to turn over again; wound it over on the starter, and fuel squirted out. Note, not fuel mist, but liquid petrol.
Some checks were made, and I spotted fuel dribbling down onto the throttlep-late. Did the usual wishful-thinking fix of tapping the float-bowl with a screwdriver; nothing improved.
"Ah, fuel pressure's maybe a little high..." thinks I, in a full on muppet moment, completely forgetting that the electric pump was meant for carburettors and that sort of issue would've reared its head sooner anyway.
So a pressure regulator was ordered, and fitted. And the problem persisted, even with the pressure set to 1psi.
A co-worker suggested a stuck float (which is what I originally thought, hence the tapping), and the float-bowl was removed. Float wasn't sticking, but fuel did seem to be pouring out unless it was held at a certain angle.
Let's have a wee game of Spot the Difference, followed by -- more foreshadowing -- a game of Hide and Seek.
Venturi side of the emulsion block after the carb rebuild:
Venturi side of the emulsion block this afternoon:
There is only one place that screw could have gone. I'm going to break out the inspection camera and go on a hunt for it. I'm not getting my hopes up too much, but I shan't despair yet. (In any case, does anyone know what size and thread that screw is, then I can order a replacement?)
And some more oil, because the sump has more petrol in it than the tank does, at this point...
To Be Continued...