The Hunting of the Screw
Camera poked down plug-holes came up inconclusive. There were no horrible noises when the engine was cranked over, so I didn't plan on bumping "engine tear-down" up the list of priorities at that time. (Probably for the best.)
Instead, I just planned on towing the truck to the workshop with the forklift every time I needed to work on it.
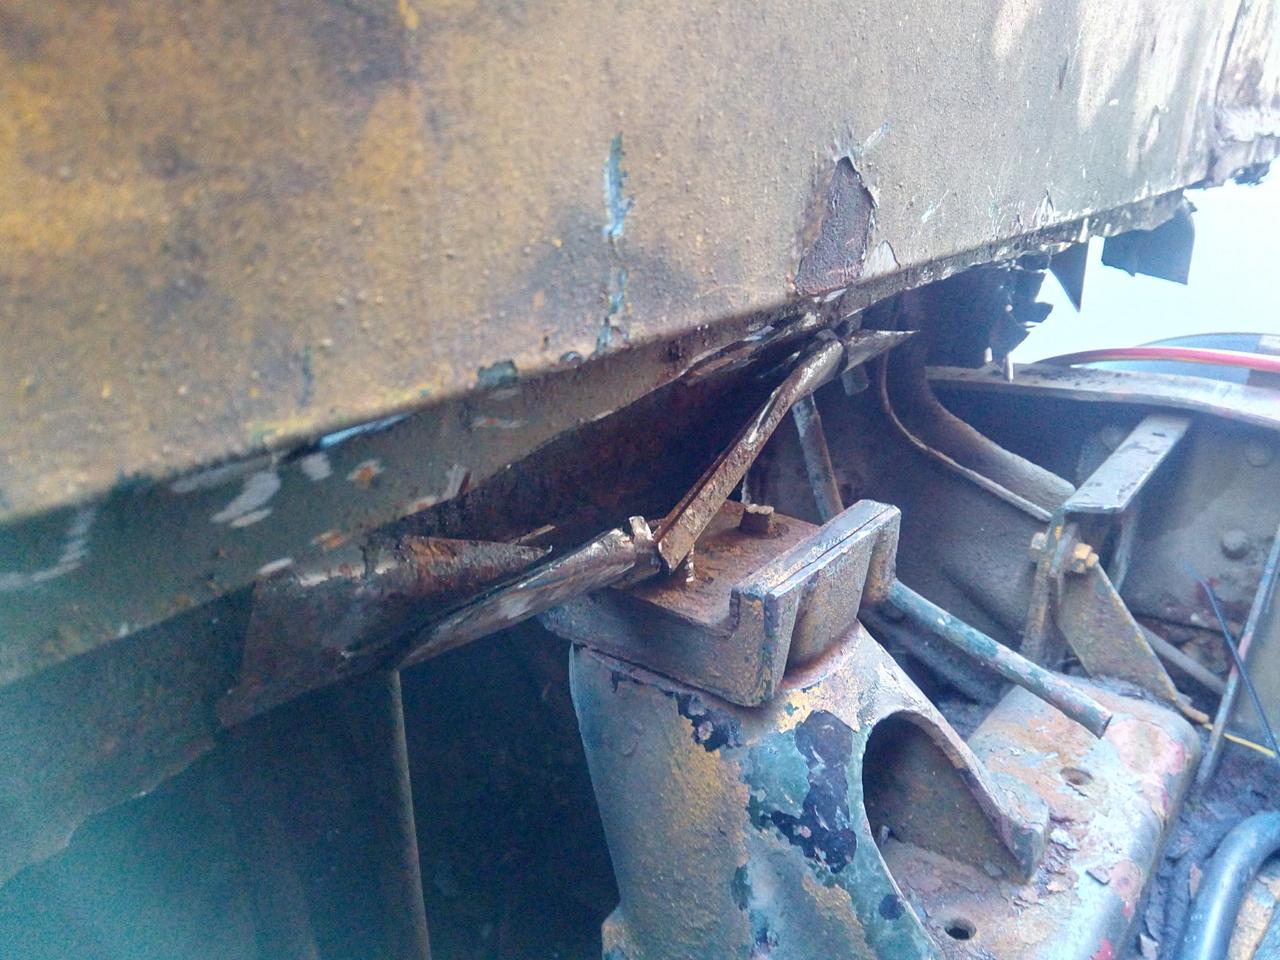
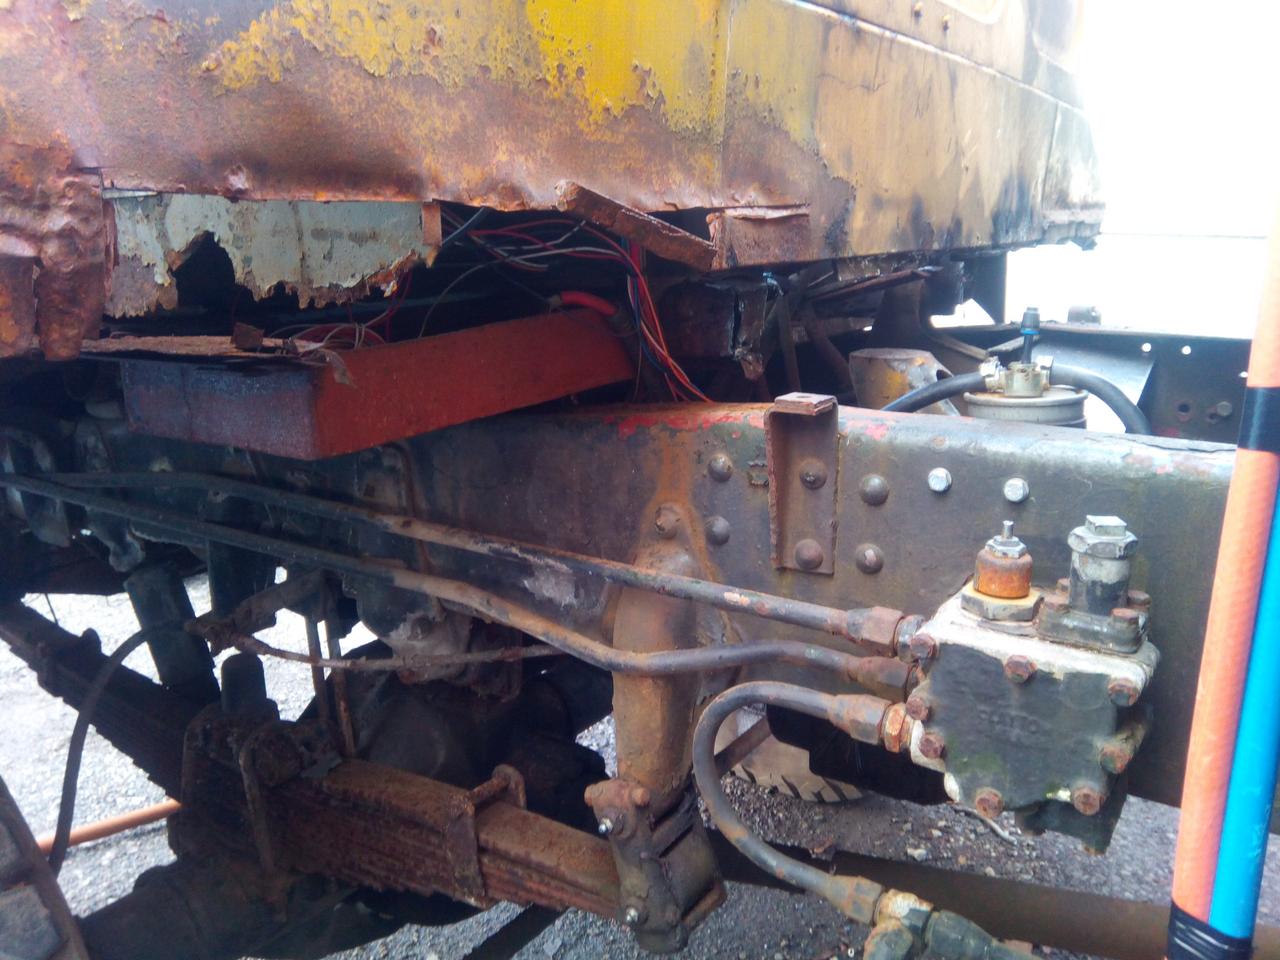
Anyway, some rot-removal happened:
More surprisingly, the battery box didn't then immediately fall out of the truck.

Late May 2017
The screw that's missing from the carburettor is a little oddball, it turns out. It appears to be M4x0.75, which is a non-standard (but formerly popular, apparently, in French stuff) metric screw that's made of unobtanium.
Yes, metric. I was surprised, too. I had to do the "check it four times, remove glasses and hold it up to the light and a bit closer just to make sure" dance. Started with the UNF/UNC thread pitch gauges, they fit the thread profile but not the pitch. Whitform was the wrong angle, so it wasn't that. And that left only one thing to try, and the 0.75mm metric gauge dropped in perfectly. Go figure.
I've solved this problem the slightly rough way: Retapped the hole for a screw that I actually had, a standard M4x0.70, and applied a dab of thread-locker to all of them.
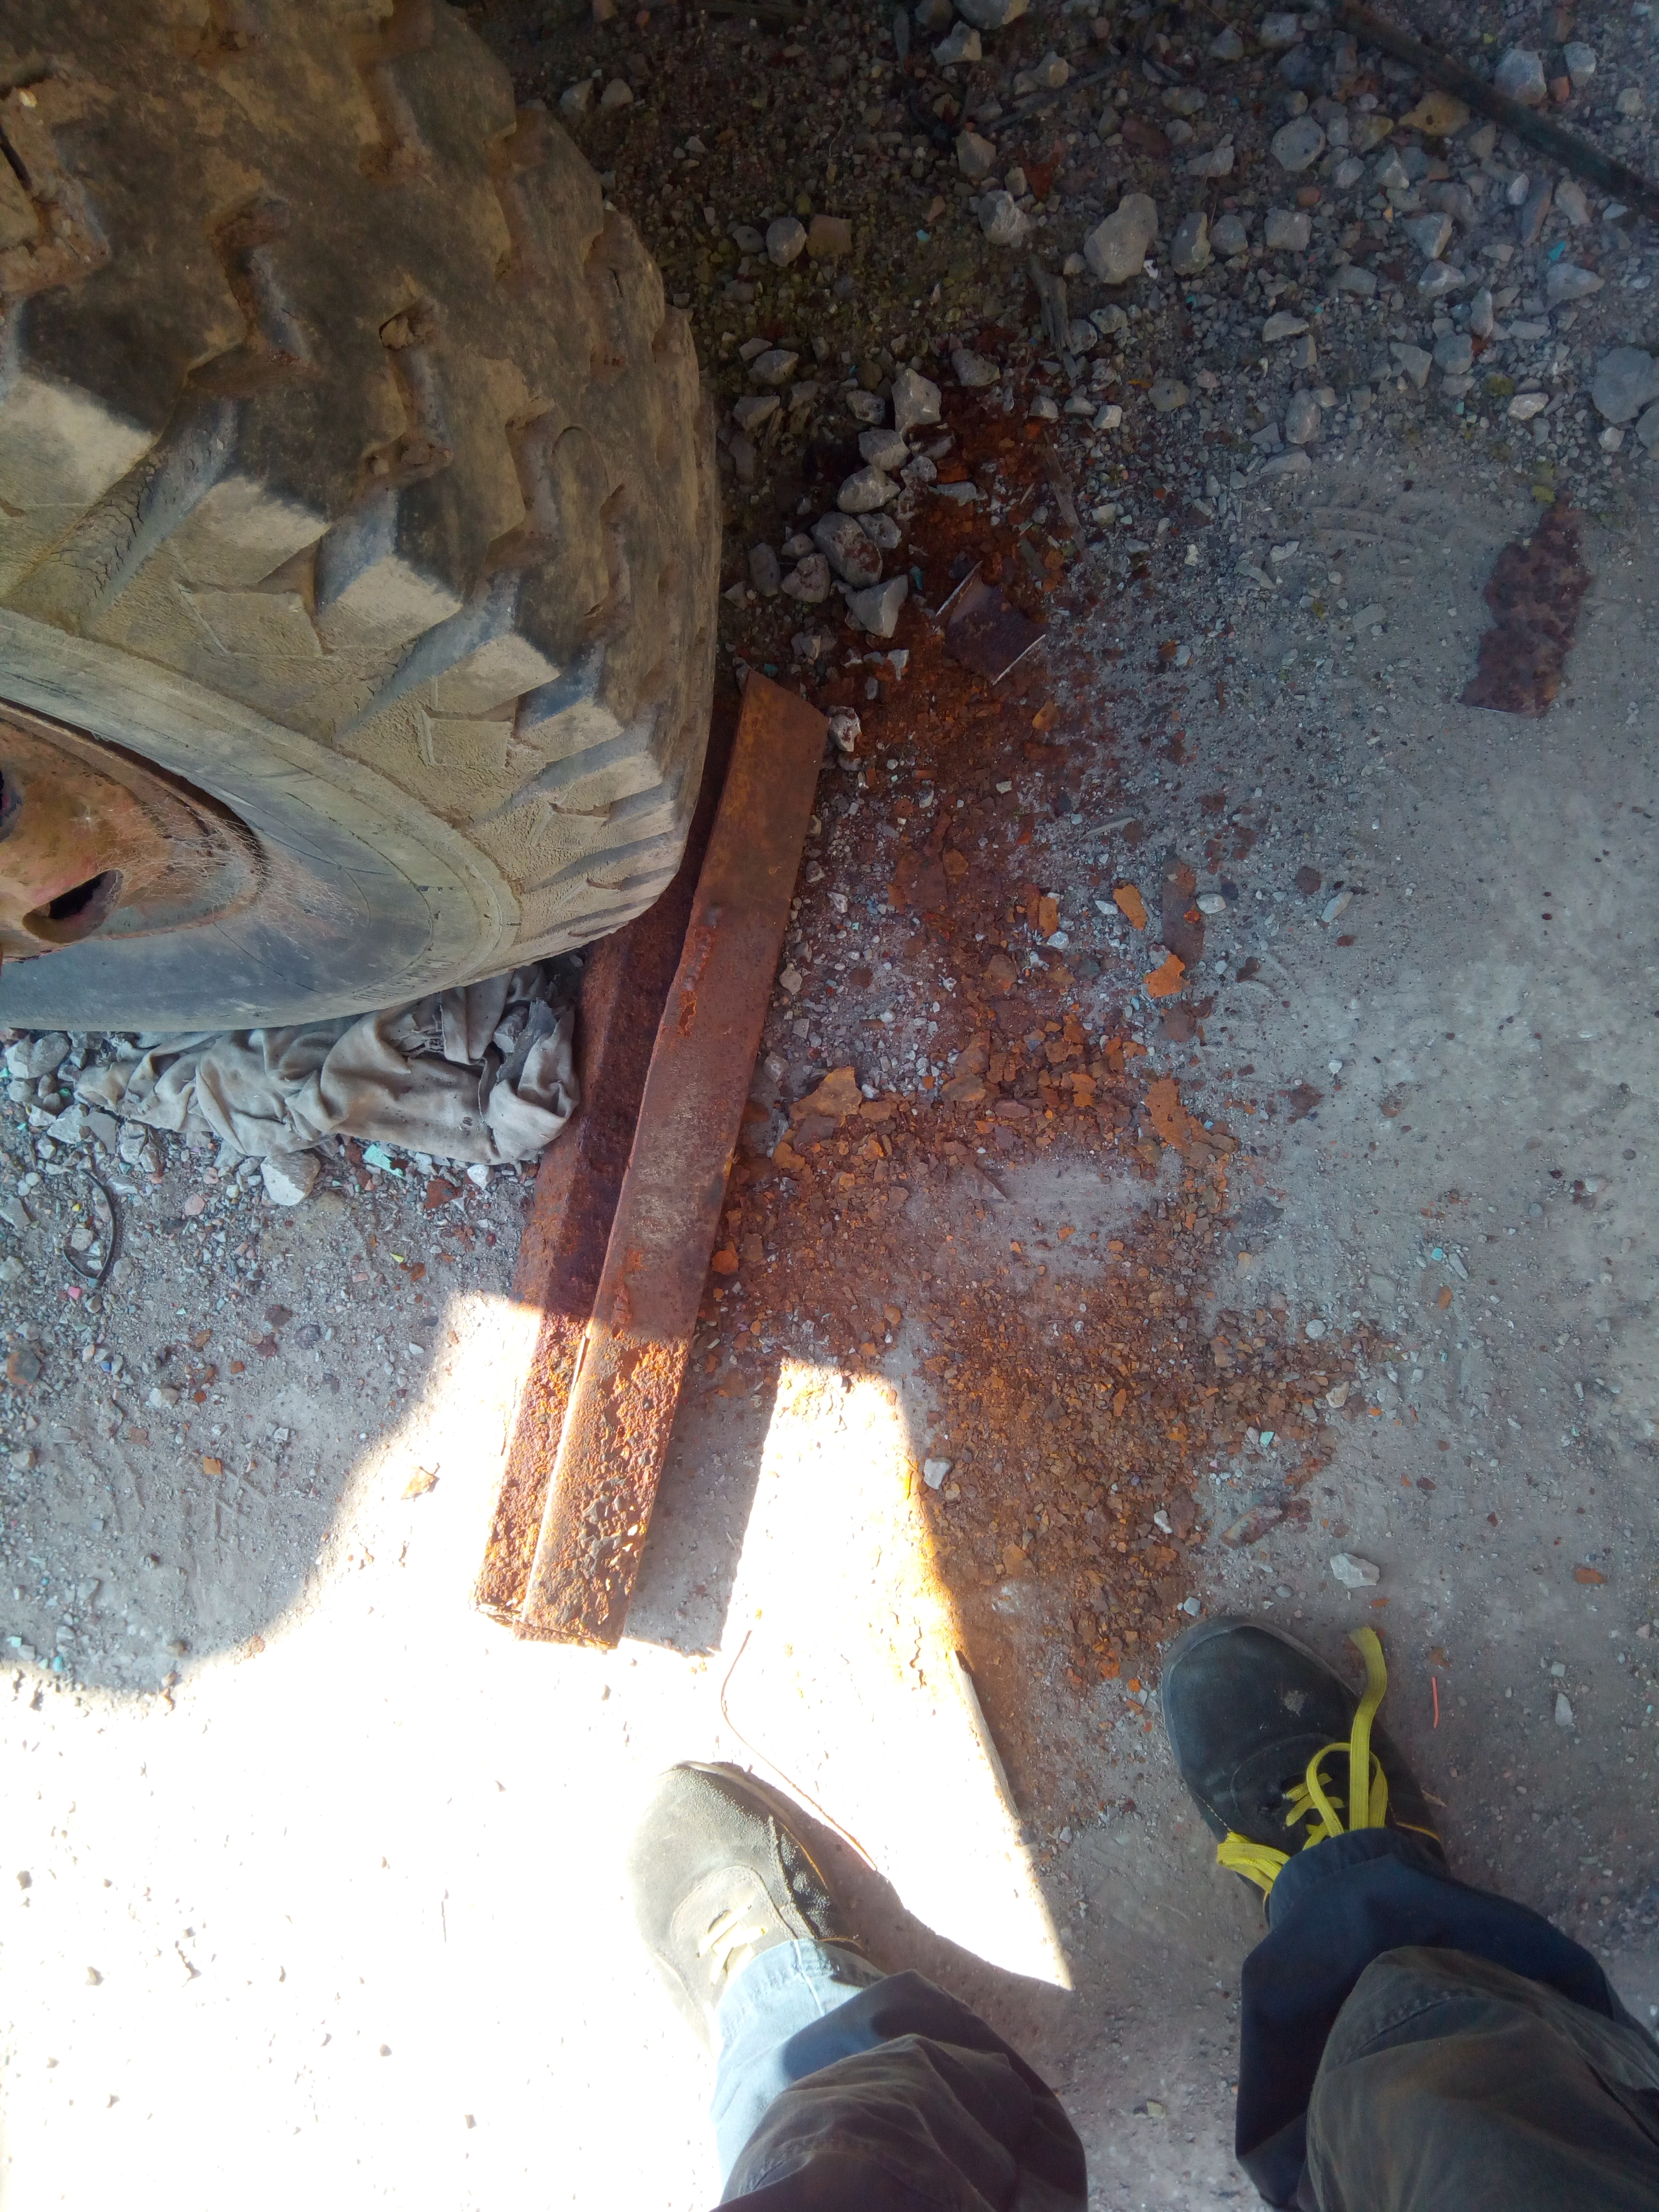
Continuing on the theme of hackery, I've undone the rear cab mount and jacked the cab up very slightly to sit it on a length of 1-1/4" box section laid across the chassis rails; taking the weight off the rear mount and the hollow section it's attached to, so that I can cut out that rusted section and replace it with new metal without the cab falling off. Hopefully. I'll have the camera rolling when I make those cuts, so you'll have something good to laugh at afterwards, if it does go wrong.
June 2017
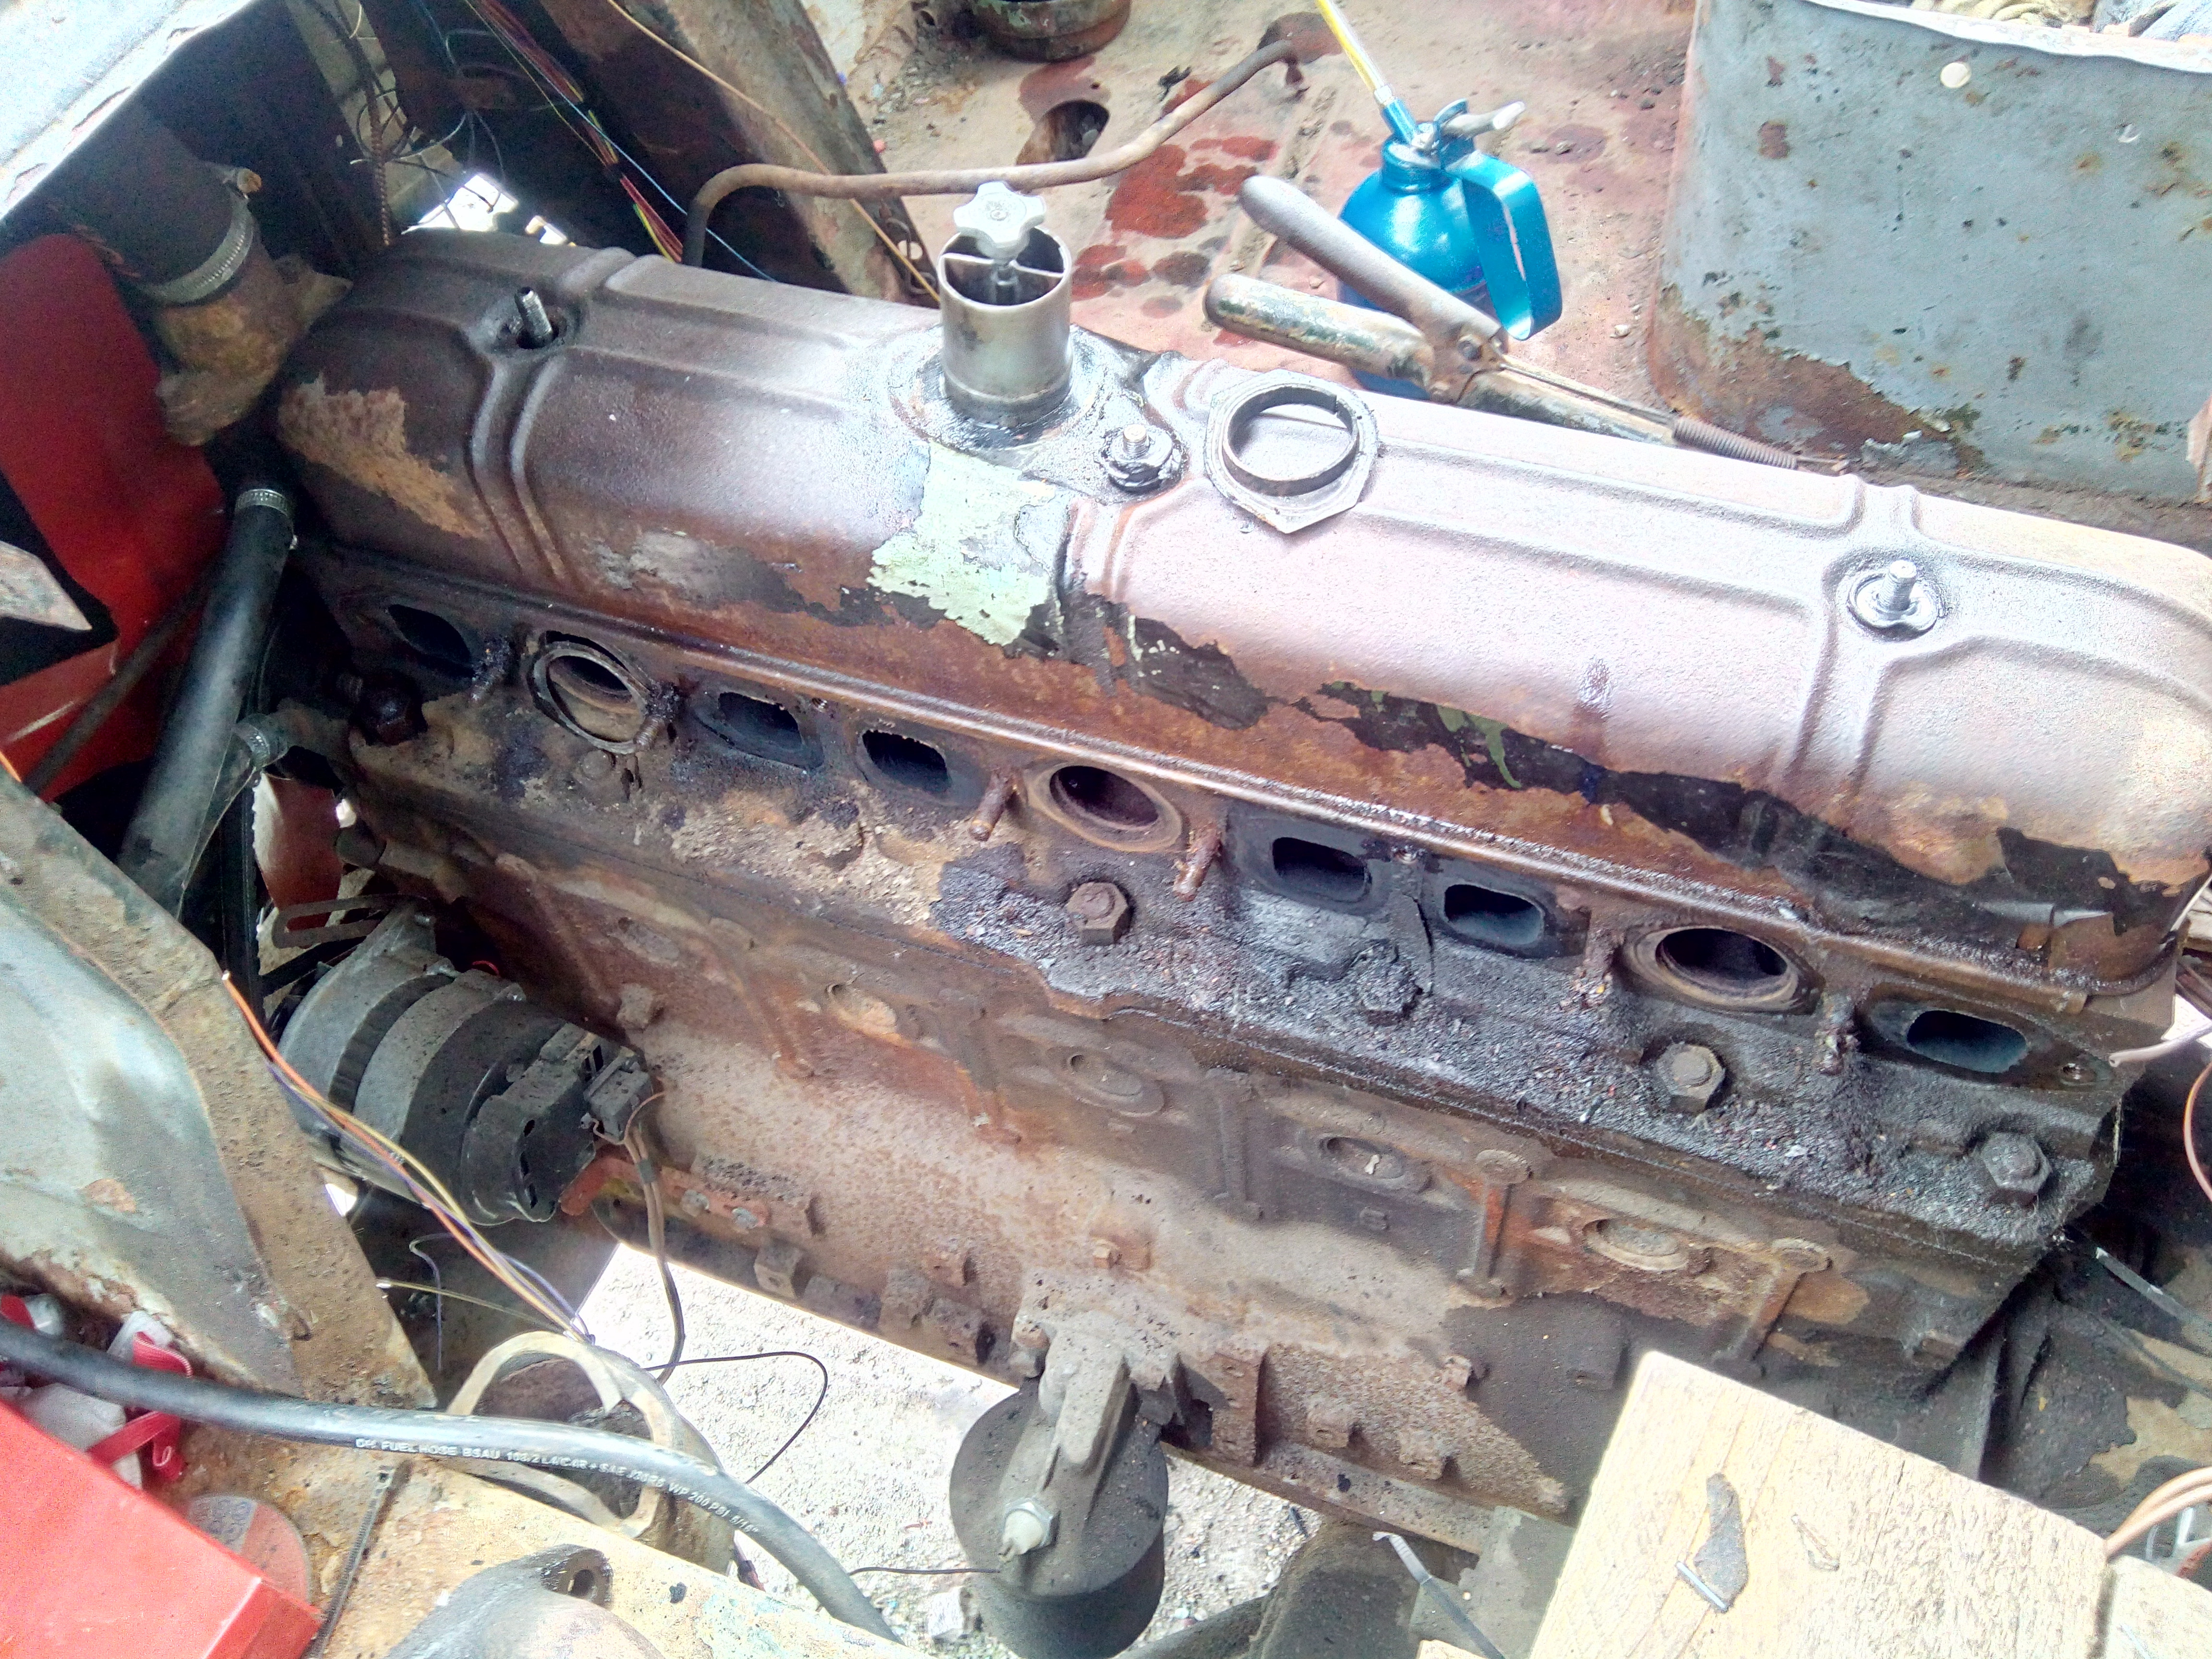
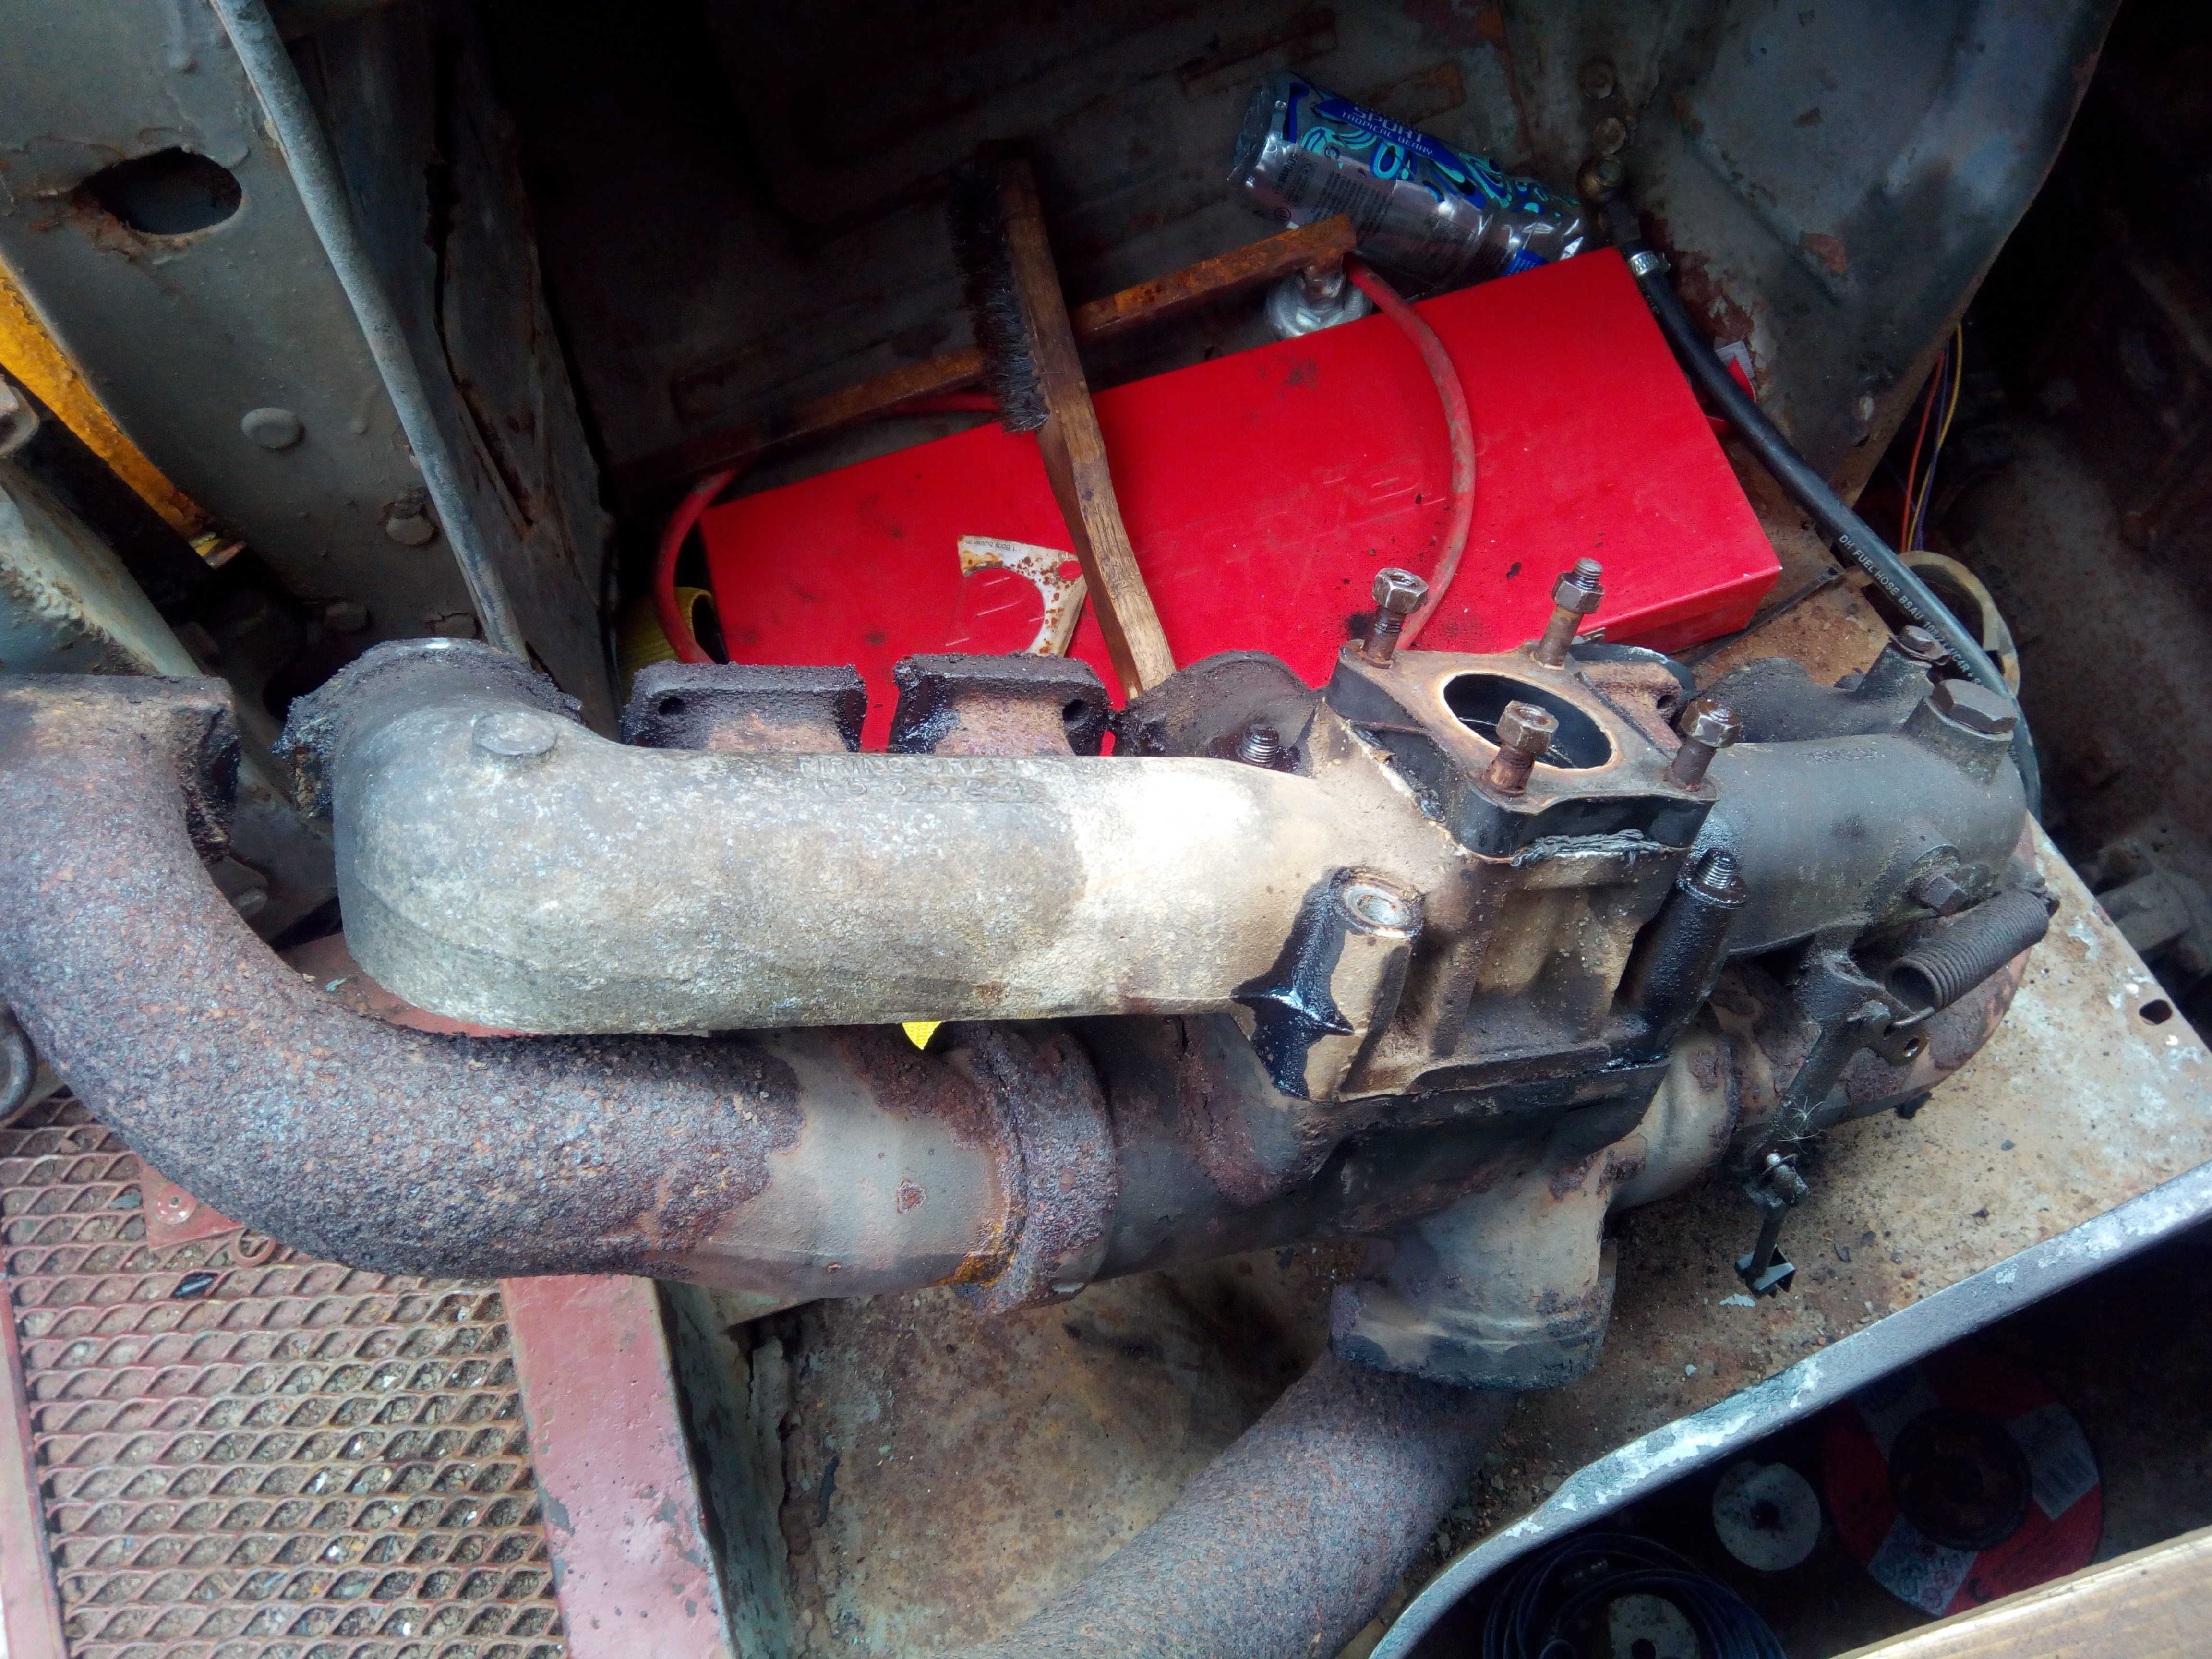
It appears I didn't get as lucky as I first hoped, with the screw situation...
Hmm! Maybe the screw is still in there, holding it open? Time for exploratory surgery!
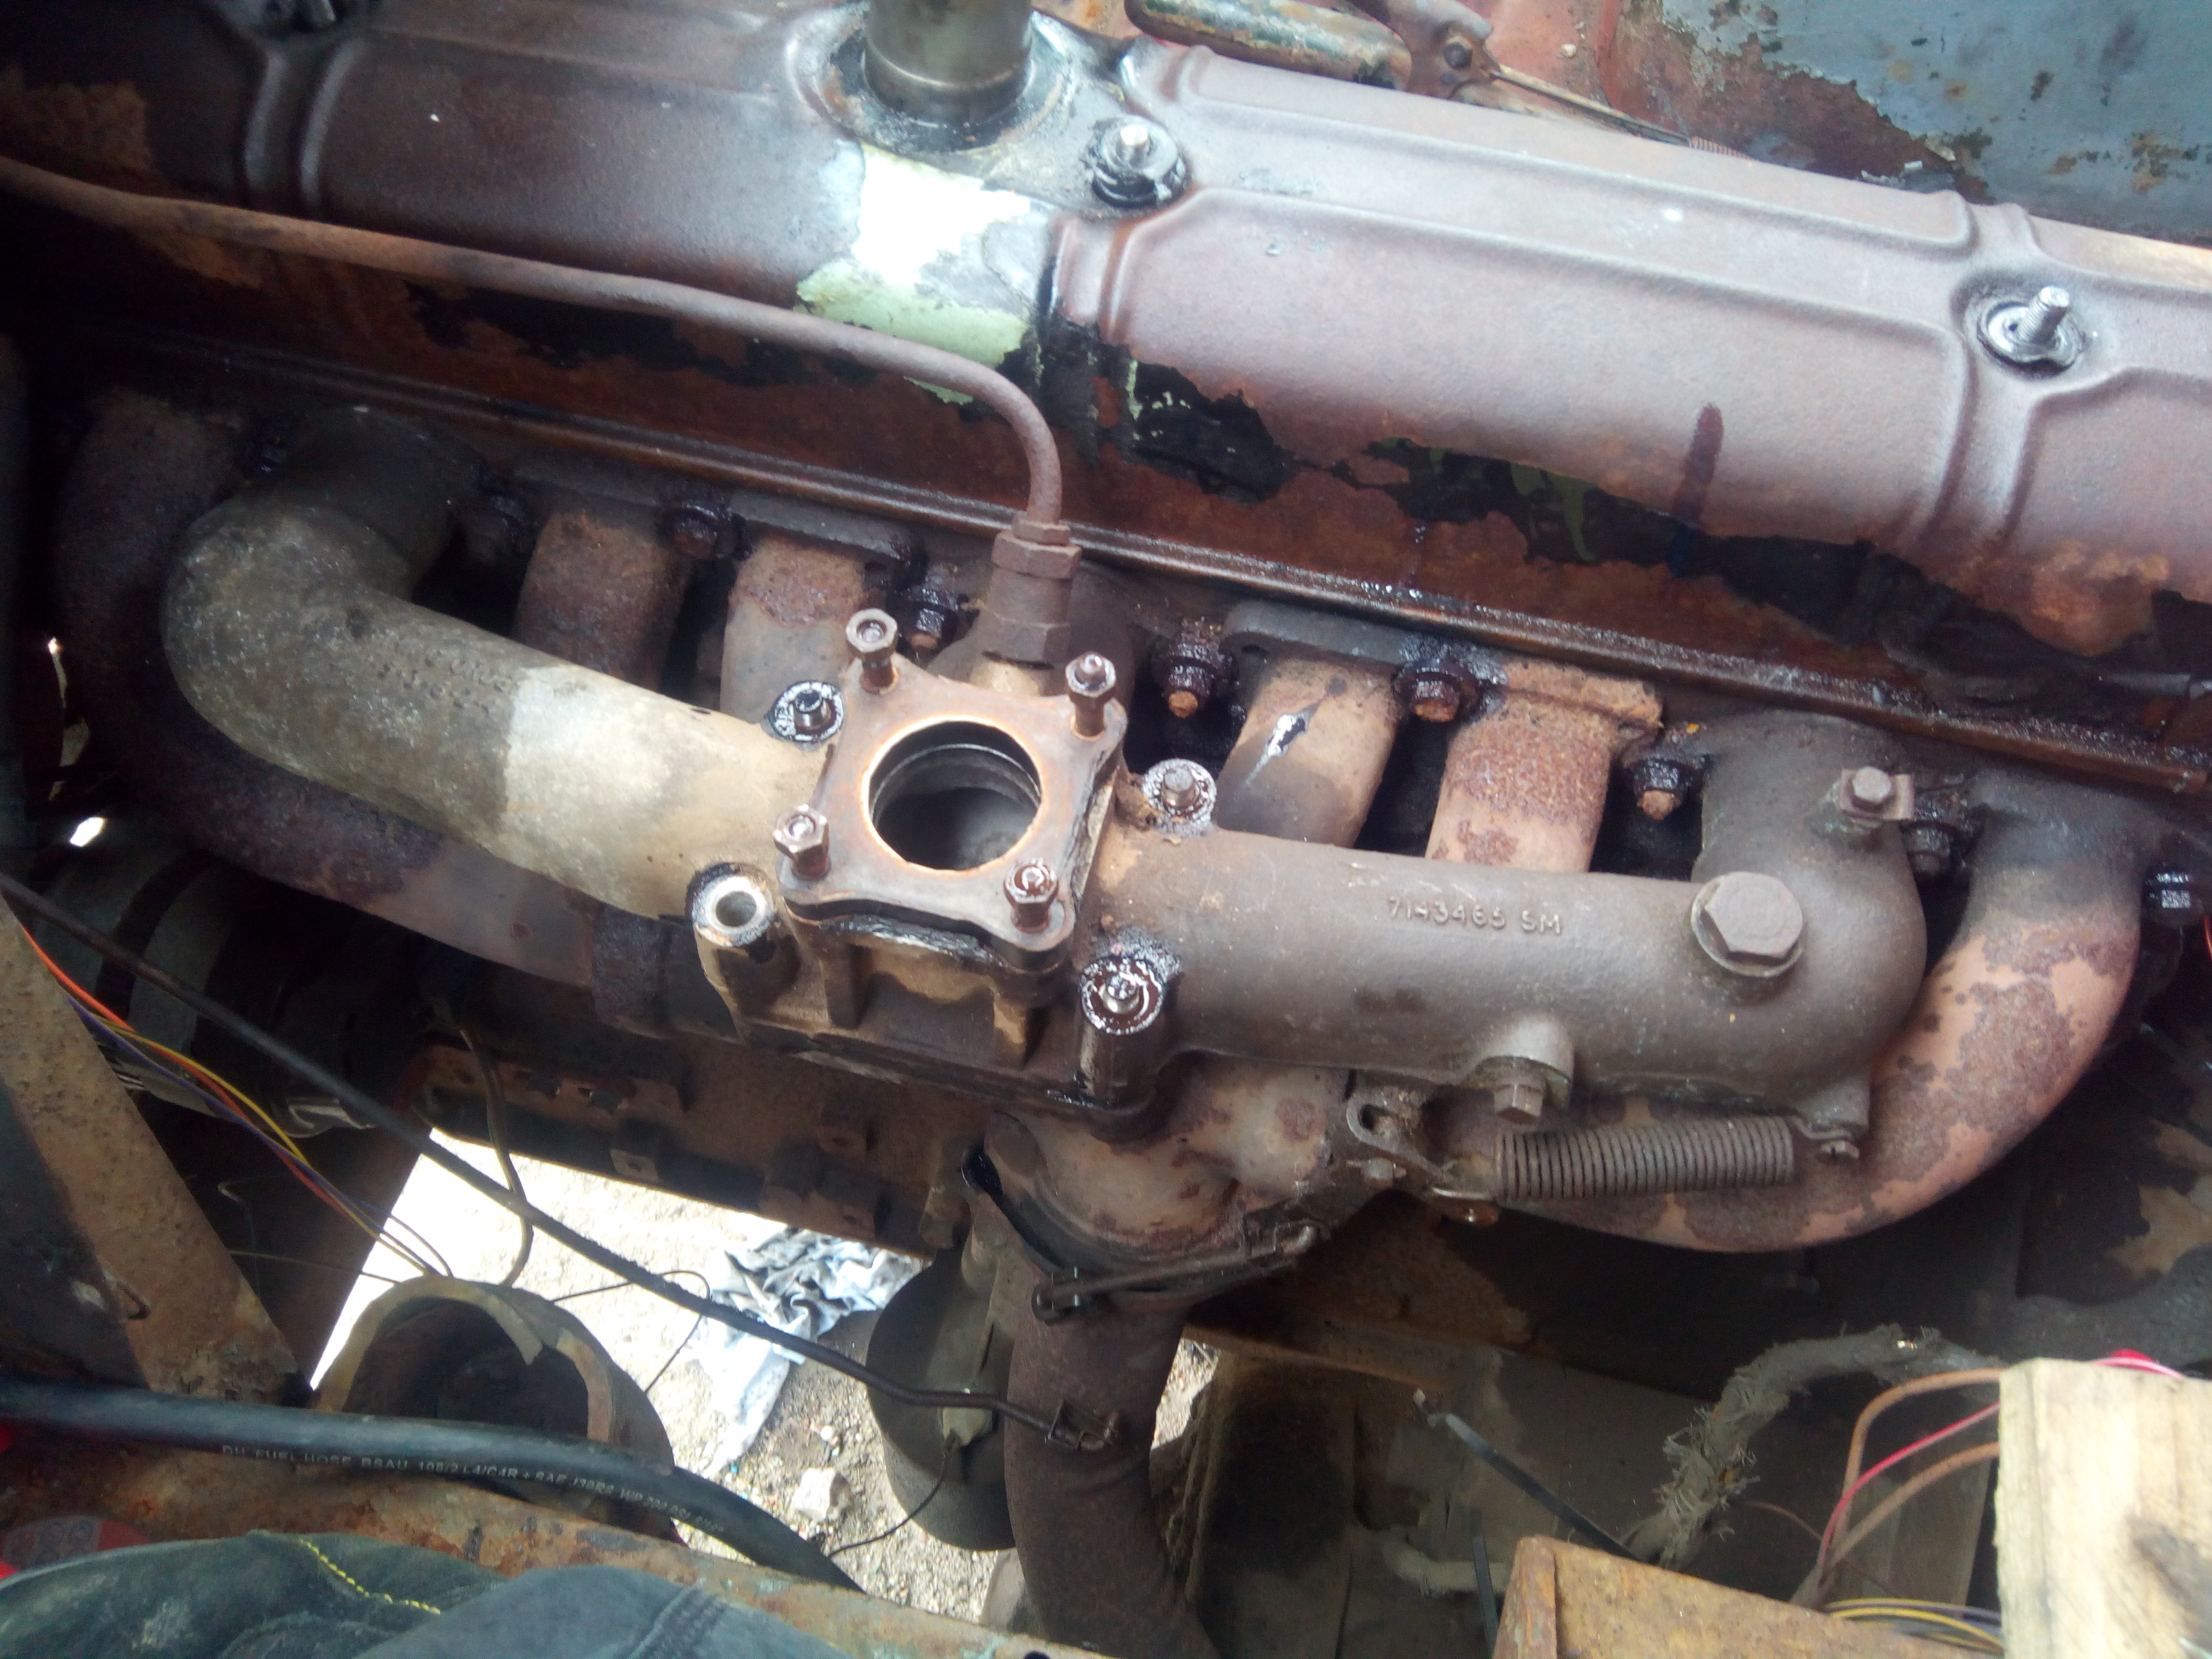
There were casualties of getting to that point. The exhaust studs stapped right off, because of cooooooourse they do. But, eventually, with much straining, the manifolds were off.
And they came off in one big, daft lump.
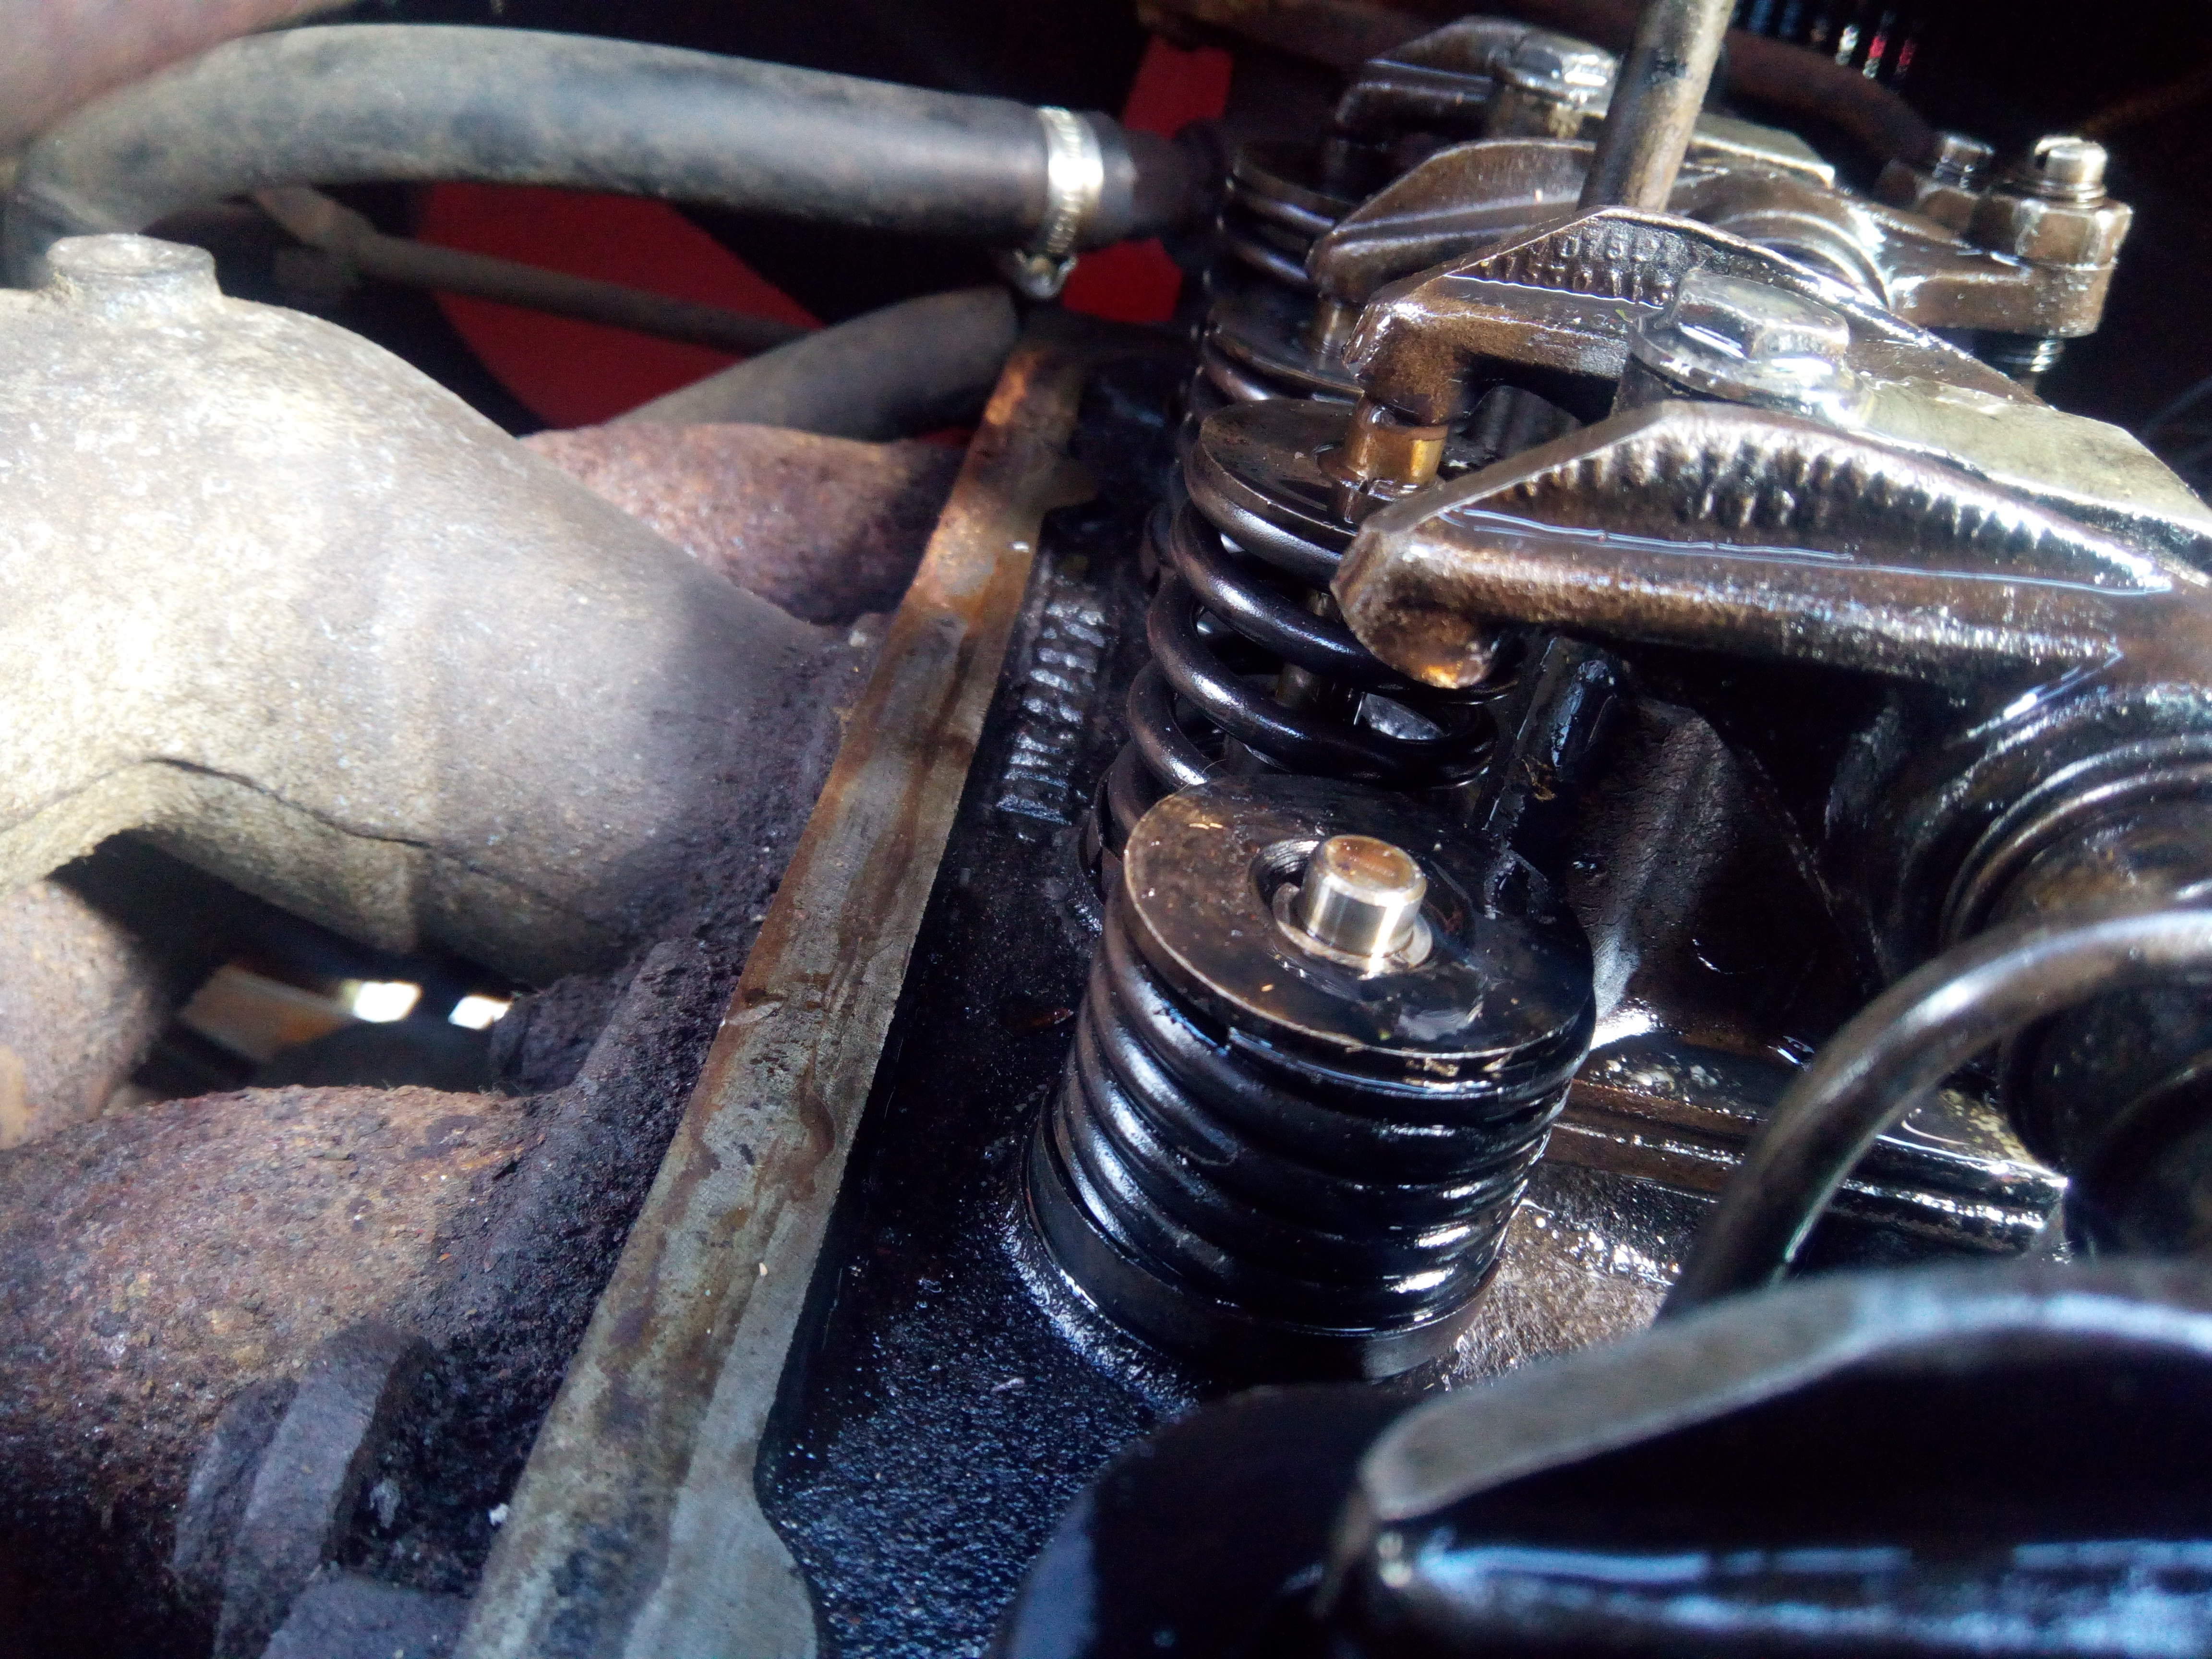
Prodding, poking, and jiggling about with the length of TIG rod ensued; trying to see if I could feel the screw stuck in the valve. Unfortunately not! So the only logical conclusion I could come to at the time was that the valve was now either bent, or otherwise stuck in the valve guide.
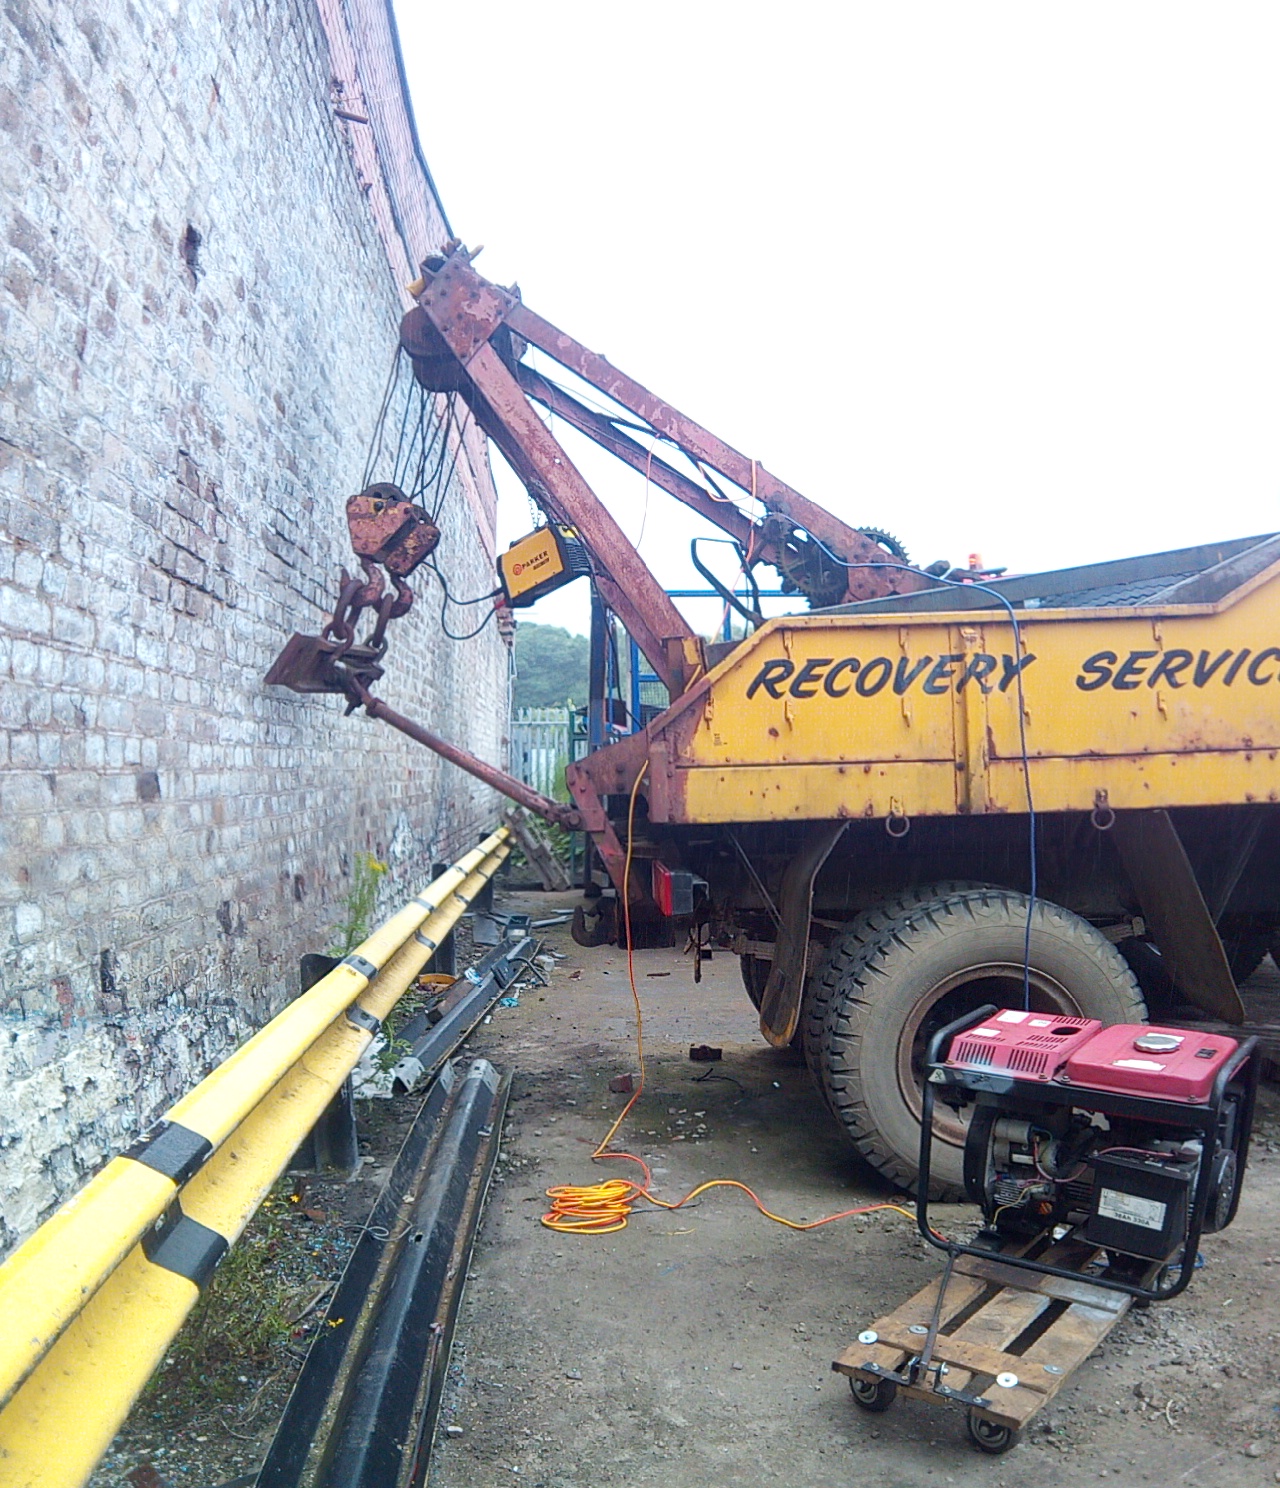
Some carefully applied brutality managed to get it pulled up and almost completely closed, to prevent it from getting battered by the piston. (In hindsight, I needn't have worried!) Spirits were at an all-time low, at this point, especially since it was now blocked in by a heavily-vandalised and immobilised truck, so I couldn't just tow it aross the workshop to do any welding.
End of June 2017
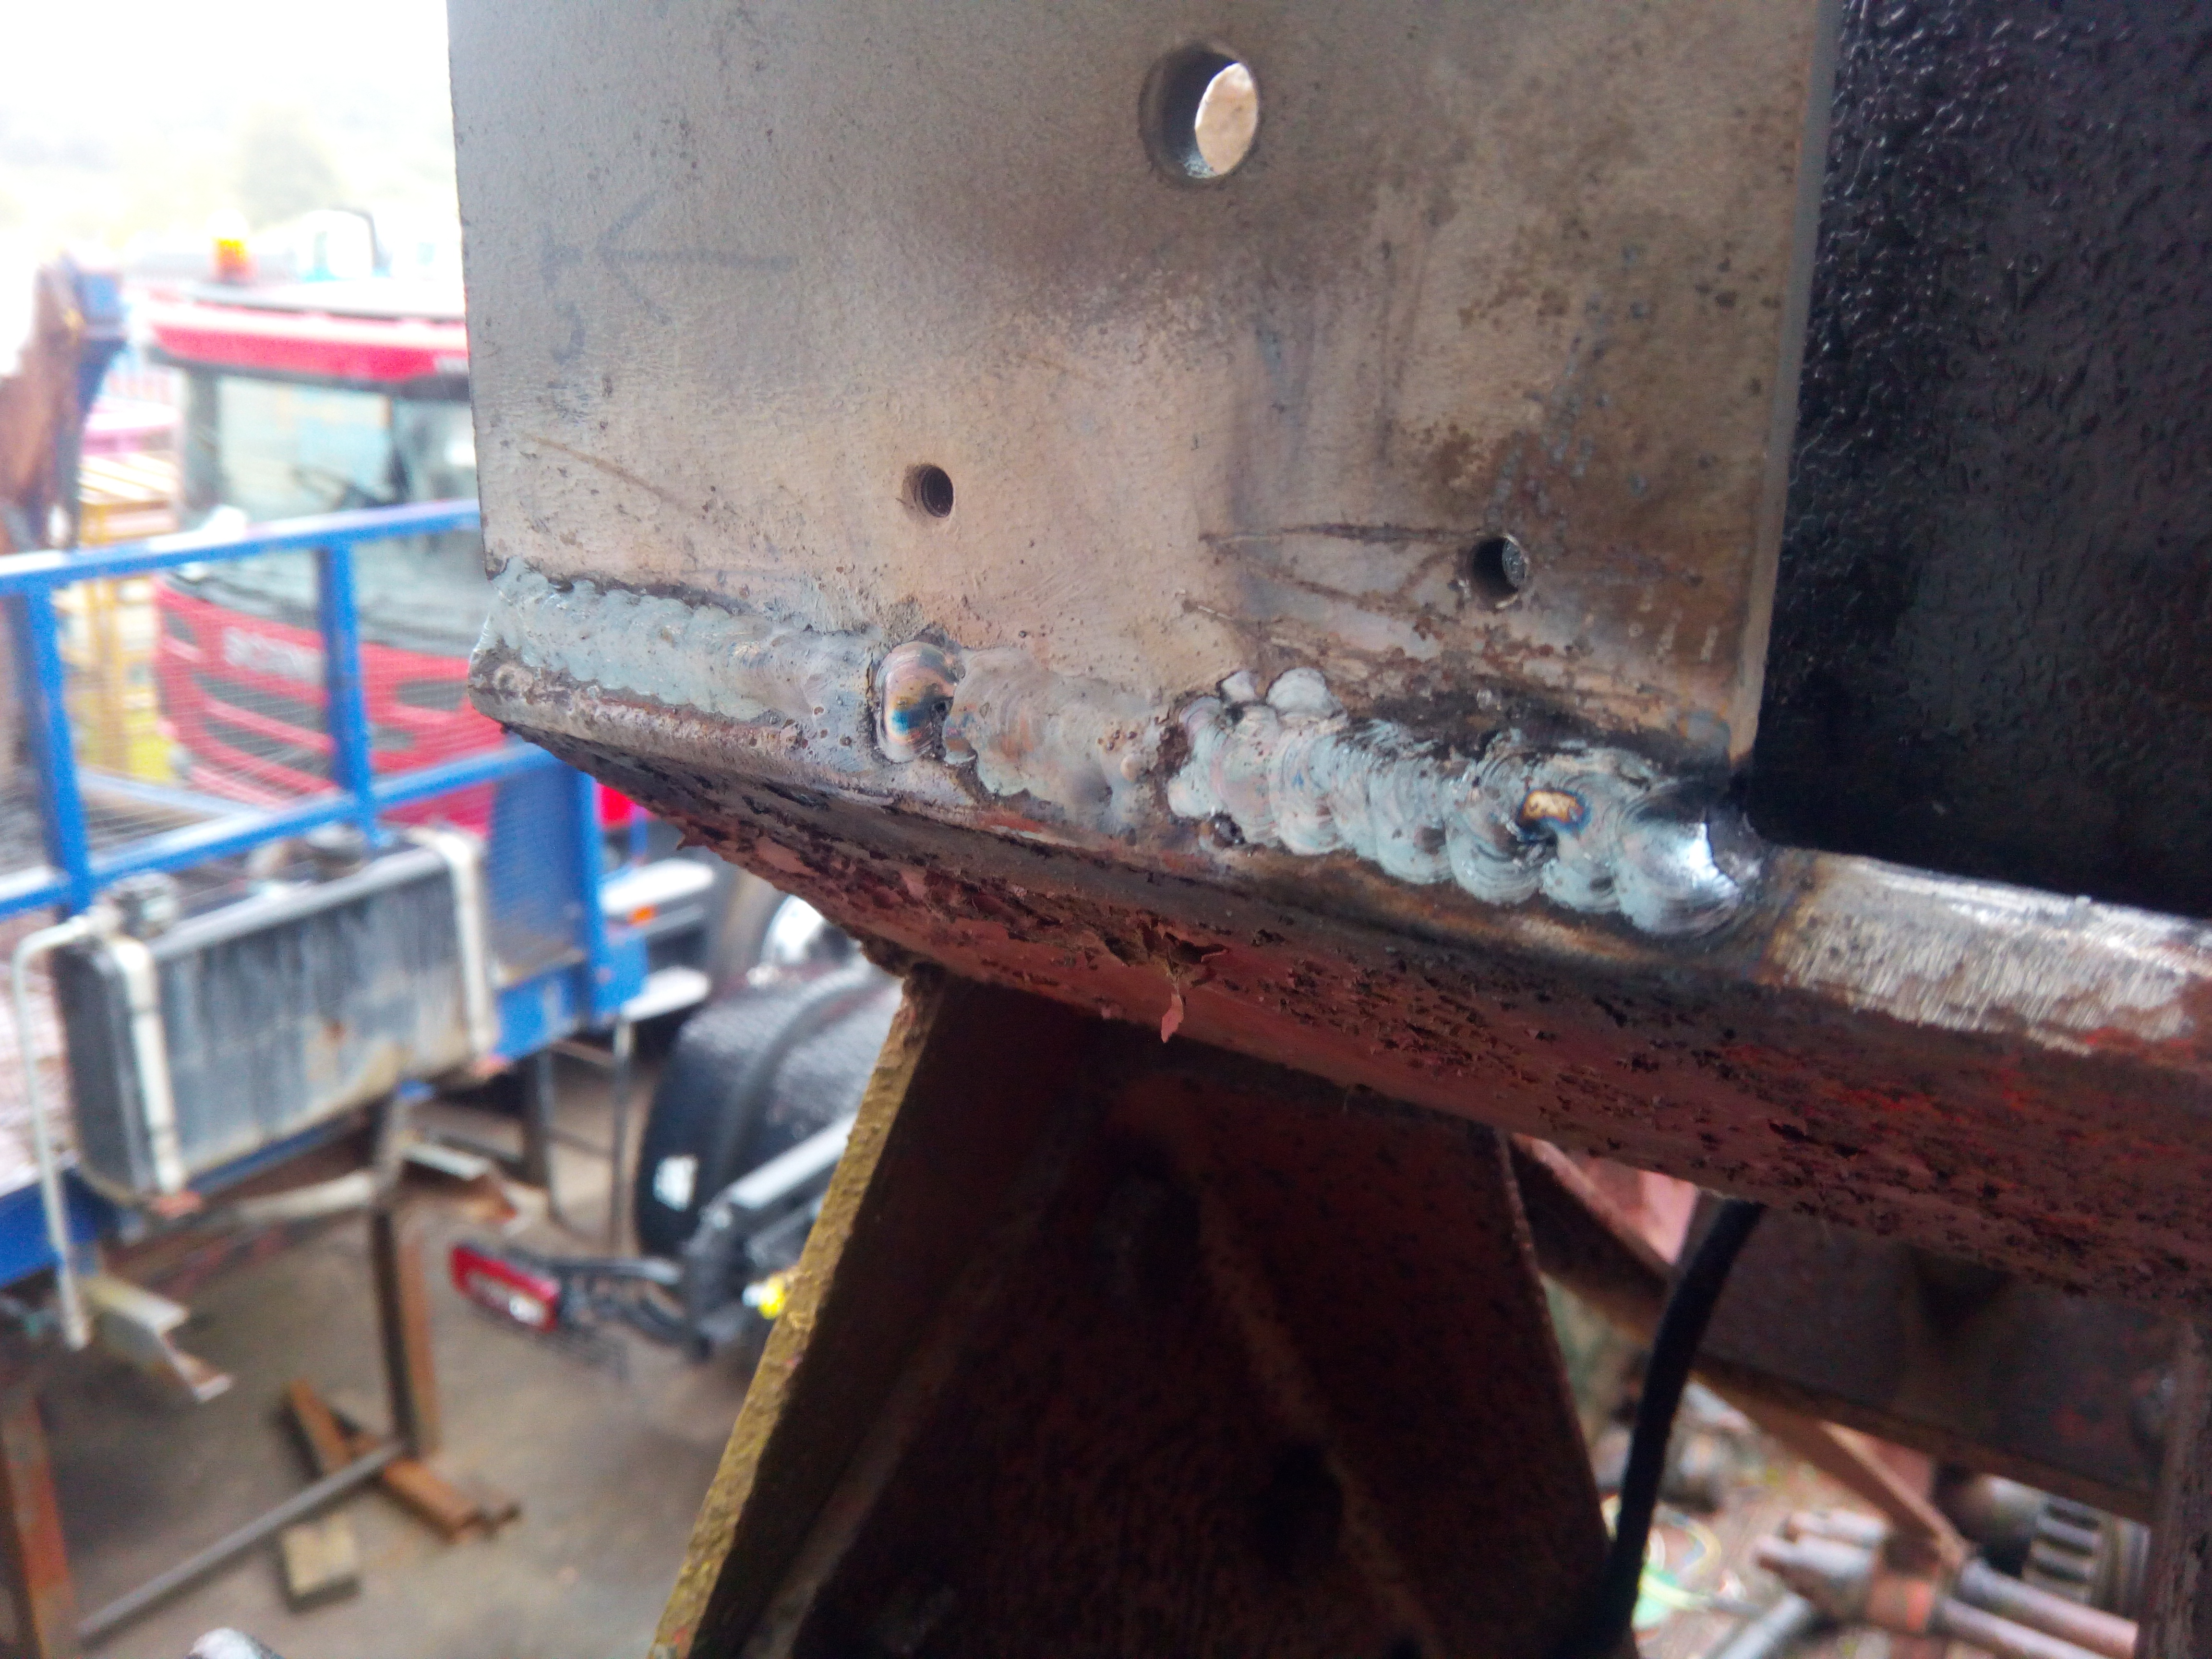
Light brackets at the top of the boom! That's what I need! So, antics ensued!
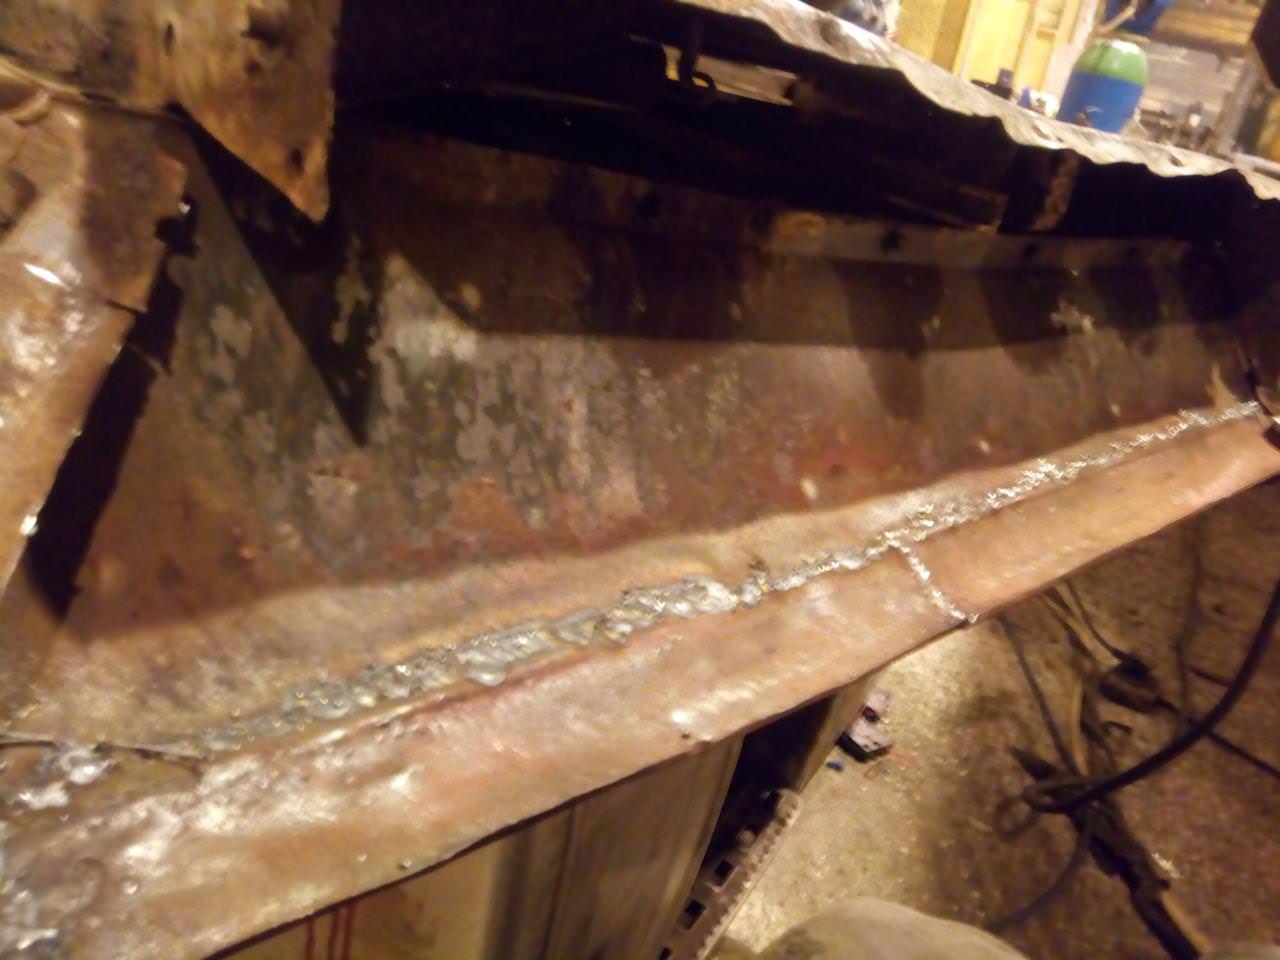
The antics resulted in some light-brackets being attached. Have a little weld-porn too! giggle

Mid-AUGH-ust 2017
Indicators happened!
Late August, 2017
More activity on the brakes. This time, the front offside. Usual procedure, jack, wheel off, hub off, beat the snot out of the hub & drum, etc.
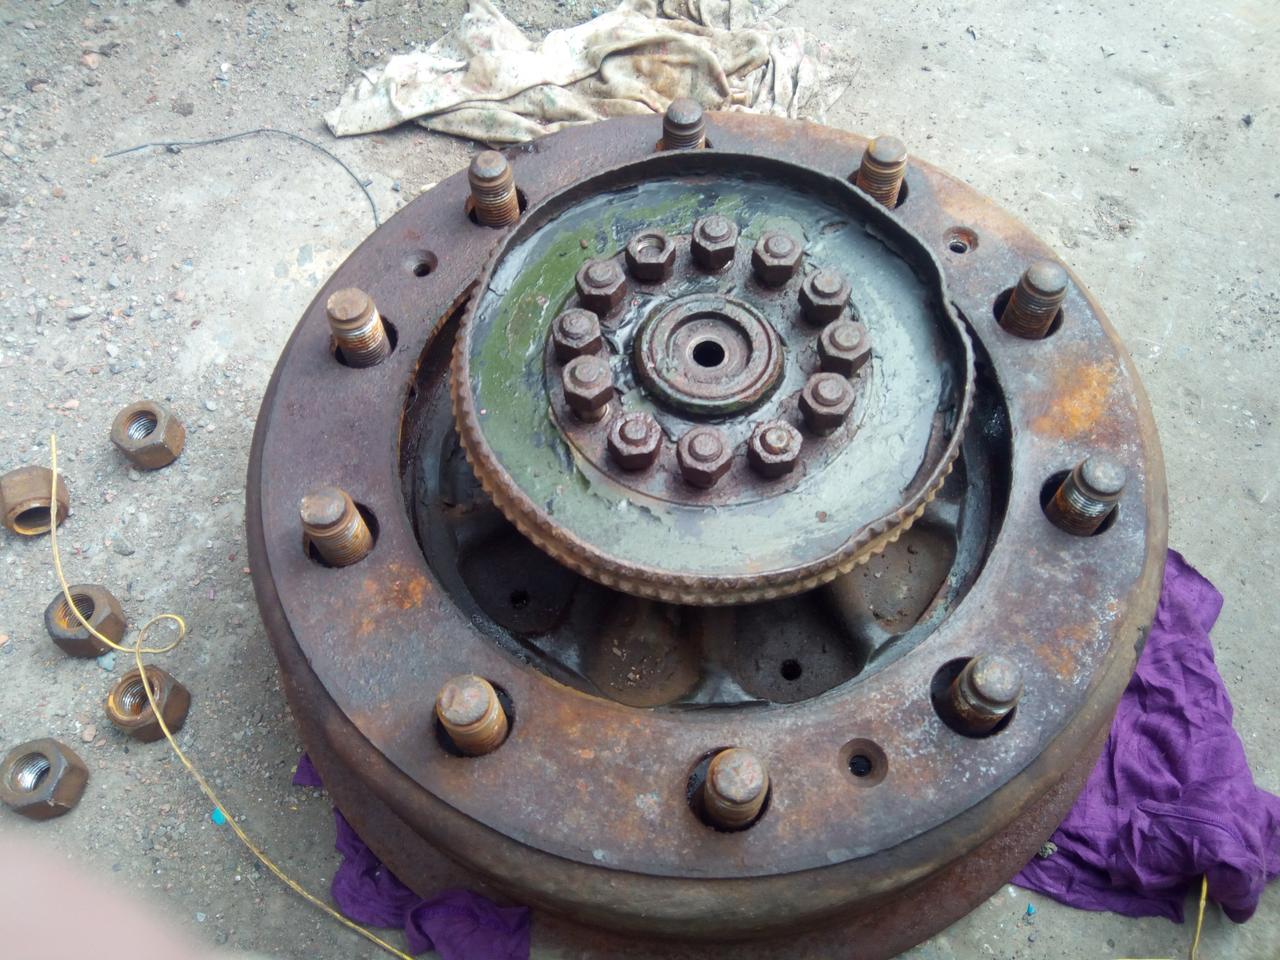
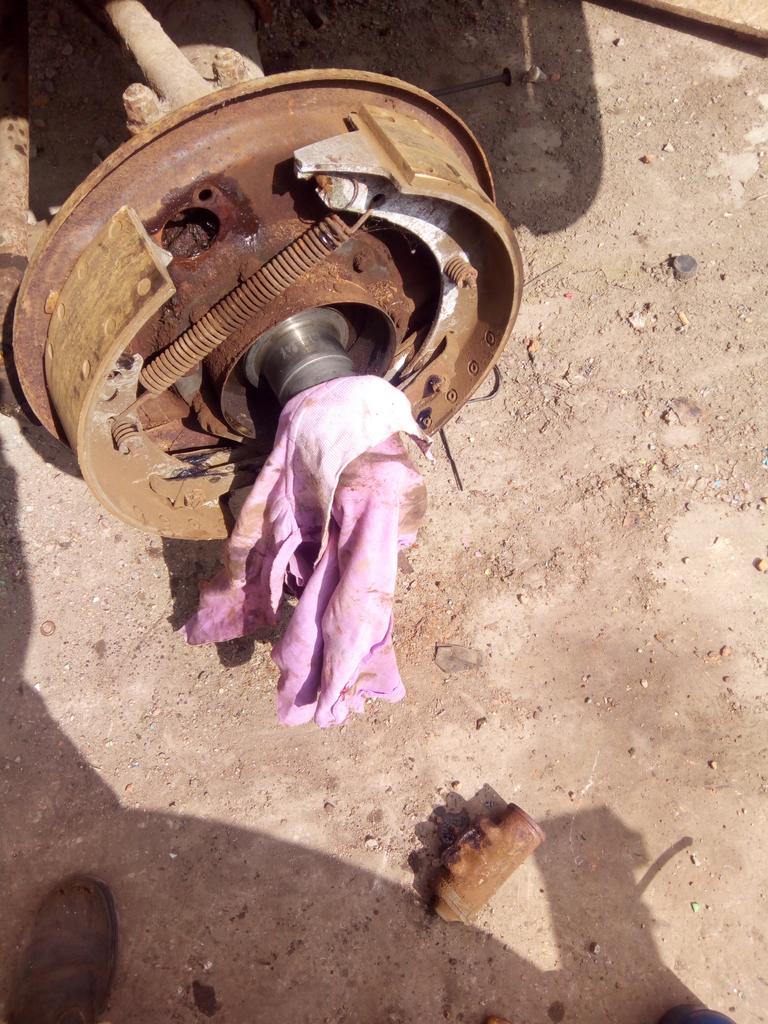
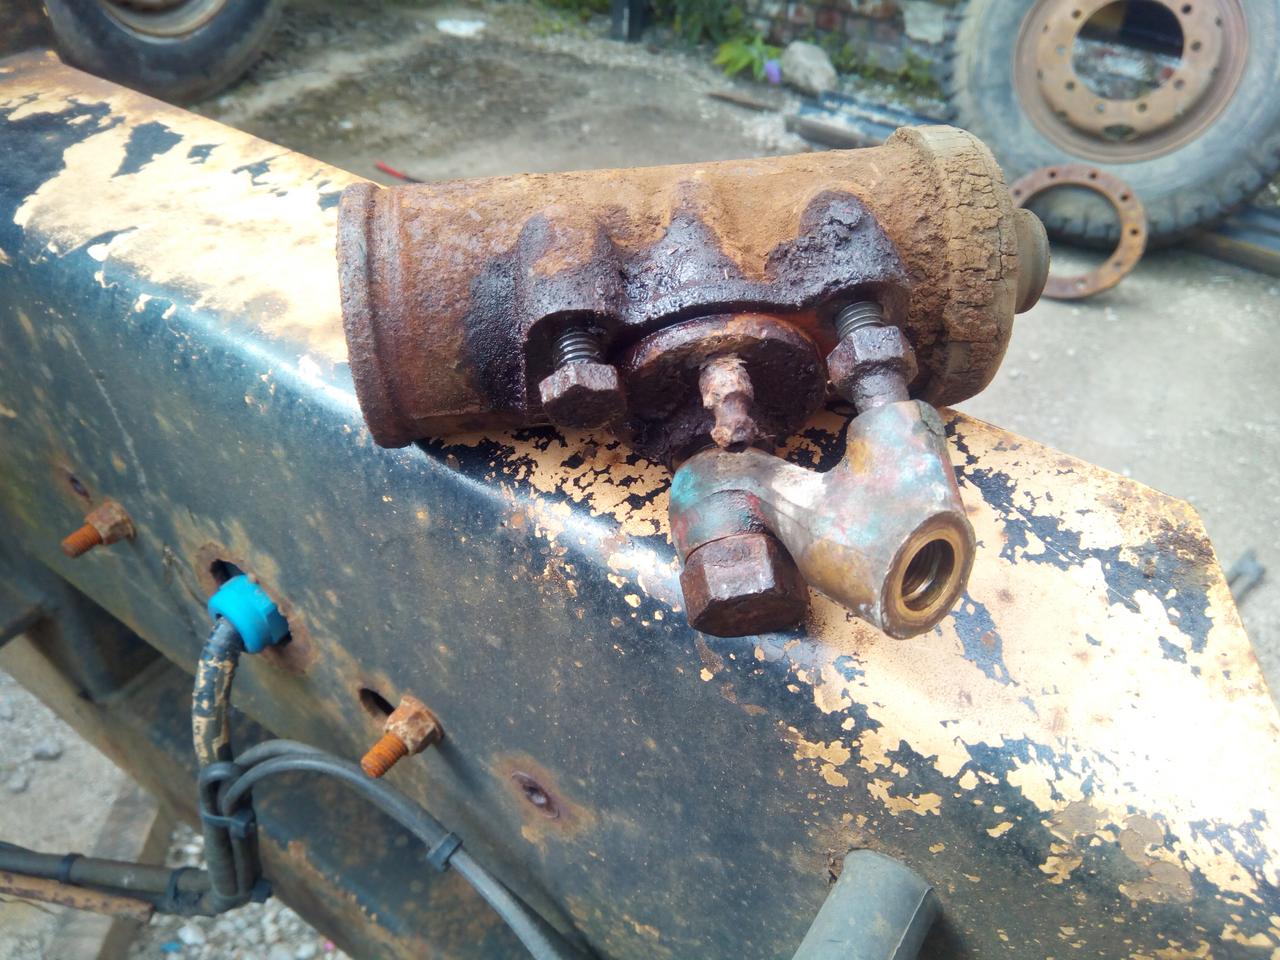
At least these look like normal drum brakes, this snazzy adapter aside:
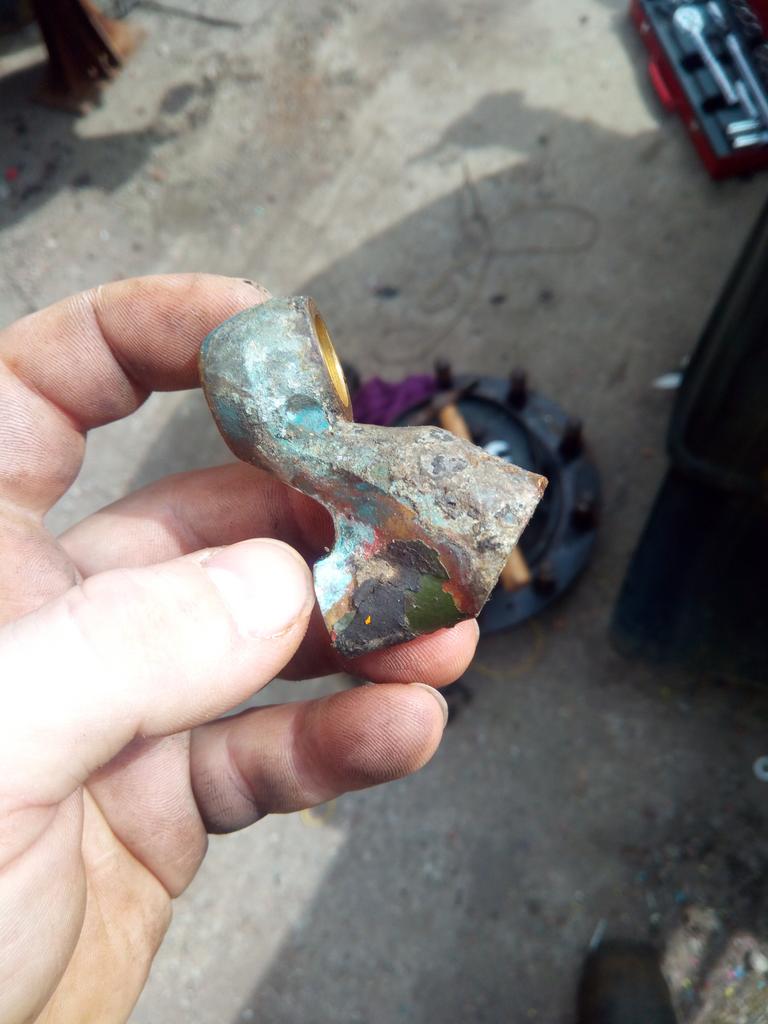
It goes on the brake cylinder thusly, and connects the flexible hose to the banjo bolt while supporting itself on one of the mounting bolts for the brake cylinder itself!
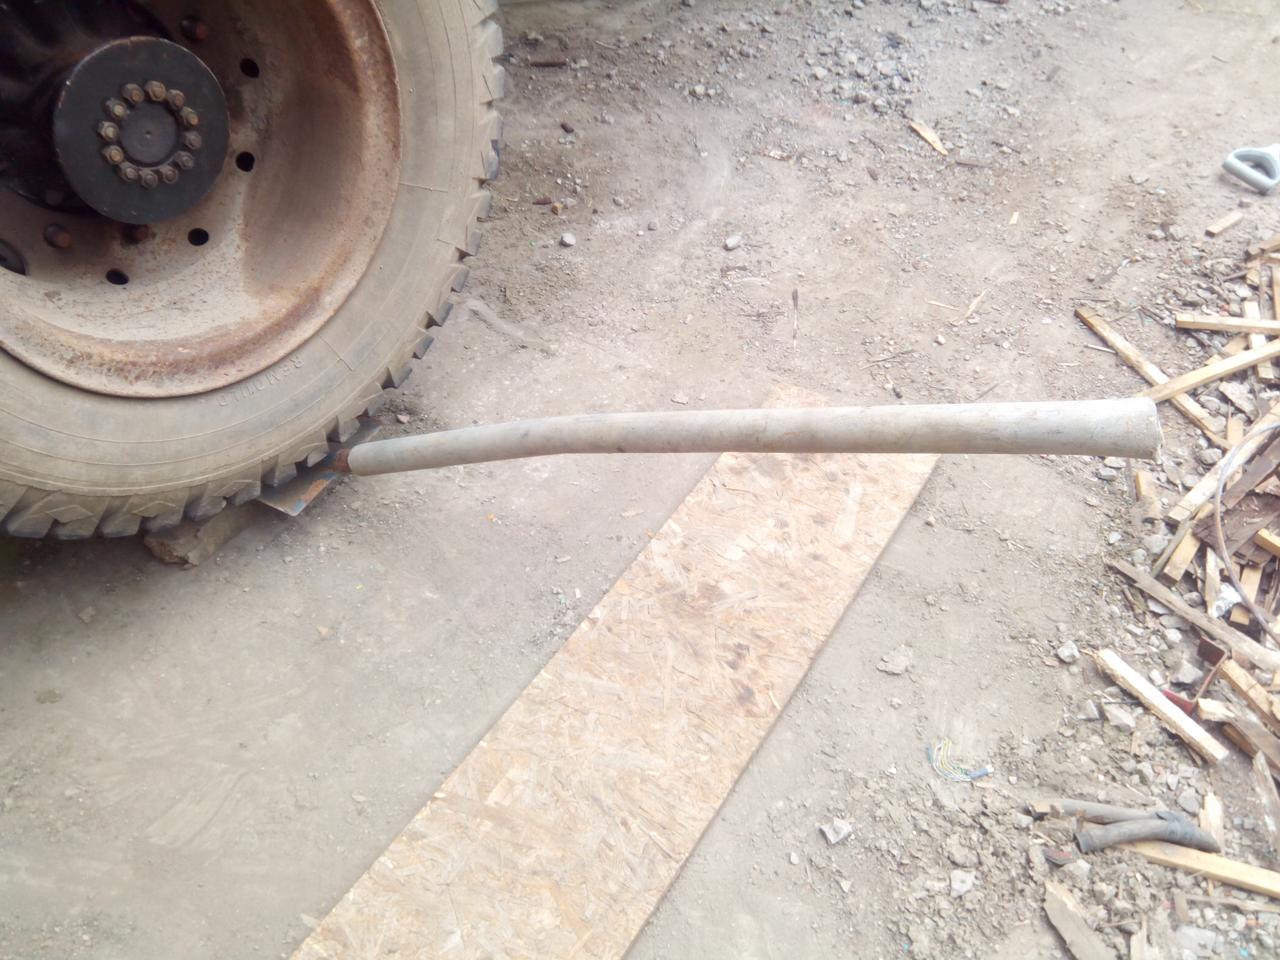
I also strategically lightened my shovel, using it to refit the wheels. Nearly face-planting straight into it in the process....
December 2017
Returned from holiday to Canada, sorely needed because work sucked.
Work has been causing me a lot of stress, which significantly reduces my desire to be anywhere near the damn place to work on it... ("You can't be stressed, you only work five days a week!")
And it's not helped that we've moved to a different unit on the estate while the old one is being demolished, with the easy route (300 ft or so) blocked off by demolition-company fencing, turning it into about a third of a mile walk between toolbox and truck. (Which isn't so bad, except for when you're on your twentieth trip after forgetting something...)
(And, yes, I did get shouted at for taking the shortcut through the fencing!)
Not much happened, some painting and whatnot. Also a bit more welding on the door, because I figured I'd best actually do something with it, because muppets kept squashing it where it was, leant up against my workbench.
It was not pretty welding. It has started turning out to be easier to do it with stick, than work's overpowered welders!
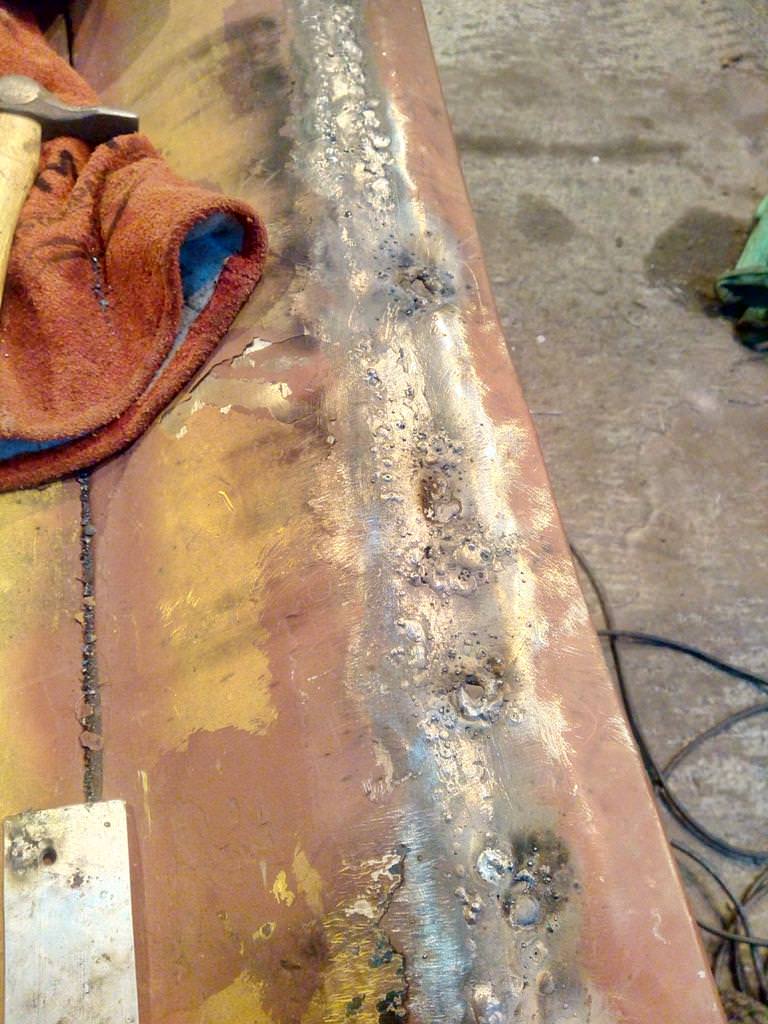
So if anyone ever asks if it's possible to weld sheet metal with a stick welder ... yes, but it's not a particularly pleasant experience.

Closer to being done.
February 2018
Right, time to get serious with it...
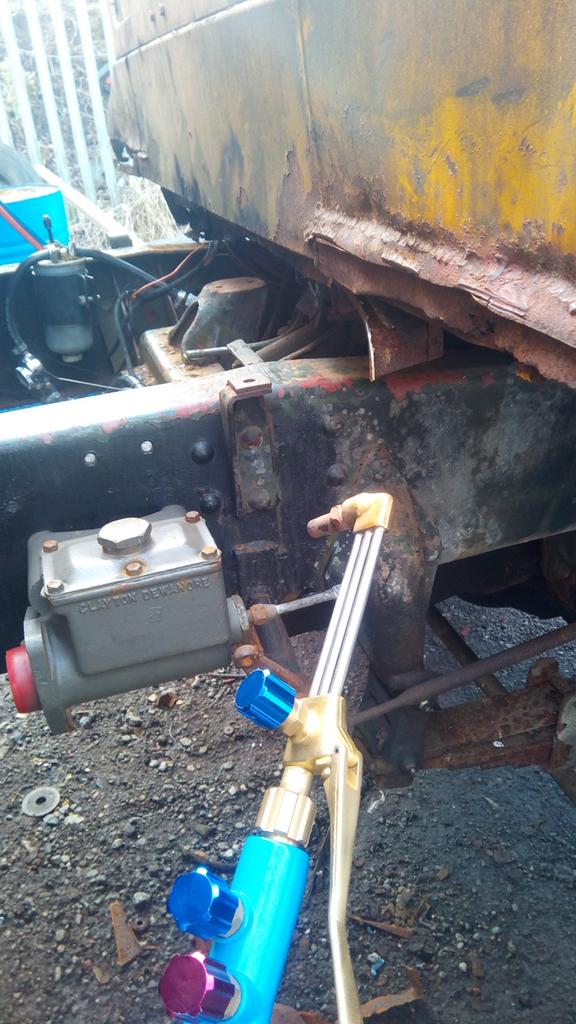
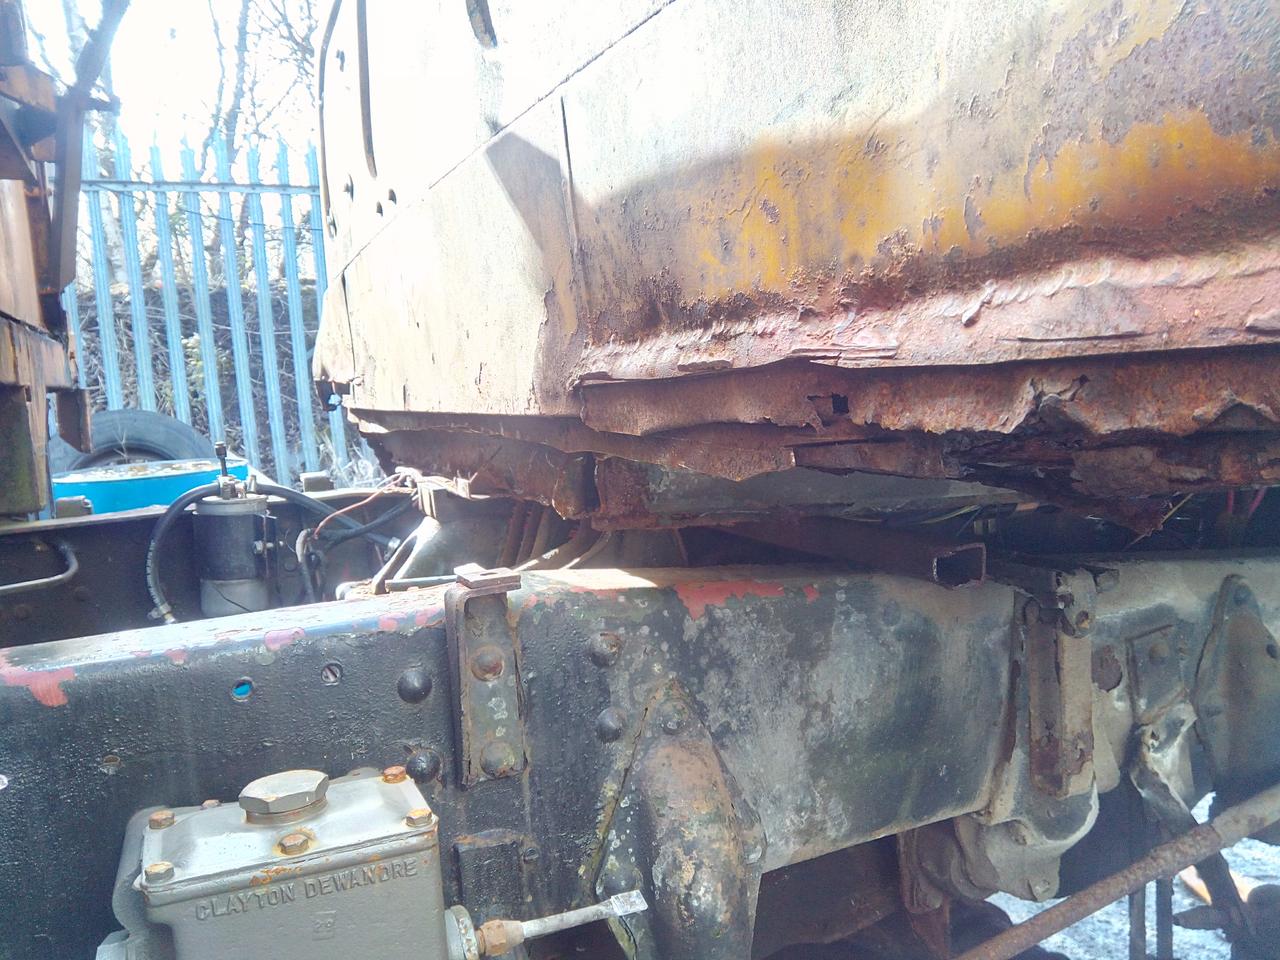
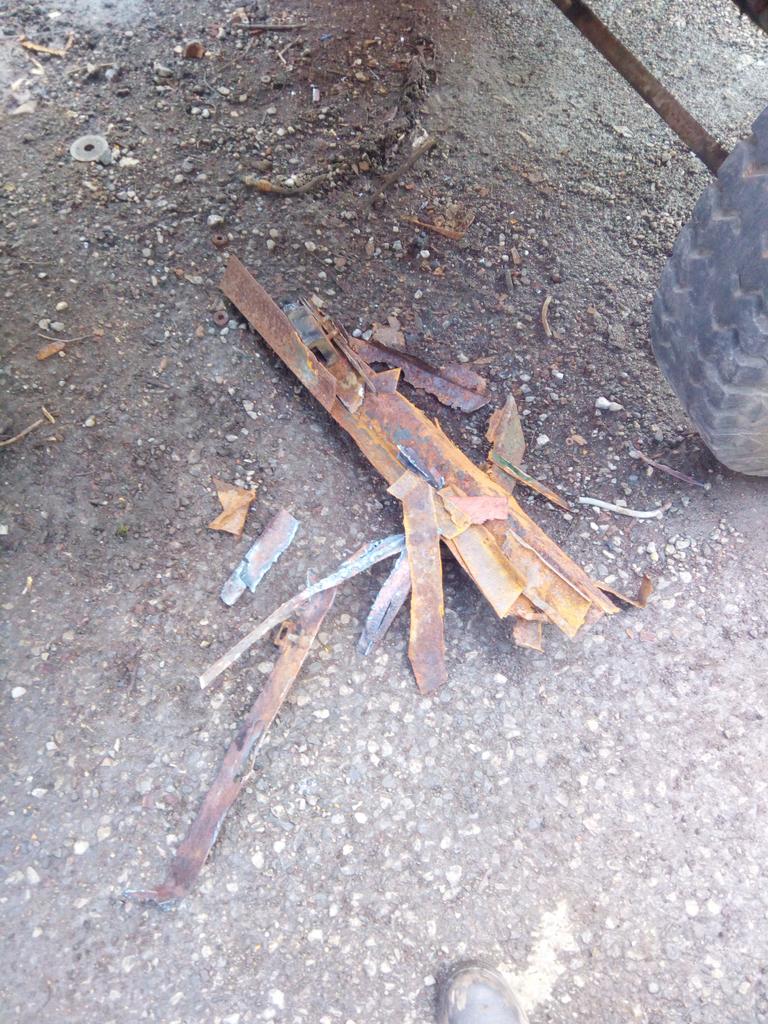
Begone with thee, rot!
Oh, yeah, you may notice that the truck's surroundings have changed, by the end of that last post. Reason being that, by the end of December 2017, the company I worked for at the time was supposed to have completely moved from the previous yard, to another one just around the corner, and the RL was the last hold-out.
Partly because it didn't run, mostly because they didn't want to mess with it, because it's mine.
So I dug out my home-made tow-bar, hookeod it up to the back of the forklift, got my brother to sit in the truck to ster, put the hazards on, and towed it round the industrial estate. Great fun, and gets a lot of attention.
(Also managed to bend the tow-bar.)