Some measuring after the wiper fiasco last time has shown that the various pins and shafts are 1/4", for which there are vintage-style arms and blades available that don't cost an arm and/or a leg. Marvellous!
August 2019
In the mean-time:
I got a new old-stock speedo cable, fitted it, and made the speedo work. :D
I borrowed my brother (Since I did some wiring on his bike, I decided it was only fair. :D) to bleed the brakes.
Got a few noticeable pockets of air out of the bleeders, found a few spots where there were slight leaks and tightened them up; noticed that while the NSR cylinder is actually moving the brakes, the OSR isn't.
(Which probably means I need to pull things back apart and unstick the expander, or something.)
After doing that, the brakes have improved somewhat, but are still far from ideal.
It's gone from six pumps of the pedal for it to become firm, to two.
I may have to resort to reverse-bleeding the system... I also managed to collapse the brake linkage rod by being a bit too enthusiastic on the pedal, but that was quickly fixed with fire.
I also got my brother to drive it, which was amusing. :D And then got him to play cameraman (badly, it must be said, but working with what I've got, here!) while I gave it a thrash.
He's still complaining about the ringing in his ear (I did warn him to bring earplugs), and his freshly toasted ankle. (rofl) Got up to the heady speed of an indicated 30 miles per hour, and only thought I was going to crash into a fence twice!
Somewhere in the list of things I want to work on next, is an exhaust. At the very least, enough that it's not just an open header dumping at floor level inside the cab, which would make it more tolerable. I've got pieces for that, but naturally it's never just as easy as bolting something up, I've had to modify the flange to get the bolts to fit, which means the heads of the bolts now interfere with the pipe that's meant to be going on there. So either I'll need new bolts, spacers, a combination of both, or maybe bashing dents into the sides of the exhaust pipe...
Also, some incompetent fool (🙄) has run a wiring loom right across the same bit of space that the exhaust pipe needs to exit through, so I'll have to be careful about where things go and whether things'll need a heat-shield.
The exhaust will also need a bung (Which I've got.) welding into it for an O2 sensor, for SECRIT PROJEKT reasons. 🤪
There's also [ REDACTED ] to be fitted, along with another long list of parts to be ordered & fitted, a lot of which cause other work to need to be done.
It's basically a sub-project of its own. (And at some point, I've still got to pull the engine out and rebuild it. Which will have to wait until I have somewhere more stable to store the truck, that has somewhere indoors that I can work on the engine.)
But that's all secret, so shh. 🤪 ...well, the need for an engine rebuild isn't secret; everyone stood near it when you rev it can see it needs a rebuild...
Morris63 said: Re wipers, don't know if this thread from Fresh&Minty is of any use: Retrorides Thread
Funnily enough, I stumbled across that thread the other day and I think those LR bits are just what I need. Got them opened in yet more tabs, adding to the parts list. 😁
Fresh&Minty coming to the aid of Crusty&Yellow. ...err... yeah, y'know what I mean. 🤐
Sweetpea said: When I next complain that my car is noisy, feel free to post that video. It might be quieter if you close the drivers door though. Or even attach it to the truck.
Anyway, it made me smile, keep it up!
By the way, synchromesh gearbox? That's handy.
If anything, it'd make it louder; because the exhaust ends inside the cab, so it'd just bounce the noise back... And besides, the door's in the truck, so it still counts. :D I have got the material to start making at least the beginnings of the new exhaust; just got to head on down there with the welder and grinder, hopefully this weekend. Maybe.
And yup, synchros on 2nd, 3rd, and 4th!
From outside, with my brother driving:
Two days later...
The exhaust might have to wait a little longer; but I'll probably go on a hunt for some spare wheels from the pile of junk in the old yard, if the mound is still there.
Y'see, the last objections to the demolition & redevelopment of the Loco Works have been withdrawn as of Tuesday, so the demolition men will no doubt be getting into full swing as fast as possible! Remember that January deadline? 😁 Uhoh!
(In retrospect: Lol, lmao. They've STILL not finished the demolition work as of December 2022.)
Anyway, that means some preparations need to be made in order that the Bedford can be hauled on the road without resorting to extreme bravery on the part of whoever is towing it; a big part of that is putting some wheels on that have tyres from at least the last decade or so, and that can hold air without being an explosion risk.
Gonna have to do a little more tidying up of the truck bed, too, if I'm going to put the original wheels on the back. That bit isn't going to be fun, those things are heavy!
Sweetpea said: Funny you should say that but I discovered the same thing this very day. It turns out that commercial vehicle brake drums / hubs don't exactly float around the workshop like helium balloons either.
Yup, they're definitely filled with plenty of gravity. It's probably for the best if they don't float around, though, it makes the place dreadfully untidy.
I've managed to dig up some wheels to use temporarily for transport. It literally involved digging them up.
Tyres on 'em are worn right to the legal limit, and they're quite muddy; but they'll do. Also went and got myself some new tarps, ratchet-straps, and some rope; because the tarp that's on there now is disintegrating a little more every time I touch it.
24 August 2019
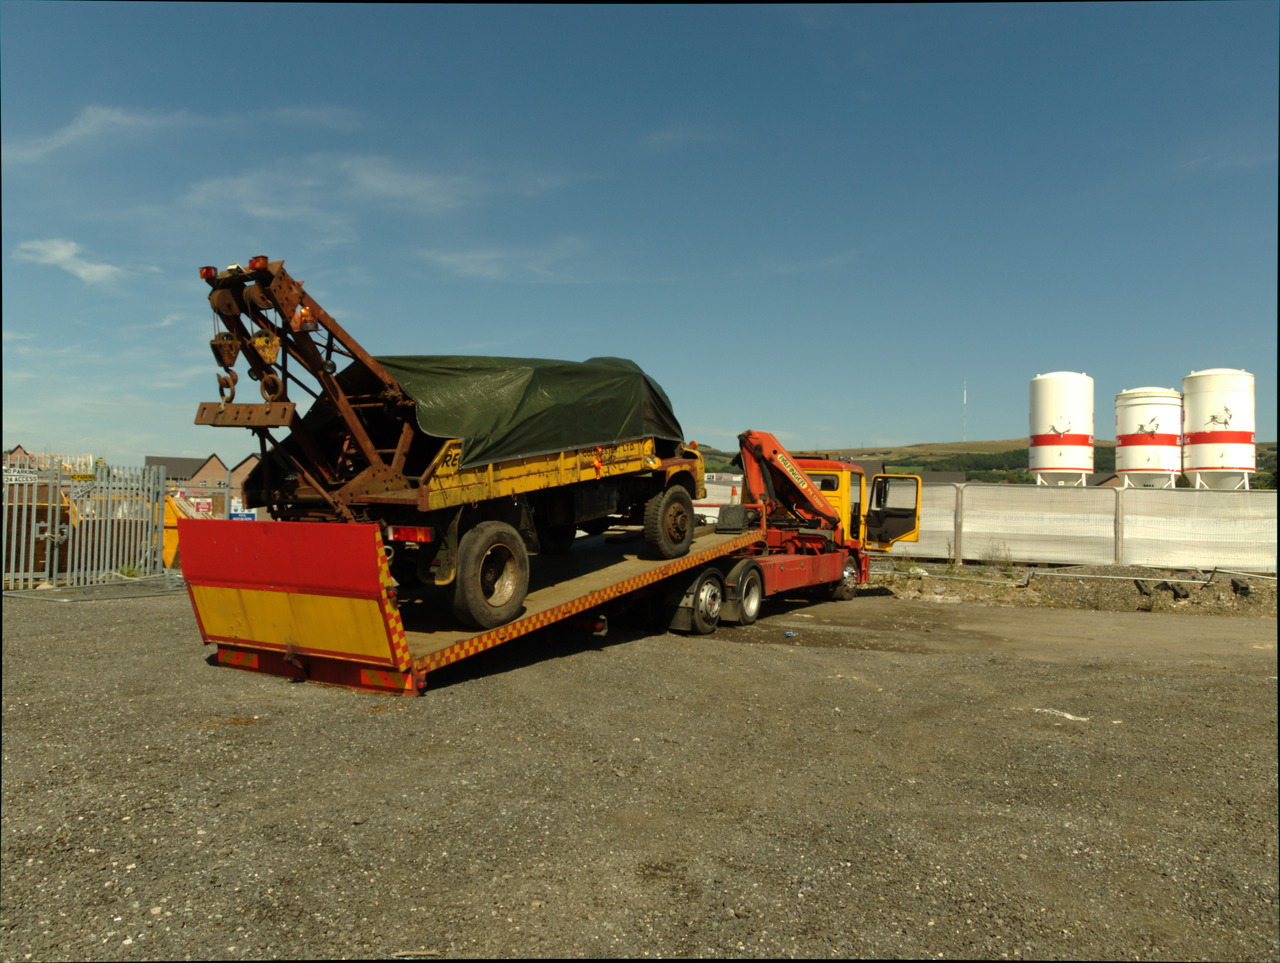
Well, it happened. Sorta!
The Bedford is now in work's yard, still sat on the back of the slide-bed, because paying jobs take priority and thus my boss had been up since 3am and wasn't really up for driving all the way to Tottington.
(...to be entirely fair, he wasn't really up to driving it from the Loco Works to work's yard. There were some escapades involving a broken ratchet strap, then further escapades involving the front end of the Bedford getting suddenly acquainted with the crane on the back of the slide-bed. 🙄
Thankfully, there was more damage done to my nerves than there was to either truck. It really should've been chained rather than strapped.)
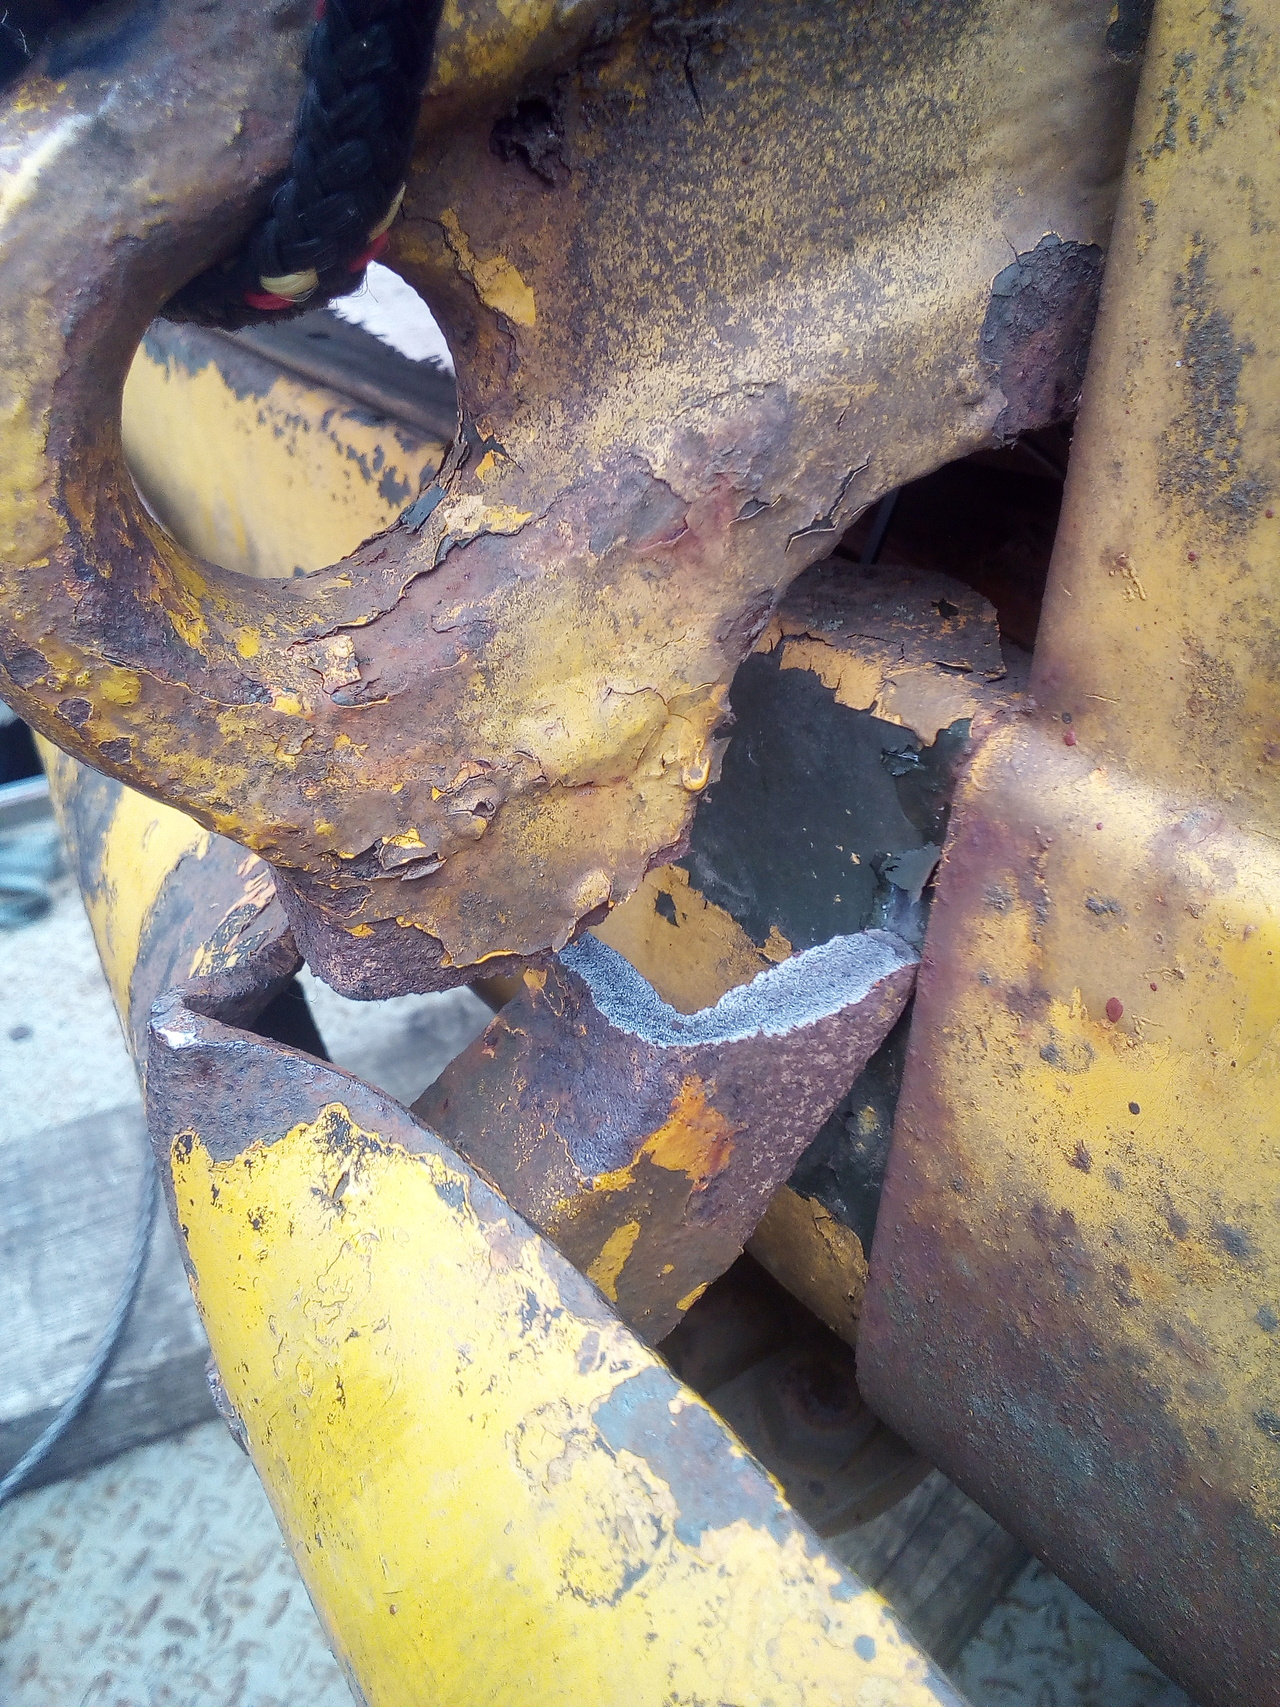
The plan is was to get it to the Tottington unit next
week, but plans don't survive first contact with
customers the enemy.
I managed to leave all the wheels I took off the back of the Bedford, so they were still sat there on the old works, and I had to shuttle them up to the unit myself, loading 'em in the back of the car!
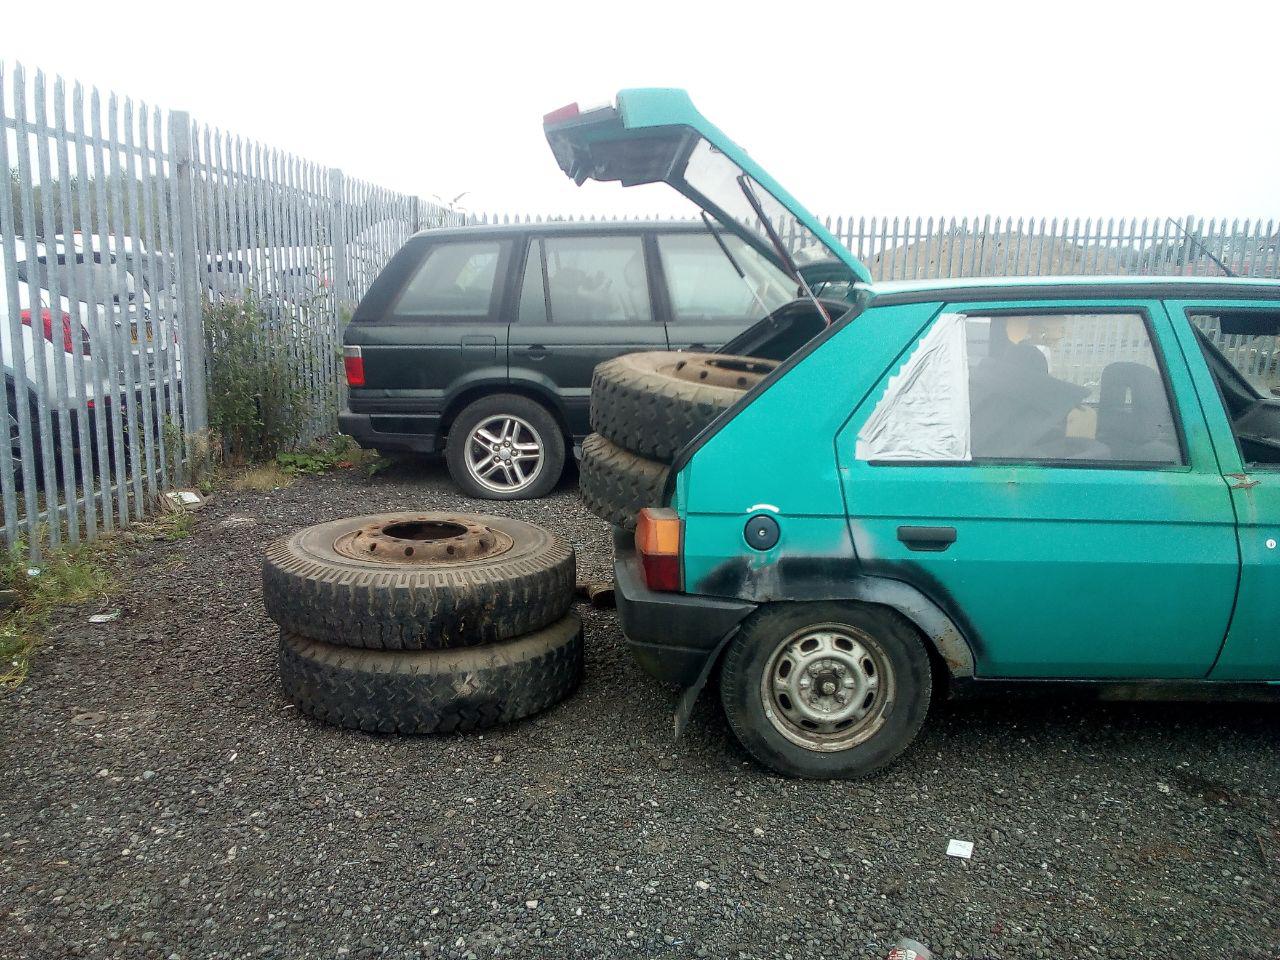
1300ccs of fury wins again! But the exhaust is now smashed to bits again. This time it's cracked off just after the cat, as well as pulled apart at the slip-joint. So tht's another exhaust I've got to rebuild...
Oh! Yeah, and for extra escapades: I went to fire the truck up to turn it around so he'd have an easier time getting lined up on it and driving out, and ended up with flames pouring out of the exhaust.
(Flooded it a little bit, I think!)
Flames that were gently licking at the battery wiring that passed nearby, and setting fire to the flaking paint on the underside of the cab.
Got all the fire put out, and then he just swung in and stopped there anyway. Oh well.
urbanaw said: Shame to lose all that patina, it looks great, I am guessing there is far too much rust underneath.
'Patina' I can take or leave. British Patina is just tree-slime and moss anyway... :D
The cab's quite rotten, structurally it's a disaster looking for a time and place to happen.
The floor isn't really attached to anything, and the cab mounts are attached to your typical "plate over rust" repairs, which are the majority of the previous work done to it; so the priority when it comes to the cab is of stabilisation.
I've already started rebuilding with the rear cab mount, but that's only lightly tied in to the existing cab structure. (Just enough to stop the cab from falling right off.)
She'll carry as many of the scars and scrapes from a lifetime of work, as I can manage to save, though!
I did want to keep the previous repair at the back of the offside of the cab, but as soon as I touched it with the wire wheel and discovered how bad it was, it had to come out.
September 2019
I've finally managed to get enough bits in proximity of each-other to tentatively say I might have a solution for the broken piston ring in the air-compressor.
Some assembly required in order to confirm whether or not this solution works, because it may be slightly thinner than the original. If it does work, then I should be able to start getting the compressor built back up again. Besides that, and some tiny springs for the little oil pump pressure relief valve, it should be pretty much all complete.
I've decided I'm going to not worry too much about the slightly increased oil clearances, just so long as all the high spots are knocked down. Just gonna try it and see how things go.
The new wiper arms and little adapter drums are in, and sat on my desk, so I need to take one in to work and mock it up on the truck just to see how it looks. I know how the usual line goes, regarding Britpart, but they seem solid enough. :D
Almost immediately after...
So, my tentative solution turned out to be a bust. The compressor's a 54mm bore, and for some reason I bought 56mm diameter rings. ::)
And besides that, they were much too thin anyway. However, I managed to find someone on ebay selling oil-control rings of the right type, by size rather than by what model engine it fits. So I've ordered a couple of them, and we'll see how well things go when they turn up. (From Greece, because of course! They're due Tuesday.)
I did, however, build up one of the pistons & rods, and fit it into the compressor; it pulls an almost painful amount of vacuum if I put my hand over the cylinder while it's at TDC, then wind it down to BDC, which is promising. Waiting on those rings and some circlips (I've lost one of the gudgeon-pin spring-clips somewhere, too, because they're just a tiny bit of wire. ::)) before I can continue building the compressor up.
Then, the sticking points for finishing up the compressor are:
- Oil pump check-valve appears to be stuck open, will need disassembly and freeing off. It's just a check-ball, though, so it might be a bit of debris that's caused it.
- Oil pump pressure relief springs need replacing.
I'm sure I'll find other things when I start building it up, as is usually the way.
15 September 2019
This weekend, I broke out the welder at work, stripped the bumper off, and got the broken bumper mount welded back together. (It's cast steel, rather than cast iron, thankfully.)
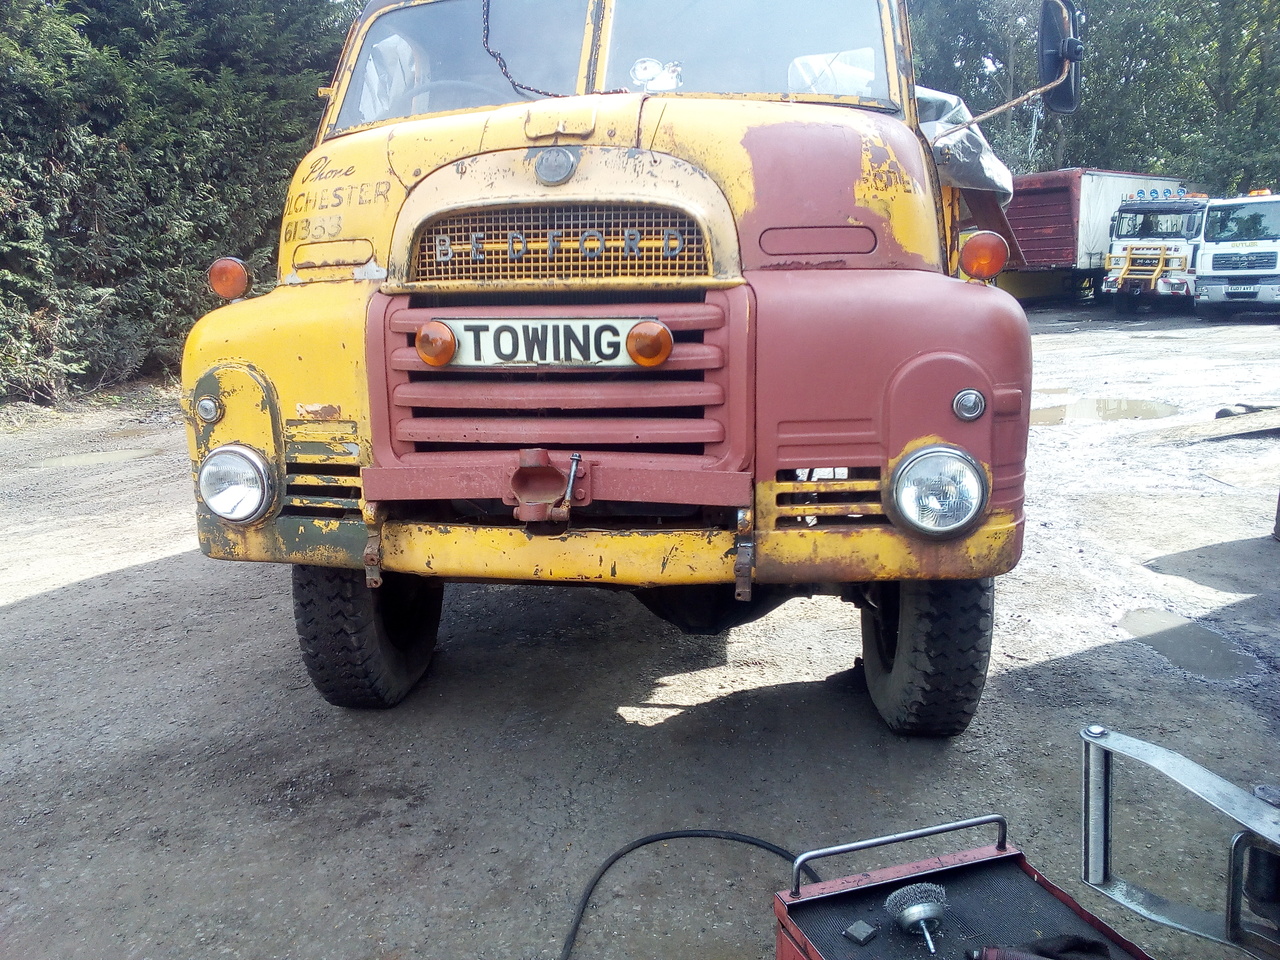
Then we loaded on up and I drove the whole mess up onto the unit! First time I've loaded a slide-bed by myself, and it didn't fall off again, so I count that as a success! I also managed the whole drive up there without breaking anything!
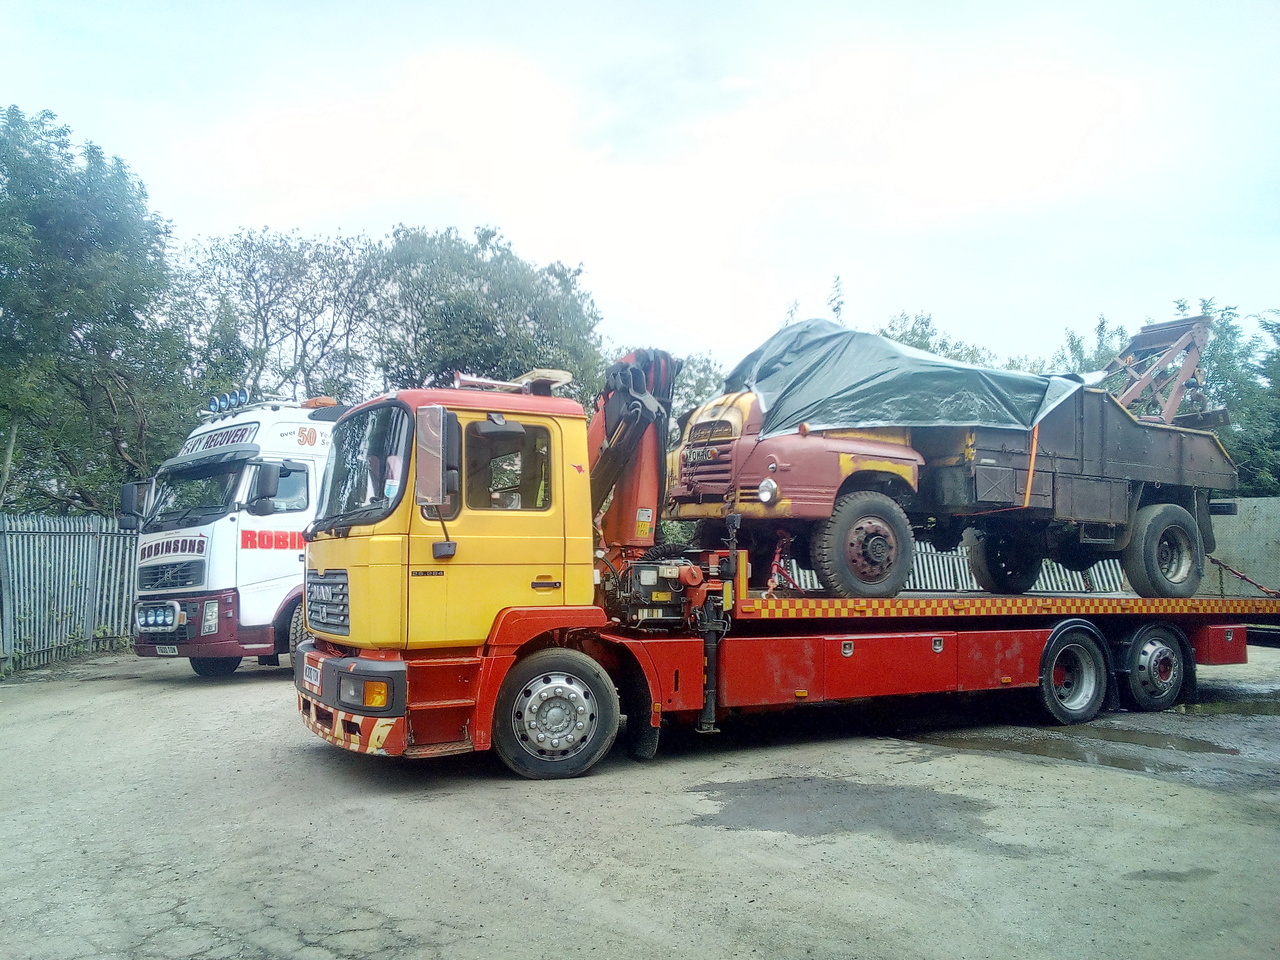
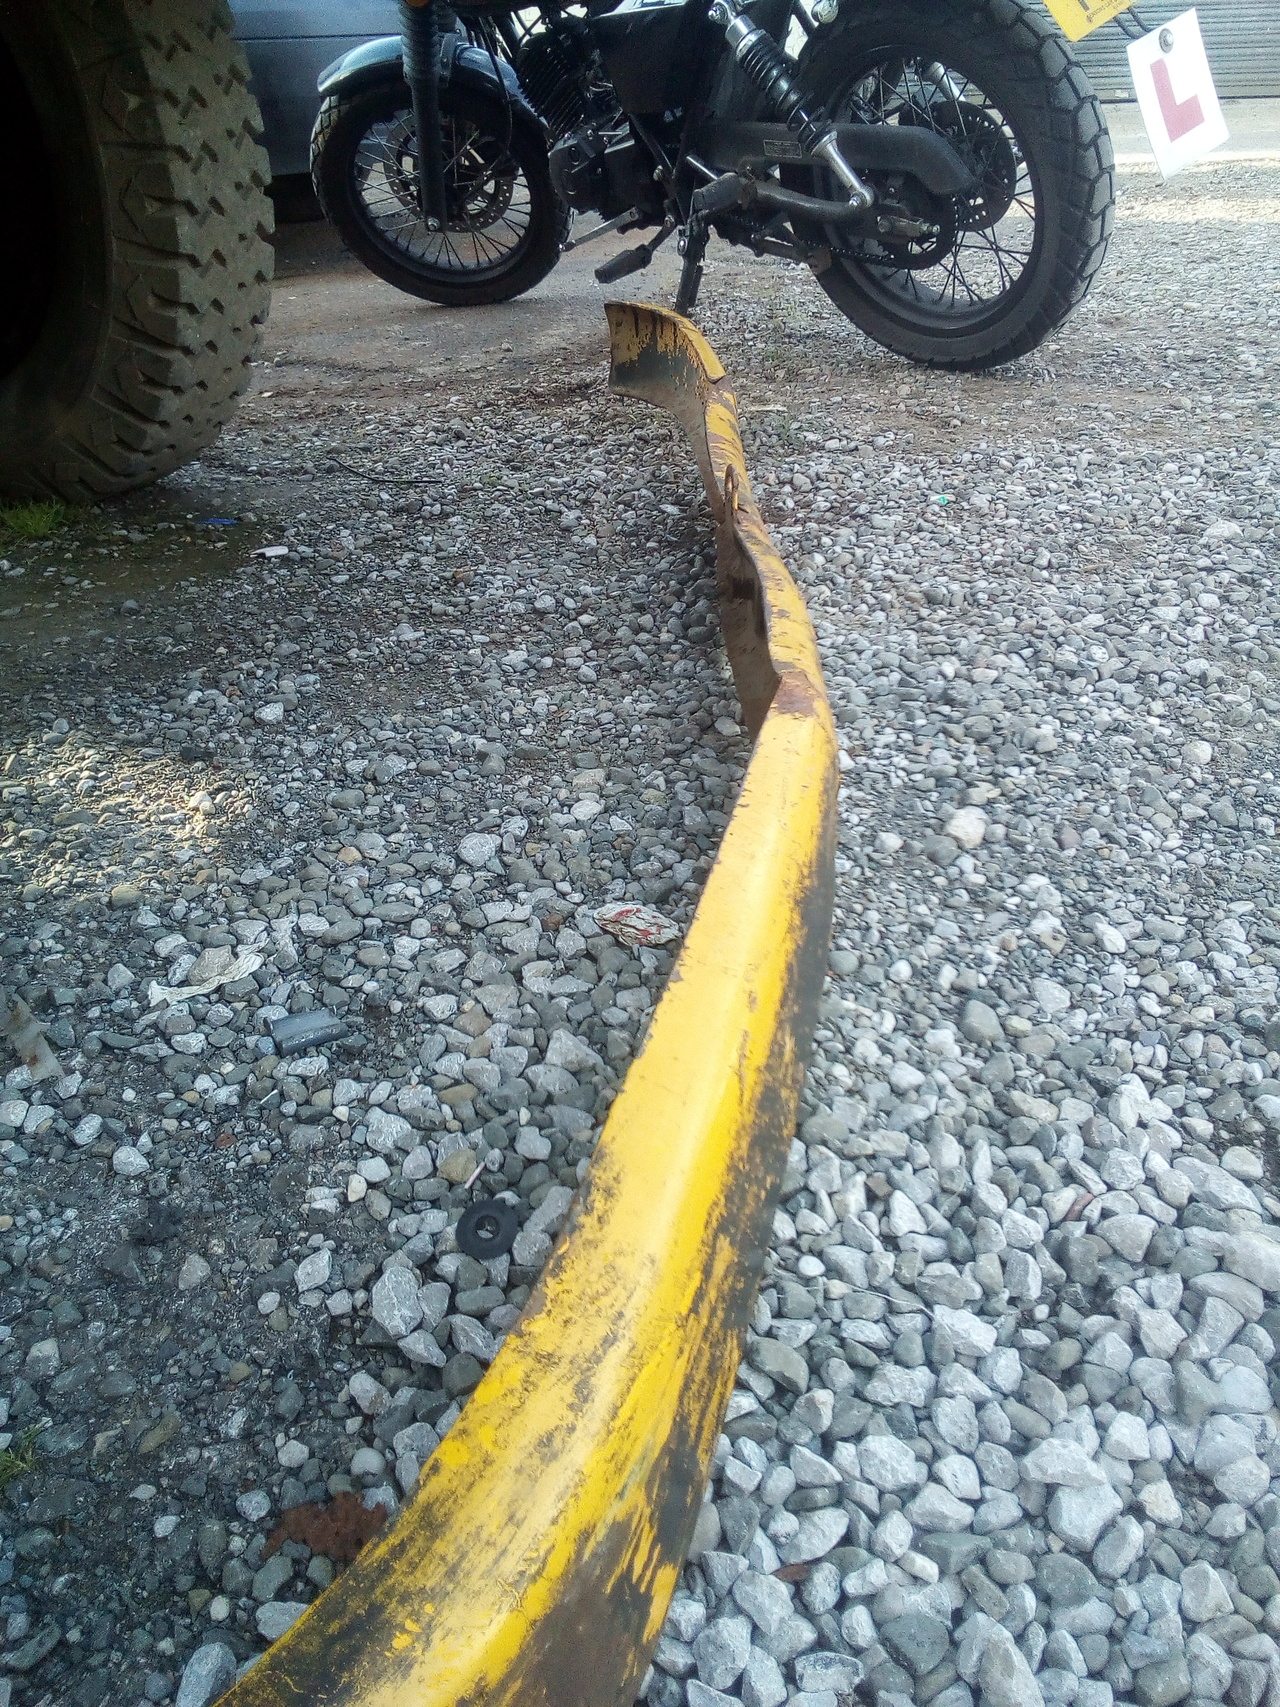
Straightened the bumper a littel, but didn't want to try push it any further, because the existing cracks at the bend points were already spreading and it's easier to fix it if it doesn't snap completely. It should straighten better with some heat on it, and then I'll weld and reinforce it.
I've also got yet more other little bits and pieces ordered (in particularly, a brake light switch, some new headlight mounting rings because the old ones are a nasty rusty mess that don't want to adjust very nicely, and a trailer indicator warning widget that I'm going to fit in the trailer fuse & relay box when I repair that.)
...but for now, I should probably get back to replacing the radiator in the Skoda, then I can resume using it to lug tools & parts around. (Yet another casualty of the broken motor mount, it seems.)
Sweetpea said: I misread that for a moment and thought you'd broken the bumper of the truck by hitting the Skoda which escaped with just a busted rad. I was mighty impressed with the Skoda for a moment. Anyway, I've got it straight in my head now so not to worry.
12 Oct 2019
Right, so, those rings! Well, they arrived, and they're -- as expected -- a quarter of a millimetre too thick for the ring groove.
Options are:
- Try thin a ring down. Very slow going, and at one point my finger slipped and the ring dug in, taking a chunk out of my thumb. It bled profusely, and left me with the joys of trying to keep it clean while swapping an engine in a bus at work. Ugh.
- Send the piston and ring out to someone with a lathe, so they can gently tickle a little bit out of the piston ring groove. This is the best bet, just got to get a sufficiently circular tuit.
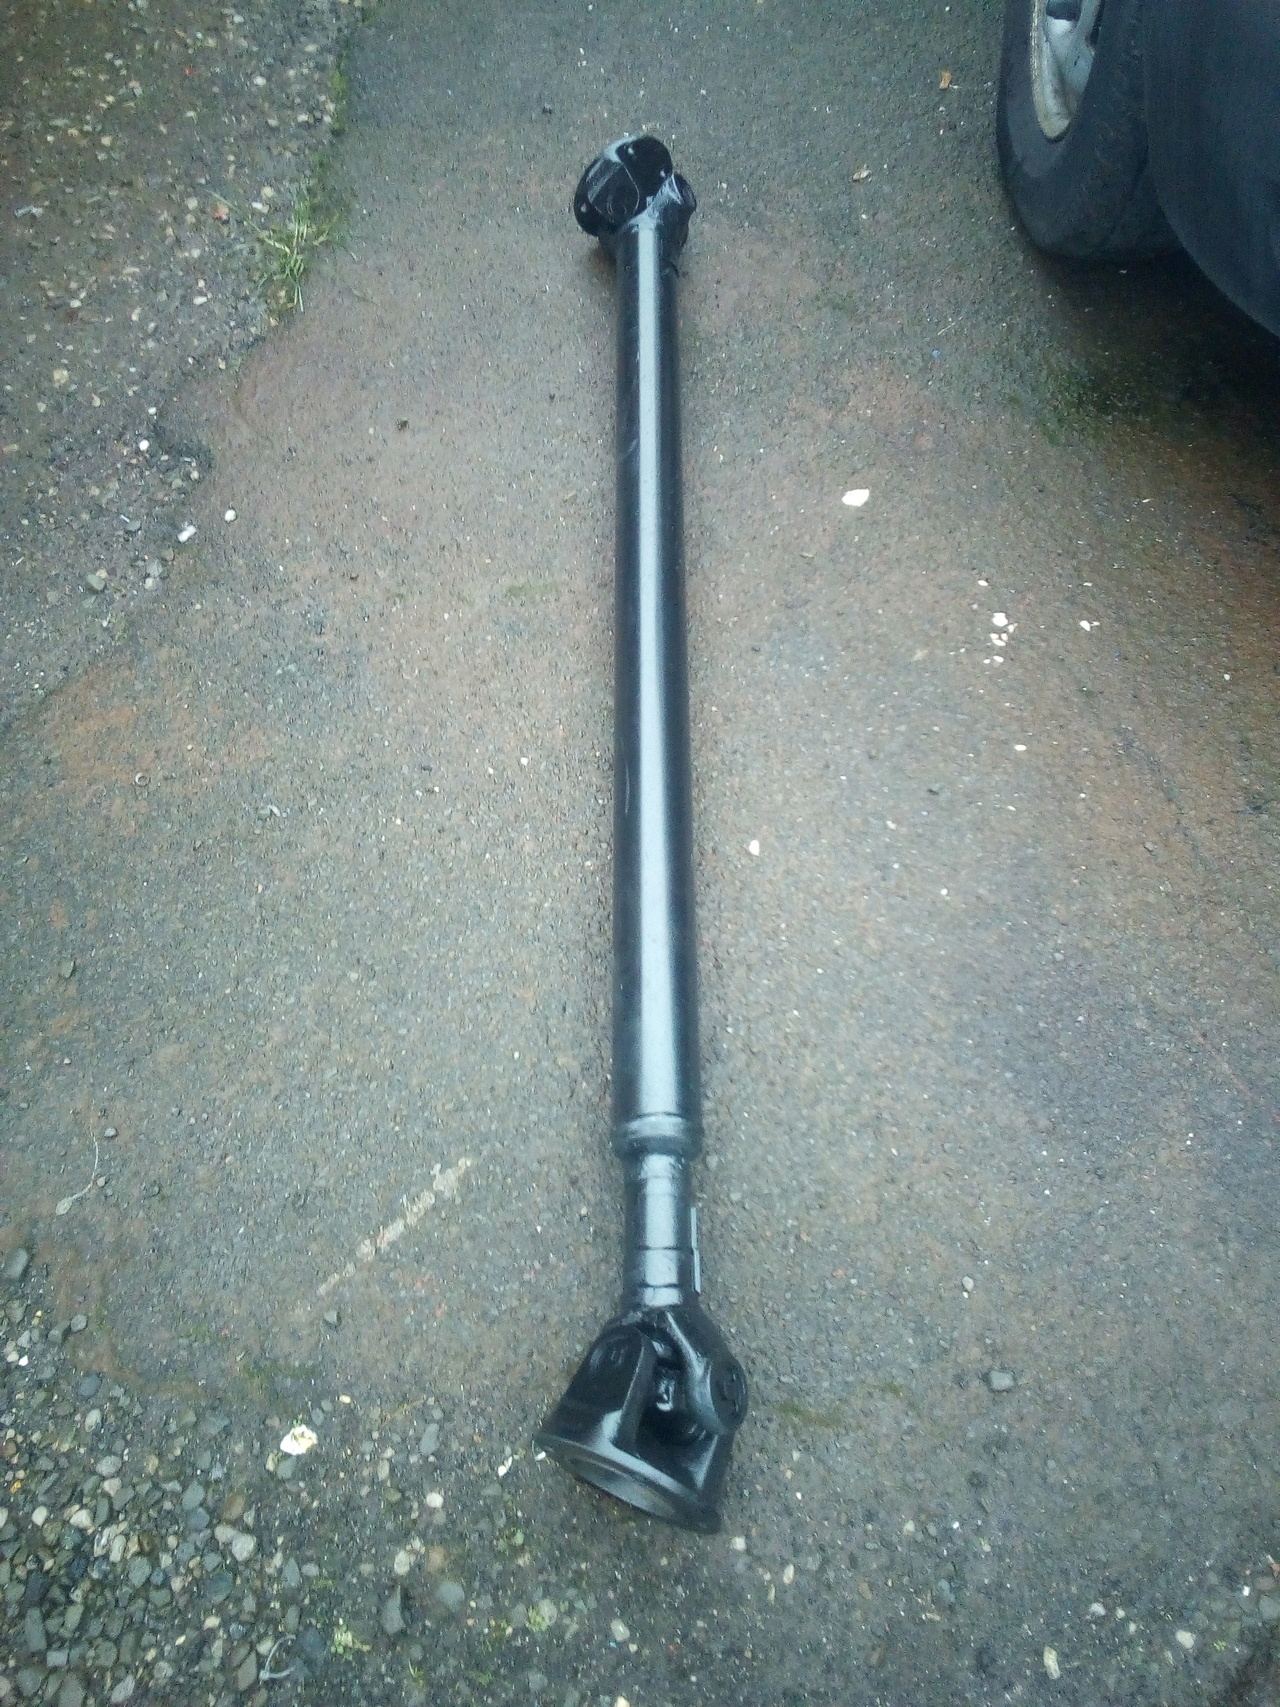
In other news, New big black shaft.
8 new bolts:
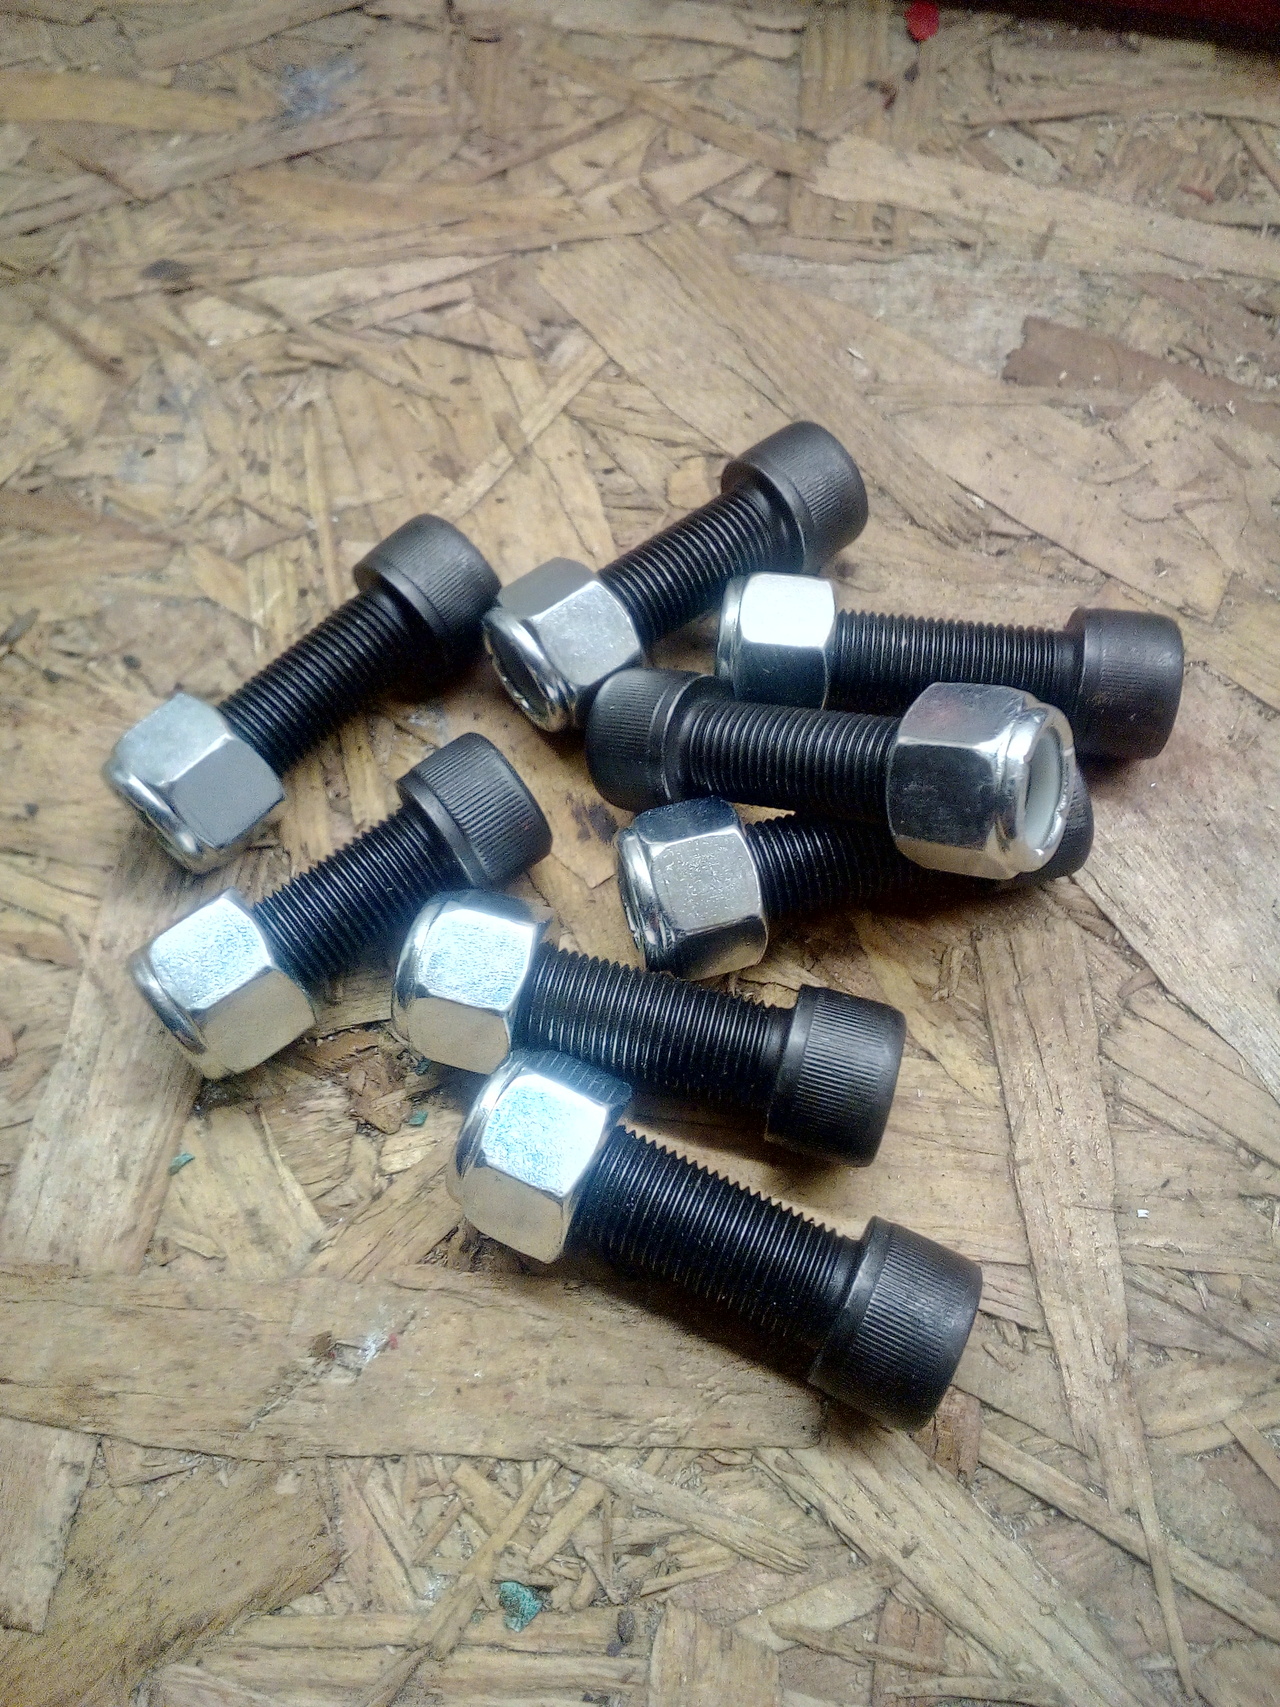
I know they should really have an unthreaded shank, like the originals, but this is what I could get so it's what I'm using.
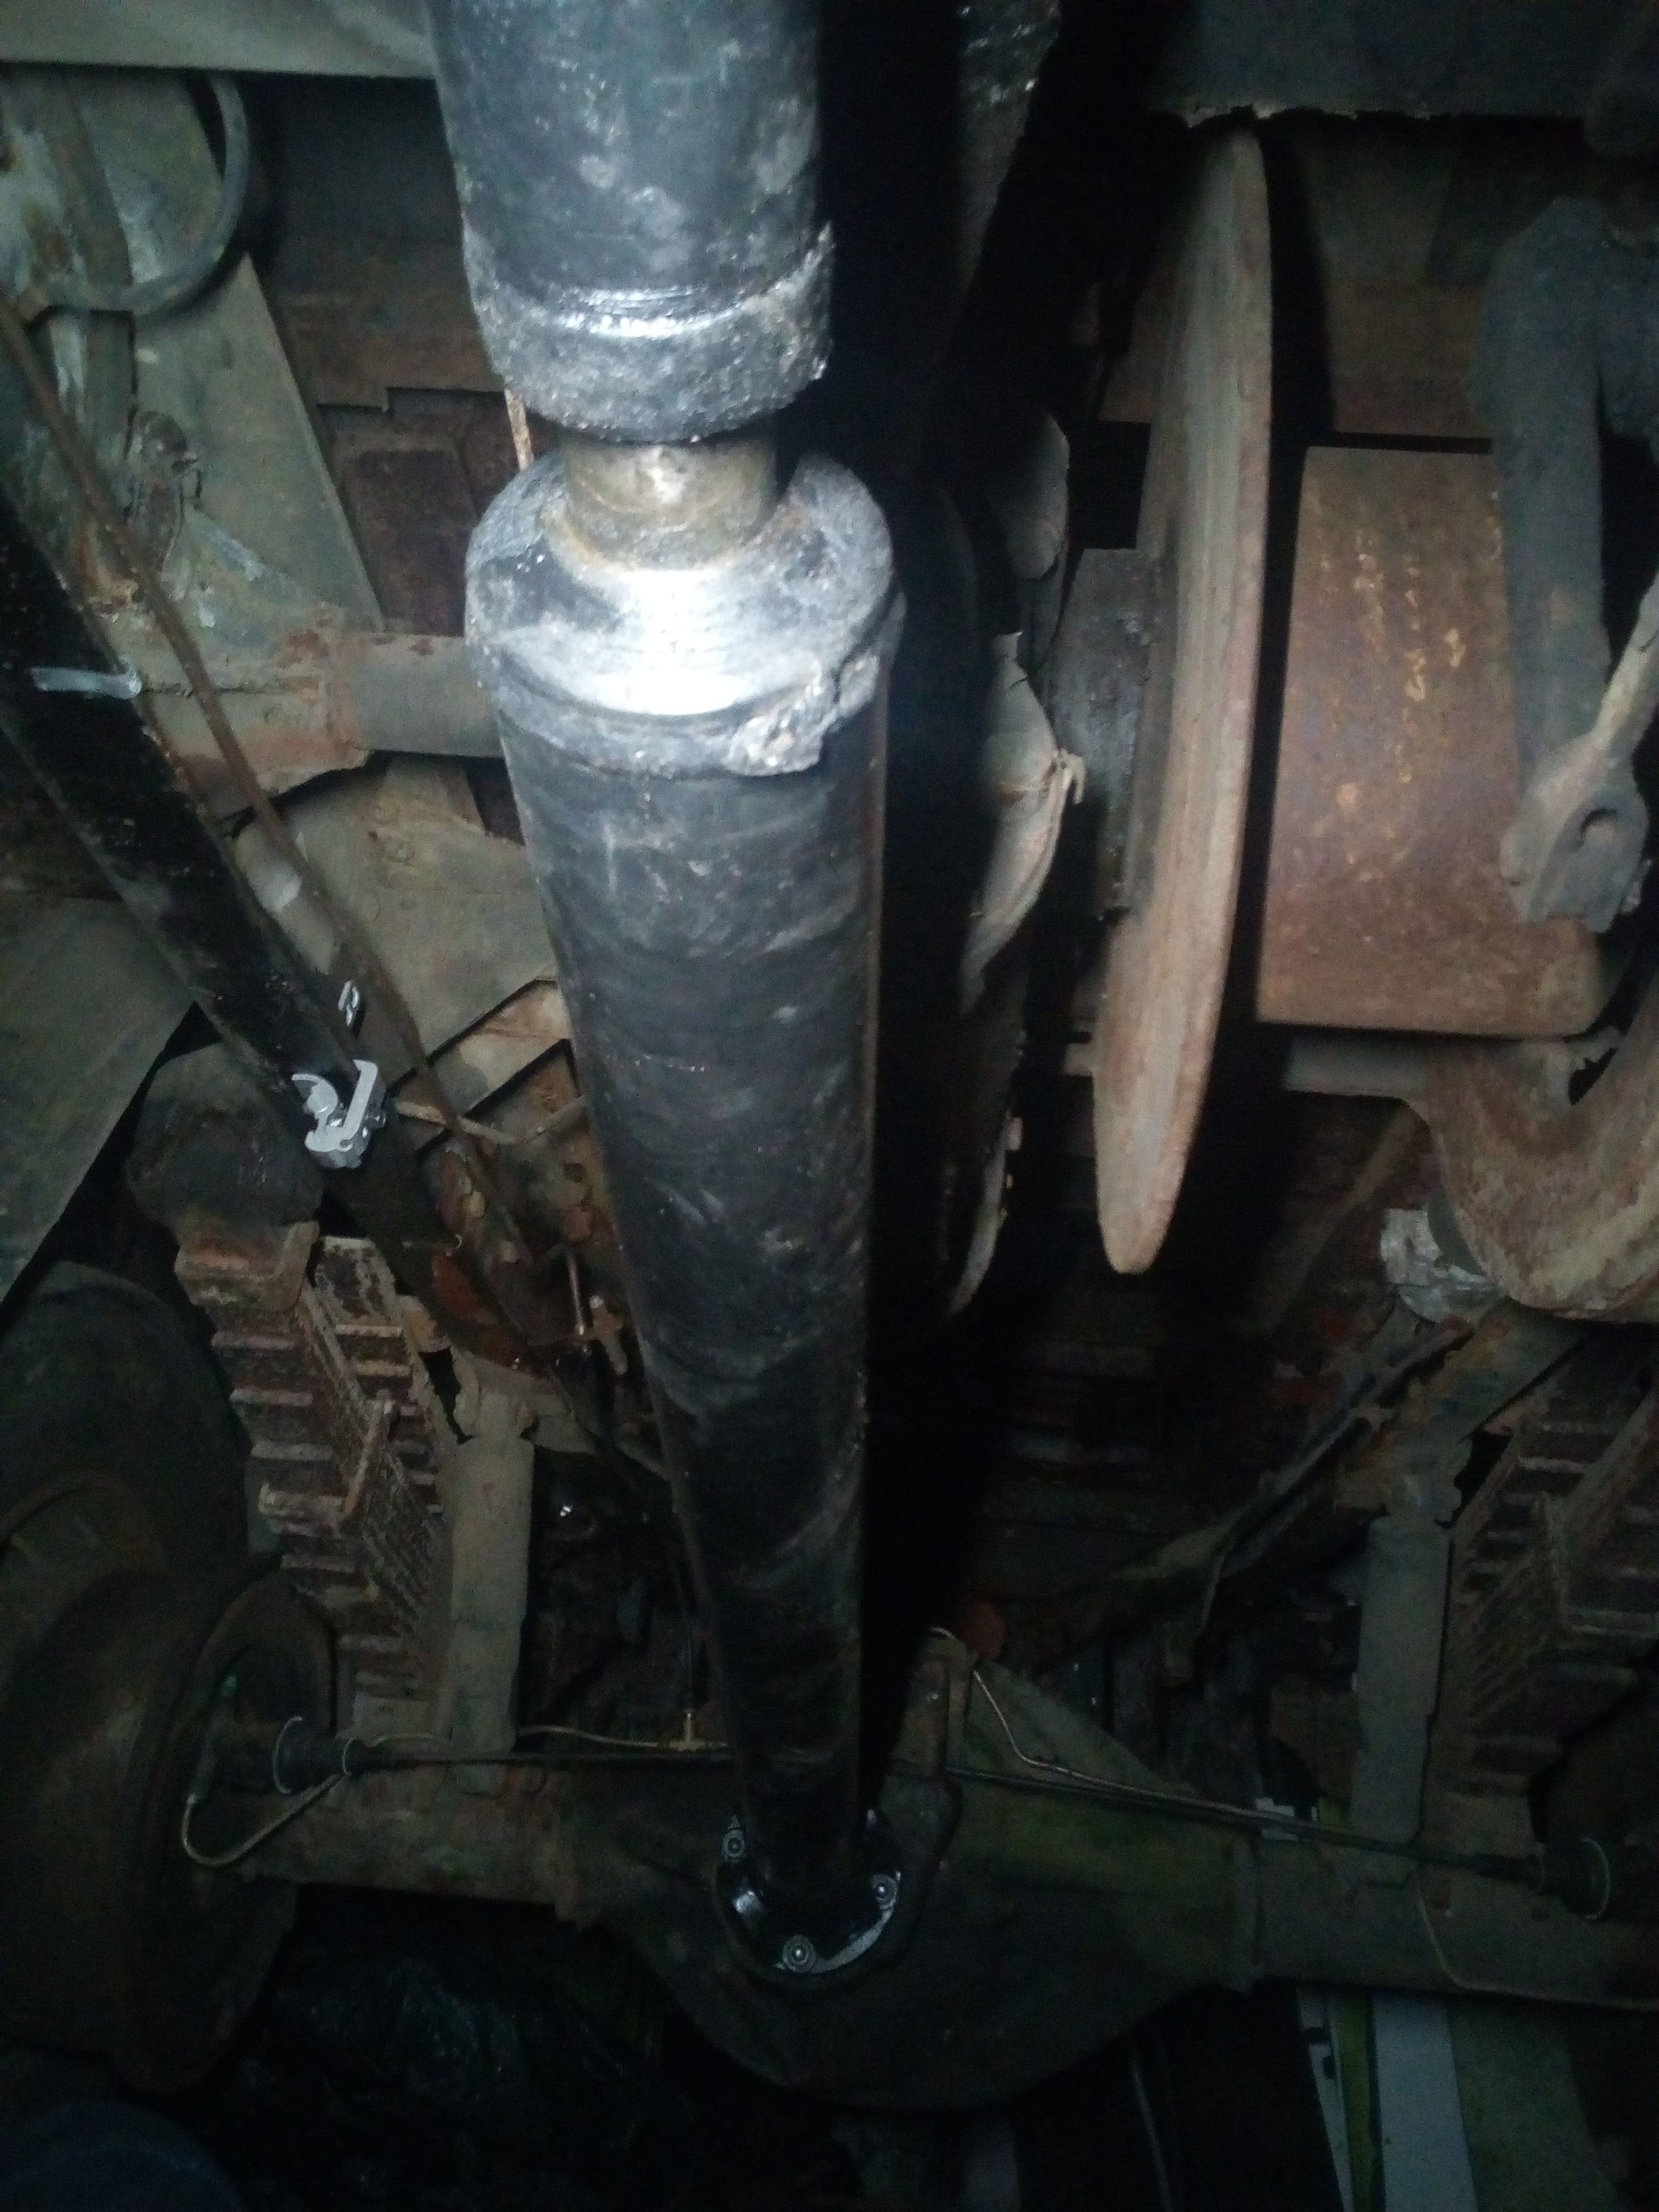
Well, I couldn't resist trying it, but she really didn't want to start. When she did, I drove about three feet forward, and she conked out then didn't have enough battery to re-start.
So I took the battery home, left it on charge overnight, then went down again after work tonight; whereupon she started with little trouble, and drove back and forth just fine on the rears only. Cracking!
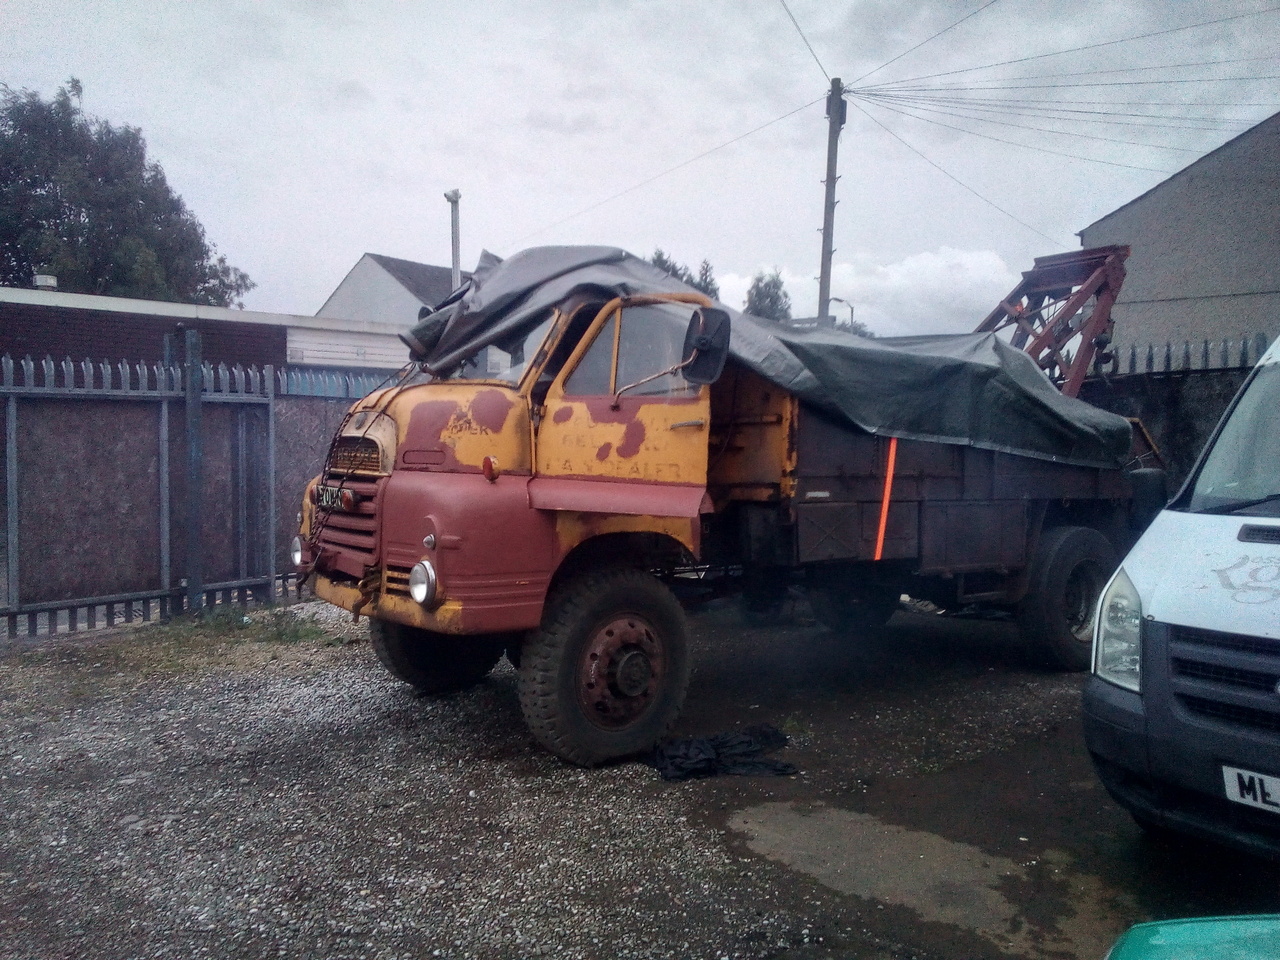
Not sure what'll be next on the list, but I really should start setting up for surgery on that engine... Especially since a big part of the cab repairs will be easier with the engine out.
Sweetpea said: What's the doofer to the right of the prop? Winch drum?
Yup. The drum for the 5-ton chassis-mounted Turner winch. Which I will need to get a new winch cable for, but that's way down the list of priorities.