18 Oct 2019
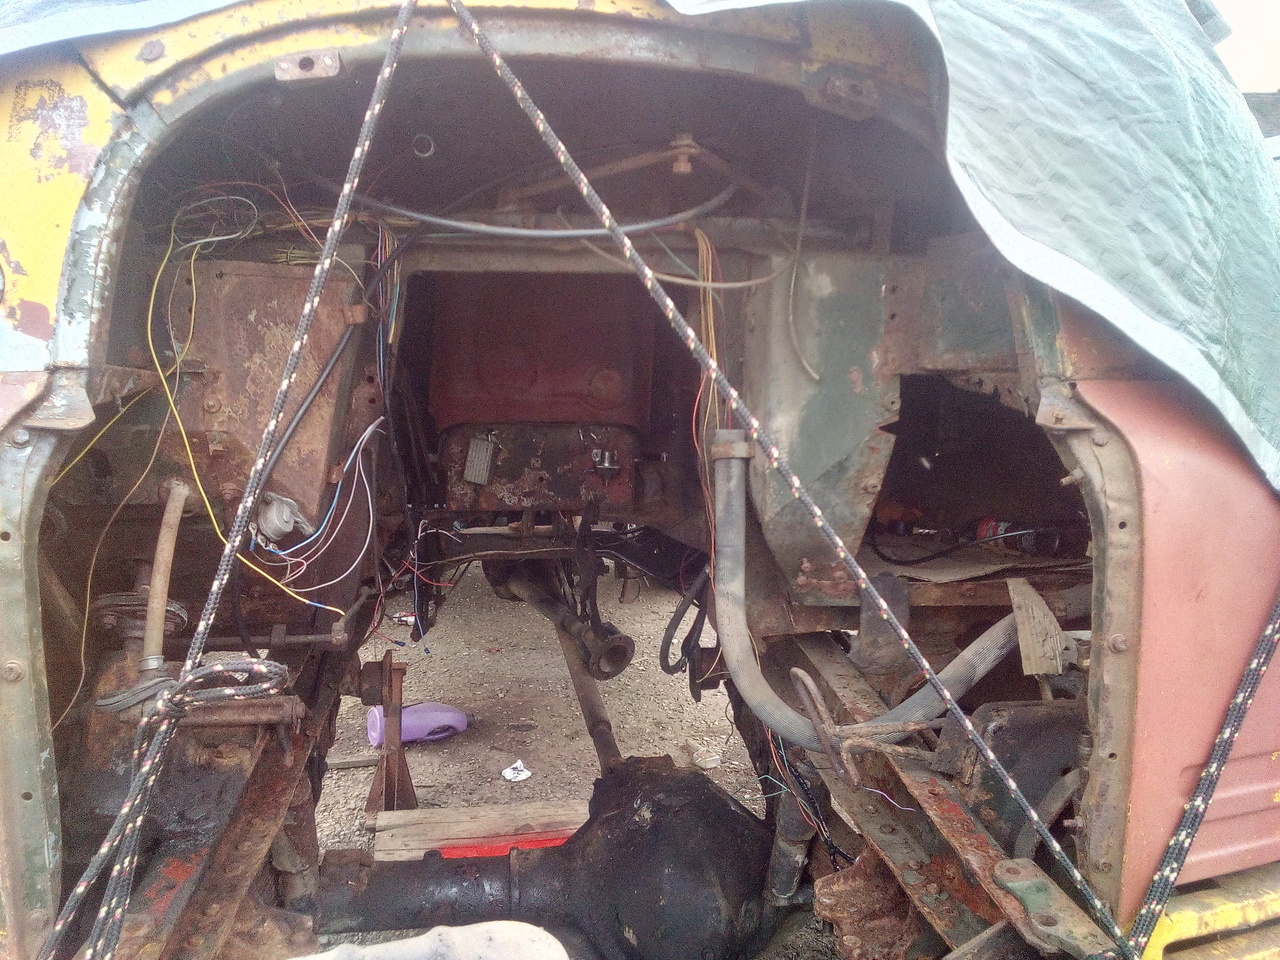
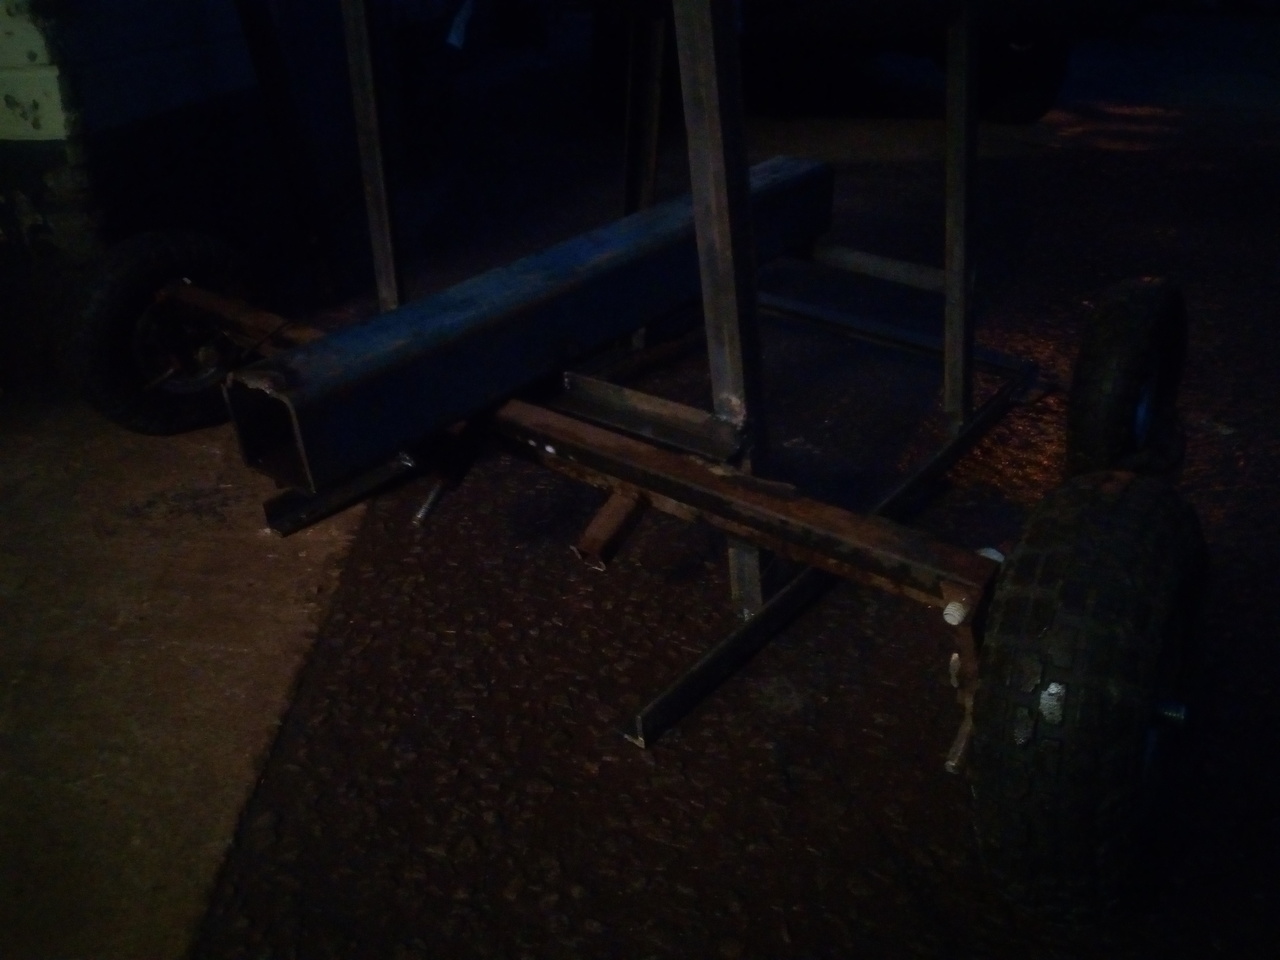
And so, a nice week of pottering about mostly after work has seen the tow... beam... thing removed. It's bent/twisted, and the mounting brackets aren't really up to much as far as I'm concerned. (Though, admittedly they've held so far! Really not a fan of how it's put together, though. Looks like they sat their mounting blocks on, put bolts through, then welded the I-beam to it in place along the one edge.)
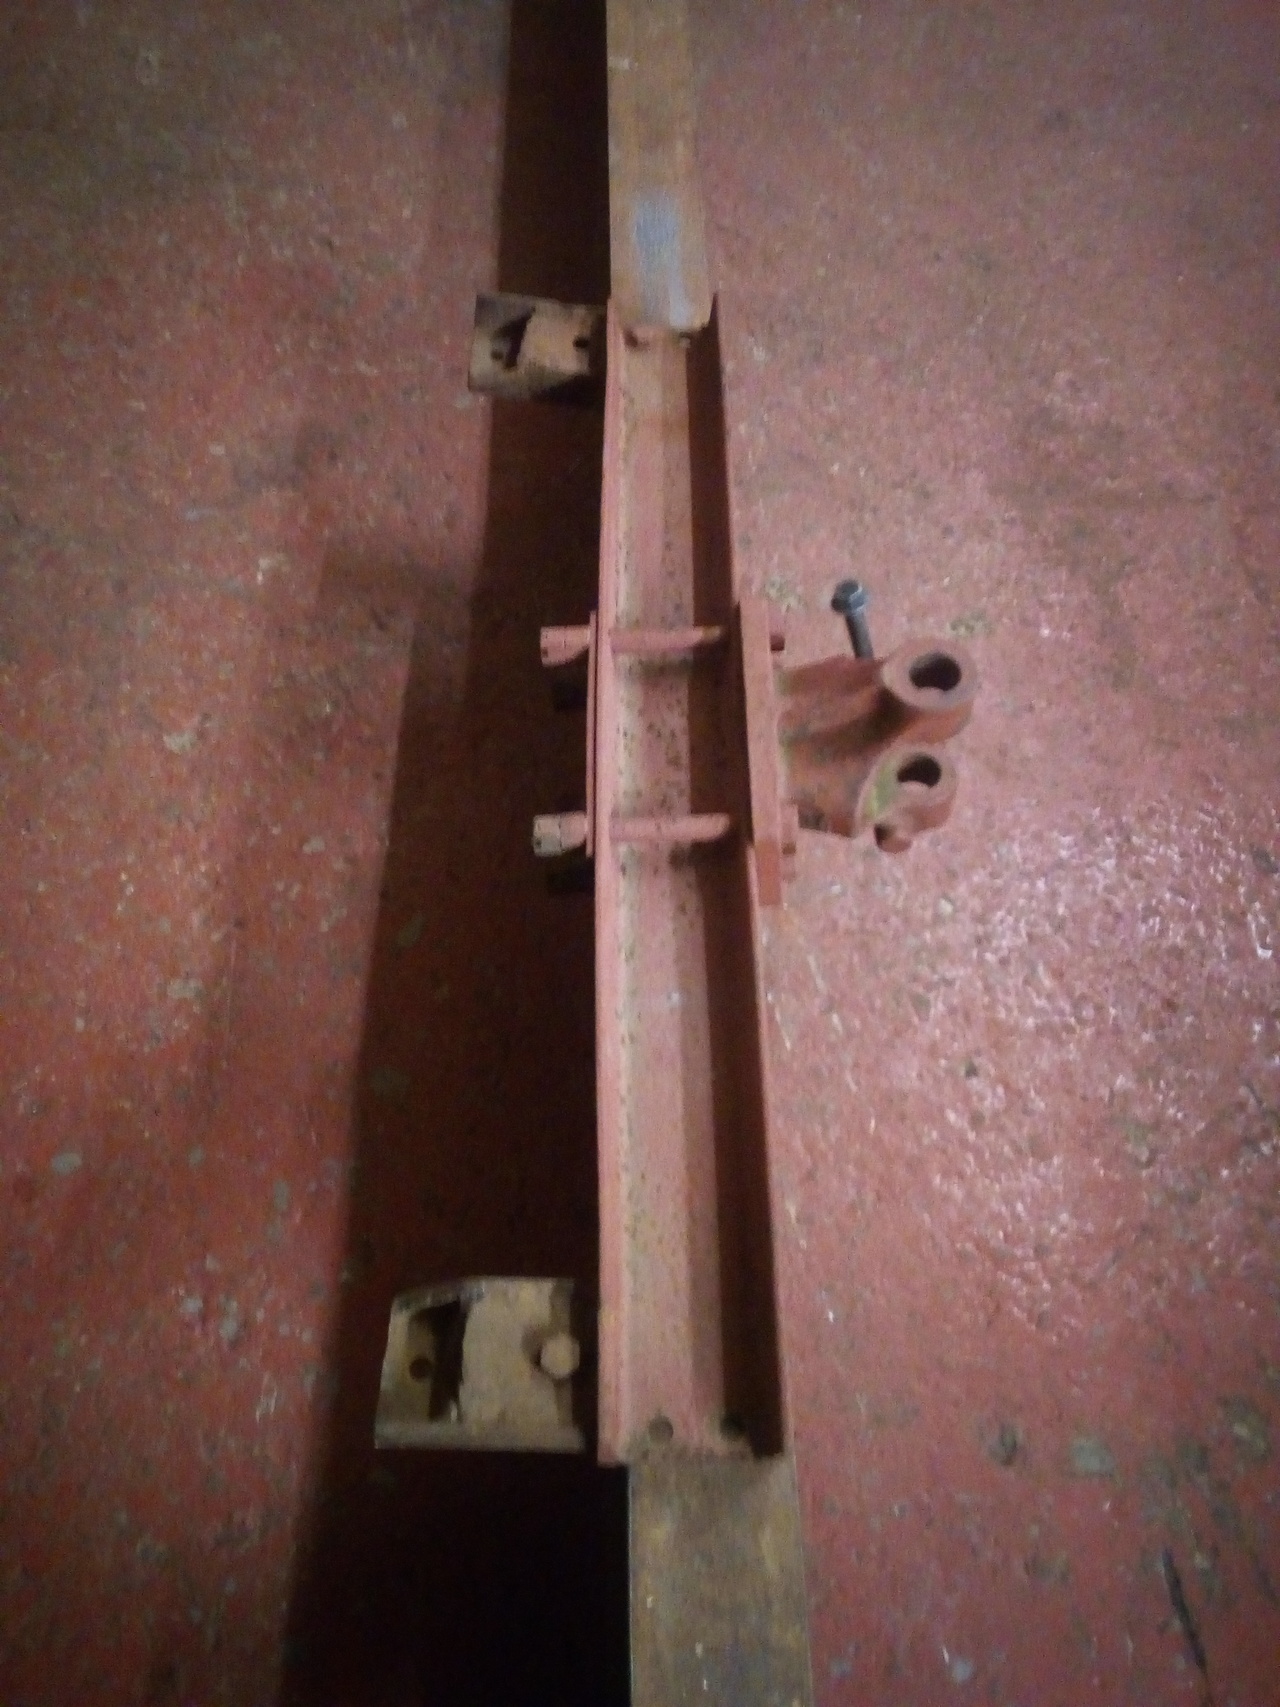
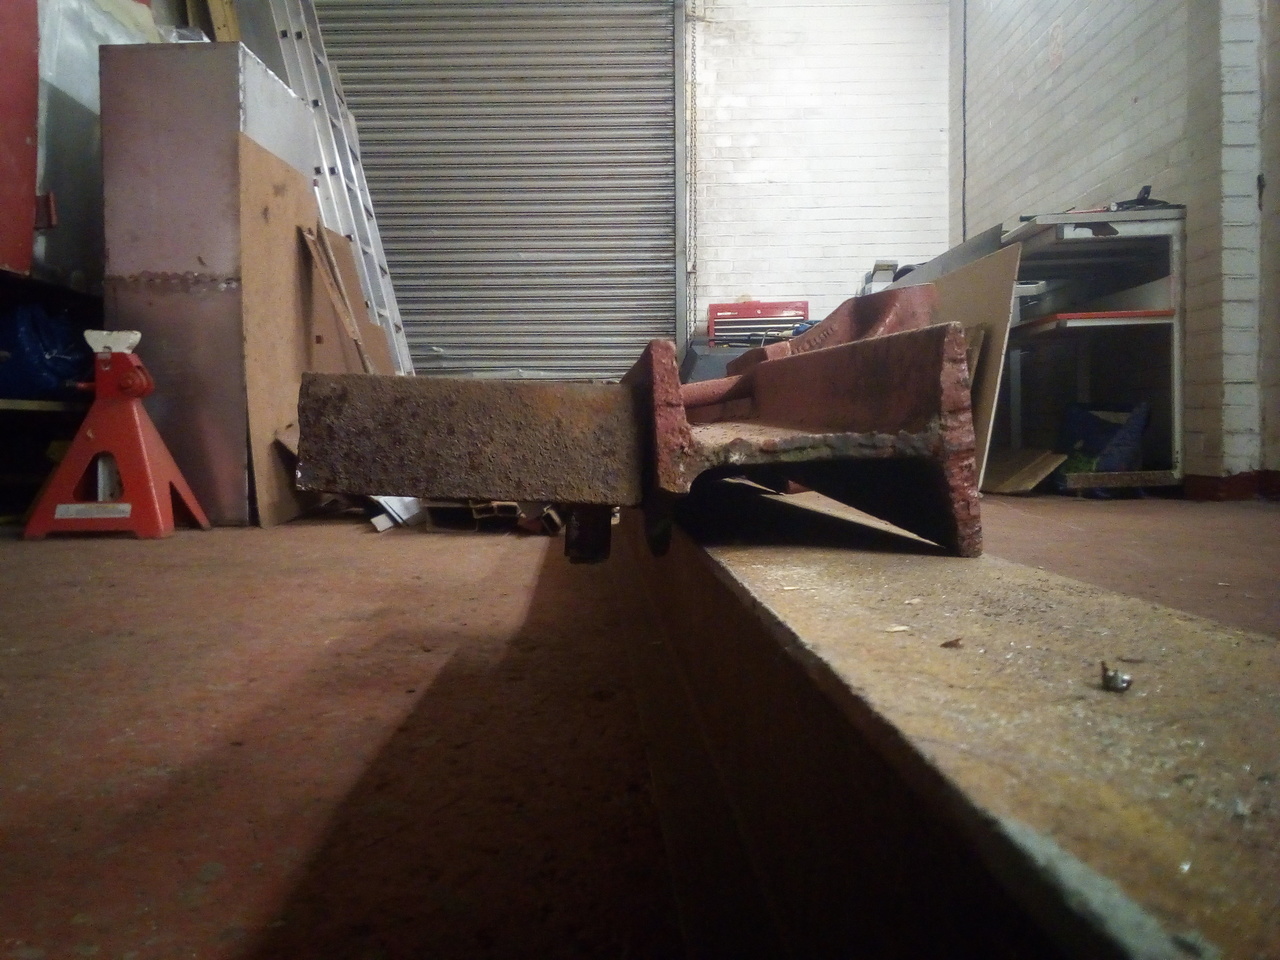
I'm undecided on how I want to go about dealing with it. Not sure if I want to try and straighten the original beam, leave it as it is (bent!), or get a new piece of similarly-sized I beam and make a new bar.
Whichever route I go with it, I'm going to make new mounting brackets. It was fastened on to the chassis with 3 bolts -- there's a hole for a fourth, but no bolt (?!?) -- sharing the top holes for mounting the chassis irons.
(The side-holes, through the web of the chassis, still have their rivets in. I think my new brackets might also use those holes too.)
Continuing on!
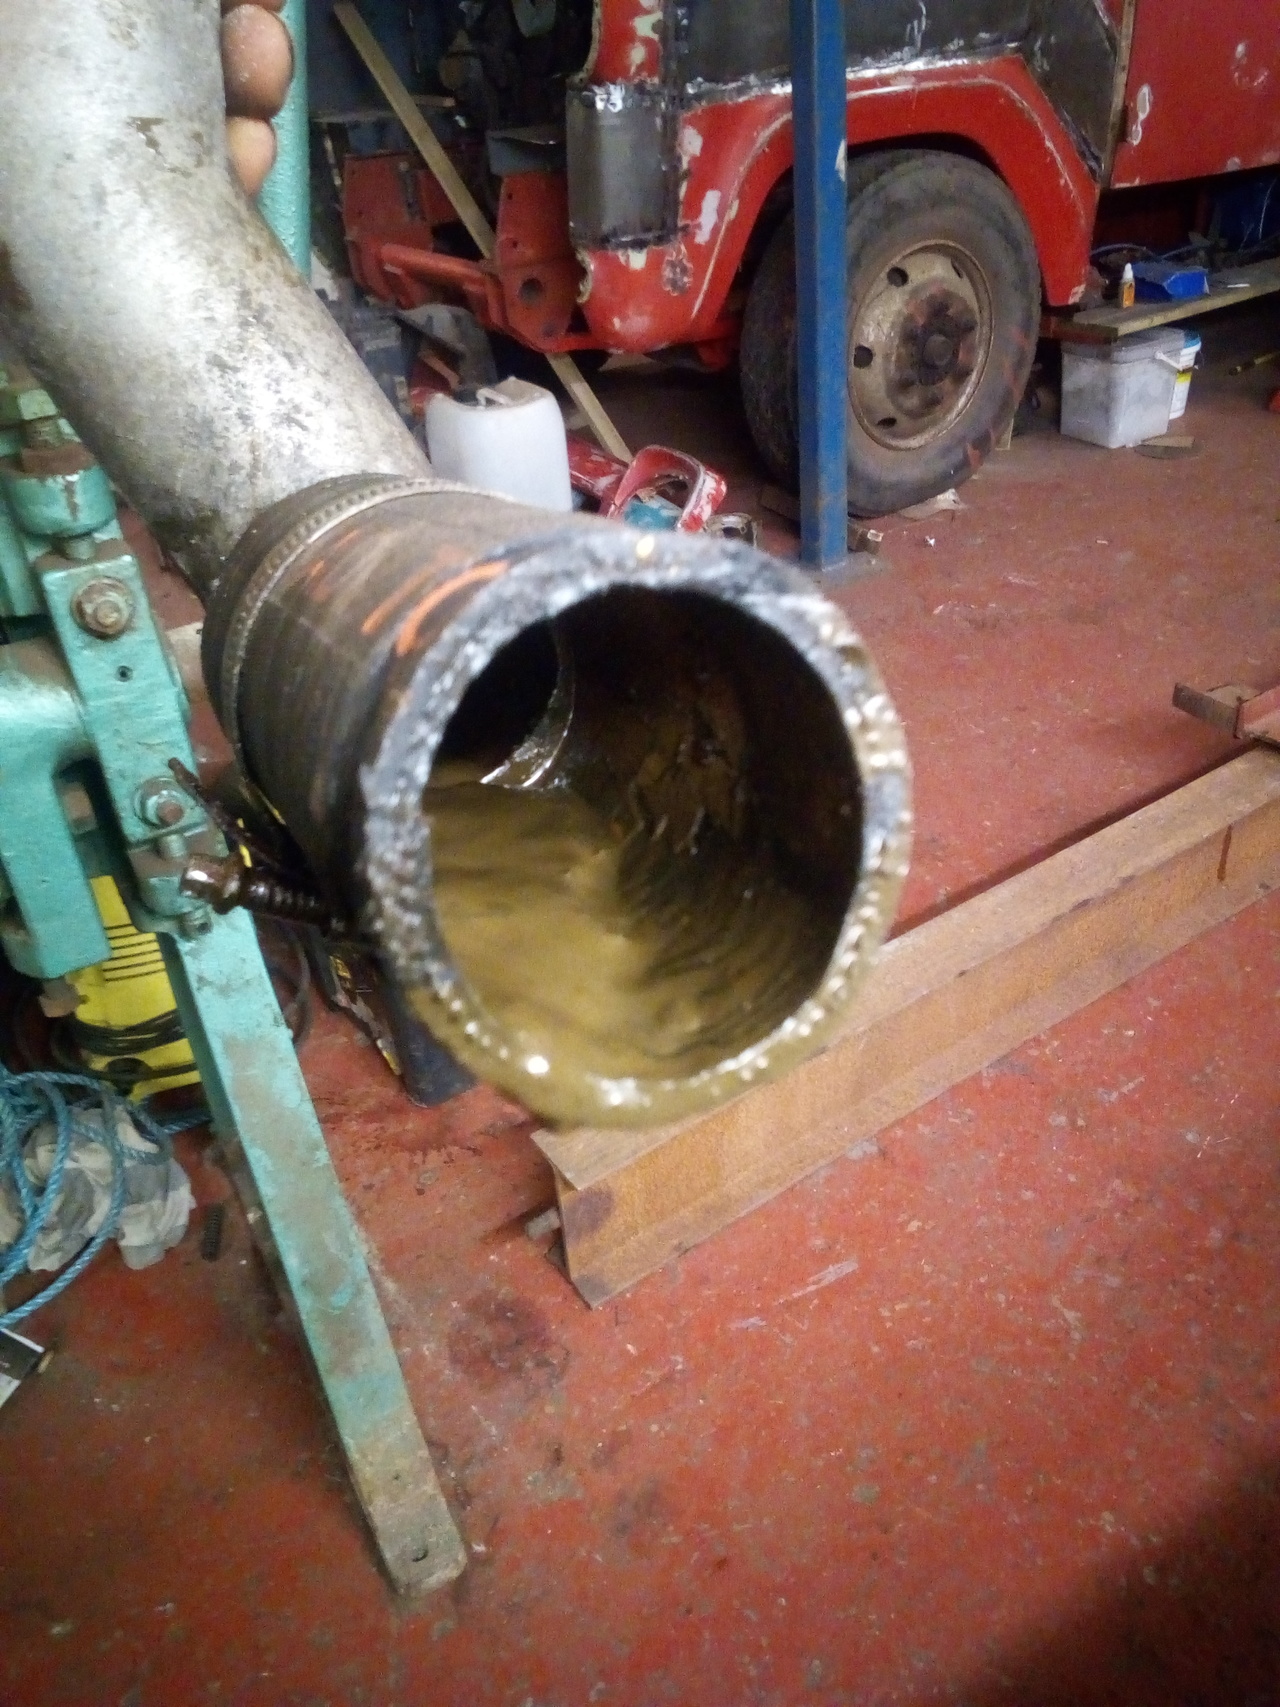
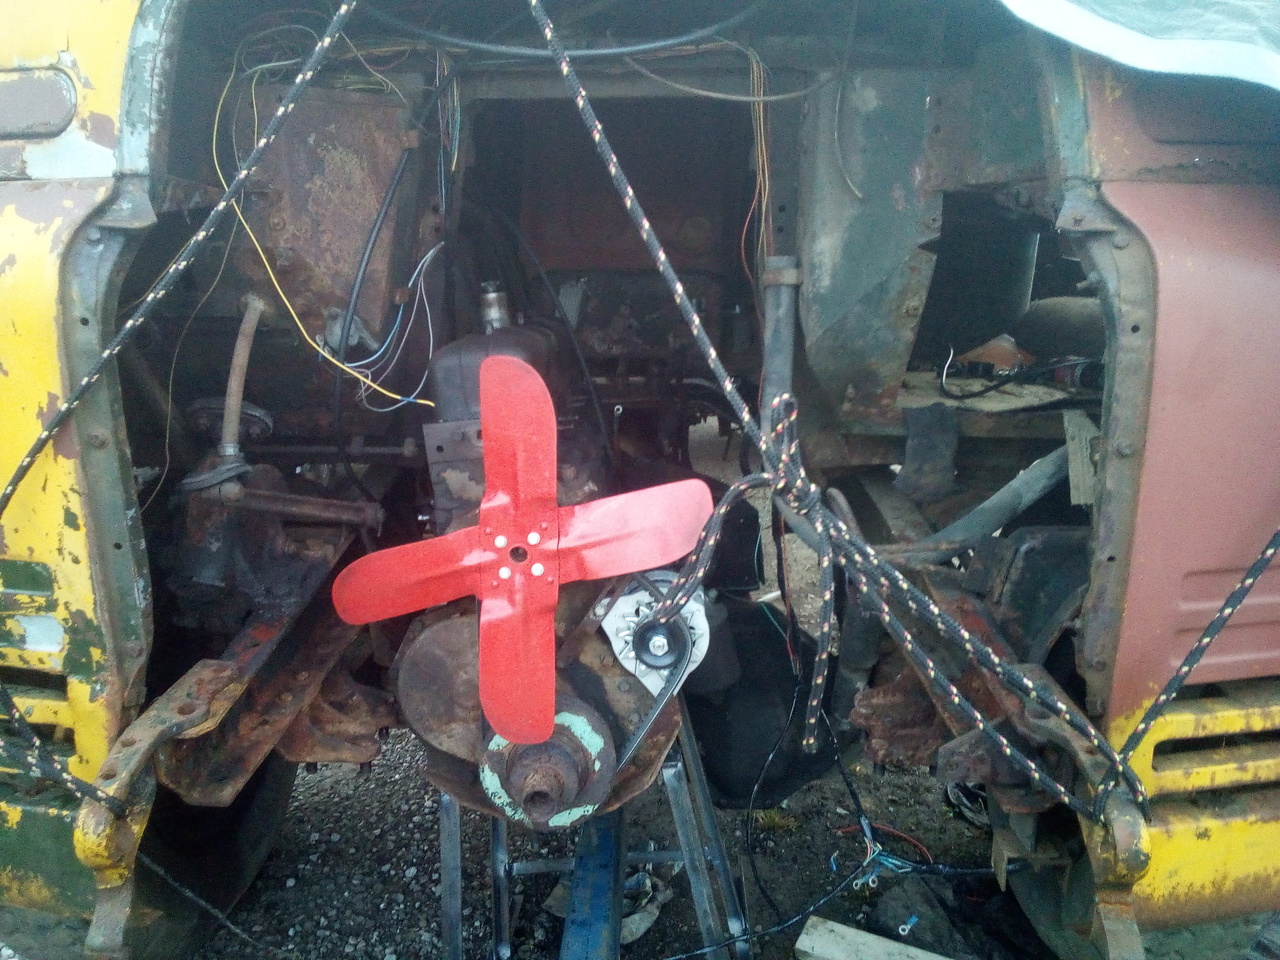
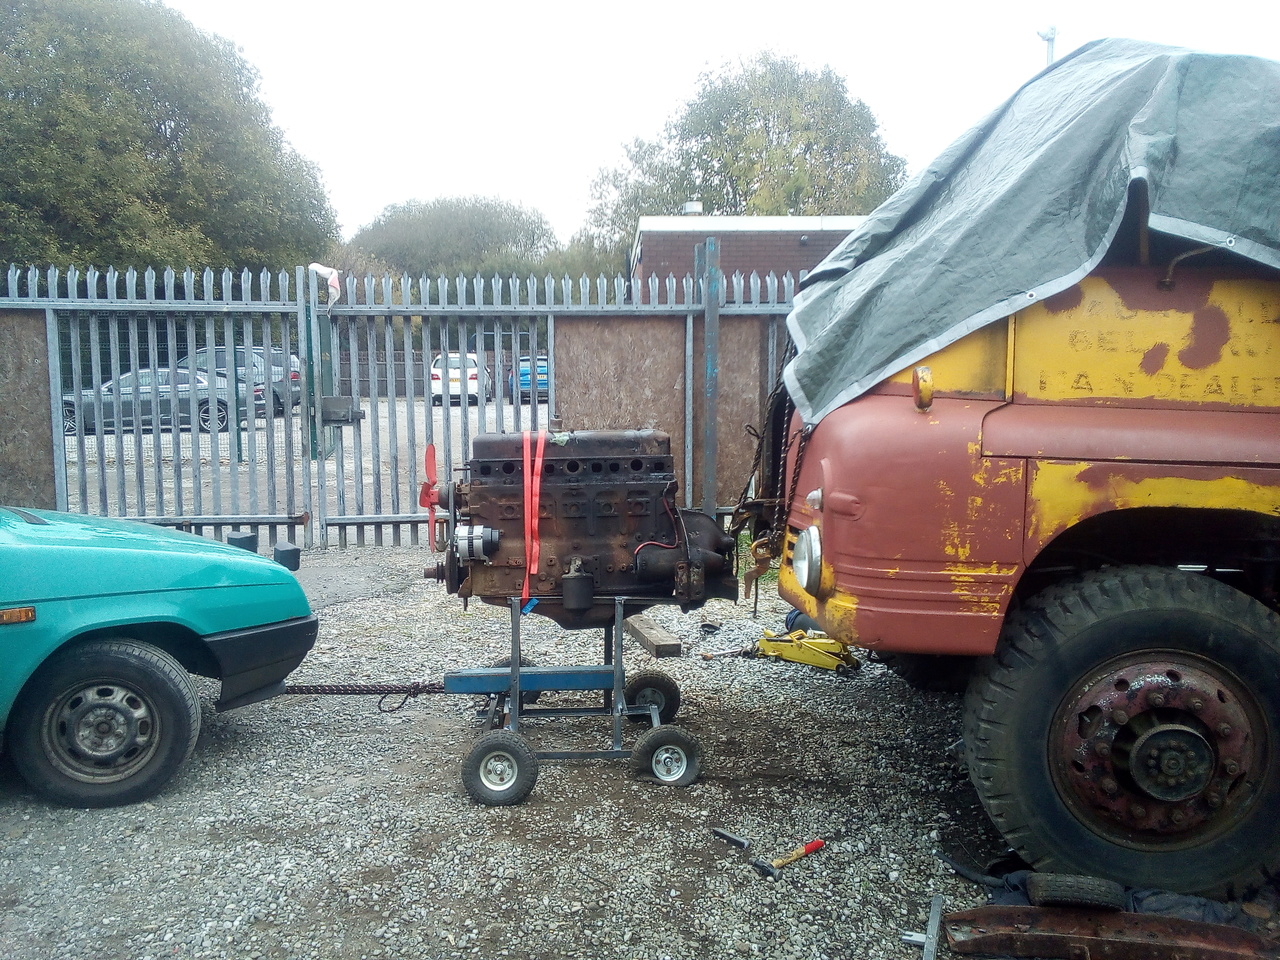
That looks a bit grim. Put it all back together and give it as much of a cooling system clean as I could. That seemed to dislodge more of the grot, but I'm pretty sure I'll need to clean the radiator out again. Most of the coolant came out clear, though, and it was just the dregs that looked like oily mud.
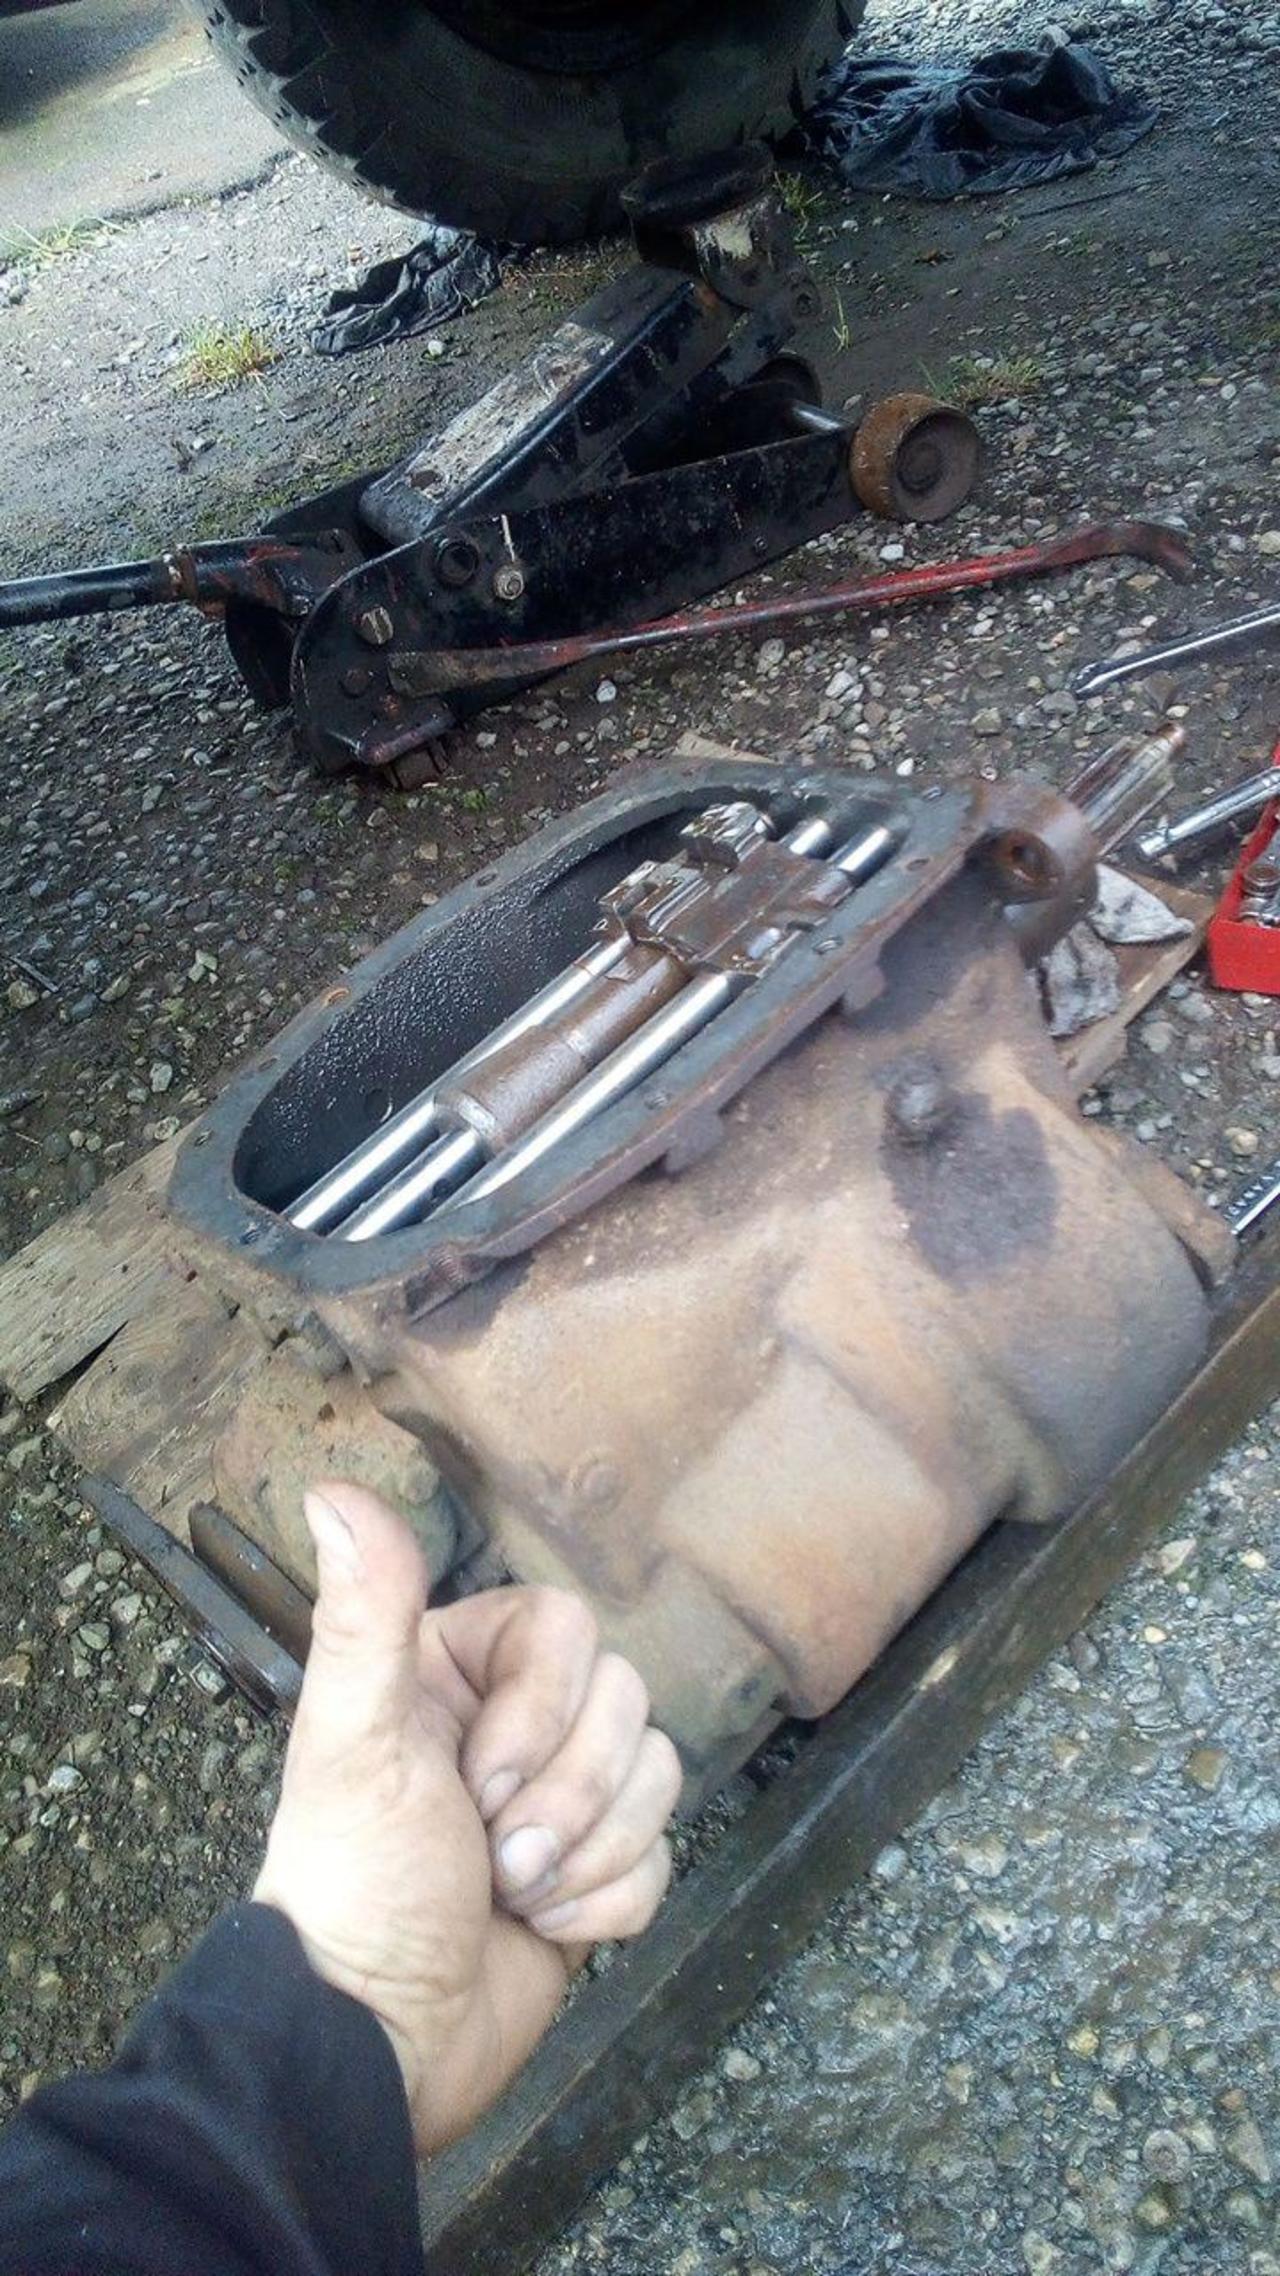
That left me with this, last night:
Following the WSM, that leaves me with:
- Throttle linkage & crossbar
- Capillary tube bulb for the water temperature gauge (very carefully)
- The little bit of wiring & plumbing that connects to the engine
- Clutch linkage, prop-shaft, gearbox.
- Build the special cradle for lifting the engine out, support the engine
- Front cross-member & rear engine mounts
- Pull the engine out
- Cup of tea
And then I can clean the engine off a bit better, and start tearing it apart to find out how much pain I've brought upon myself.
The Next Day
GlenAnderson said: Remind us again what the engine plans are; rebuild or replace?
Plan is to rebuild, with perhaps some tweaks. Nothing irreversible, and I plan to keep any bits I take out, so that some future custodian can restore her back to factory if desired.
The outline at the moment, which is fuzzy for the time being until I can start taking measurements and getting parts in hand, is that I definitely want to go fuel-injection (I have the ECU for it, already wired up and in a case, and I'll make the loom for the engine later down the line when it's all built back up.), and I'd really like to increase the static compression a bit, which will be potentially tricky.
She's an old truck, I'm not planning on hot-rodding her too much... :D
I think I'd be more open to re-powering with something else if she hadn't turned out to be a bit special, being an artillery tractor conversion. If it'd just been the average, garden-variety dropside, though, who knows! (By the numbers I have, a Cummins ISB4.5 4-cylinder is very similar in weight, with a little more torque and horsepower, with a similar red-line...)
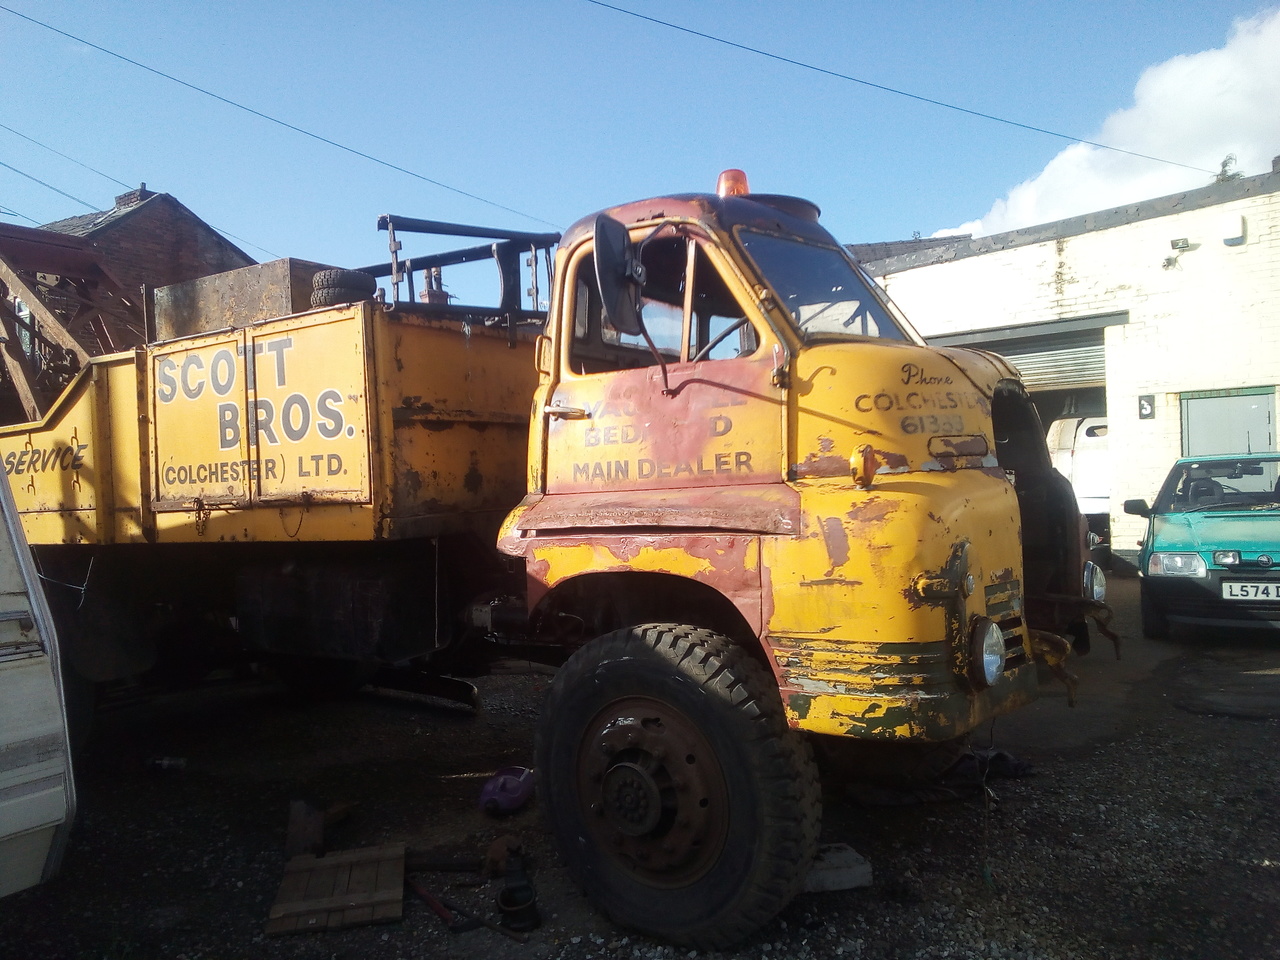
Sweetpea (referring to the front tow beam) said: I take it this is off the front?
It looks like something some muffin knocked up in the yard after a couple of pints. Not original anyway. I've been looking at photos and yours is the only one with a hitch there. I reckon that means you can do what you like with it. Including leaving it off although I think that'd be a shame. So, war time trucks had the hitches mounted on leaf springs across the chassis rails. Is yours too late for that sort of detail?
Yup, and yup! It's got all the hallmarks of garage-built (...in a rush, after a liquid lunch, on a Friday) It's anyone's guess as to which garage did the work, though...
Oh, I certainly can do as I please with it. :D I'm just not totally certain how I want to deal with it, just yet. It's nice to have a robust hitch on the front -- and I definitely want it there -- but if I'm going to have it, it's got to be more confidence-inspiring than what it was.
(I'm also tempted by the thought of also adding an electric winch to the front, but only if I can figure out a way of doing it that doesn't look gash.)
Can't say I'm too keen on the idea of sticking a leaf-spring across the front, either! :D The RLs are a bit late for The War, though they saw their fair share of action, production starting in '53 and 11CE32 is -- I believe -- a '58.
30 Oct 2019
I suppose I should probably actually say what I've gotten done since last time, too! :D
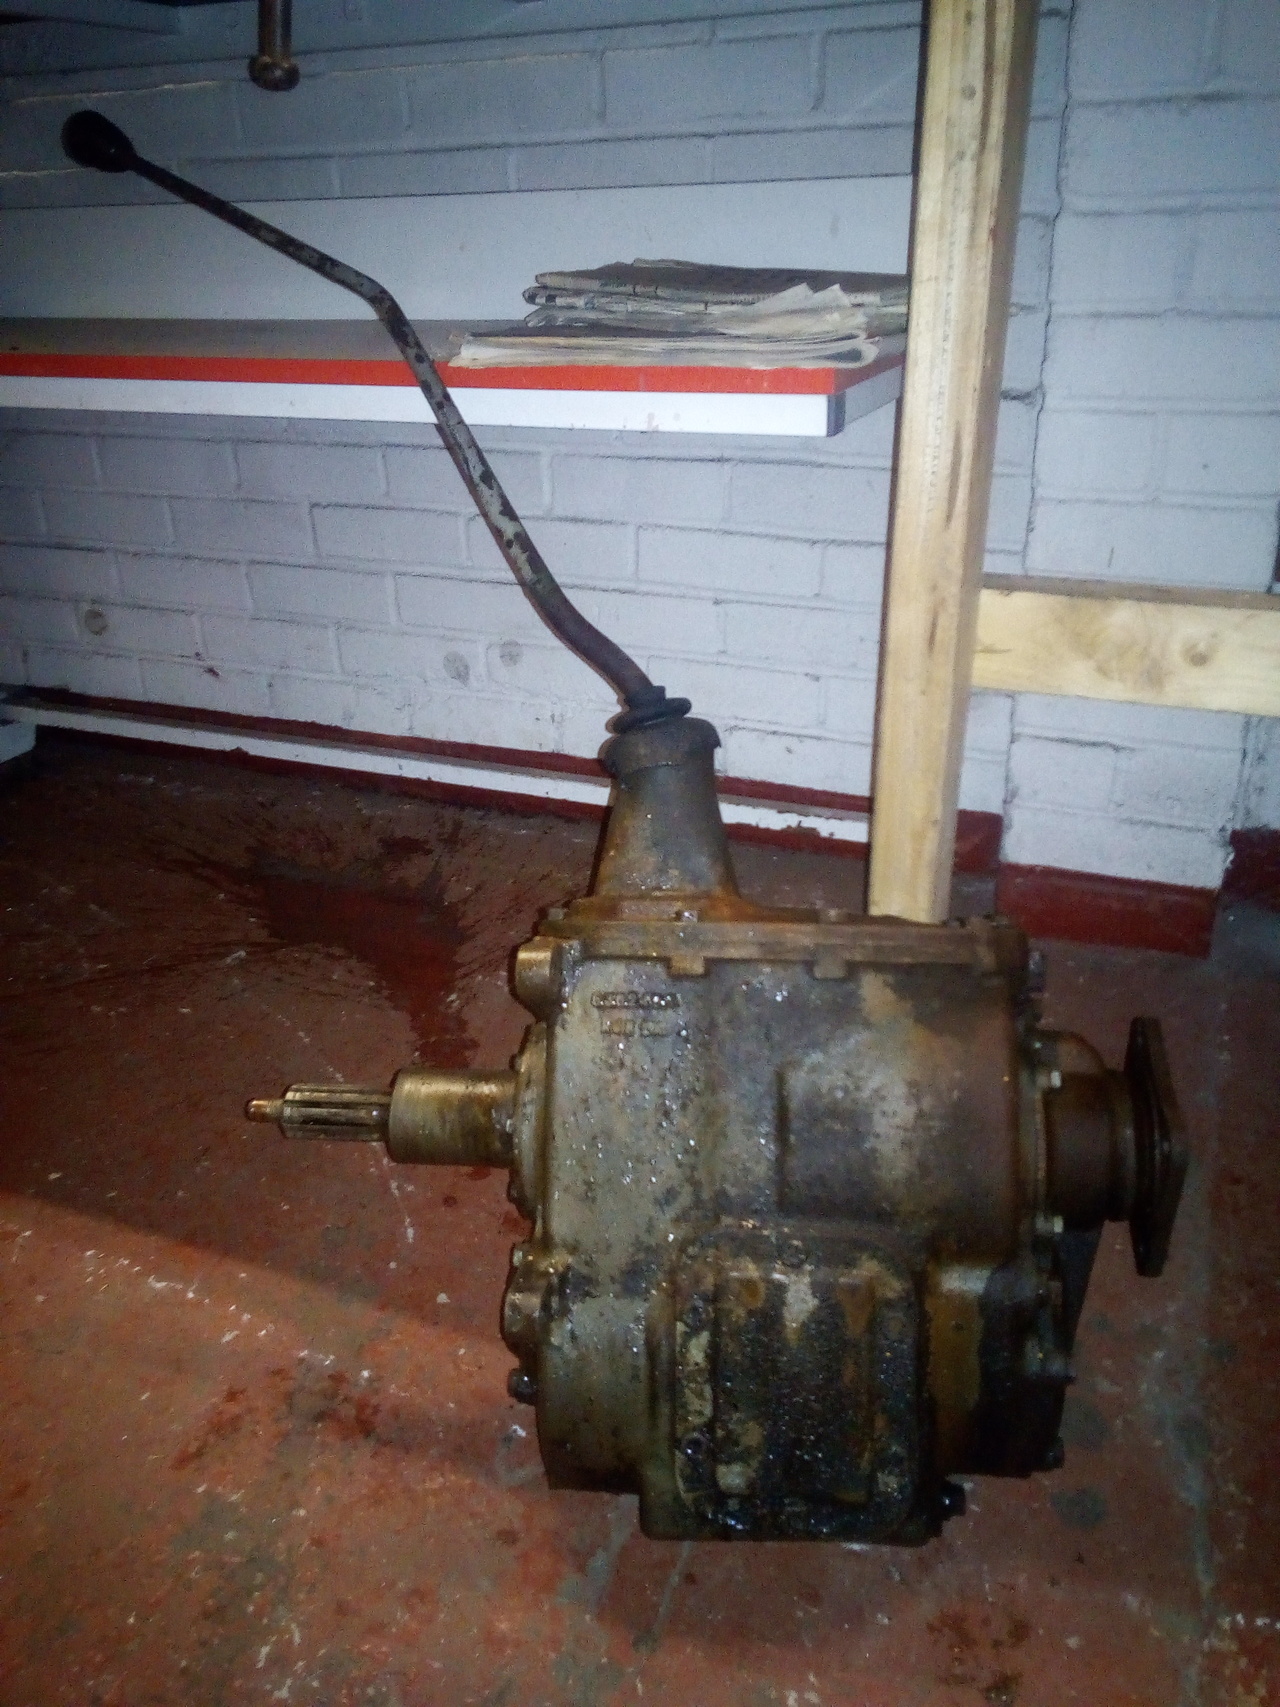
Er, the gearbox is out, and currently sat in the workshop. Extraction was rather an entertaining process, since it decided to get rather cozy with my lap when I tried to lower the jack down. (There is video of this, don't worry.) Built myself a little stand to sit it on for the time being, and when the time comes to re-fit it, I'll modify the stand a little bit to use it as the installation cradle.
Other than that, I've -- mostly -- hung the driver's door back on its hinges:
Mostly to stop it getting squashed any further, because the lower panel has ended all out of shape as it is what with being knocked around at the old job (Never managed to get enough time in one big block to fix it all in one go, so every time I went to do a little more I'd have to start by undoing the damage done since last time.)
Still need to re-work some bits on it and finish up the repair, including some real fun (ugh) clean-up on the inside where I'll have to grind down a few melty blobs where I welded a repair-patch with one of work's welders, which was way too overpowered for the job.
(If I have to, then I'll cut it back apart and re-do it entirely again. I don't want to, but if I have to, I will. It's all a learning experience, though.)
The rest of the day was mostly spent pottering about tidying up; and starting to straighten out (then scrape, and sand) the lower front panel I removed. (It's a nice easy panel to start with.)
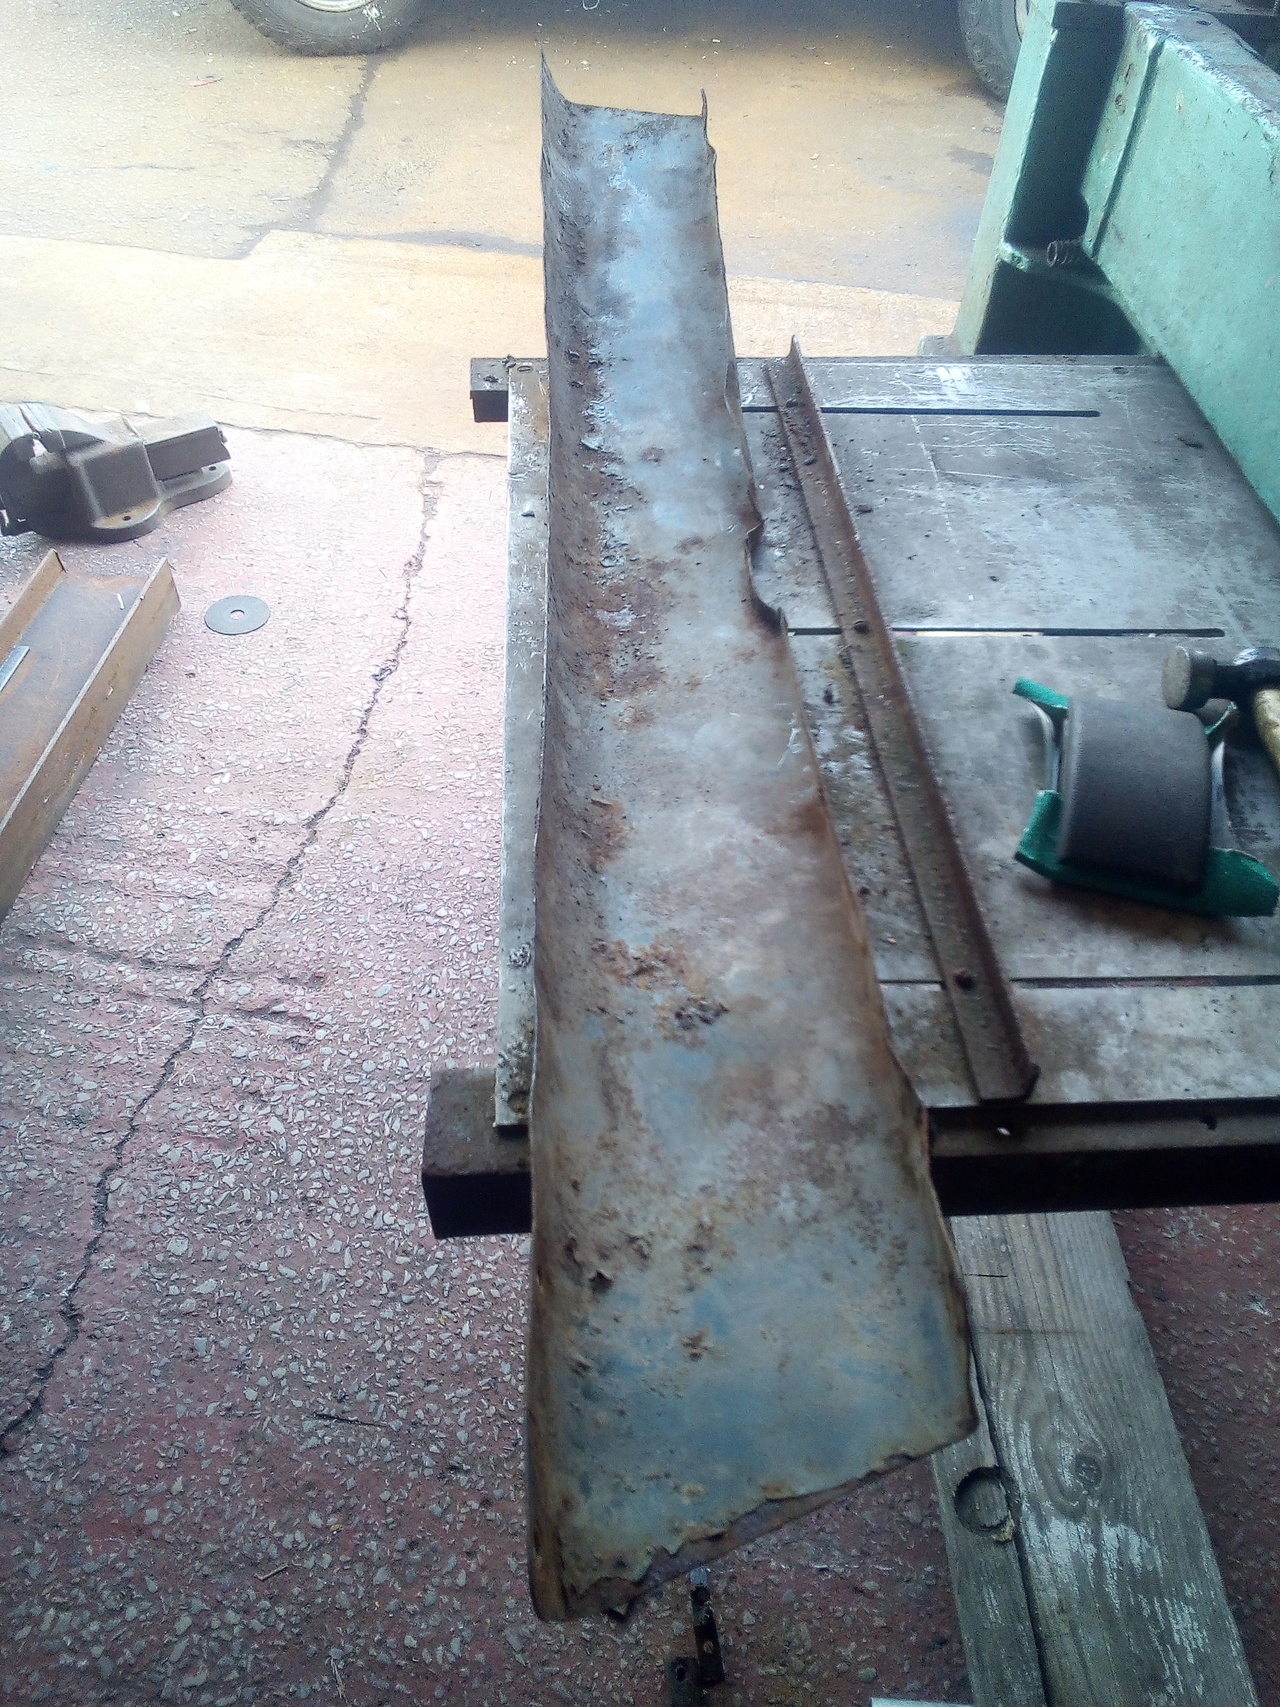
This is probably going to be my test piece for the yellow paint I'm going to use.
And then the steel I ordered, turned up! 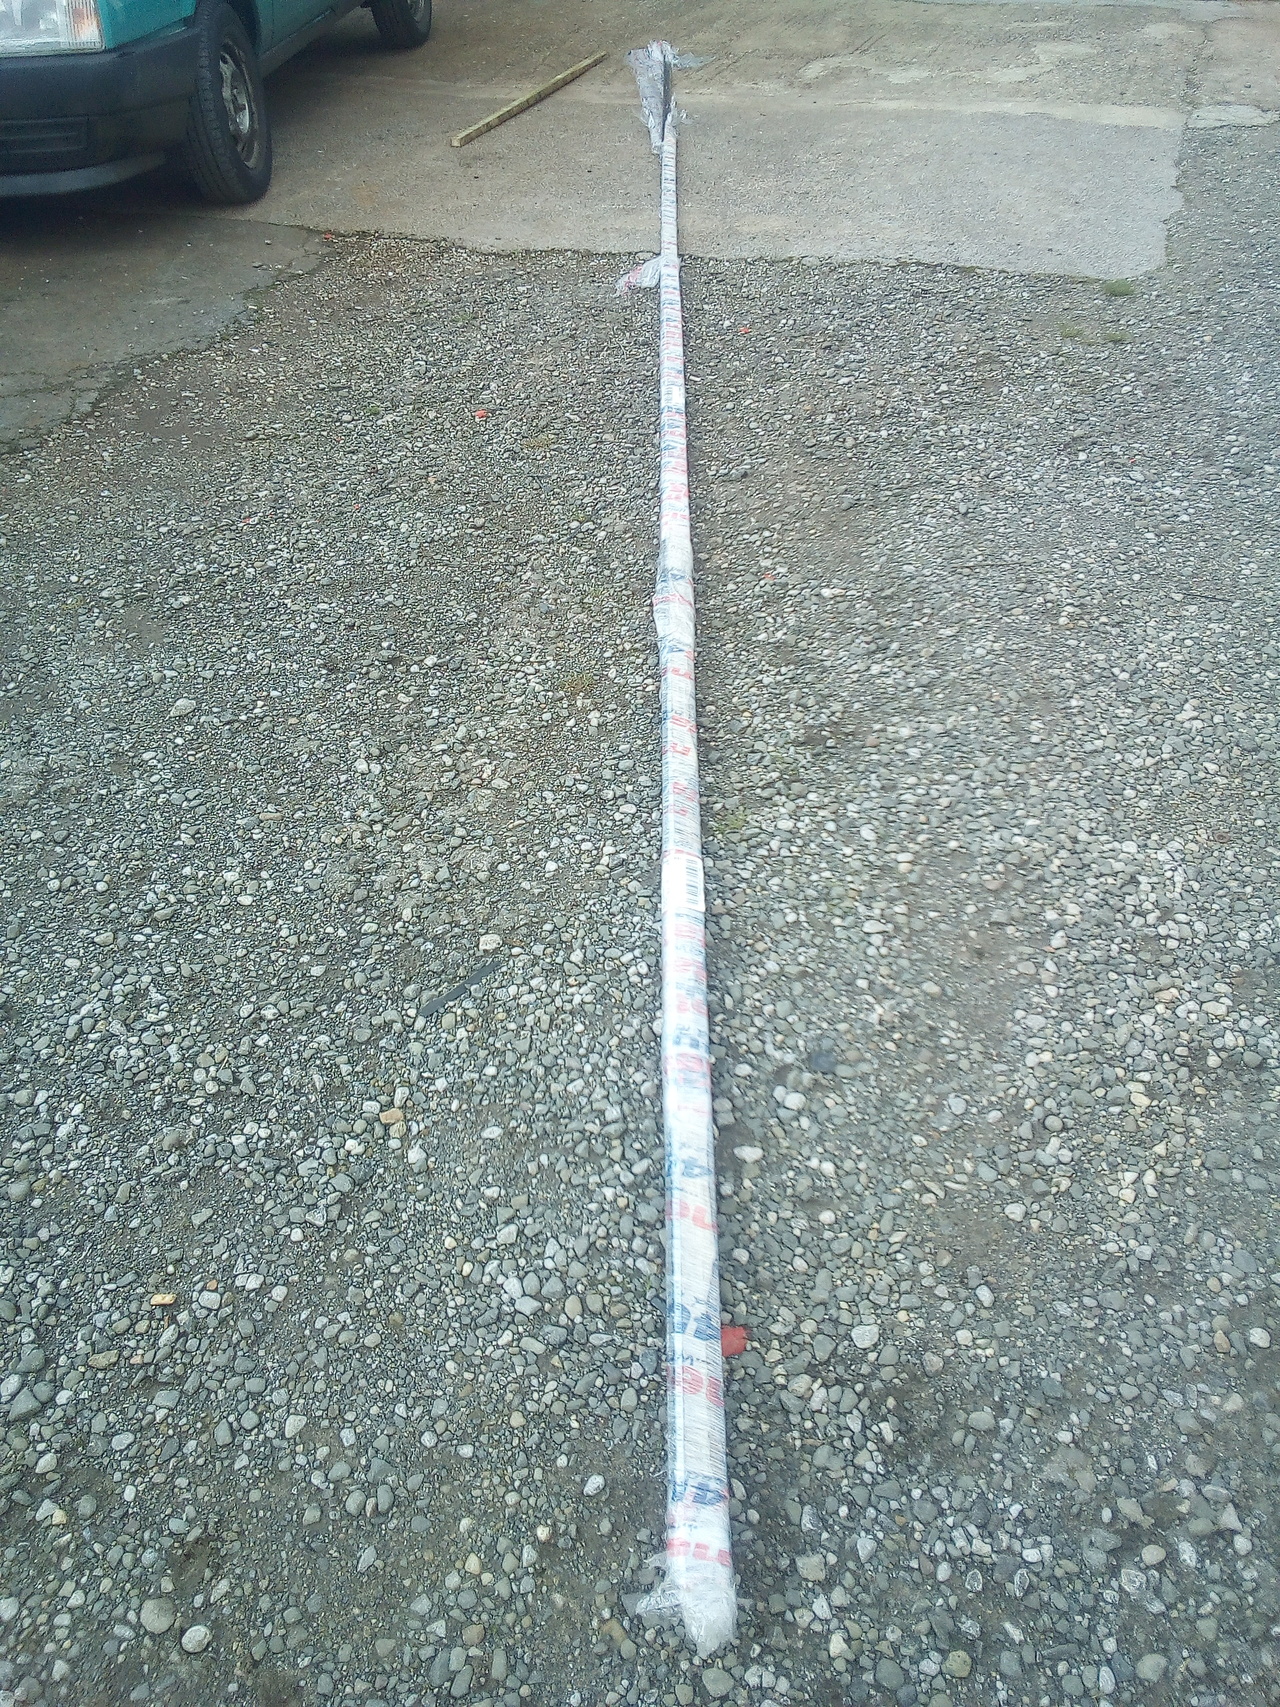
Somewhere in there is the engine removal cradle & stand, and maybe a few other bits and pieces.
Since the grinder and extension had gone walkabout, and I didn't bring mine, I couldn't start cutting the bits for the cradle; so instead I settled for disconnecting the last of the wiring, and then pulling the manifolds back off, yet again. This should be the last time before the engine rebuild, though.
Various folks' musings about bumping compression.
I've yet to seriously look into any options, until I crack it open and see what lies within. But, having seen the aforementioned grainy picture that shows the head having pint-pot sized combustion chambers, I suspect domed pistons would be the way to go on that front (I believe they're flat-topped as standard.), subject to limitations of "spark plug sticky-outed-ness" and whatnot.
It's all a bit "grand plan" at the moment, but light on the nitty gritty details until I start to measure things and work out just how screwed I am. :)
Speaking of nitty gritty details, I did finally manage to find what screw-thread is in the compressor's oil-pump relief valve and got new bolts for it. (They're 3-48 UNC.)
I also ordered that piston off ebay for the compressor and it's arrived, looks to be somewhat worse for sitting on a shelf for quite some time. There's some aluminium corrosion deposits on the piston itself, and all the rings have a surface rust. I think it'll clean up okay, though.
30 Oct 2019
Right, on with the shitshow!
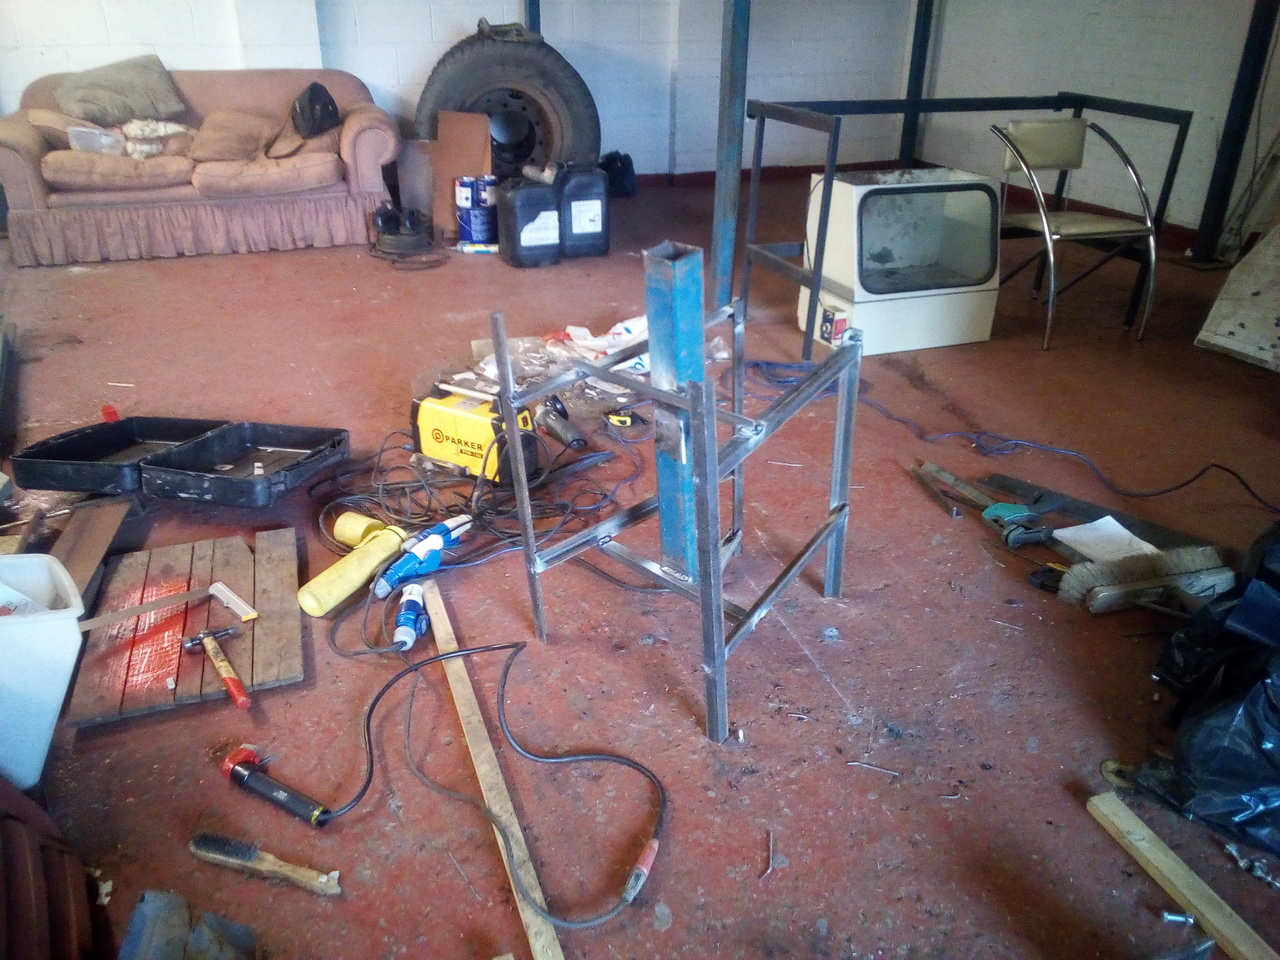
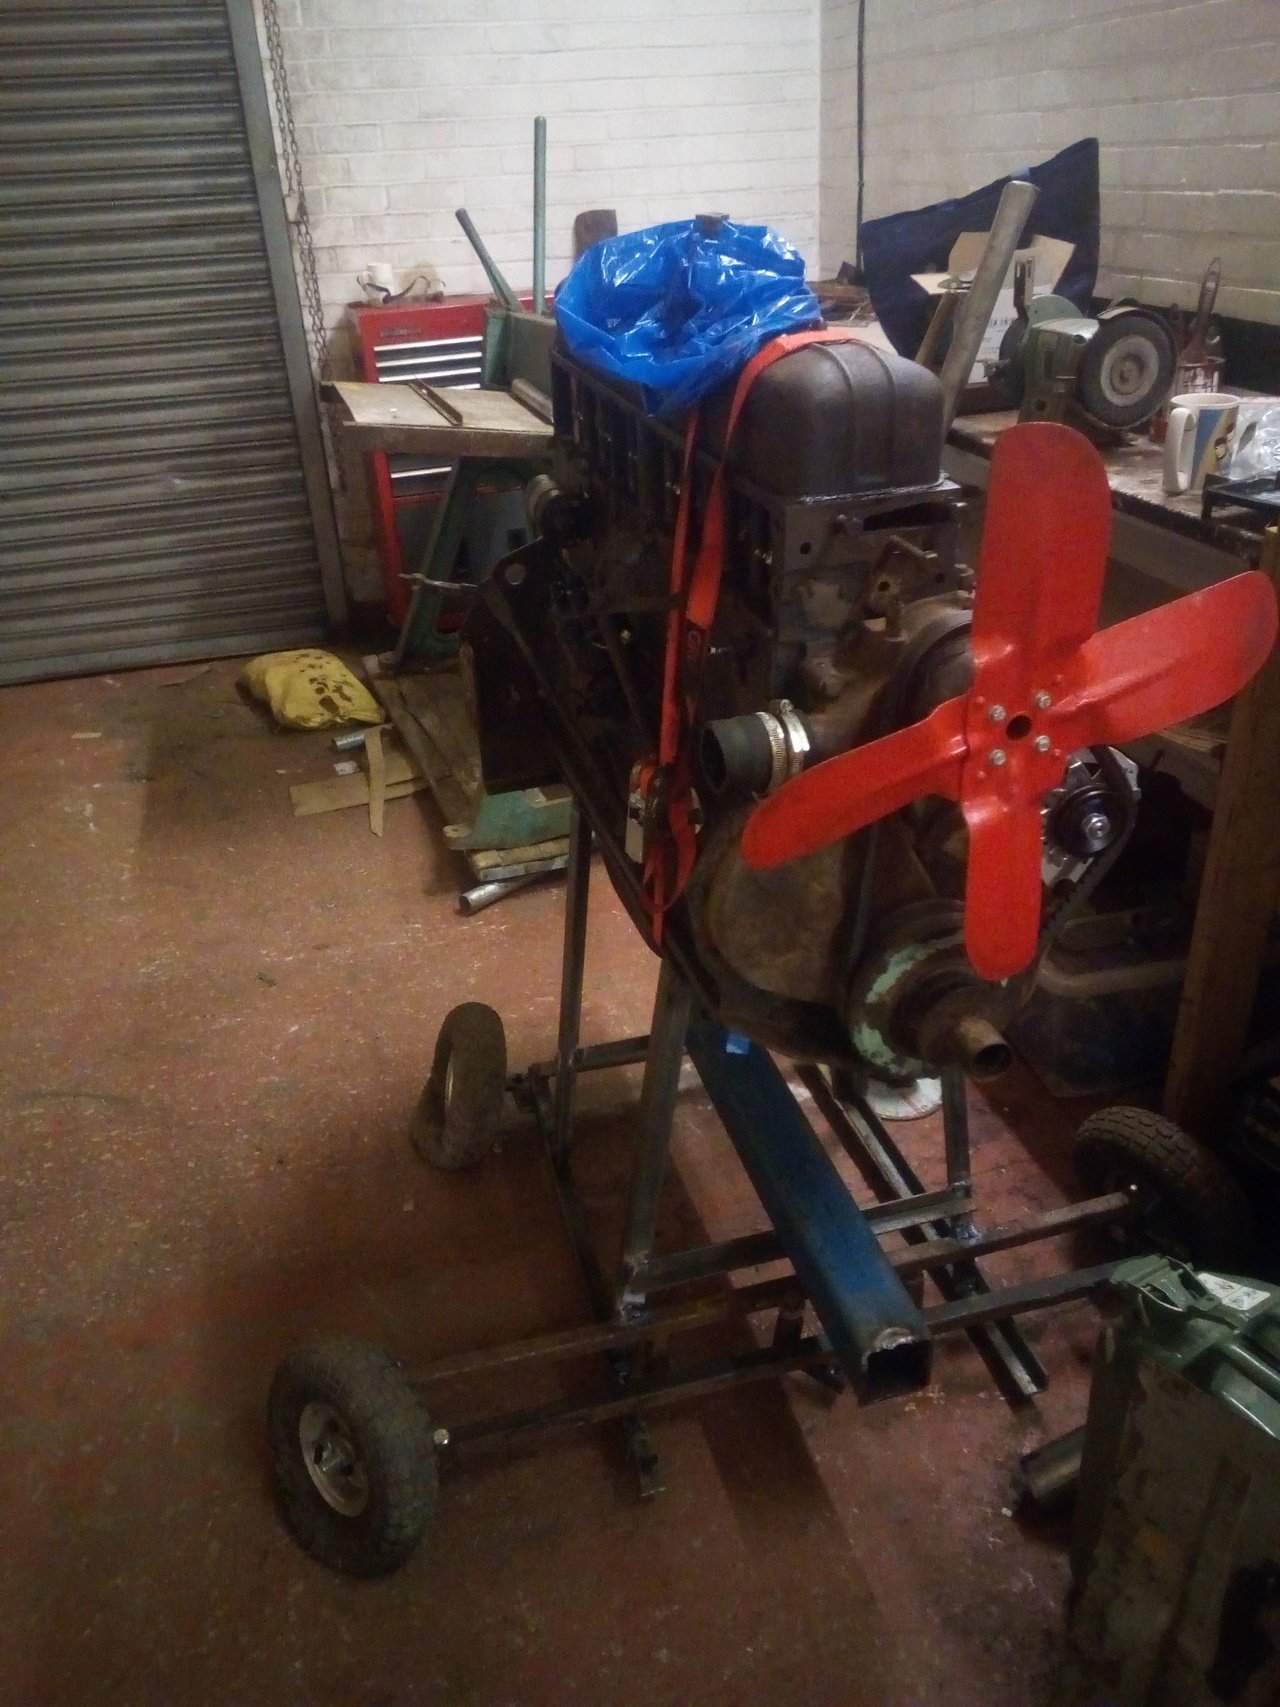
Having got the steel and now returning to the unit armed with a grinder and extension lead (Since the one that was in there had gone walkies.), I made a start on building the engine cradle.
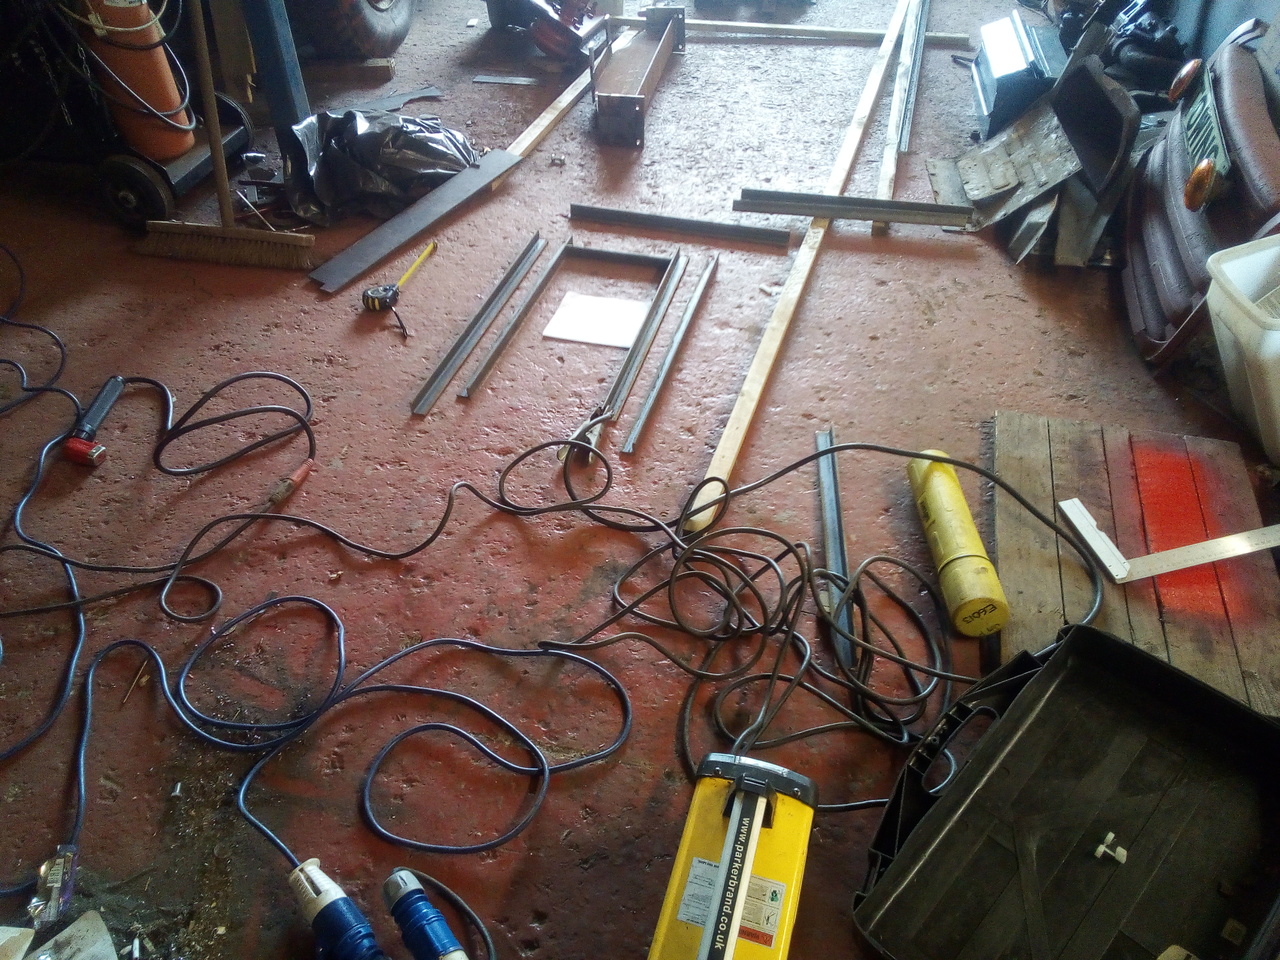
Getting there!
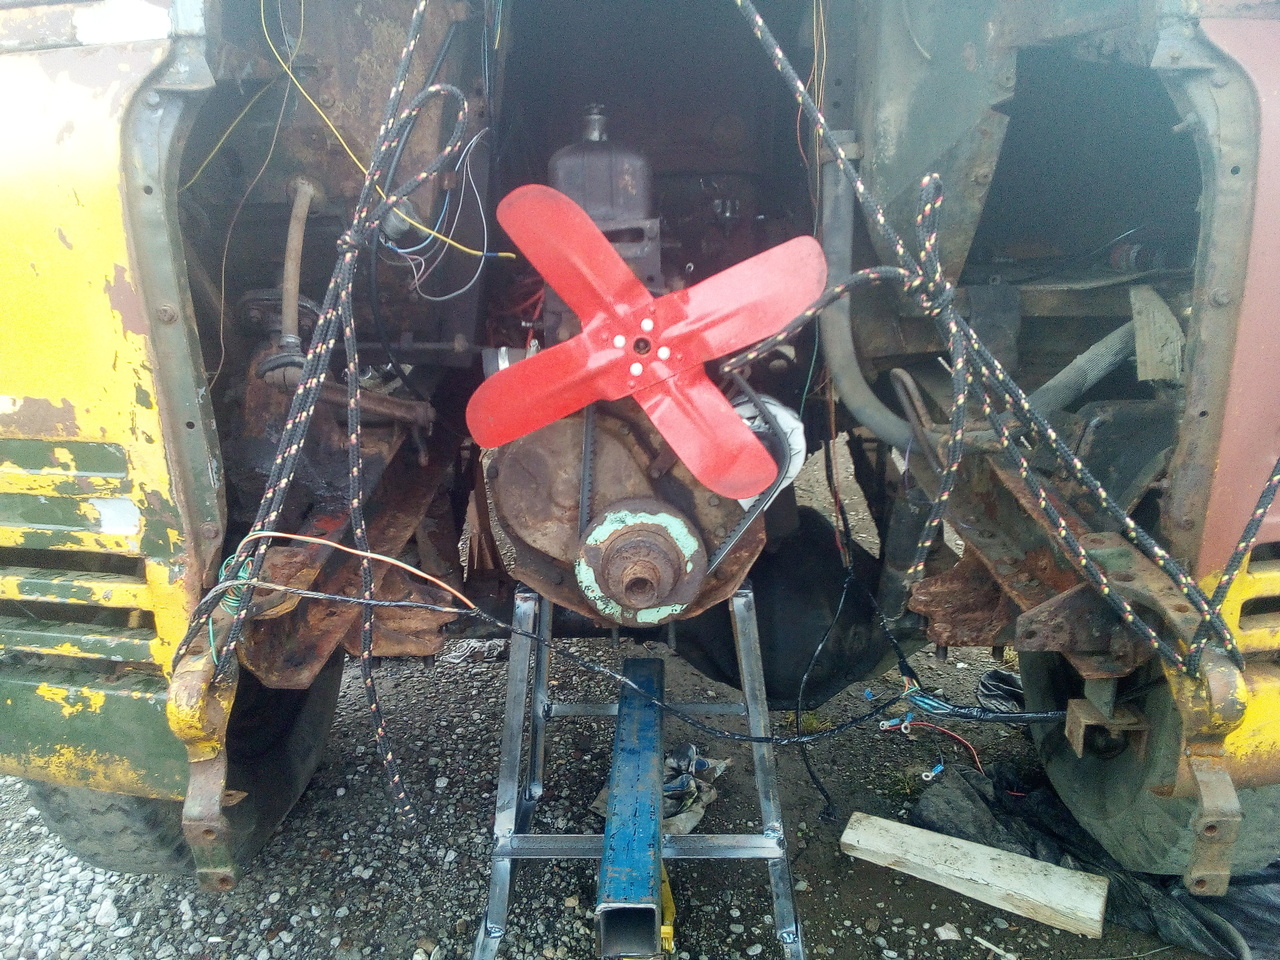
With the engine supported on the cradle, and the jack taking the weight, unbolt the front engine mount then the front crossmember.

Like so!
15:30
There would have been video, except I forgot to put the memory card back in my camera before I set out, so I didn't get any. In retrospect, I'm glad I didn't, because it was a shambles from beginning to end.
16:20
It was not going smoothly.
16:45
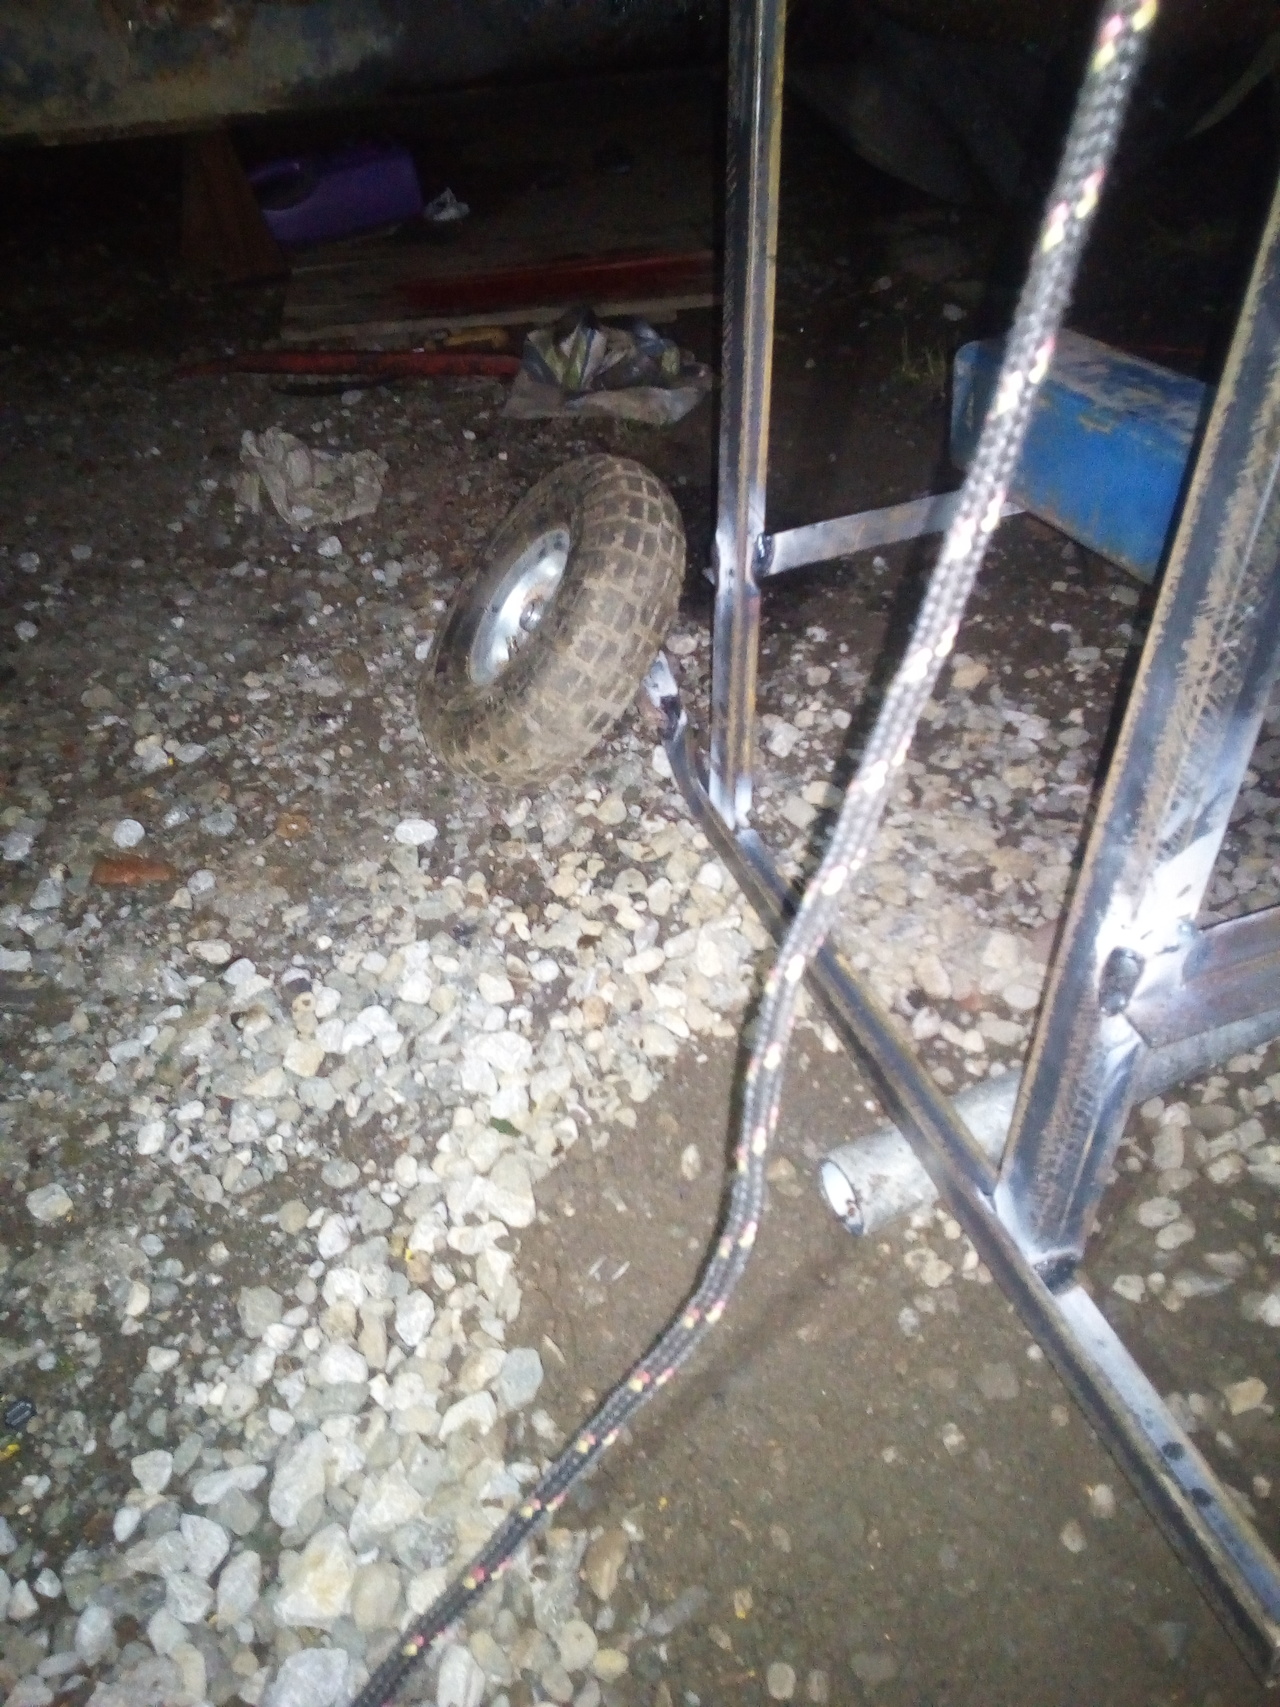
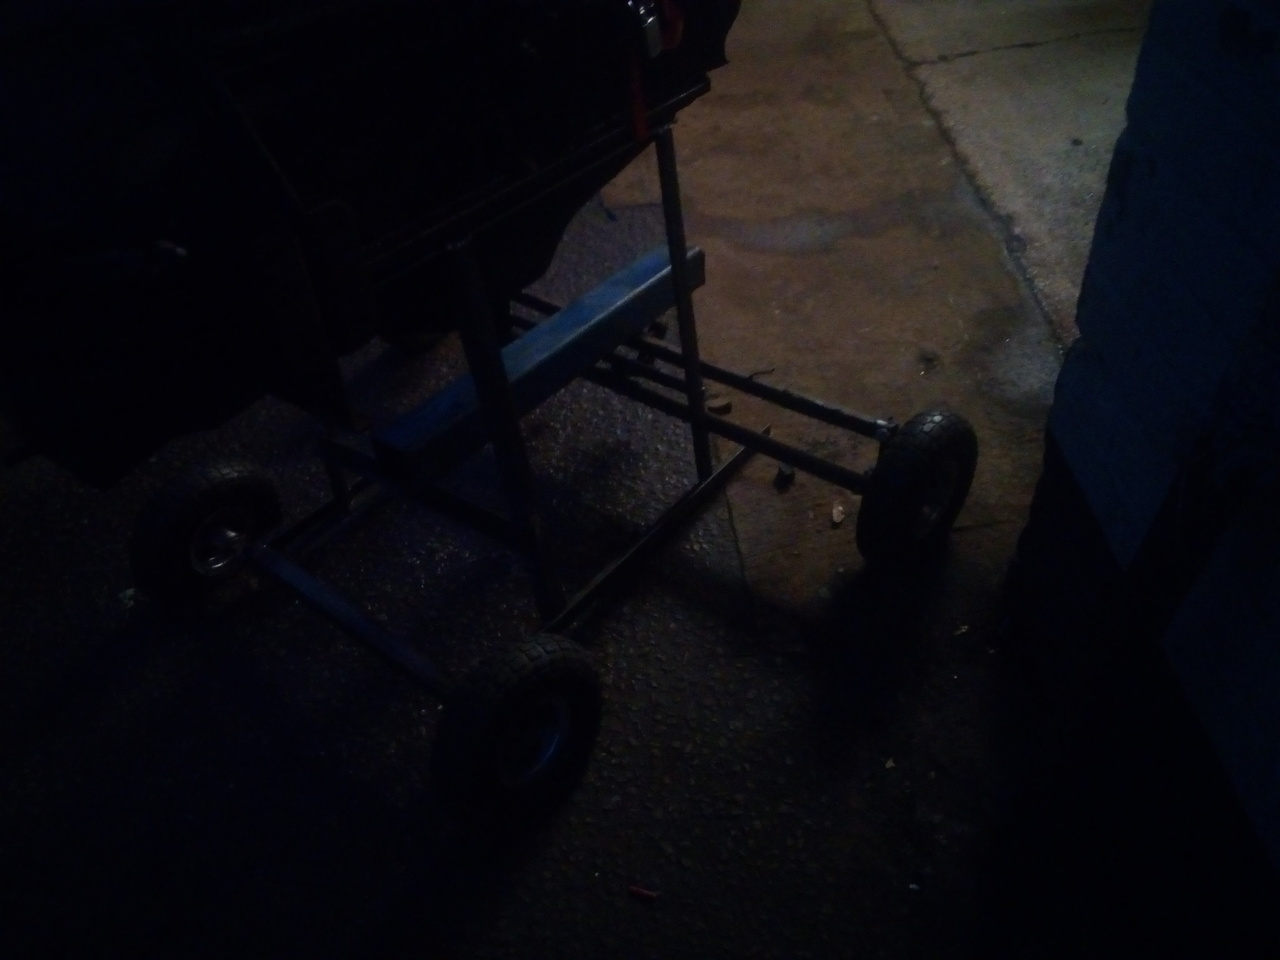
The jack, which was admittedly a bit undersized, even though it was well within its rated capacity, was sinking into the ground belly down. So, I scavenged some wheels off my generator cart for the rear of it, hoping that maybe I could use the stand a bit like a wheelbarrow.
Cue welding some 'spindles' onto the back.

17:20
Right, fine, be that way. Done on that for the night. Put some primer on the body-panel I'd cleaned and straightened, then went home.
31 Oct 2019
12:30
Video camera was set up, and I remembered the memory card this time. A plan was formulated, tea would be drunk. Repairs would be made, and the operation would continue.
12:45
Repairs commenced. The bent frame was straightened, and reinforcement added. More struggling ensued.
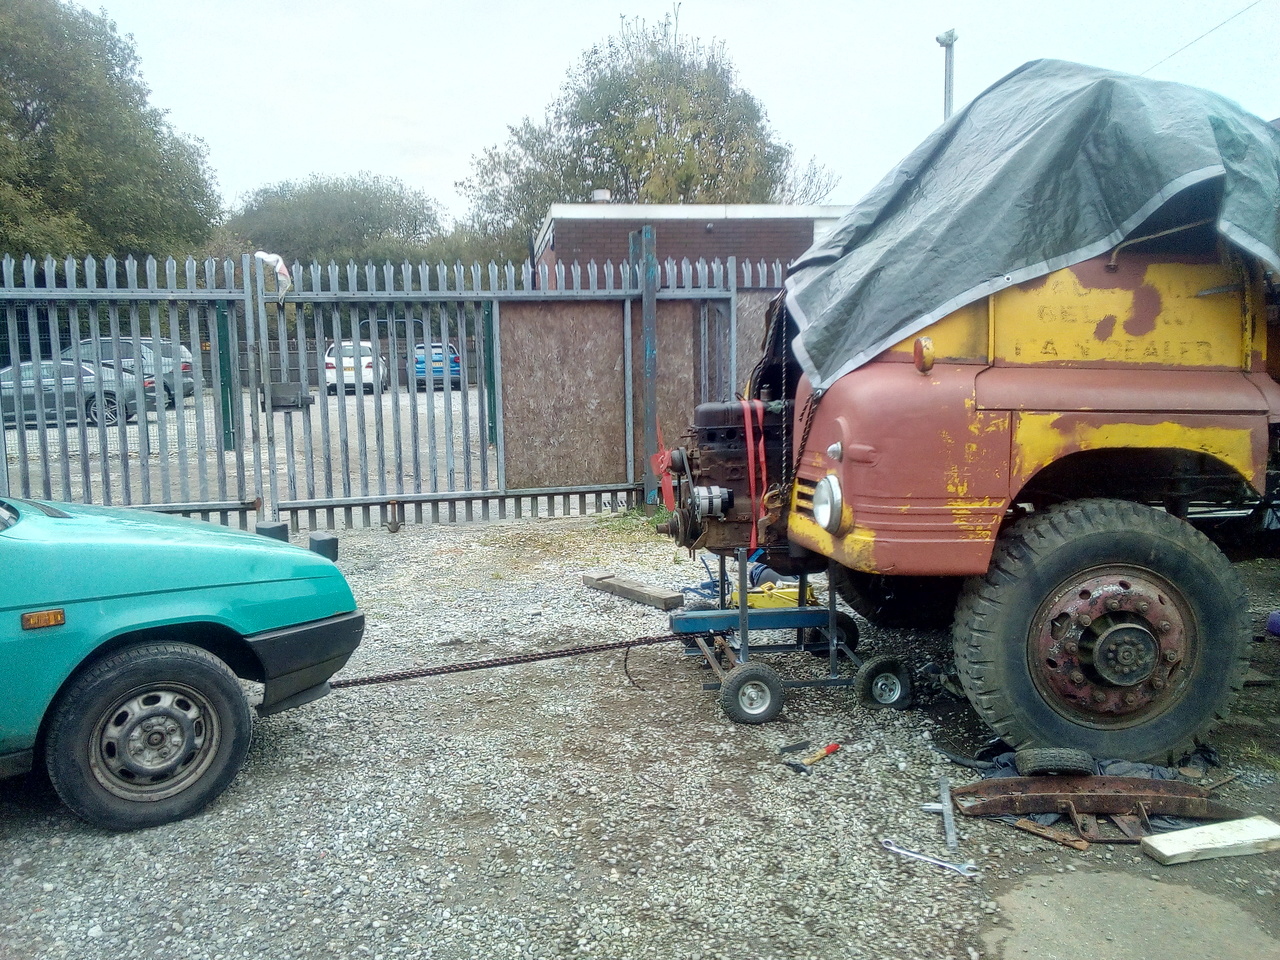
After fighting with trying to use the stand like a wheelbarrow, with a section of tubing wedged into the lifting beam (that blue box section) and trying to lift then pull for a couple of hours; which is remarkably difficult, it's a heavy old lump and not a favourable lifting position.
At... some point in proceedings, I dug out the other little piece, which has some rudimentary steering on it (...along with backwards Ackerman, like the one on my generator kart. At least I'm not the only one who made that mistake.) and welded it on.
That did not make it any easier to pull. Two flat tyres, uneven ground, and it having sunk into its own ruts was seeing to that.
And so, the bad ideas started happening.
15:00
15:20
Little by little...
15:30
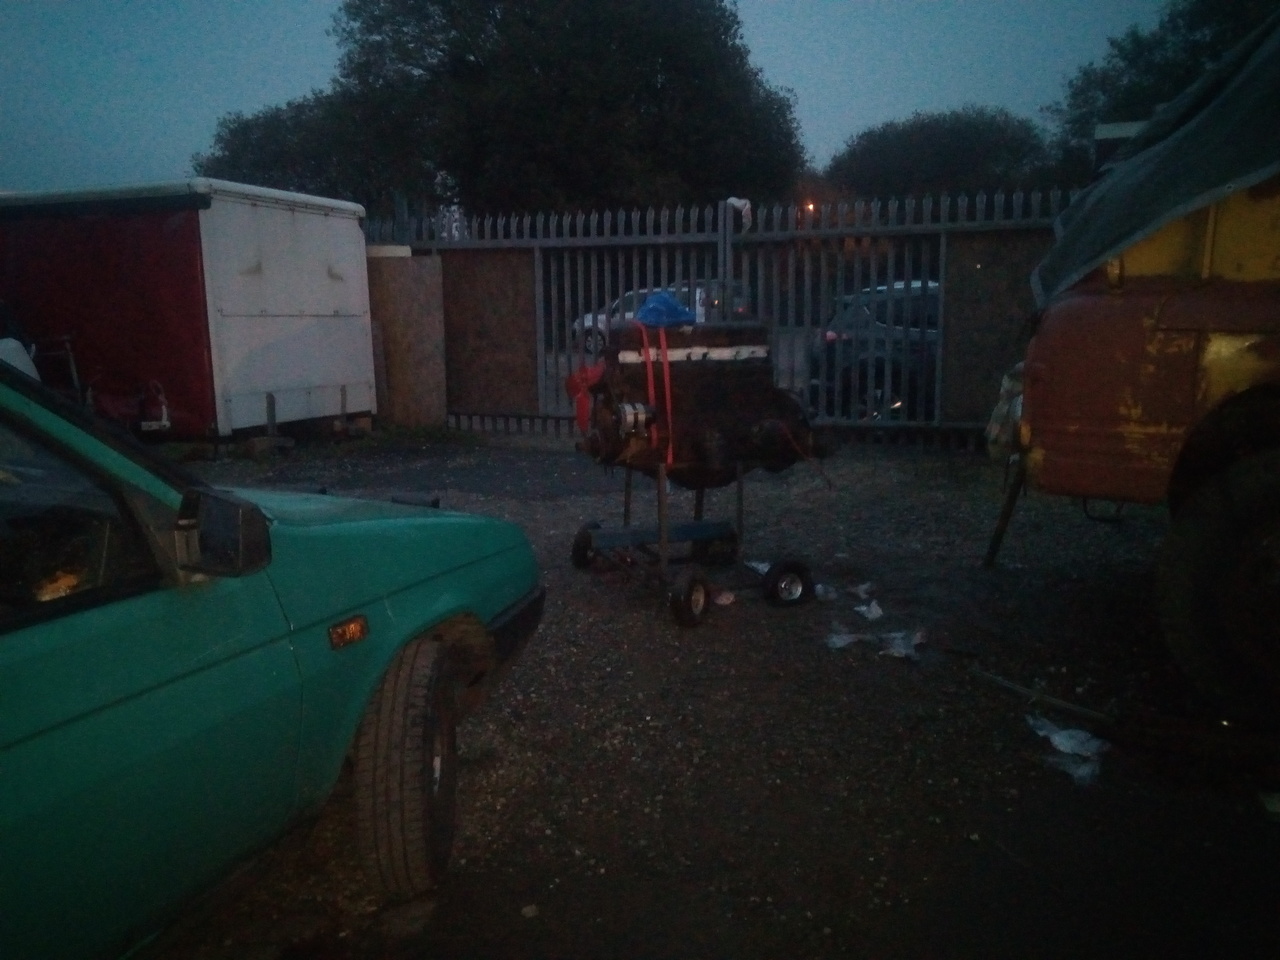
Until I was eventually left with:
17:00
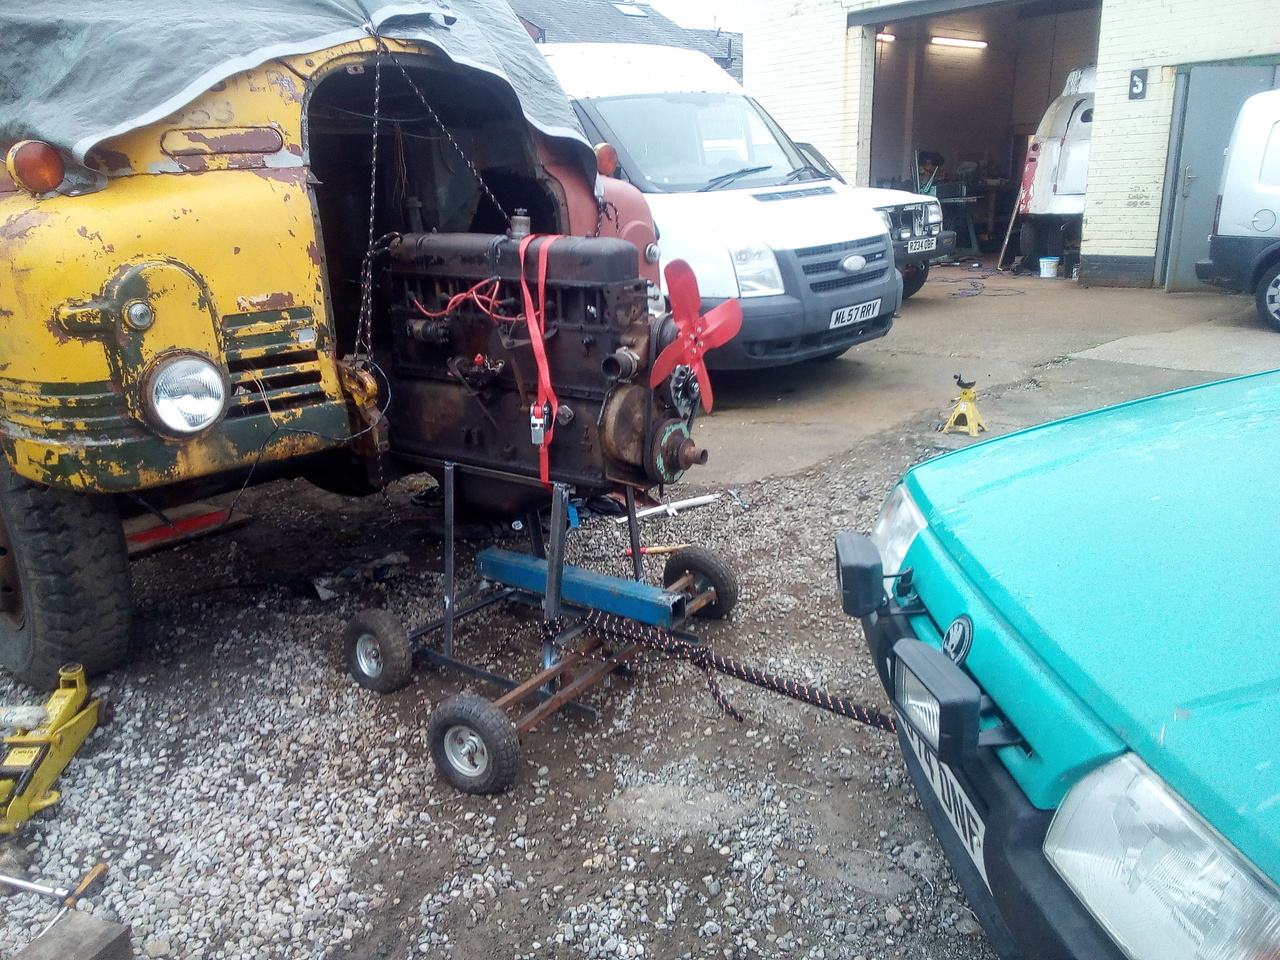
Little by little, inch the engine towards the workshop, barring it along.
... until ...
Well, bumhats. My hasty, upside-down welds broke!
Re-welded that, then one of the other people I was sharing the unit with turned up, and helped me scoot it the rest of the way into the workshop.
Absolutely shattered, but at least I managed to achieve what I wanted to get done. Pretty sure I'm going to be one giant bruise in the morning, judging by the way my muscles are screaming at me.
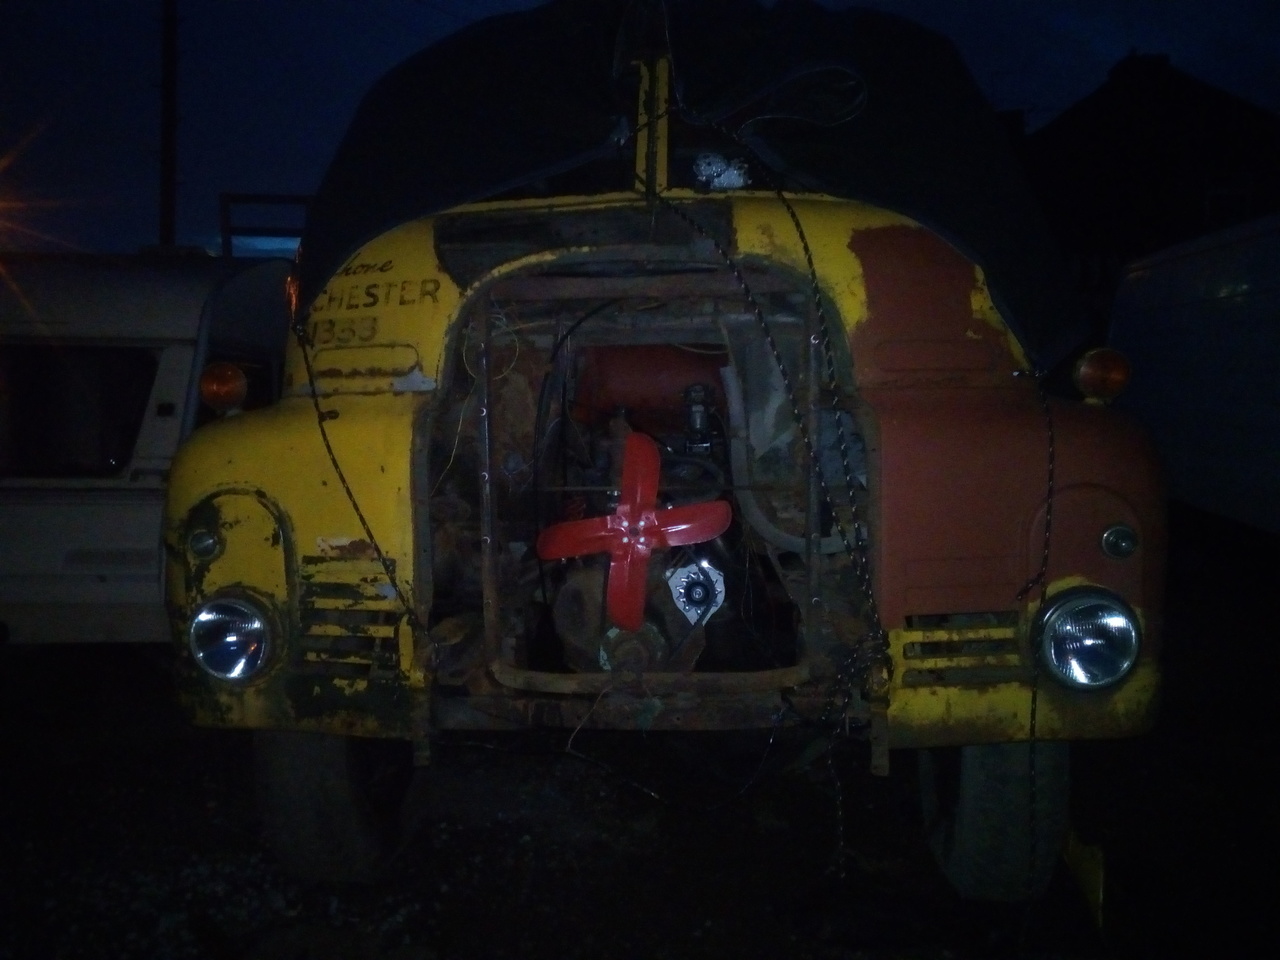
peteh1969 said: God it looks a small engine for such a big truck
Sweetpea said: Dont tell him that, it nearly killed him getting it out!
Rich said: It is and isn't. It is a bit deceptively small looking in the pics, they are not tiny motors by a ny shot, but they aren't huge either. That said the RL, while not exactly a racing machine, is quite a pleasant old bus to drive, especially when you compare them to the likes of the QL, these are practically modern cars!
🤣