Friday
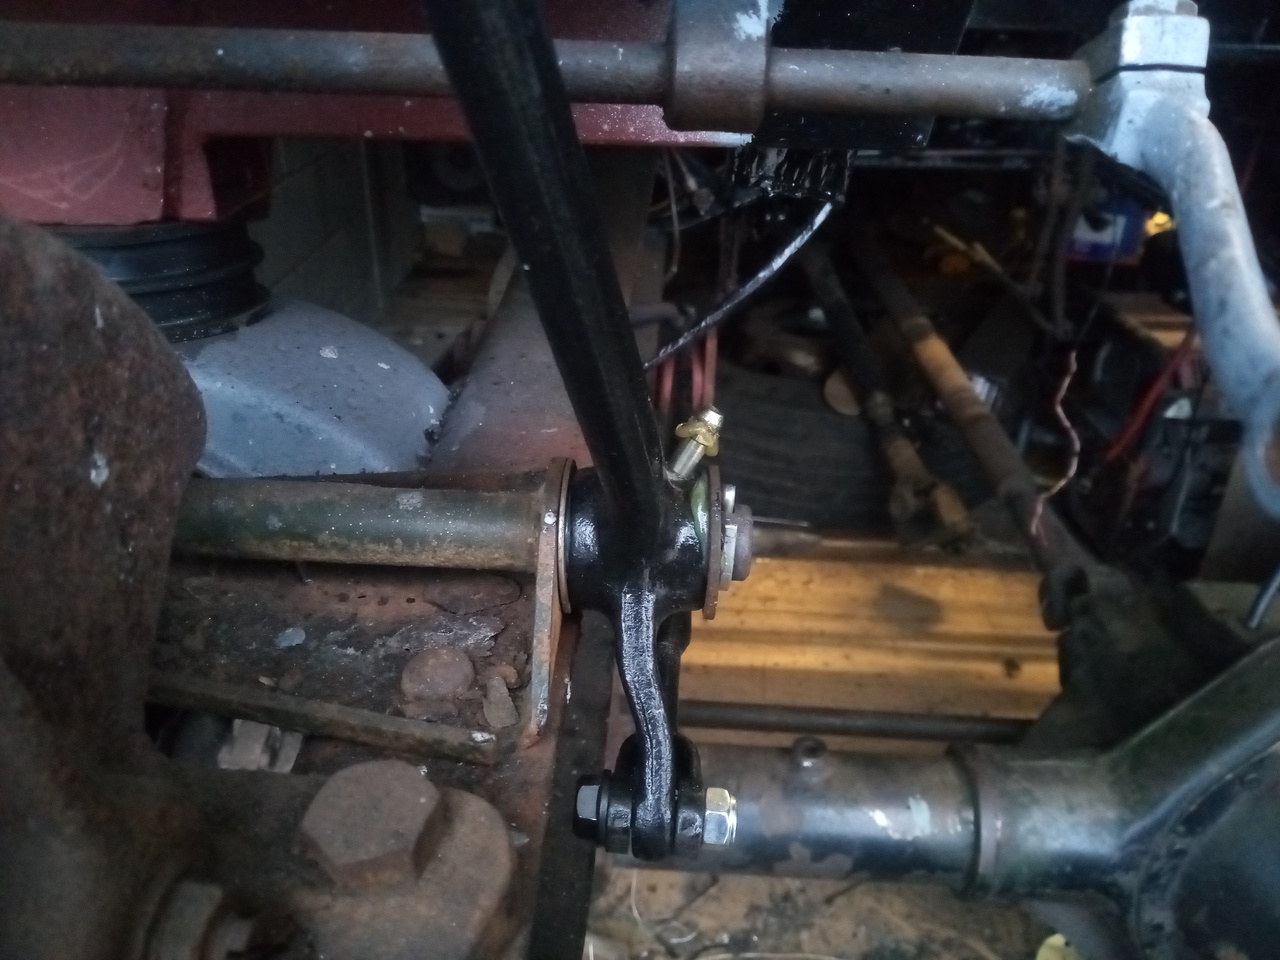
Pedals drilled and tapped for grease nipples, at the pivot shaft. The brake pedal appears to have some sort of fibrous bushing in it, but the clutch pedal is just the plain cast-iron bore on the shaft. There are oil-holes drilled into the pedals already -- I just reused those existing oil-holes but drilled them out to take a 1/4UNF grease nipple -- but they were packed solid with grot.
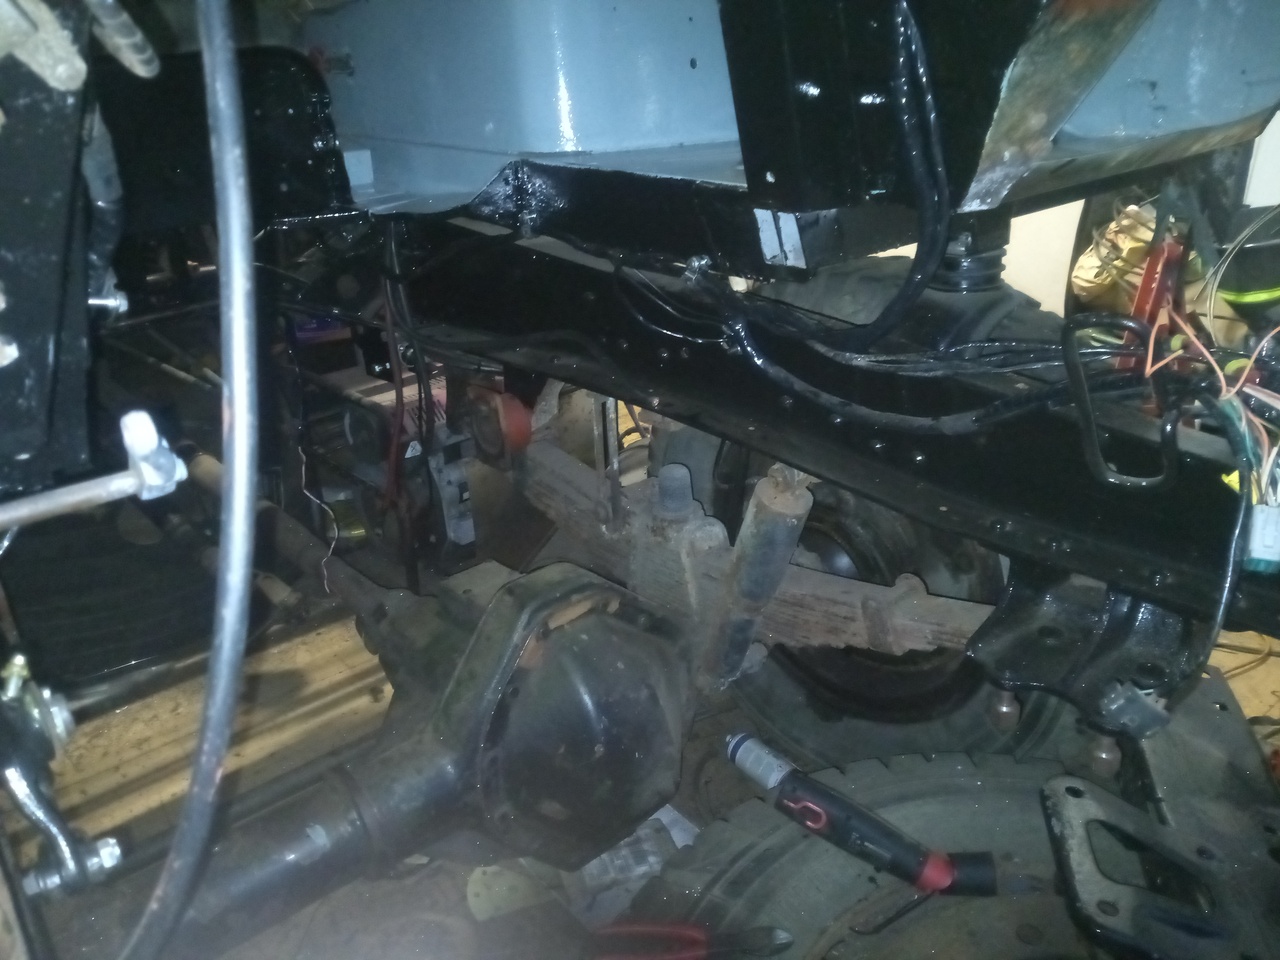
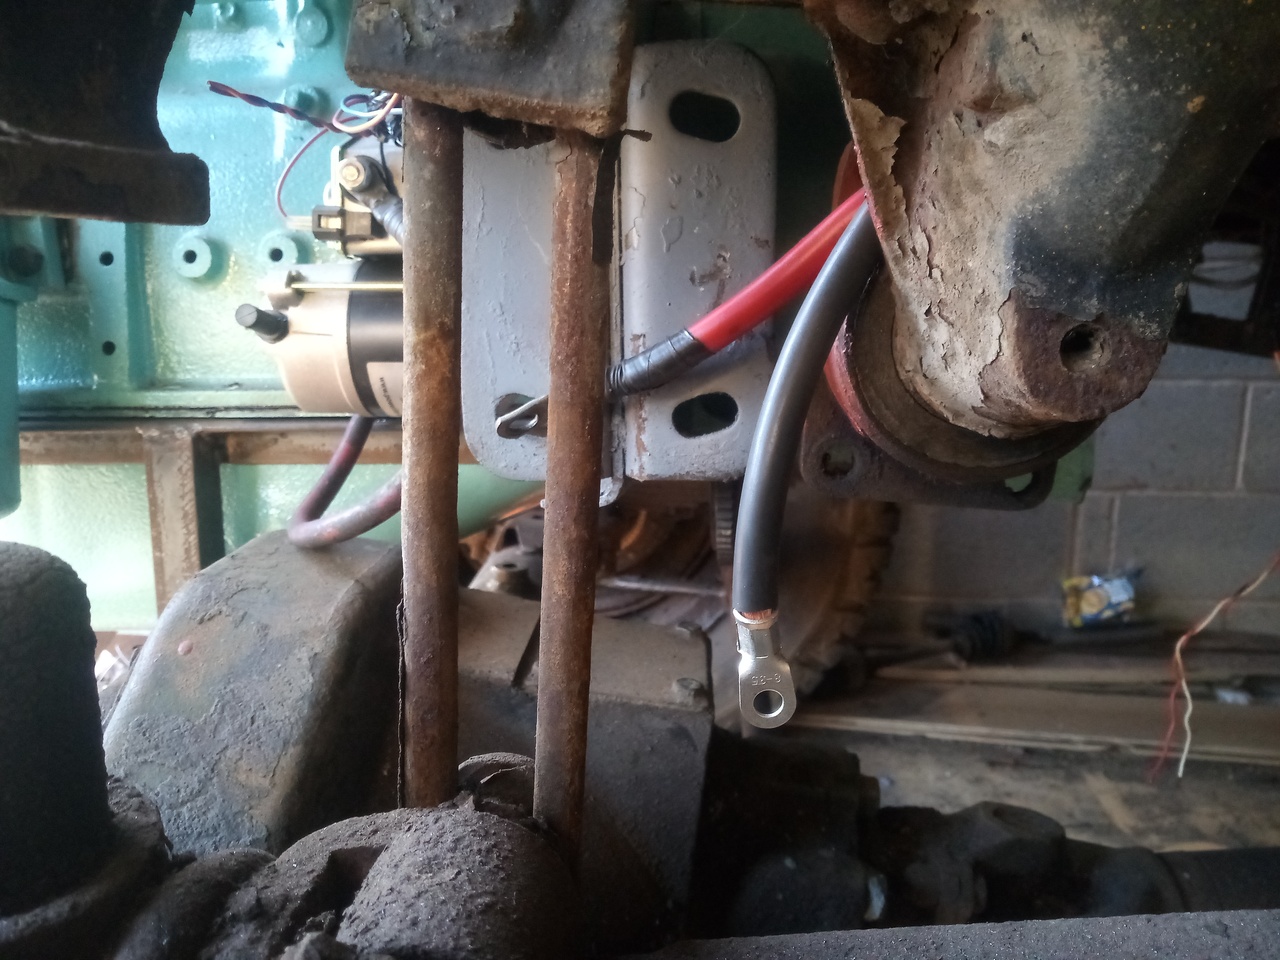
Then there was just some ends to put on ground cables (N/S Chassis ground to main ground lug; Engine ground to main ground lug.) and ran an Anderson socket out to the N/S, too, underneath the spare wheel carrier; makes it a little more convenient to put a charger on, what with there being a door and a battery-box lid in the way now. Also useful for jumpstarting stuff, too.
Saturday
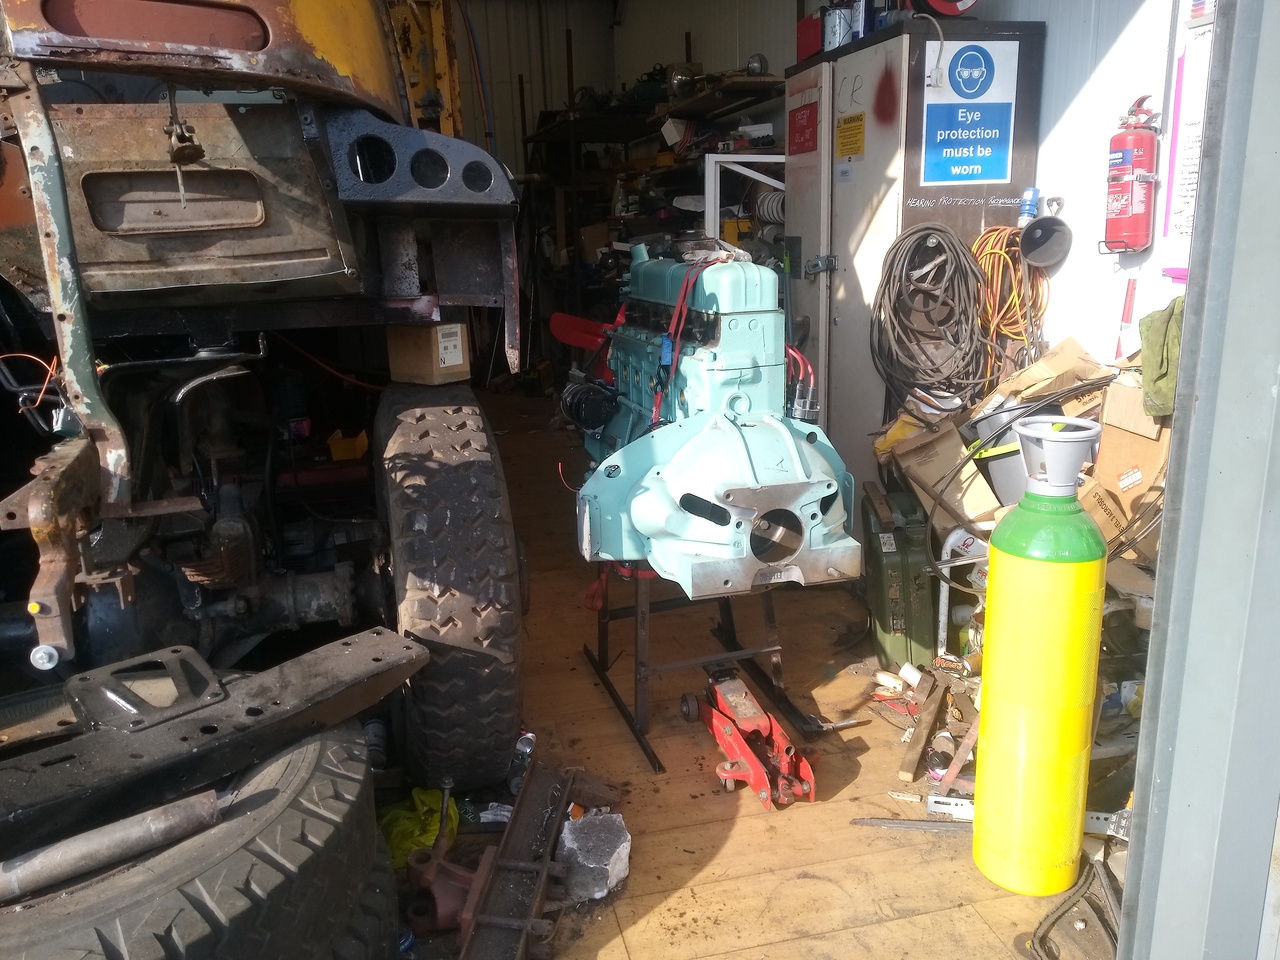
Big tidy-up. Moved a load of wheels out of the way, packed tools up so I could close the locker I was using as a table, generally shuffled stuff about and swept up; all to make a clear path for the main event:

... dragging a very heavy engine around the workshop.
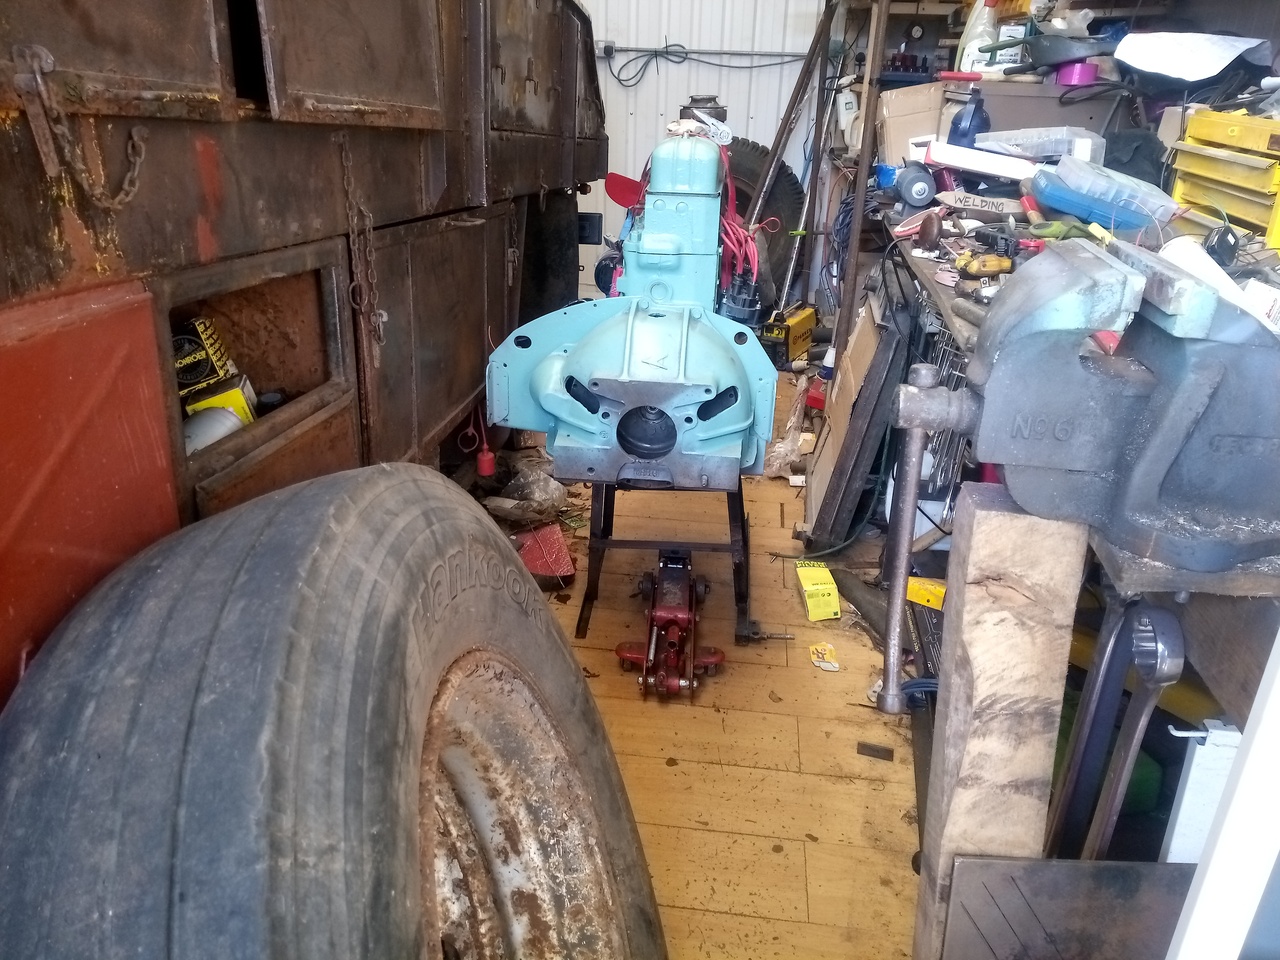
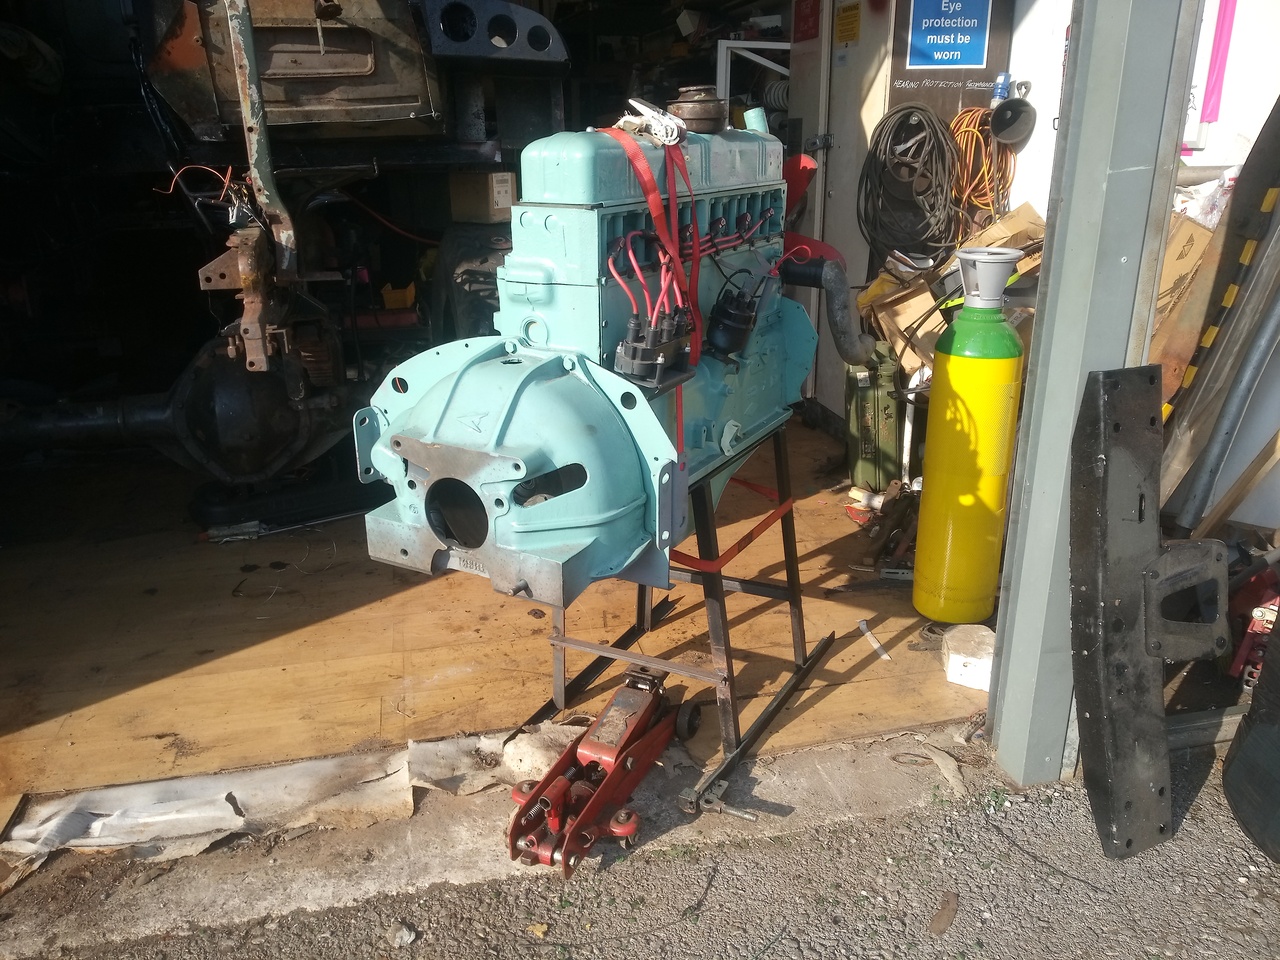
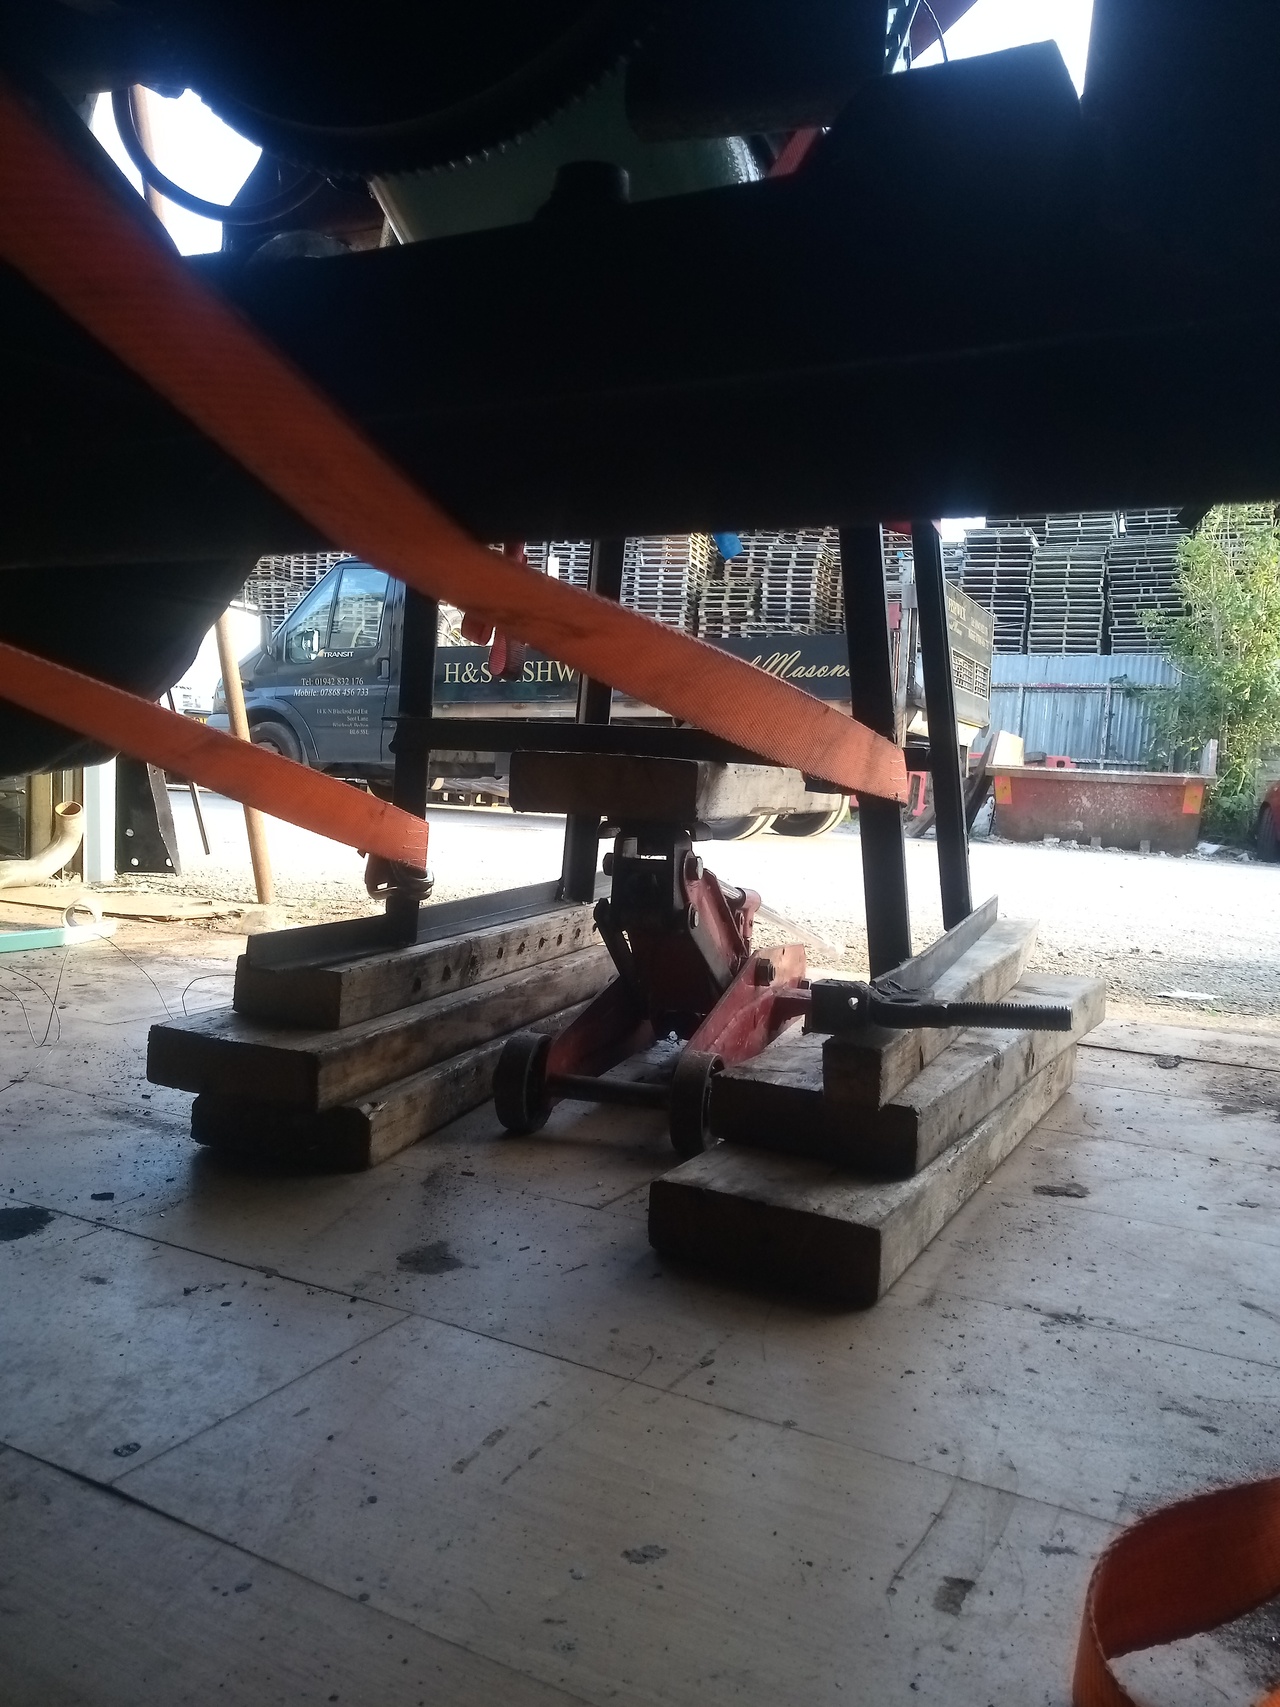
This was the most nerve-wracking part, taking the turn with the off-camber out into the yard.
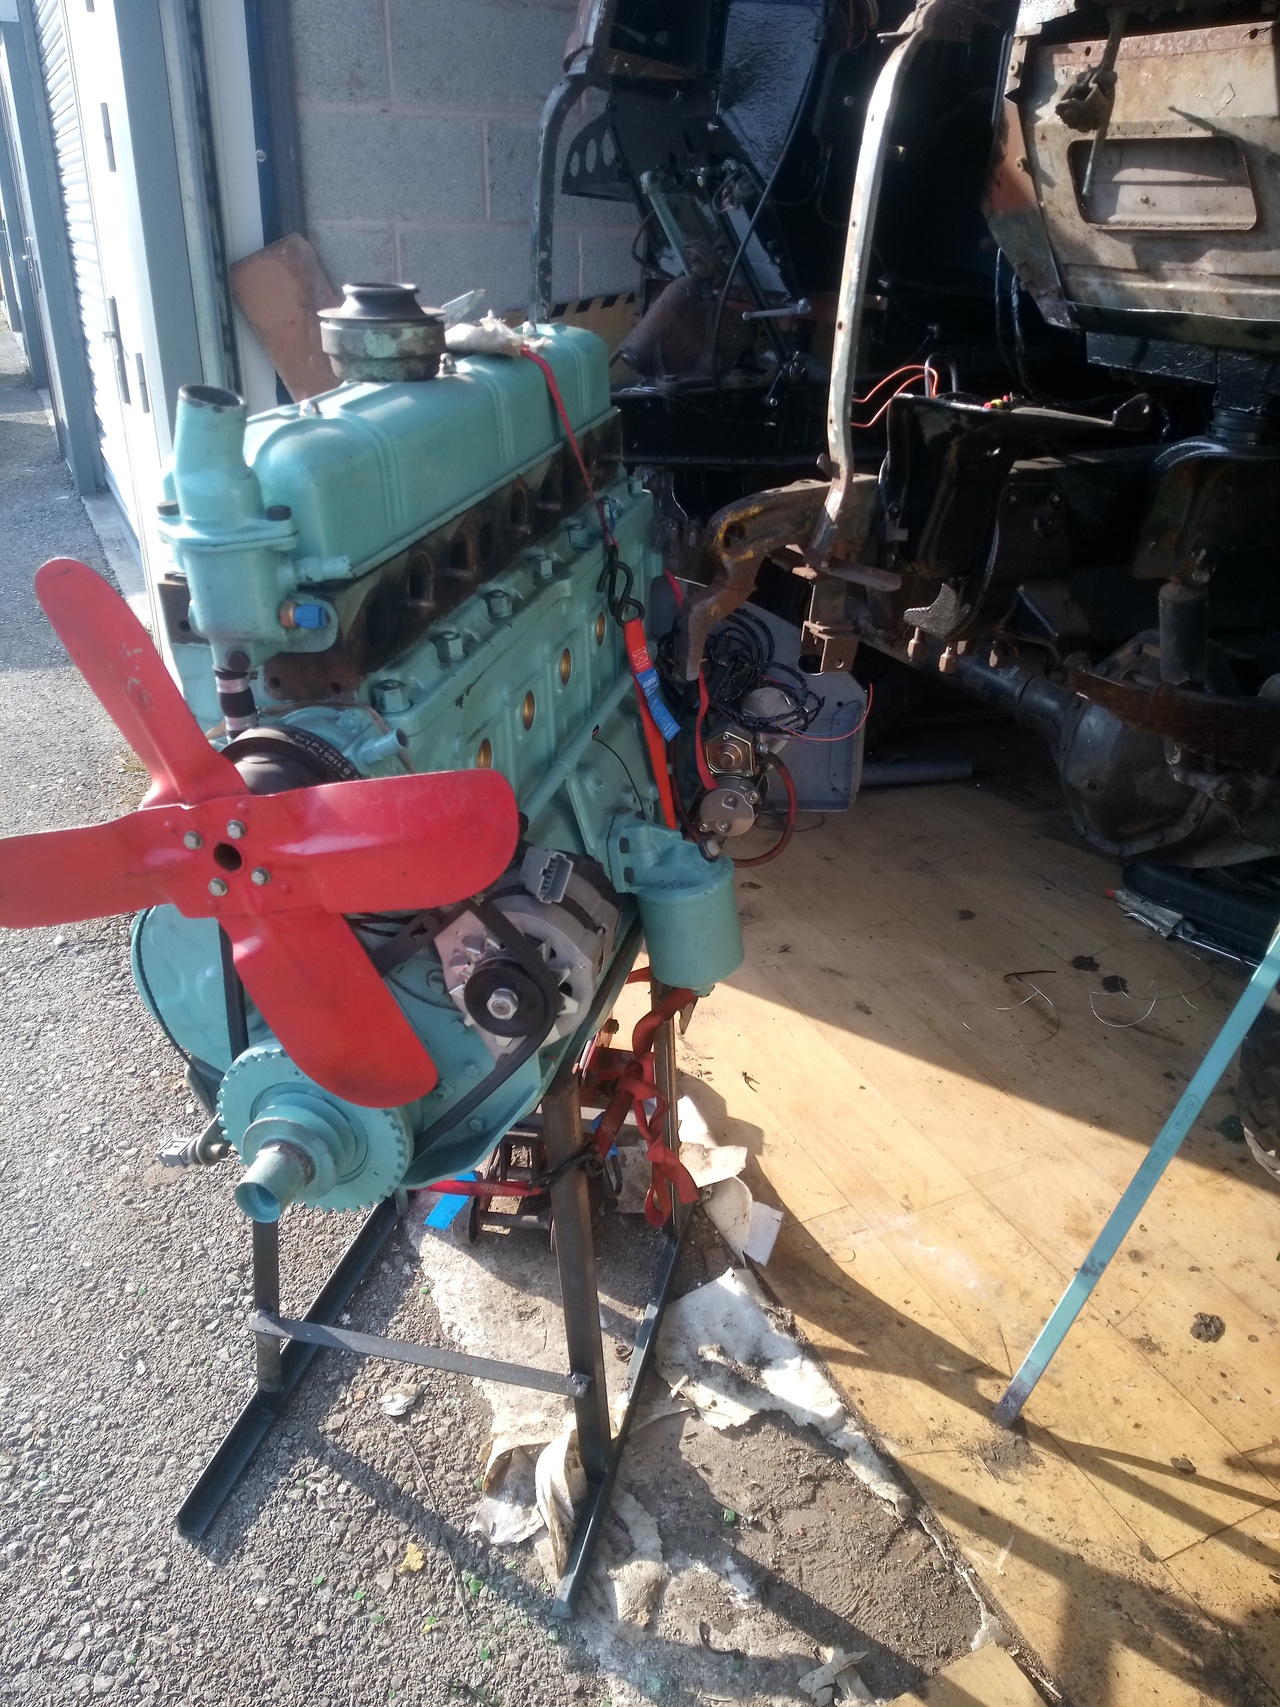
An hour passed between this pic and the previous. That's how frustratingly slow-going things were, at this point.
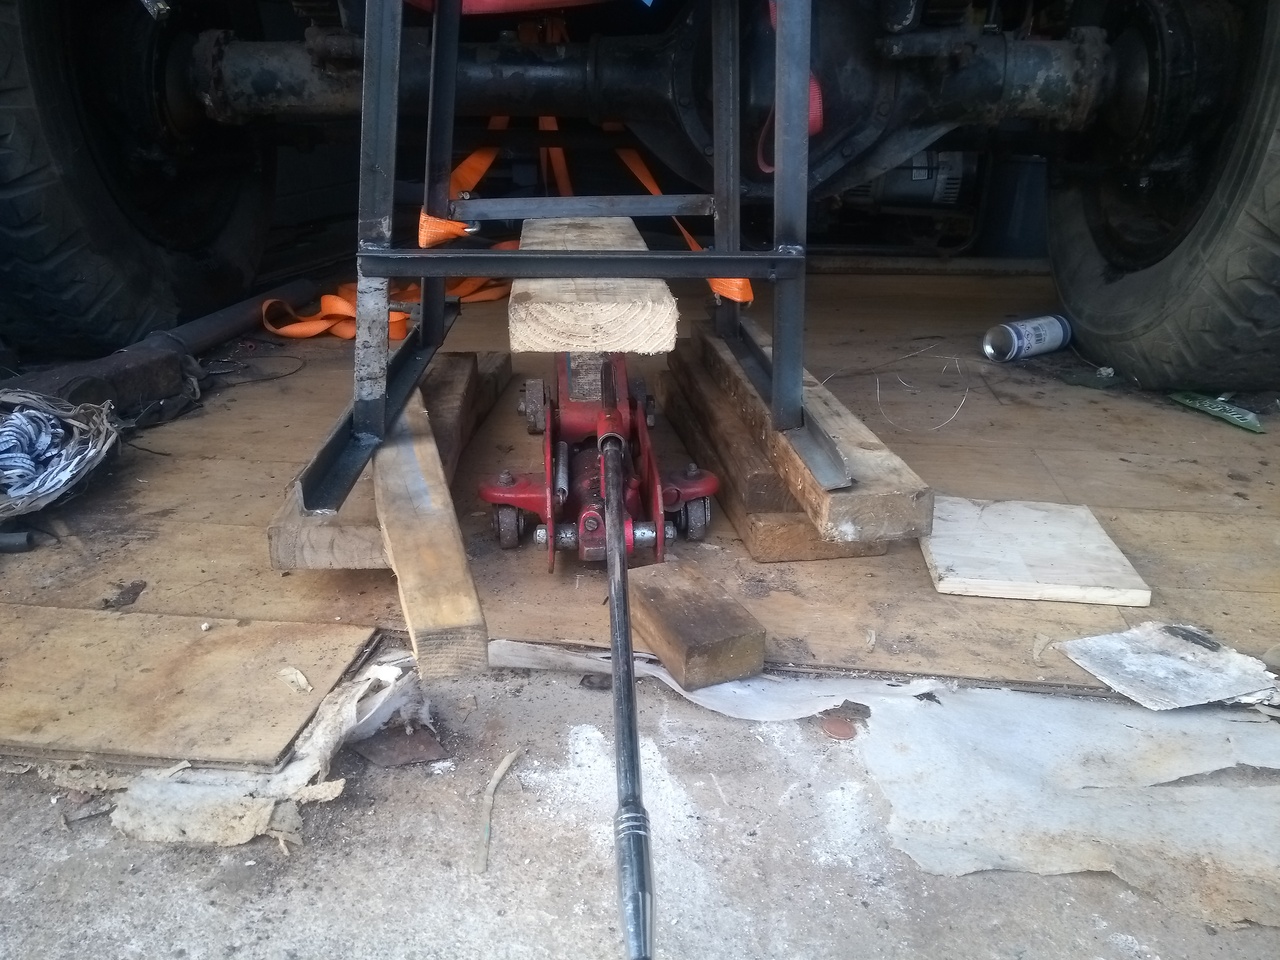
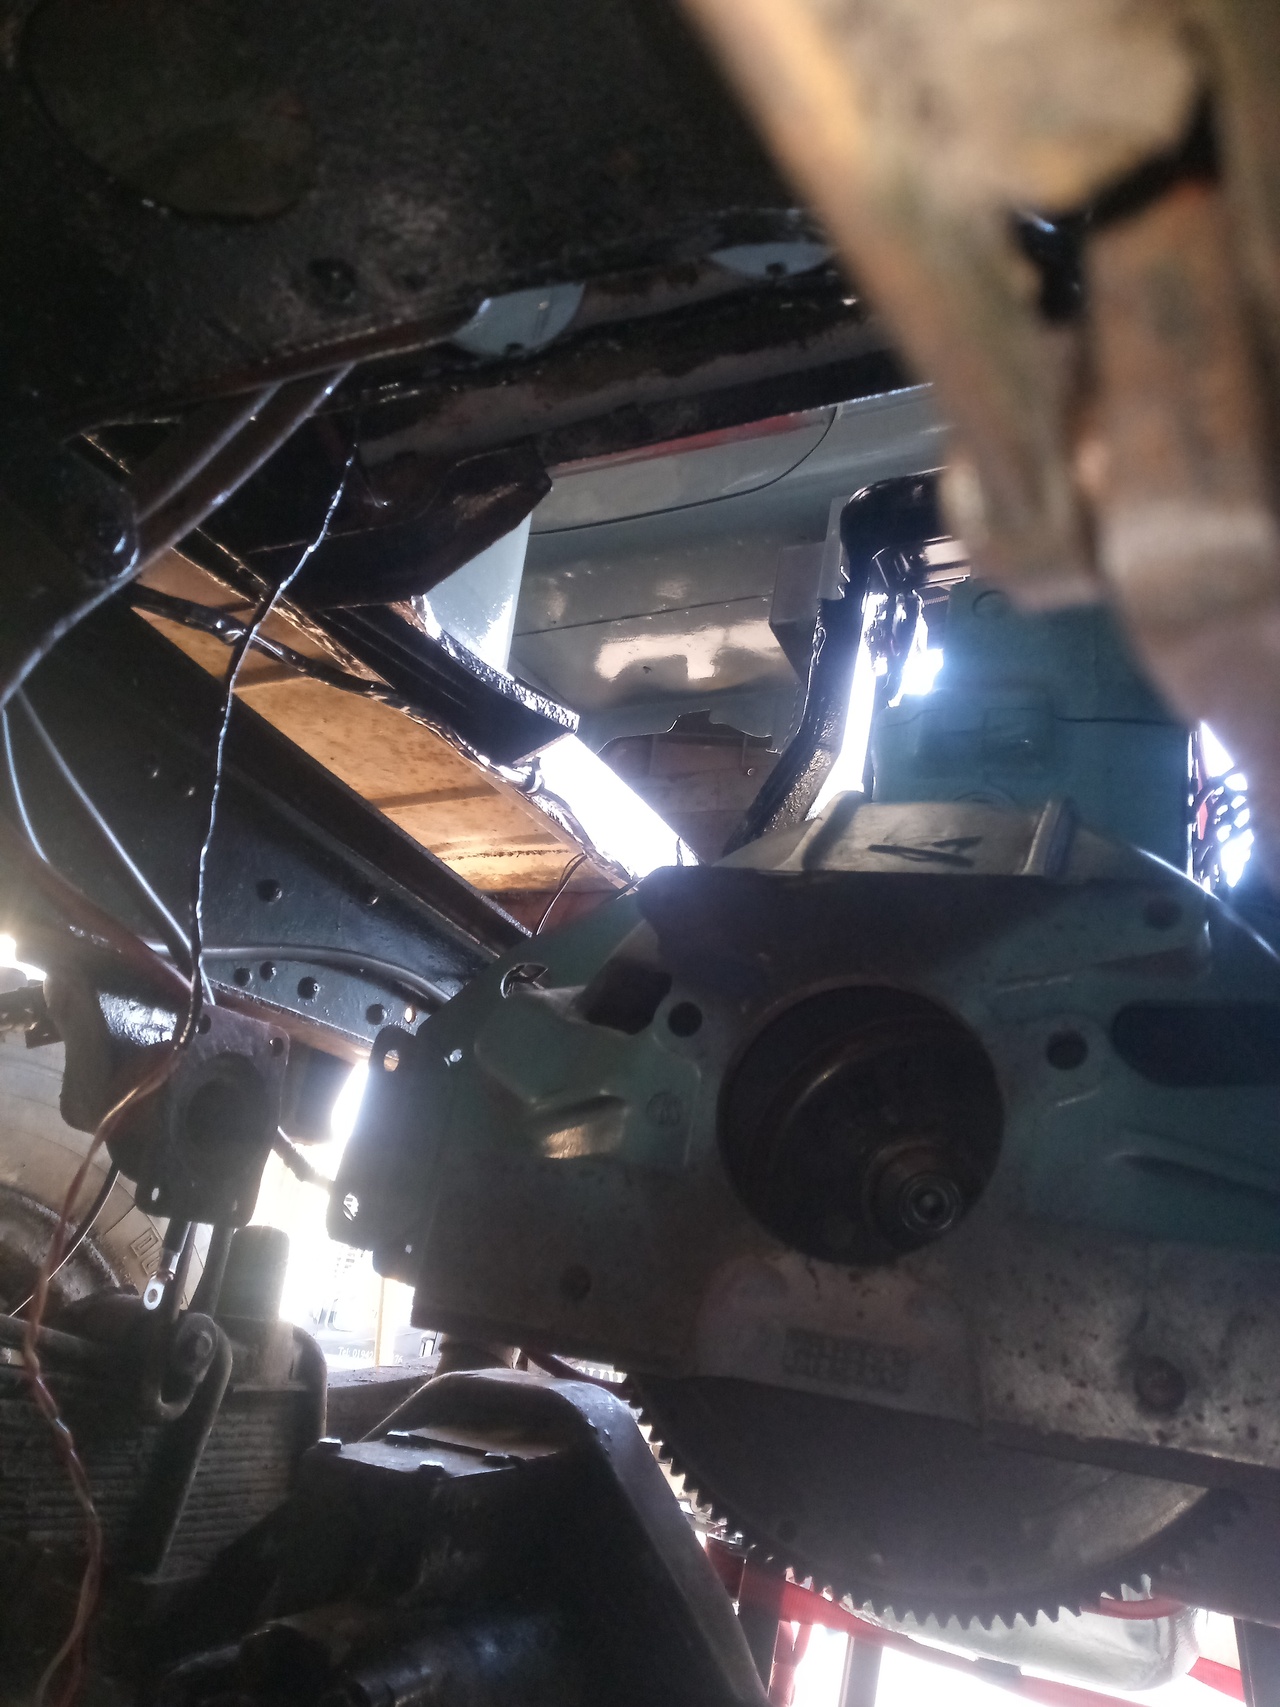
I got the back end of the engine fed into the engine bay, and slowly scooted back... then the bellhousing hit the front diff. Apparently my second build of the stand was somehow ... shorter? I suppose that means there's room to add casters if I decide I need to keep it around.
Once the bellhousing hit the diff, things started to get really sketchy. ... like, really sketchy. Jack the whole stand up on the trolley jack until I could push a board under one side; jack it up a bit further until I could push a board under the other side. Repeat until it was sitting high up enough that the engine cleared the bellhousing.
Shove, bar, and drag with ratchet-straps until things start to line up. Occasionally bench-pressing the bellhousing upwards a little bit to line boltholes up enough to get bolts through.
So close!
(Again, an hour had passed between this picture and the previous one.)
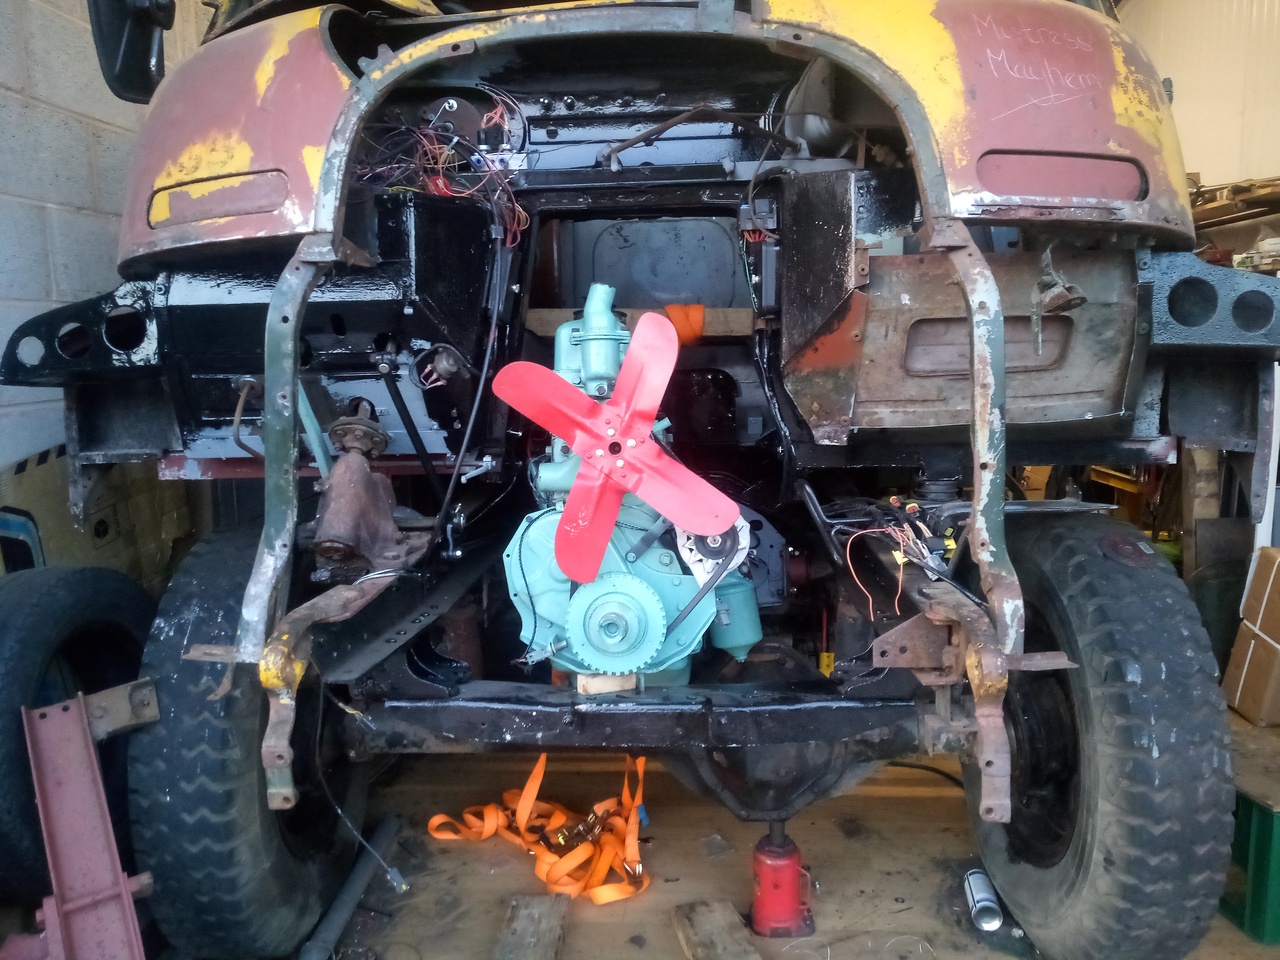
At this point, the rear mounts have all their bolts in (though not tightened yet), and the front crossmember is supporting the weight of the engine; though I still need to dig up the bolts that hold the front mount in. Hence the little block of wood under the front of the engine.
But, this is a major milestone. I set myself the deadline of having the engine in by the start of September; well, it's the start of September, and the engine is in.
Still need to think about what to prioritise for next steps, but it's going to include getting the engine mounted solidly, putting the clutch in, sorting the exhaust headers that I didn't think about before building, so on and so forth.
Anyway, it's late enough that it's early, I'm going to go sleep. Today has taken a lot out of me!