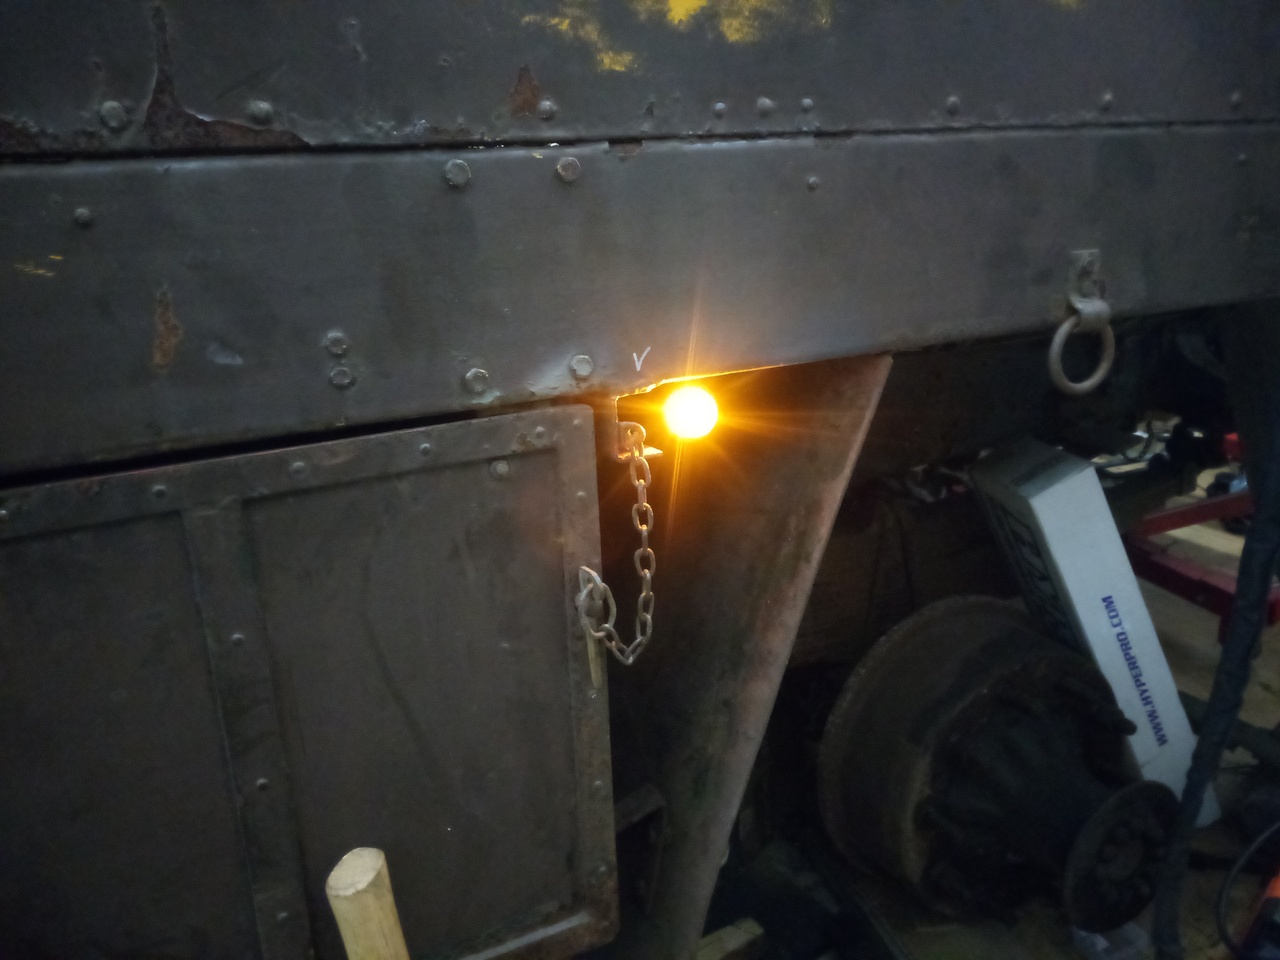
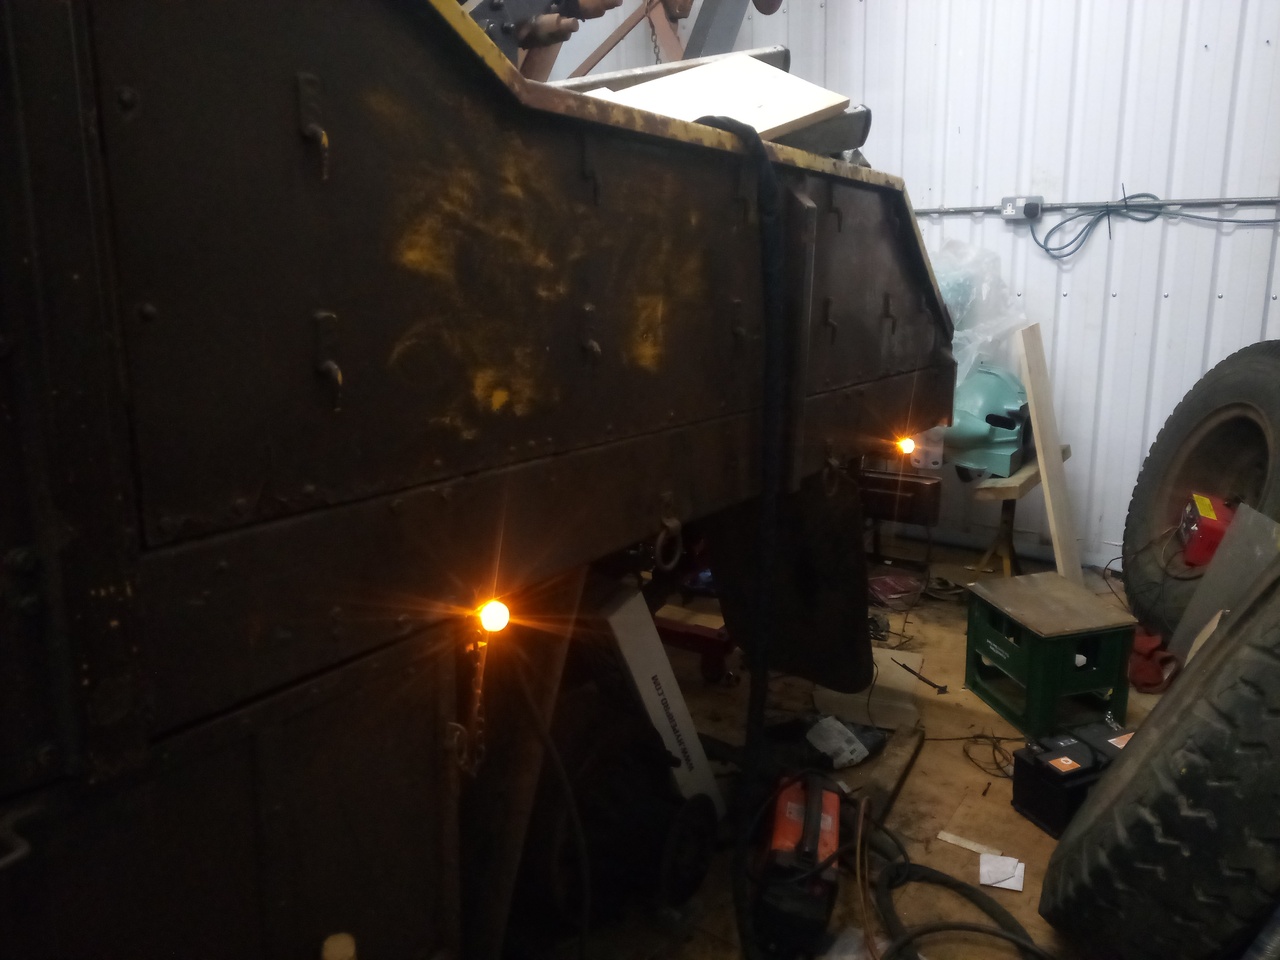
I haven't quite been able to put them all where I want them, but it's a start.
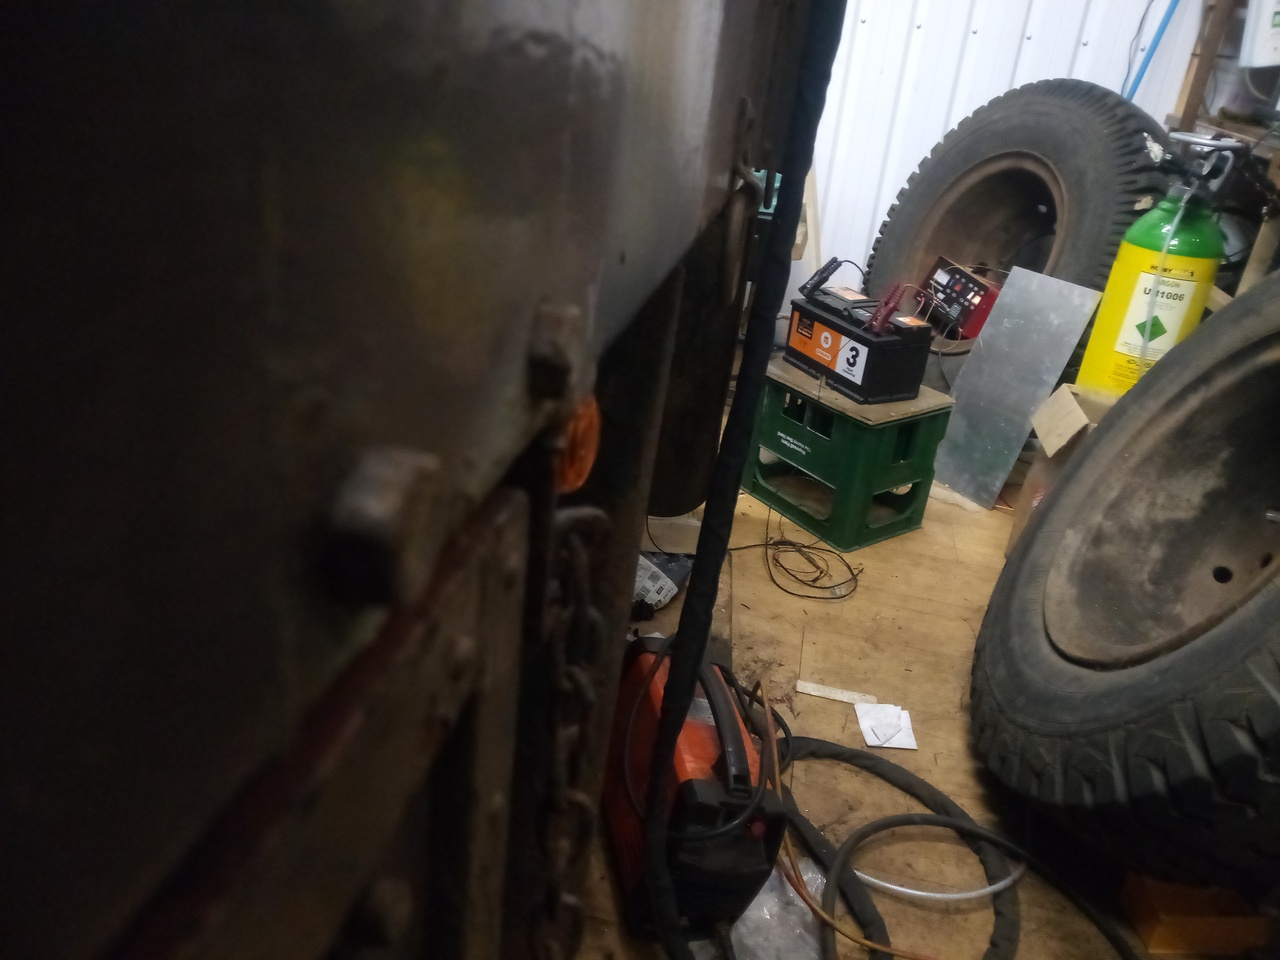
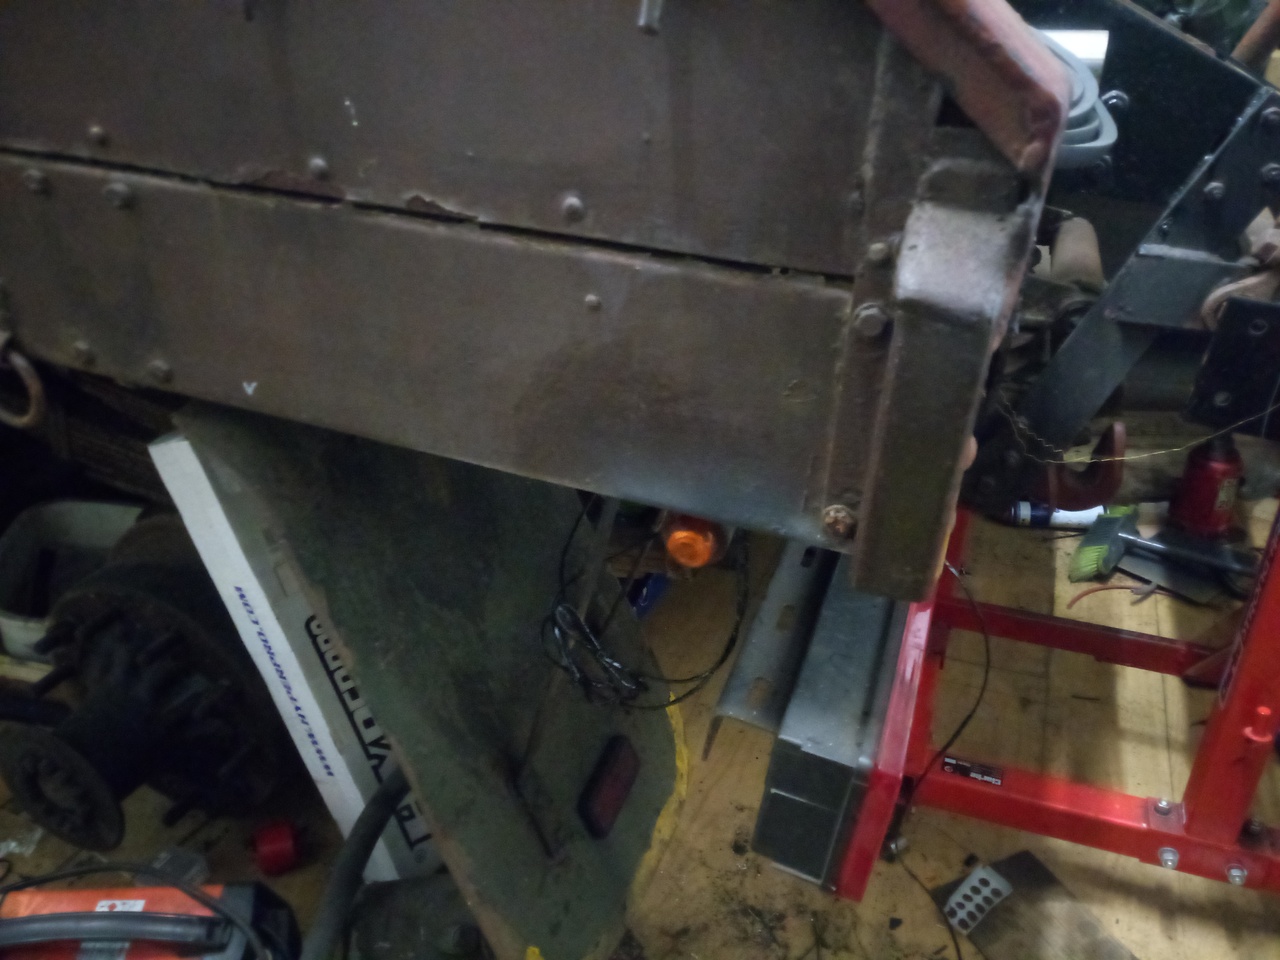
I wanted the next one between the lockers, but there's not enough room to get it in there. And definitely not enough room to put it in there and still be able to manipulate the lens to be able to change a bulb:
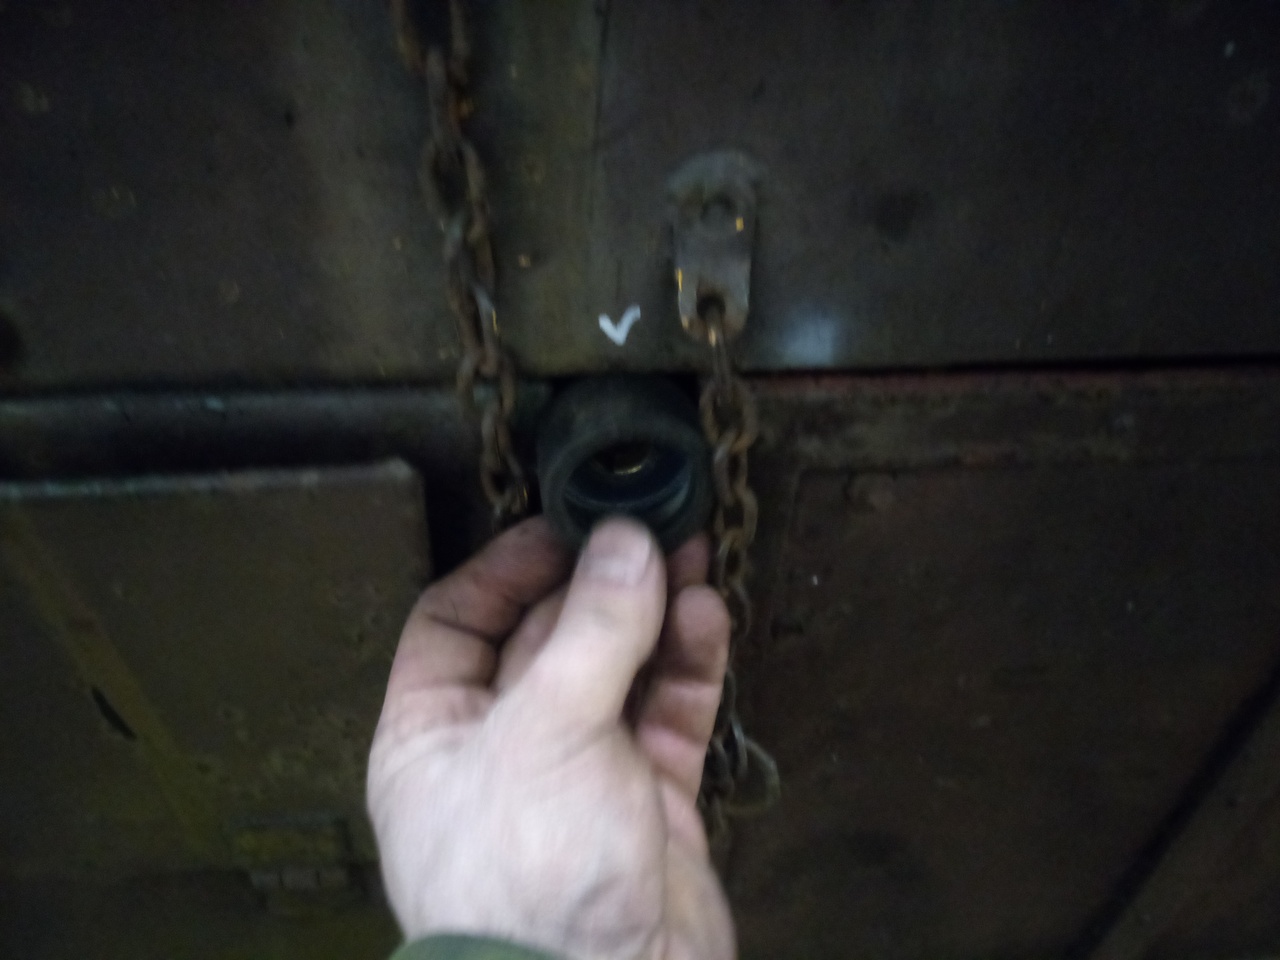
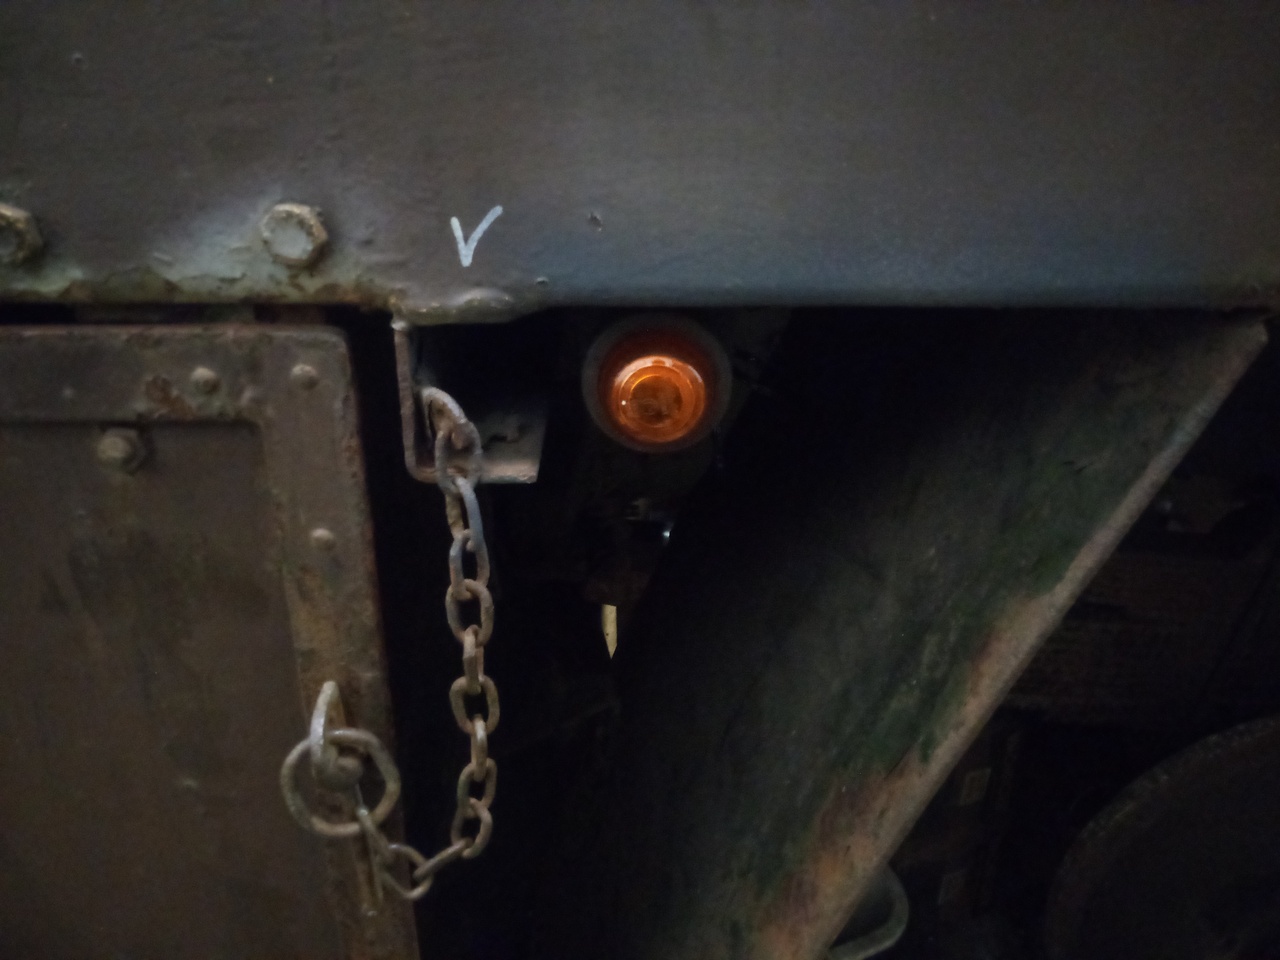
I could fit it to the underside of the locker to the left but I done wanna, because I want to keep my marker lights all on the same level, for aesthetic reasons. (I'm sure you'll understand.) I'll do a little more investigation to see what I can do to make that happen, and I'll either:
- move the damn locker enough to fit the light in
- get over it and put them on the underside of the locker
- just not fit one there, and put up with the wider spacing to the next one. (it's still sub-3m, so it's fine. but, y'know...)
The next one would go up at the front of the body, but there's an angle-iron bracket in the way that will have to be clearanced. Pretty sure I can just notch it, and leave the rest of it undisturbed, which is my current plan. Anyone have any idea what this used to hold, if anything?

The others, however, I've managed to mostly put 'em about where I wanted, and they're tucked in quite nicely.
The next thing I've tackled, is those leaking steering swivels. Well, the nearside one, so far, which was the least bad; but the easiest to get to, to work on:
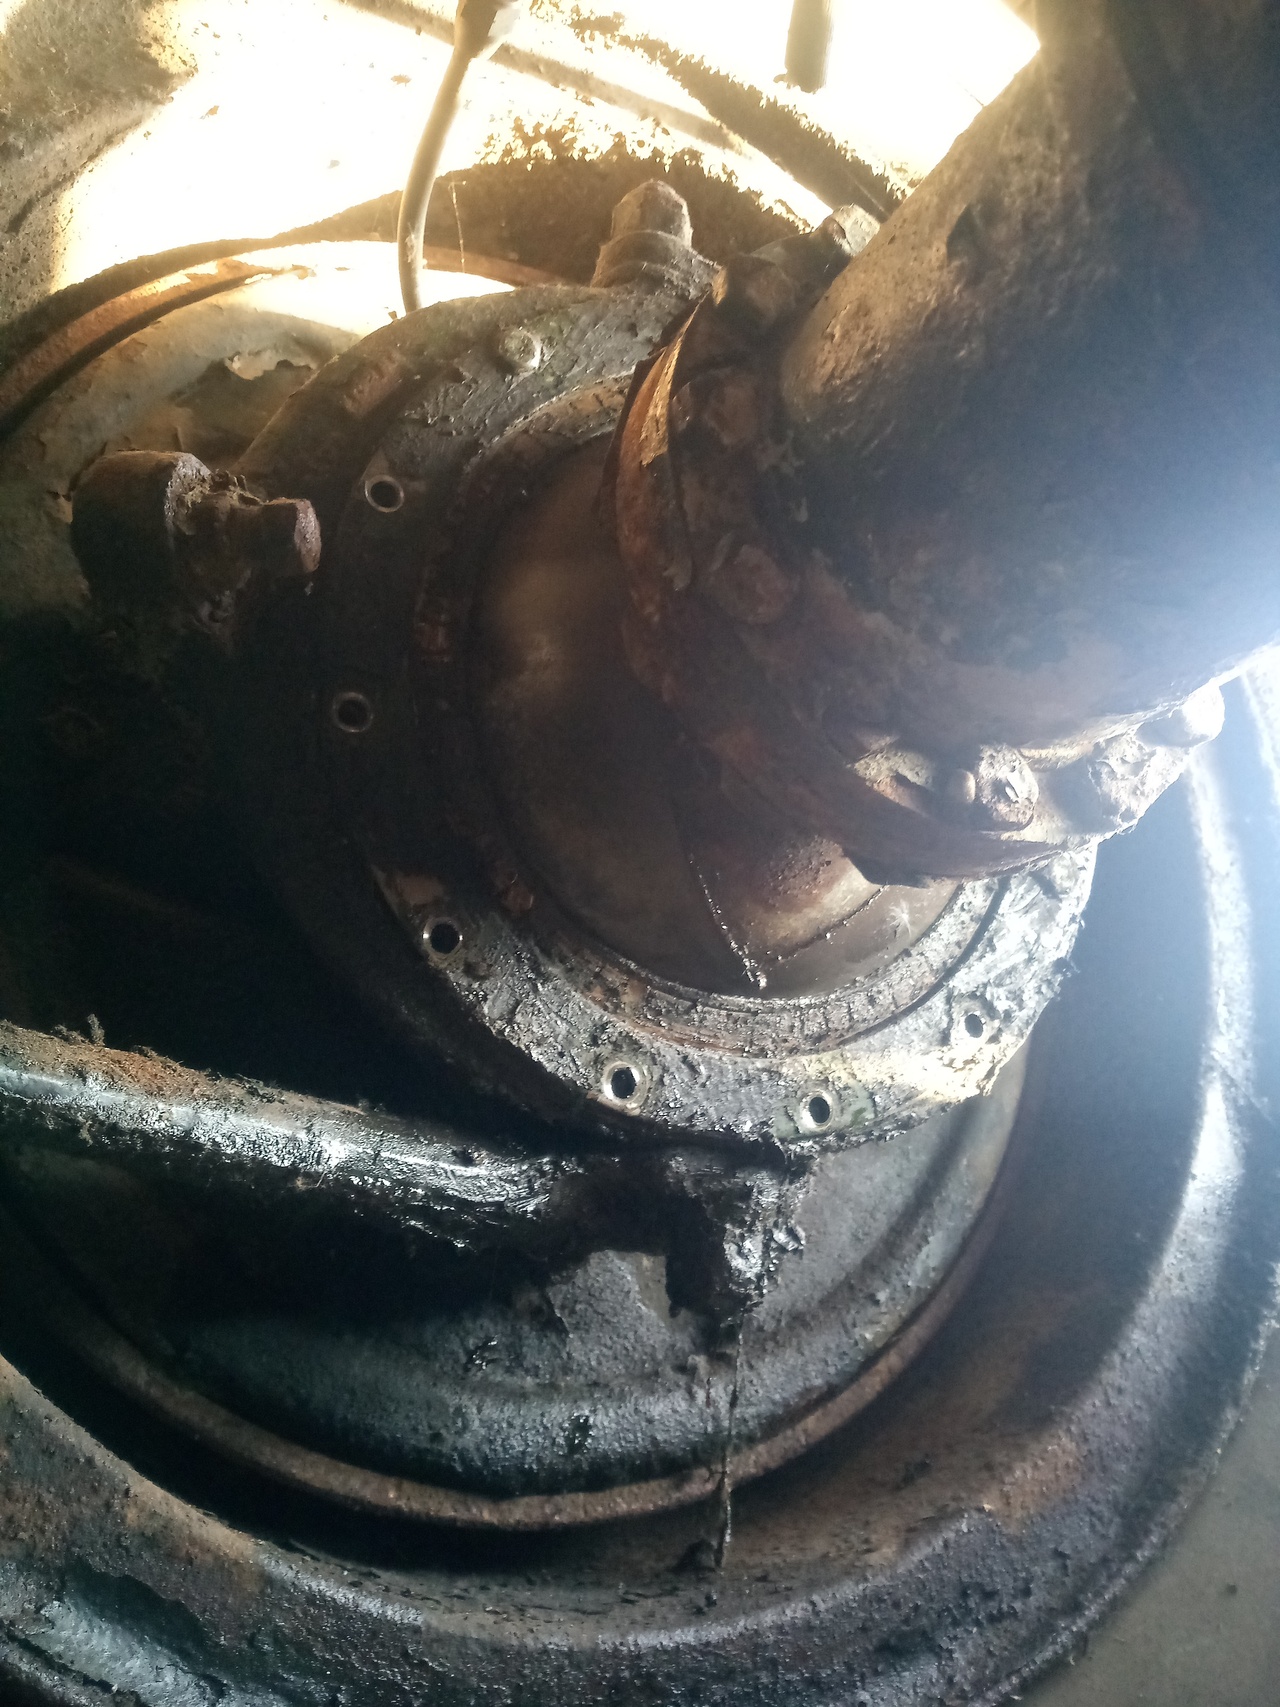
Some serious build-up
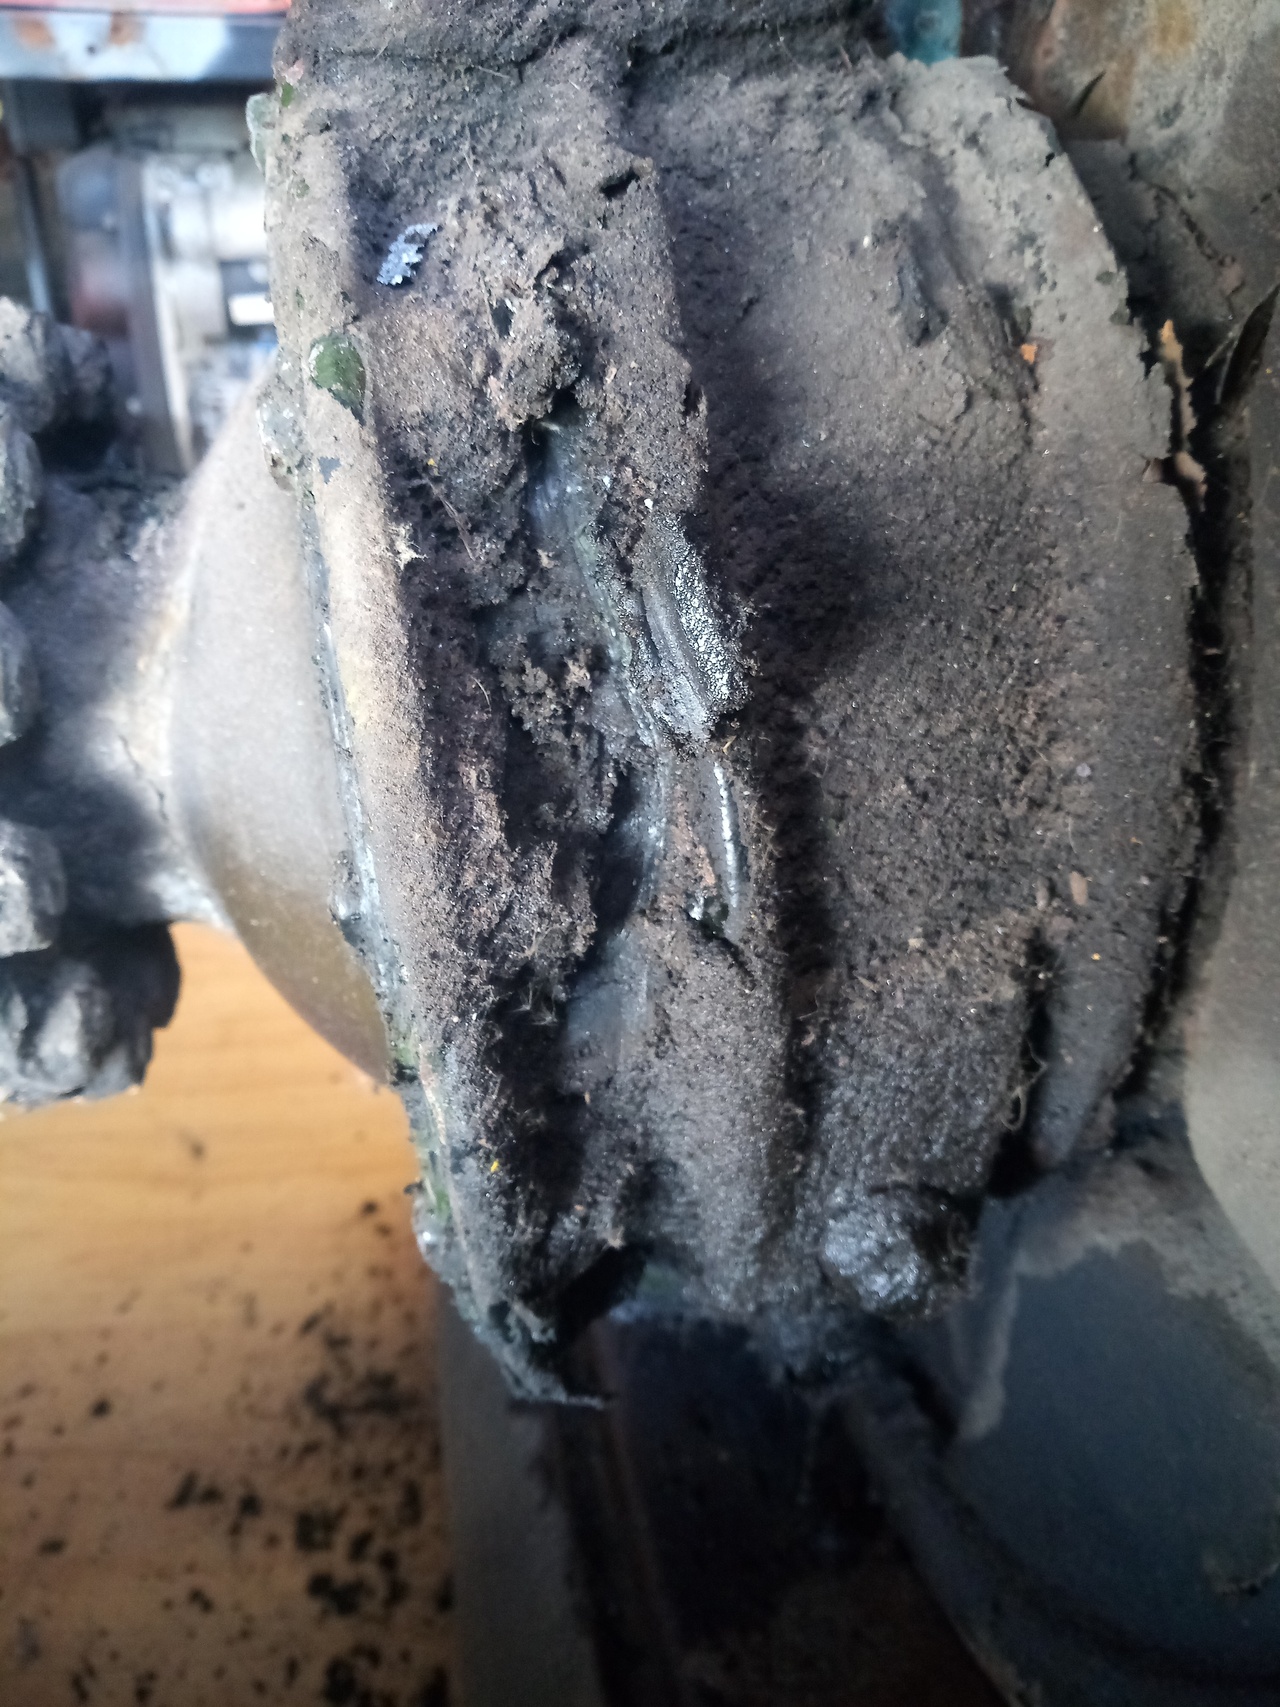
Seal springs removed
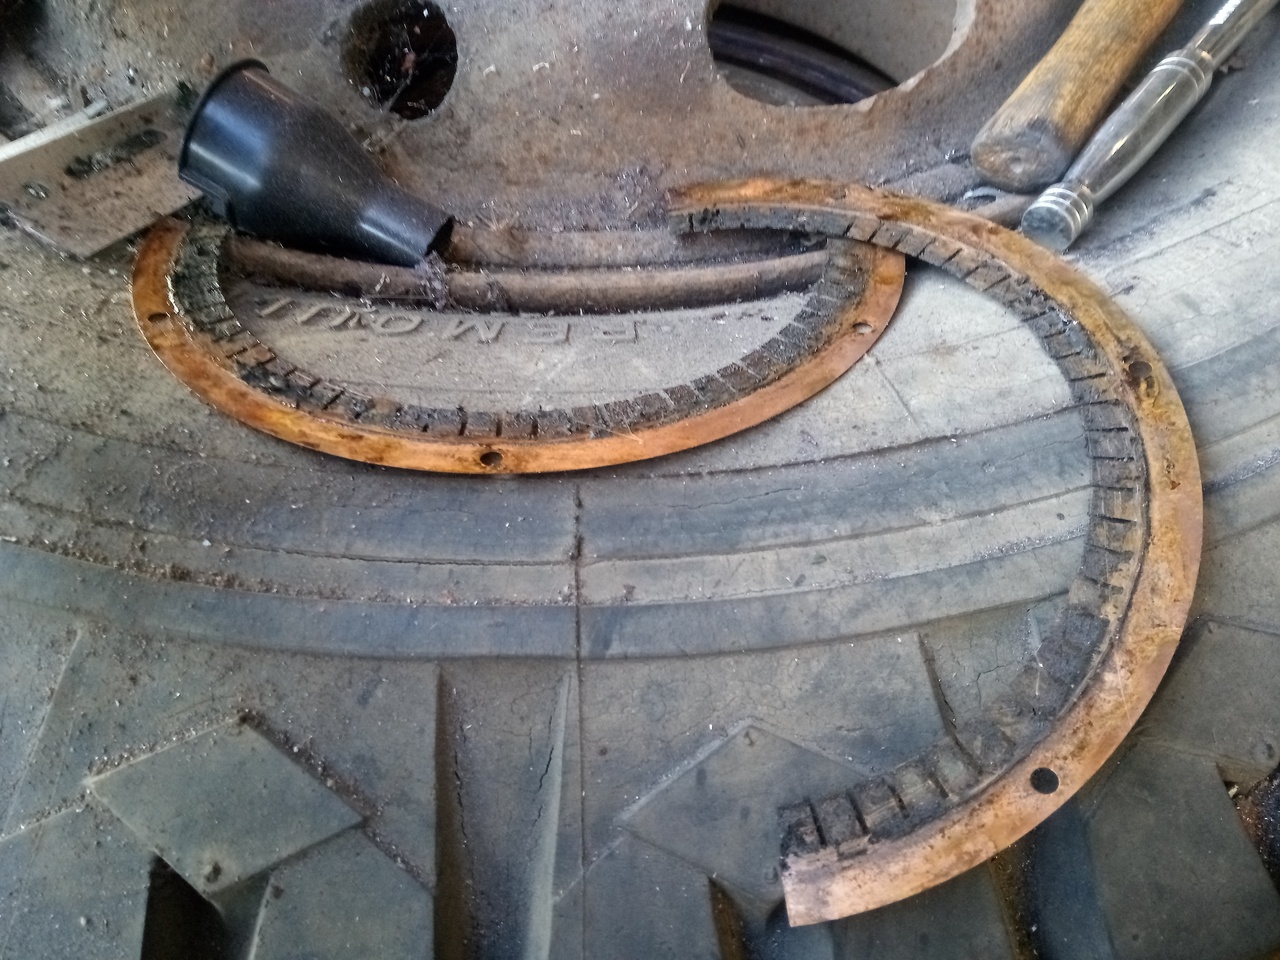
Which exposes the seal
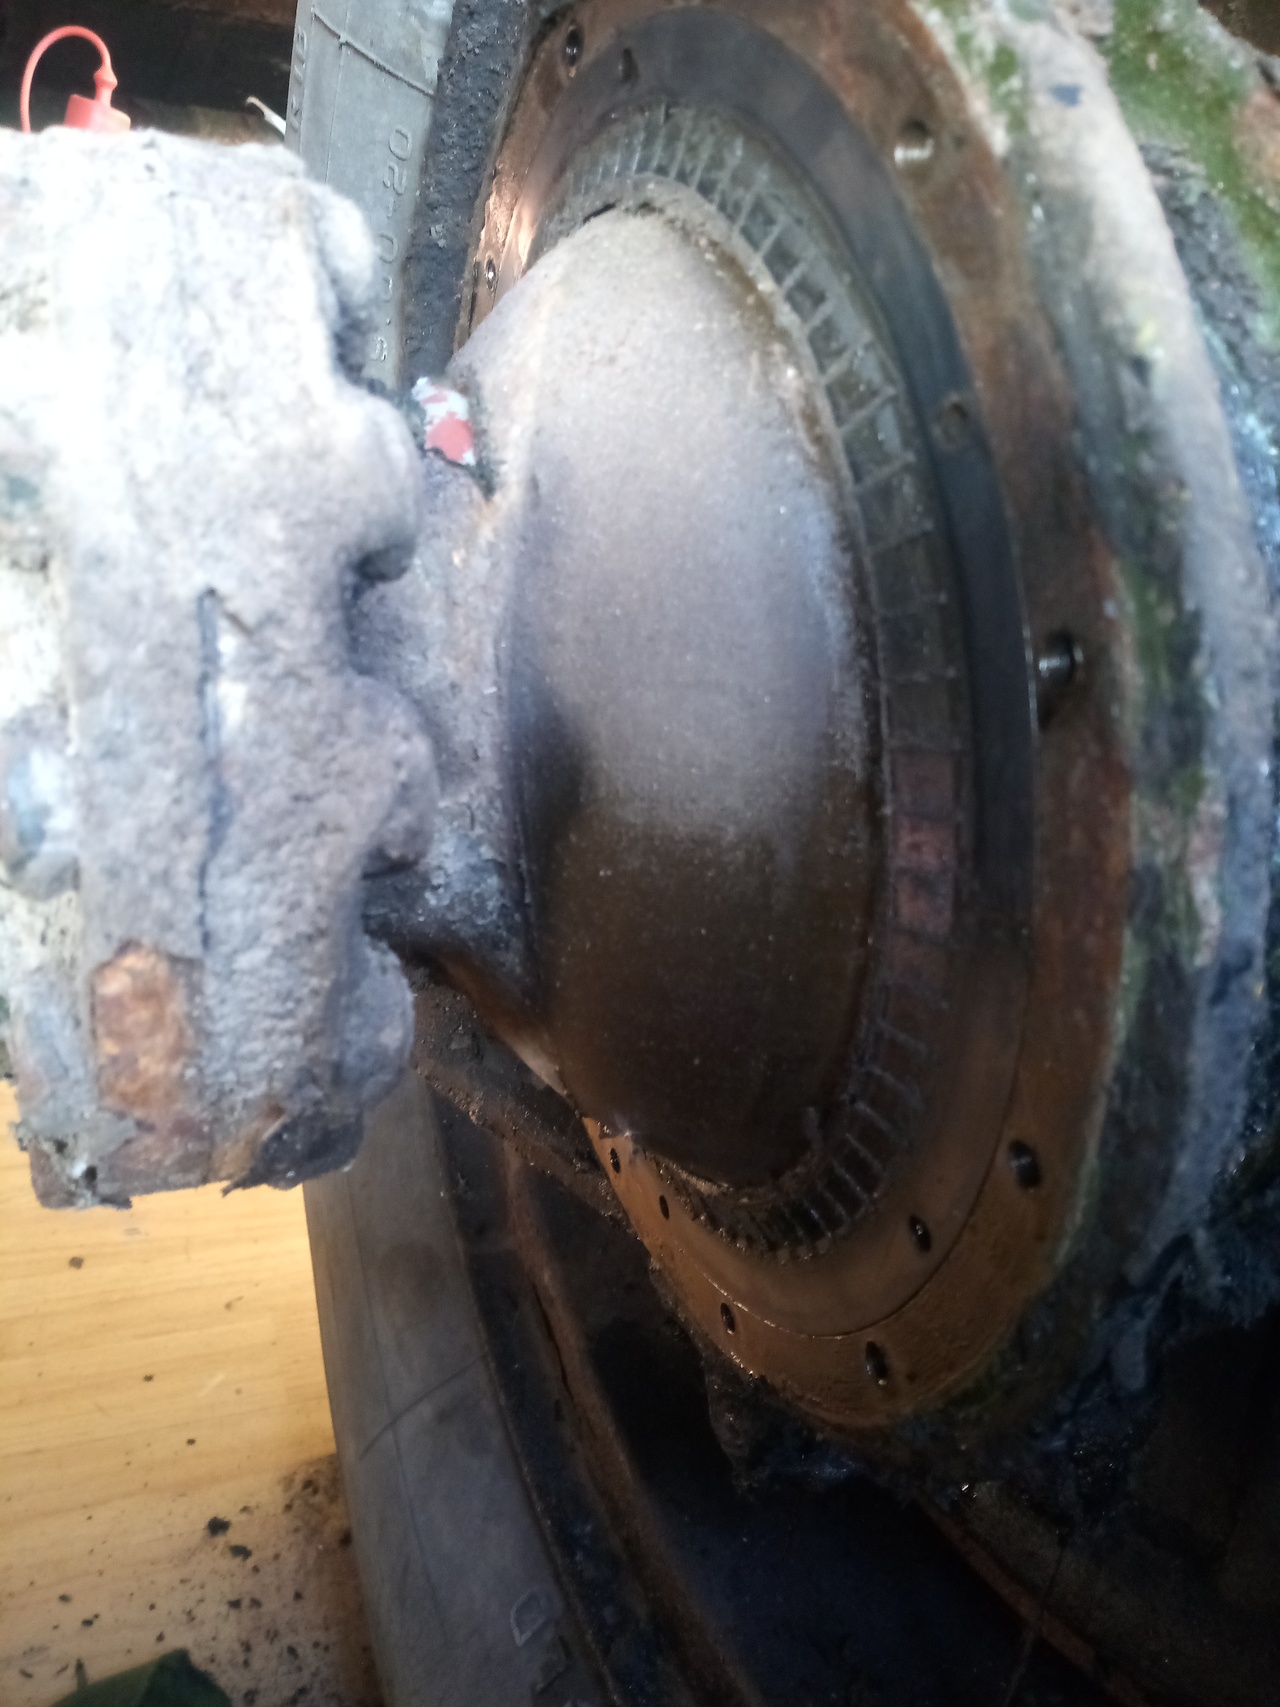
Which, upon removal, releases the schmoo
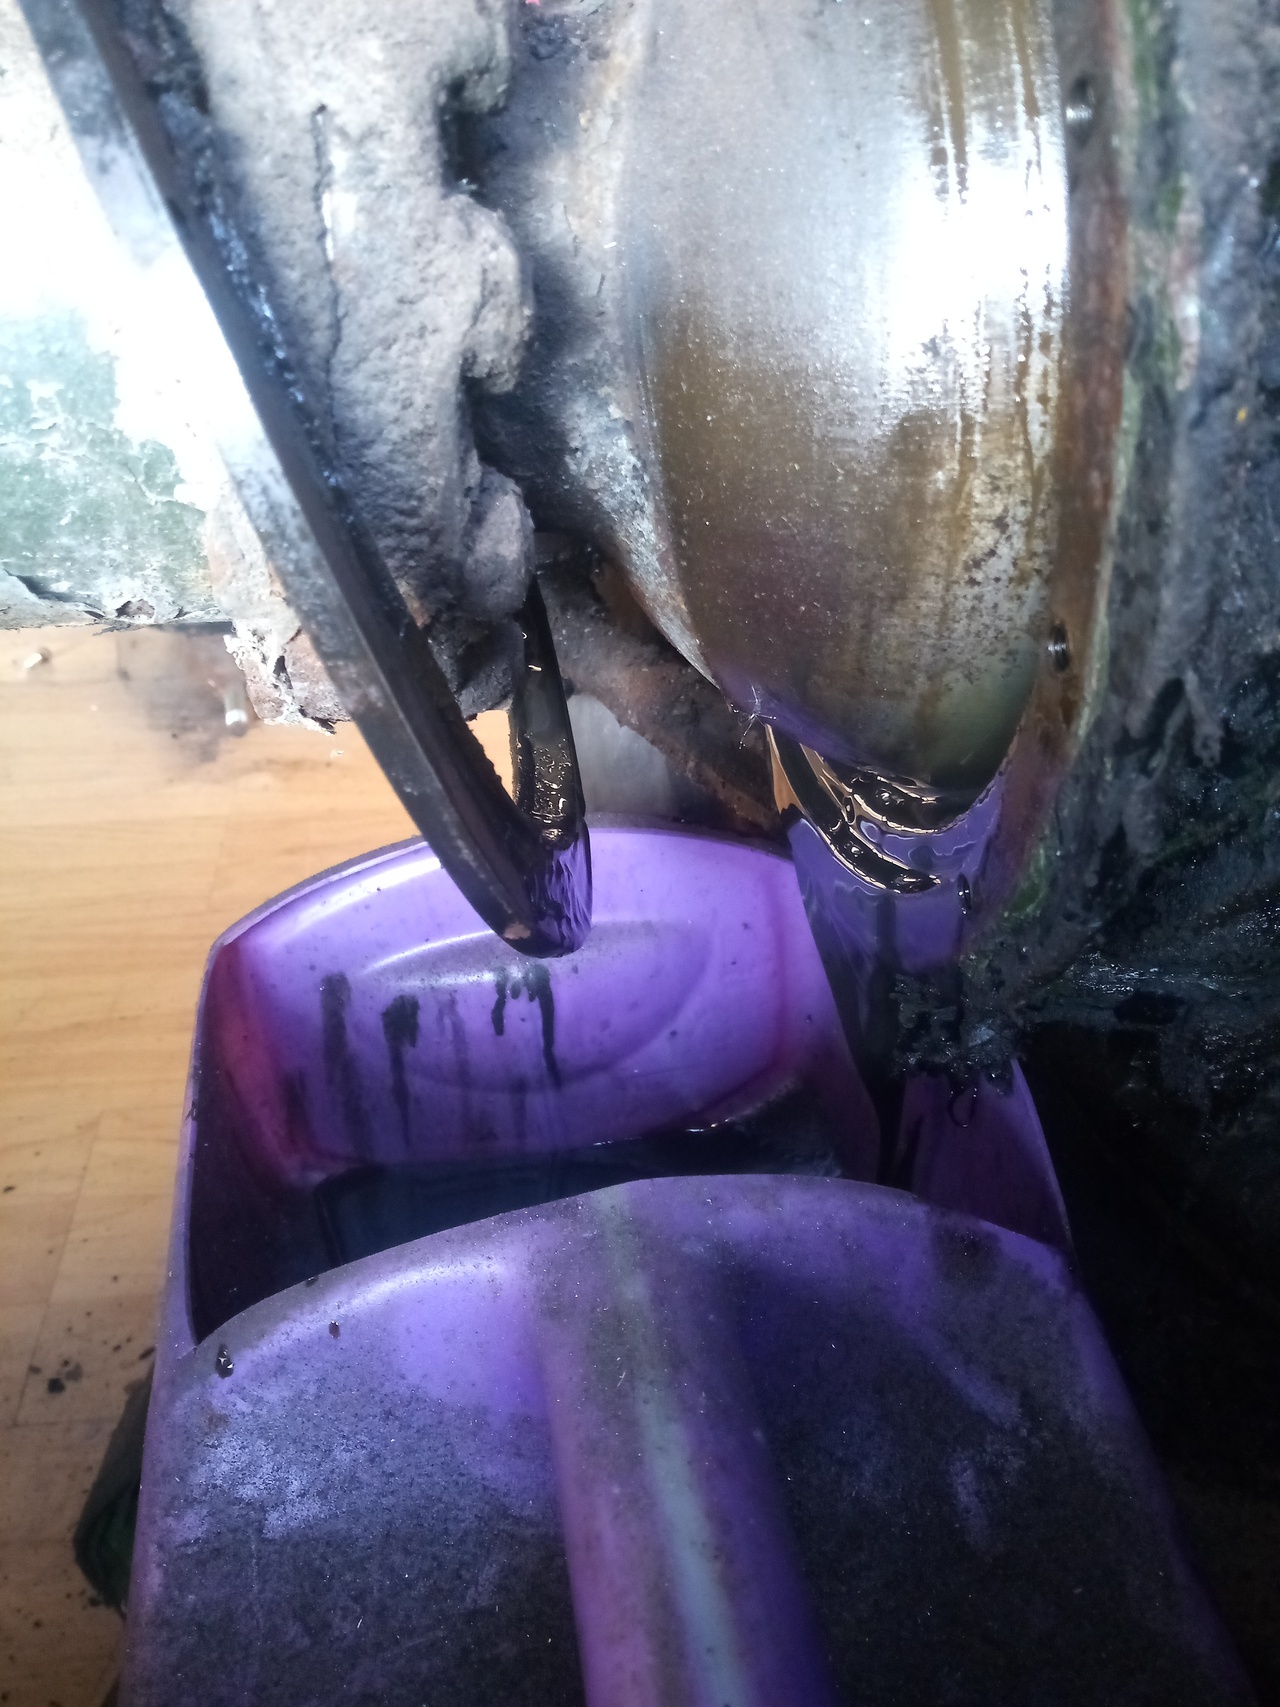
Surface of the swivel has not-entirely-unexpected pitting and wear:

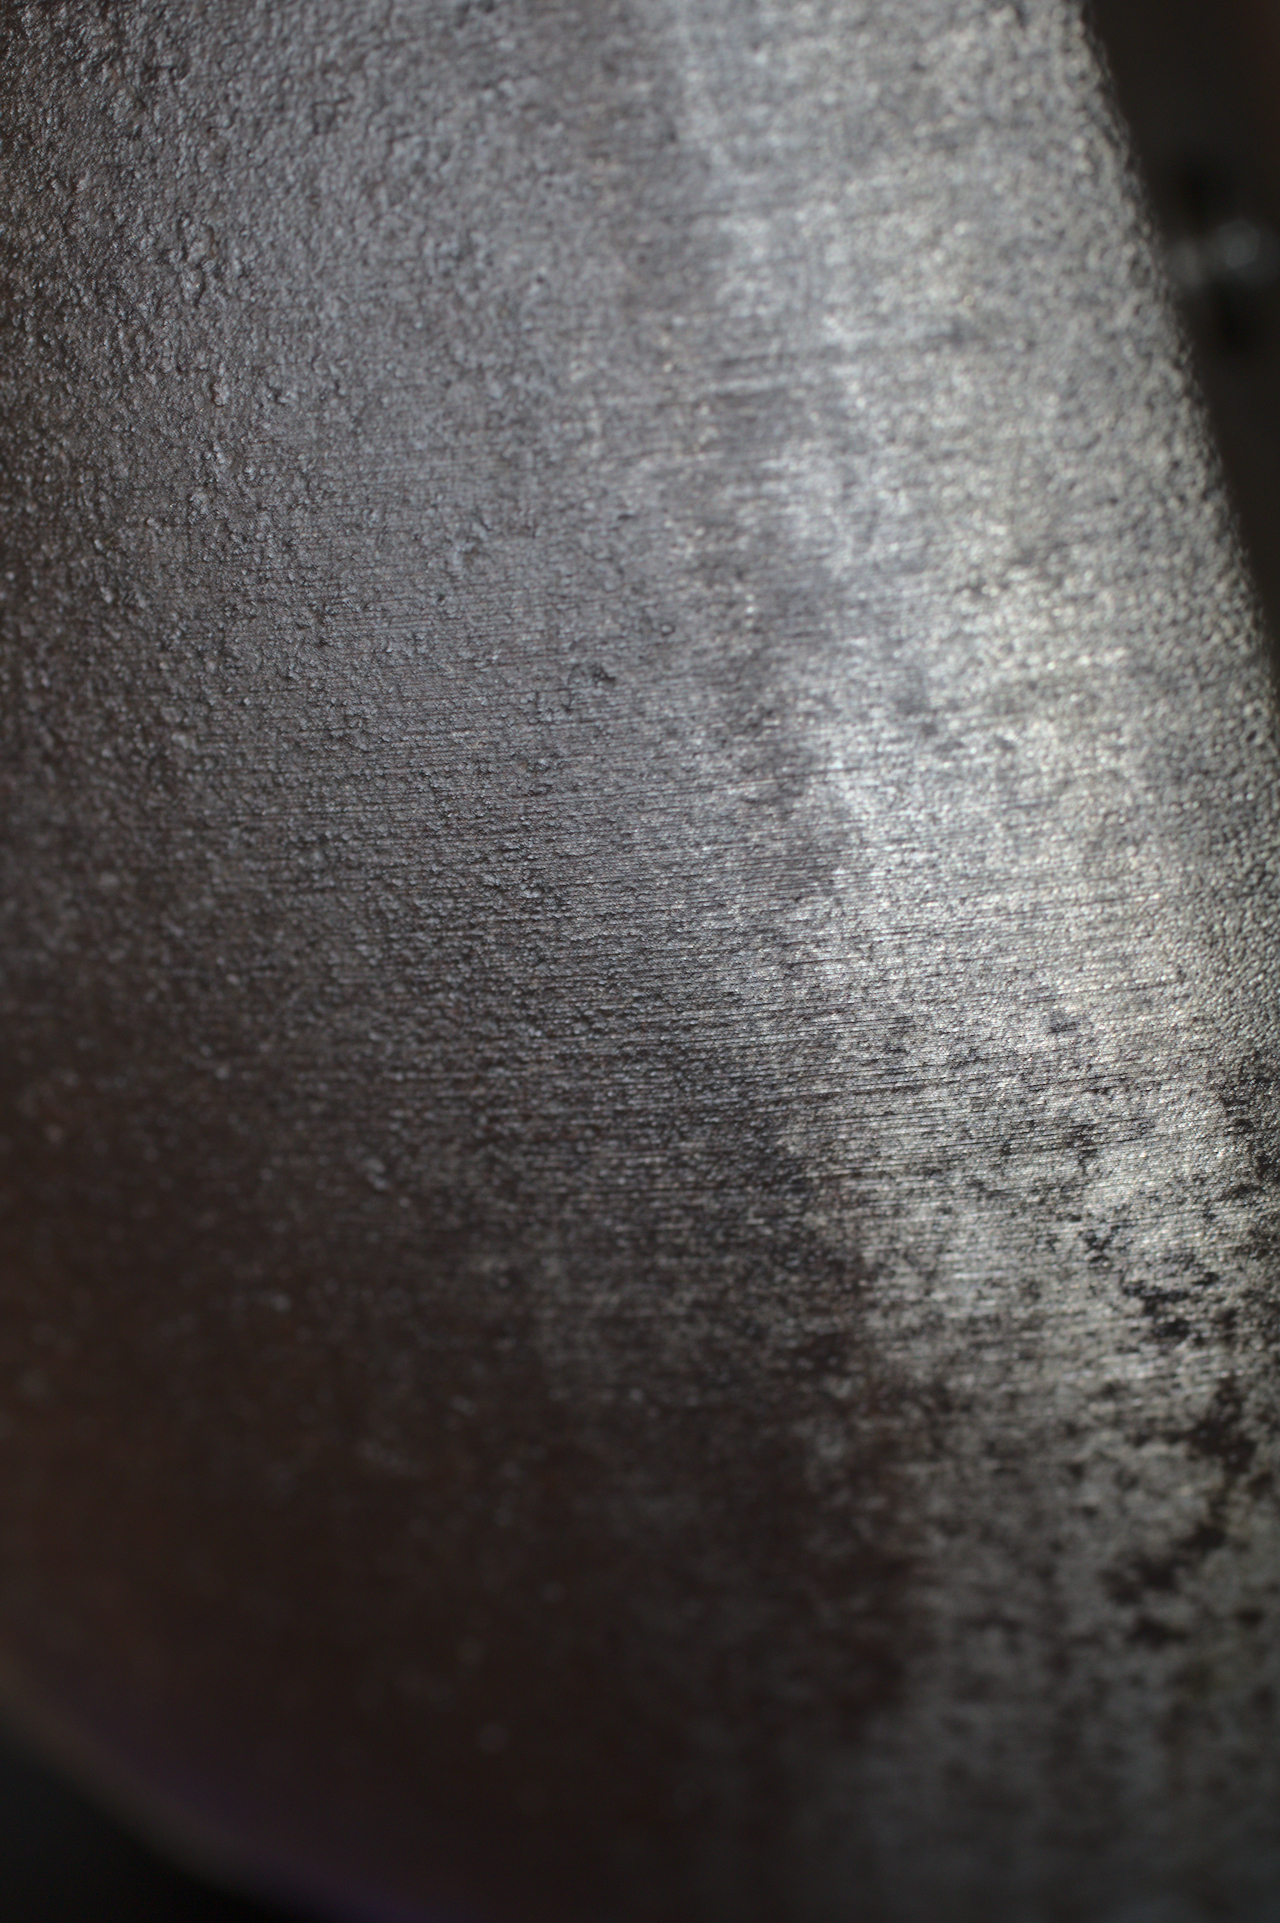
I've given it a gentle buffing with scotchbrite to polish the worst of the rust, and any peaks from the wear scratches, and wiped it over with some heavy weight oil. It's not ideal, I know, but what can you do.
At this point, though, the pictures have a break in 'em because it was going ... poorly. I'd cleaned all the old oil, and grot, and hints of rust & any dust from the scotchbrite pad out of the tracta joint; wiped it all down as well as I could, and went to putting the new seal in.
The new seal went in beautifully, with a smearing of permatex grey behind it and at the slit cut for installation, to help it seal up; at this point, the seal could be easily rotated in the housing to line it up. Then I went to put the seal springs in, and started to have trouble.
The seal springs are a flat, stamped piece of metal with fingers for putting spring pressure on the seal lip, and 3 holes punched in that go over the pegs on the retaining ring just like the rubber seal. Except the holes weren't punched quite perfectly; so I'm struggling to get the damn things on, the whole time in the back of my mind I'm worrying about not having it lined up and not being able to rotate it if the sealant sets.
After several attempts, I discovered the misalignment problem, and grabbed a little round needle-file. Some quick work slotted the outer holes slightly, and I got the springs to go on. Then I put the retaining ring into the rubber seal, and all the pegs went in first try! Perfect, I thought! Then rotated the whole mess -- at this point, fairly slowly, as the sealant was setting up -- to line the bolt-holes up.
Except the bolt-holes didn't line up.
And rotate, and take it out to line it up with different holes, and rotate, and remove realign refit, rotate, etc, etc, etc. until I finally managed to get it lined up in the one alignment that actually fits, with the installation slit in the seal to the top of the housing, and all the bolts went in. By the by, the correct orientation is with the flat of the retaining ring to the top of the housing. Or just mark it before removal.
All of this while having to maintain the most awful endurance sit-up/crunch. (I am in shape! That shape is quite round, but it is a shape!)
And the end-result was this:
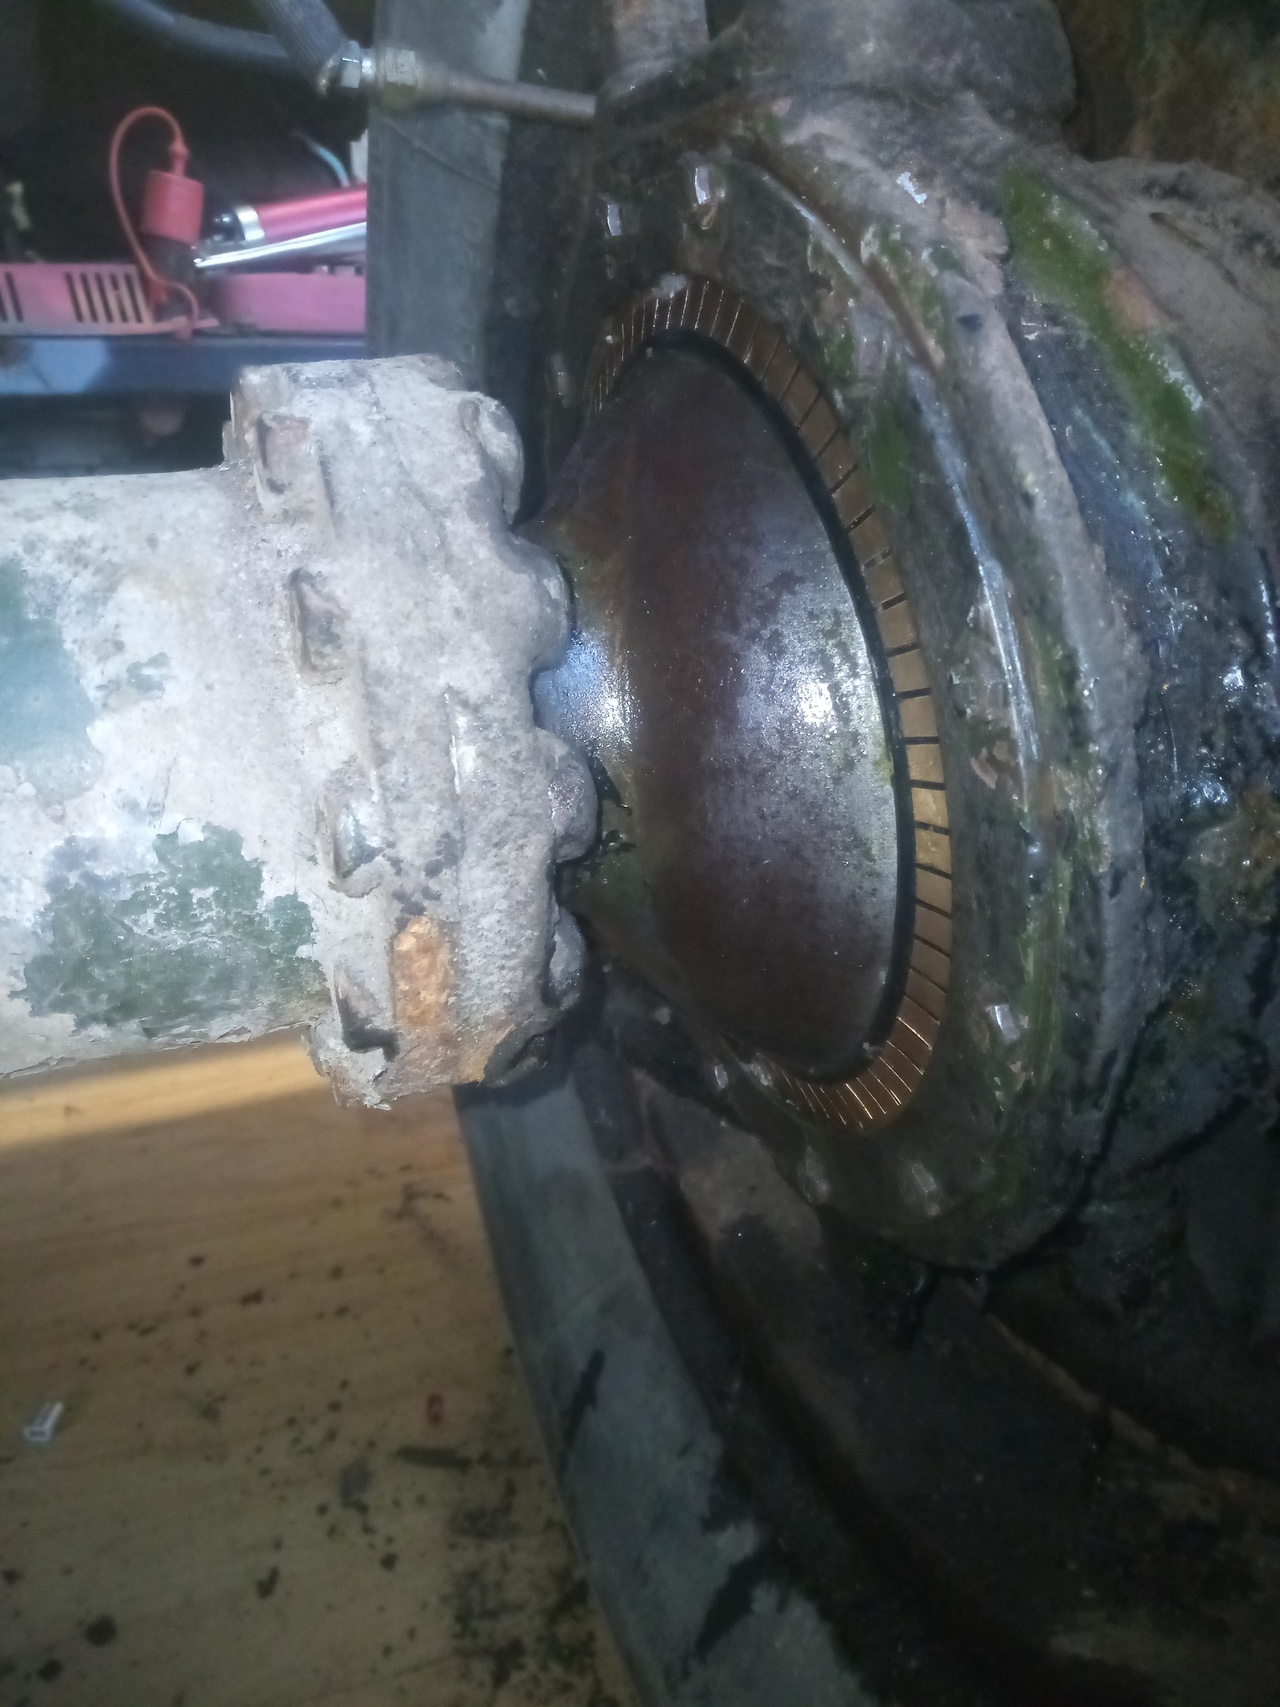
Now for the interesting part! The seal I took out...
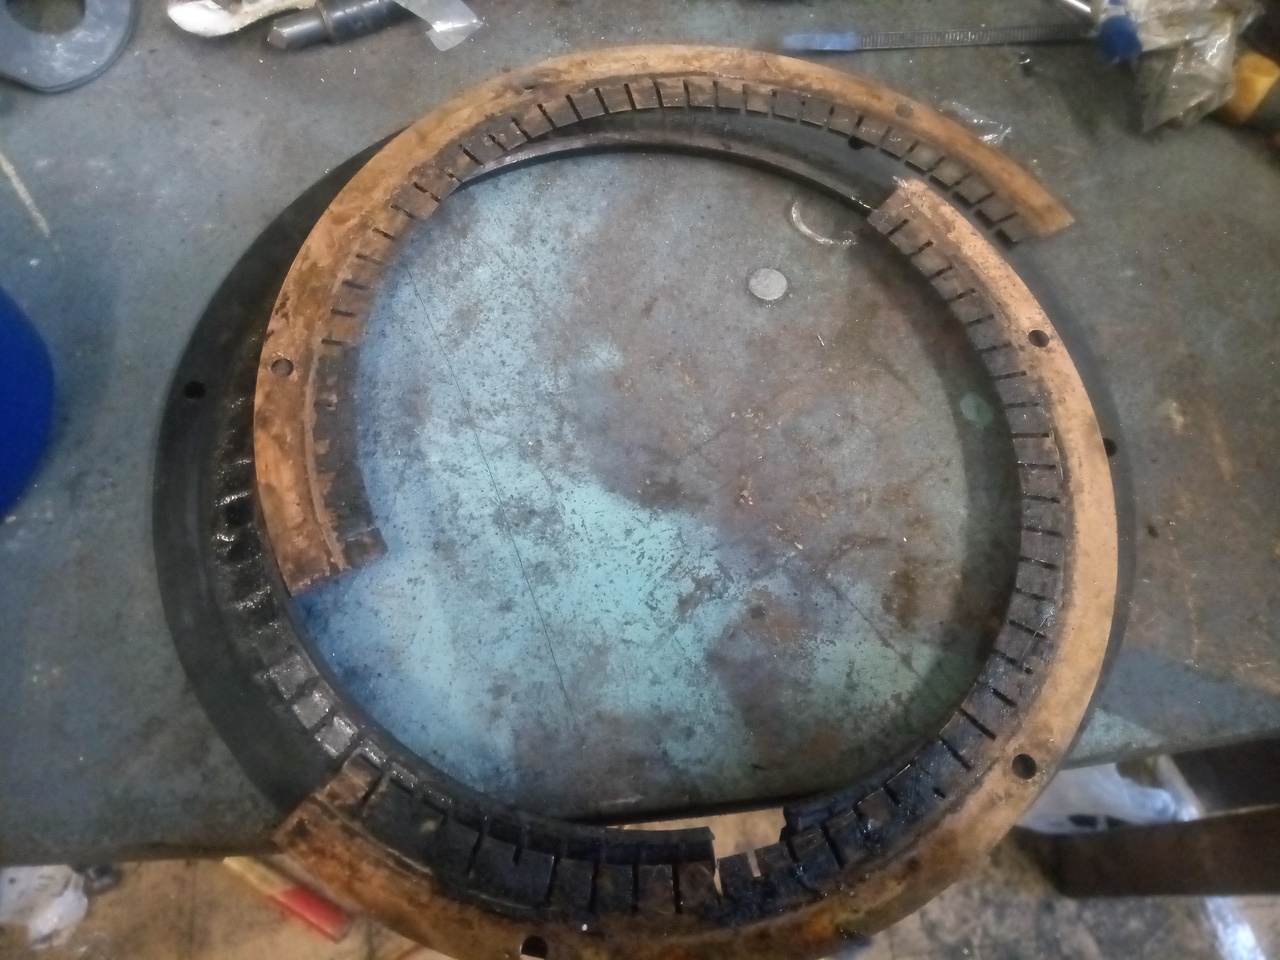
...is a rubber seal. Which implies, to me, that it's been replaced at least once before!
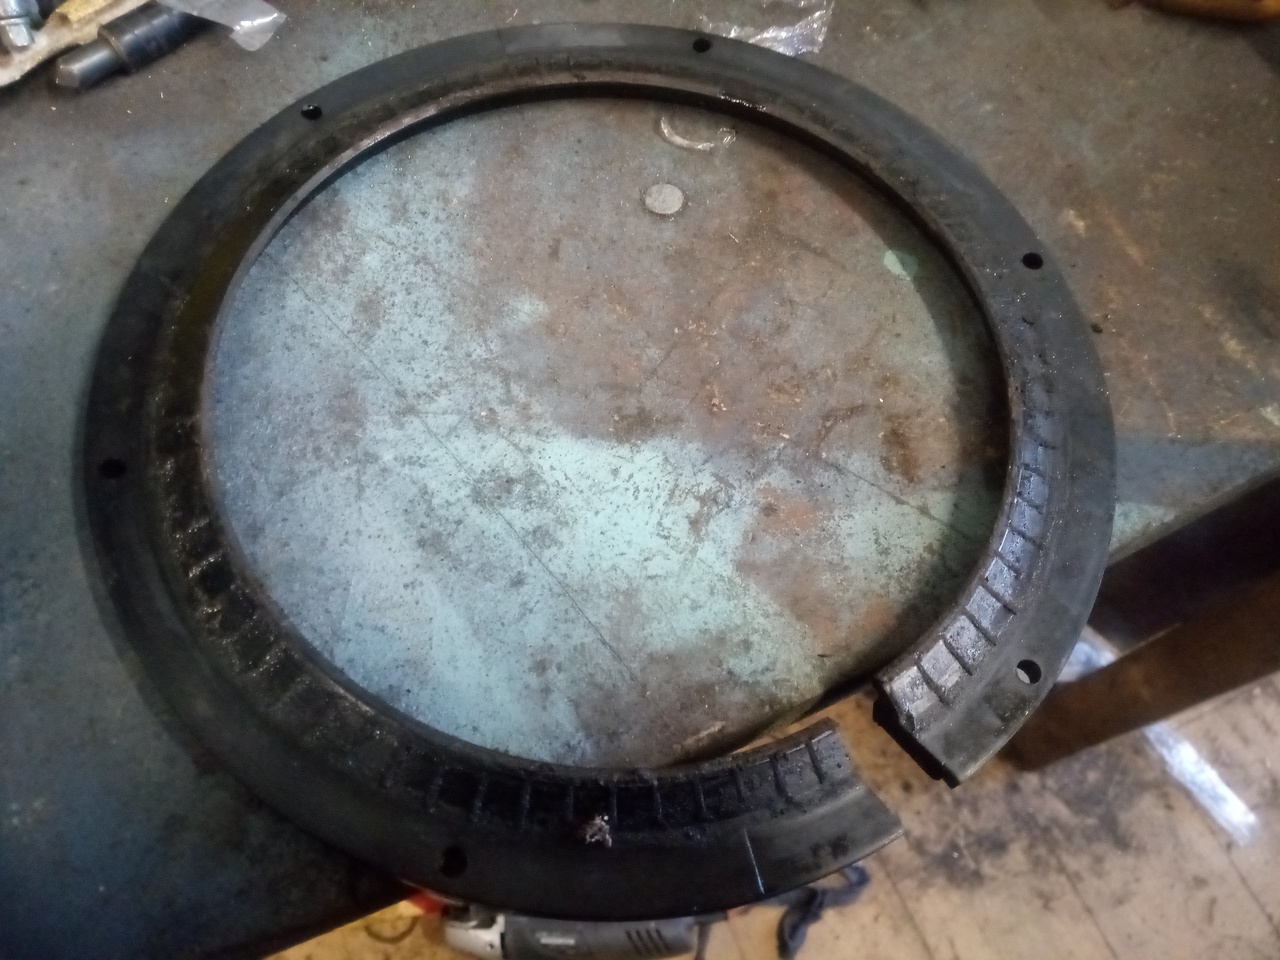
The rubber that wasn't exposed to the elements was actually in pretty good condition, still nice and flexible; but there's definite wear at the sealing edge, which was beginning to feel a bit stiff. I think it'd probably taken a bit of a set, as the wagon stood for so long, and once I started moving everything around with driving the truck again, it just couldn't seal.
Much like the rest of the truck, really. It seems to be leaking from just about everywhere!
And then, while I was there and figured I hadn't suffered enough crunches, I went and fit my 4-way valve on the bracket I made.
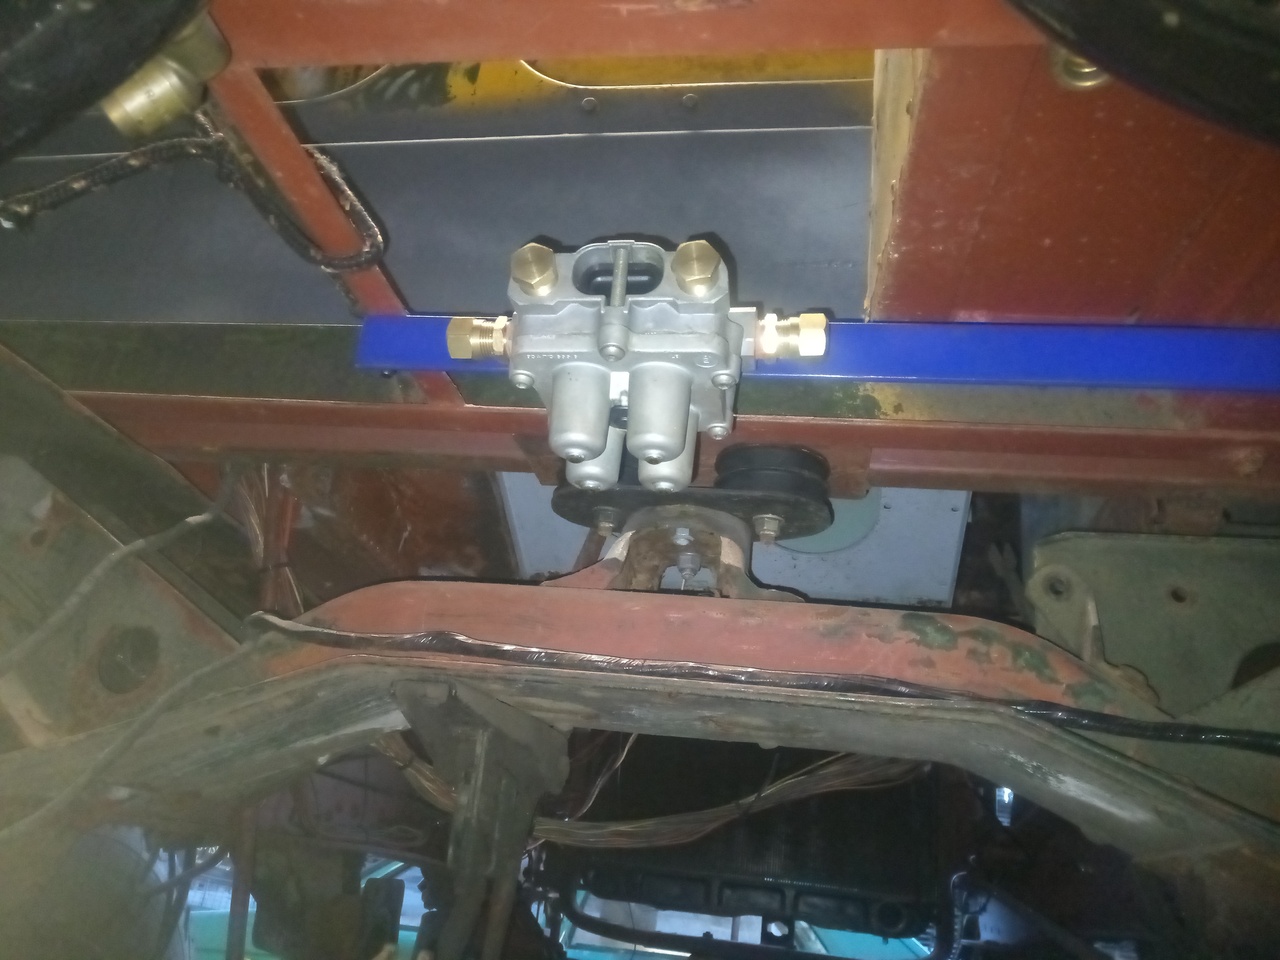
It's blue for the highly technical reason of: I couldn't find my black
paint. I have a 5 litre bucket of the stuff that I paid good money
for, and damned if I can find it now. I'm sure it'll turn up... 
Now I just have to work up the enthusiasm to do the other side...
Oh! And you might notice there was no mention of taking the wheel off to do that swivel seal! That's because I went to undo the wheel-nuts, and the whole stud started spinning. Agh. So my next thought was "okay, no big deal, I'll warm the wheel-nut up" (We do this not-infrequently at work, usually on Scanias with the 7/8 BSF wheel studs.)
...except apparently I have previously absent-mindedly pocketed all my
workshop lighters and taken them home. 
That's both tracta joint seals done, and one swivel refilled with gear oil. Small progress, but it's things to tick off the list!
Also, the documentation project grinds onwards (Mostly involving hours of squinting at material and lubricant specifications charts.), and additional material has arrived for the intake manifold tinkering.
I also pickled my head with wheel dimensions again, this time going as
far as to mark it all out in full-scale on a piece of wood, with the
end result being... the same numbers as I had the last three
times. 
I keep doing this; I've worked it out, I'm satisfied with the answer, and it's very close to the number in the manual (but not the same, this is expected. The new wheels will be very slightly wider.) And then time passes, and I look at the truck again, realise it's got 9.00-20s on it, and panic over whether or not my planned 295/80R22.5 will fit.
The truck's meant to have 11.00-20s on it, ffs; 295mm is a little over 11-1/2 inches. It'll fit, width-wise, no problem.