A fit of productivity was brought on by painkillers, resulting in:
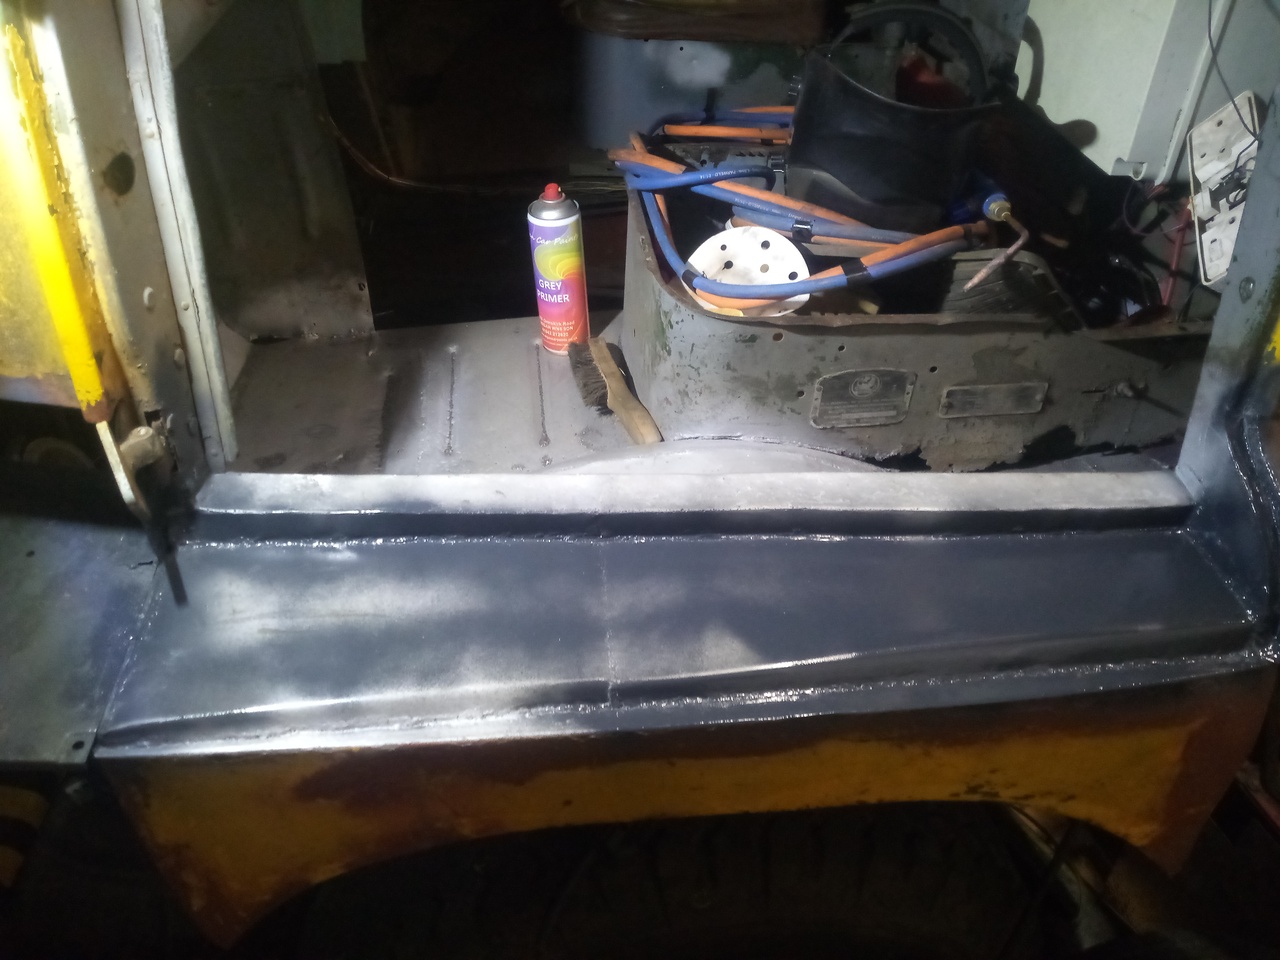
That's right. I've finished welding the passenger's side door-step! ...Well, the top face of it, anyway. Underneath still needs trimming and whatnot, and the floor isn't totally complete yet. (And then I've still got loads to do elsewhere, and...)
Welds ground up on the inside, and a quick squirt of etch primer (As
opposed to/on top of my usual zinc weld-through primer.), at least
until I ran out of etch primer. 
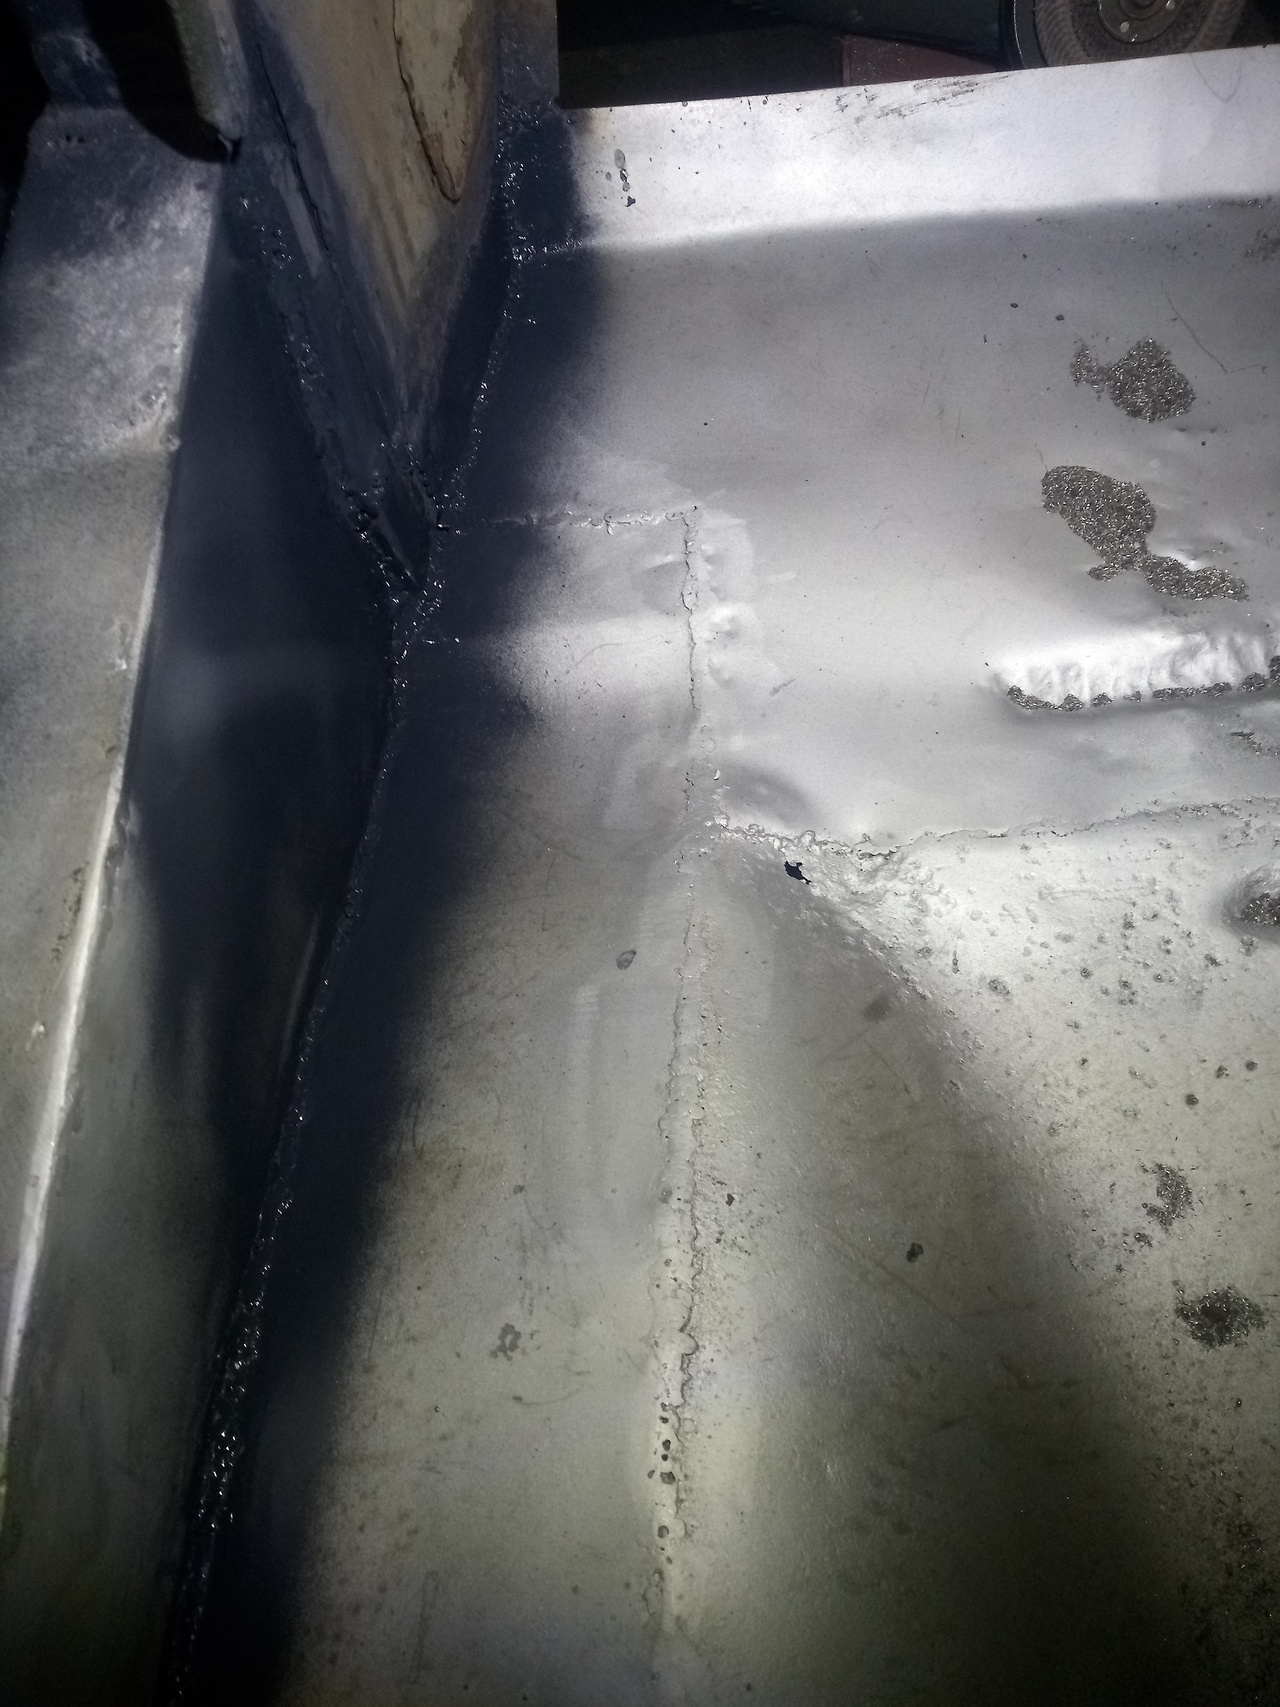
You can still clearly see that little patch at the edge of the wheel-well, where it's a bit thin, that I need to tackle but I don't wanna right now.
The welds on the underside haven't yet been touched, but all of that will get done too, in time. I'm trying to hit the high spots that are holding up other things, but I still haven't gotten a good plan for what's 'blocking' what, yet. I want to get all the repair-work around the engine-bay done in time to have the engine back in this year, ideally by summer, but we'll see how that goes. (As per usual, it's health & time permitting.)
Flush with success on that, I decided to tackle ... headlights. Because why not! I bought myself some new headlight mounting rings a couple of years back because one of my original ones has dissolved away to nothing; and it does appear that they should fit to my original headlight buckets, which I want to do for reasons, even though the plastic mounting rings give much more convenient access for changing the bulbs.
However, the new mounting rings are fiddly enough to fit onto the original 3 spring-loaded screw adjusters setup of the original headlight buckets that it would no longer be fun trying to change bulbs by removing the headlight. (The original is just a twist & pop out sort of affair.)
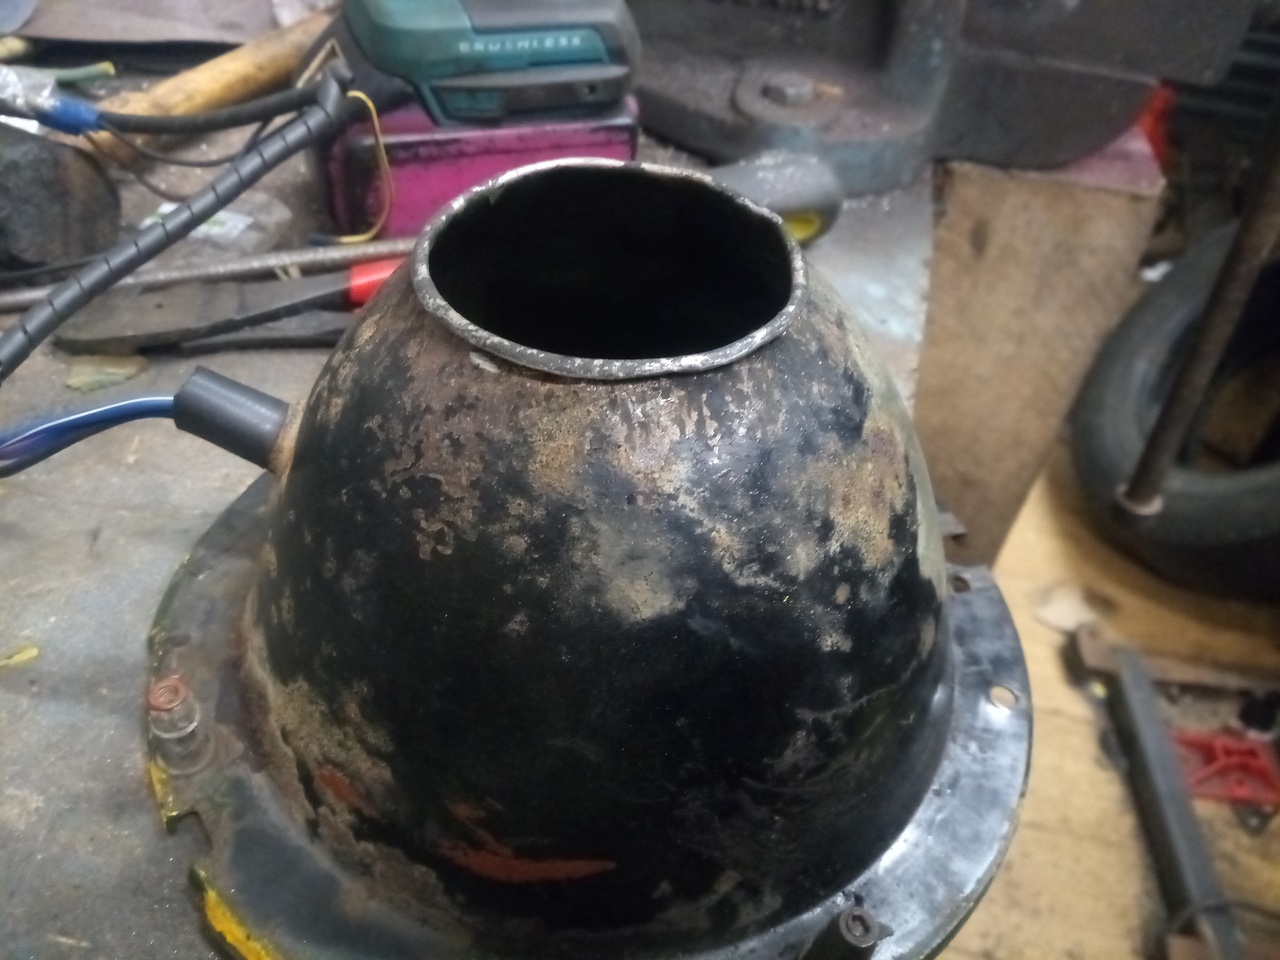
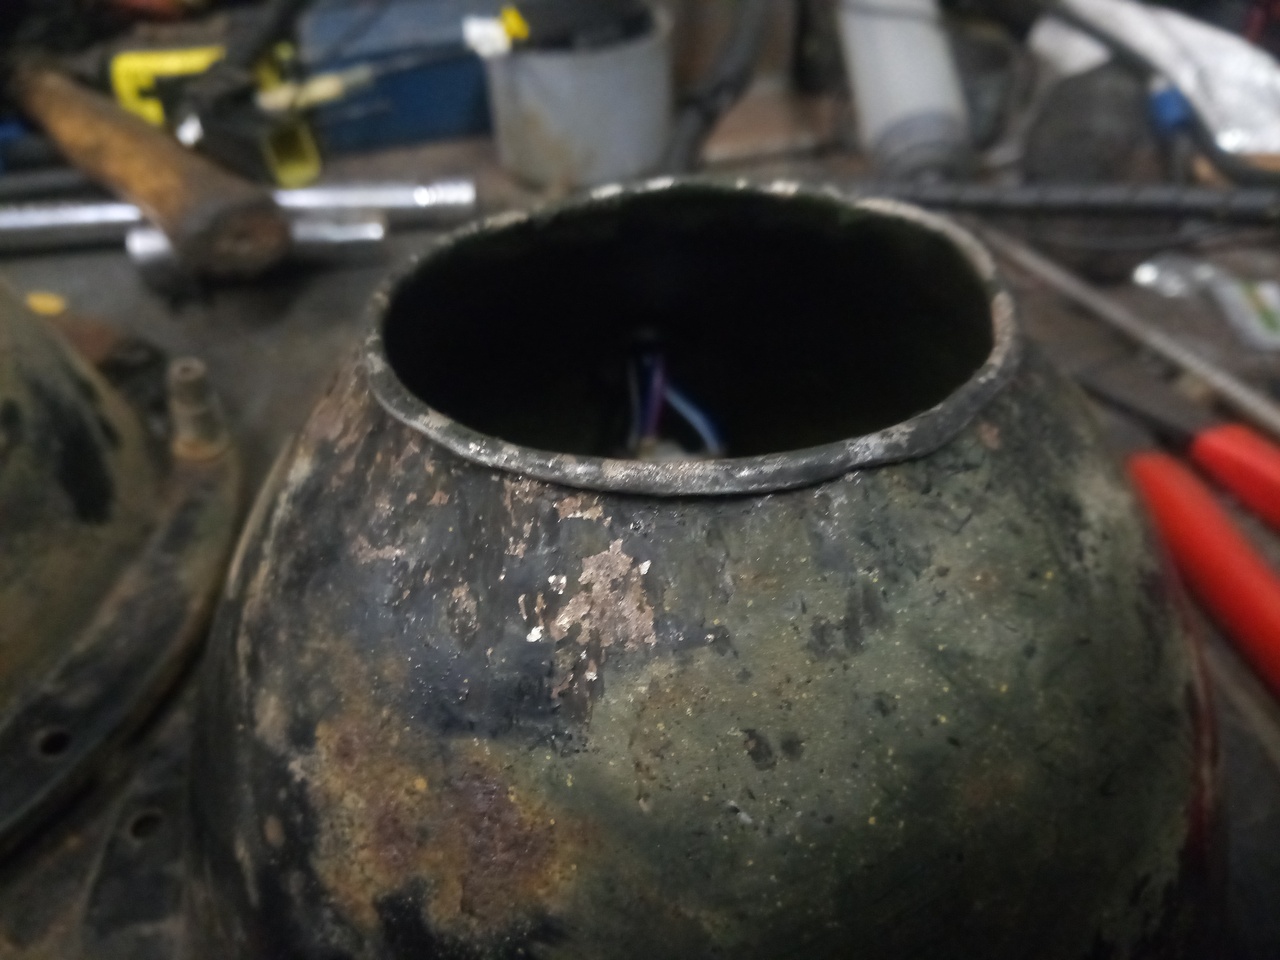
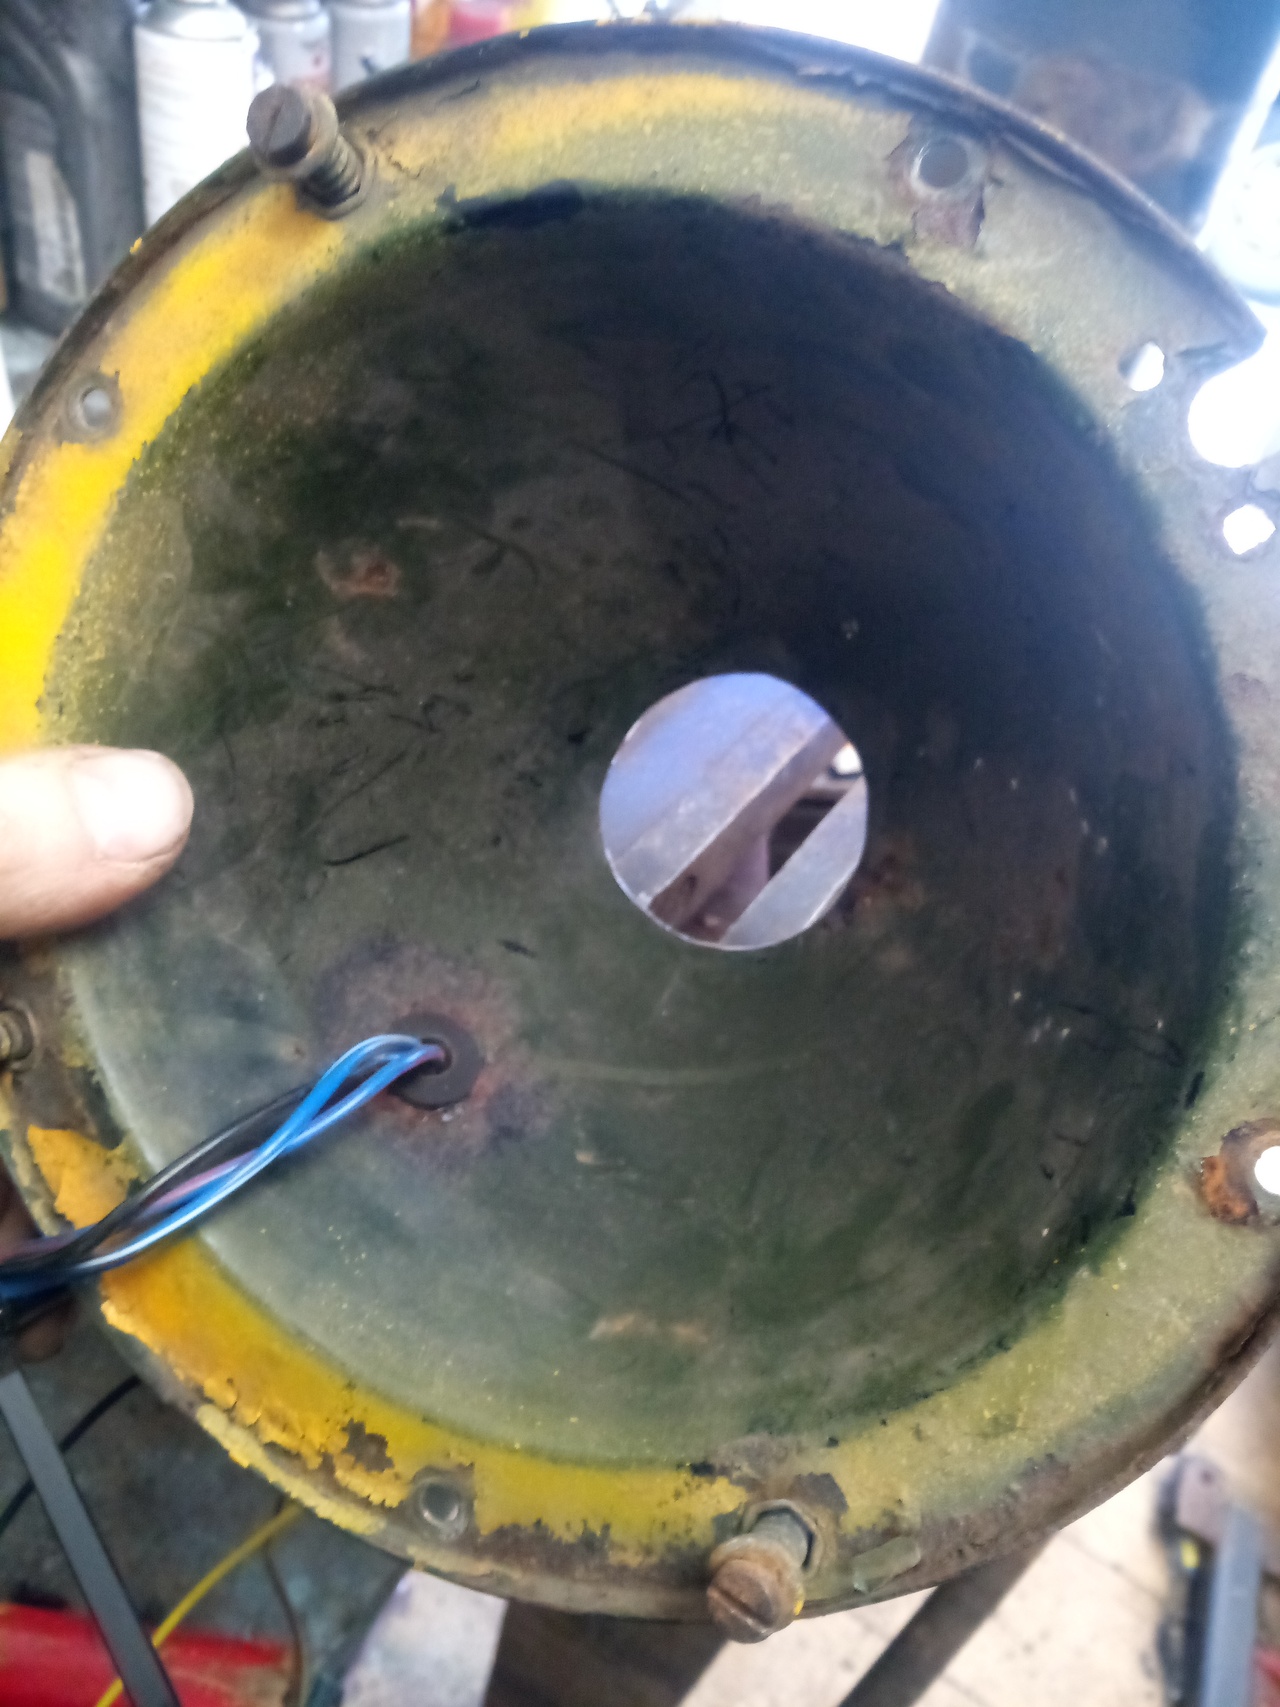
Which means... a hole needs to happen! And, half an hour or so later,
sure enough:
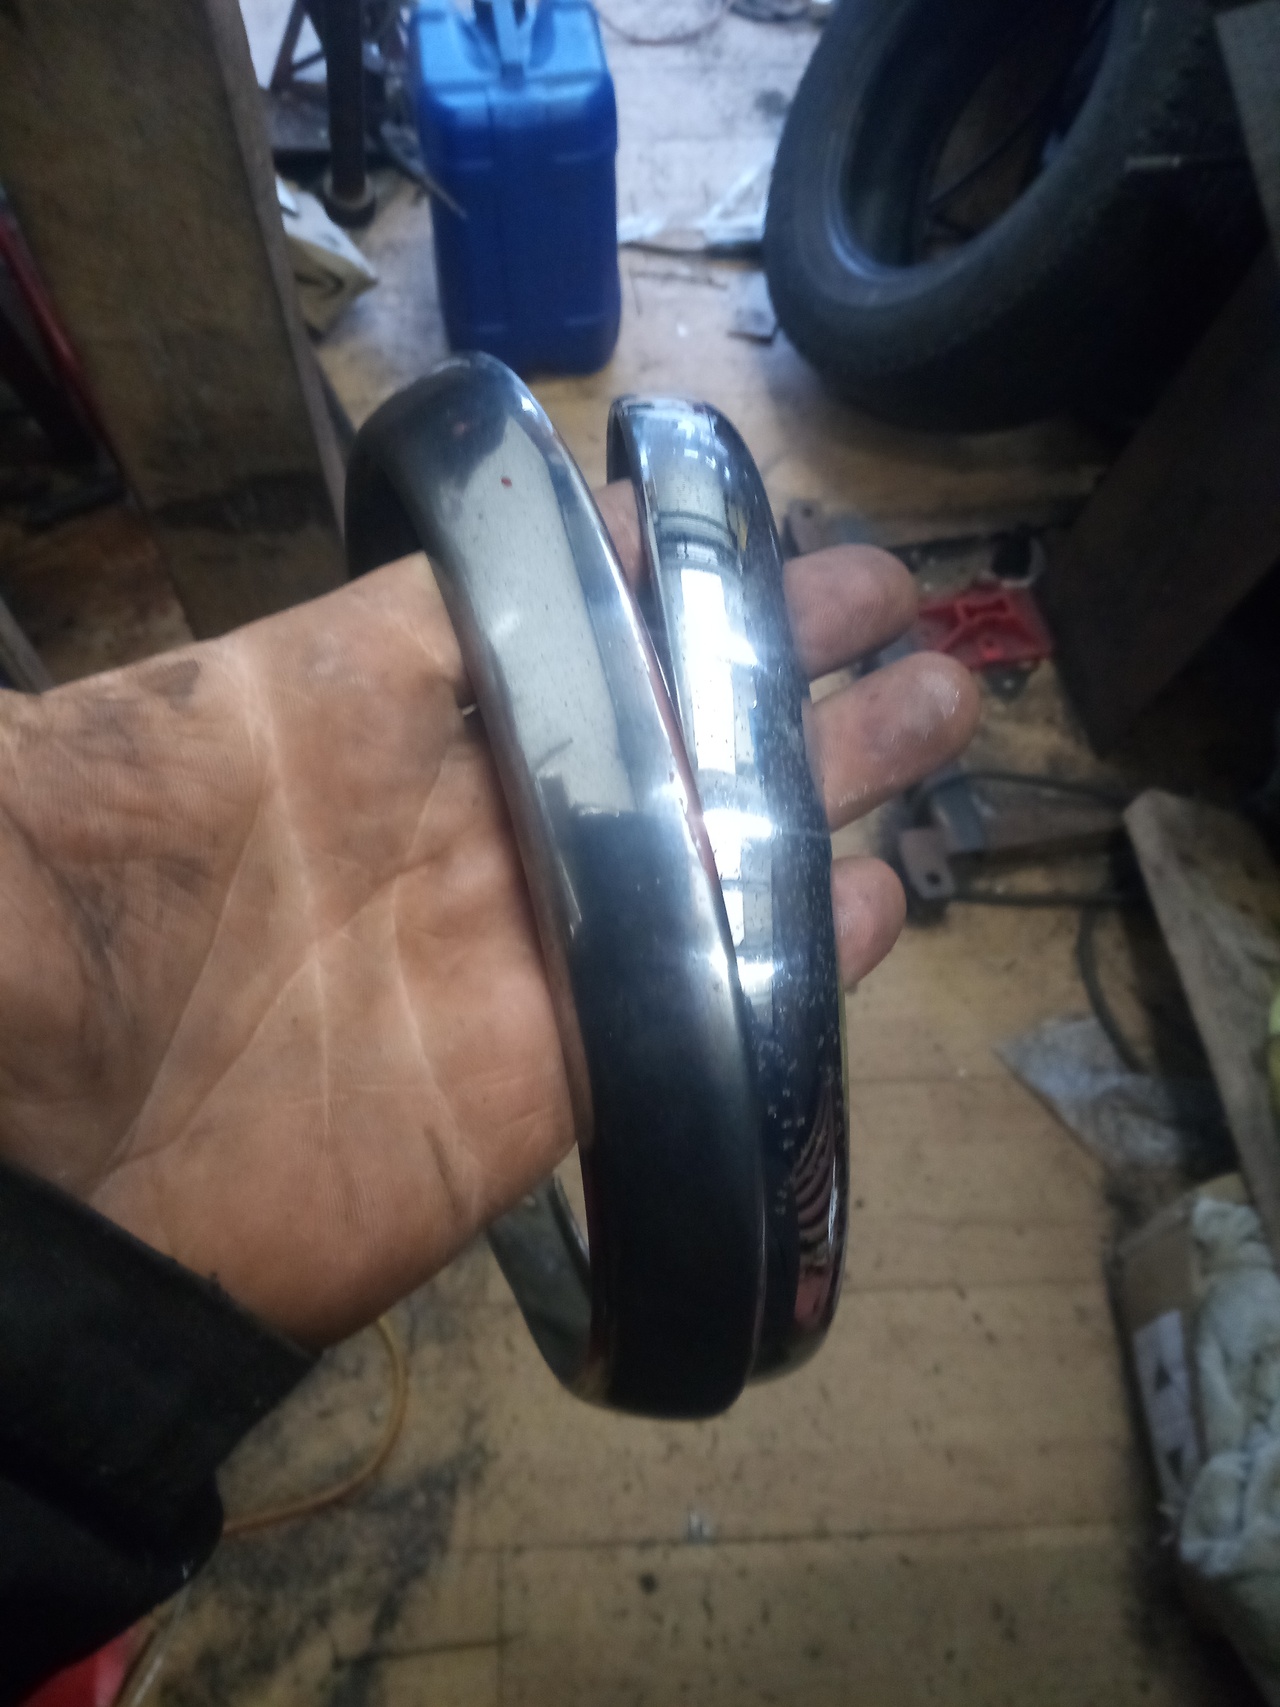
And in comparison to an unbothered one:
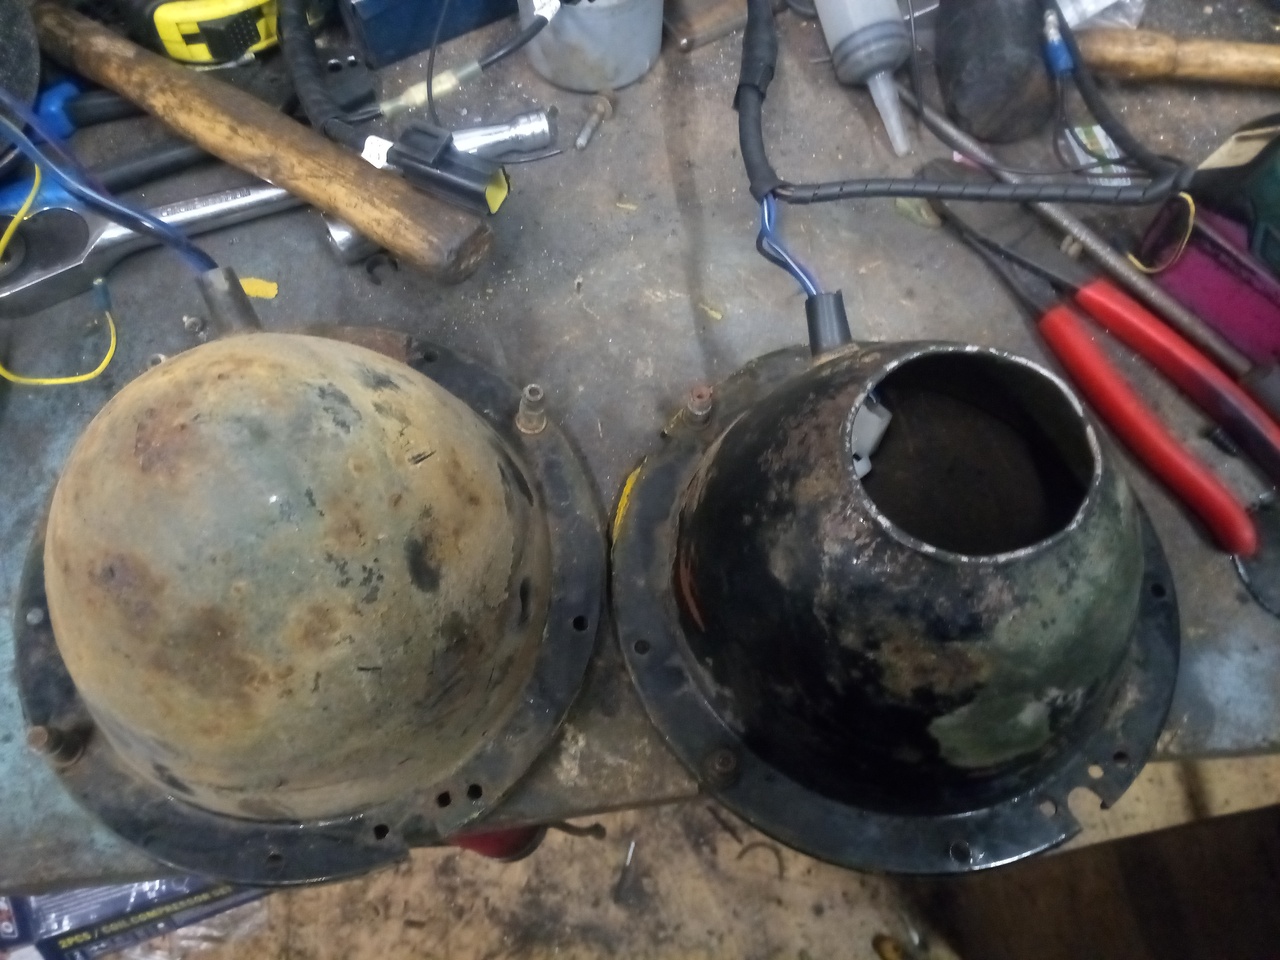
I can neaten the edge up on that a bit more yet and make it a bit more finished, but it was nearly 9pm at this point and despite the best efforts of my painkillers from earlier my knees were starting to buzz at me.
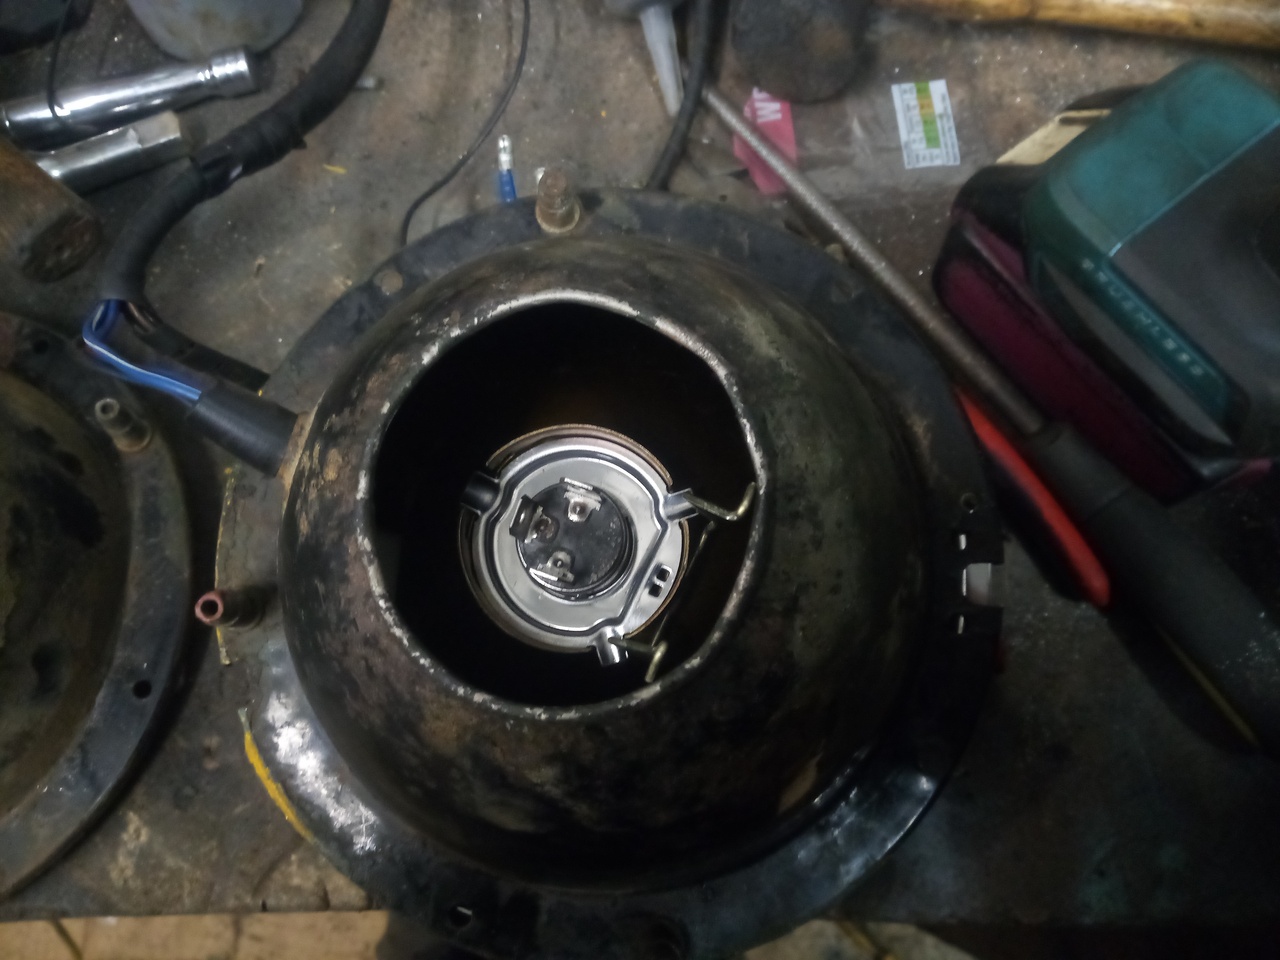
And it works out quite nicely, I think! Sufficient room to manipulate the clip, wiggle the bulb out/in, and fit the plug. I've worked on modern stuff with much worse access! (You can go right to hell, Mercedes, with that stupid upwards-hinging access panel on the Atego that can't hinge up far enough to release, unless you tilt the cab.)
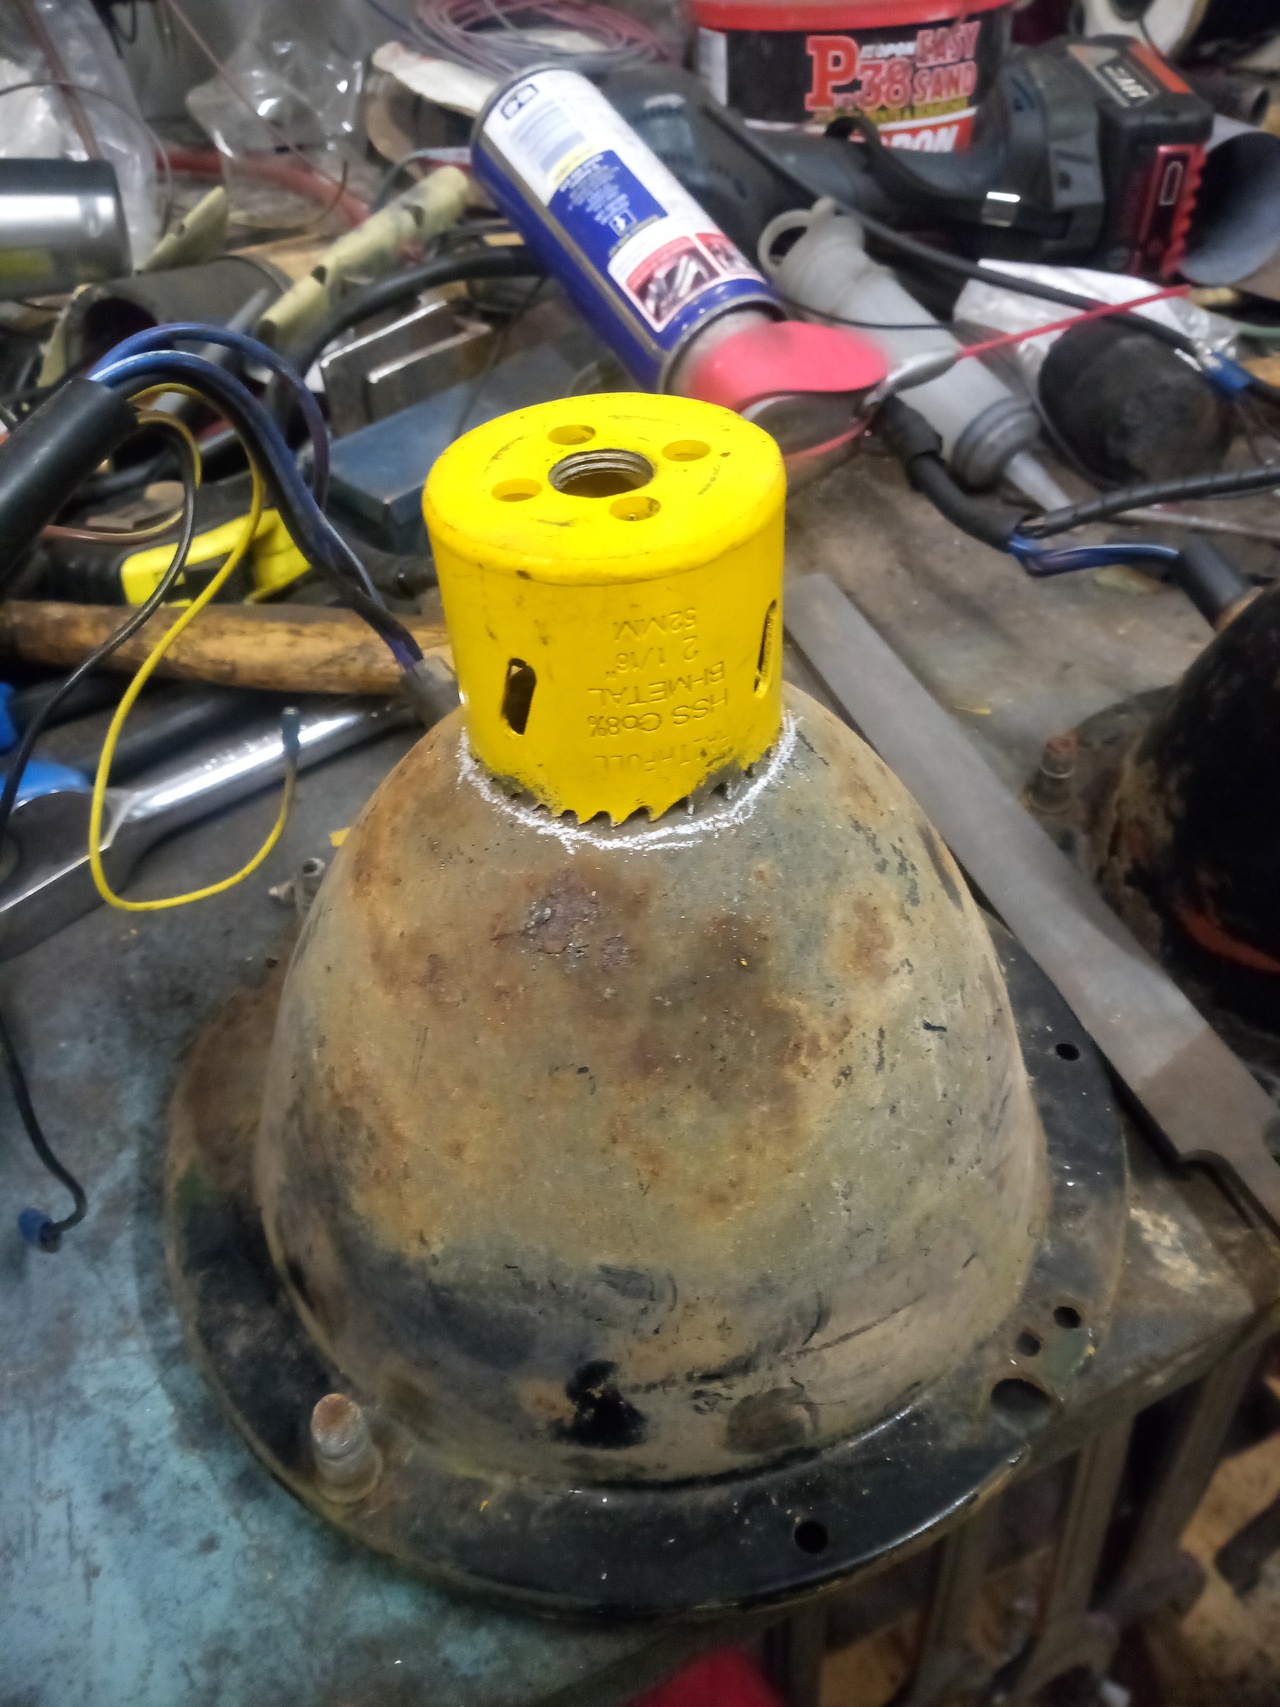
Process here starts with a hole-saw to draw around, like so:
The process goes something like the following. (There will be no circles and arrows, but there will be a paragraph of the back of each one, explaining what each one was, to be used in evidence against ... ...hold on. ahem)
- Mark out your hole, right on the peak of the bowl
- Slice off the back of the bucket, across the line.
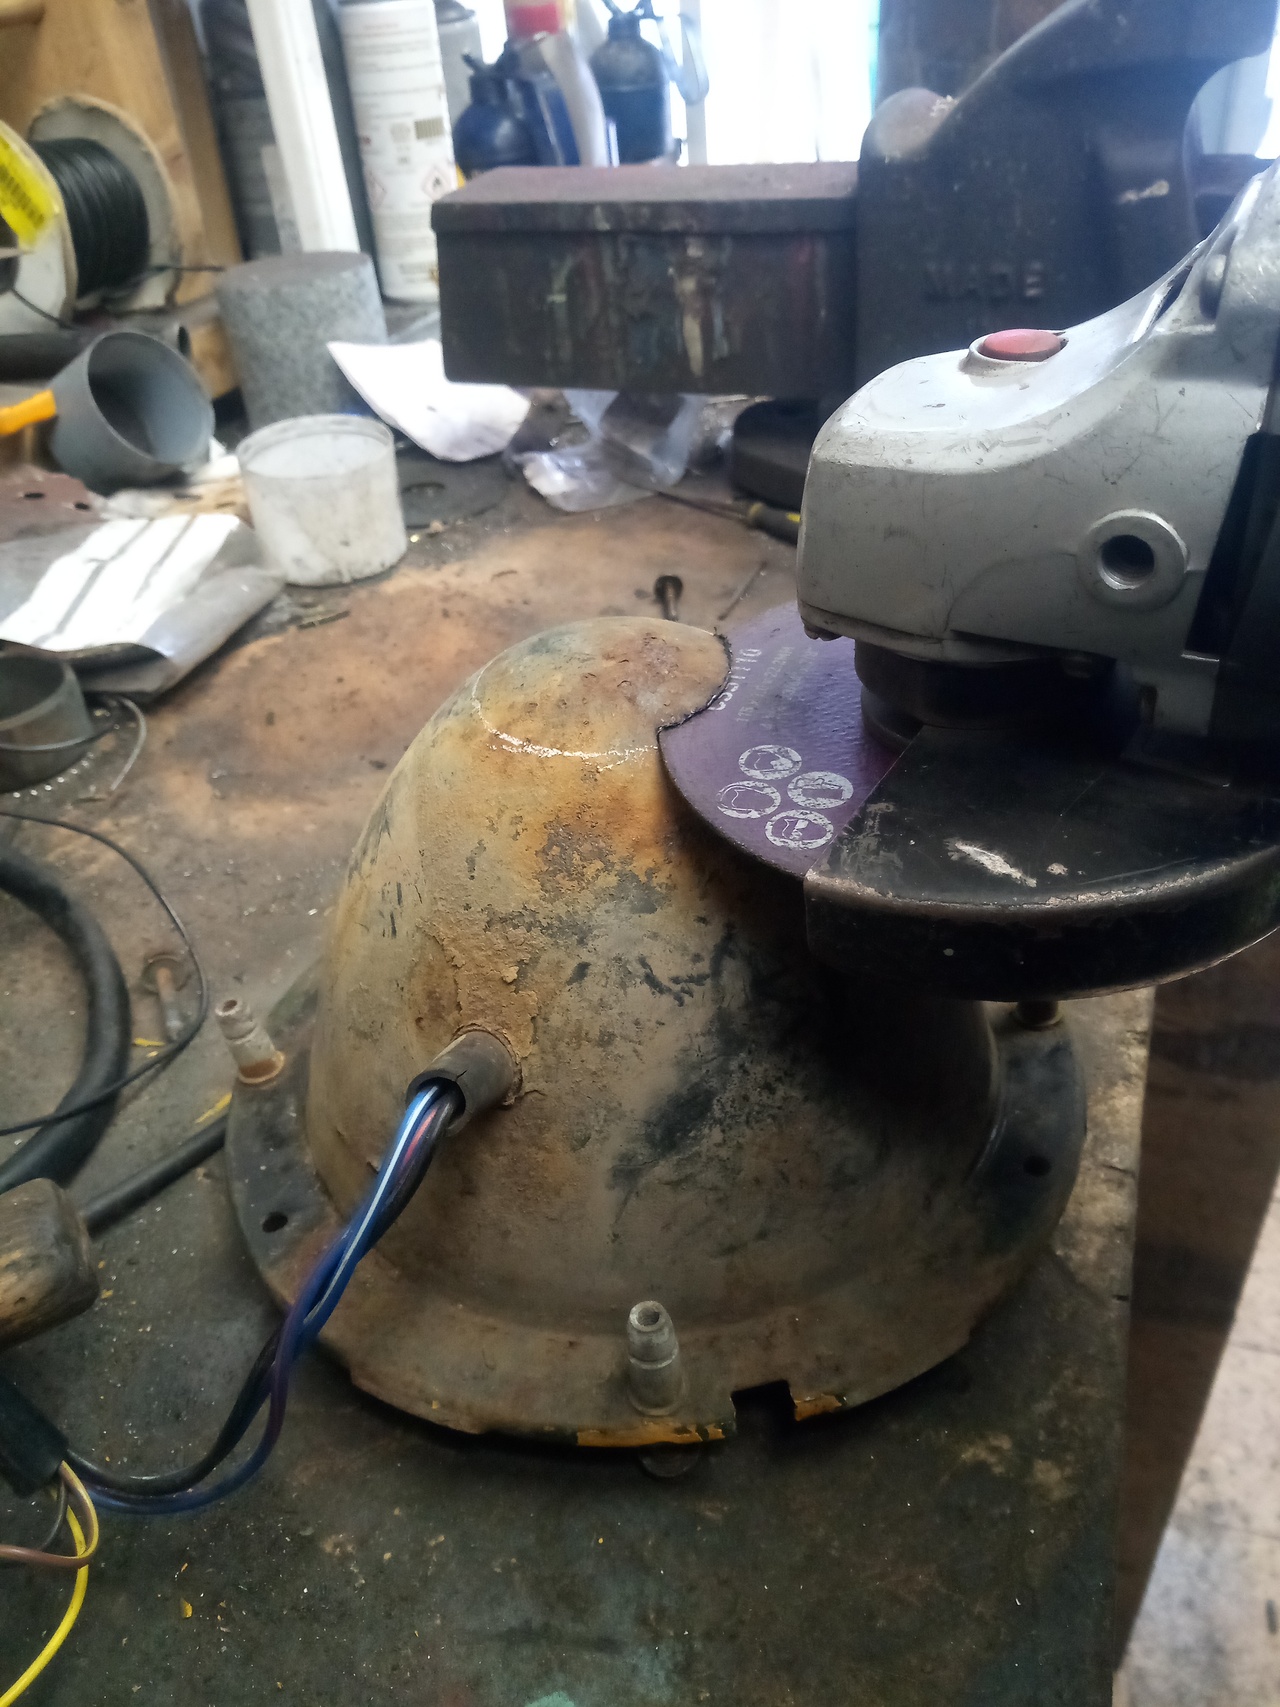
- Which leaves you with a ragged hole, hungry for flesh (ahem)
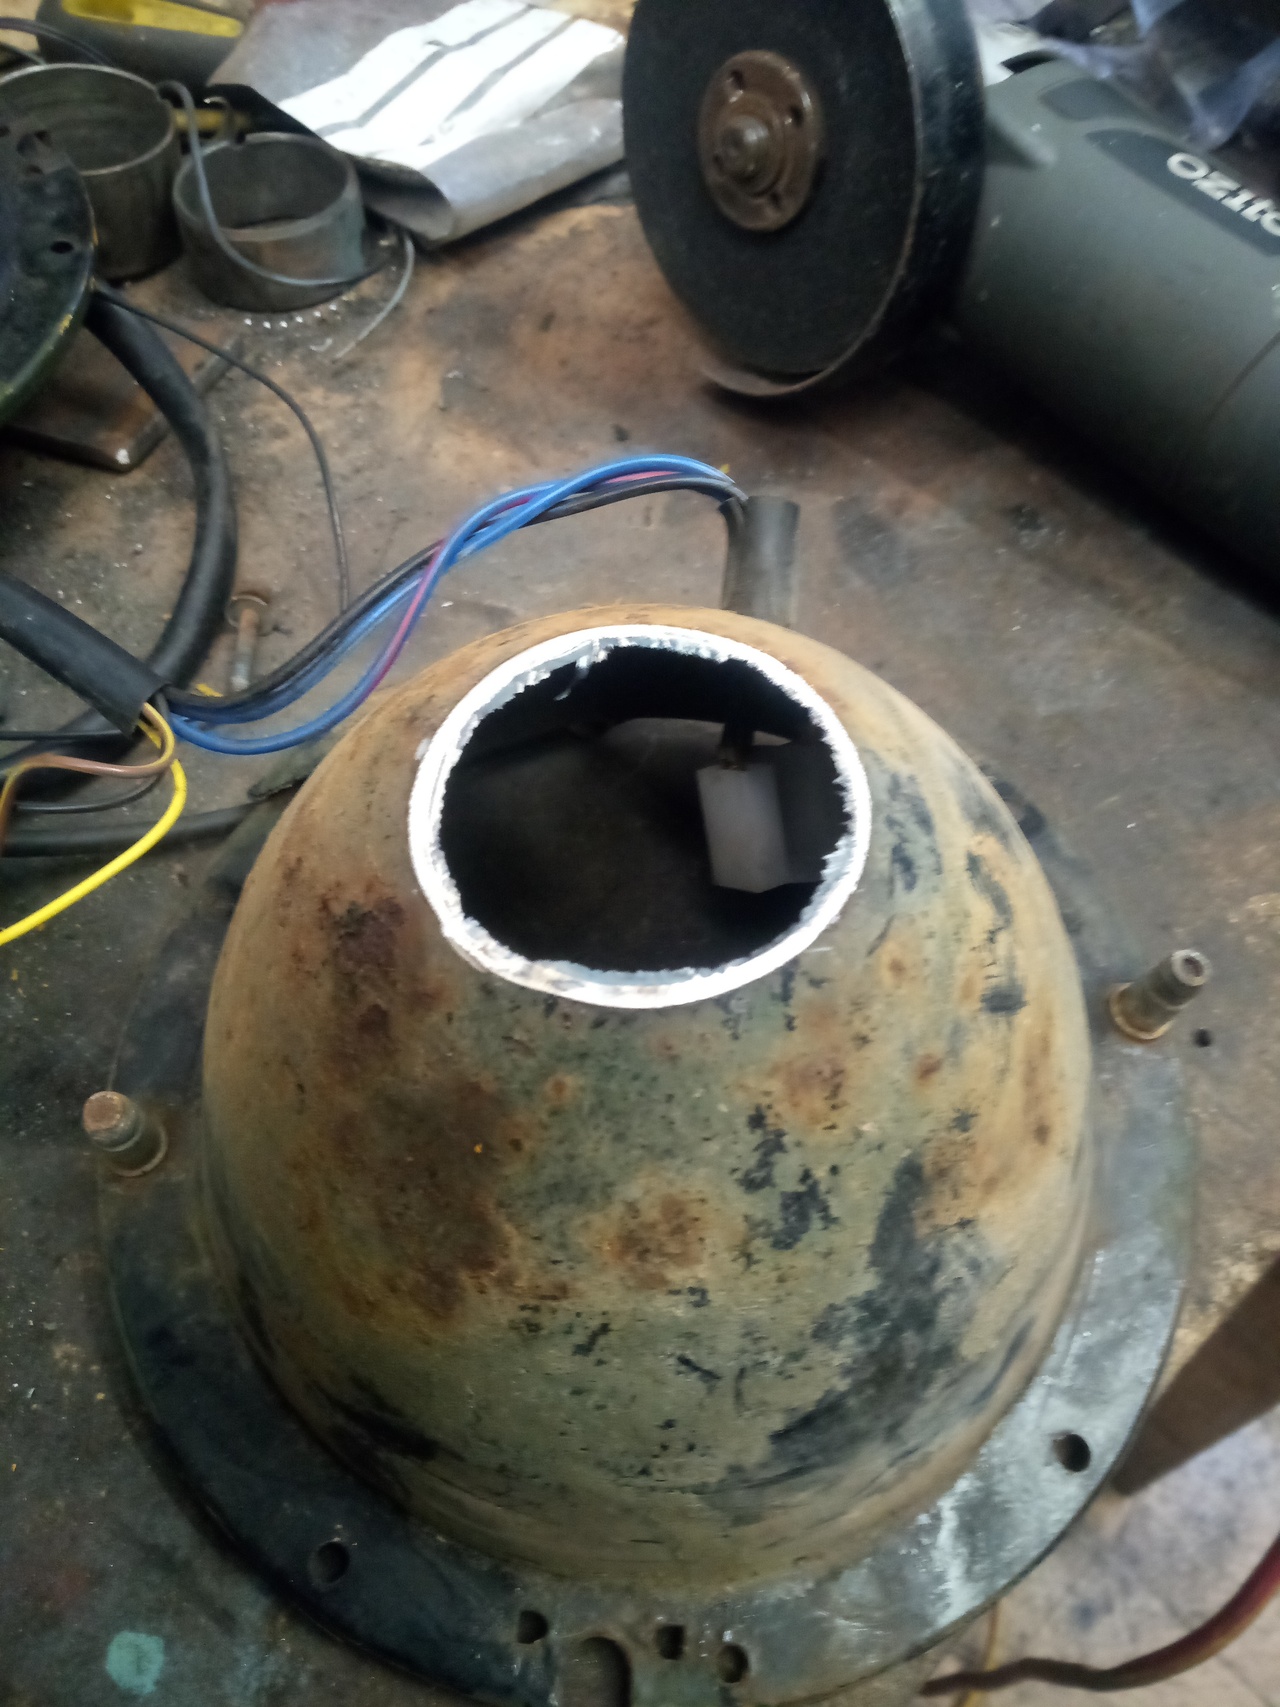
- Take your files...
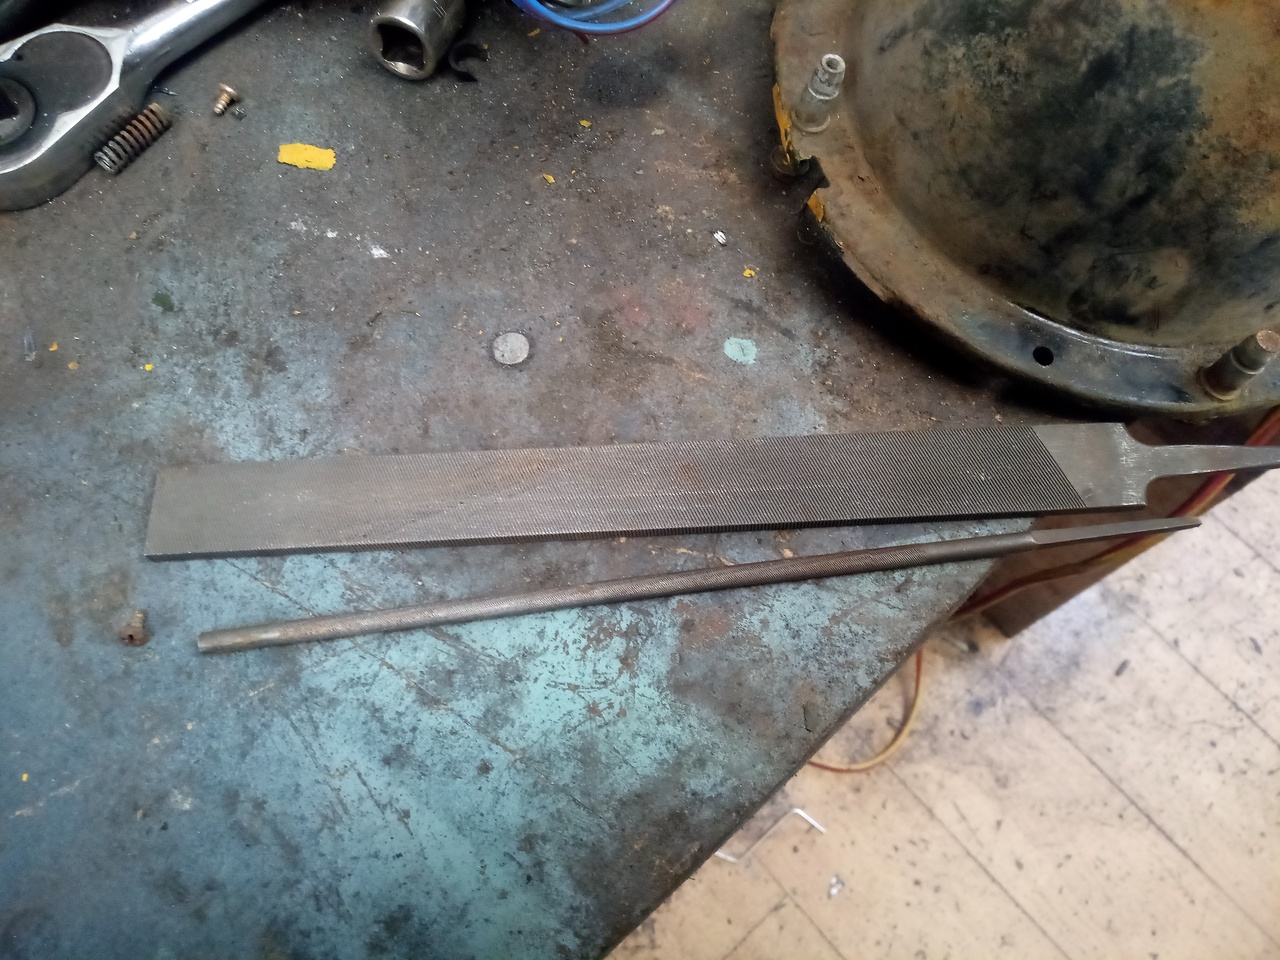 (...and put handles on them. To lessen how much it hurts when you dig
the tang into your soft squishy bits.)
(...and put handles on them. To lessen how much it hurts when you dig
the tang into your soft squishy bits.) - Neaten up the hole with files, to take off the burrs and make it
more consistently round
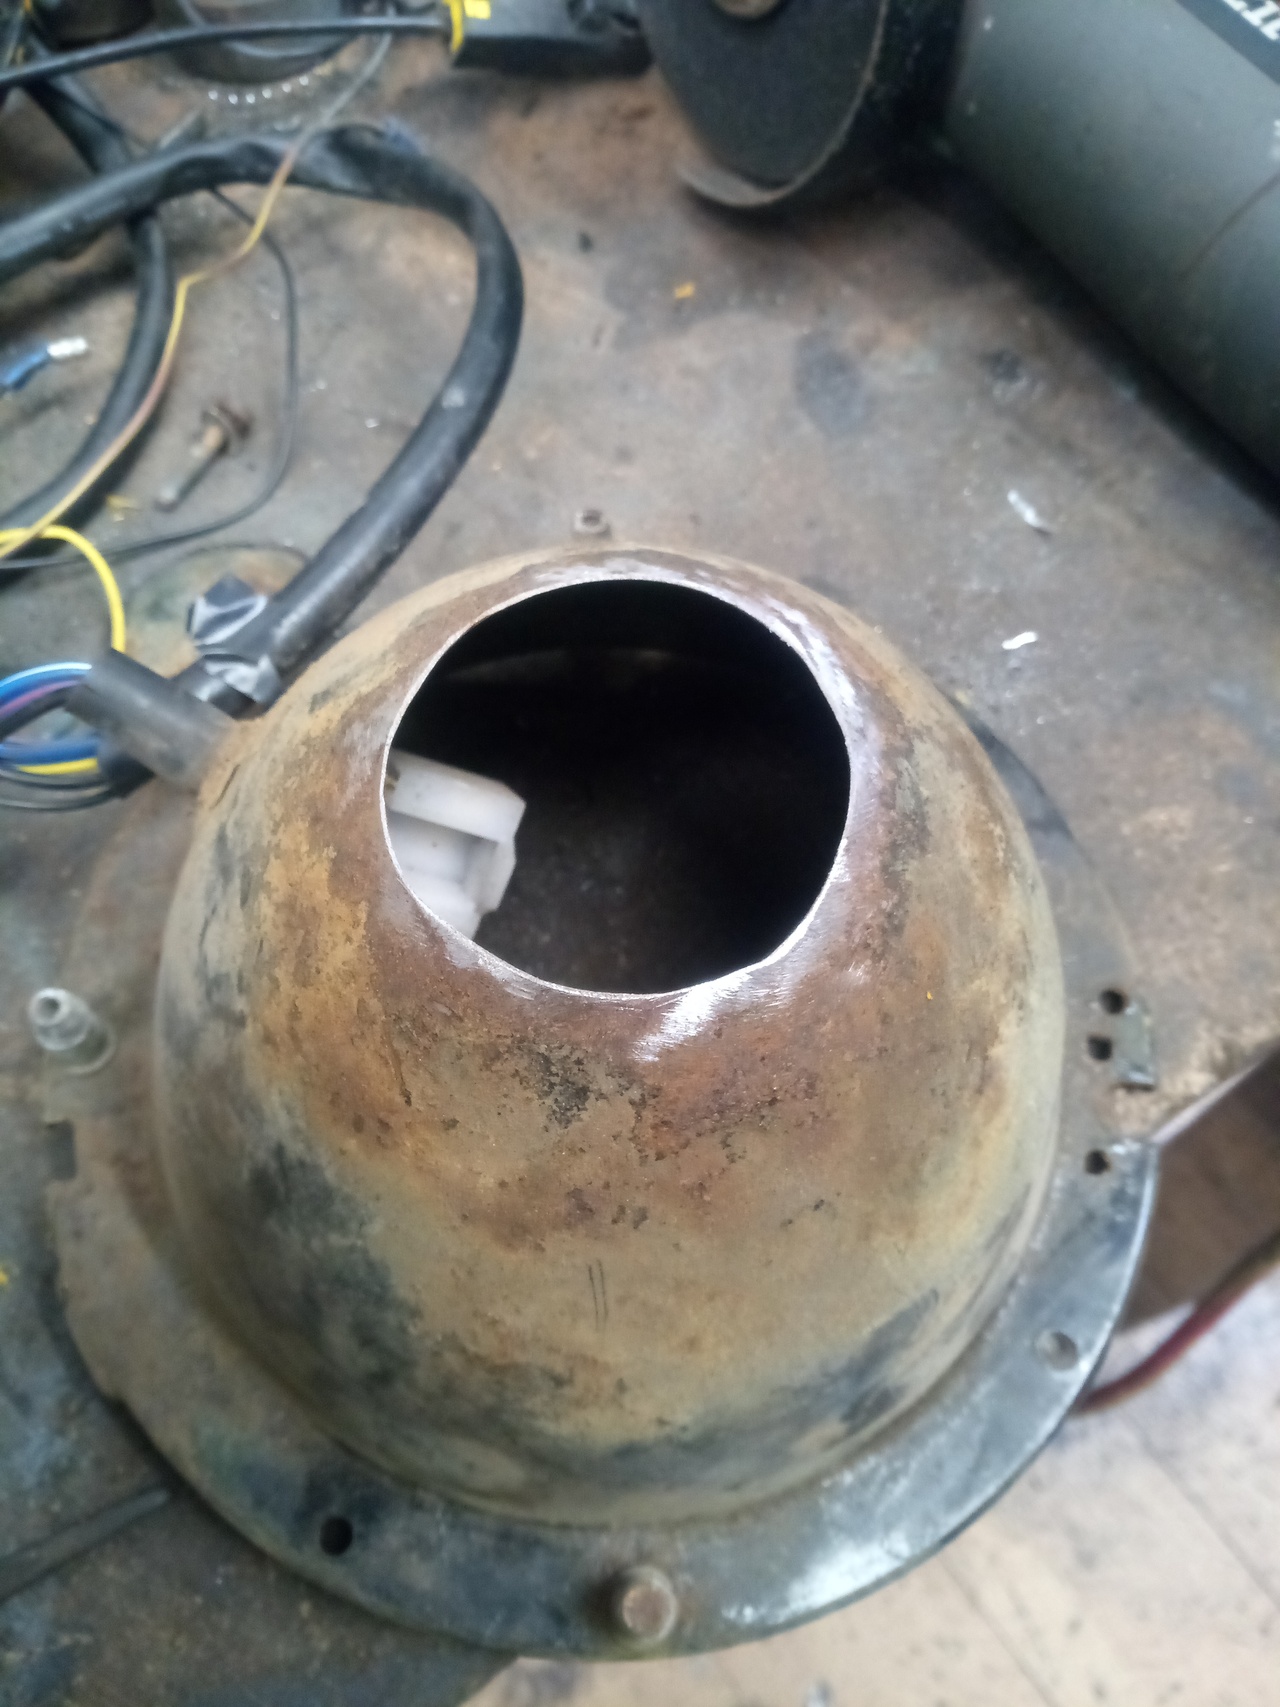
- Flare the edges of the cut outward, gradually working around until
a lip stands up
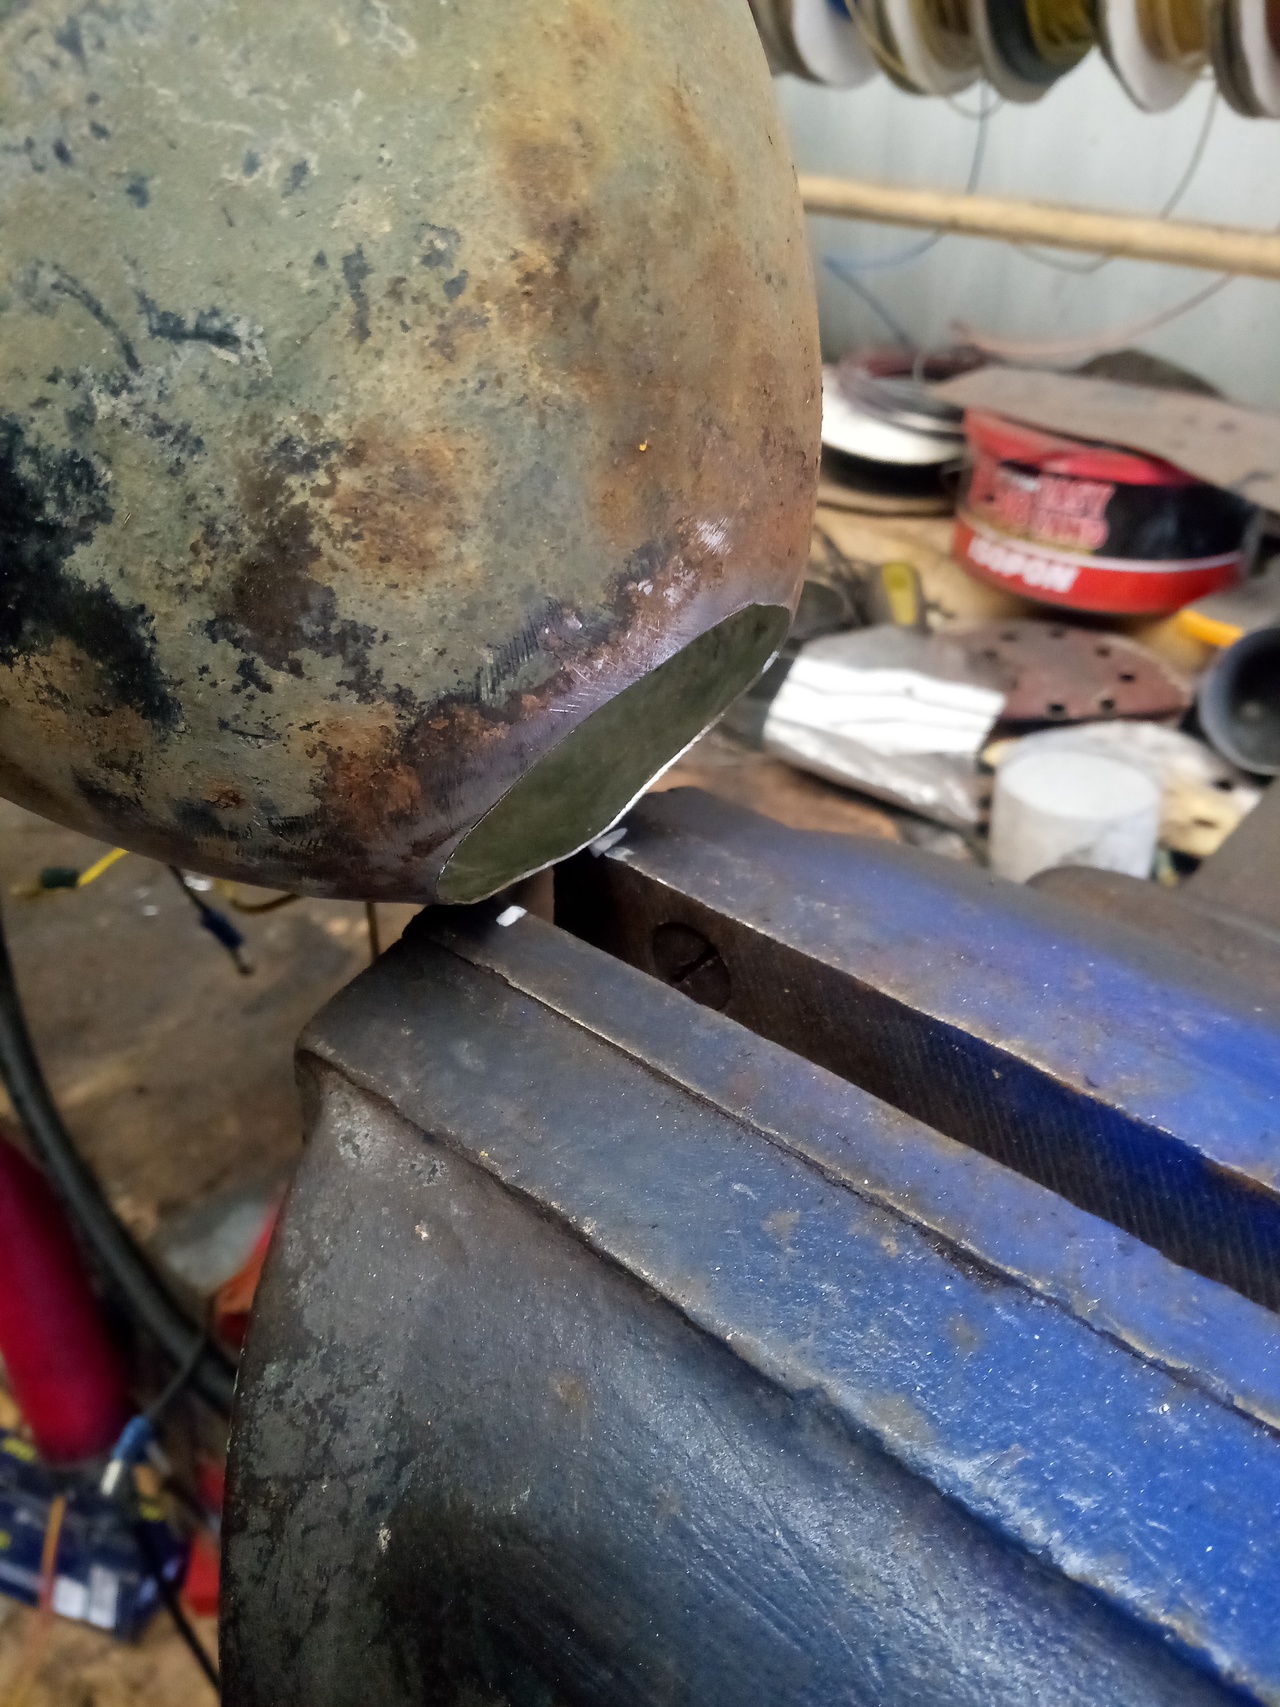 A vice being used, here, to provide a notch to tap the metal down
into, by use of the pointy-ended body hammer from the inside.
A vice being used, here, to provide a notch to tap the metal down
into, by use of the pointy-ended body hammer from the inside.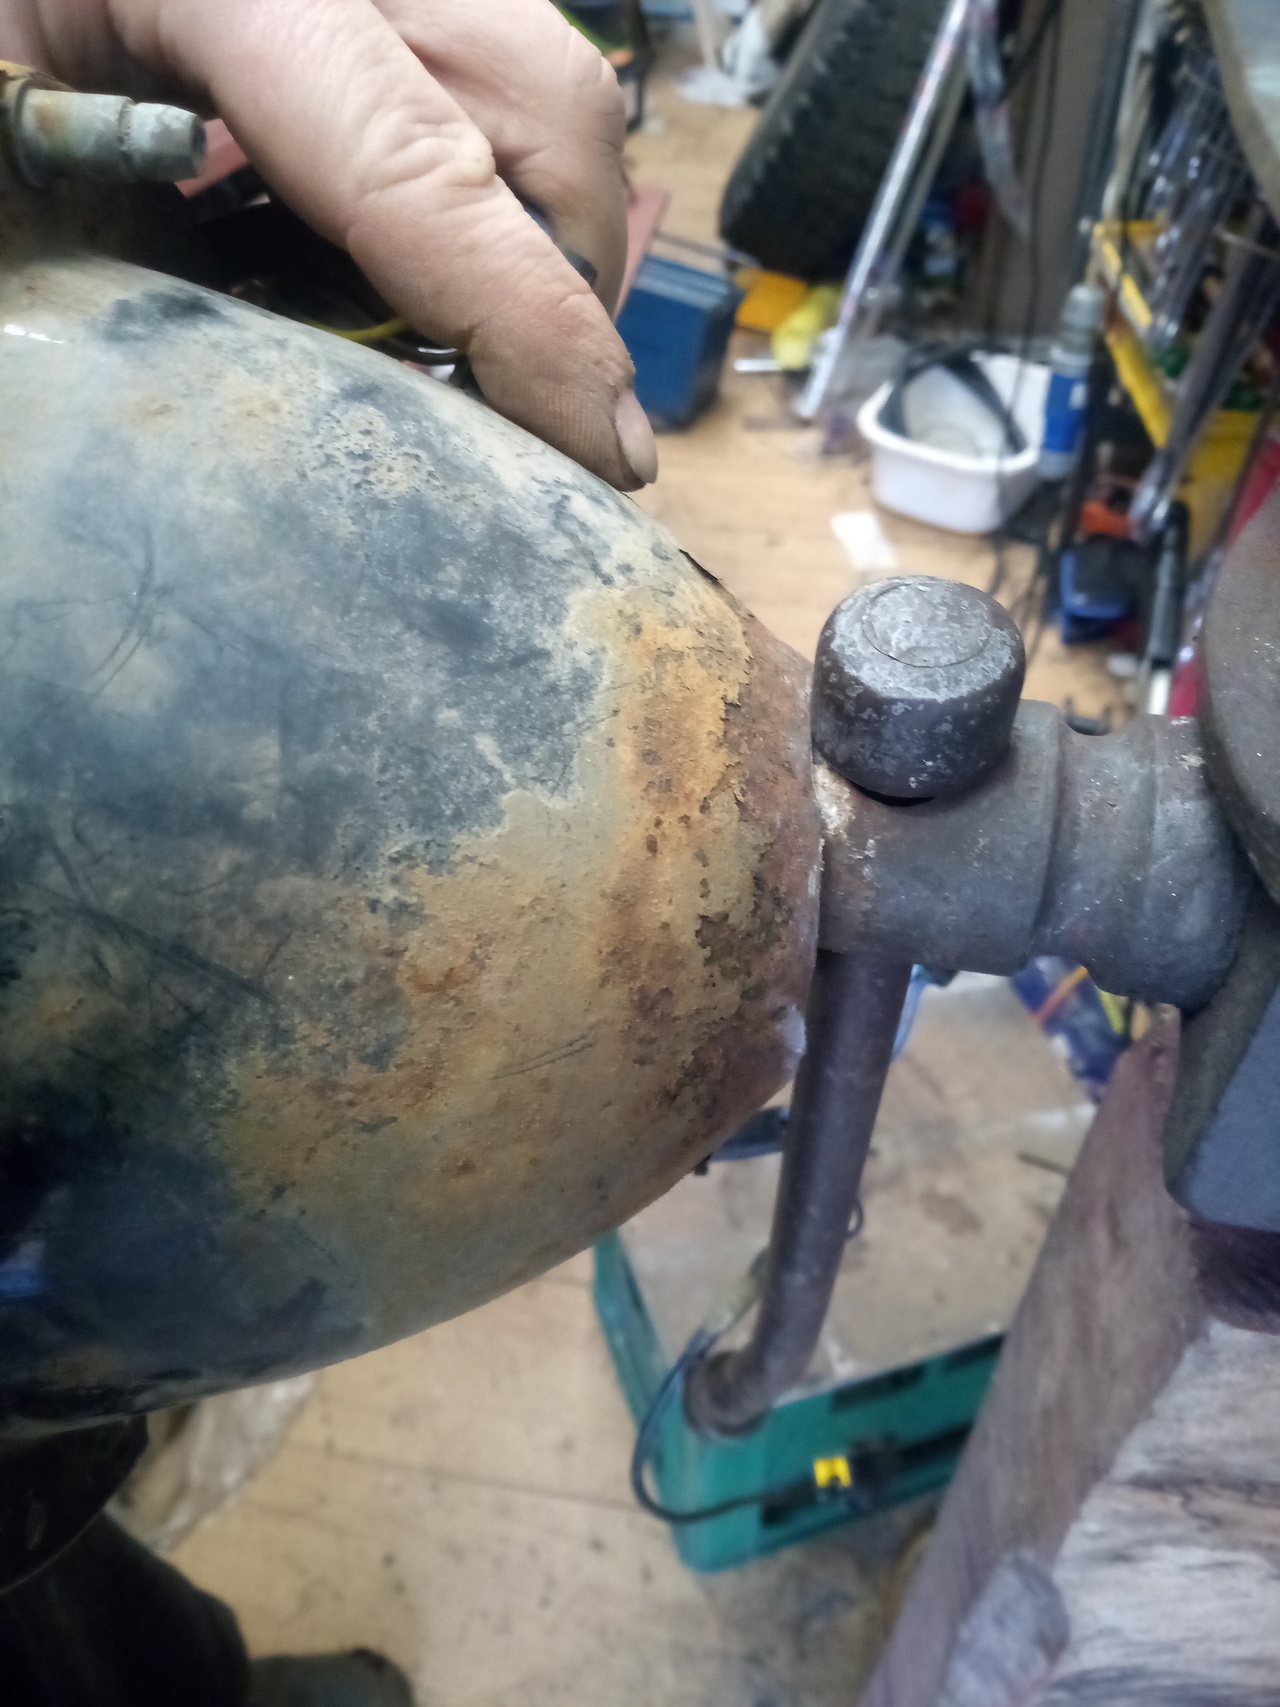 Once
a bit of a flare is started, the handle of the vice is then
employed as the anvil in combination with the pointy end of the
body-hammer again, striking about 6mm or so from the cut edge, to
turn it outwards a little further.
Once
a bit of a flare is started, the handle of the vice is then
employed as the anvil in combination with the pointy end of the
body-hammer again, striking about 6mm or so from the cut edge, to
turn it outwards a little further.- After a few rounds of this, you should have a nice flare
started...

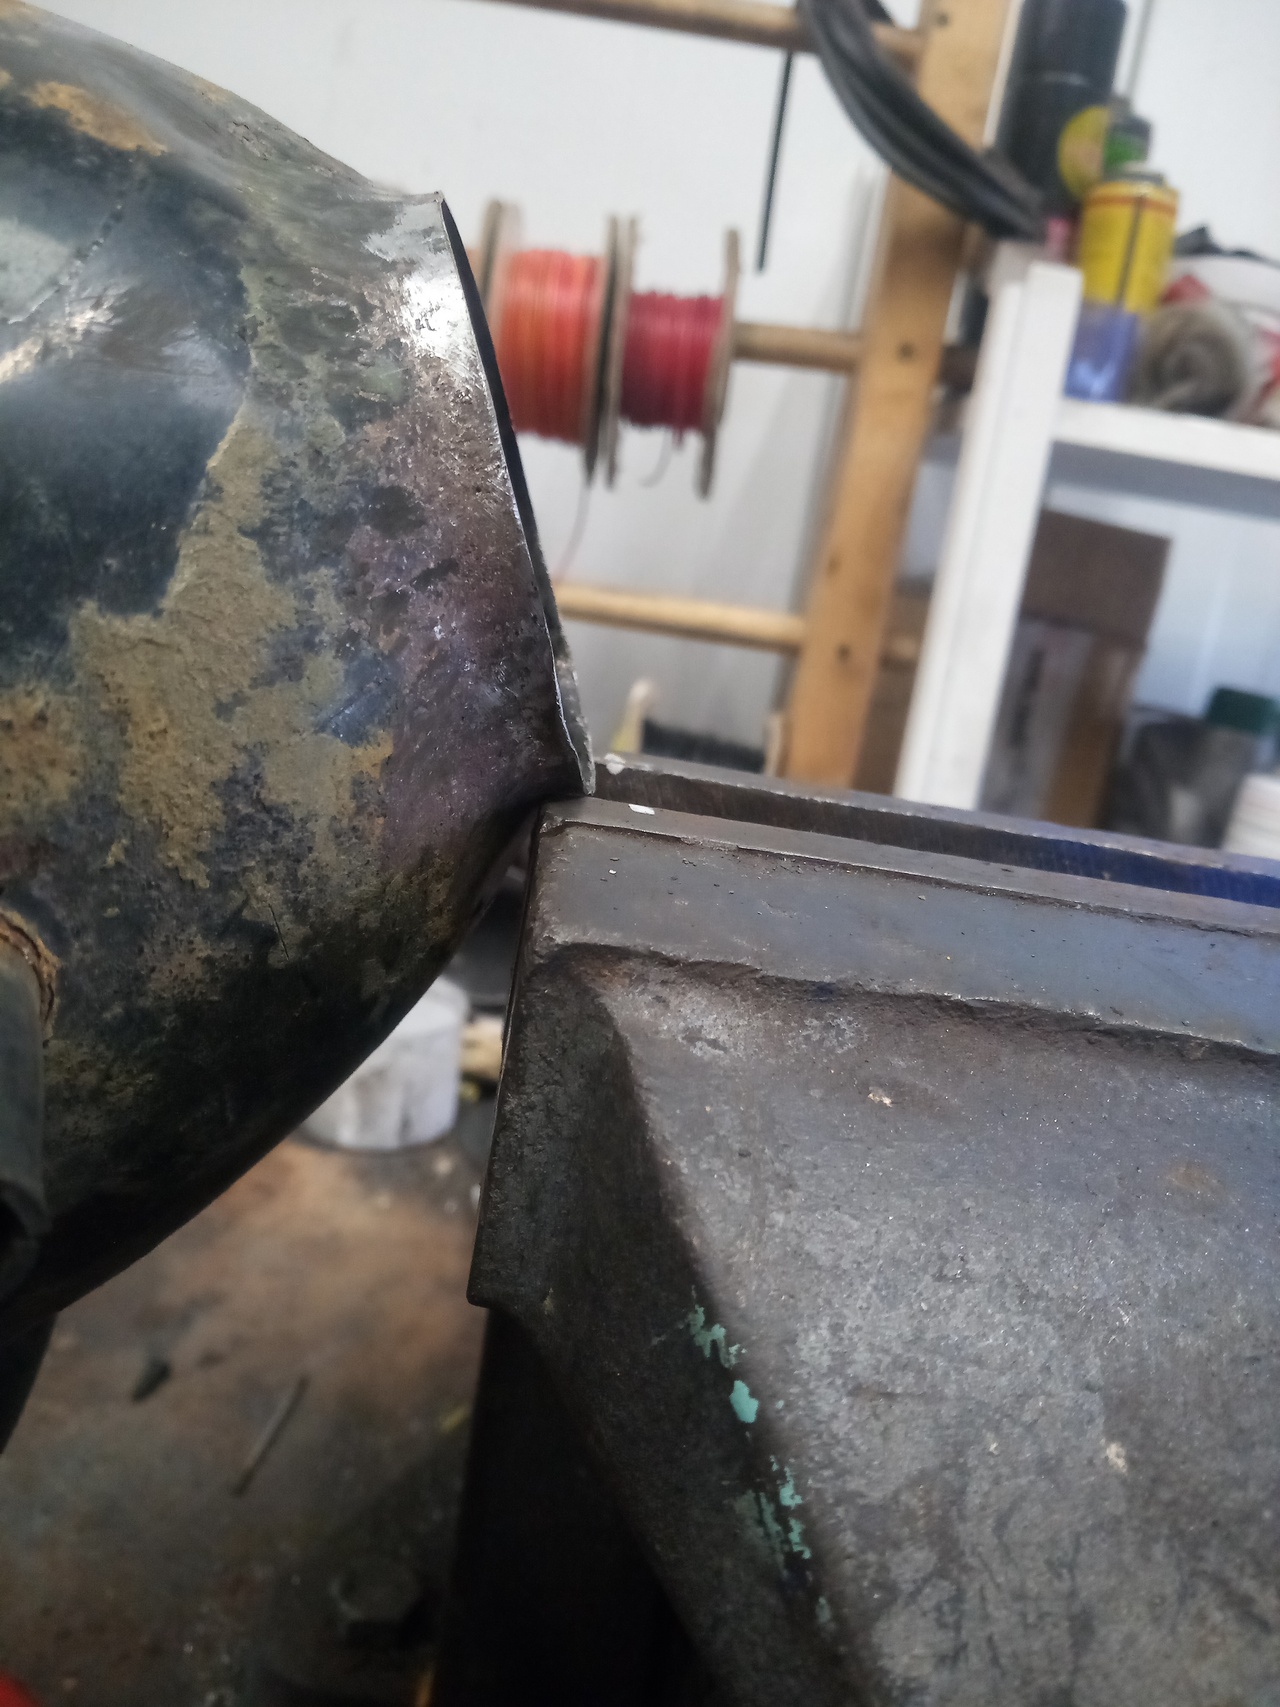
- Roll the newly-created lip down over itself, using the vice as an
anvil...
 ... working around and around and around
bulb.
... working around and around and around
bulb. - Once the flare has started to turn down nicely, and I was starting
to run out of room on the edge of the vice jaw, I switched to using
the flat face of the hammer making glancing blows that hit more
sideways than directly onto the surface. ((Picture the hammer moving
diagonally from top left to bottom right of this picture, glancing off
the flared edge with each strike.)
- Once the edge is rolled over, switch to a convenient bit of offcut round bar in the vice, gradually working around with the pointy end of the hammer tightening up the rolled edge, until it's nice and snug, and has no sharp edges that would chew your fingers off the next time you want to change a headlight bulb.
- Et wollah!
 One not perfect, but perfectly good enough, rolled edge that's safe to for you to cram your clumsy mitts into in the dark, pouring rain, and howling gale and not end up leaking the red stuff all over your metalwork. And it only took half an hour of incessant tap tap tap tap tap with a hammer, driving everybody else crazy!
With a little care, and finish-work to neaten it up, you'd never know it didn't come from factory like that! It'll be our secret!
Then do it again, and you have Two of Them.
At this point, if you want to follow my process exactly, you can break off the adjuster screws, to match the other one you broke the adjuster screws off previously. Oh, and you probably want to apply some paint to that bare metal so that it doesn't rot away and turn into a ragged hole that'll gouge you open on a cold winter night in the rain and blowing gale...
As for why I went to this trouble, rather than merely undo the three screws that hold the inner trim-ring on and pop the light out, like the old sealed beam?
On the original mounting rings, with a full outer flange, the adjuster screws go through slotted holes so it slots in and twist-locks kinda like a 3-lug bayonet fitting, and if I were able to keep them I would just remove the full light every time because it was so easy...
But one of the originals is so badly rotten that it disintegrates a little more each time I try to take it out, and I'd bought these new ones that have a plastic ring that replaces the original bowl and leaves the entire back of the light exposed. Neither of those are ideal, so I was going to just put the new rings on the headlights, and fit them to the original bowls, problem solved!
Except the new rings don't mount with the same type of keyholed holes, and they're nightmarish to fit to the adjusters. (Which are all seiezed and now broken anyway) And the lights are retained to the ring by 3 loose tabs, rather than being sandwiched between two full rings, so the second I touch that it'll just become a shower of pieces and suffering, and I have no real desire to have to play a game of Operation every time I want to change a headlight bulb, because it's guaranteed to be in the worst possible conditions as it is.
There will be something added to cover the back of the bowl, so the light doesn't fill with water. Not sure what, yet, but there will be something.
...Also, the chrome trim-rings -- dented and speckled and scratched as they are -- polish up fantastic and it really highlights every imperfection, and I love it.
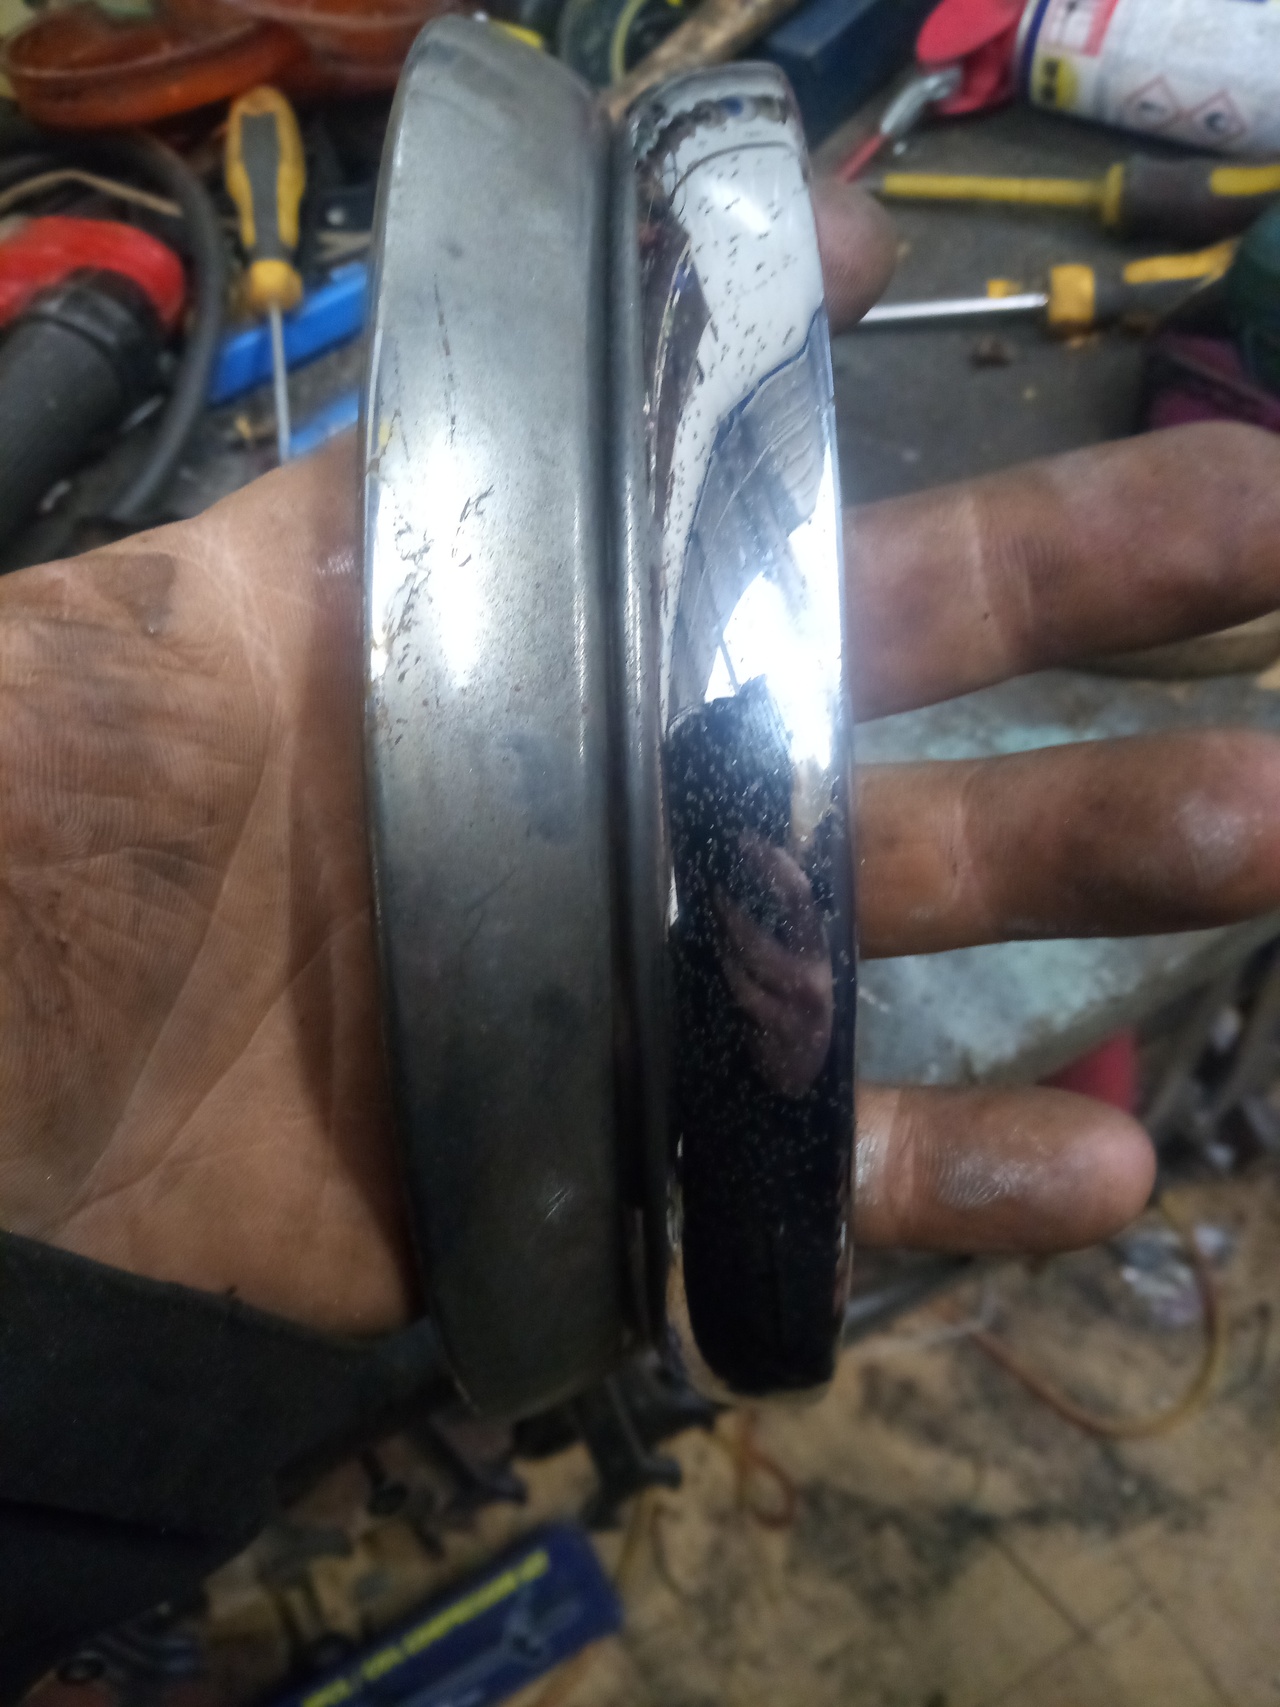
Polishy polishy...