Managed to pick myself up off the floor long enough to get some stuff
done, despite my legs' complaints after a couple of days walking round
London. 
- Got more welding gas. It's gotten about 50% more expensive since last time! Ow.
- Got the 1/2" UNC bolts for the gearbox, and bolted that up solid.
- Re-resealed the PTO blanking plate on the gearbox, and re-refilled it with oil. It appears to be holding, this time.
- Adjust the clutch linkage rod so that I can actually press the clutch, now that the gearbox is in place and the clutch disk won't fall out of alignment.
I also fiddled about with the little prox switch I was going to use for the reverse lights, which works electrically but unfortunately seems to pick up the gearbox case when it's screwed in to the correct depth to pick up the shift fork for reverse.
It's apparently got a wider angle of sensitivity than I first thought, and it can't be screwed in any deeper or it hits the shift fork.
I think I've found a different switch that should hopefully work in
its place, so we'll see what happens on that front. (And if not, I'll
try something else!  )
)
After that, the ever-exciting fishing game of putting the gearbox top-cover on! Got to plop it on from up top after removing the floor panel that the gear-levers stick through, and hooking it down and around to the top of the box. Then, your assistant has to hold the top cover level and ensure that the tang on the bottom of the gearstick lands in the slot in the selectors while you finish feeding the gearstick down.
...if you don't have an assistant to help you, just feed it down from on top, plop it down onto the gearbox, then climb down to crawl under the wagon and try to lift the lid back up because the sealant has already grabbed it; then with your arms squeezed into a nice tight space, try to hold the gearstick upright and get the tang into the selectors while lowering the lid back into the sealant. Repeat three times until it all lines up just right, and bung the bolts in. Check you can select gears before fully tightening the cover, just in case.
Refit the floor panel you took out, and:
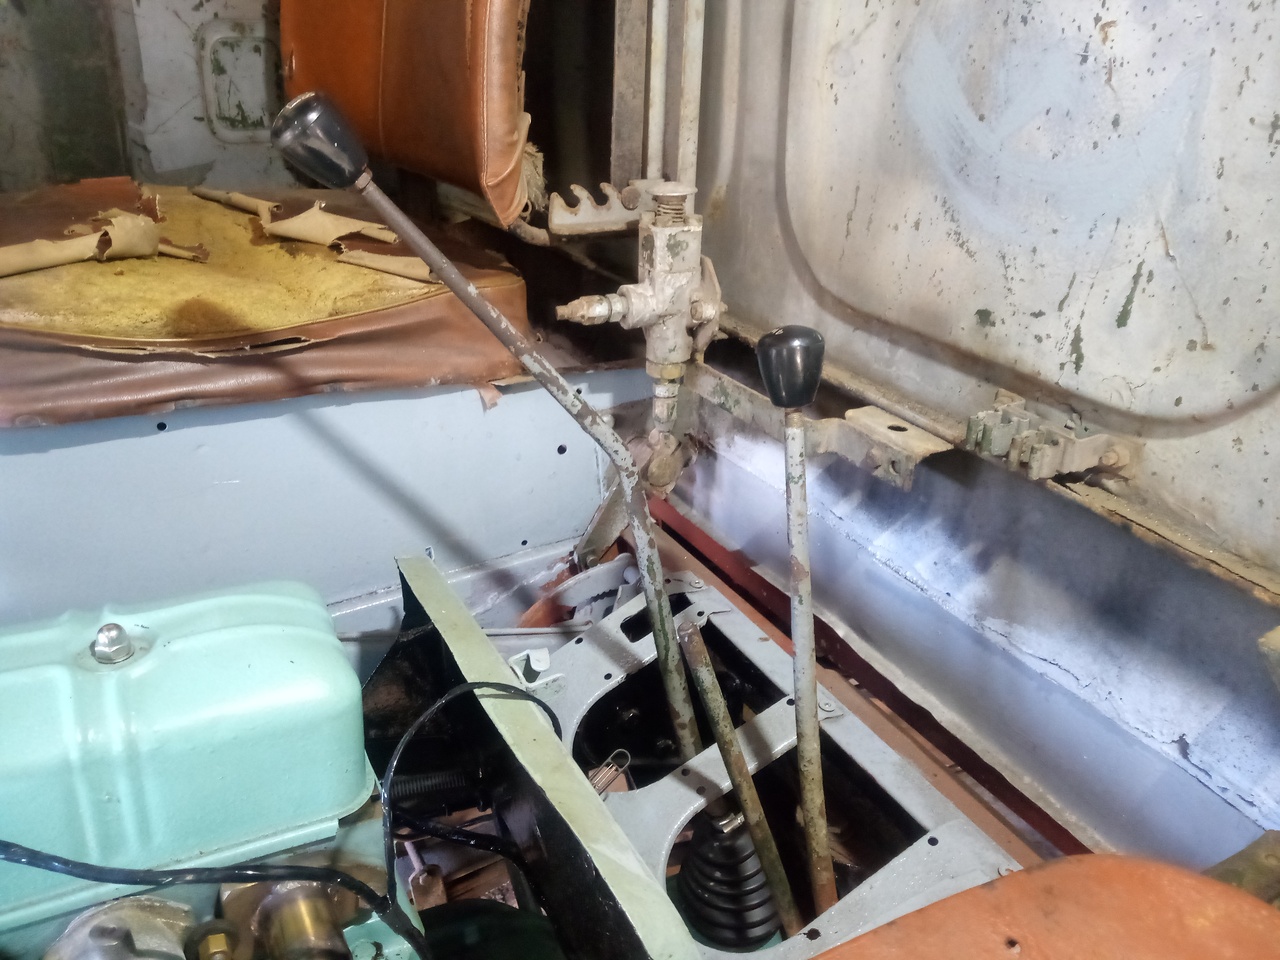
Tada! Three sticks again.
And with a little more work, a reconnected propshaft. (With all new bolts! Hilariously, the front prop takes smaller bolts, and I didn't notice that until today despite using very different spanners to take it off.)
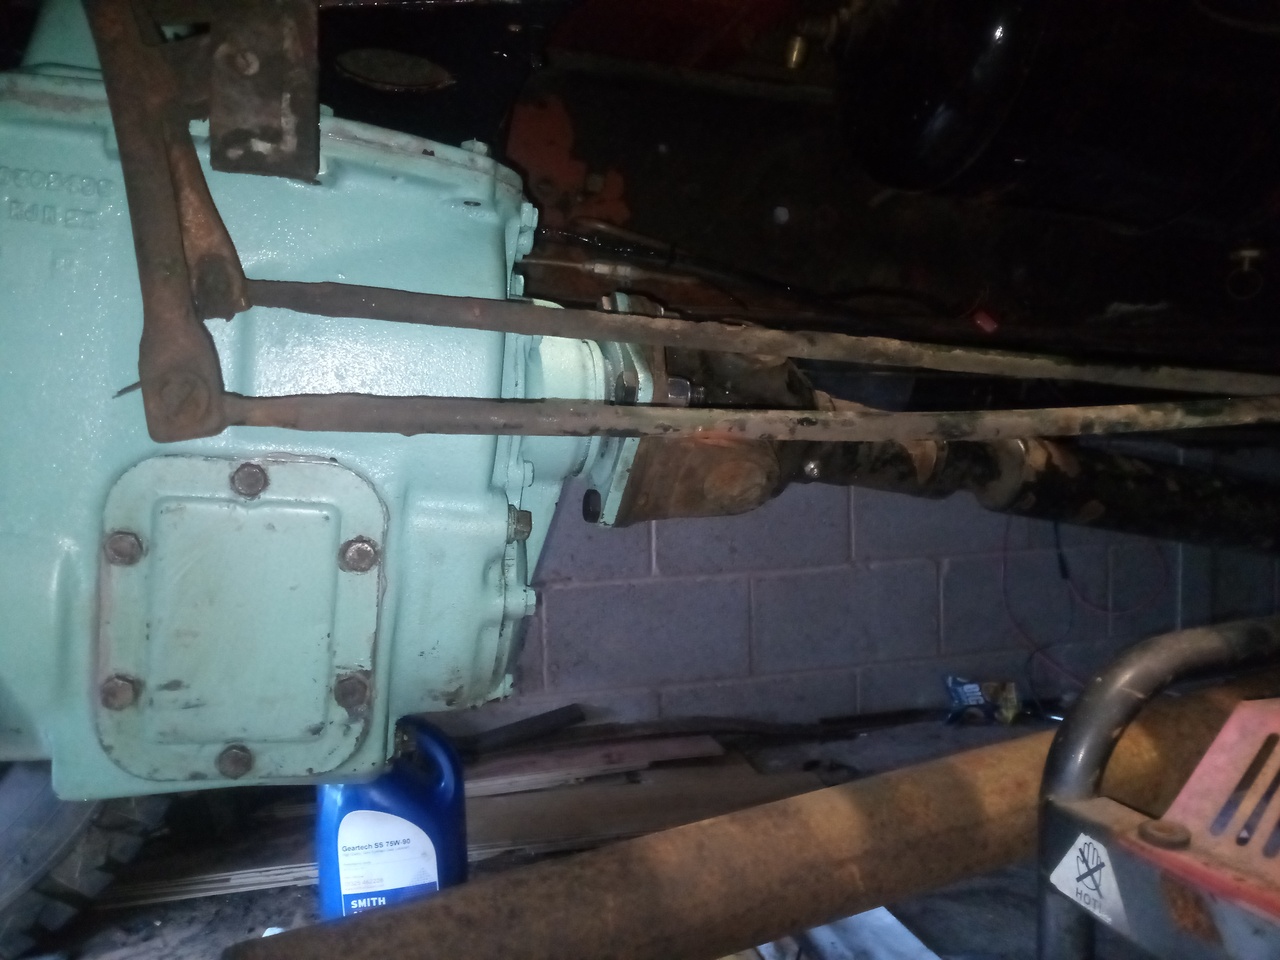
With that, a quick test was in order. Just a quick one, mind. Put the truck in 1st gear, bump the starter, truck rolls forwards: Check. Dip the clutch, truck rolls back to its original location: Check.
Great success! Now I only have to finish the exhaust (At least the
bits that are significantly easier to do with the radiator out for
access.), repair that bracket on the radiator, refit the radiator and
fill the cooling system with coolant/antifreeze, chase all the leaks
out, move all the junk from under the truck, get it out far enough to
put back wheels on it, and I can drive it round the industrial estate!

Exhausting!
Chop chop, weld weld
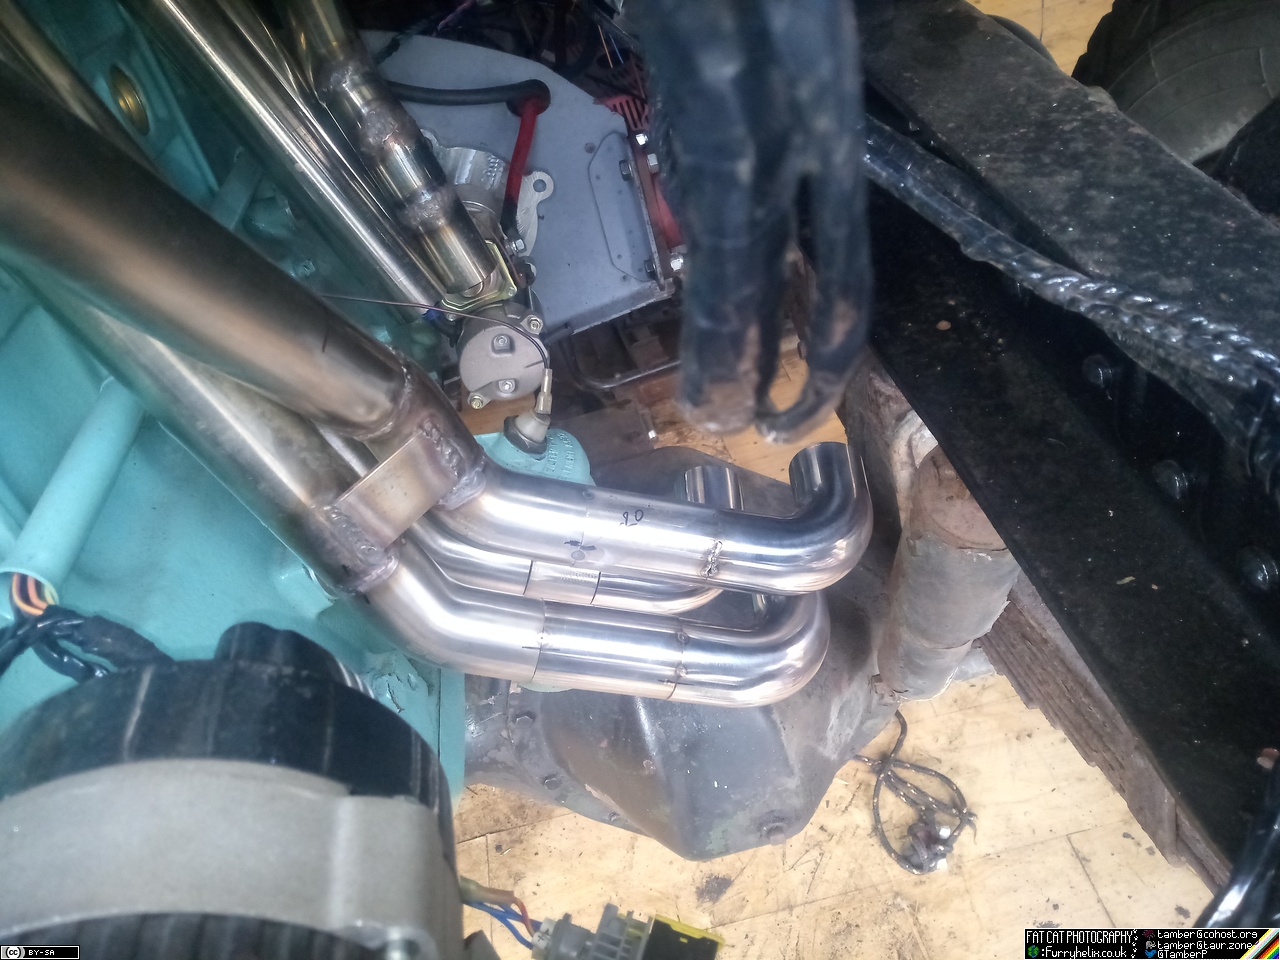
More welding!
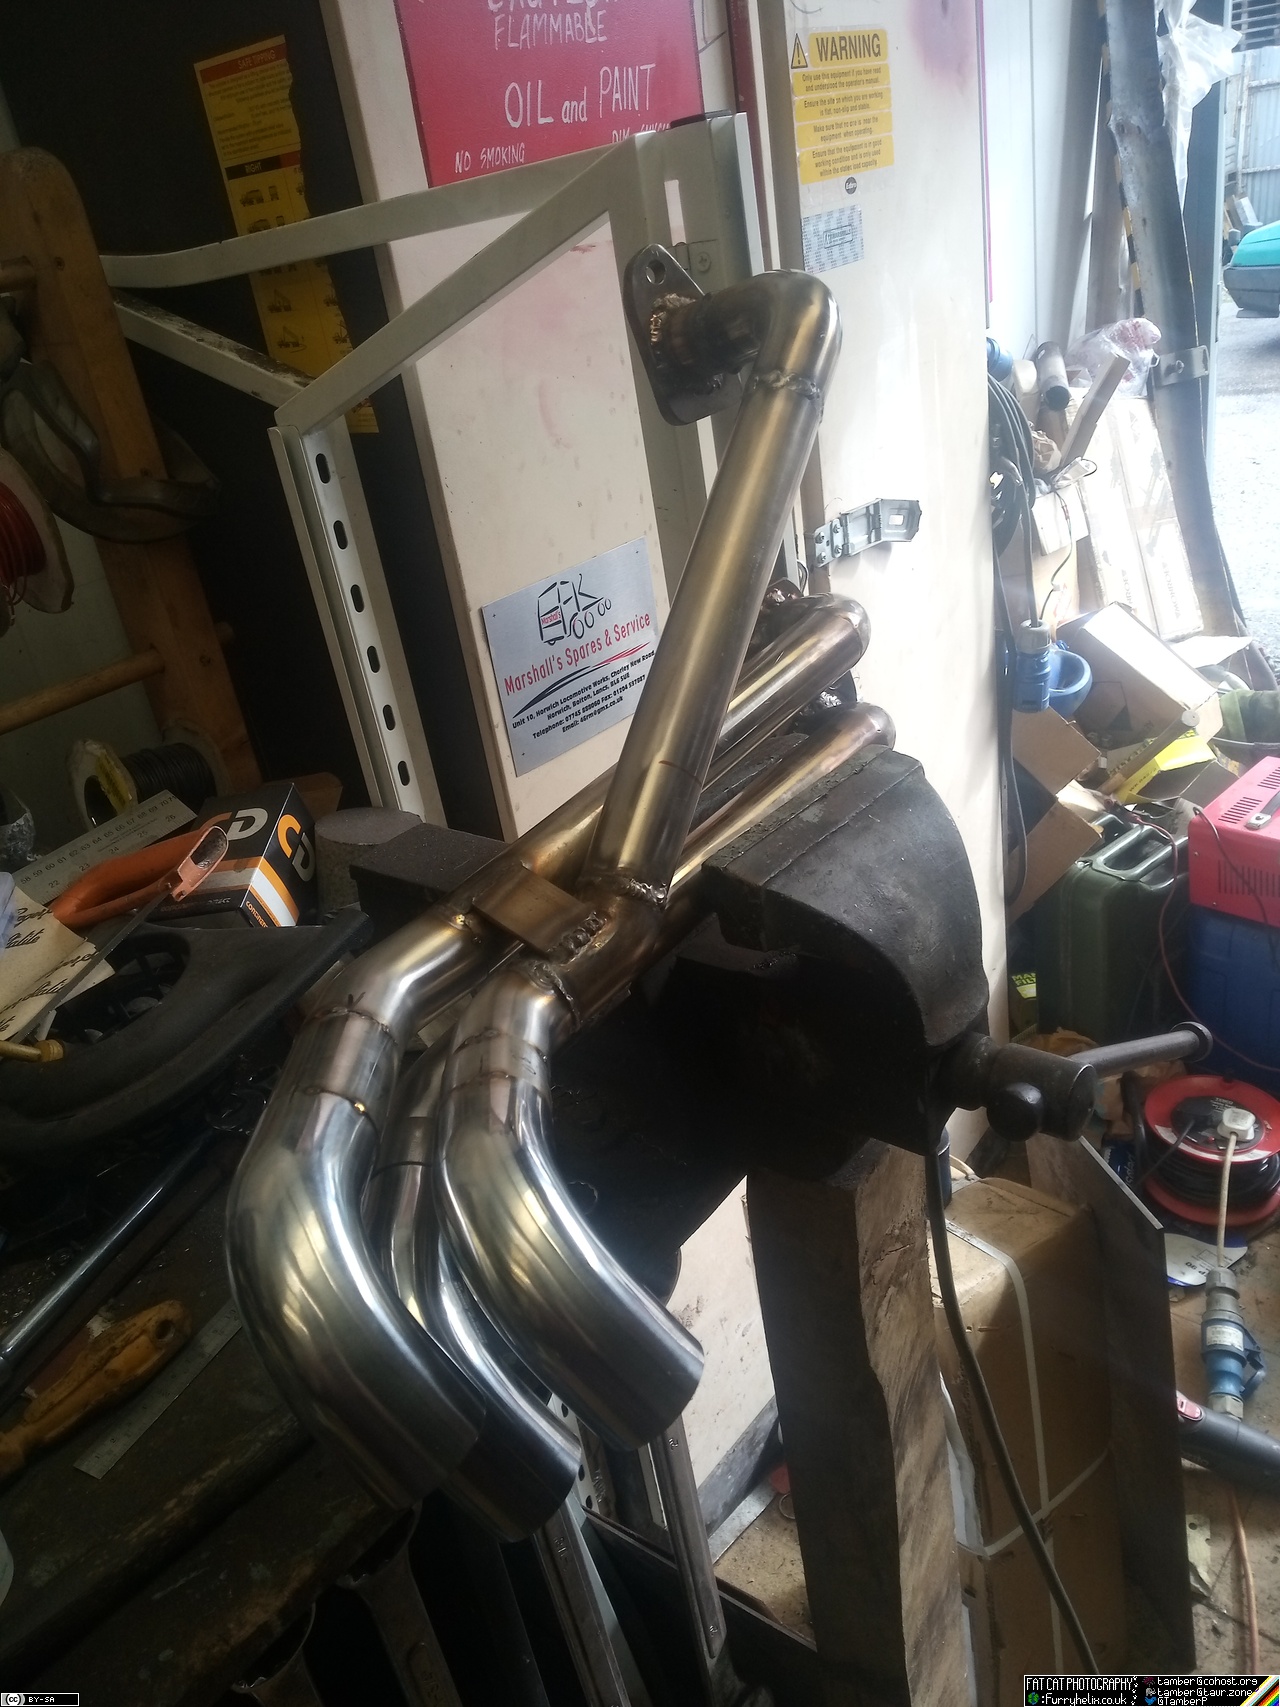
Eventually results in this wiggly mess!
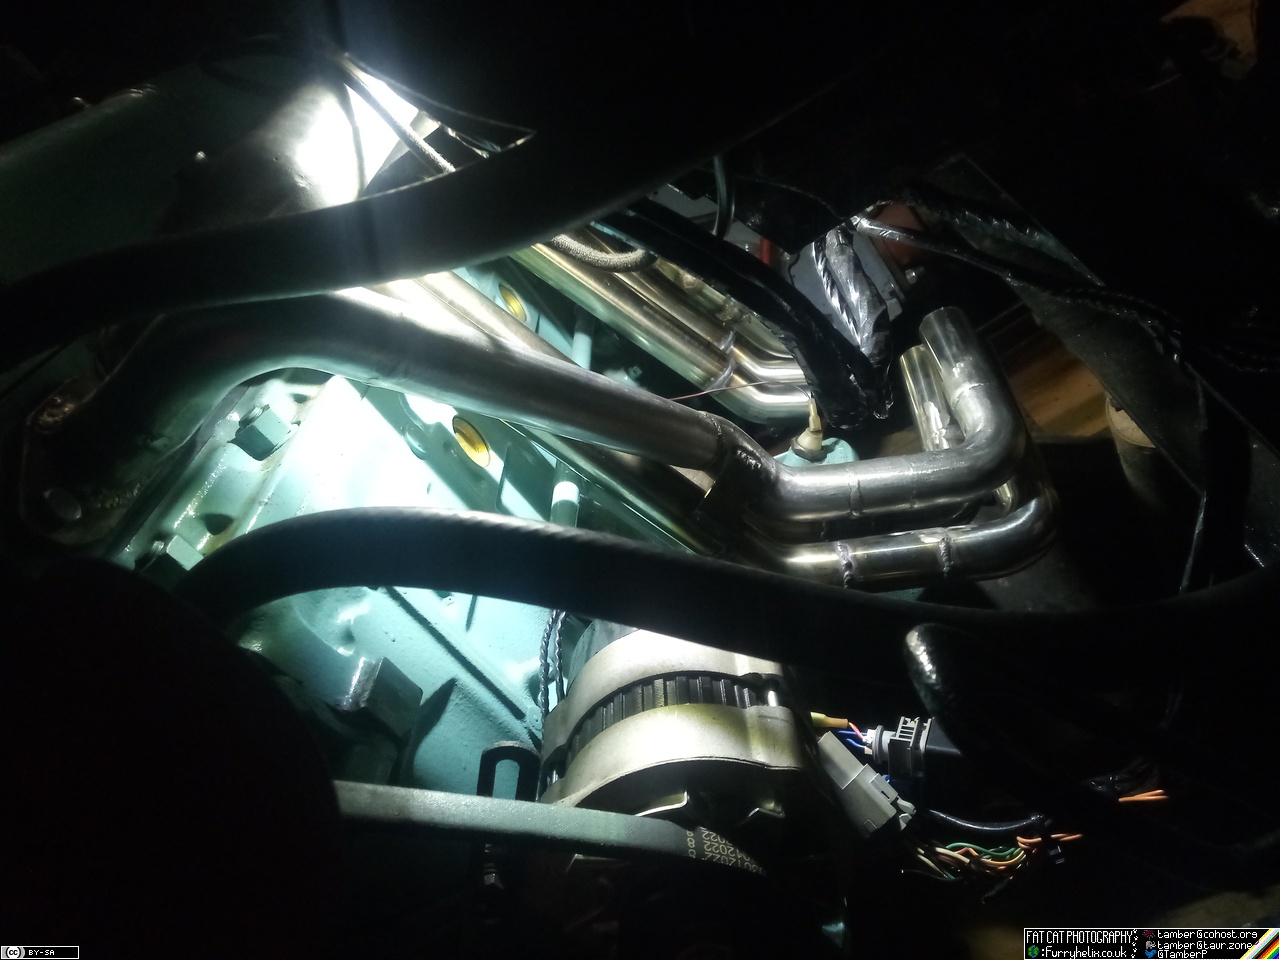
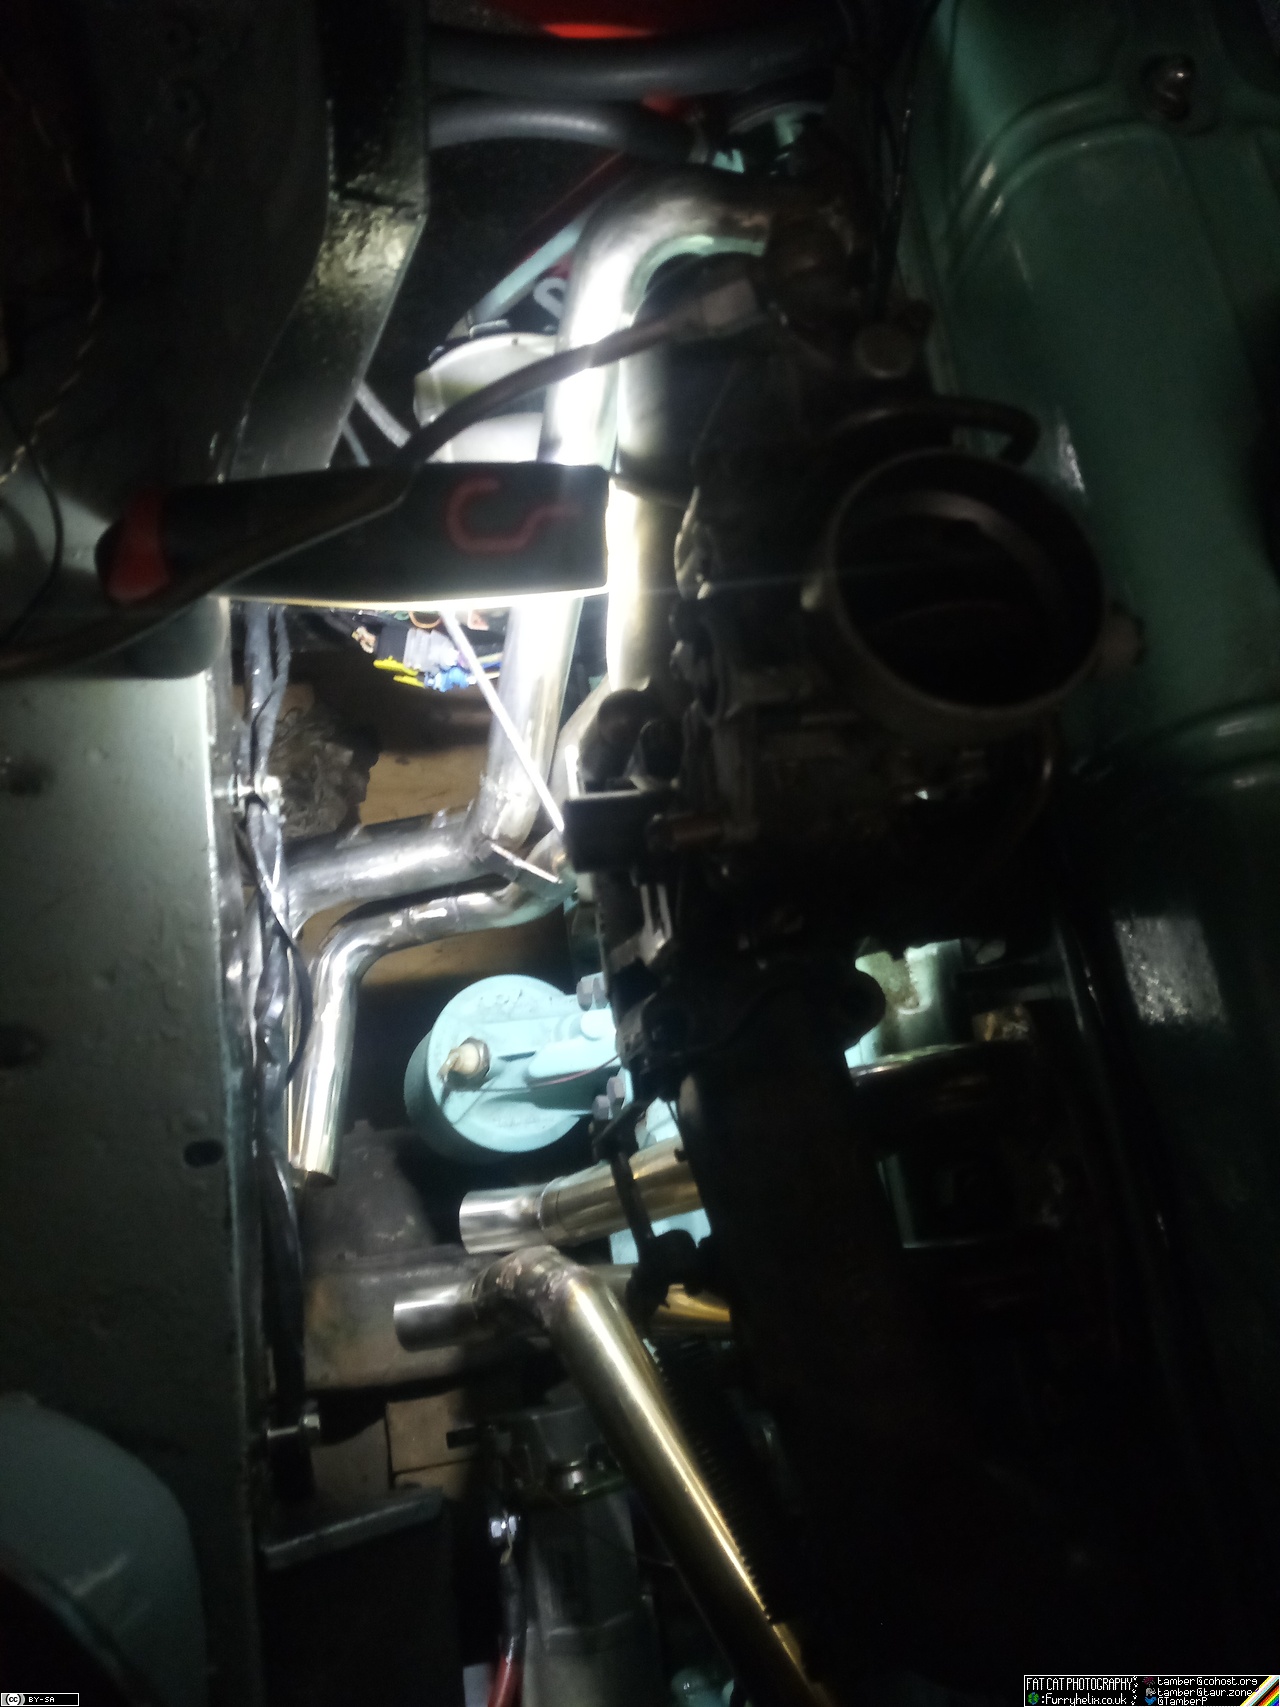
I did check, and I have plenty of room to squeeze a pair of 2" pipes through here, so I don't have to try and make the merge happen in that short space before the engine mounting plate, thankfully! I've gone and ordered a pair of 3-into-1 merge collectors to save me an excess of misery; they'll make a neater job of it, for a lot less time and welding gas. Then it's into a pair of V-bands, a pair of 2" flexies, then merge into a single 2.5" where there'll be some sort of support bracket and the O2 sensor bung, another flexy and V-band, then eventually the rest of the exhaust will connect on there.
Sounds like a plan, anyway. (I can neither confirm nor deny allegations of plans to build a silencer with an integrated cut-out valve...)
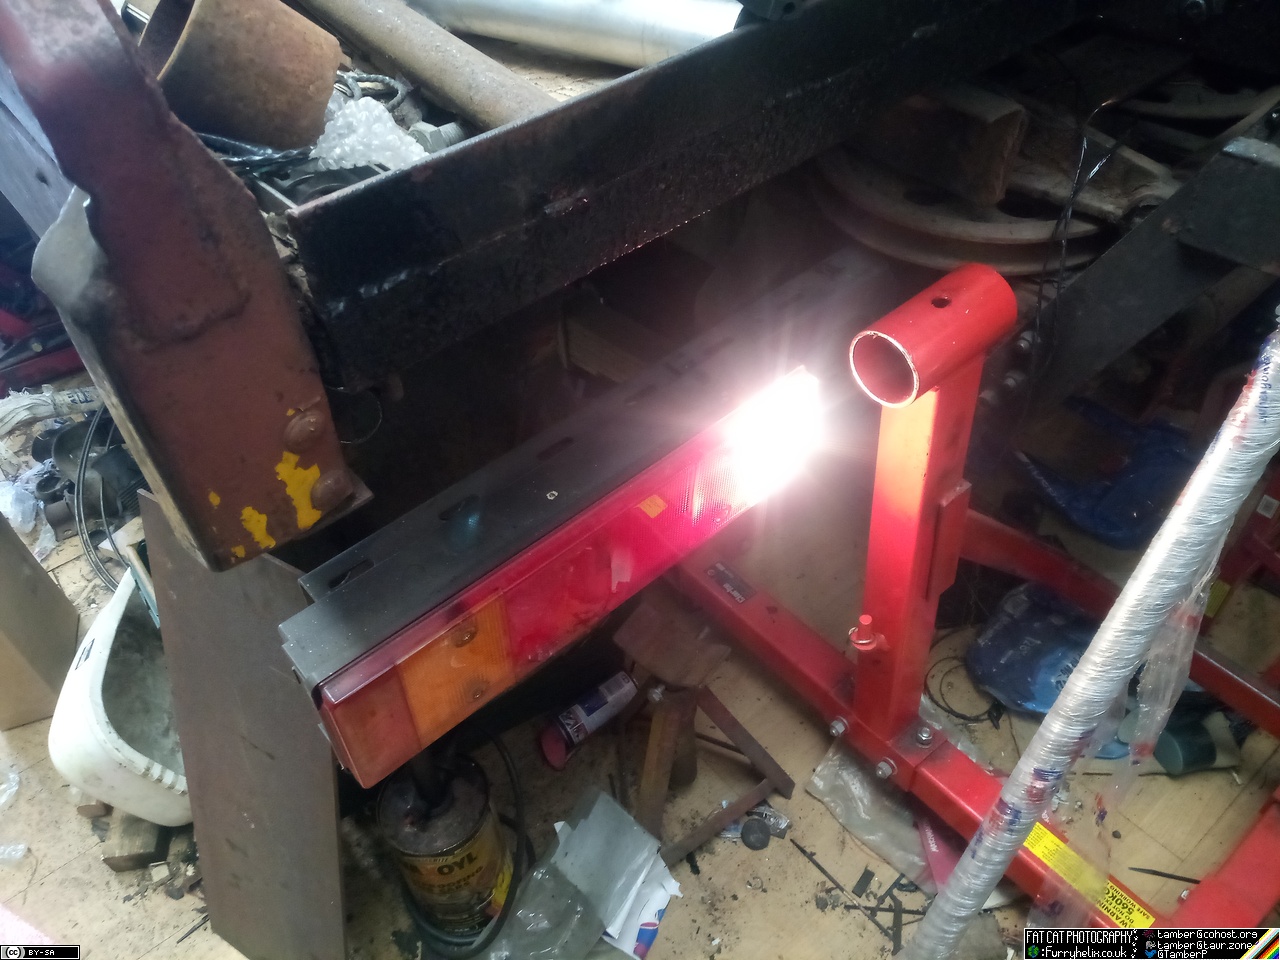
A new day later, and I receive my new reverse-light switch. Ostensibly a Vauxhall/Alfa part. A nut was drilled out and re-tapped to act as a spacer, but since the face of that welded-up & drilled gearbox casing isn't square, it turned out to be more of a hindrance so I abandoned it and resorted to just loctite and winding the switch in just as far as it needed to go.
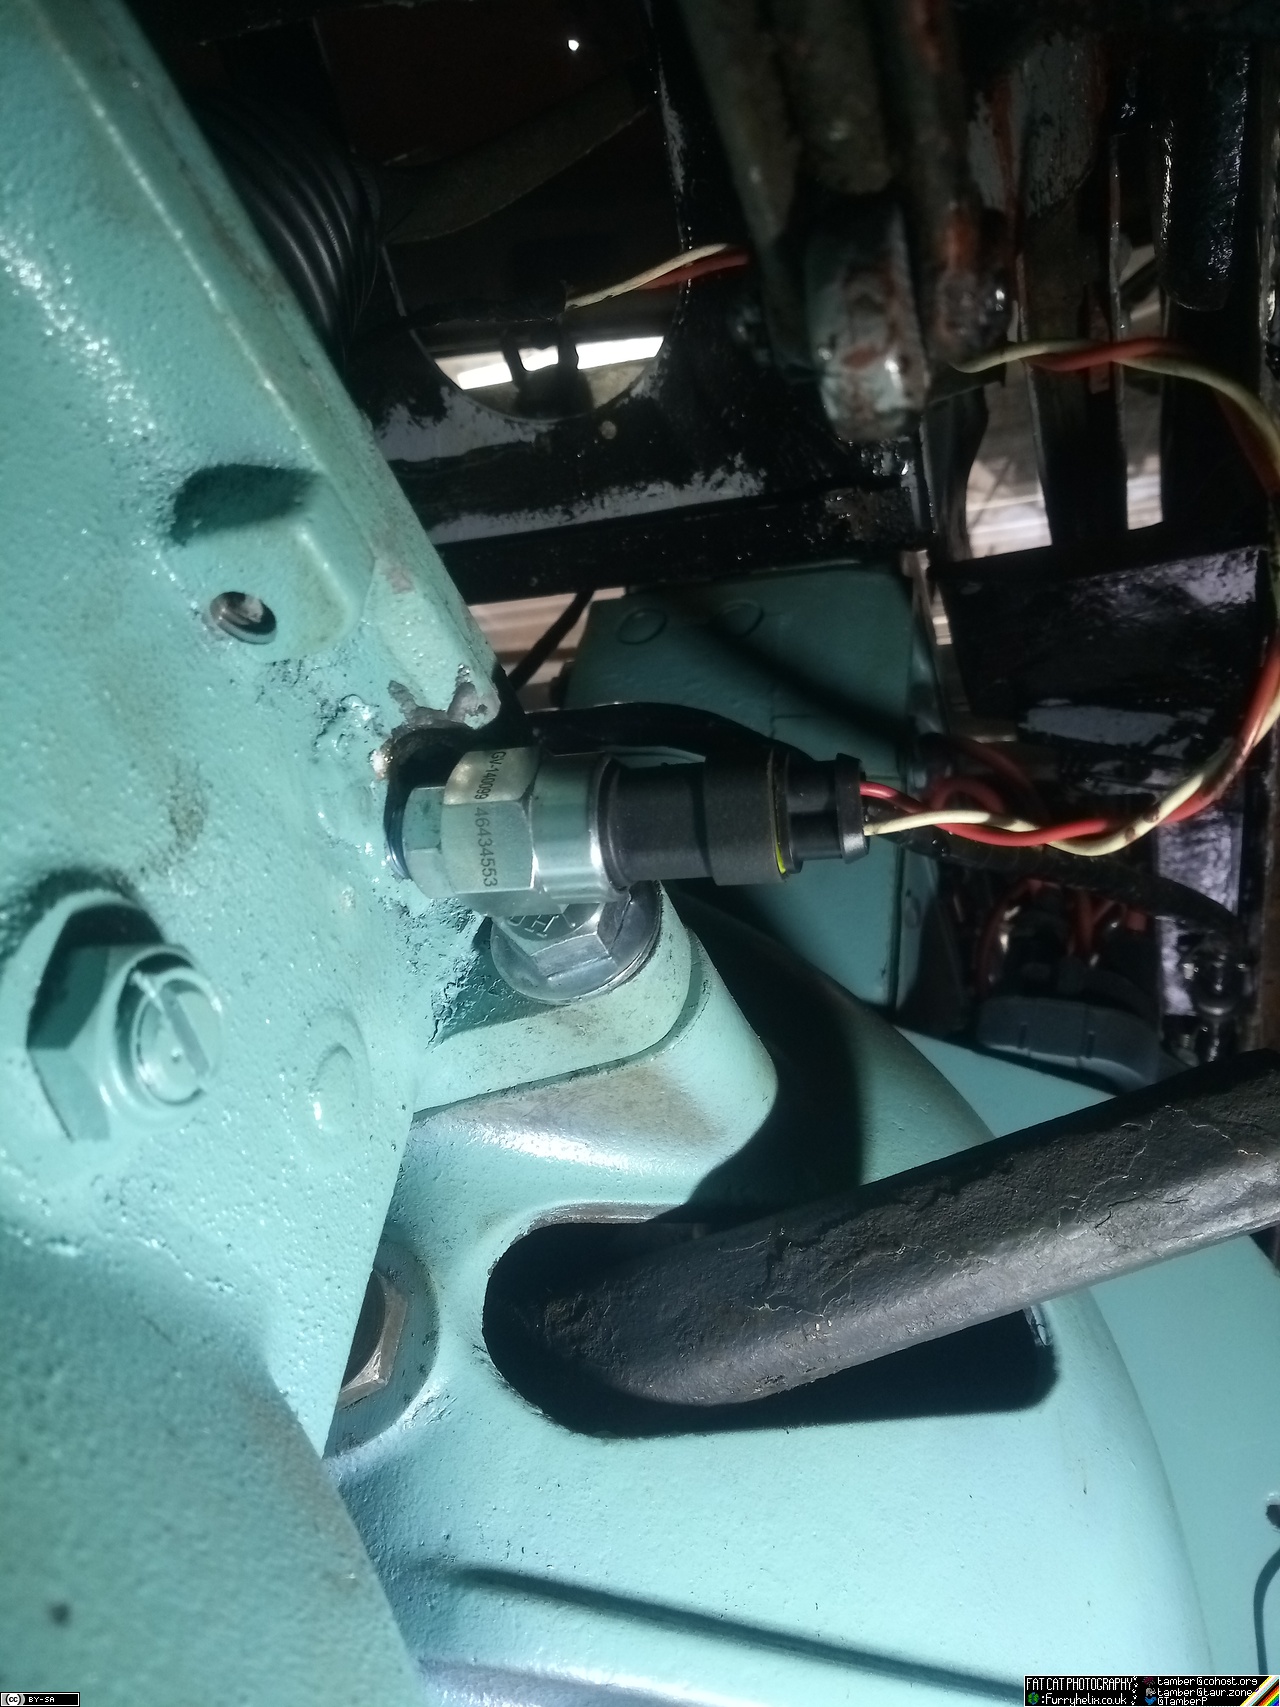
The underside of the gearbox cover flange needed a little clearancing to fit the outer hex of the switch.
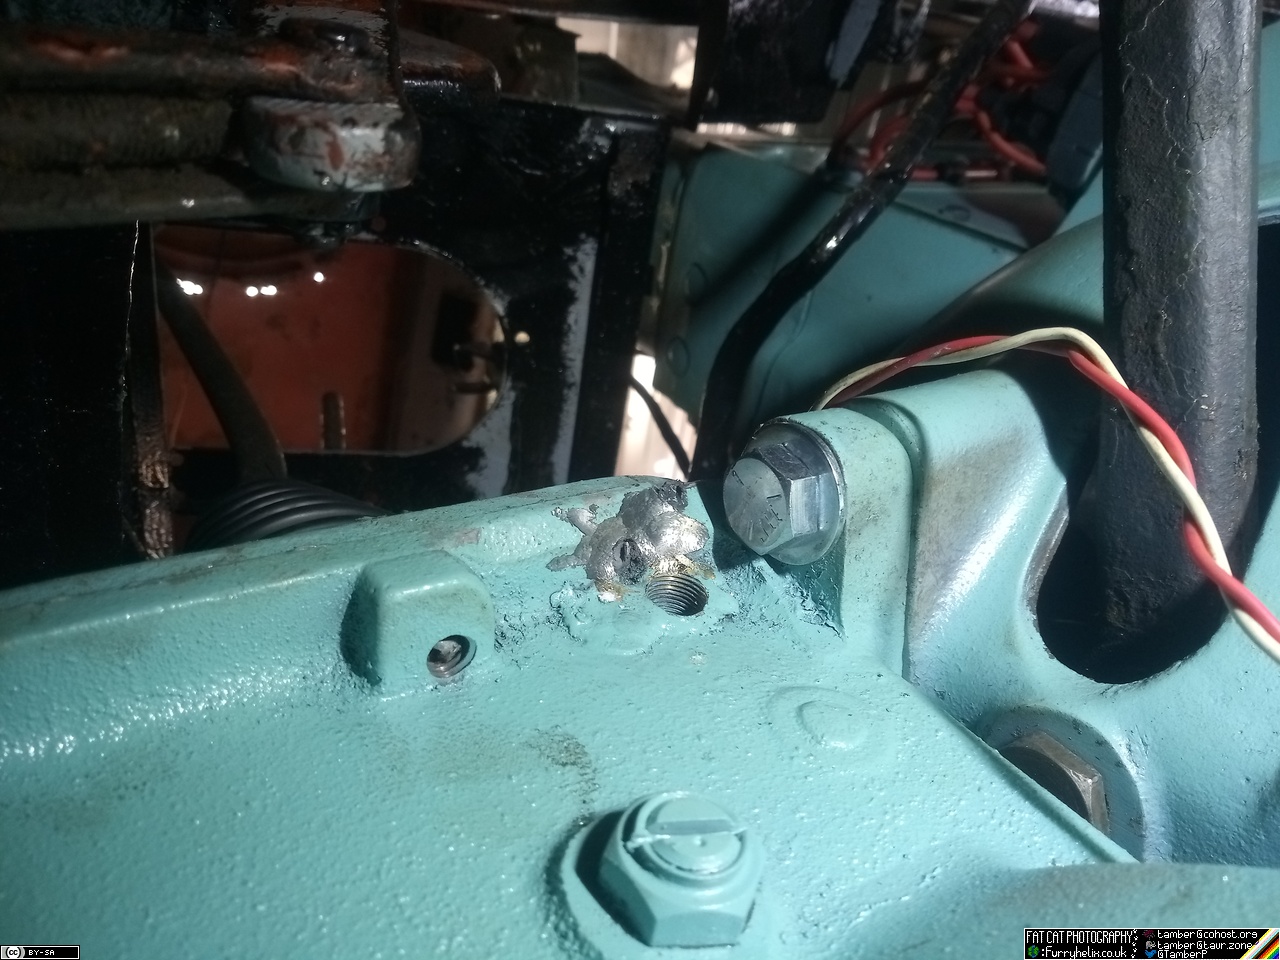
And we have reverse lights!
And now, for a very big moment indeed!
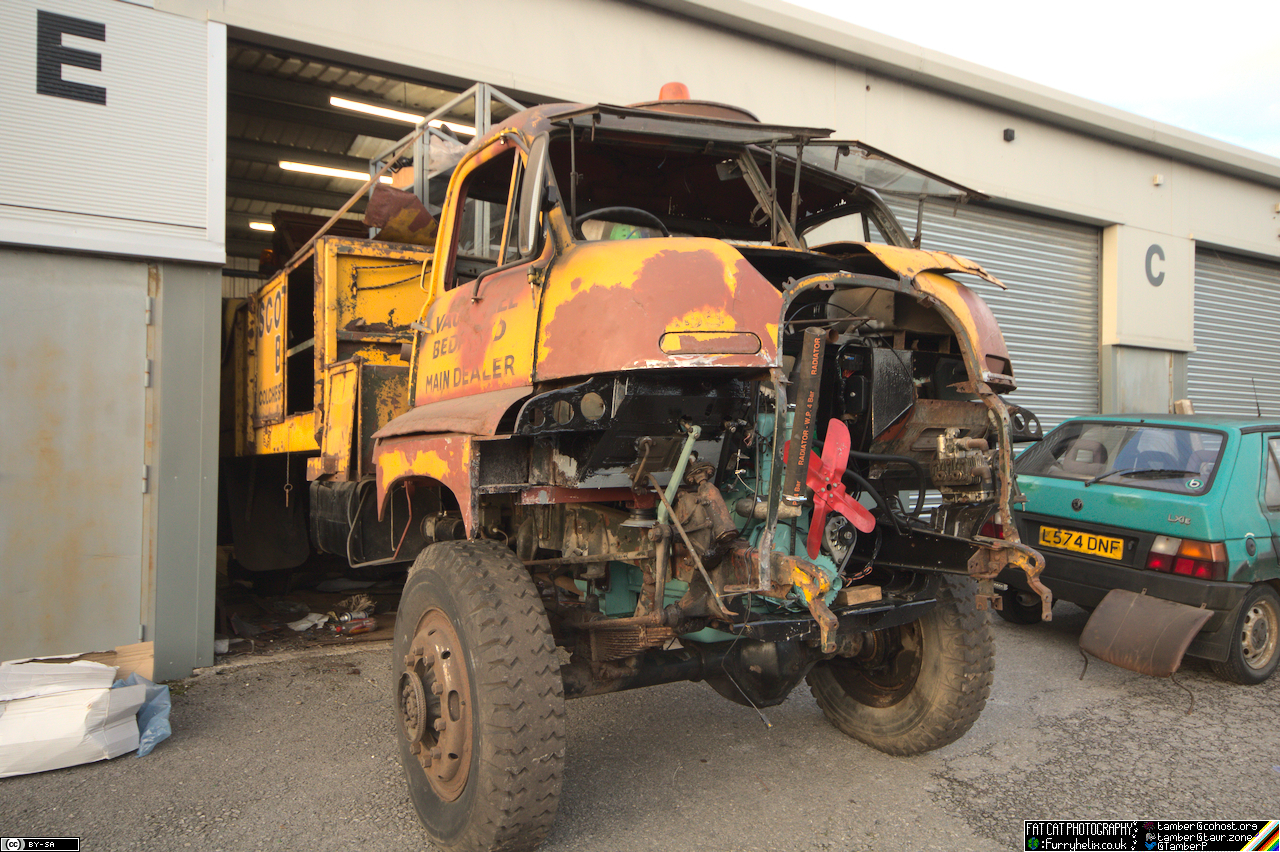
Having access to the lockers on the offside, I can now definitely say ... I have absolutely no idea where the previous set of wiper arms I bought have gone. But on the bright side, I managed to grab the compressor before I went and stuffed the truck back in; so I can sit that where it should be, ready for when I need it.