Idle mixture screw is set to full rich, and the best I can get is 15:1. Here's hoping it's a false reading from an exhaust gasket or something!
I have, however, managed to cure the false sensor readings with a bit of calibration adjustment; and it appears that the sync loss I was seeing is from when the engine sputters and kicks, rather than sensor problems, as I've greatly reduced it with the slightly less-horribly-lean idle that isn't causing the heavy stumbles.
Also got my starter blanket in, the other day, so I've fitted that too and am now much happier about running the truck for longer periods of time now that I'm not risking melting the starter.
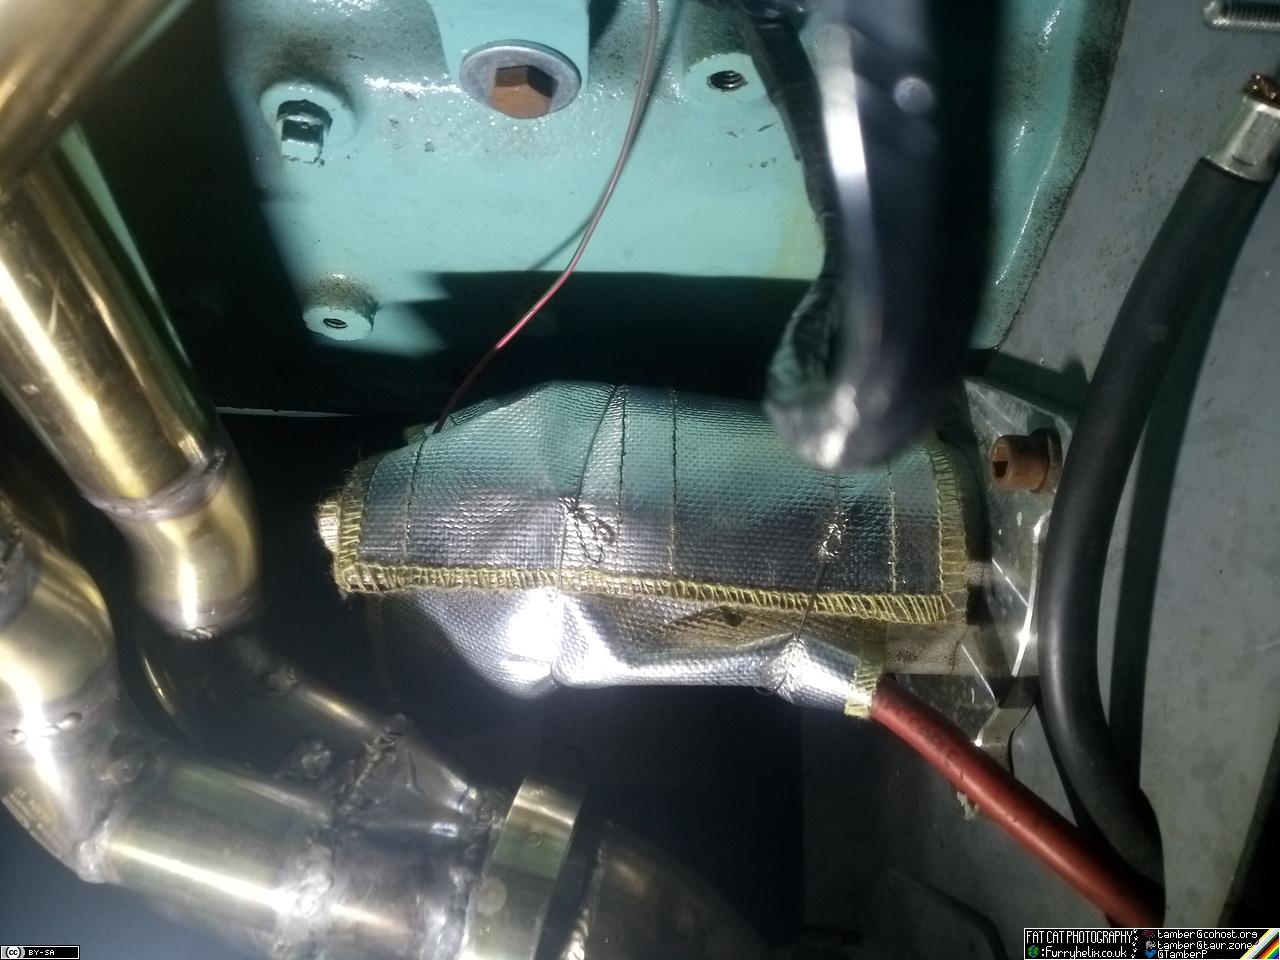
It velcros together, but leaves a flappy tail so I've put a coupla loops of safety wire around it to neaten things up. I'm sure I'll come to regret that at some point! (That does remind me, I need to put a little bit of padding around those cables where they pass through the engine mounting plate. I'll add it to my notes!)
Next, I should probably get back onto bodywork again; still plenty to do on that front!
Later...
I have discovered I definitely do have a blown-out exhaust gasket, which won't be helping things.
Looks like my manifold isn't totally square to the head, by just enough that the thinner gasket material can't cope with it; so that means I've got to figure out a good way to cut the metal-clad thicker stuff.
The packaging claims it can be cut with tin-snips, but experience thus-far has proven that ... technically they're correct and you can cut it with tin-snips, but it's an unmitigated disaster. (And then how do you put the bolt-holes in? With your tin-snips? Ahahaha, no. It's possible to just about punch holes, but really not in any practical manner.
However, I have found a helpful page in all my bumbling around for a solution!
The summary is, clamp it between two sheets of bolted-together wood, and drill the various holes; then trim the gaskets to size with an angle-grinder and a thin cut-off wheel.
Bodywork?
As an aside, I do have to say it's very funny just how violently banana my phone makes the new paint look, when to the eye it's not a million miles away from the older paint once you get through the layer of grot and staining on the top.
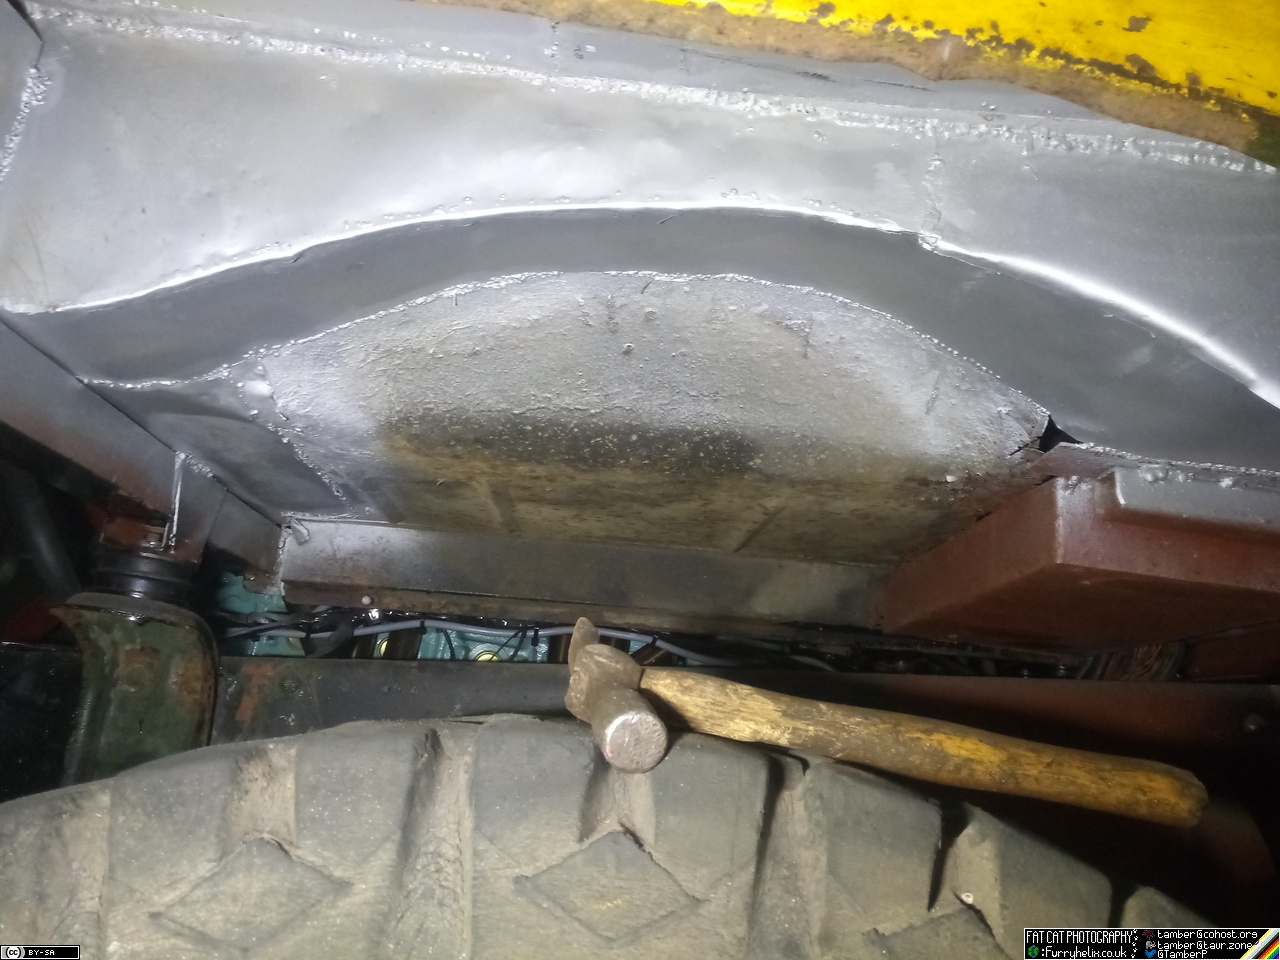
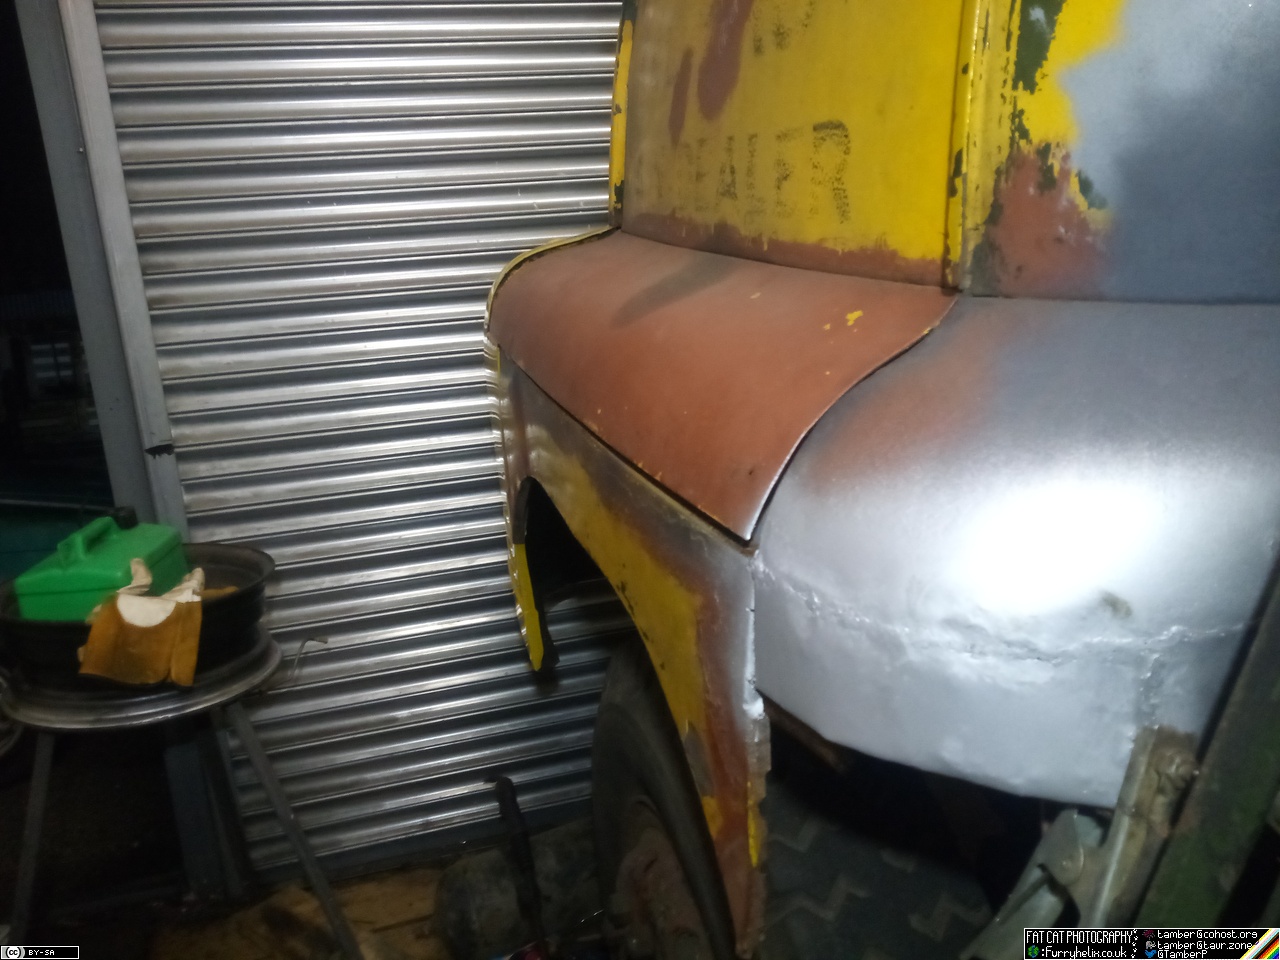
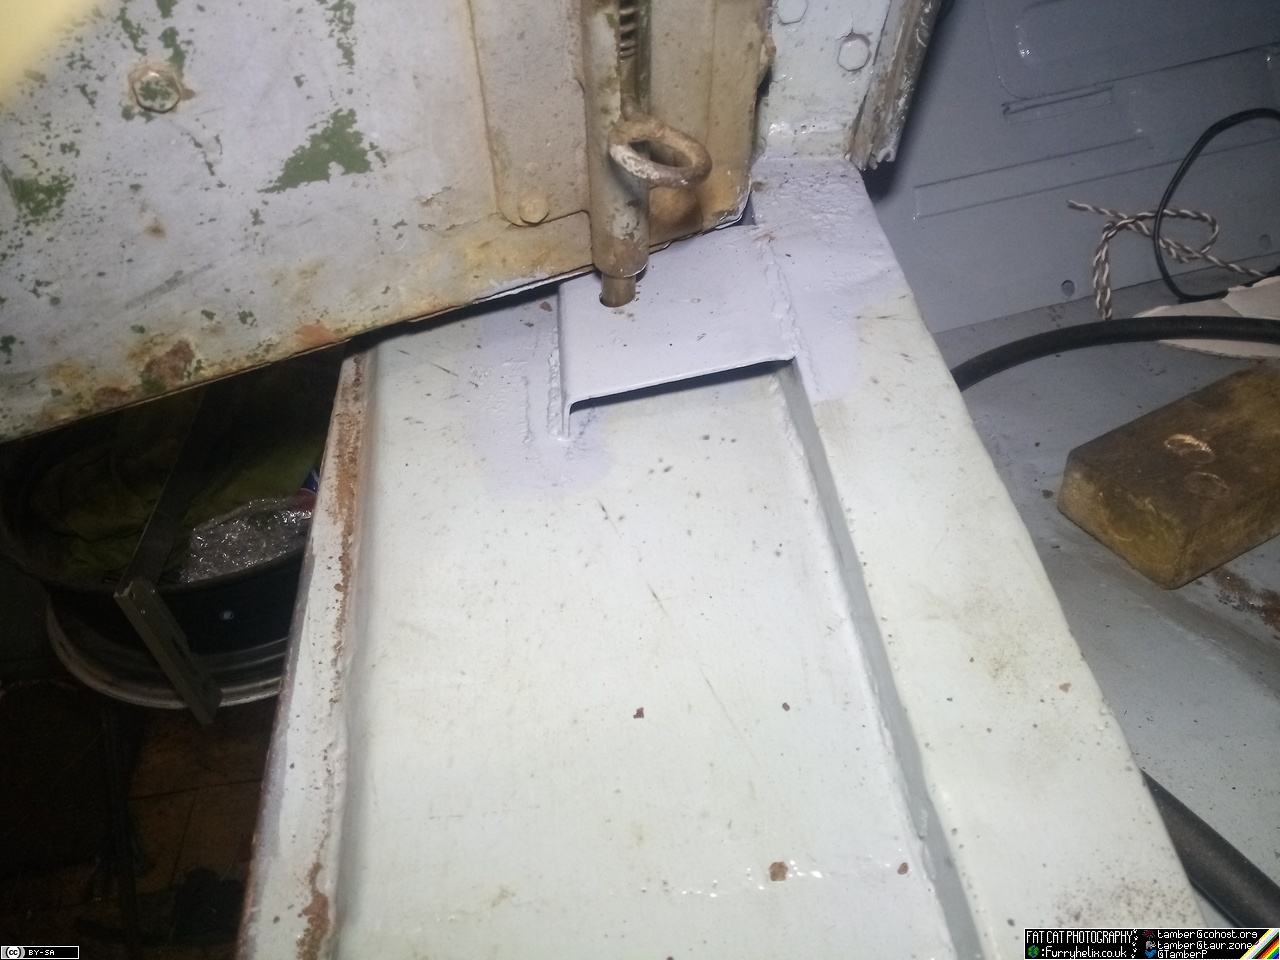
To start with, I blasted in the new cab-corner, to bring it all level with the rear panel I made a couple of years back. This doesn't fully close the gap to the rear wheel arch section that's missing below it; but it does mean that it's all one consistent straight line to work to.

Followed that up with bolting the nearside front wing up tight, to pull everything to where it should be before I make any supports for the step. I'm learning from my mistakes, honest!
I did some trimming and finishing work on the underside of the nearside step; lots of wire-brush and grinder action, before blasting it all with zinc primer. While I was there, and having just cleaned up the bit I'd make inaccessible with this, I also bubblegum'd in a little more supporting tin, to make the step somewhat more structural.
(I'm being stingy with the gas on thin sheet metal, I'll admit;
because at £90+ a bottle, and having to have a free day to go get a
refill, it becomes a major inconvenience to run out, and I prioritise
its use on the TIG welder.  )
)
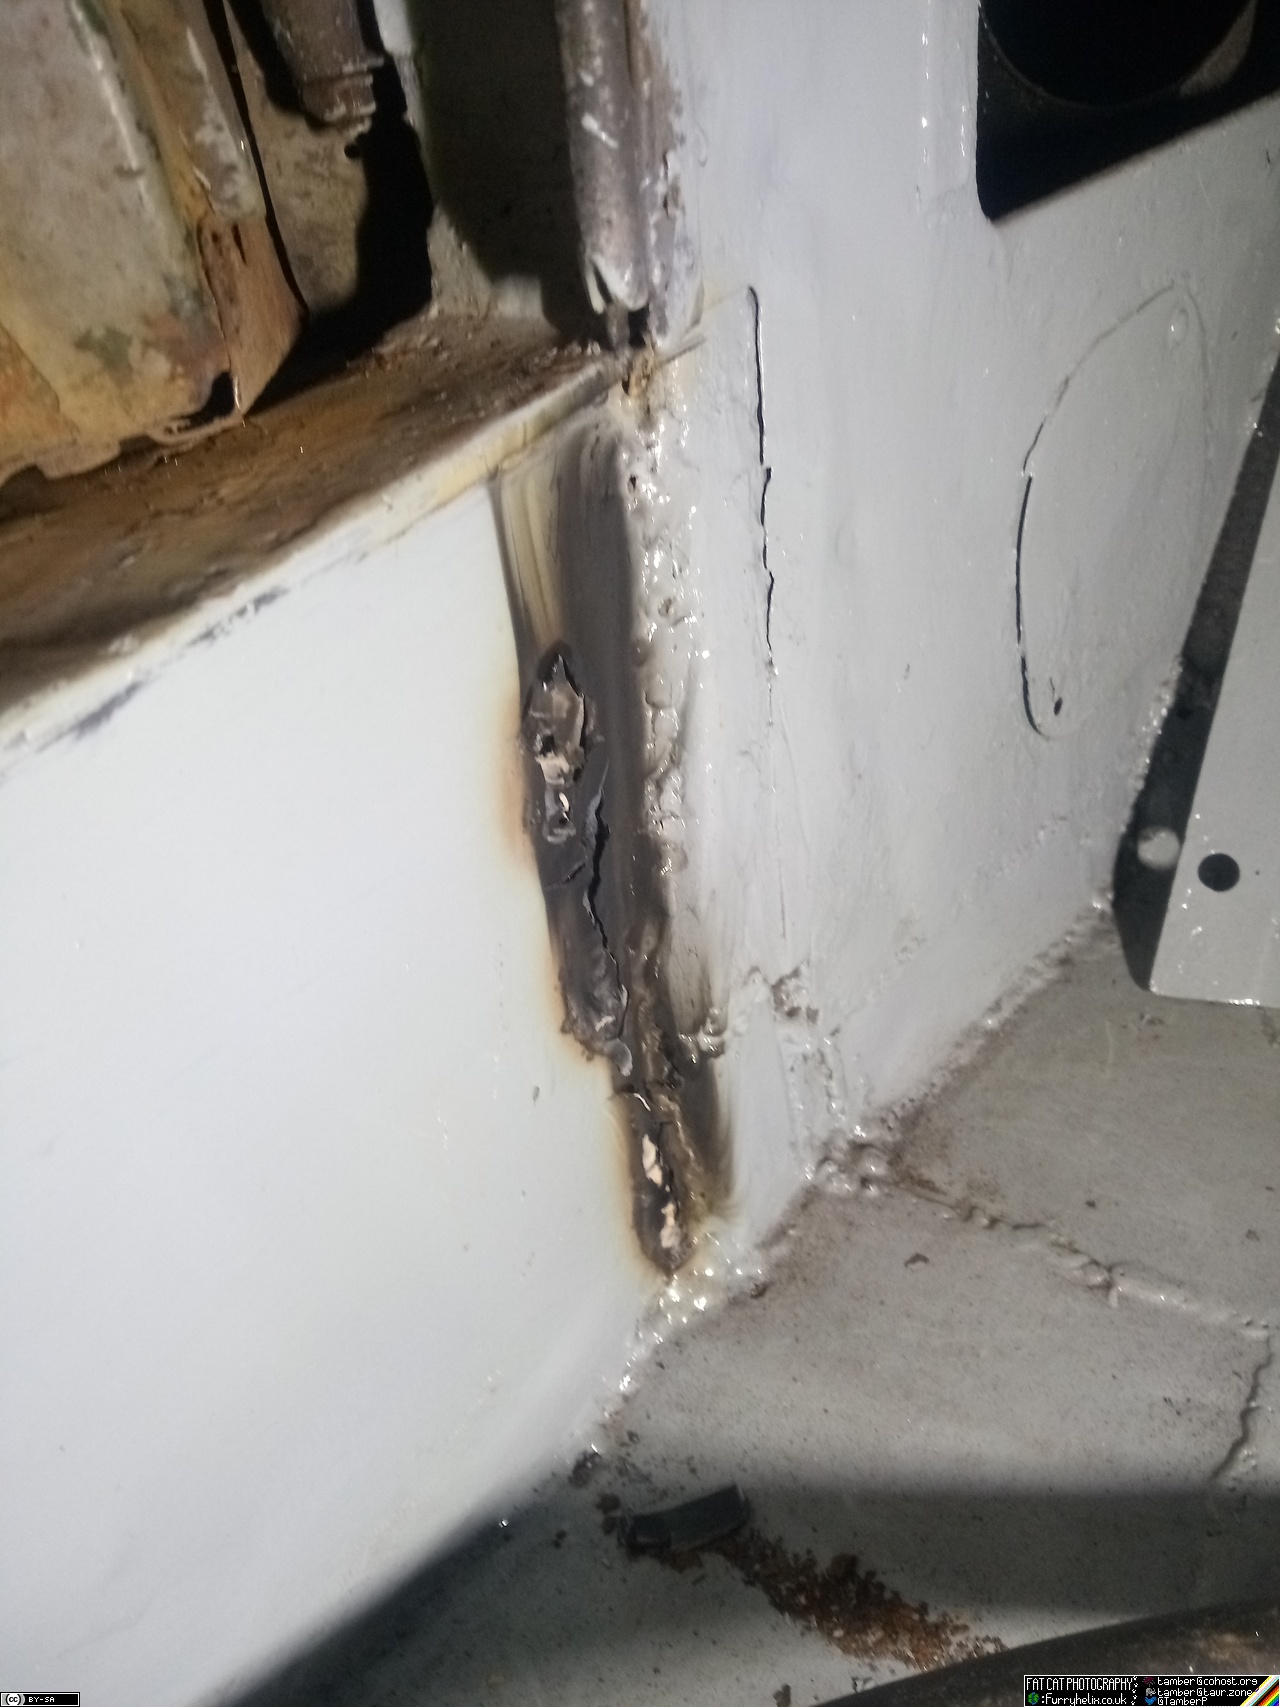
Of course, that then resulted in the inevitable paint damage on the inside; but we knew that was coming.
To be quite honest, there wasn't a lot here previously, either; and I may revisit this to box things in a touch if it shows any signs of excess sagging.
Tidying, and zinc primer, continued...
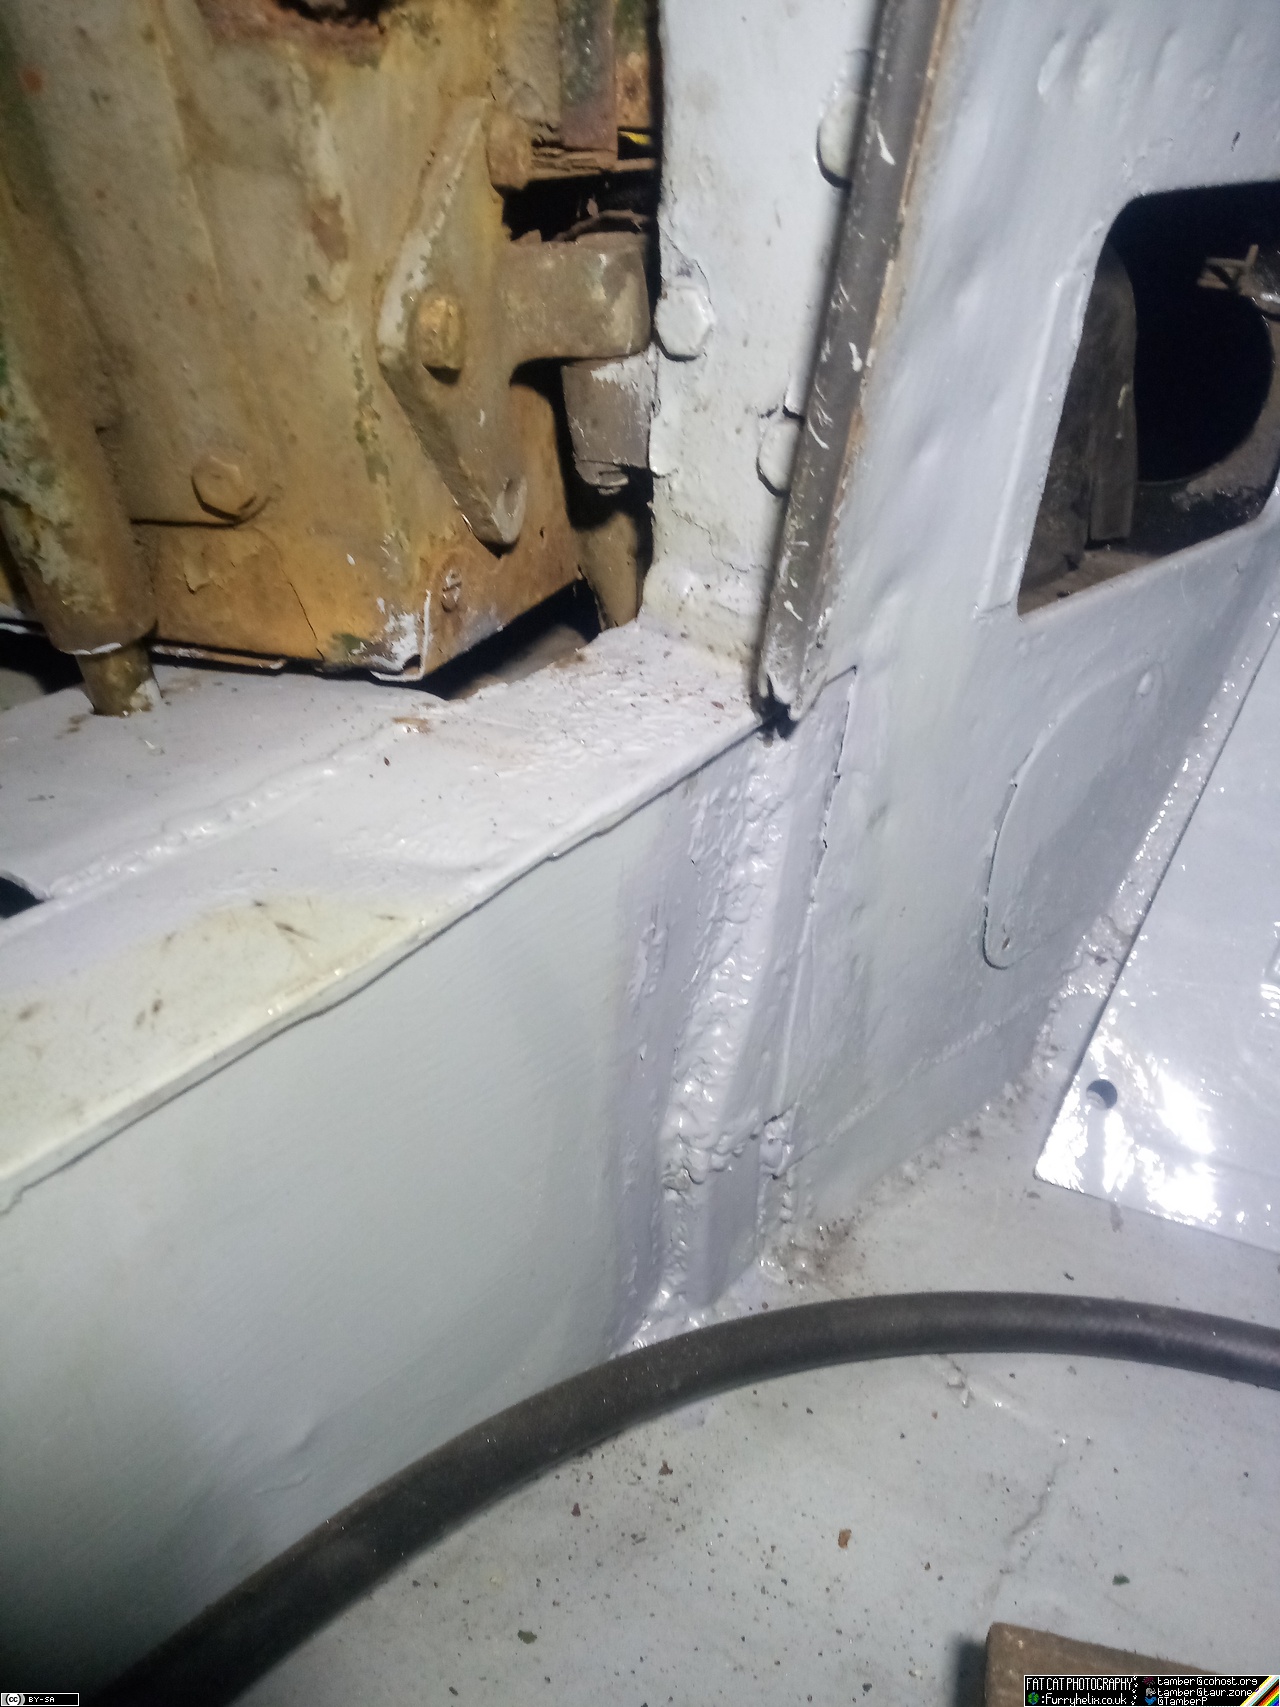
Flush with success from the cab corner and whatnot, I went and tackled the cracked sheet metal in the back of the cab from where someone in the truck's previous life had apparently installed a presumably quite heavy heater core.

I've not welded up all the, uh... vent-holes, yet, because it's quite an unpleasant position to be in and I didn't want to cramp up completely. I don't think I'd be installing a heater core here, though, because if there's anywhere I want it to be it's in the dash so I can build in some ductwork to demist/defrost the windscreen.
Maybe I'll add a little fresh-air vent, or something, with some
grating or louvers or whatnot. I dunno, I'm just making this up as I
go along. 
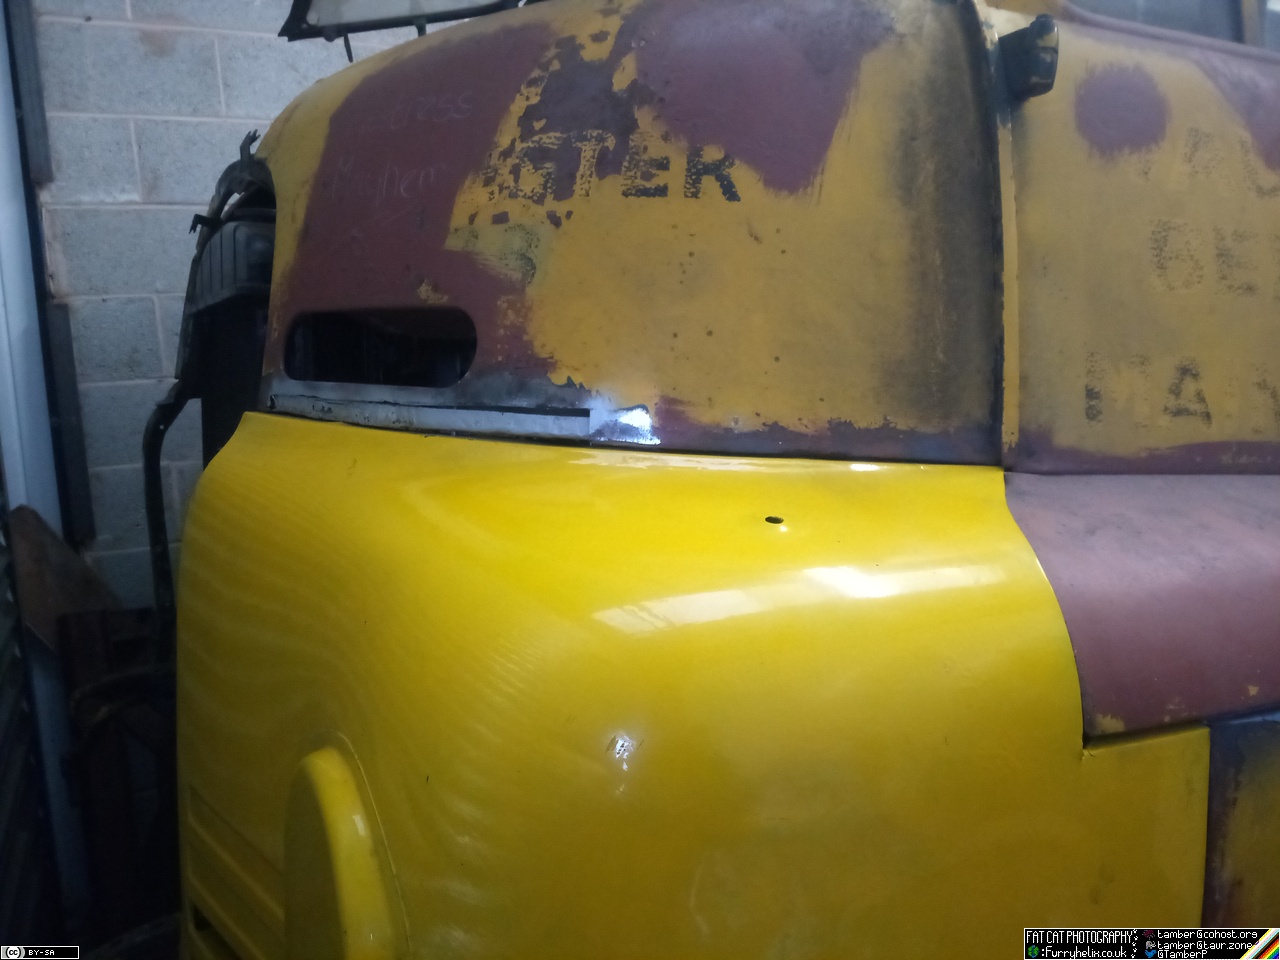
But at the end of Saturday, that left me with -- after a little rubber mallet action to adjust the bottom edge of the passenger door -- a passenger side that looked somewhat like so:
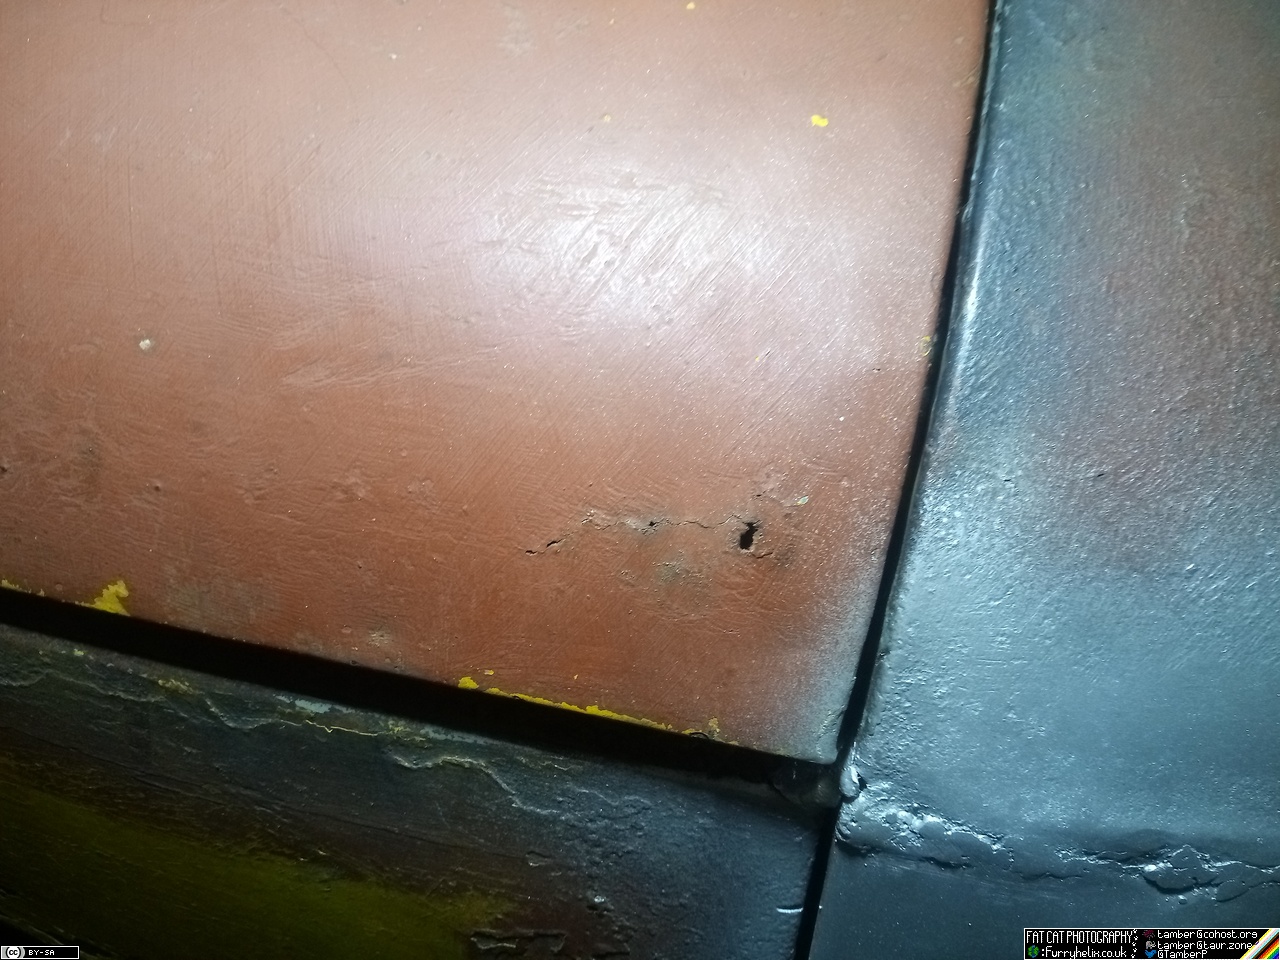
Unfortunately, the rubber mallet action did expose a little more softness that will have to be dealt with in time.
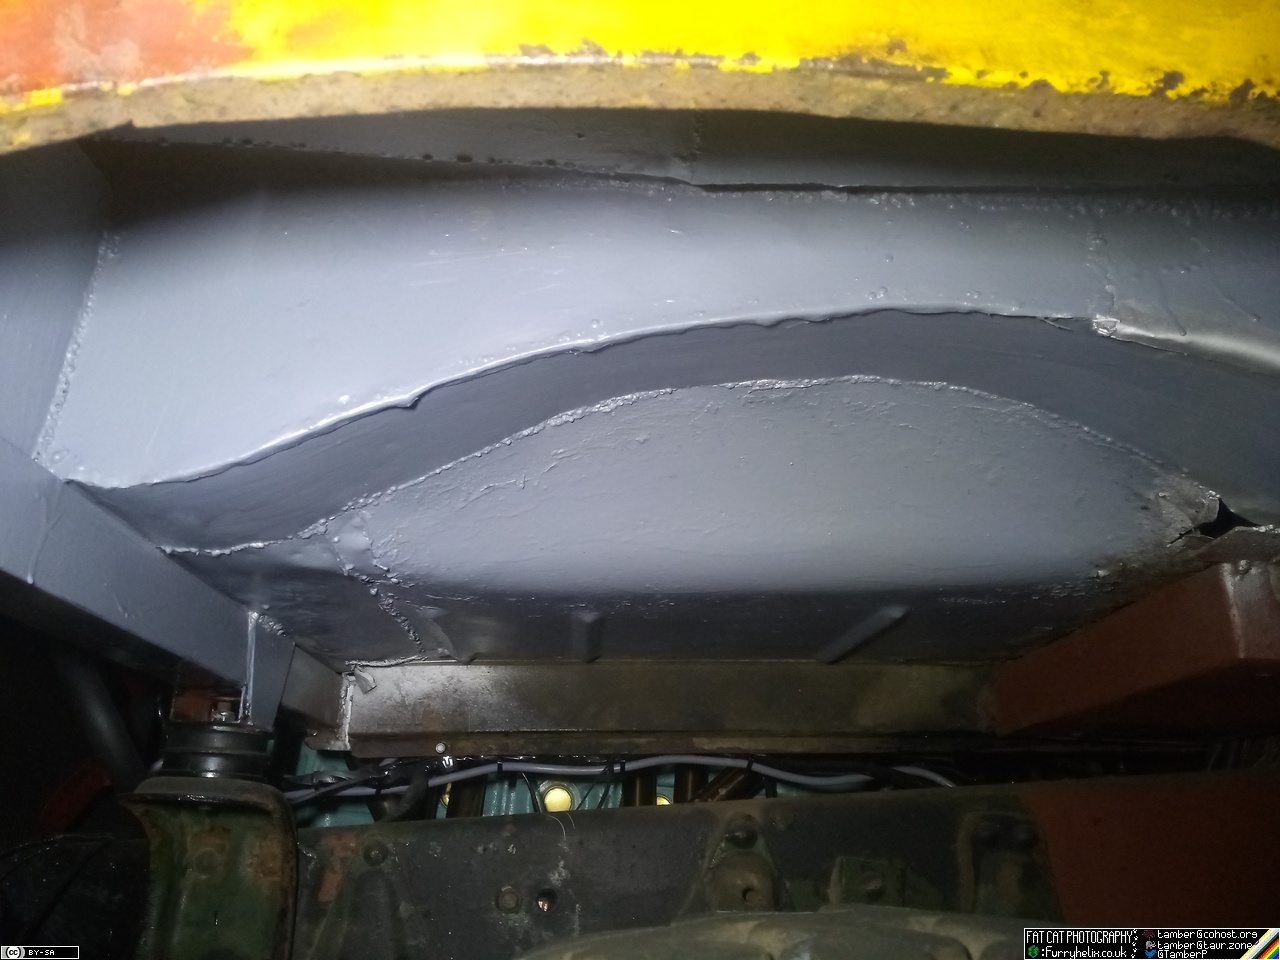
Sunday started with a bit more paintbrush waggling, this time lathering the heavy zinc paint over the completed sections of the passenger floor and footwell. You can still see that I have to get right into the wheel arch and weld up the reinforcements to the cab frame from the crossmember, but I haven't felt like tucking myself in there to do it yet, so I've not painted that.
And since I'd already ruined the paint on the passenger step, I sorted out the door retaining latch plate thing and then lathered that with some primer too. So now I can hold the passenger door open, without it being jammed hard into the front wing.
And a touch of paint for that burned section on the inside, too; why not.
Then I did some futzing around with the clevis I bought for making the linkage between brake pedal relay arm and the footbrake valve; but it turns out that by the time I open it up enough to fit around the relay arm, there's not enough left for me to feel comfortable about using it, so I've discarded that and I'm in the middle of forming up a much stouter replacement.
No pictures of that -- much like there's no in-progress pictures of
anything I did today -- because my phone was on music duties and thus
not conveniently to hand.
Having gotten as far as I could with forming that clevis, and being pleasantly surprised at how early it still was (I was expecting it to be post-7pm, but no, it was only about 5!) I decided to tackle something else that was bugging me.
... yeah, that's how it's been this weekend. Just on a roll tackling nothing in particular, but flapping about like a seagull and sh!tting on things at random. :D

Can you tell what it is, yet?
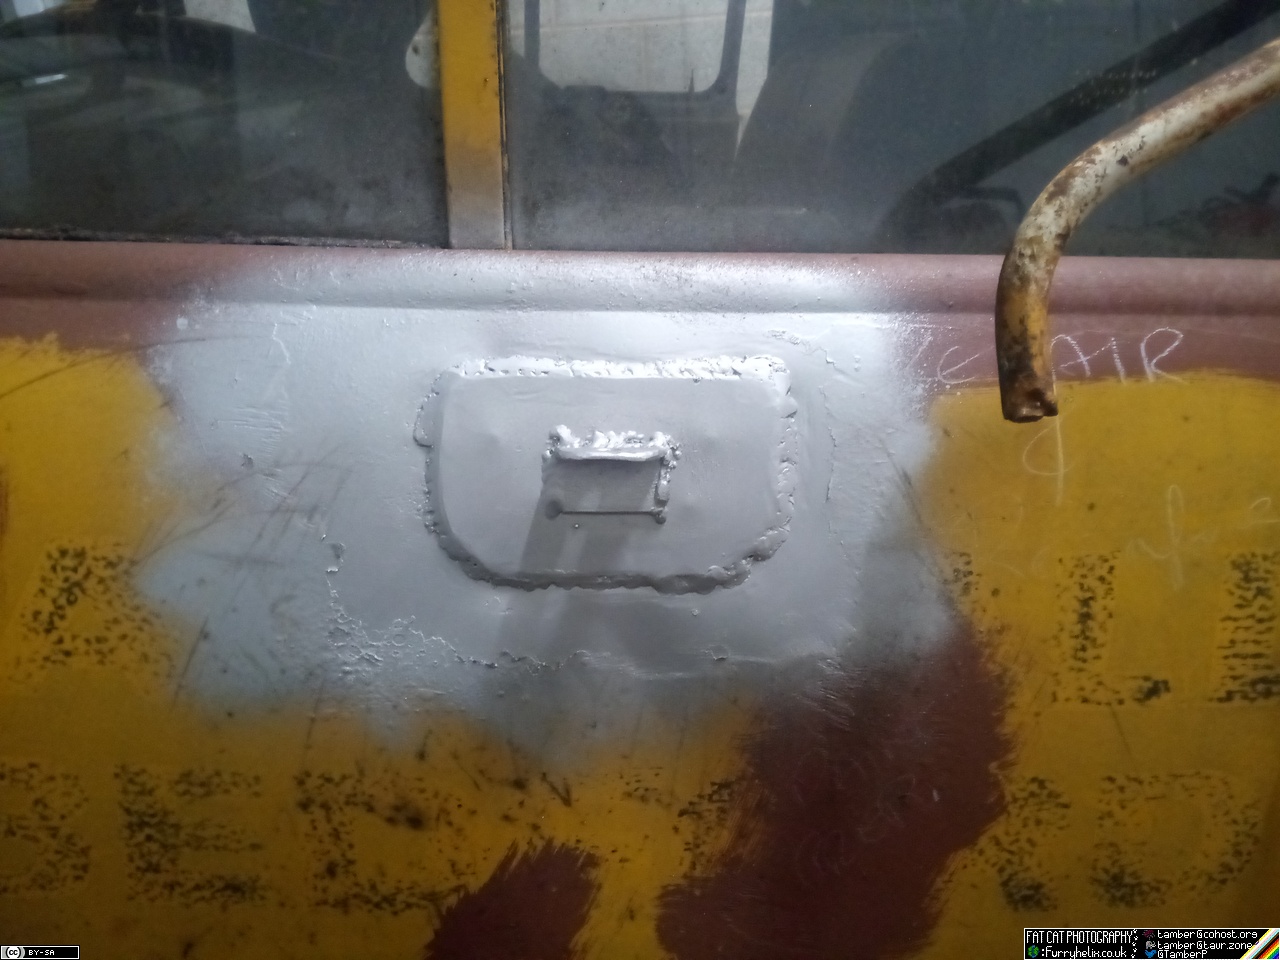
How about now?
(Don't mock the welding of the angle-iron, or I'll cry. I did it with stick, and apparently I'm more out of practise with that than I thought. It's not falling off, though!)
This replaces a little section of angle-iron, of about the same size, that was bolted to the door-skin for the bottom of the mirror arm, and then at some point welded because it'd started cracking the thin door skin. Which was entirely predictable, there's a lot of force on a mirror arm, and it was all concentrated on a section of 1mm door skin about an inch long and three quarters of an inch tall.
Anyway, the new one is a gently-massaged piece of 3mm, 5x3" in size with rounded corners; that should do much better for preventing the mirror arm from punching it through the door. Pretty? No. Effective? Should be. In keeping with the rest of the truck? I'd like to think so.
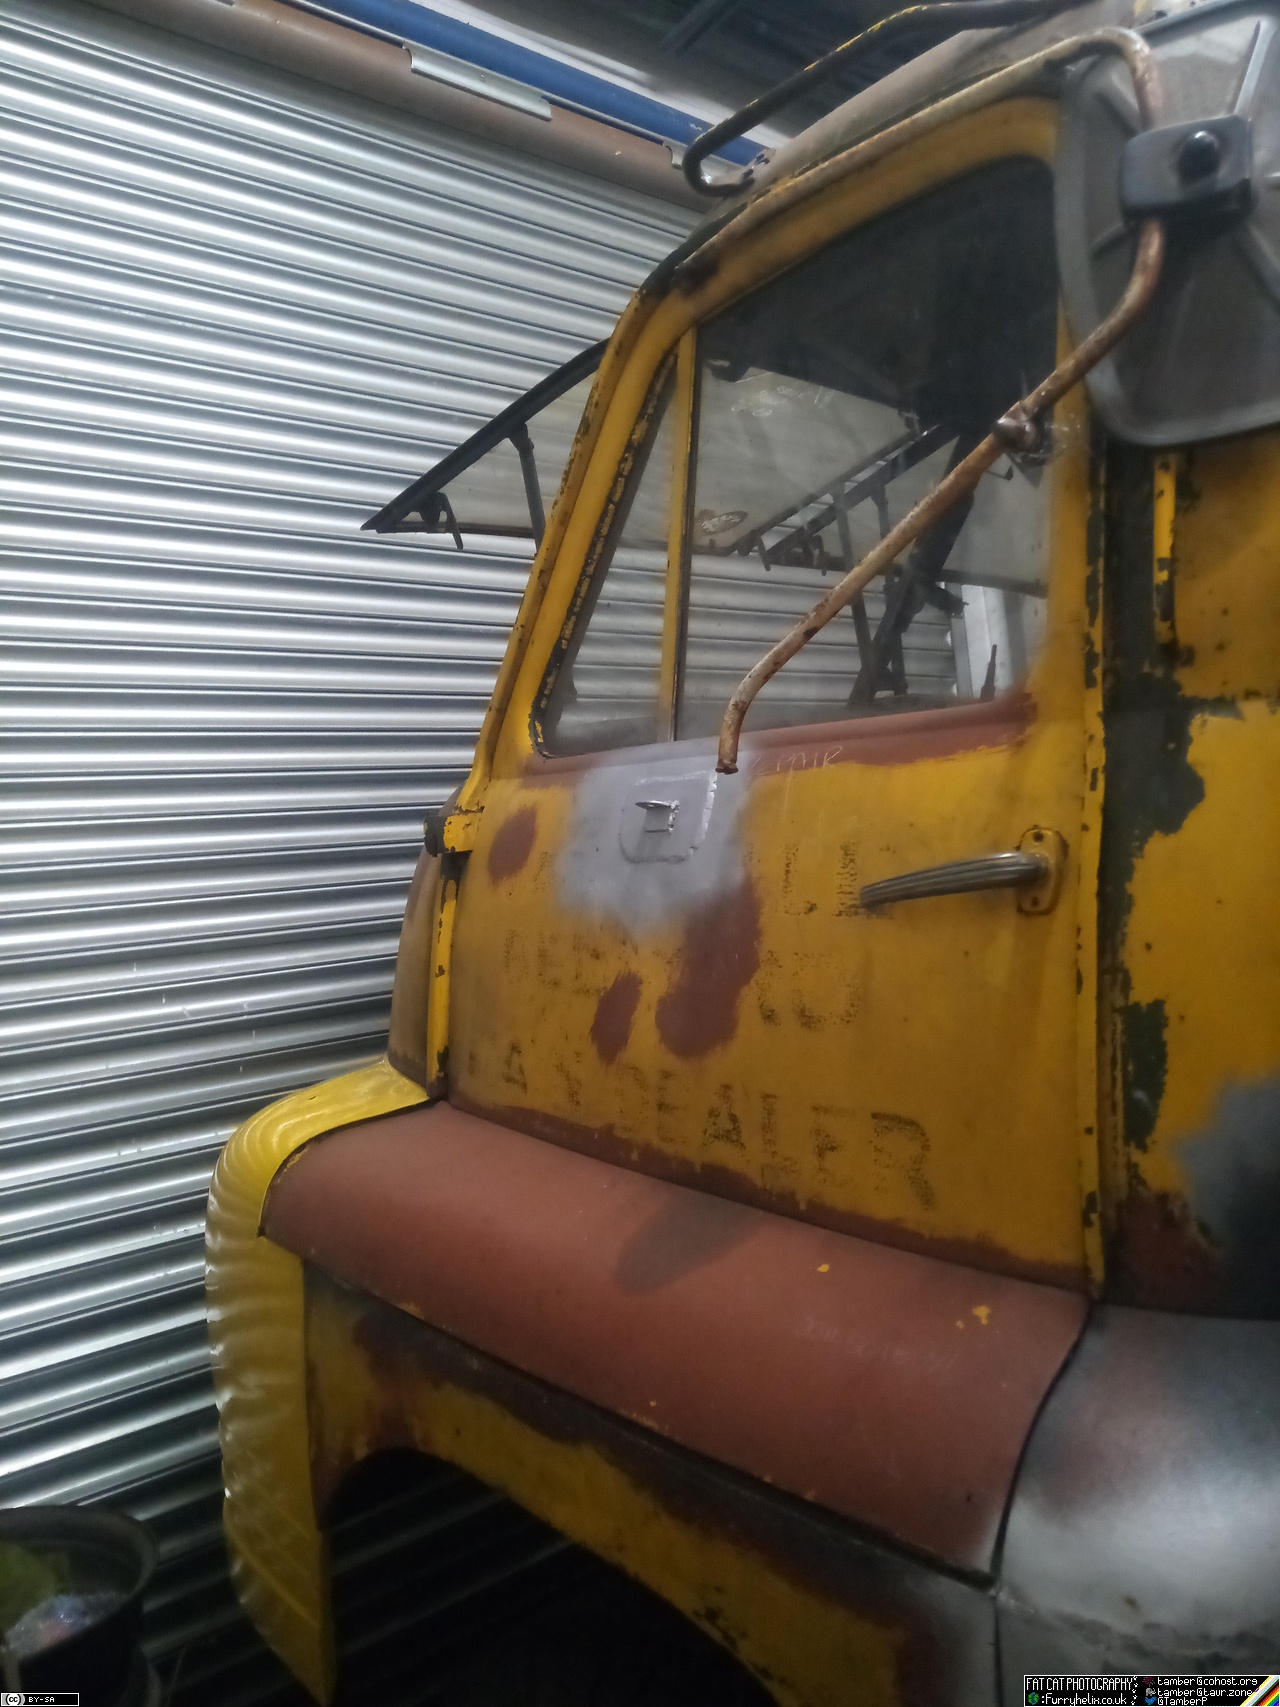
I'll have to sort the mirror arm itself out, because that's got a nasty tweak in it that prevents it from lining up where it should; but I'm hoping that shouldn't be too big a deal. I'm heavily expecting the passenger door to be just as much a box of rot as the driver's door is/was, but it's externally in decent shape so I'm going to leave it be for the time bean.
I've also made a second, identical, bottom mirror-arm support for the driver's door. With a bit of luck, I'll remember where I've put that piece when I get back around to unpicking said door.
And with that, thus concludes the weekend. Oh god, my knees.