Alrighty! So I did end up drilling the holes out in the wing, and installing rivnuts to hold the headlight bowl in; and I'll do the same with the other wing, when I bring it down from the back of the wagon where it's currently lurking.
I also drilled out the wobbly remains of one of the original brass adjusters, welded the hole up, and replaced it with a new hole in a slightly more outboard location that I have fitted an M5 rivnut in. So that, along with cutting the original springs to half their length, has let me fit the headlight on adjusting screws and try it out; and it works lovely, so I'll definitely repeat that procedure with the bucket from the other side once I get some more rivnuts.
Didn't remember to take any pictures during that process; but it's just rivnuts in sheet-metal, so I'm sure you can find it in your hearts to forgive me.
I also got myself a fuel sender to give me something to start with;
allegedly it's for a Mk4 Fiesta (mmm, jelly-bean goodness), and it's
got one of those generic little mystery pumps on the end of it. My
luck with fuel pumps has been not great (I had a 2 year old mystery
generic one die in my car, replaced it with a very similar one that
claimed to be from Magneti Marelli, and it died within a week.  ) but my
horsepower requirements are pretty tame, so it'll at least do for
testing purposes.
) but my
horsepower requirements are pretty tame, so it'll at least do for
testing purposes.
Being for a little tiddly fuel tank, though, it was a touch too short; and it had a fuel level sender on it that is surplus to requirements!
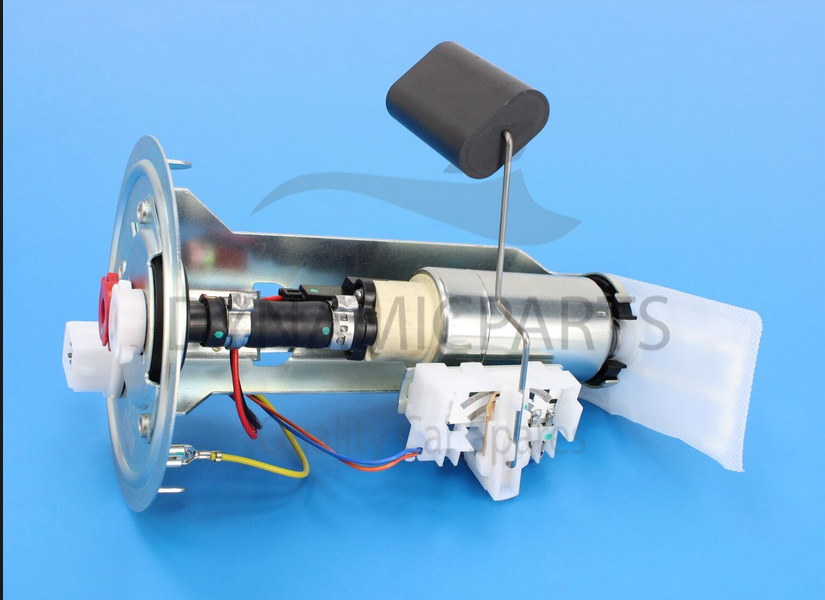
(I also forgot to get a picture before I hacked it all up! So here's the one from the ebay listing...)
The level sender was easy to remove, just unclipping from the metal pump bracket; and everything else was a matter of prying off clips, pulling hoses, and assorted wire disconnection. Handily, the wires on the inside are also on a plug so it depins nice and easily; so I can de-pin both ends of the fuel pump power connection and put whole new wires in rather than having to cut and extend the current ones.
That leaves me with a galvanised steel bracket that can be easily cut, a new section made up and spliced in. And thus...
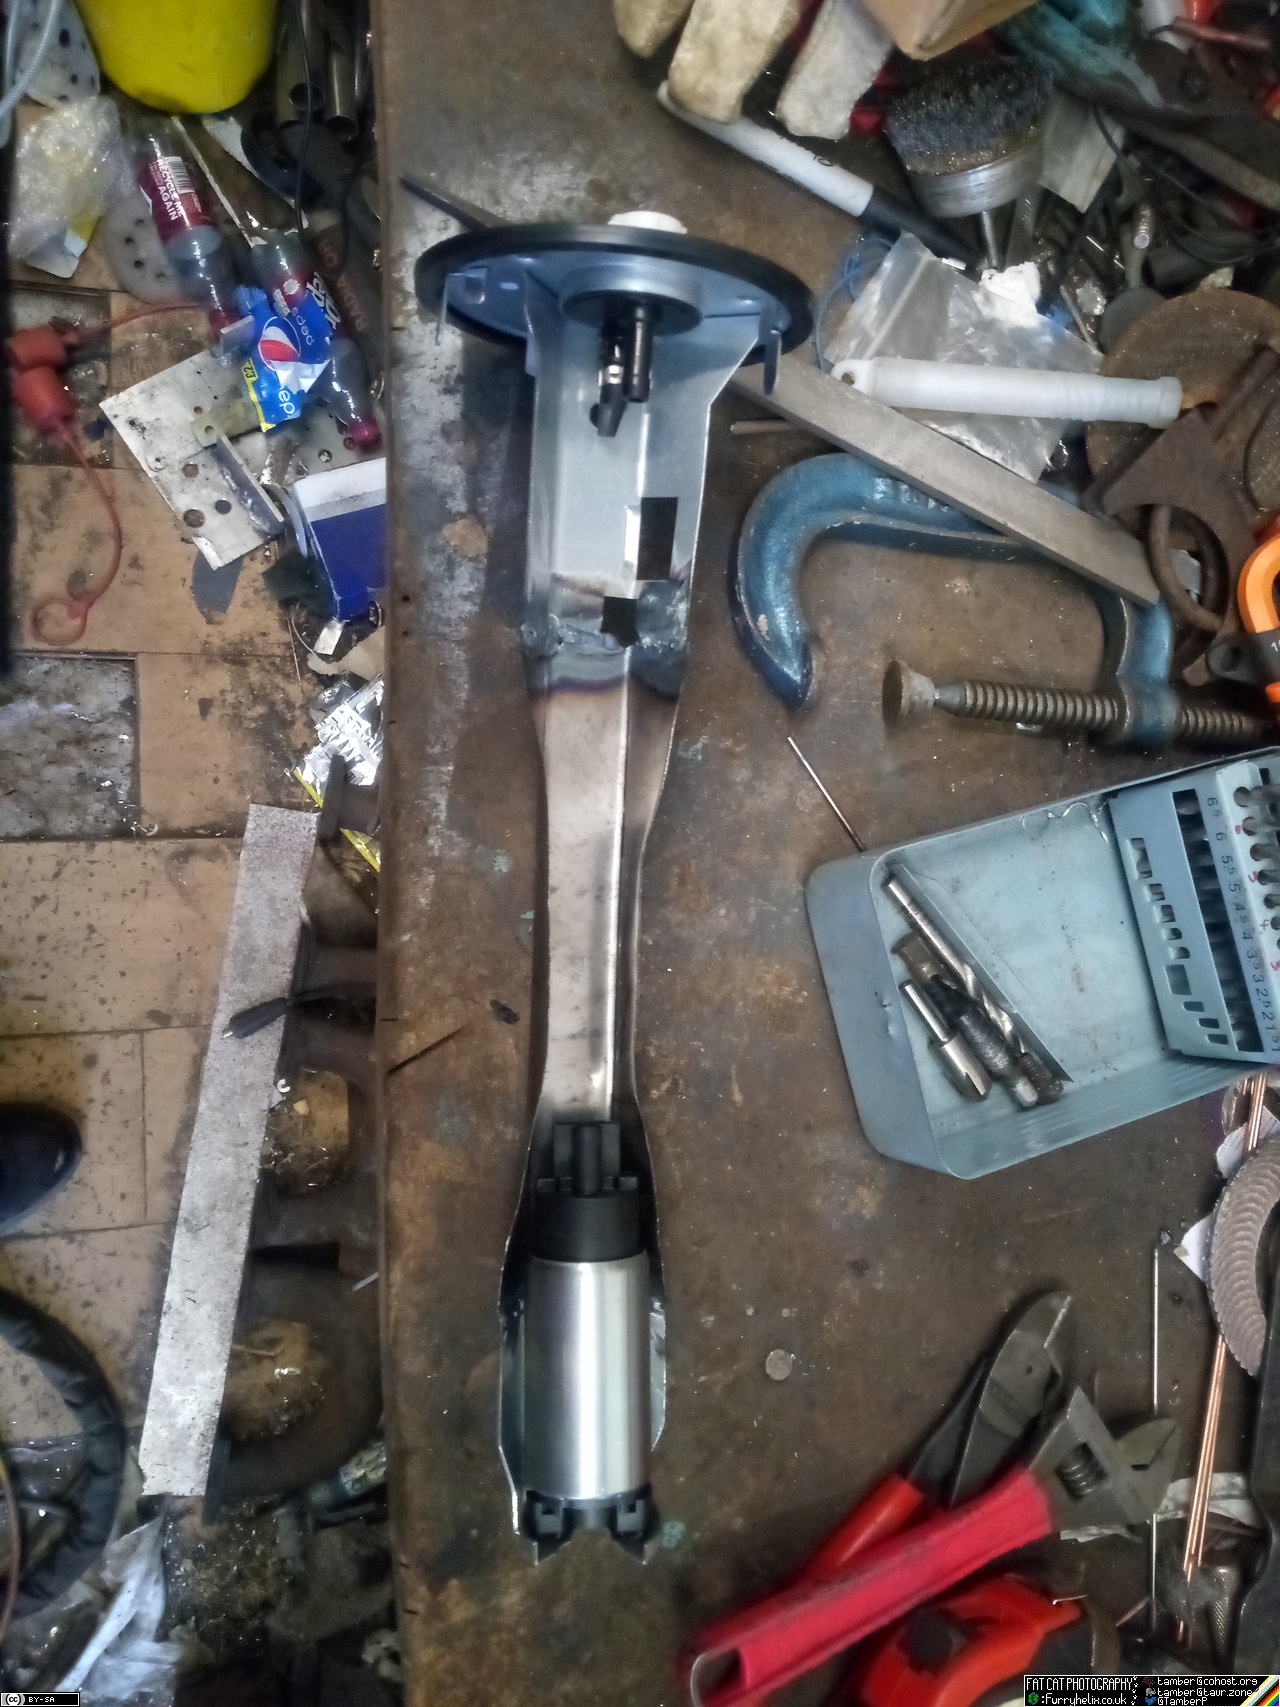
Originally, the pump was retained in place solely by the stiffness of that short length of hose from its output; and that won't work now it's 20cm longer! Plus, to avoid fuel splashing, a return that feeds back to the bottom of the tank would be better. Thankfully, both of those are easy enough problems to solve using parts from around the unit.
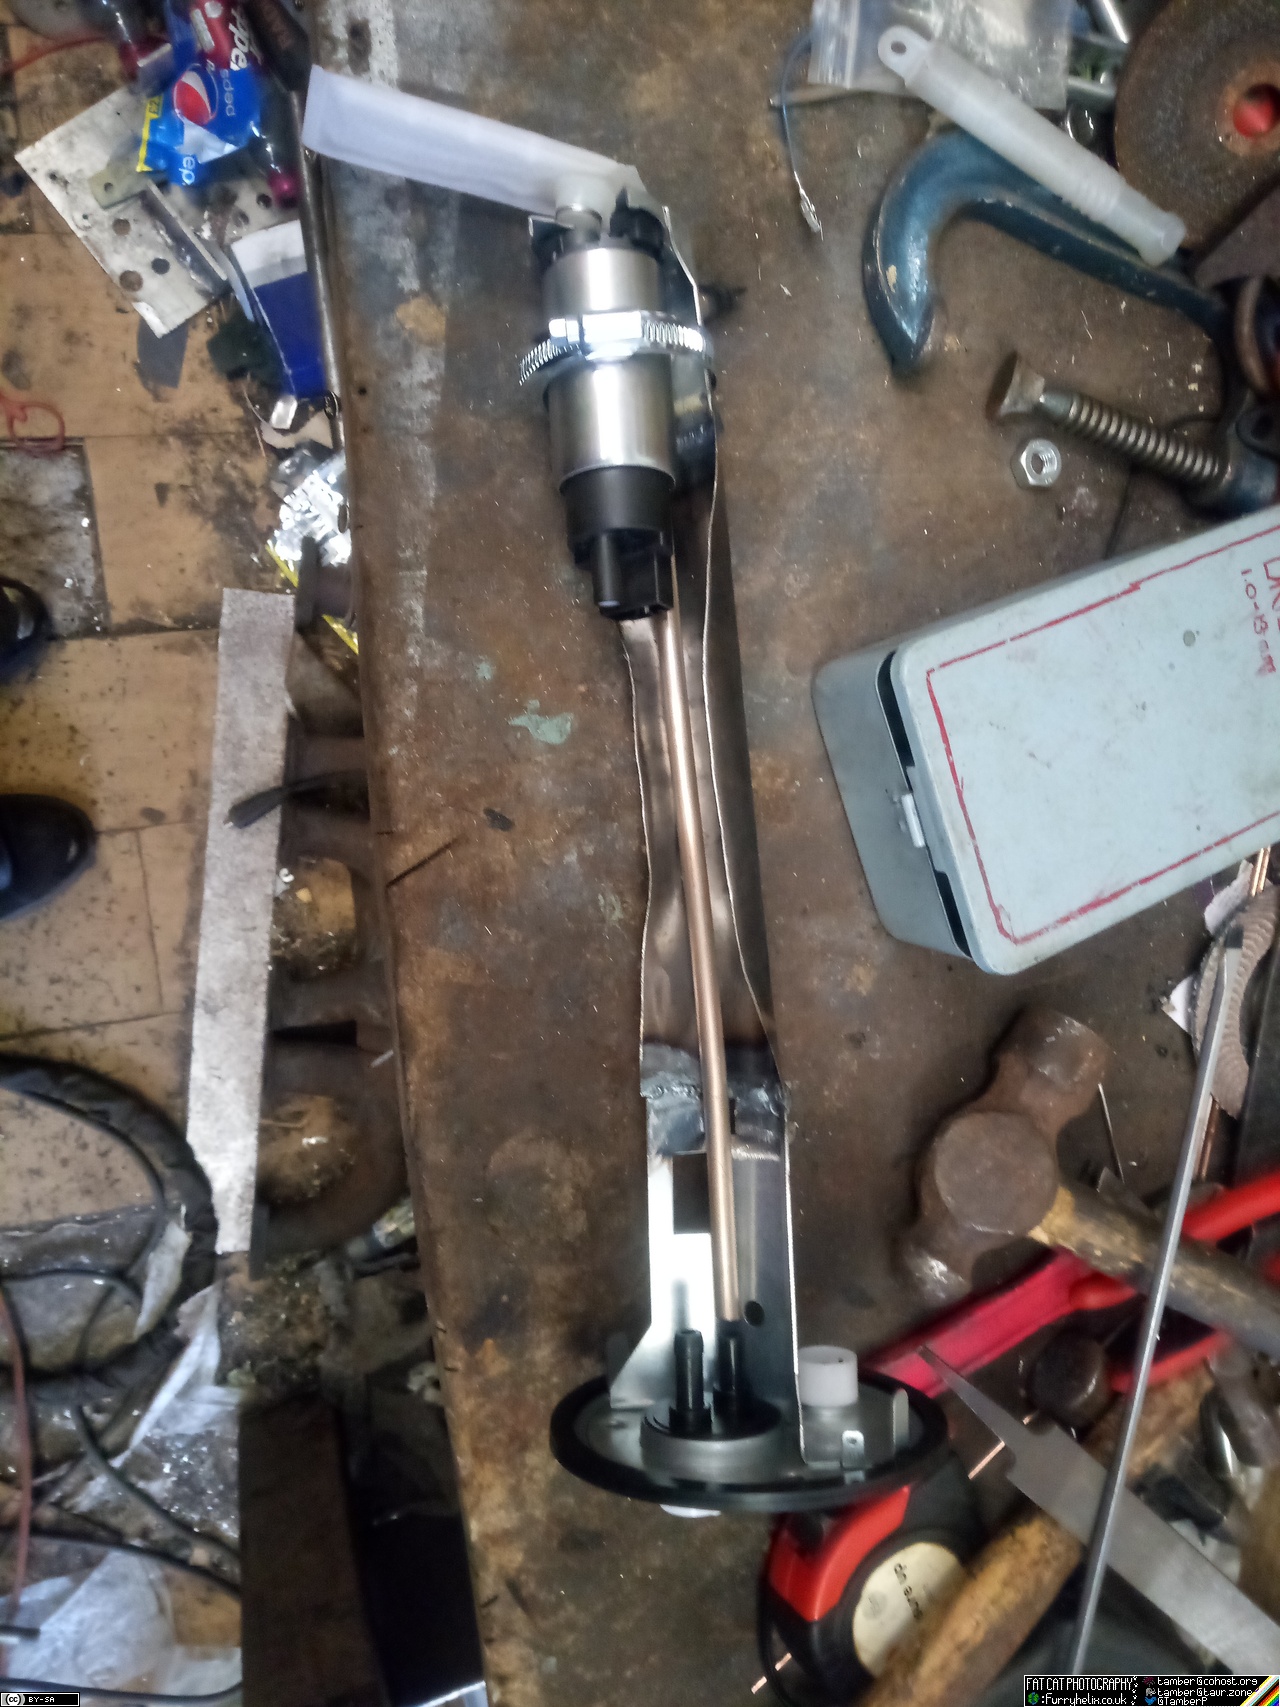
I'm considering adding some dimpled holes to increase the stiffness of the added section, which shouldn't be too difficult to do, and I've got to order some in-tank fuel line to connect it all up. At some point, I've got to yank the fuel tank and take a big brave pill to cut a hole in it to accept said sender, too! (Oh, and fit the new level sender I've had kicking around since 2017 or so!)
Fuel lines are probably just going to be plastic nylon, same as the air-lines. It works on modern vehicles, after-all! I keep overthinking whether the 8mm plastic pipe (6mm ID) will be enough, but just to put numbers on page to quiet the voices in my head...
Head loss -- per the Cameron hydraulic data -- of 0.4 gallons of water a minute (which is more than my expected fuel flow requirements), through 0.302" ID tube (which is bigger than the 6mm ID, yes, but petrol is less viscous than water so I figure it cancels out), is 9.18ft per 100 feet. If I estimate 15 feet of tube from pump to fuel rail (rounding up to account for any increased losses through fittings and whatnot.), that's a head loss of 1.377 feet due to friction, if I've done my maths correctly. And 1.377 feet = 16.524 inches (of water) = 0.597psi pressure drop due to friction in the line.
...yeah, that's fine. 6mm ID plastic pipe won't be a limiting factor
on this blistering ... checks notes sub-200hp build. 
Next stop: ... Probably more bodywork? I don't know, I keep telling myself that and then not doing it, so hey.