Still haven't gotten the new tyres yet. Every time I think I'm close to having enough saved up to get 'em, something else goes wrong. Nevermind, I'll not be needin' 'em any time soon.
Anyway, more hole-deletes.
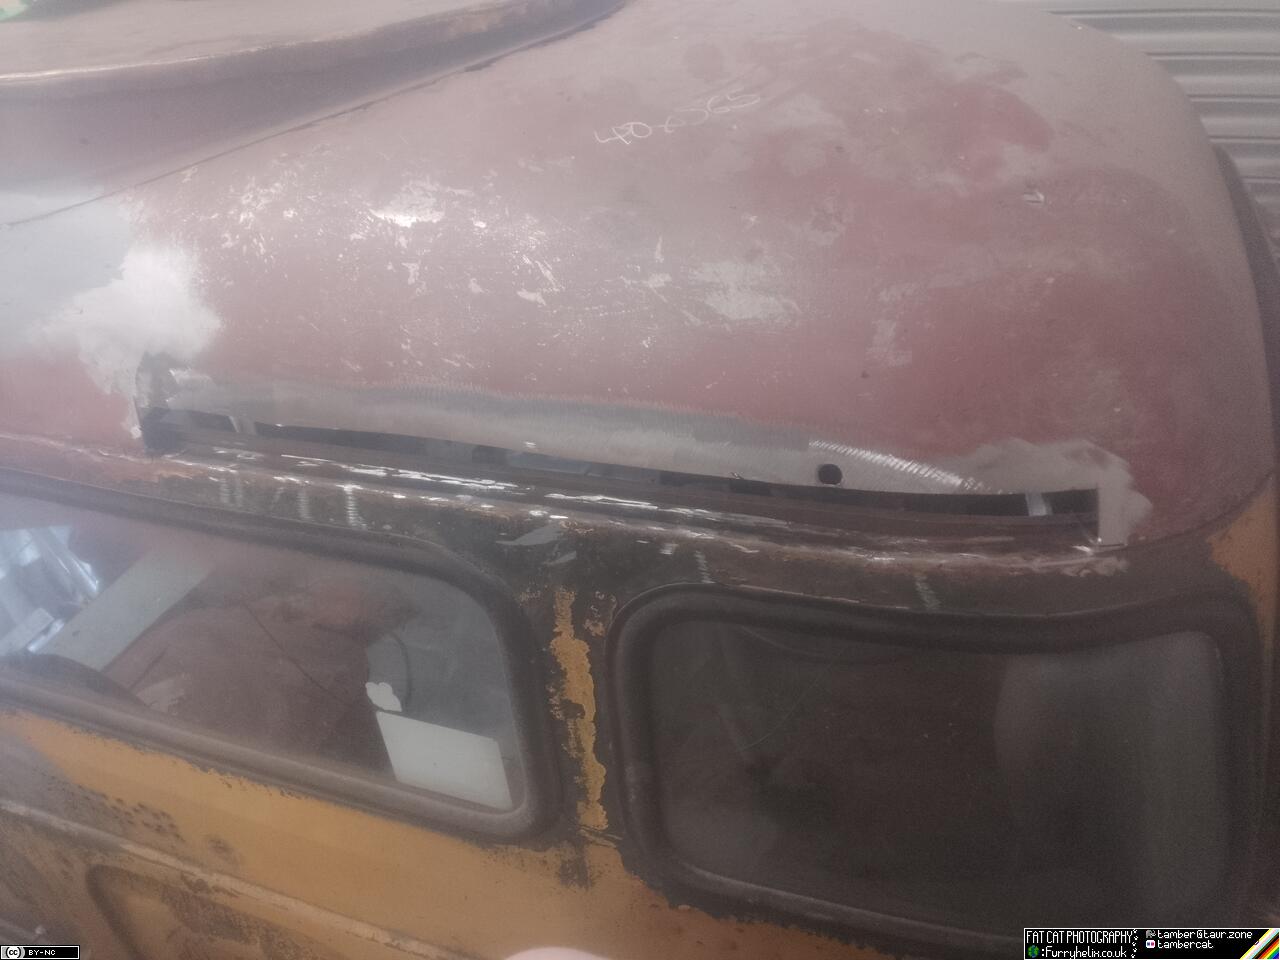 Which, naturally, requires cutting more holes.
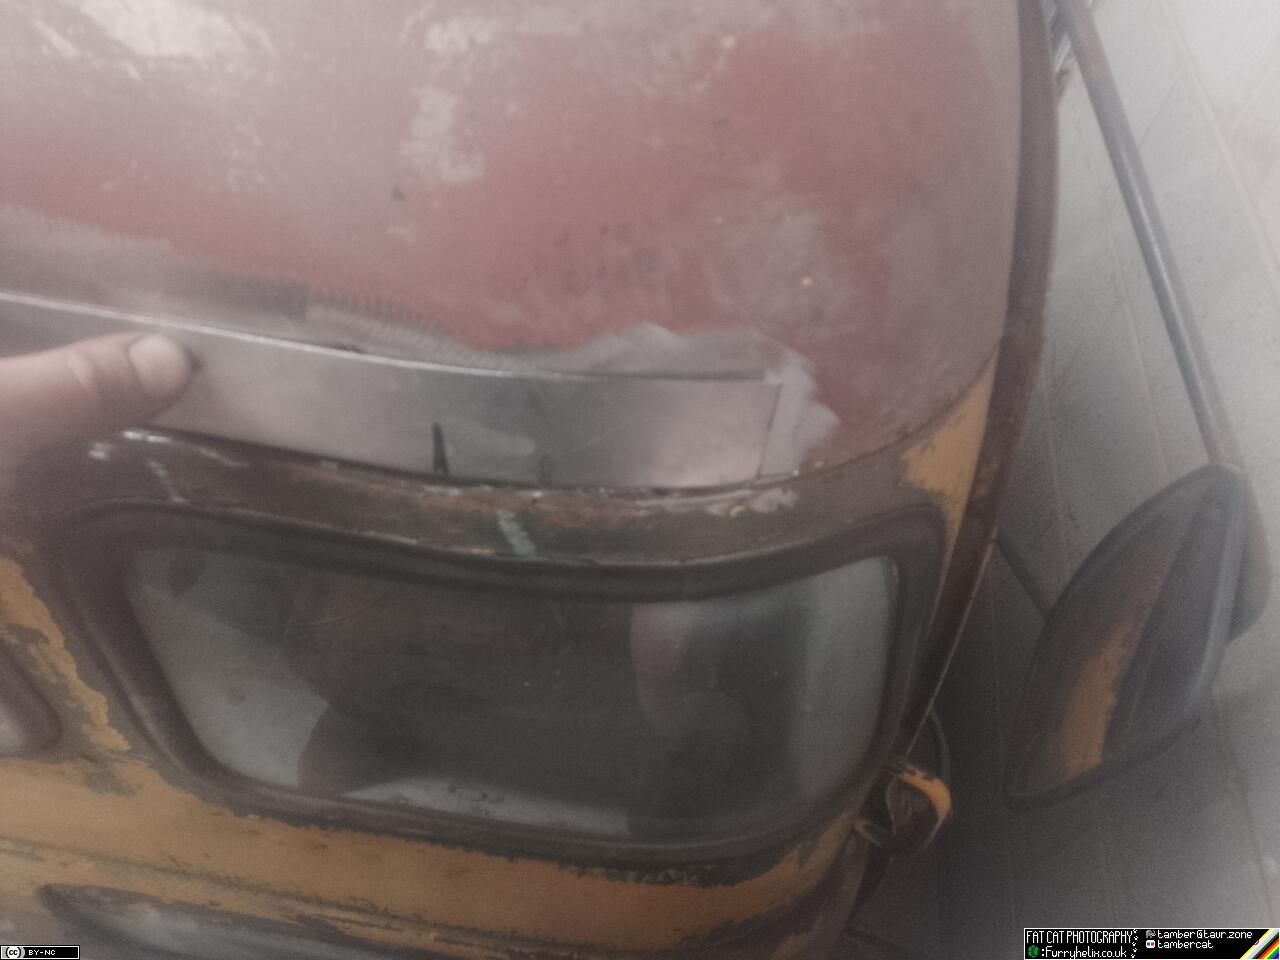 And fettling bits of metal until they fit.
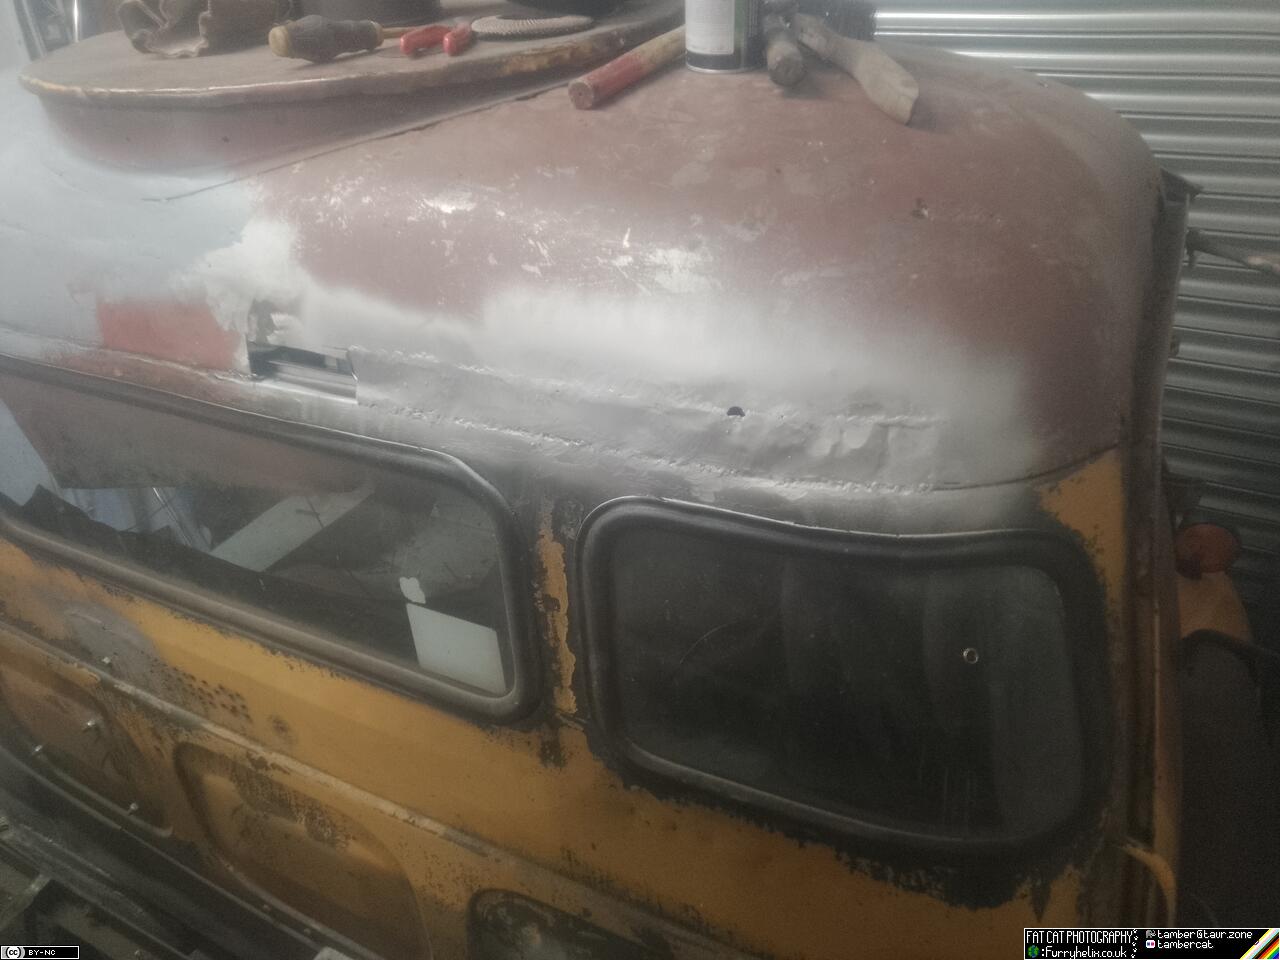 Then glueing them in before they could escape.
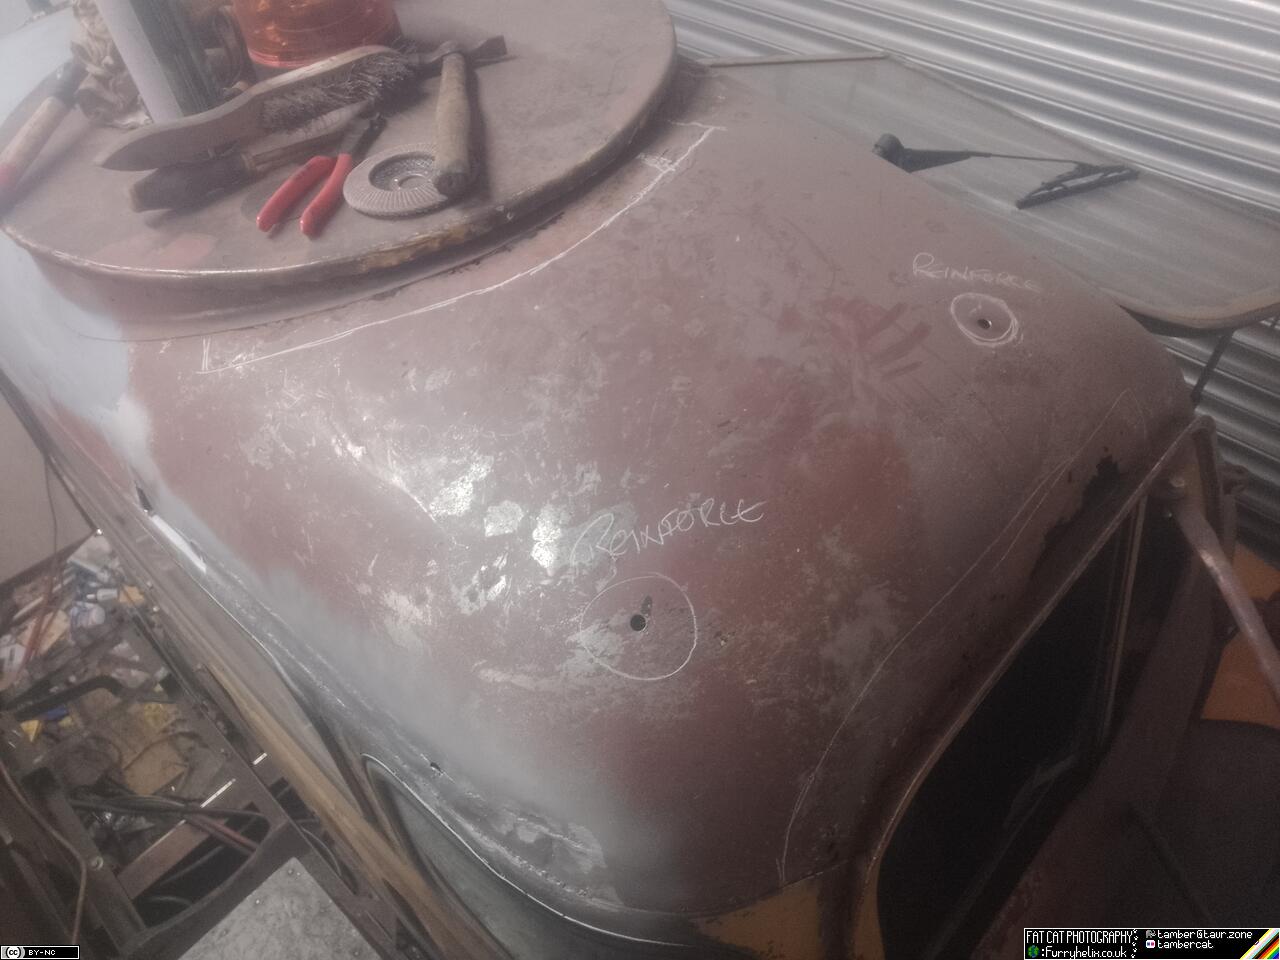
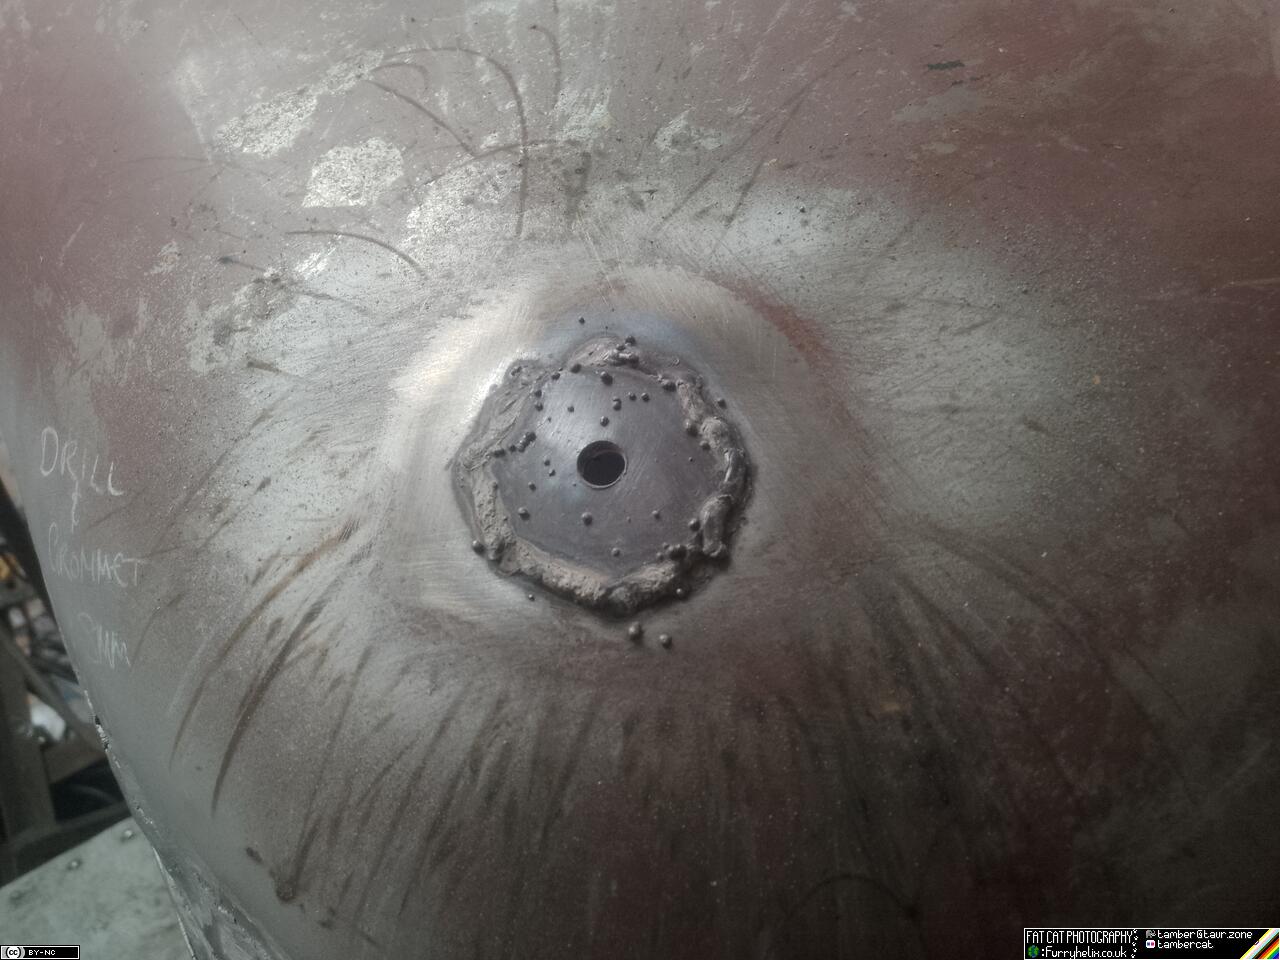
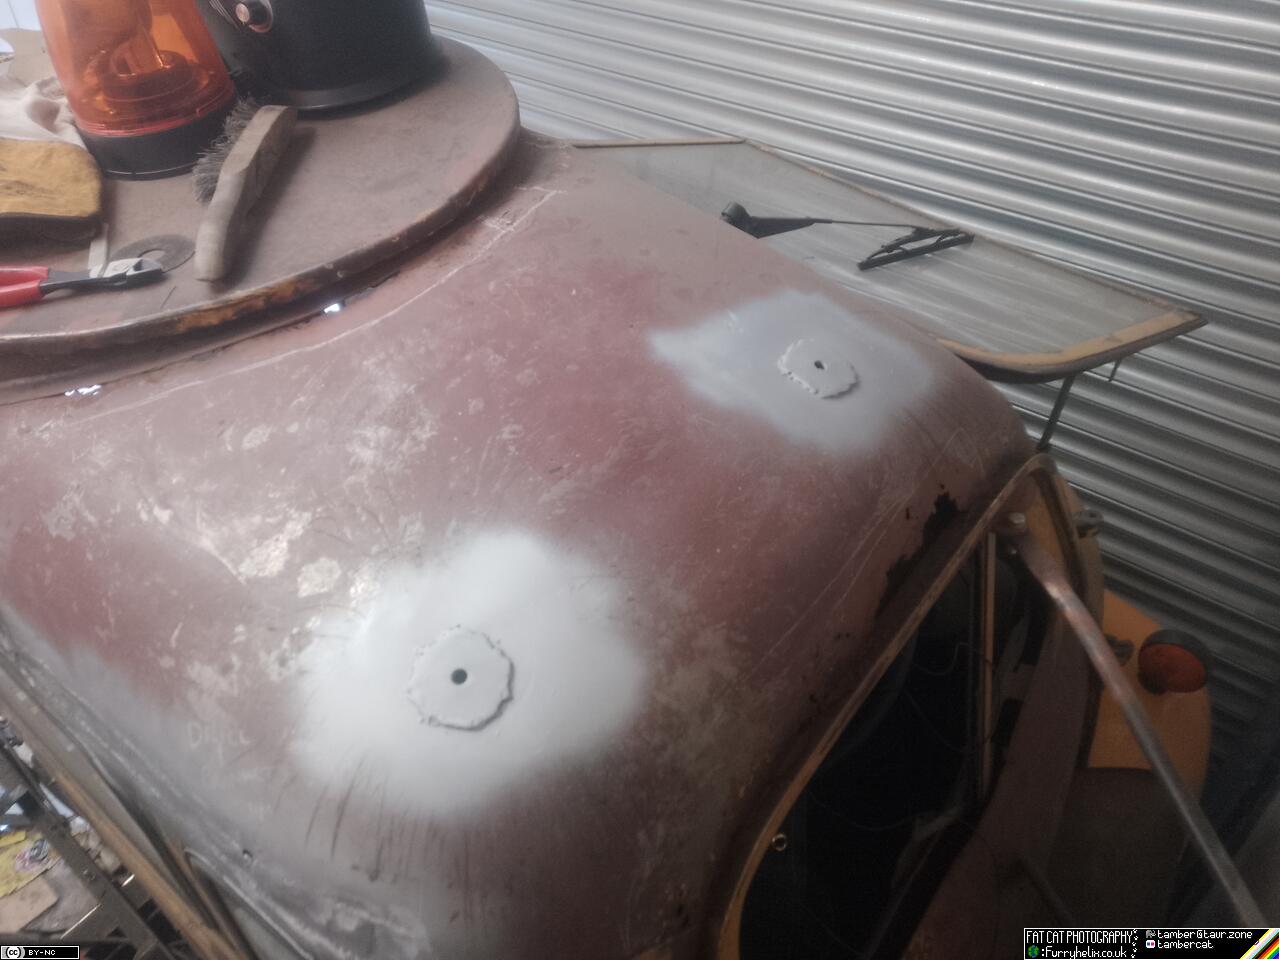 Decided to reinforce around the mounting bolts for the air-horn while I was up there. Yes, I did weld the reinforcing patches on the outside; really didn't feel up to welding upside-down.
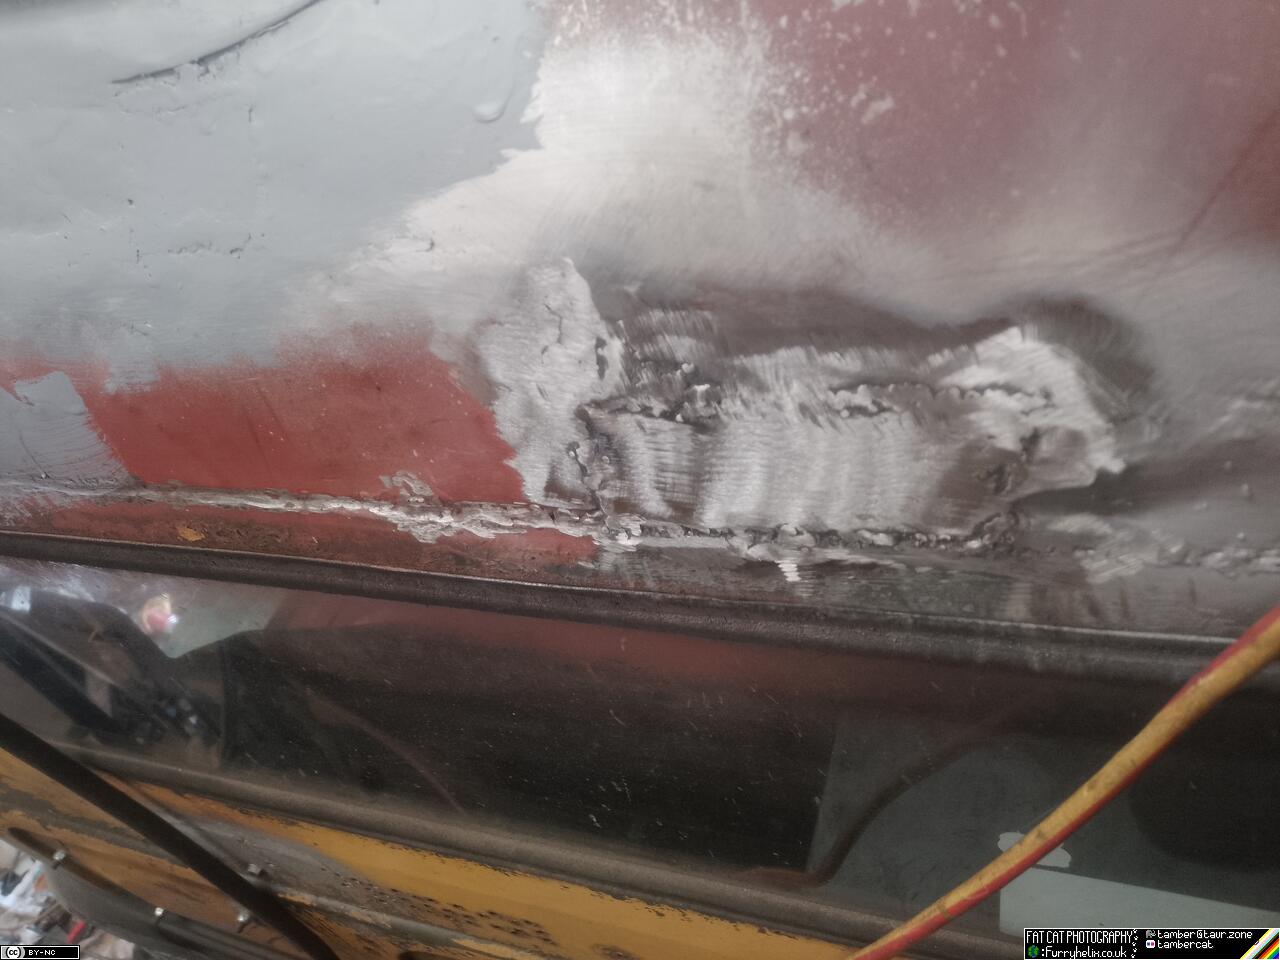
Working my way along!
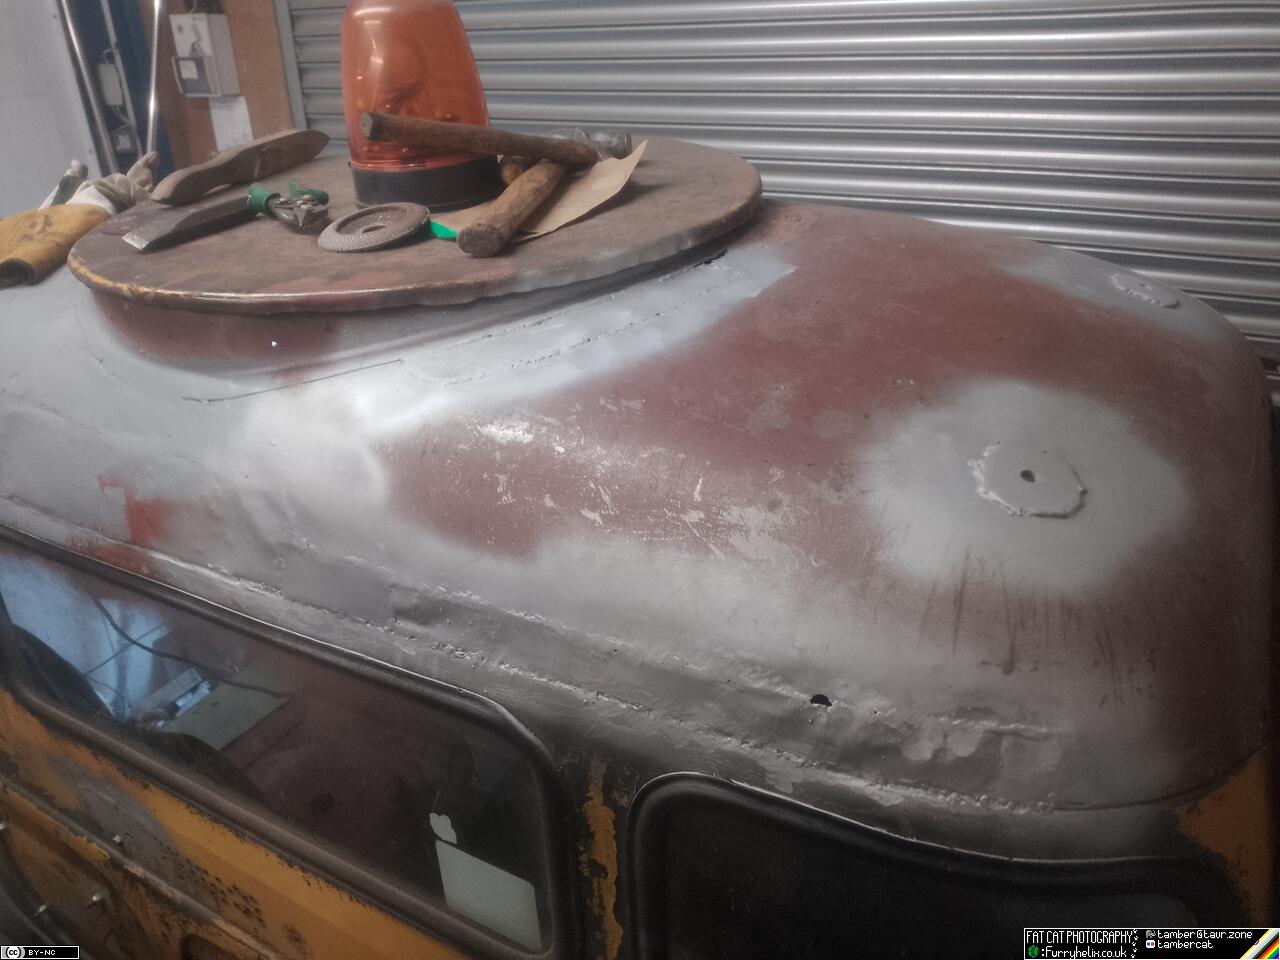 Next portion was then to move on up to the swiss-cheese around the
blanked off cupola.
Next portion was then to move on up to the swiss-cheese around the
blanked off cupola.
Today's mission (Well, yesterday's, strictly speaking. Since it's now
the wee hours of the morning, but that's neither here nor there.) was
to tackle the last section of the exhaust. I thought I'd got
dimensions somewhere of the somewhat exploded silencer before I tossed
it in the scrap-bin, but I couldn't find 'em.For some reason, though,
I had "14 inches" in my head, so I marked out a sheet of stainless for
a 14" square...
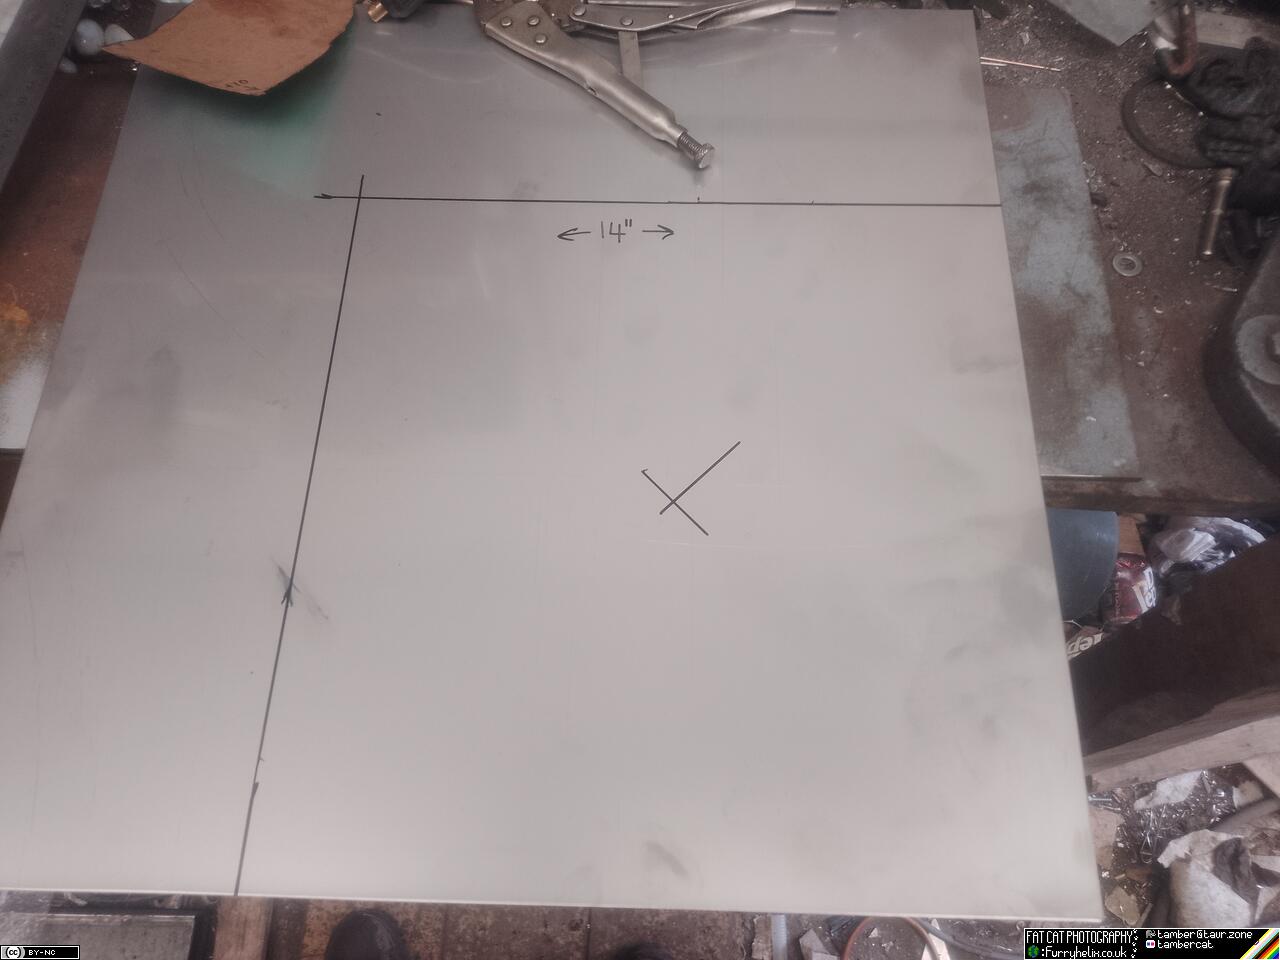
Then decided that was too big and ridiculous. So instead I scaled it back to a mere 12" diameter, marked it out, drew my centre...
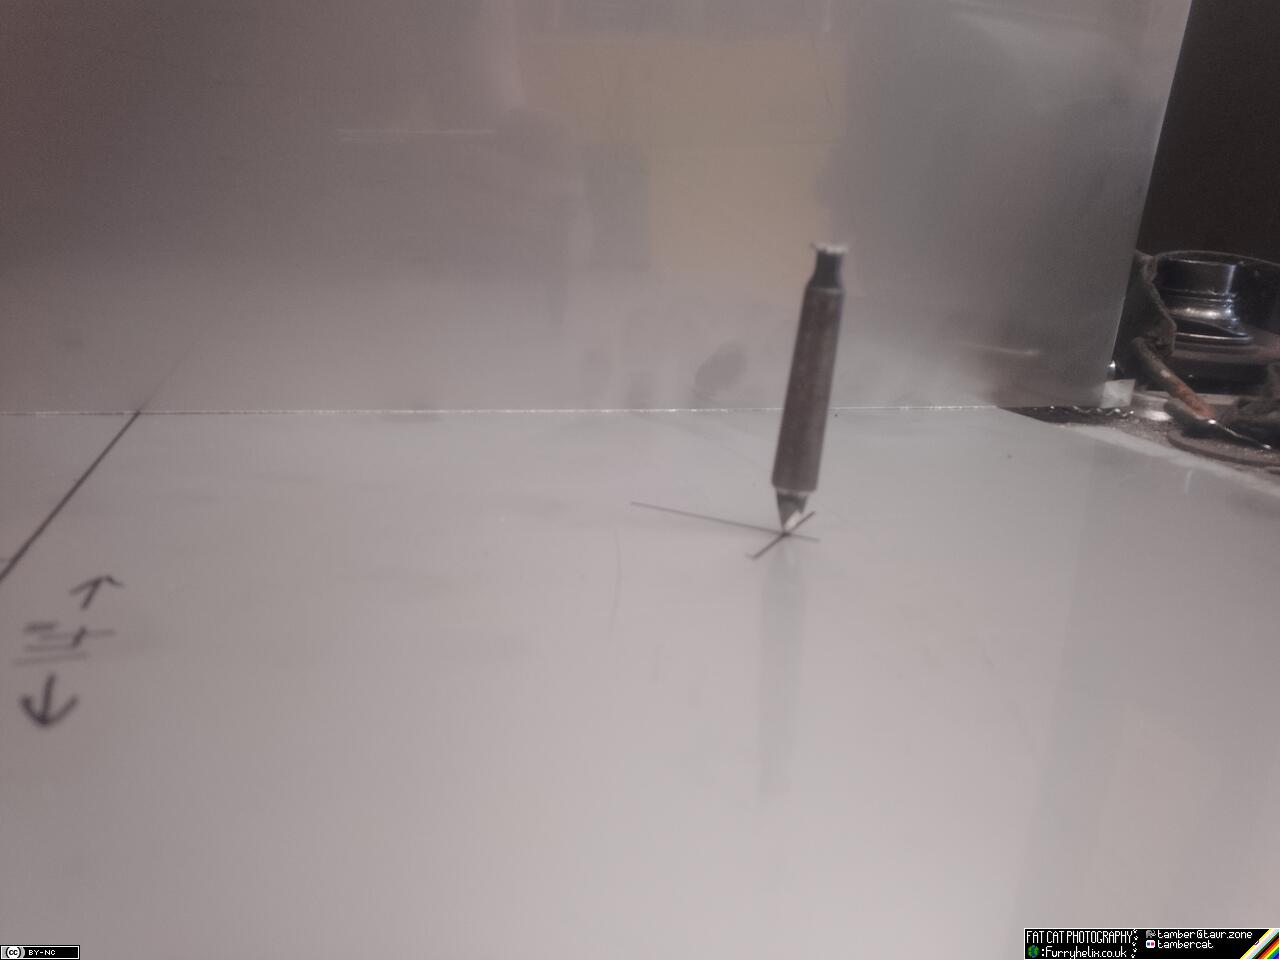 whomp!
Then with a little grind-y action, followed by some shiny tig-weldering, and we have a cake tin
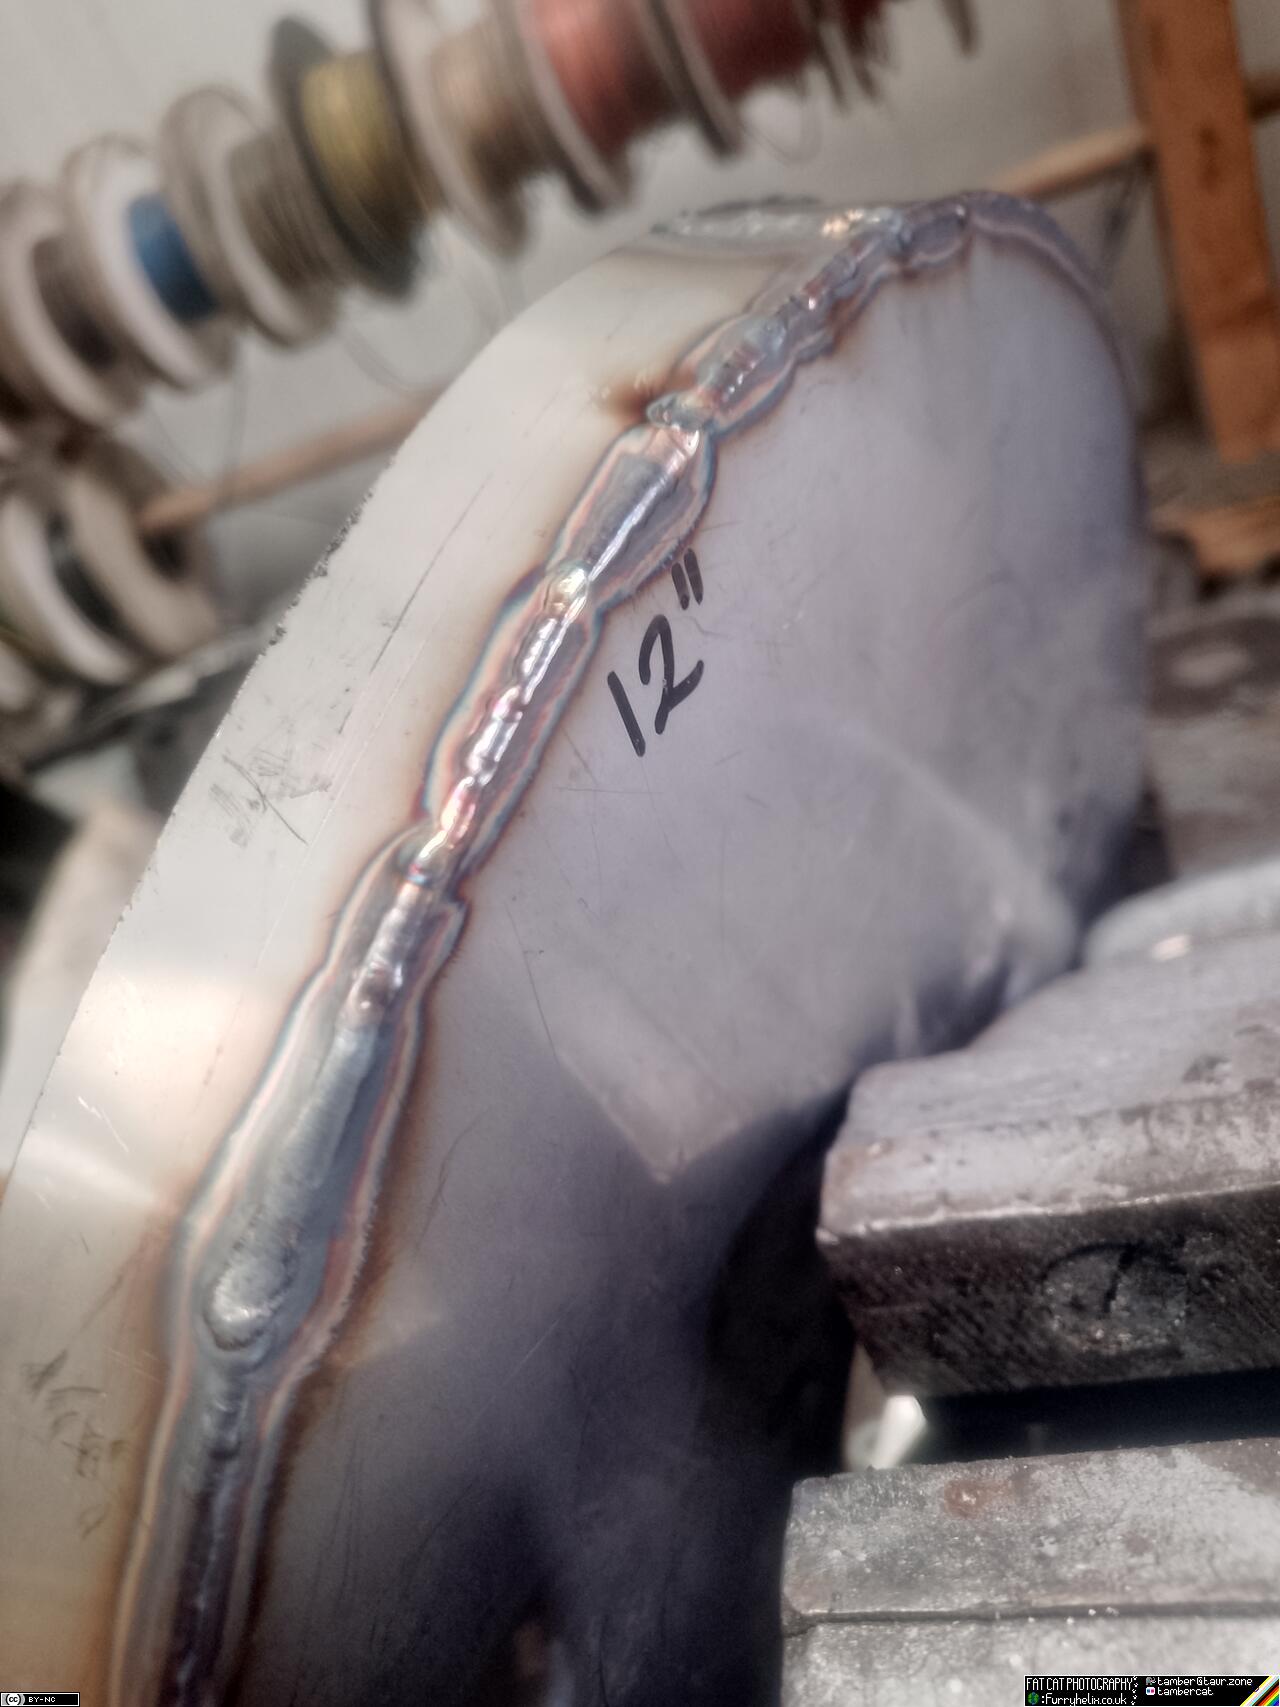
Then weld the tailpipe into the cake-tin, rendering it utterly useless for making cakes in
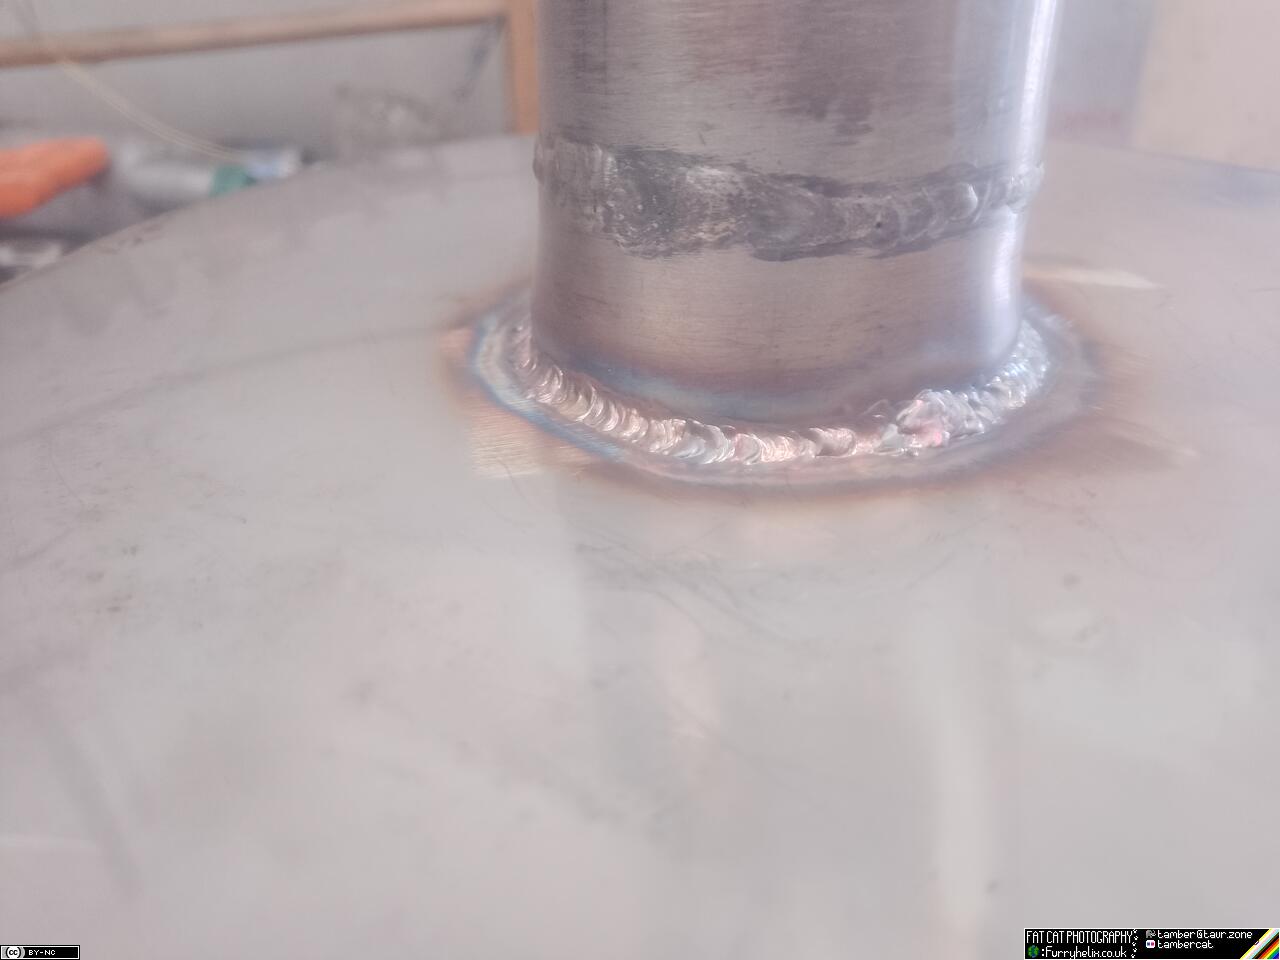
Which leaves us with this!
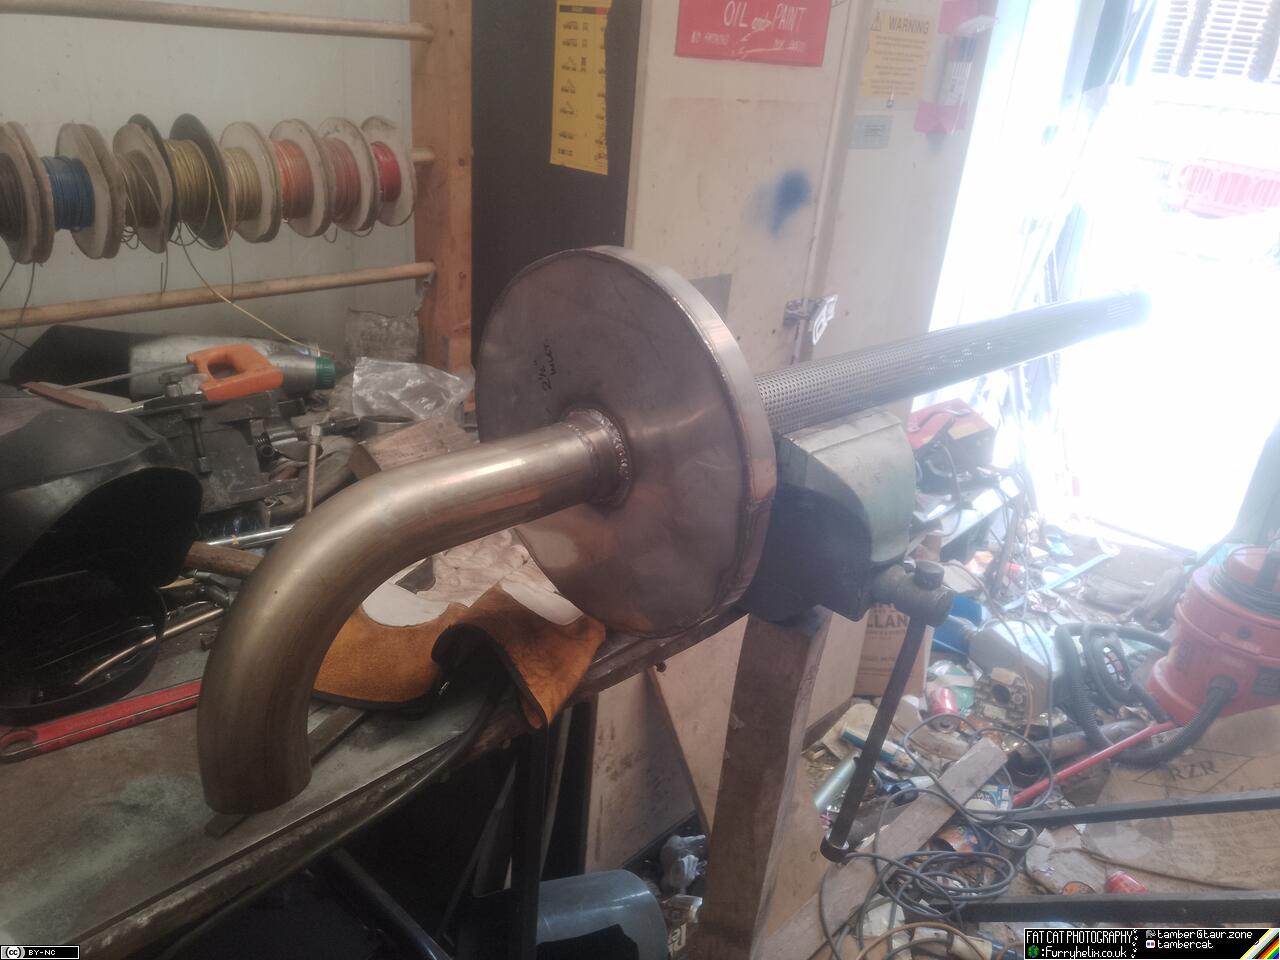
Now, that's lovely, but it's missing a bit; so as the instructions so often go, simply repeat for the other side.
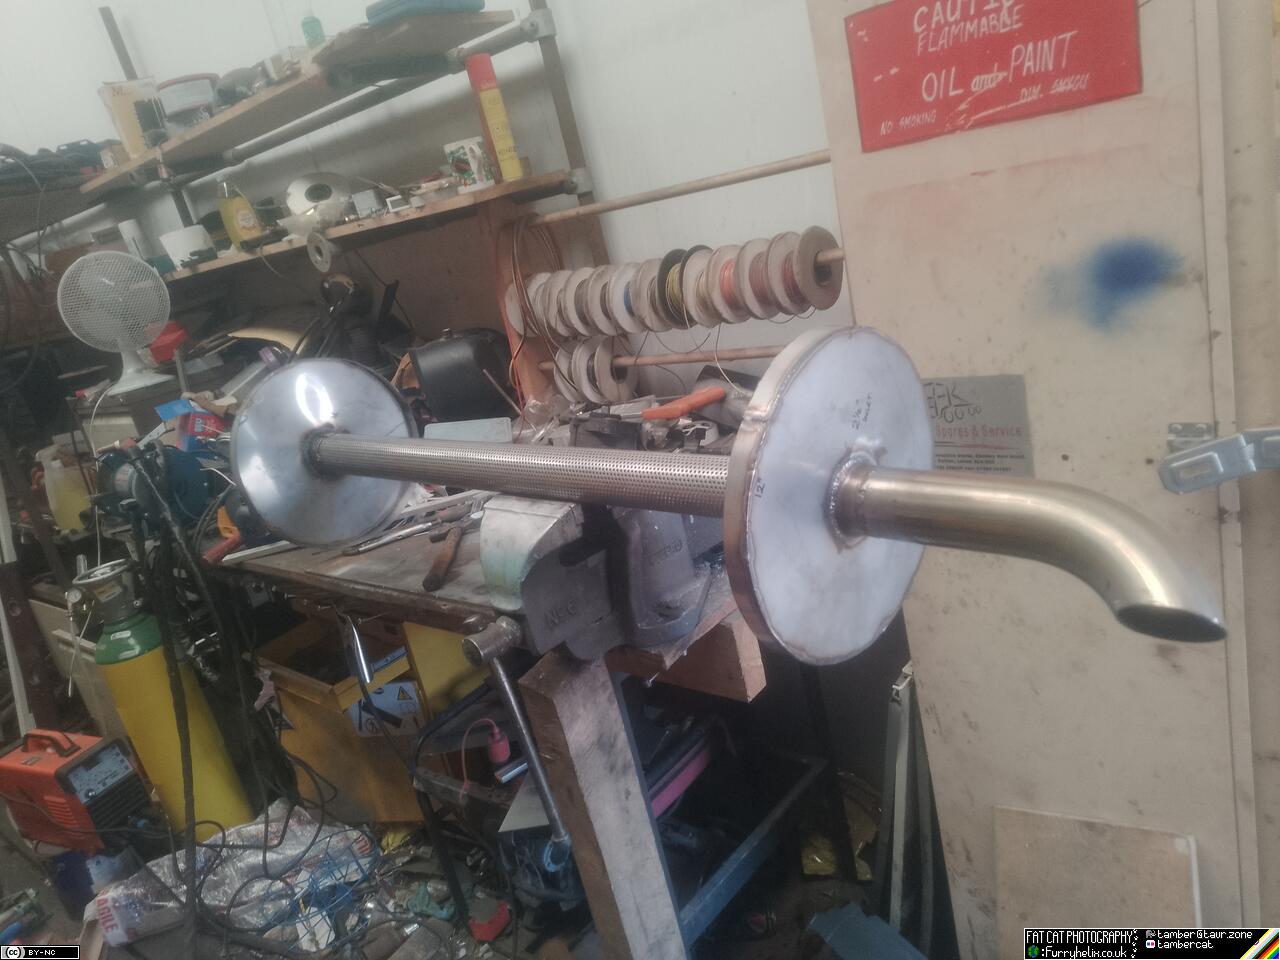 I also trimmed the tailpipe, so it looks a little more appropriate. Admittedly, the size of that silencer is wholly inappropriate; in fact, it's downright obscene!
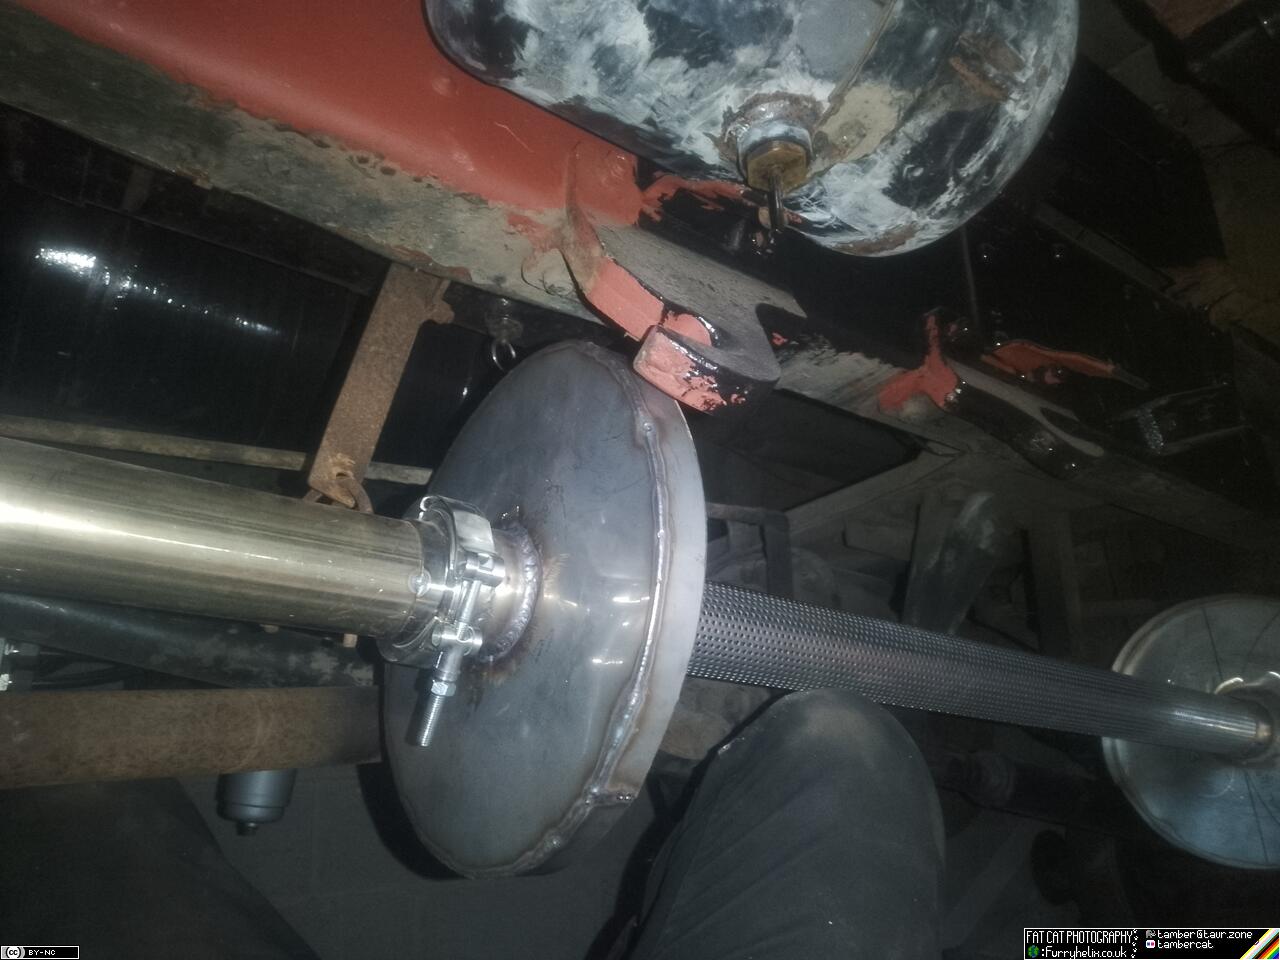
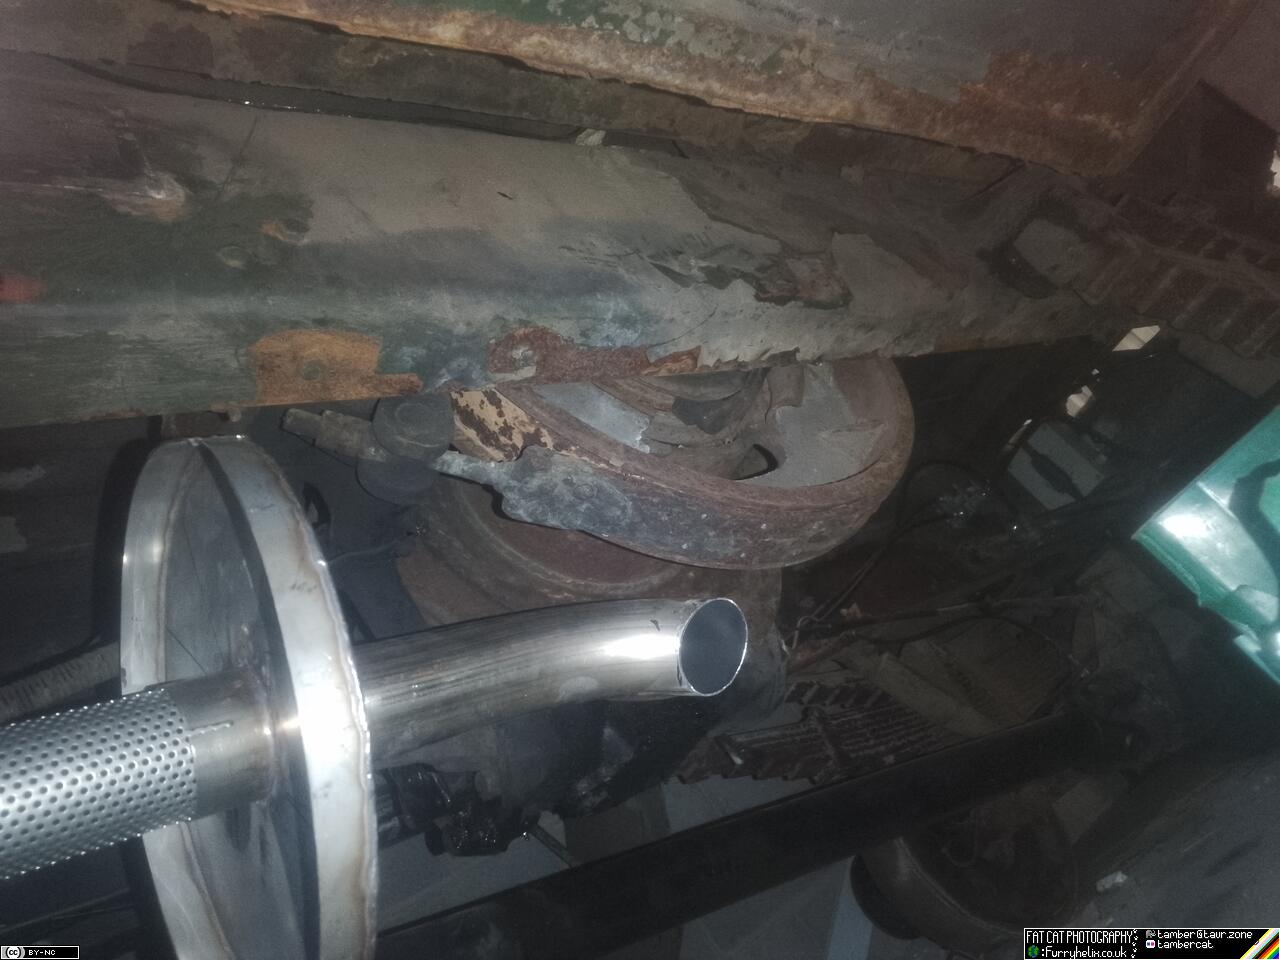
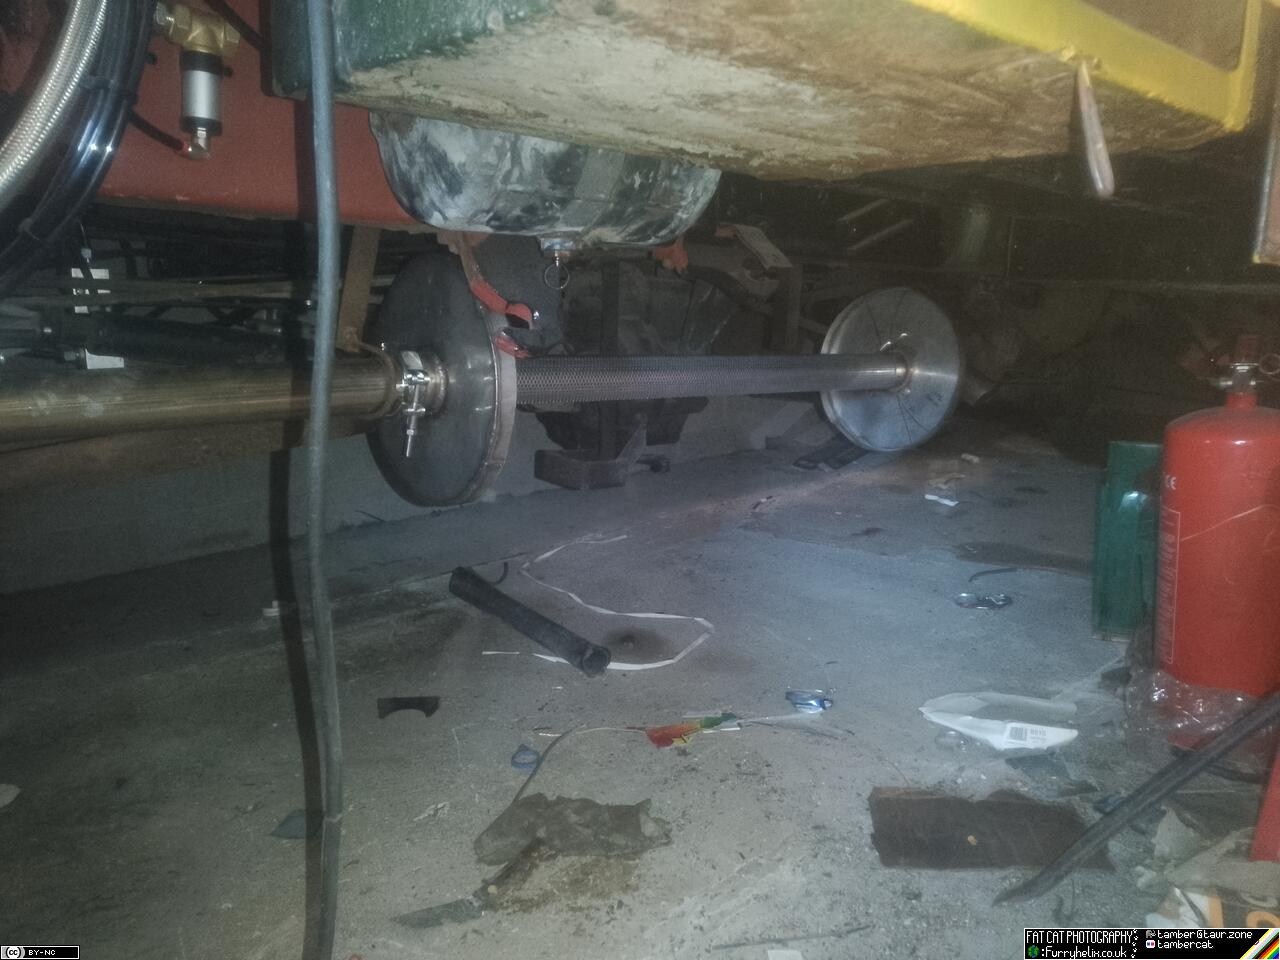
Some modification of the exhaust mounting brackets will be required!
Or, alternatively, I could shorten the whole thing up a little
bit. The inlet of the silencer is lightly welded to the perf tube, but
the tailpipe section (with the end-cap of the silencer) is still a
slip-fit; the intention is to have the whole thing held together by
the skin, and then I can pull it apart if I decide to change the
internals. 
Considering the size of this silencer, nobody can claim I wasn't trying to quiet the truck down! (I may try it without the wadding, at first; but the intention is to wrap the perf tube with fibreglass.)
