Posts for Mai, 2024
Fixture continues 5 Mai 2024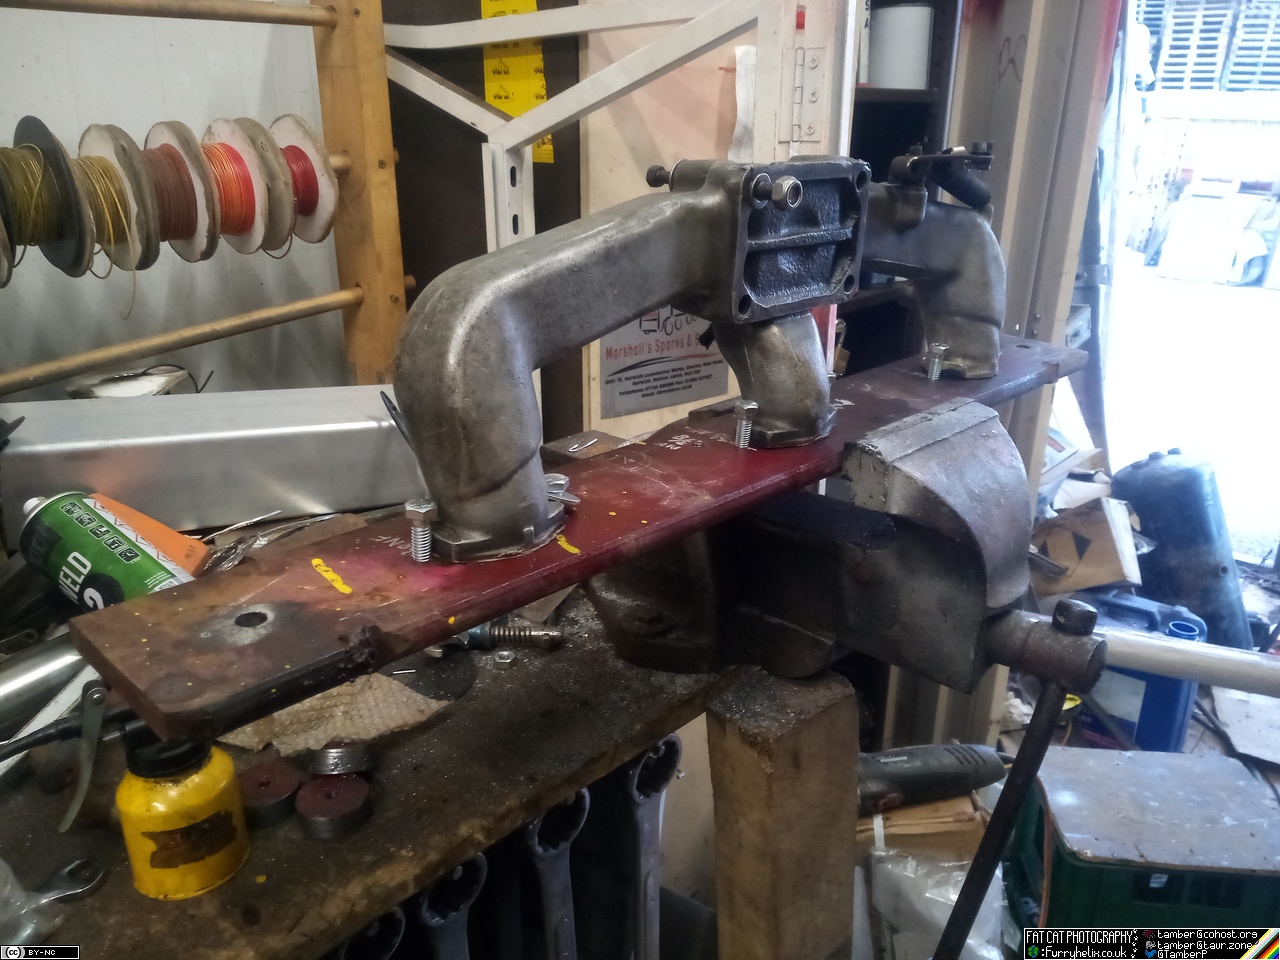 Lovely. (Pay no mind to the slightly wonky bolt.) Then, follow this up with some additional fettling (carefully applied weld, then dress back with a file) to ensure as snug a fit as possible.
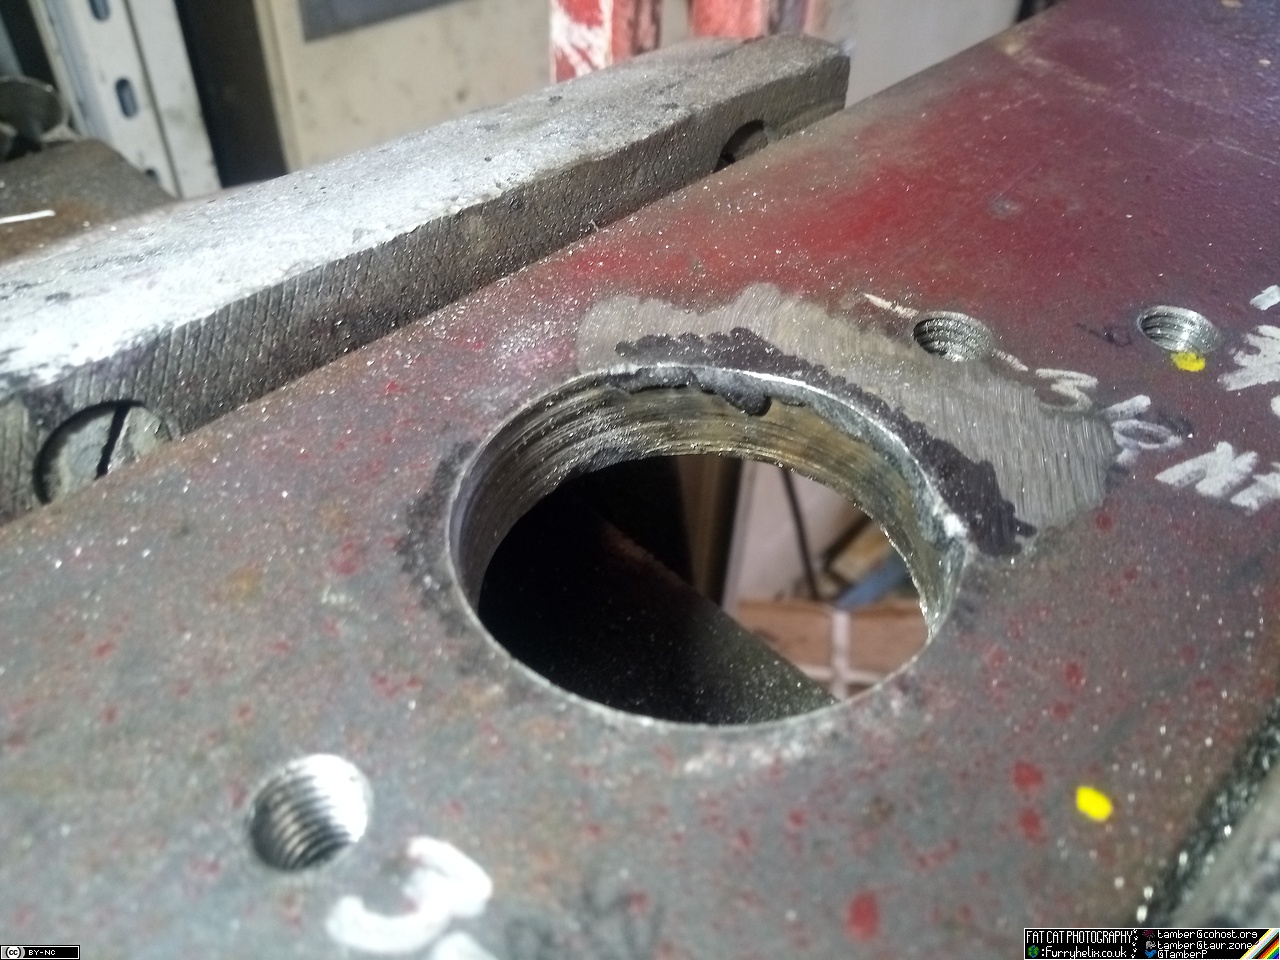
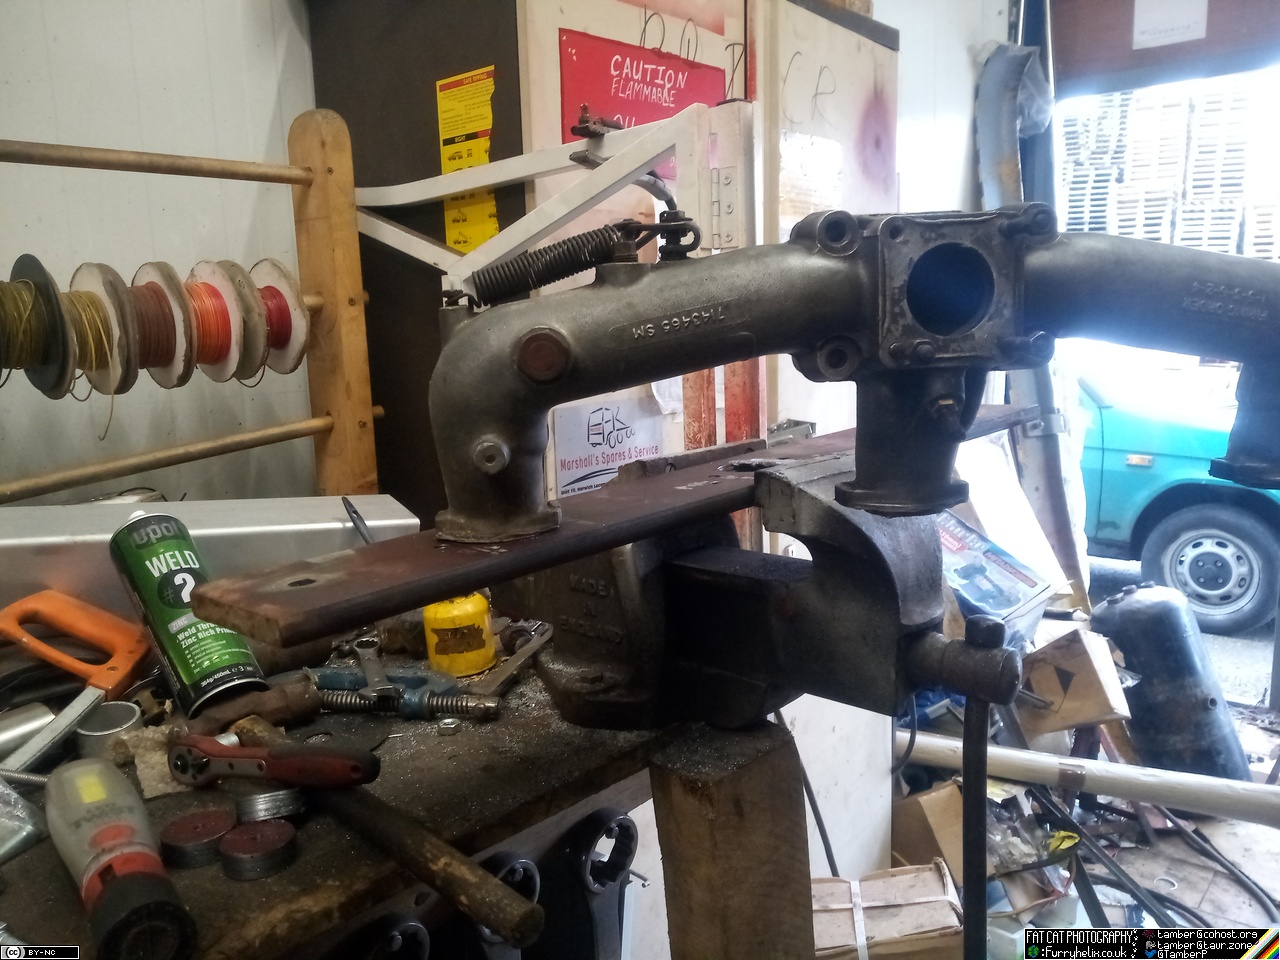 That'll do nicely. Next step, pull all the new inlet runners back off the engine and try them in the fixture.
Posts for Ebrill, 2024
Paint n Brackets 29 Ebrill 2024Read more…brushie brushie brushie<
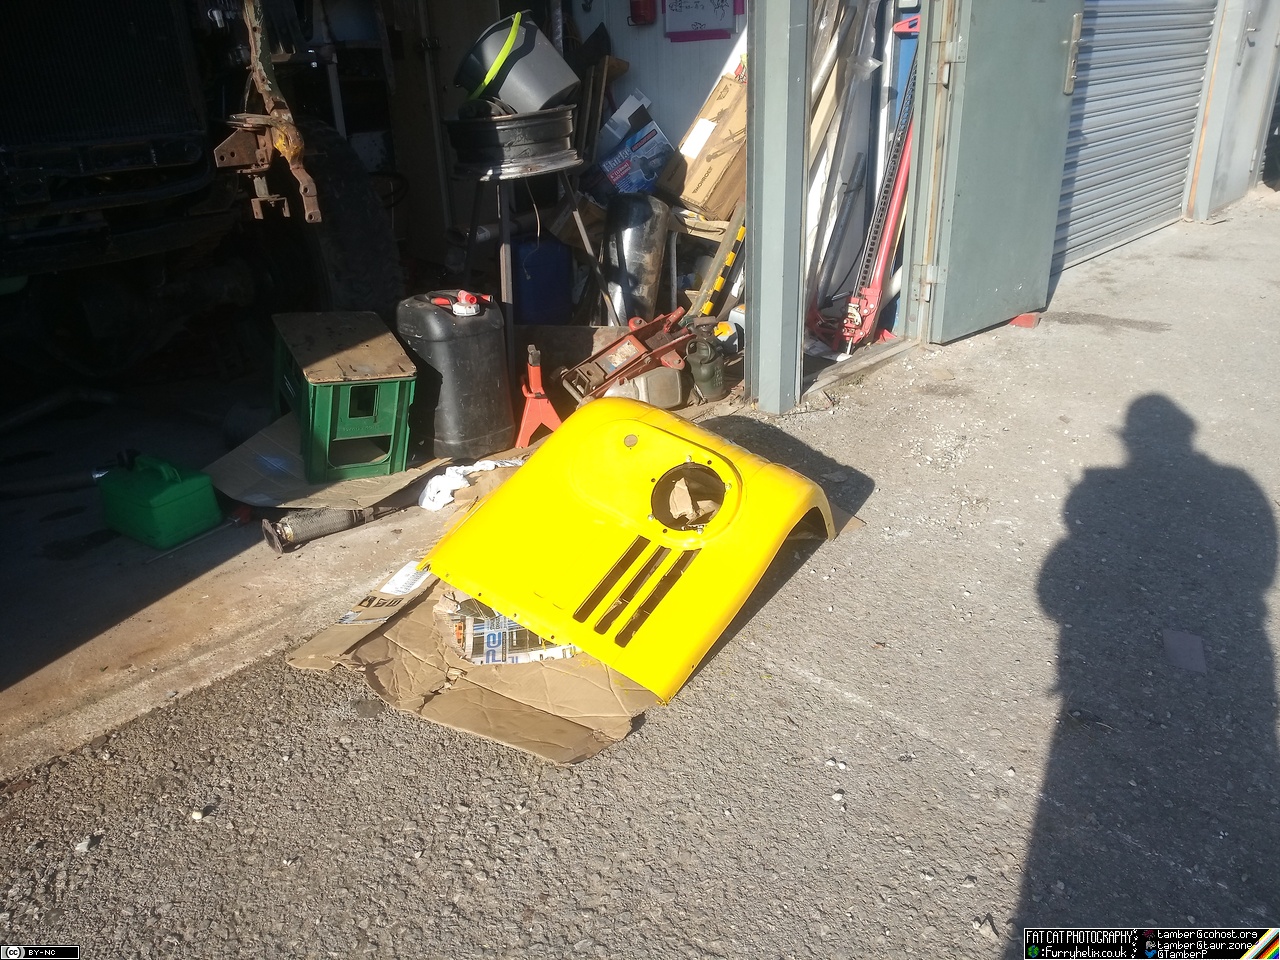
That's coming along quite nicely. I also gave the nearside front wing a cleaning and another coat, too, since I had the paint out. Really should finish repairing that cheek panel, so that I can refit this one, at some point.

Update to " A fixture ". 26 Ebrill 2024
A fixture 23 Ebrill 2024
First off for this evening, let's start with that fixture plate. 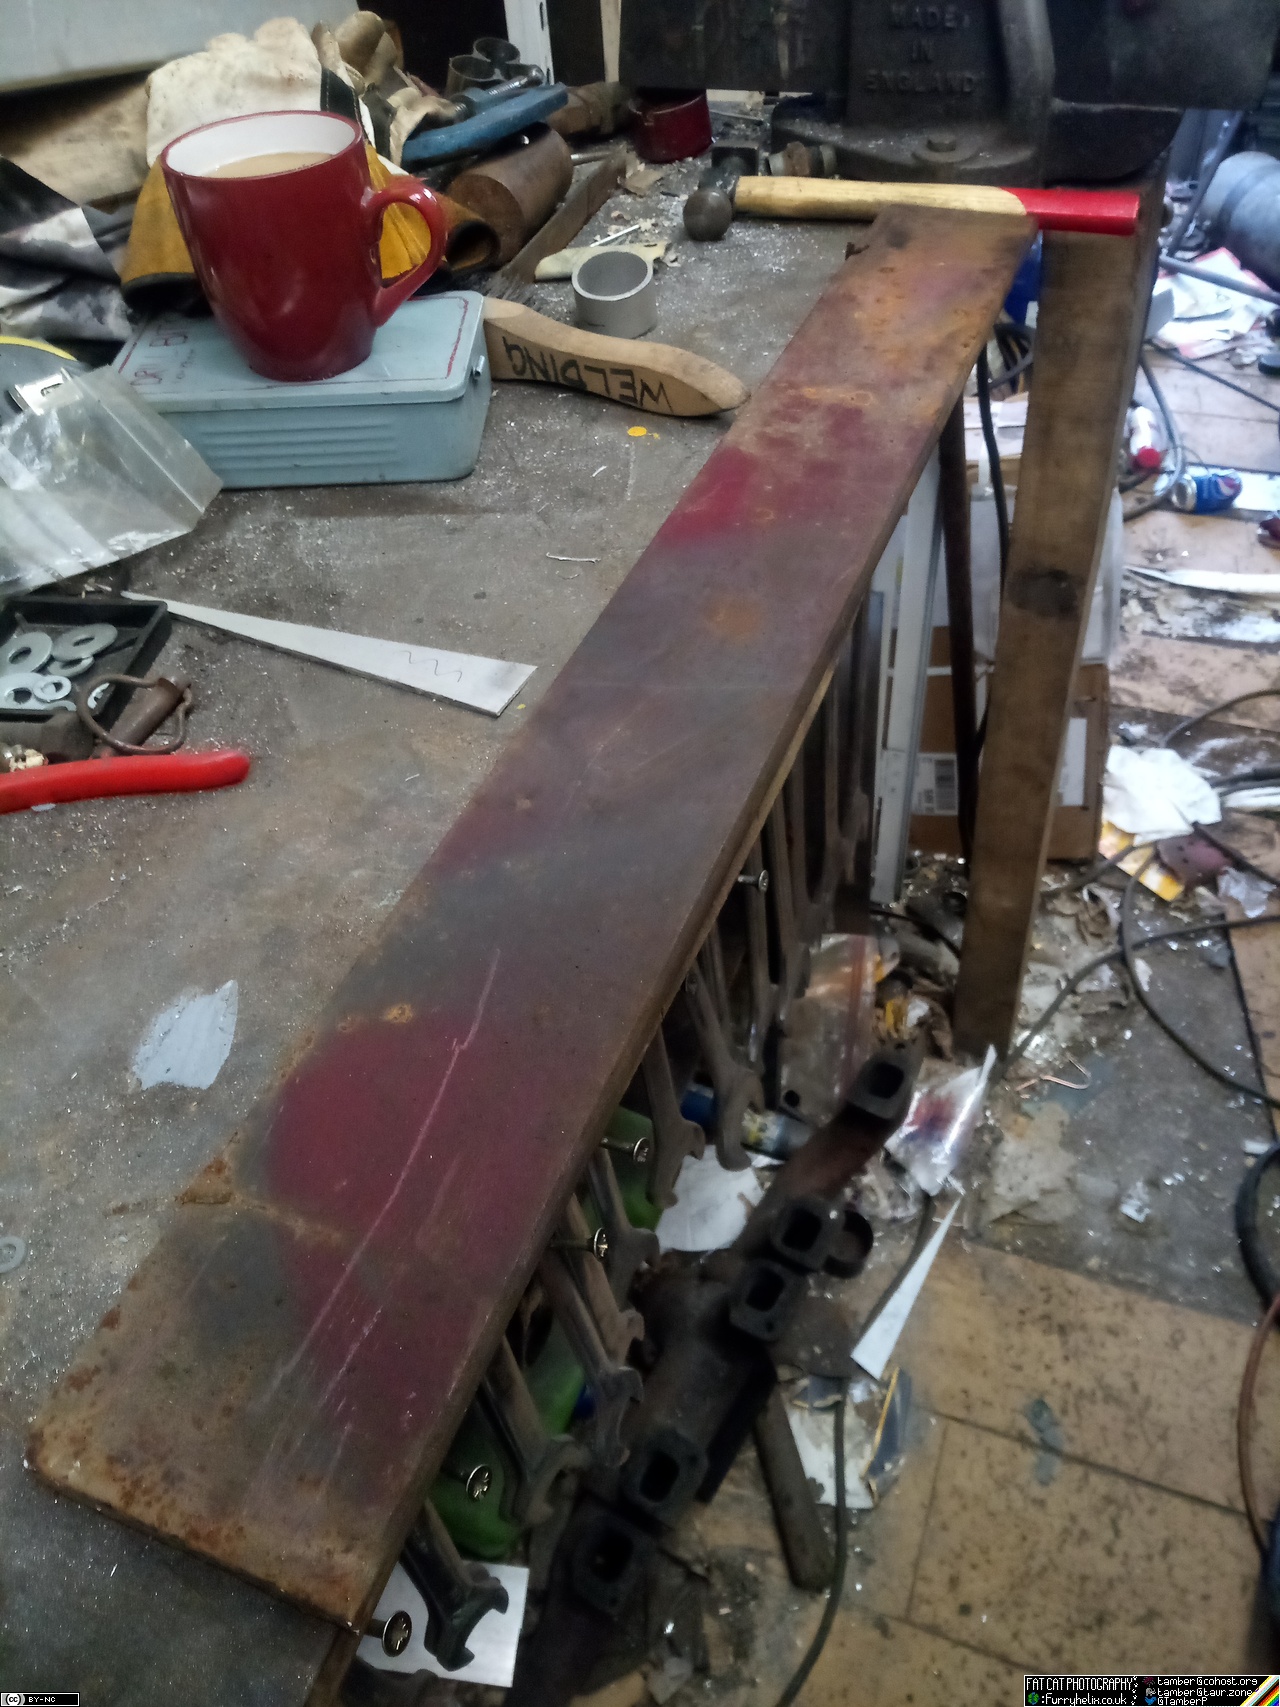 A 33" long piece of 100x16mm should do nicely. Spend an hour and a half measuring, marking, re-measuring, re-marking, re-re-measuring, head-scratching, drinking coffee and thinking real hard, then measuring again just to make sure. It's recommended you do
Update to " A second coat of paint has hit the truck! ". 21 Ebrill 2024
A second coat of paint has hit the truck! 15 Ebrill 2024
Another coat of paint has definitely made a big difference to the side of the truck. It really does take a few coats to build up the opacity. 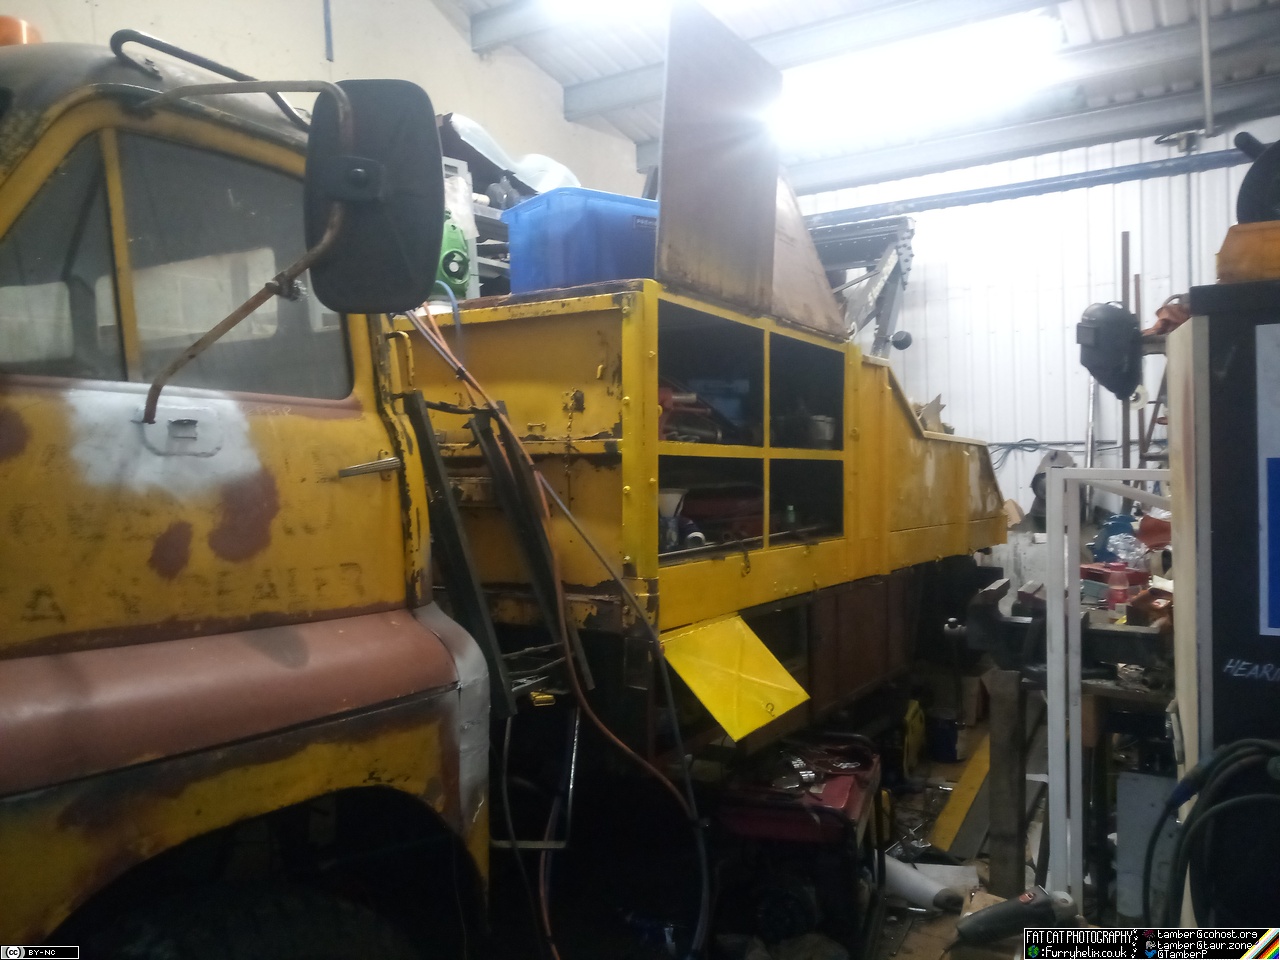 And I got one tab welded onto the air pipe, and as expected that was the last dregs of the argon.
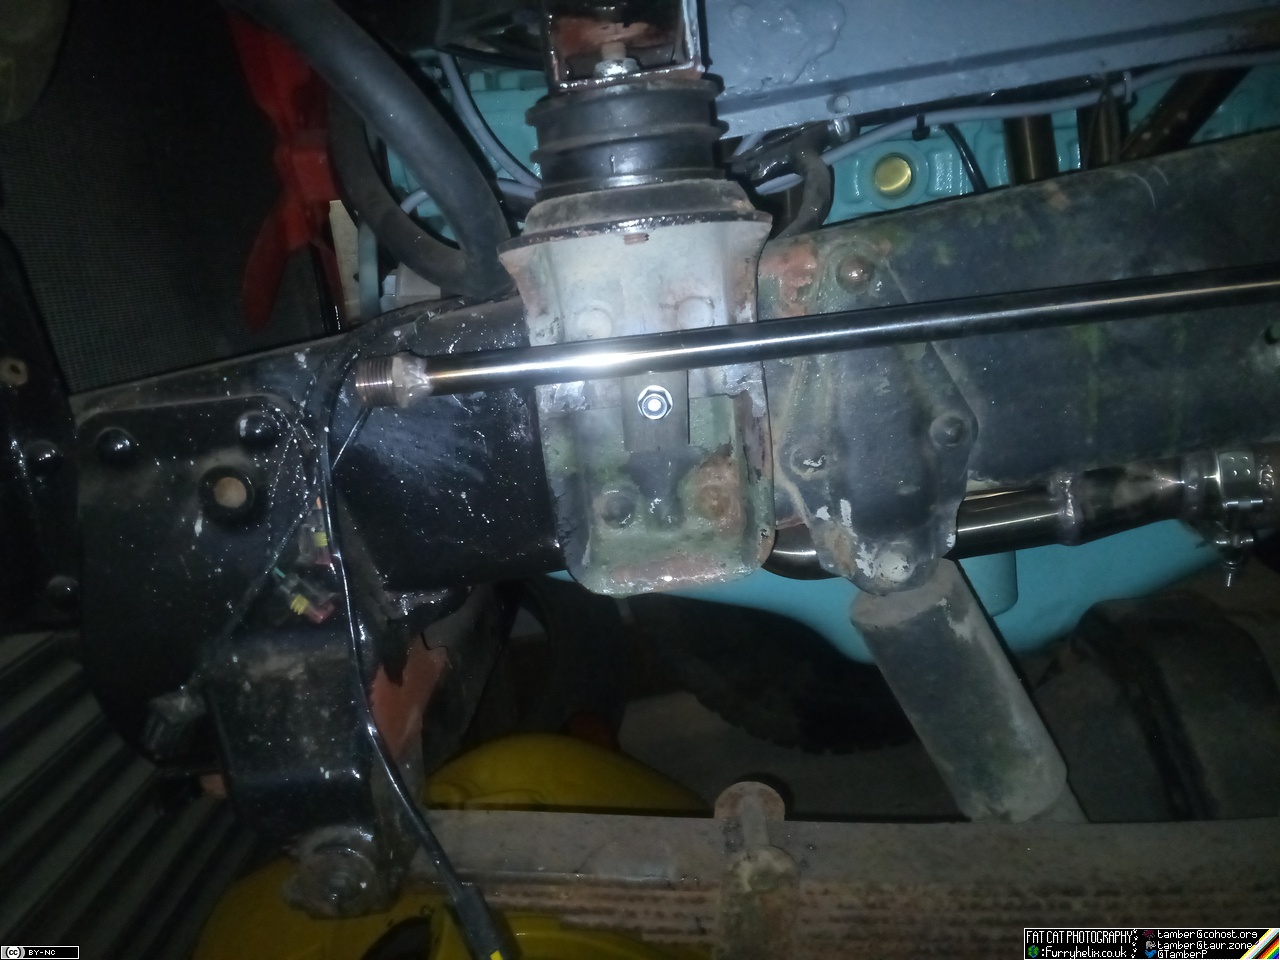
I got a jar o paint, I got a jar o paint... 6 Ebrill 2024
I have a big tin of yellow paint! And I've not touched it since it turned up because after a good couple of months of relatively decent health, joints-wise, I have come off the 4-day Easter weekend and faceplanted into the meatgrinder. I have managed to get a little tinkering done, however.
Read more…Posts for Mawrth, 2024
A productive week away from work 31 Mawrth 2024I've had a fairly productive week/long weekend so far, away from work (Which has been the land of gearbox/clutch hackery...) ## The 26th I got my new MIG torch in, so I celebrated by welding on my remaining two side-marker light brackets on the offside. Which, if my doctor's reading this, involved exactly 0 crawling or kneeling on the floor
Read more…